Browsing Category

Dinner

Dinner, Fish, Kimchi, Korean, Lactose Free, Recipes

Kimchi Tuna Salad

April 9, 2023

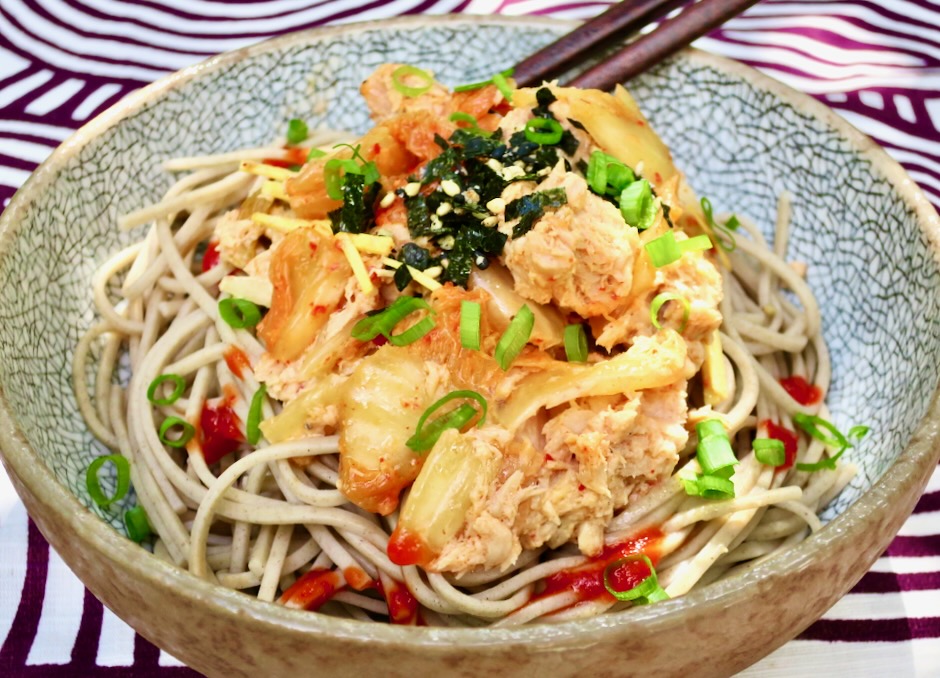
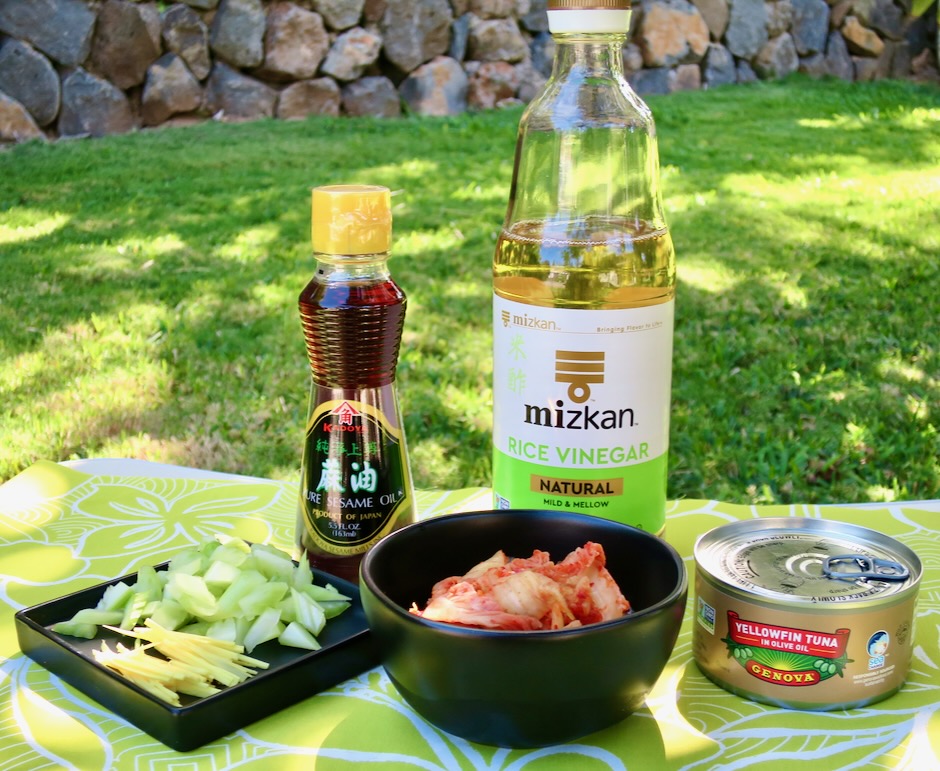
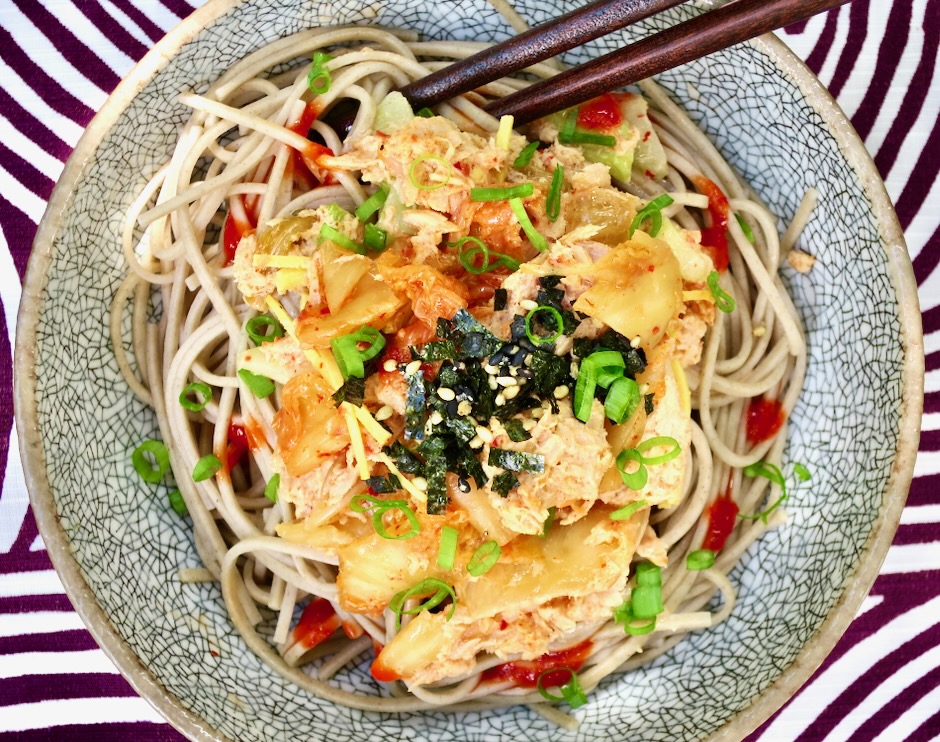
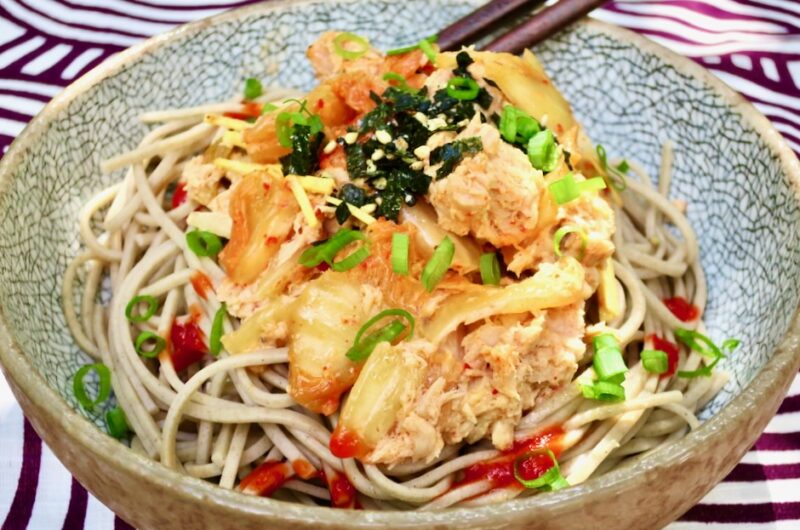
From the first time I made this kimchi tuna salad I knew it would become a regular on our lunch menu. Making kimchi has inspired me to use the spicy and crunchy Korean side dish in all types of recipes. Dishes such as fried rice, kimchi soup and cheesy kimchi ramen illustrate the versatility of this fiery fermented vegetable. In this dish it is paired up with tuna, fresh ginger, sesame oil, rice vinegar, and celery (for added crunch). You can have it as is, however, my favorite way to serve it is over soba or with rice.

A short list of ingredients make up this recipe adapted from NYT Cooking. Tuna in olive oil makes this extra luxurious but a good brand of tuna in water will work fine.

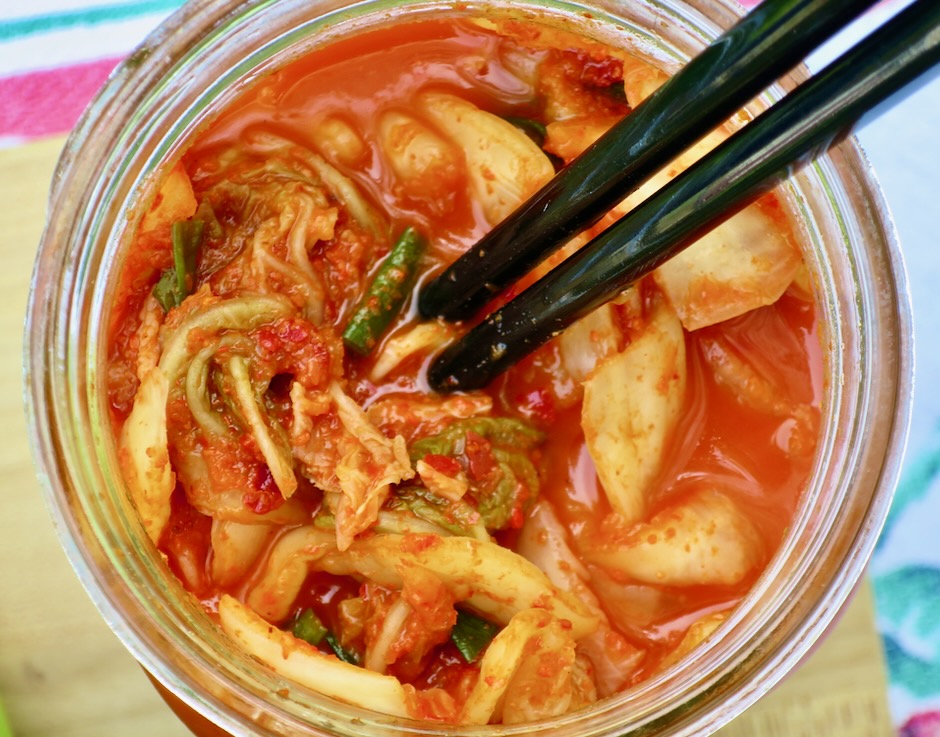
If homemade kimchi is not something you have in your refrigerator, use your favorite store-bought brand. There are so many to choose from these days, from mild to spicy (go spicy!).

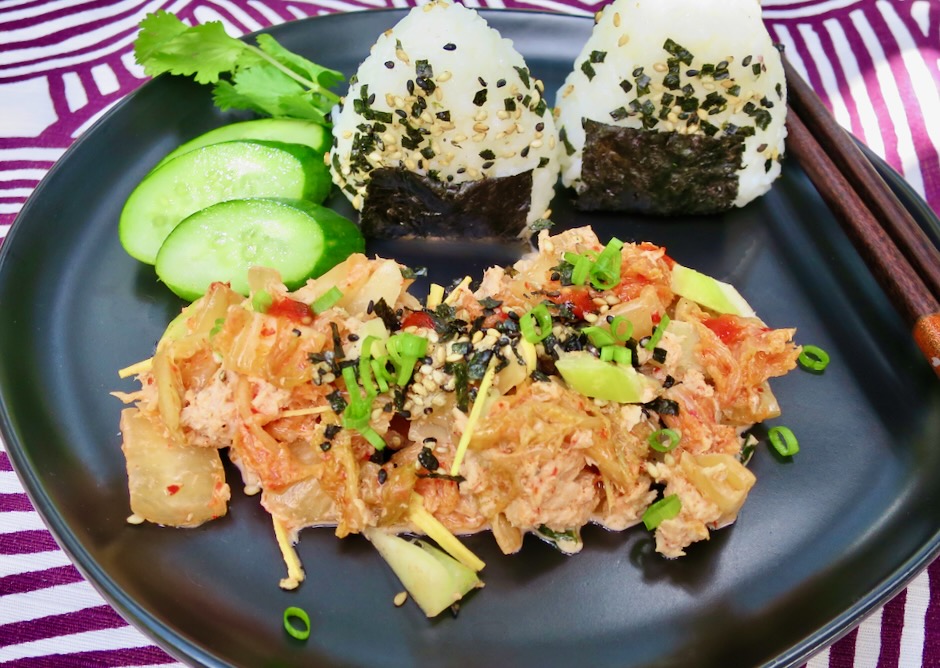
Serve the kimchi tuna salad over rice or make onigiri (rice balls) to accompany the salad. A drizzle of sriracha adds extra spice.

Kimchi Tuna Salad

Recipe by Kiyo
Servings

2

servings

Adapted from NYT Cooking

Ingredients

  • 8 ounces kimchi + 2 1/2 tablespoons kimchi juice

  • 1 tablespoon unseasoned rice vinegar

  • 1 1/2 teaspoons toasted sesame oil

  • 5 to 7 ounce canned tuna (preferably oil-packed), drained

  • 1 celery stalk, thinly sliced

  • 1 (1-inch) piece fresh ginger, peeled and sliced into 1/8-inch matchsticks

  • 2 1/2 tablespoons mayonnaise

  • 2 teaspoons roasted sesame seeds

  • 1-2 tablespoons thinly sliced green onions

  • Nori furikake (optional)

  • Sriracha sauce (optional)

  • Cooked soba noodles or rice

Directions

  • Cook soba noodles or rice according to package directions. If serving salad with onigiri (rice balls), make these once the rice is cool enough to handle and wrap in plastic wrap until ready to serve. Set aside.
  • Place kimchi in a small colander set over a bowl and drain the kimchi. Reserve the kimchi juice. Coarsely chop the kimchi (you should have about 1 cup)
  • In a medium bowl, whisk together 2 1/2 tablespoons of the reserved kimchi juice, rice vinegar, sesame oil and mayonnaise. If you prefer a thicker sauce, add another 1/2 tablespoon mayonnaise. Gently stir in the drained tuna and celery, breaking up the tuna into large chunks.
  • Add the chopped kimchi and ginger, and gently stir to combine. Because kimchi batches taste different, adjust seasonings as needed by adding a bit more vinegar if the salad needs more tang or a few extra drops of sesame oil if you prefer a toasty flavor.
  • Serve over soba noodles or rice or alongside onigiri. Sprinkle salad with green onions, roasted sesame seeds, furikake, and sriracha sauce.

Notes

  • Kimchi tuna salad is best eaten the day it is made, however, any leftovers can be stored in the refrigerator for a few days.
Dinner, Japanese, Lactose Free, Recipes, Vegan, Vegetarian

Sesame Brown Butter Udon Noodles

March 16, 2023

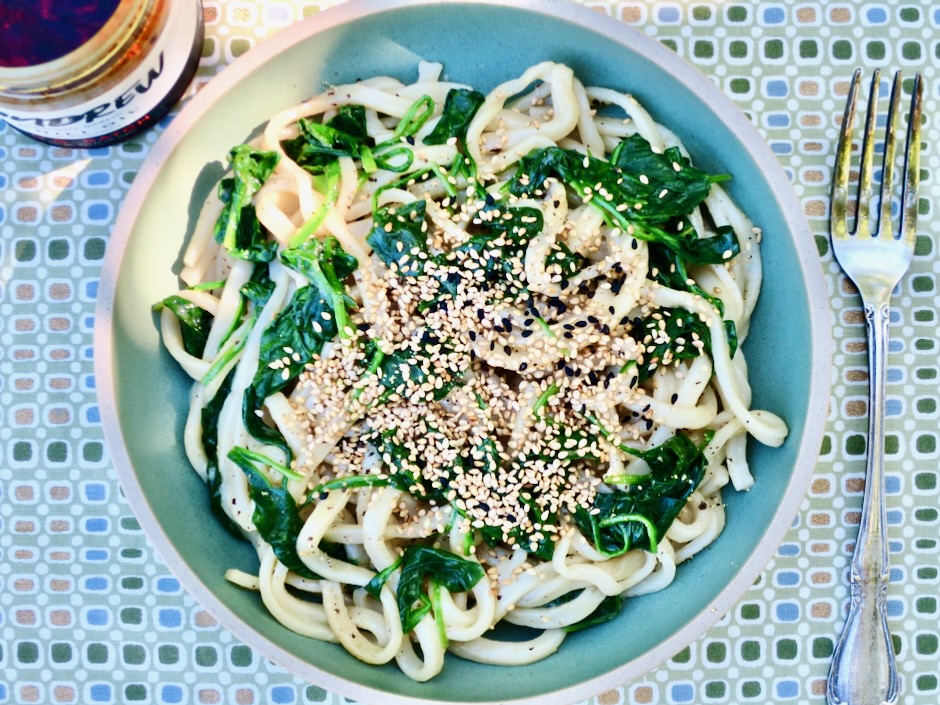
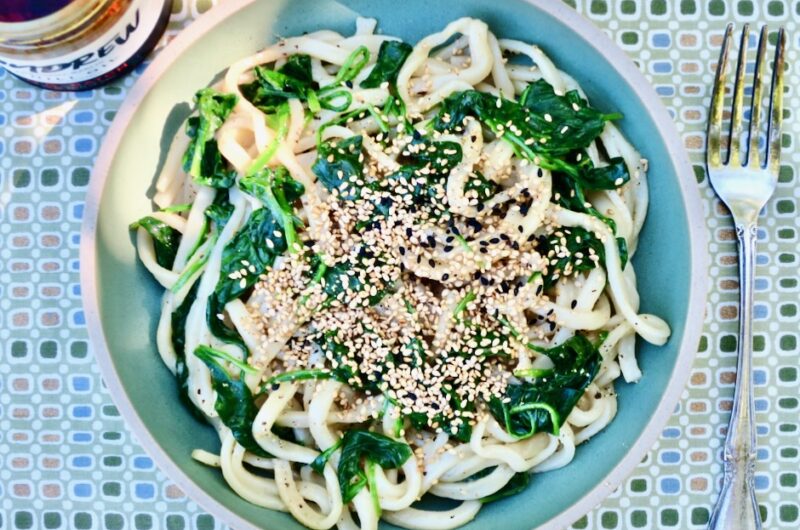
Here is a quick and delicious dish to satisfy a craving for udon. Given that it includes fresh spinach, it’s nutritious as well. This is a broth-less bowl of chewy noodles flavored with browned butter and lots of sesame seeds. It’s scrumptious.

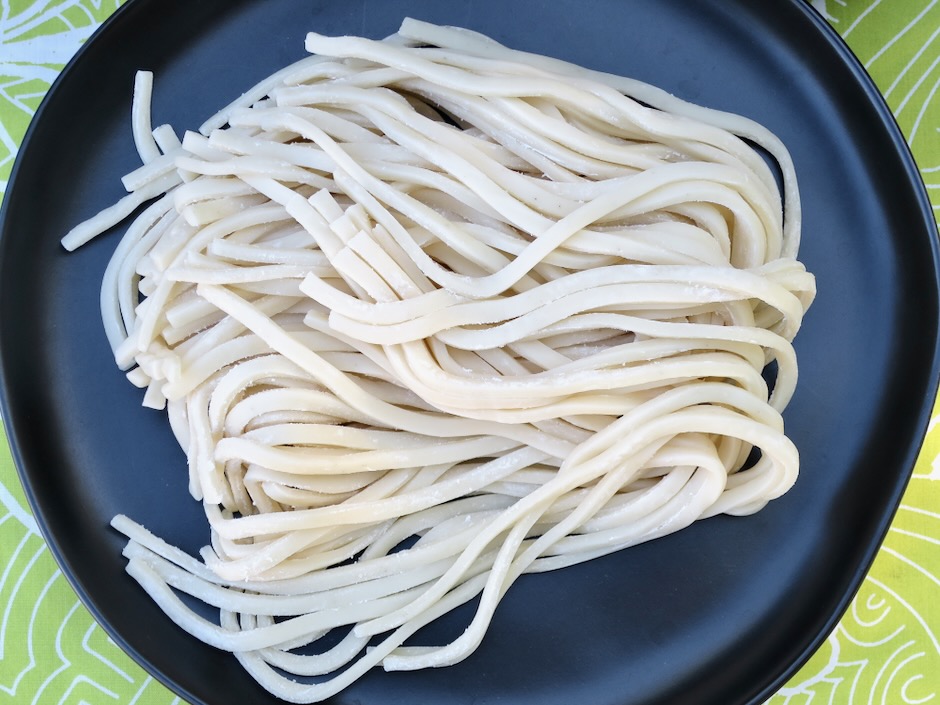
I highly recommend you seek out fresh udon. Here on Maui I buy Sun Noodle udon which is available at Island Grocery. If you are unable to find fresh udon, frozen udon would be the next option. Dried udon is very thin and lacks the wonderful chewy texture of fresh udon that makes this particular dish so delightful.

My version is vegan since I used Miyoko’s in place of regular unsalted butter. It’s an excellent substitute if you are lactose intolerant. Another plus is that you can actually brown Miyoko’s vegan butter.

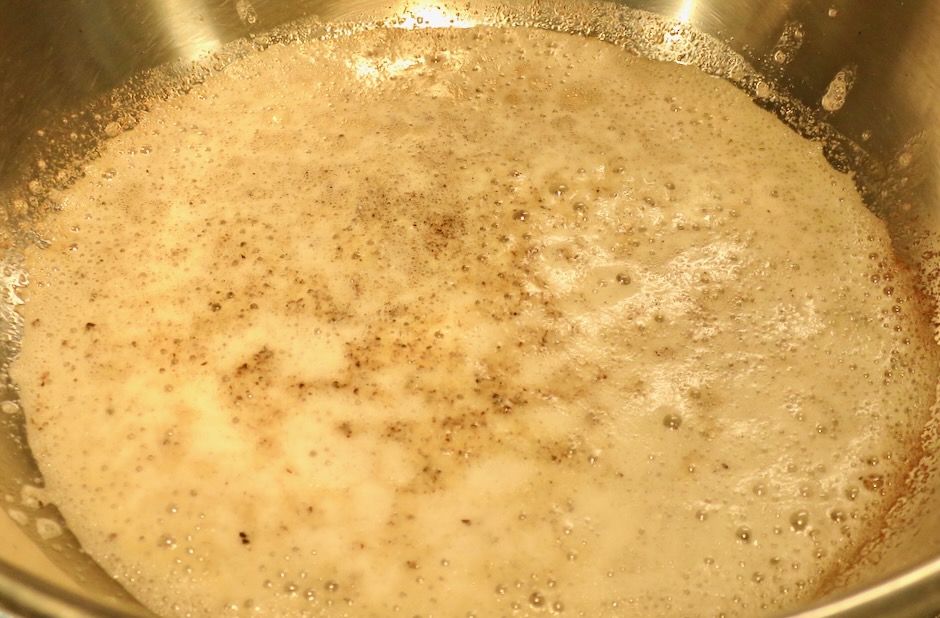
The “butter” browns quickly so you’ll want to keep a close eye on it.

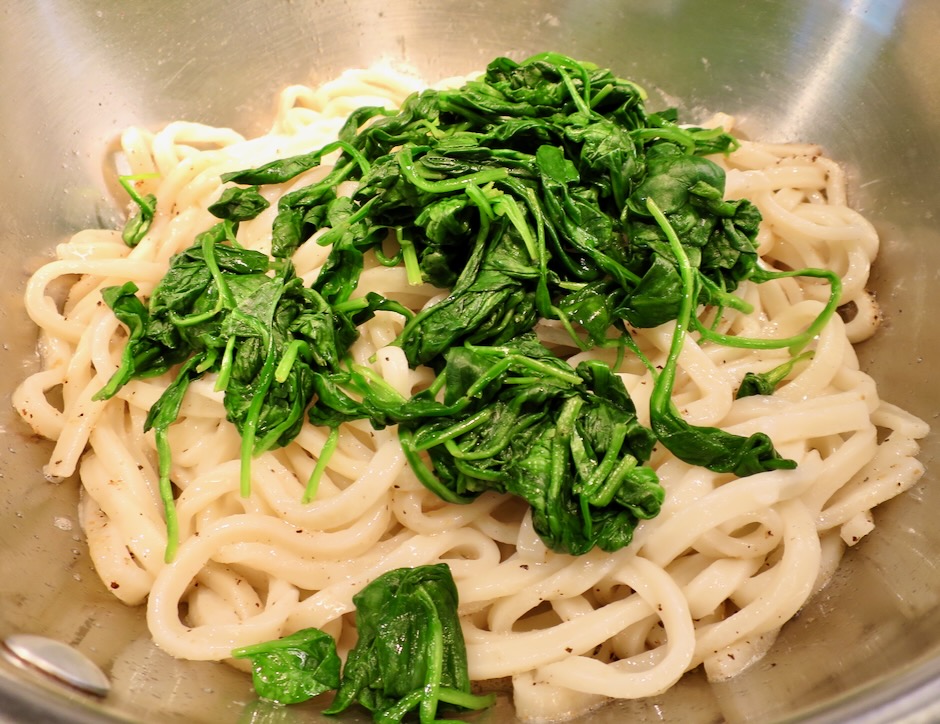
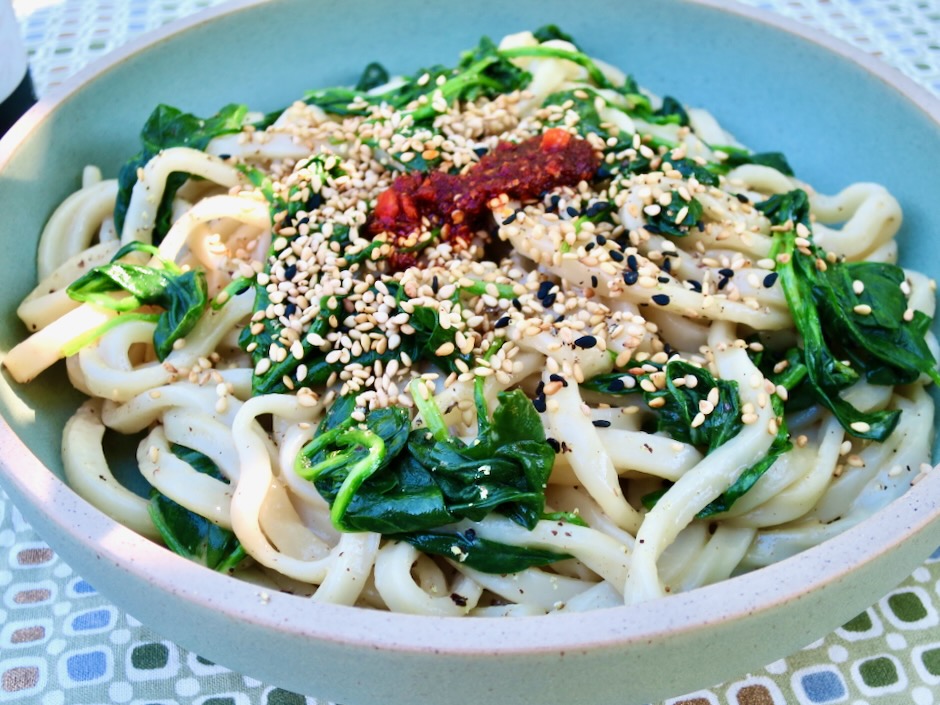
Once the “butter” has browned, it gets tossed with the cooked udon and spinach. Divide the noodles into bowls, sprinkle with a generous amount of roasted sesame seeds and a dollop of chili crisp and devour your bowl of noodles.

Sesame Brown Butter Udon Noodles

Recipe by Kiyo
Servings

2

servings

Adapted from NYT Cooking

Ingredients

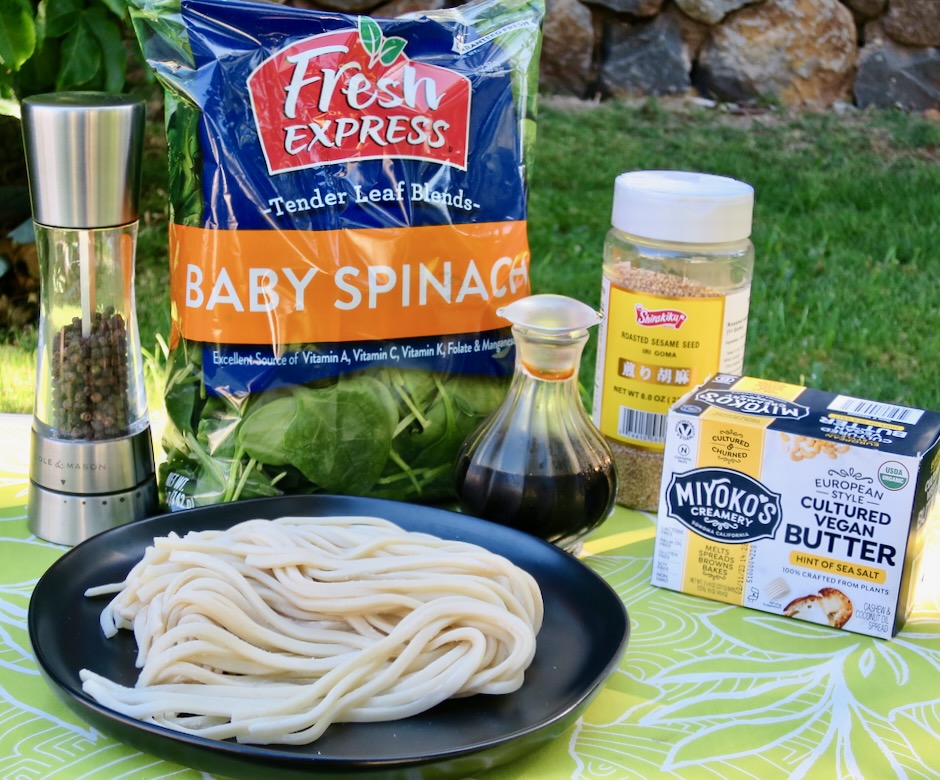
  • 8 ounces fresh udon (in a pinch, substitute with frozen udon)

  • 5 ounce container of baby spinach (or up to 8 ounces)

  • 2 tablespoons Miyoko’s Vegan Butter (or regular unsalted butter)

  • 1/2 teaspoon coarsely ground black pepper

  • 1/2 tablespoon soy sauce

  • pinch of granulated sugar

  • 1 tablespoon roasted sesame seeds

  • Chili crisp for serving, optional

Directions

  • Bring a large pot of water to a boil. Add the noodles and cook according to package directions until just tender. Reserve 1/4 cup of cooking water. Drain the noodles in a colander and set aside.
  • Microwave spinach with 1 1/2 tablespoons water in a large bowl (cover with damp paper towel or microwavable plastic wrap with a small corner left open for steam to escape, or use microwavable steamer).
    Drain and add to noodles.
  • Set the pot used for cooking the pasta, over medium heat. Add 2 tablespoons Miyoko’s Vegan Butter and cook, stirring occasionally, until the foam subsides and the butter turns golden brown, about 3-4 minutes. Watch closely so the butter does not burn. Add the black pepper and stir until fragrant. Add 2 tablespoons reserved pasta water, plus noodles and spinach, soy sauce and sugar, and toss until the sauce is thickened and silky. Add more pasta water a tablespoon at a time if needed to ensure the sauce clings to the noodles.
  • Remove from the heat and season to taste with more soy sauce and black pepper if needed. Divide into two bowls, sprinkle with sesame seeds and serve with chili crisp.
Beans, Dinner, Lactose Free, Recipes, Side Dishes, Vegan, Vegetarian, Veggies

Roasted Green Beans with Caper Butter

March 1, 2023

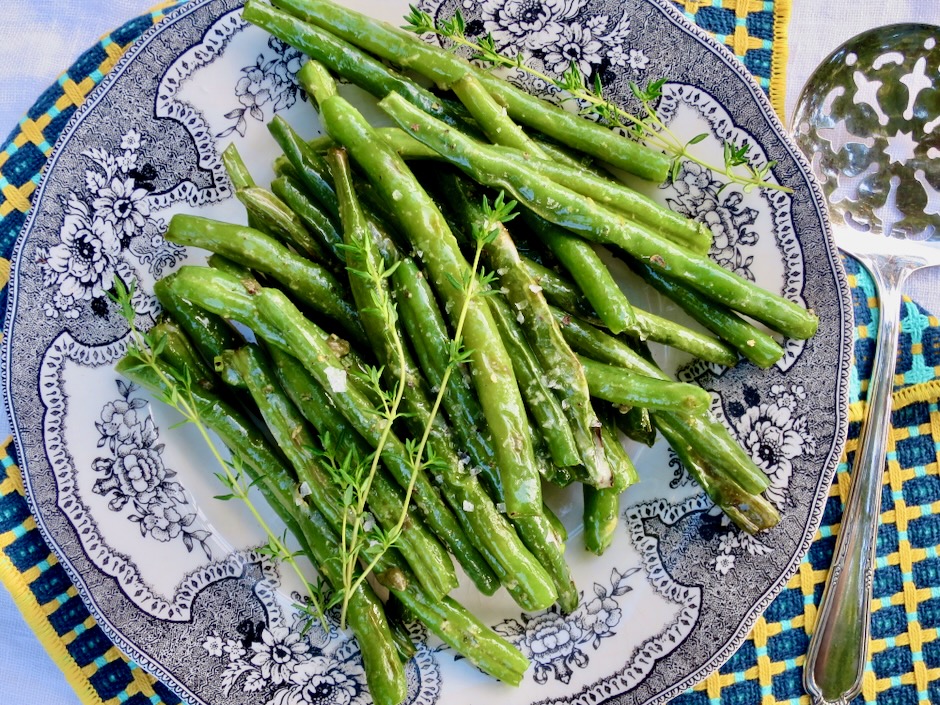
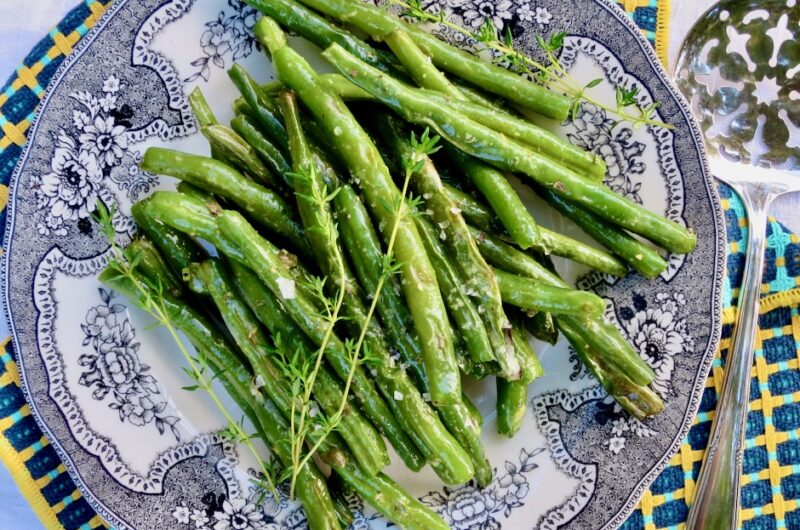
Sometimes just a few simple ingredients can turn a dish into a delectable treat, as is the case with these roasted green beans. Though there’s nothing fancy about this side dish, it reminds me of something I might find at a fine restaurant. I love how uncomplicated this recipe is. You can have it ready in less than 30 minutes.

Capers are the definition of a flavor bomb. Briny, bold, salty and tart they add umami to the butter and other ingredients. The lemon zest adds a bright flavor and the fresh thyme (don’t leave it out!) is just delightful with the roasted beans. This basic compound butter can be whisked up in a jiffy.

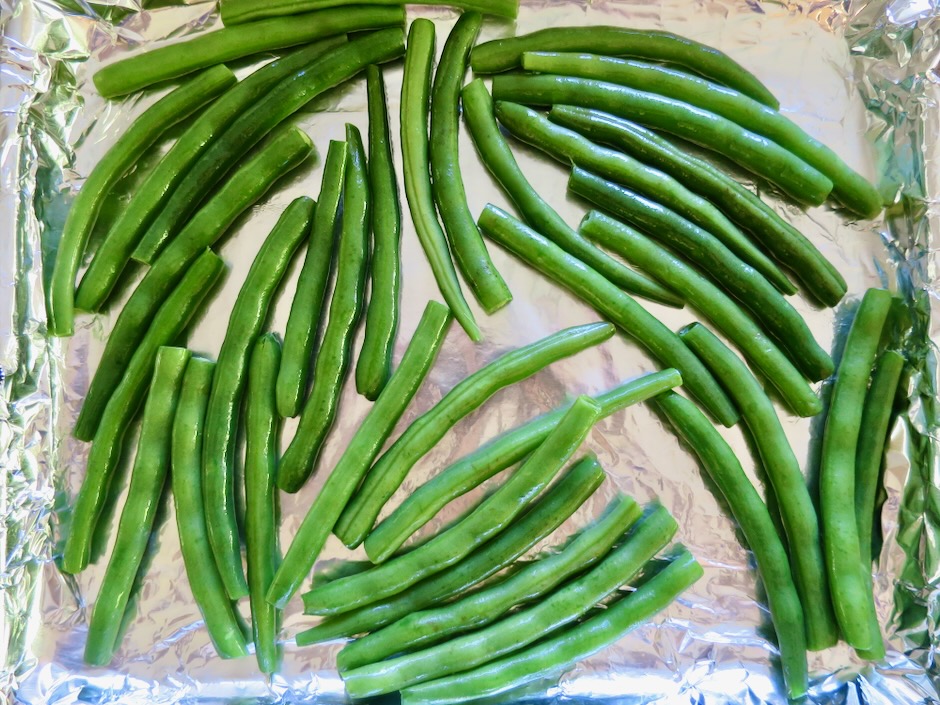
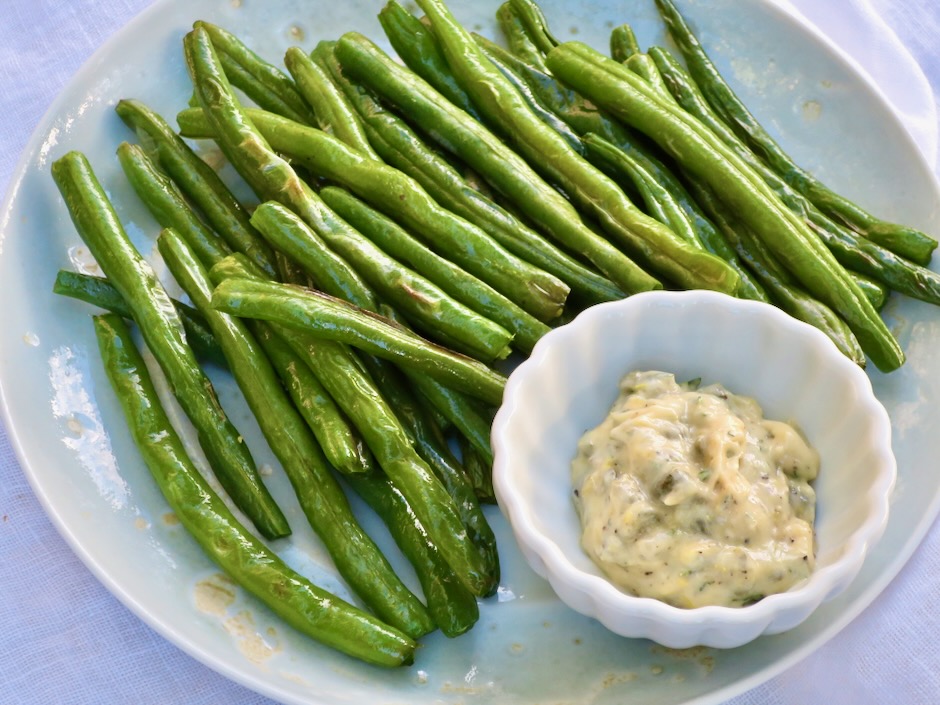
The green beans are quickly roasted at high heat, 450 degrees for just about 12 minutes, or until slightly charred in areas.

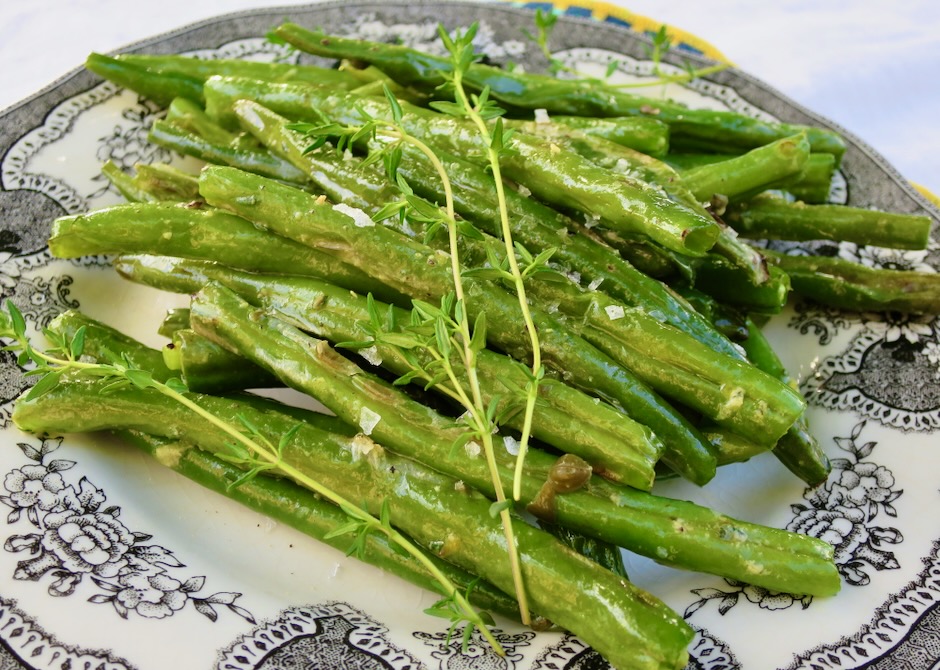
Once roasted, the beans get tossed with the caper butter before being served.

Roasted Green Beans with Caper Butter

Recipe by Kiyo
Servings

4

servings

Ingredients

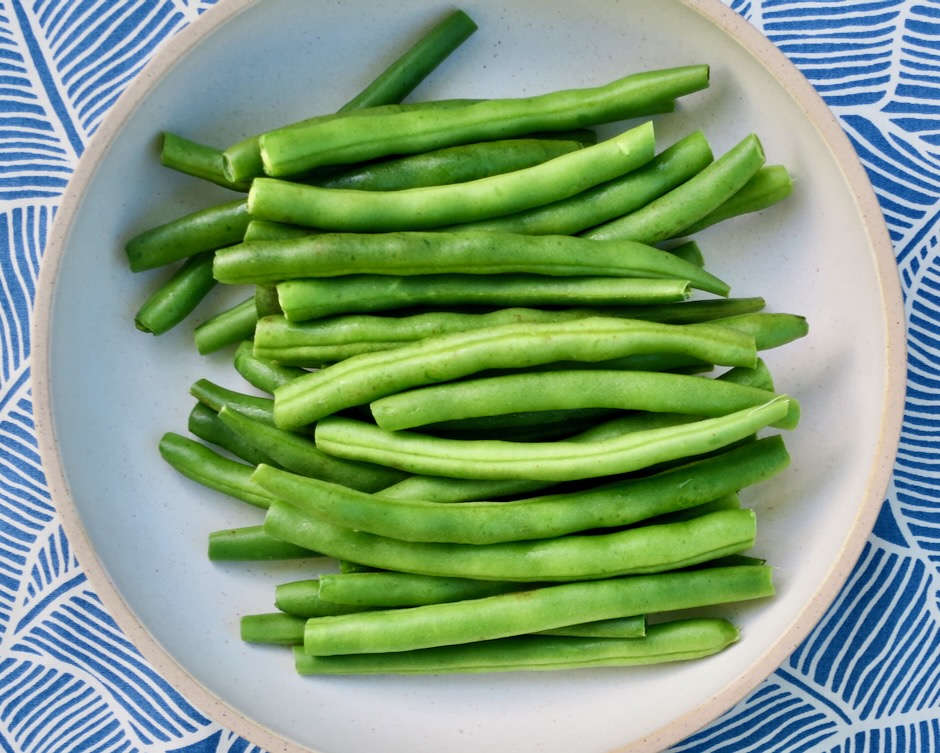
  • 1 pound fresh green beans, ends trimmed

  • 2 teaspoons olive oil

  • kosher salt

  • freshly ground black pepper

  • 2 tablespoons Earth Balance Buttery Sticks for lactose free version (or regular butter), softened

  • 1 1/2 teaspoons Dijon style mustard

  • 1 1/2 teaspoons chopped fresh thyme (not packed)

  • 2 teaspoons capers, drained and chopped

  • 1/2 teaspoon lemon zest (add additional 1/2 teaspoon for zestier flavor)

Directions

  • Preheat oven to 450 degrees. Line a sheet pan with foil for easy clean up.
  • Toss green beans with olive oil. Sprinkle with kosher salt and freshly ground pepper.
  • Roast green beans (in one layer) for 10-12 minutes or until lightly charred in areas, stirring once. They will soften a bit more once they are out of the oven.
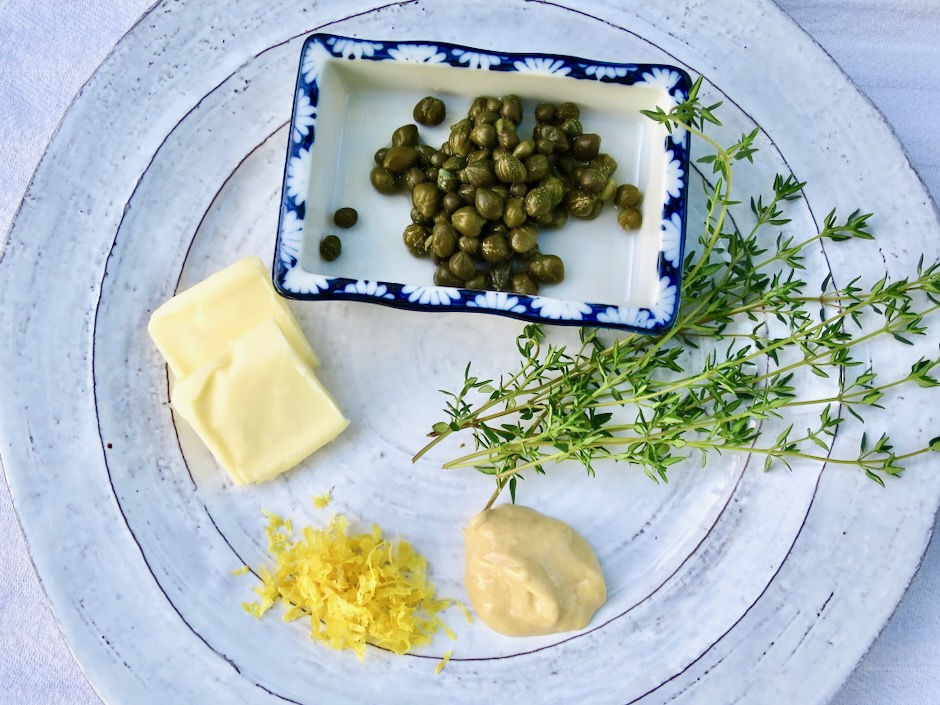
  • Meanwhile, in a small bowl, stir together Buttery Sticks (or regular butter), mustard, thyme, capers, lemon zest and a dash of salt. Toss roasted green beans with the butter and serve immediately.
Appetizers, Dinner, Dressing, Lactose Free, Mexican, Recipes, Sauces, Vegan, Vegetarian

Guacamole Salsa

February 12, 2023

This guacamole salsa is creamy, spicy, and has just the right amount of acidity to make it one of my new favorite condiments for all things Mexican. After watching The Taco Chronicles on Netflix, I was intrigued by this beautiful salsa that was drizzled on tacos throughout Mexico. The combination of avocado and tomatillos with spicy peppers is delicious.

Each ingredient contributes loads of flavor to the salsa. Browning the vegetables a bit intensifies their flavor even more so.

It doesn’t take very long to impart a bit of color to the vegetables. A little goes a long way in developing flavor. Anyone who happens to walk by the kitchen will immediately know something tasty is in the works.

A medium avocado is all you need for this recipe. It adds texture to the salsa as well as a silky richness when combined with the other ingredients.

Everything goes into the blender before serving. I like to make this a few hours in advance and chill it before serving.

The salsa is delicious on tacos, but don’t stop there. I serve it with burritos, quesadillas, corn chips and tamales. It is quite versatile. You can even serve it with grilled fish, Mexican style grilled chicken, as a salad dressing for cabbage or crispy iceberg lettuce and as a topping for Mexican rice.

Guacamole Salsa

Recipe by Kiyo

2

cups

Ingredients

  • 1/2 pound tomatillos, husked, washed and sliced in half

  • 1 jalapeño pepper (you may use jalapeños or serrano peppers or a combination)

  • 2 serrano peppers

  • 1/2 small onion cut into 4 wedges

  • 2 medium garlic cloves, peeled

  • canola or vegetable oil for the pan

  • generous handful of cilantro

  • 1 medium avocado, seeded and peeled

  • 1 tablespoon freshly squeezed lime juice

  • 2 teaspoons kosher salt

Directions

  • Drizzle a teaspoon of canola oil into a medium sized fry pan and place over medium heat. Arrange tomatillos cut side down, along with the onion wedges, whole peppers, and garlic. Cook until vegetables are lightly charred turning as needed, about 5 minutes. Remove garlic ahead of time so that it doesn’t burn. Transfer to a bowl to cool slightly. Once cool enough to handle, slice peppers in half and remove seeds. Taste peppers to see how spicy they are and use just what you need according to how spicy you want the salsa to be.
  • Transfer tomatillos, peppers, onion and garlic to a blender. Add avocado, a handful of cilantro, 1 tablespoon of lime juice, 2 teaspoons kosher salt, and 3/4 cup water. Blend until smooth. Taste and adjust seasoning with more salt and lime juice if needed.
  • Transfer to a bowl and chill until ready to serve. The salsa is best used within 4 days. Any leftover salsa may be frozen in a plastic container. Defrost in the refrigerator overnight and stir before serving.

Notes

  • A plastic squeeze bottle is the most convenient way to serve and store the salsa.
Dinner, Japanese, Lactose Free, Recipes, Tofu, Vegetarian

Crispy Pan-Fried Tofu with Scallion Sauce

January 30, 2023

Crispy tofu drizzled with a delicious scallion sauce is an easy and tasty dish to make any day of the week. A flavorful scallion sauce is drizzled over the tofu just before serving. The savory sauce really brings this dish together and makes this one of the best ways to enjoy tofu. Serve the tofu with onigiri (Japanese rice balls) and some wilted baby bok choy for a healthy and delicious meal.

The Tofu Xpress has been one of my favorite kitchen gadgets for some time now. If you cook with tofu often, I encourage you to buy a tofu press (plenty of options online). Using a press means less waste of paper towels or kitchen towels and quicker results.

Most of the sauce ingredients are likely already in your pantry. If you are unable to find Korean chili flakes (gochugaru), you may substitute red pepper flakes. However, I highly suggest keeping a small jar of gochugaru in your cupboard. Most commonly used to make kimchi, gochugaru has multiple uses in many recipes. The slightly smoky flavor of the chili flakes with medium heat (heat can vary by brands) and gorgeous color make this one of my go to seasonings.

Initially it may seem like 3/4 cup of sliced scallions is far too much, however, the scallions will wilt once mixed with the other sauce ingredients.

Once the tofu is lightly coated with cornstarch, it is fried until both sides are firm and crispy. In order to enjoy the crispiness of the tofu, serve it right away. This is a small recipe so you won’t have any leftovers!

Crispy Pan-Fried Tofu with Scallion Sauce

Recipe by Kiyo
Servings

2

servings

Adapted from Food52

Ingredients

  • 1 (14-ounce) package firm tofu (pressed for 10 minutes)

  • Kosher salt

  • 1/3 scant cup cornstarch

  • Neutral oil such as canola or vegetable for frying

  • Soy-Scallion Sauce
  • 2 tablespoons reduced-sodium soy sauce

  • 1 tablespoon mirin

  • 1 1/2 teaspoons gochugaru (substitute with 1/4 teaspoon red pepper flakes or more to taste)

  • 1 1/2 teaspoons roasted white sesame seeds

  • 1 teaspoon honey

  • 3/4 teaspoon roasted sesame oil

  • 1/2 teaspoon rice vinegar (unseasoned)

  • 3/4 cups thinly sliced scallions

Directions

  • Press out water from tofu using a tofu press or kitchen towel (about 10 minutes). Cut tofu lengthwise into 8 even slices. Lay slices on a paper towel-lined plate and pat dry. Salt the tofu on both sides. Place the cornstarch in a shallow dish and set aside.
  • Let the tofu rest while you prepare the sauce. In a medium bowl, mix together all the sauce ingredients until combined (scallions will wilt as they sit).
  • Pour enough oil into a large 12-inch nonstick skillet to fully coat the bottom of the pan (about 1/4 cup or so) and heat the oil over medium-high heat. Working quickly with one slice at a time, lightly coat the tofu slabs with cornstarch (gently tap to remove excess cornstarch) and carefully place them in the hot pan. Cook, flipping once, for 3-4 minutes on each side until golden and crisp (adjust heat if too high).
  • Transfer the tofu to a large plate, slightly overlap the slices in two rows, and spoon sauce on top (start with a few spoonfuls, add more to taste or serve on the side). Serve immediately with onigiri and wilted greens.

Notes

    Chicken, Dinner, Lactose Free, Recipes, Soups

    Chicken in a Pot with Orzo

    January 18, 2023

    Baking a whole chicken in stock produces some seriously tender and flavorful meat. Full of vegetables, fragrant herbs and a pinch of saffron, this is no ordinary chicken soup. Actually, Ina Garten doesn’t refer to her recipe as soup but rather “Chicken in a Pot with Orzo.” The whole chicken is definitely the star of this dish. Once it is done, cut the chicken into pieces or shred the chicken and add it back to the delicious broth. Don’t be afraid to use the fennel called for in the recipe. It mellows as it simmers with the other vegetables and herbs making a fantastic flavorful meal.

    The original recipe calls for 8 cups of diced vegetables along with 24 sprigs of assorted herbs. I used a bit less (see recipe below) and it was plenty for the amount of liquid in the pot.

    A little bit of saffron adds brilliant color and earthy, subtly sweet flavor to dishes like this one.

    Ina Garten’s recipe calls for a 3 1/2 – 4 pound whole chicken. It’s rare to find such a small bird these days. I ended up with a 4 1/4 pound chicken that worked just fine.
    Orzo is a wonderful addition to this dish. It’s readily available at most markets, however, you can substitute rice in a pinch.

    Searing the chicken before adding the other ingredients creates more flavor. This step also allows part of the chicken skin to take on a nice color.

    The vegetables pick up all the delicious browned bits on the bottom of the pan.
    Once the sautéed vegetables are done, the chicken goes back into the pot along with the herbs, chicken stock and water. Into the oven it goes.
    What emerges from the oven is a gorgeous chicken in a pot. The orzo can be added once the chicken is out of the oven (off the heat for 20-25 minutes in covered pot) or simply added while the chicken is cooking in the oven (after 1 – 1 1/2 hours depending on the size of your chicken). Leftovers can be stored in the refrigerator for a few days. I found that freezing leftovers is not ideal as the orzo absorbs quite a bit of the broth and the carrots can become quite soft. If you don’t mind these two factors, go ahead and freeze any leftovers. The flavors will still be terrific.

    Chicken in a Pot with Orzo

    Recipe by Kiyo
    Servings

    4-6

    servings

    Adapted from Ina Garten’s recipe

    Ingredients

    • Olive oil for searing chicken

    • 1 (4 1/4 pound) whole chicken (or smaller, 3 1/2 – 4 pounds)

    • 1 3/4 cups (1/3-inch) sliced peeled carrots, large pieces cut in half, about 8 ounces

    • 1 3/4 cups (3/4-inch) diced celery, about 7 ounces

    • 1 1/2 cups chopped leeks, white and light green parts (2 medium sized leeks)

    • 1 cup chopped fennel, stalks and core removed, about 5 ounces

    • 2 teaspoons minced garlic (2 medium sized cloves)

    • 4 cups simmering chicken stock

    • 1/2 teaspoon saffron threads

    • 6 sprigs fresh thyme

    • 8 sprigs fresh parsley

    • 10 sprigs fresh dill, plus extra for serving

    • Kosher salt and freshly ground black pepper

    • 3/4 cup orzo

    Directions

    • Preheat oven to 350 degrees.
    • Heat 2 1/2 tablespoons of olive oil in a large (11-inch) Dutch oven, such as Le Creuset, over medium to medium-high heat. Dry the chicken all over, place it in the pot breast side down, and sear it for 5-7 minutes without moving, until the skin is nicely browned. A splatter guard is useful here. Turn the chicken breast side up and sear for another 4-5 minutes, until browned on the bottom. Transfer chicken to a plate.
    • Add the carrots, celery, leeks, and fennel to the pot and sauté for 10 minutes over medium heat, stirring occasionally, until the vegetables start to brown. Add the garlic and cook for one minute. Return the chicken to the pot, breast side up, spreading the vegetables around the chicken. Add the chicken stock, saffron, and enough water (or stock) to cover the chicken with just an inch of the breastbone exposed. Tie thyme, parsley, and dill together and add to the pot along with 2 1/2 teaspoons kosher salt and 1 teaspoon pepper. Bring to a boil, cover, and bake for 1 hour and 15 minutes. Stir in the orzo and continue baking for 15 minutes more. If you are using a smaller chicken (3 1/2 pound) add the orzo after baking 1 hour and continue to bake for another 15 minutes or until the orzo is tender.
    • Discard the herb bundle. Transfer chicken to a large plate. Taste the broth and add more salt and pepper if needed. Separate the chicken into quarters. Carefully pull the breast meat away from the bones and pull meat apart into fairly large pieces or shred into smaller pieces (leave the bones in the leg portion). Spoon some of the chicken, broth, vegetables and orzo into large shallow bowls. Serve hot sprinkled with extra dill.

    Notes

    • A splatter guard comes in handy when searing the chicken

    Follow

    Get every new post delivered to your Inbox

    Join other followers: