Browsing Category

Dinner

Breakfast, Dinner, Eggs, Kimchi, Korean, Lactose Free, Pork, Recipes, Rice Dishes

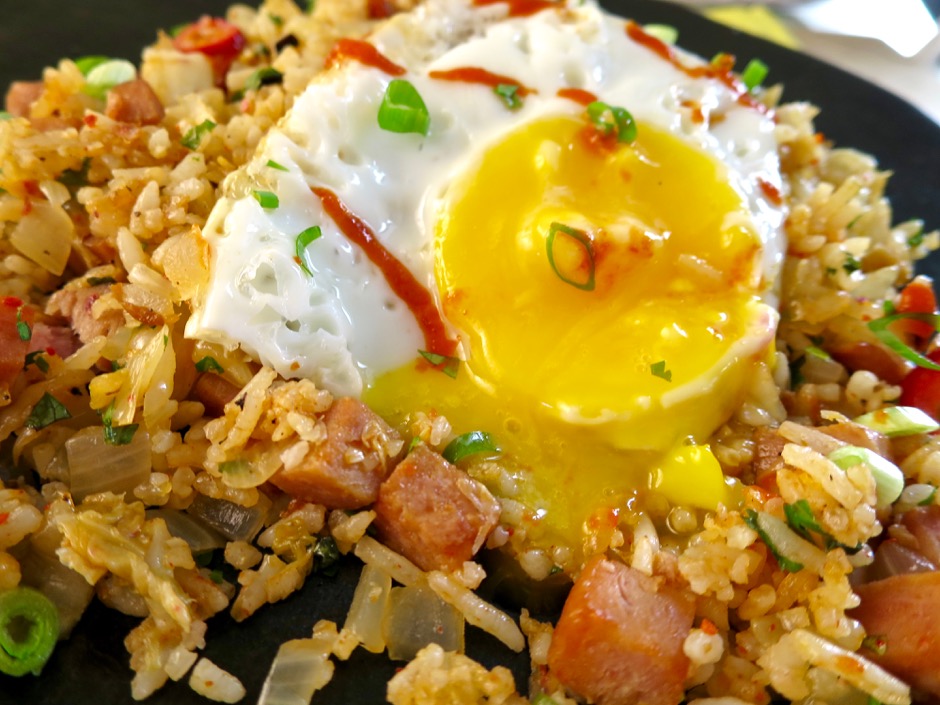
Kimchi & Spam Fried Rice

June 7, 2016

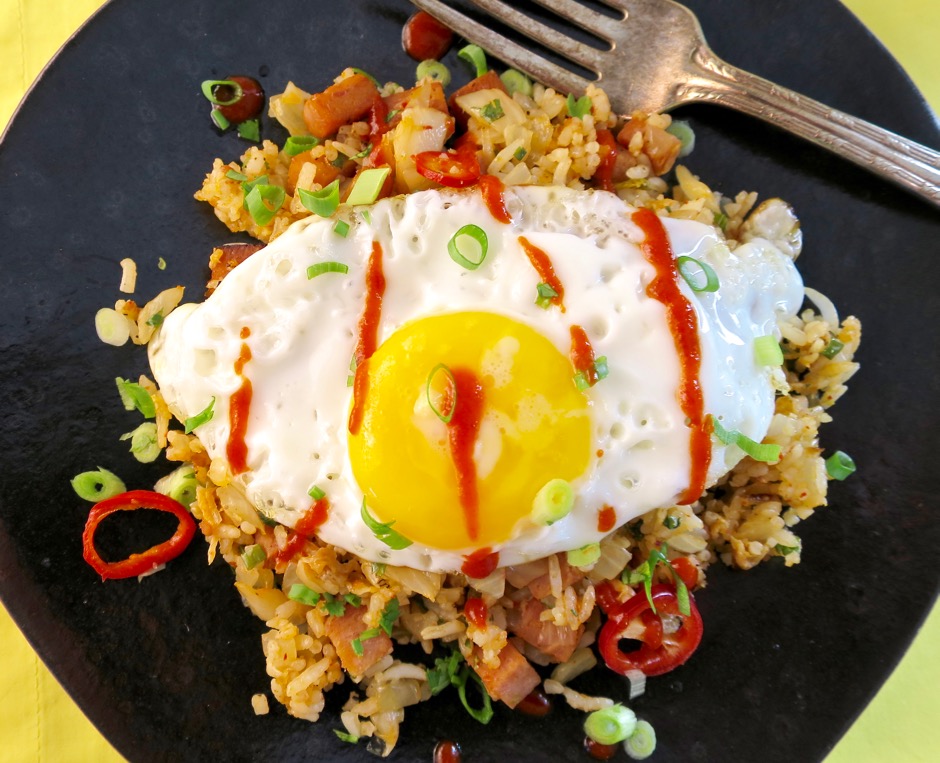
Kimchi & Spam Fried Rice Kimchi and Spam are staples in many households here in Hawaii.  Crunchy, pungent, spicy, kimchi pairs perfectly with a bowl of steaming rice and Korean hamburger patties.  And Spam?  Well, there are lovers and haters, just as there are for cilantro, Marmite, and anchovies…. Everyone I know loves a bowl of homemade fried rice and most would not turn down this version with kimchi, Spam and a perfectly  fried egg.  Spam may look unappealing straight out of the can, but once fried up into crispy little Spam croutons, it pairs perfectly with rice of any kind.  You ought to give it a try!
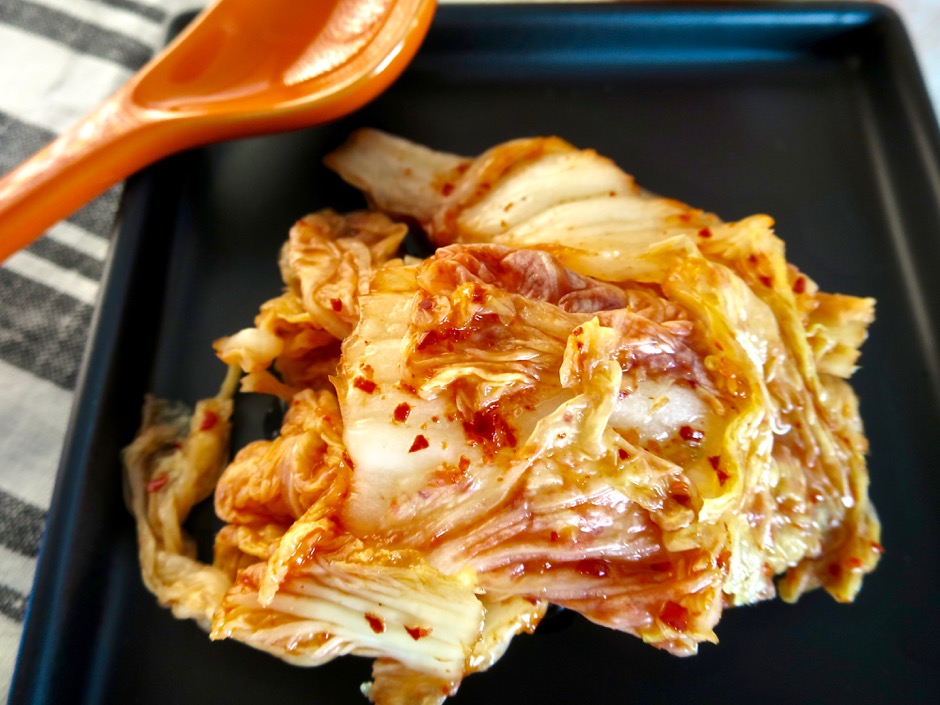
KimchiThere is an abundance of kimchi choices at the markets.  Use your favorite brand, but choose one that has a medium heat level rather than mild.

Glorious SPAM!Glorious SPAM!  I always chuckle when I see this little guy on the can.
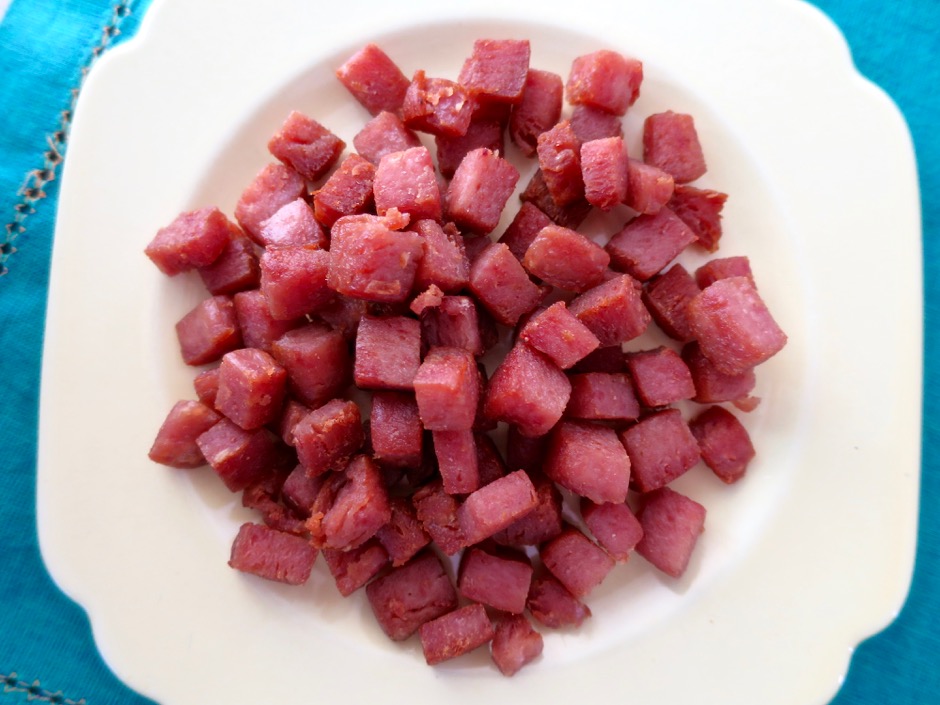
Crispy Fried SpamFrying the Spam until each piece is perfectly crisp makes all the difference.  You won’t be able to avoid nibbling on them before they make it into the fried rice.

Kimchi & Spam Fried Rice

Kimchi & Spam Fried Rice
 
Adapted from Kenji's Serious Eats recipe.
Author:
Serves: 6
Ingredients
  • 5 cups cooked jasmine rice (I use my rice cooker and the measuring cup that came with it - 2 cups uncooked rice)
  • 1½ cups finely chopped kimchi, about 325g (kimchi drained with 3 tablespoons liquid reserved)
  • canola oil
  • 1 12-ounce can Spam, cut into ½-inch dice
  • 2 cups finely diced onion
  • 2 medium garlic cloves, minced
  • ⅓ cup + 1 tablespoon thinly sliced scallions
  • freshly ground black pepper
  • 1 teaspoon sesame oil
  • 1 teaspoon fish sauce
  • ⅓ cup chopped cilantro (optional)
  • fried eggs, for serving
  • 1 Fresno chili thinly sliced (optional)
  • Sriracha hot sauce, for serving
Preparation
  1. Cook rice and let cool completely. I cook my rice in the morning and store in the refrigerator until ready to use. For this dish it is better to use day old rice.
  2. Place kimchi in a mesh strainer set over a bowl. Squeeze out excess liquid (reserve 3 tablespoons liquid). Finely chop kimchi.
  3. Heat a few teaspoons of canola oil in a wok over medium-high heat. Add Spam cubes and cook, tossing frequently, until well browned and crisp, about 8 minutes. Drain on paper towels. Wipe out wok.
  4. Add 2 teaspoons canola oil over medium heat and sauté onions until slightly softened, about 3 minutes. Add garlic and stir fry for 1 minute.Transfer to a bowl and set aside.
  5. Add ½ tablespoon canola oil to wok. Increase heat to medium high and heat until oil just begins to smoke. Add the rice and cook, stirring and tossing, until rice is warmed. Press rice against the sides of the wok to crisp up (like bibimbap and tag dig). Add onion and garlic mixture, kimchi, Spam, and ⅓ cup scallions tossing with rice to combine. Pour in reserved kimchi juice and season generously with black pepper. Add sesame oil, fish sauce and cilantro. Toss to combine.
  6. Serve fried rice in ceramic bowls, topped with a fried egg, reserved 1 tablespoon scallions, Fresno peppers and sriracha sauce.

 

Dinner, Japanese, Lactose Free, Recipes, Salad, Side Dishes, Vegetarian, Veggies

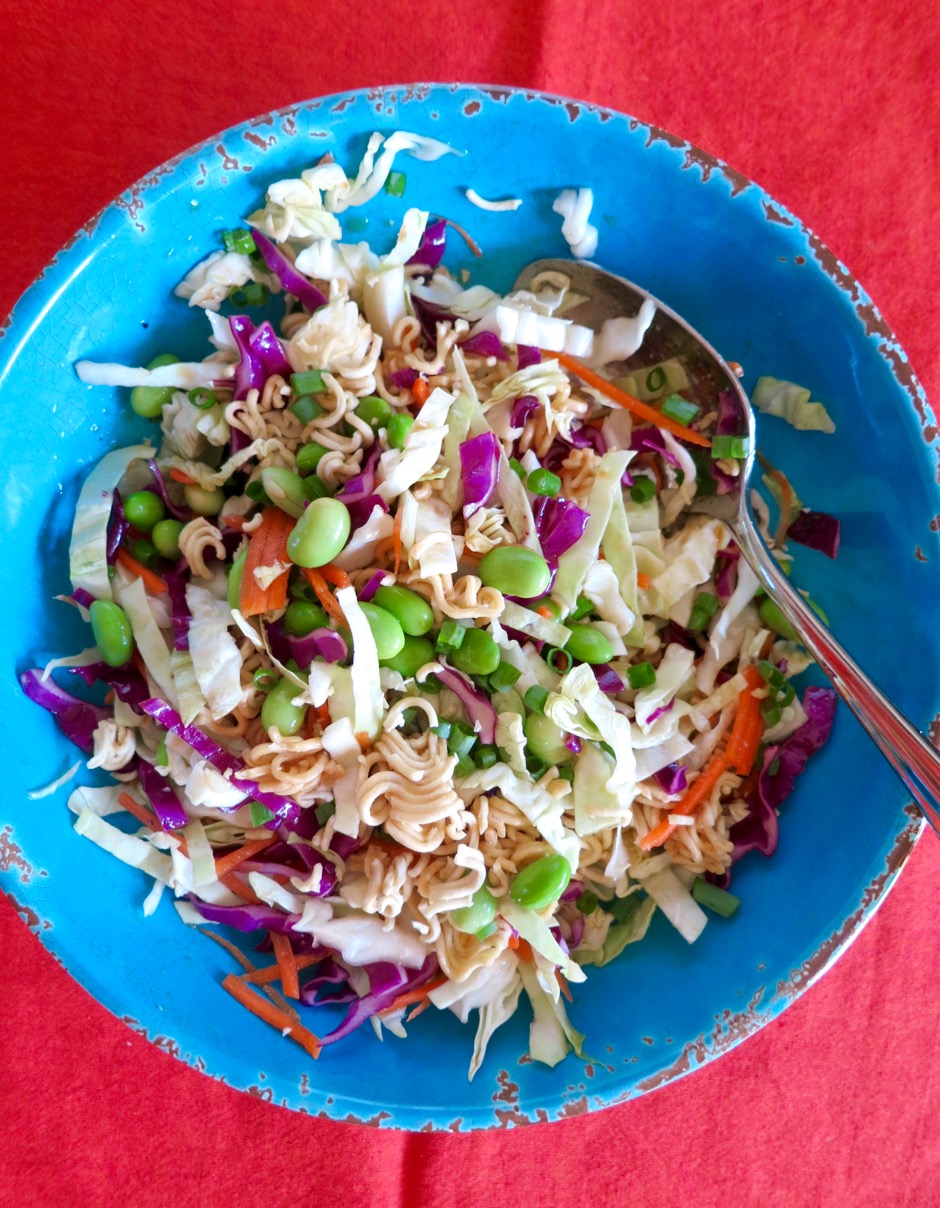
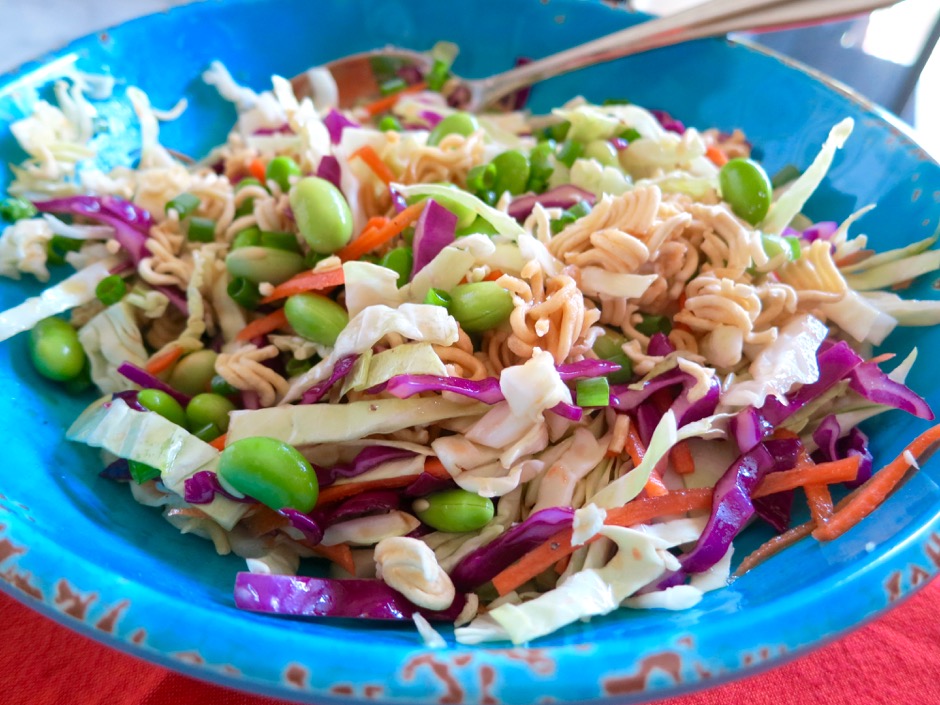
Crunchy Cabbage & Ramen Noodle Salad

May 15, 2016


Crunchy Cabbage & Ramen Noodle Salad

This is the perfect salad to take on a summer picnic or potluck party.  Everything can be prepared in advance and put together in one bowl just before serving.  I love the crunchy texture of the cabbage, ramen and almonds.  Sometimes I’ll add leftover shredded rotisserie chicken to the salad.  You could also add baked or pan-fried tofu for a tasty vegetarian lunch.  This is a salad, with its refreshing ingredients and delicious dressing, that I will never get tired of eating.

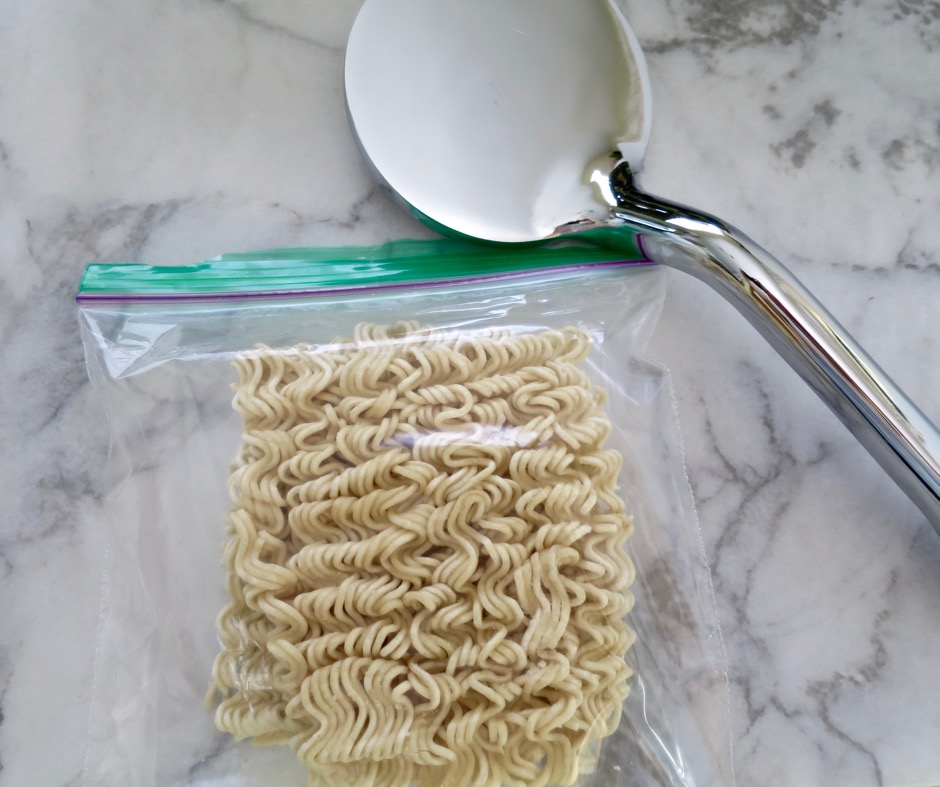
Ramen Noodles

Though the ramen is already baked, I prefer to enhance it just a bit to make it very crisp. I toast the crushed ramen in my toaster oven for 4 minutes before adding it to the salad.

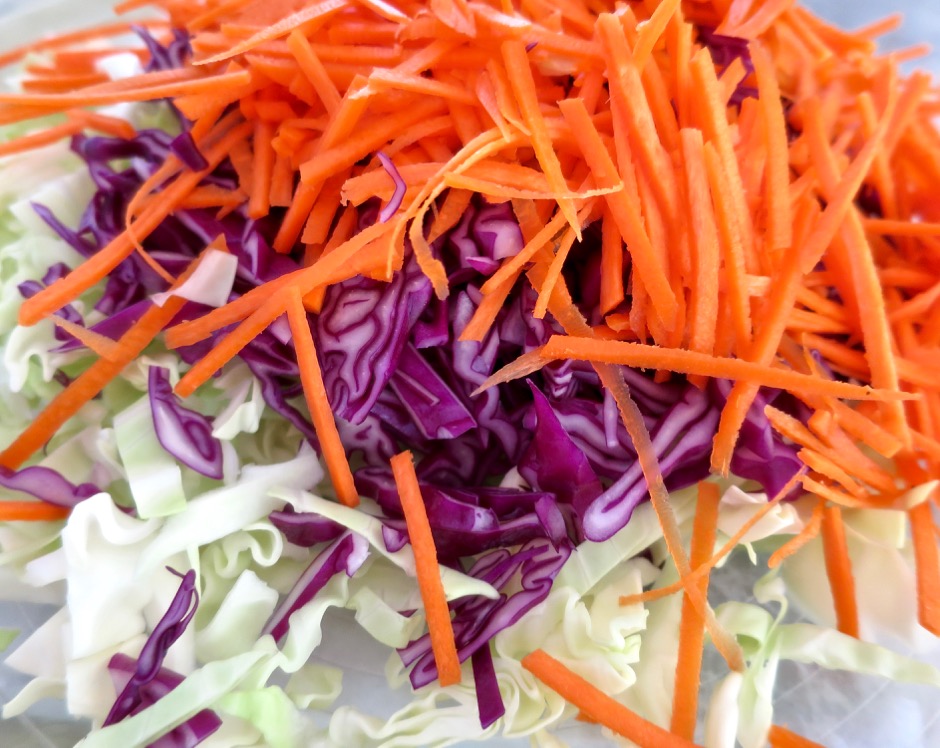
Slaw Mix

Crunchy Cabbage & Ramen Noodle Salad


Crunchy Cabbage & Ramen Noodle Salad
 
Adapted from the kitchn blog recipe
Author:
Serves: 4
Ingredients
  • 3 cups shredded green cabbage (about 7 ounces)
  • 1 cup shredded red cabbage (about 3 ounces)
  • 1 cup shredded carrot (about 3 ounces)
  • ¼ cup shelled edamame
  • ¼ cup seasoned rice vinegar
  • 2 tablespoons roasted sesame oil (Kadoya brand recommended)
  • 2 tablespoons canola oil
  • 2 teaspoons honey
  • 2 teaspoons roasted sesame seeds, white, black or a combination of both
  • 1 (3-ounce) package ramen noodles, crushed and toasted (discard seasoning packet)
  • ¼ cup thinly sliced green onions
  • ¼ cup sliced almonds, toasted
Preparation
  1. Place shredded cabbage, carrot and edamame in a large bowl.
  2. Combine seasoned rice vinegar, sesame oil, canola oil, honey, and sesame seeds in a jar. Shake to combine ingredients.
  3. Preheat toaster oven (or oven) to 325 degrees. Spread crushed ramen noodles on a foil lined baking sheet and toast for about 4 minutes. Watch closely so it doesn't burn.
  4. Toast sliced almonds for 4 -5 minutes. If you use your oven, you'll have enough space to toast the ramen and almonds at the same time (on separate pans). The ramen and almonds should be slightly toasted with just a hint of golden color.
  5. Add dressing to the cabbage mixture by the spoonful. Toss, then fold in ramen, green onions and almonds. Toss again and serve right away.


Dinner, Japanese, Lactose Free, Pork, Recipes, Sauces

Grilled Teriyaki Pork Tenderloin

May 5, 2016

Grilled Teriyaki Pork Tenderloin

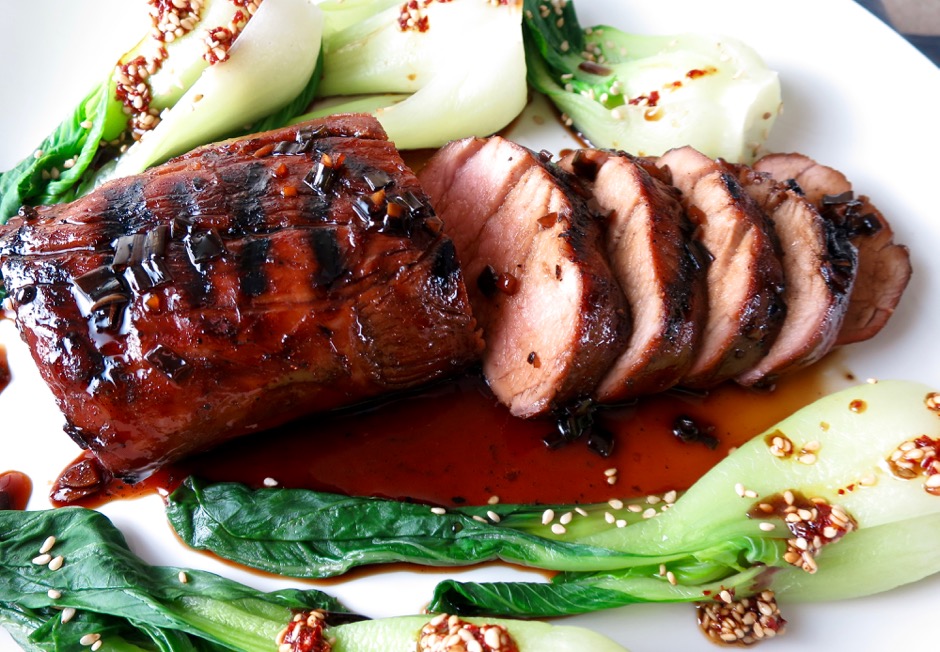
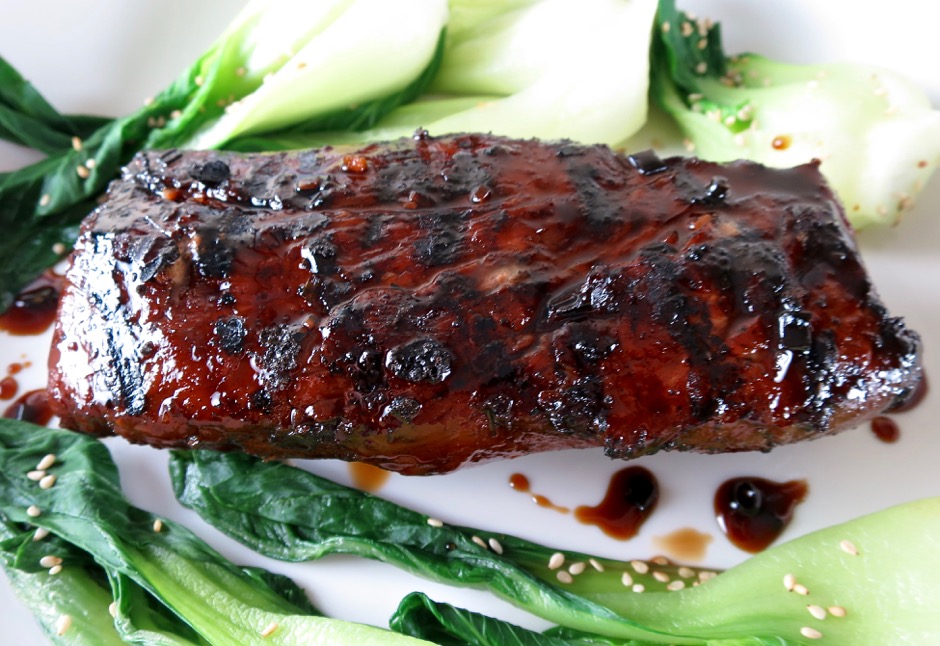
Virtually anything grilled with Granny’s teriyaki sauce is terrific.  Sometimes we grill tofu, sometimes chicken, occasionally fish, or in this case for the first time, pork tenderloin.  It’s such an easy meal to whip up on a week night and leftovers are more than welcome the following day.  Pork tenderloin is lean and because of its compact size, it cooks quickly which means dinner is on the table in no time.  A side of Japanese rice and baby bok choy makes the perfect meal.

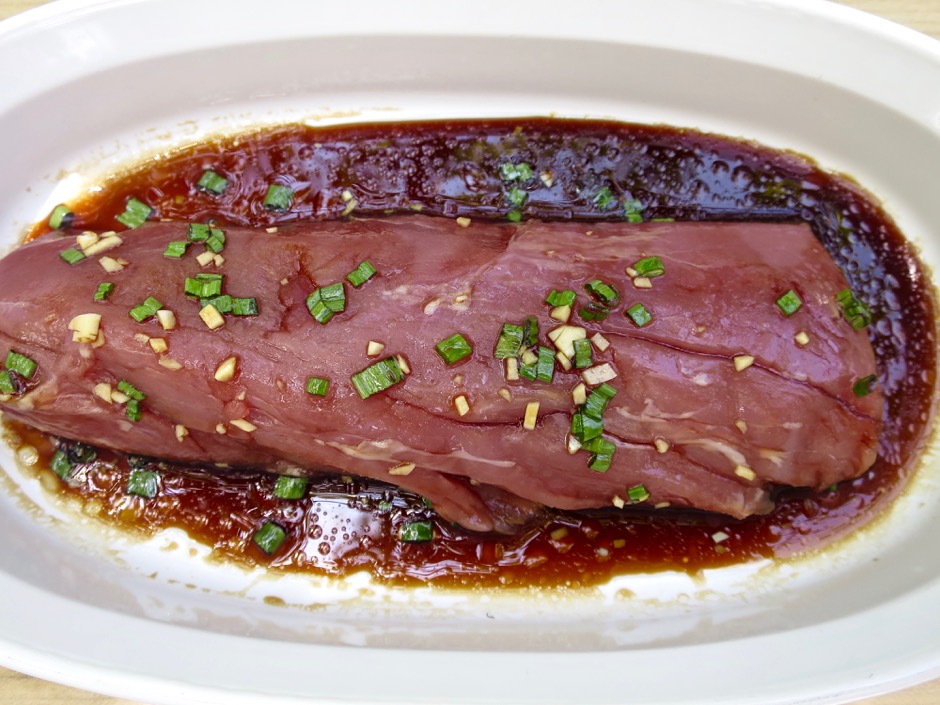
Pork Tenderloin Marinating

Place the sauce and pork in a bowl, or even better, a Ziplock bag.  Refrigerate for a few hours, turning occasionally.

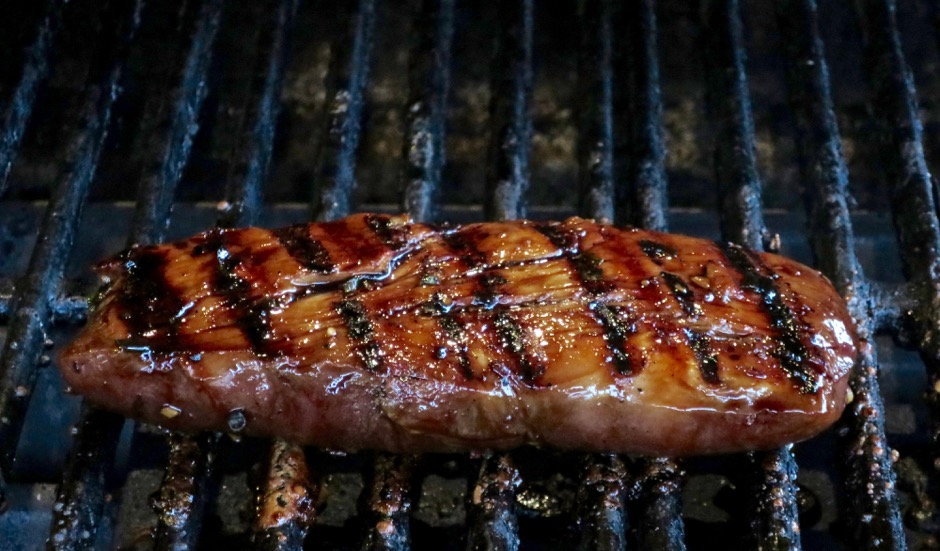
Grilling Teriyaki Pork Tenderloin

Use a gas or charcoal grill.  This time we used our gas grill and started cooking over indirect heat (to about 95 – 100 degrees internal temperature) then finished over direct heat to 145 degrees, basting occasionally with sauce. Our favorite digital thermometer the Thermapen is essential for perfect doneness. This cooking technique is also known as the reverse sear.  The traditional method is to sear the meat first and finish in the oven or on the grill over indirect heat.  The reverse sear method prevents an over done “gray” rind and the meat cooks more evenly with  a consistent  doneness and color from edge to center. Voila!  In less than half an hour our pork tenderloin is ready.

Grilled Teriyaki Pork Tenderloin


Grilled Teriyaki Pork Tenderloin
 
Author:
Serves: 2 generous servings
Ingredients
  • 1 pork tenderloin, about 1 pound
  • Granny's teriyaki sauce
  • Reserve ¼ cup sauce for basting pork
  • Save remainder for finishing as described below
Preparation
  1. Trim pork tenderloin removing any visible fat and silver skin. Trim off the ends if they are very thin so that the pork tenderloin is of uniform size. The trimmings can be frozen for another meal (tacos!).
  2. Place pork tenderloin in a Ziplock bag with ½ cup of teriyaki sauce. Seal bag and place in the refrigerator for 3 - 4 hours. Turn bag occasionally so the pork is well marinated.
  3. When you are ready to grill the pork, remove it from the bag and discard marinade. Grill the pork by reverse sear method, basting occasionally with the reserved ¼ cup sauce, until the internal temperature reads 145 degrees on a digital thermometer.
  4. Meanwhile, simmer the reserved teriyaki sauce in a saucepan over medium-low heat until the sauce becomes a bit thick and syrupy. Set aside.
  5. Let pork rest for 5 minutes then slice into ½ inch pieces. Drizzle with teriyaki sauce and serve with rice and steamed bok choy.


Dinner, Lactose Free, Recipes, Side Dishes, Veggies

The Best Green Bean Casserole

February 9, 2016

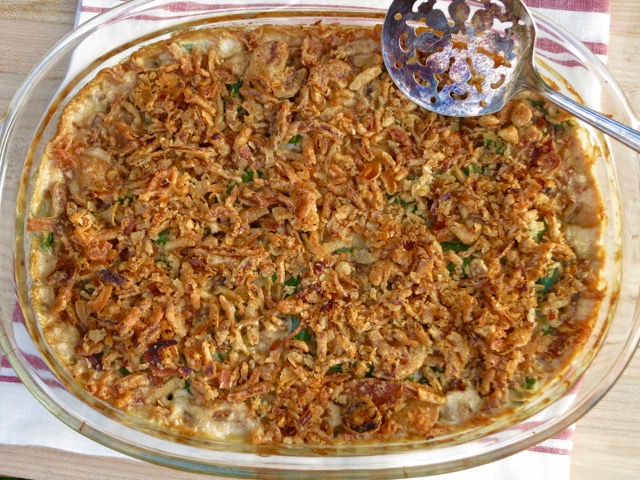
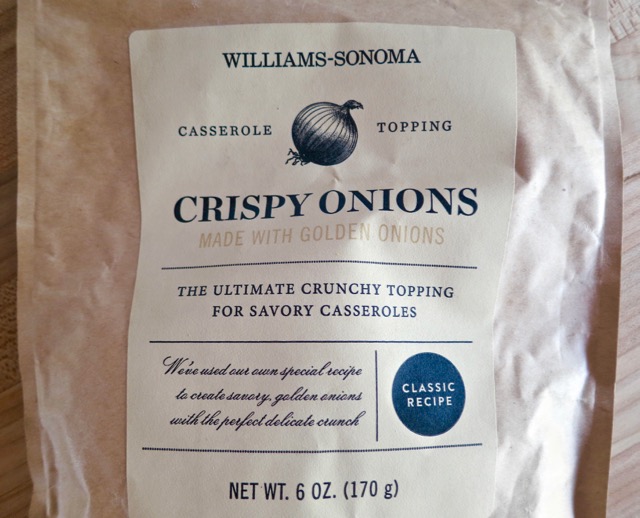
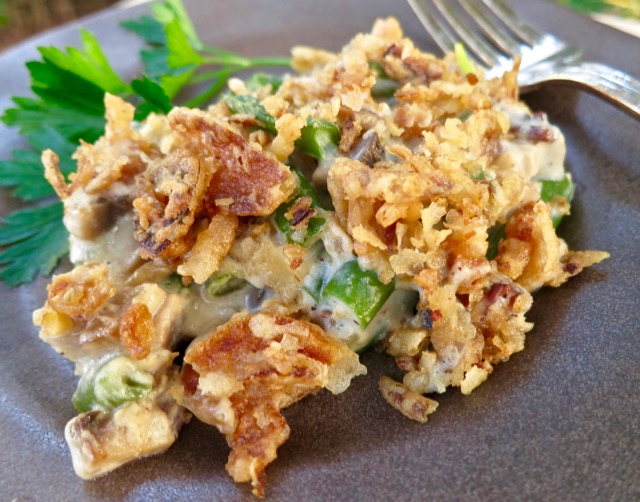
The Best Green Bean CasseroleIt all started out with the purchase of Williams-Sonoma’s Crispy Onions.  I was sold once I read the label on the package: The ultimate crunchy topping for savory casseroles.  A green bean casserole was the first thing that came to mind, but not the usual canned-ingredient variety.  The only mistake I made was not to buy more than one bag of these delightful onions.

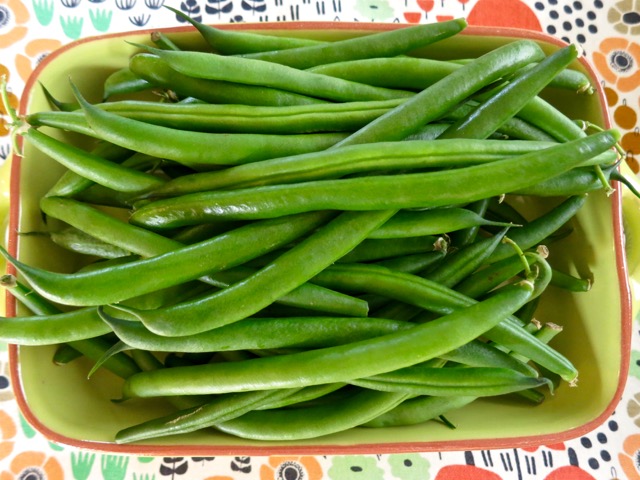
Fresh Green BeansKimberly of the  Daring Gourmet posted a recipe  that sounded perfect.  Besides the onions and green beans, the recipe calls for bacon, an ingredient that for me, seals the deal.

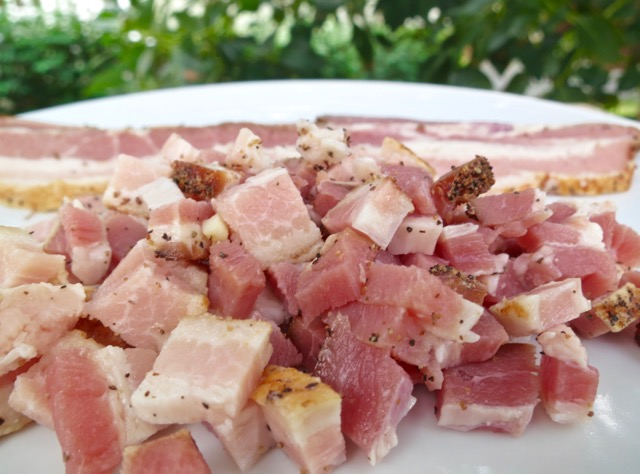
Hempler's BaconHempler’s bacon is top-notch.  It is thick, lean, and smokey.  I used the pepper coated bacon in the green bean casserole but you can use regular thick cut bacon instead.  You can find Hempler’s at Safeway.

Hempler's Bacon

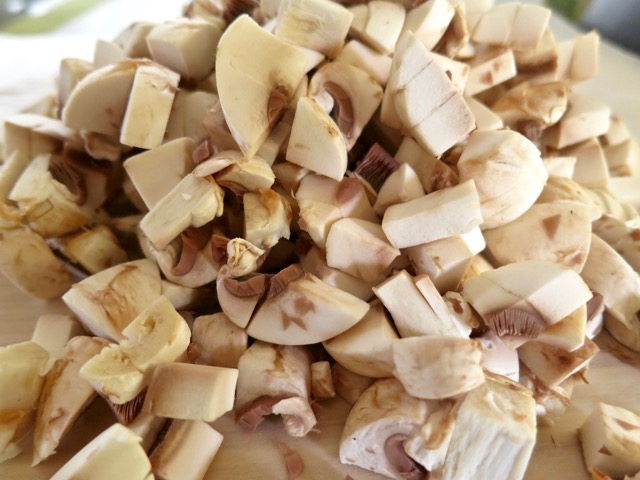
Fresh MushroomsIt may seem there are way too many mushrooms in the recipe, but as they sauté, they shrink up quite a bit and they are essential in making this casserole so tasty (along with the bacon!).

Williams-Sonoma Crispy OnionsI was able to make two green bean casseroles from the one package of crispy onions I bought. These crispy onions are far superior to the supermarket brands.  They would be delicious sprinkled over slow baked cannellini beans or any dish that would be enhanced by a crunchy topping.

The Best Green Bean Casserole

The Best Green Bean Casserole
 
Adapted from The Daring Gourmet
Author:
Serves: 6 - 8
Ingredients
  • 4 slices thick-cut bacon, diced
  • ½ cup finely chopped sweet onion
  • 2 medium cloves garlic, minced
  • 12 ounces button mushrooms, chopped
  • 3 tablespoons Earth Balance Buttery Sticks (or regular butter)
  • 3 tablespoons all-purpose flour
  • 1 cup half and half (I make this with Organic Valley Lactose Free Half and Half)
  • 1¼ cups chicken broth
  • ½ teaspoon kosher salt
  • ¼ teaspoon freshly ground black pepper
  • 1 pound fresh green beans, trimmed, cut into 1½" pieces and blanched (boil for 5 minutes, place beans in ice water for a few minutes, drain well)
  • 3 ounces crispy onions
Preparation
  1. Preheat oven to 350 degrees.
  2. Lightly butter 9x13" casserole dish and set aside.
  3. Fry bacon in a large skillet over medium-high heat until crispy. Reduce heat to medium. Add onions and cook until soft and translucent, about 4 minutes. Add garlic and mushrooms, cook for another 4 minutes or so, until mushrooms are soft. Transfer mixture to a bowl.
  4. Melt 3 tablespoons Buttery Sticks in the same skillet and whisk in flour. Continue whisking for another minute until the mixture has slightly deepened in color. Add the half and half and chicken broth while constantly whisking to prevent lumps. Once slightly thickened, add the mushrooms and bacon mixture along with the salt and pepper. Add green beans and stir to combine.
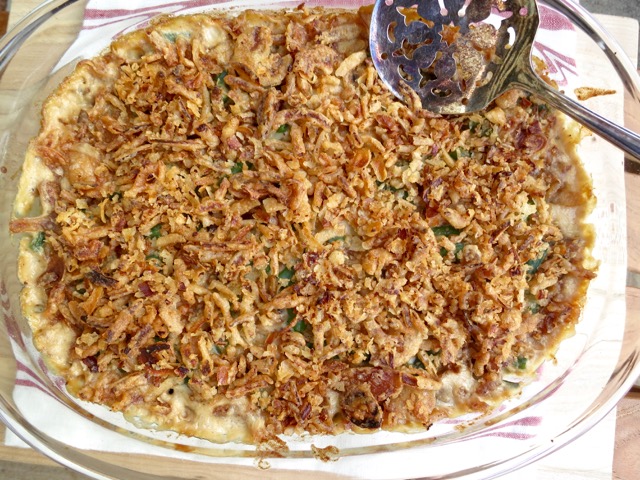
  5. Pour mixture into a 9x13" casserole dish and sprinkle with crispy onions, covering the top of the casserole. Bake uncovered for 30 minutes.
  6. ***You may prepare the casserole a few hours in advance except for adding the onions (they will become soggy if you add them in advance). Remove the casserole from the refrigerator 30 minutes prior to baking. Sprinkle onions over the top and bake.


Beef, Dinner, Mexican, Recipes

Beef Barbacoa

December 16, 2015

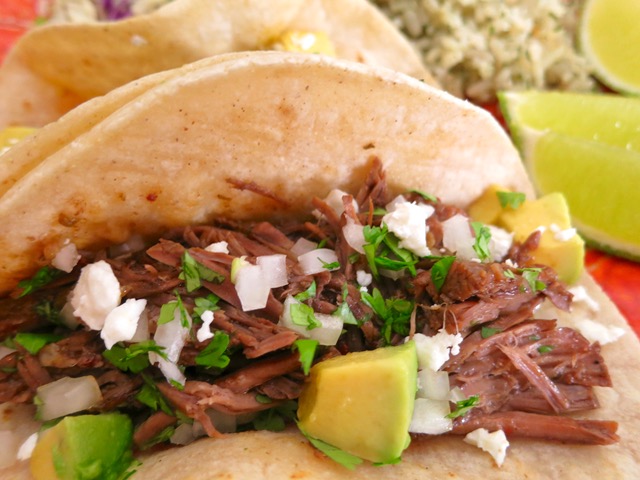
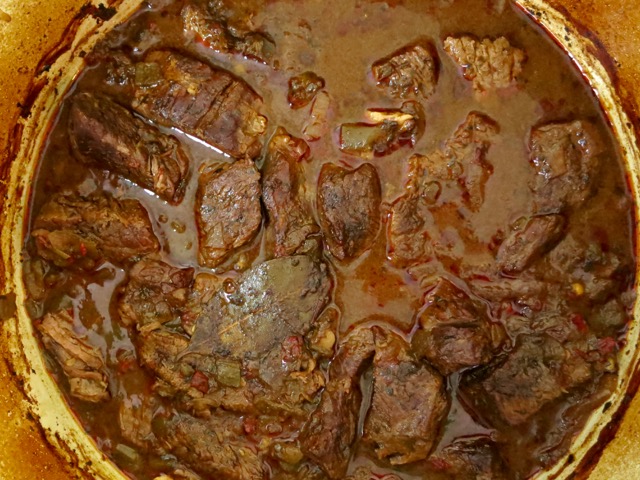
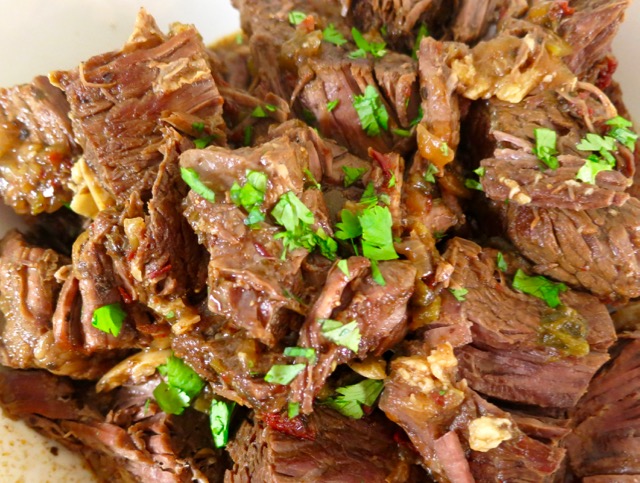
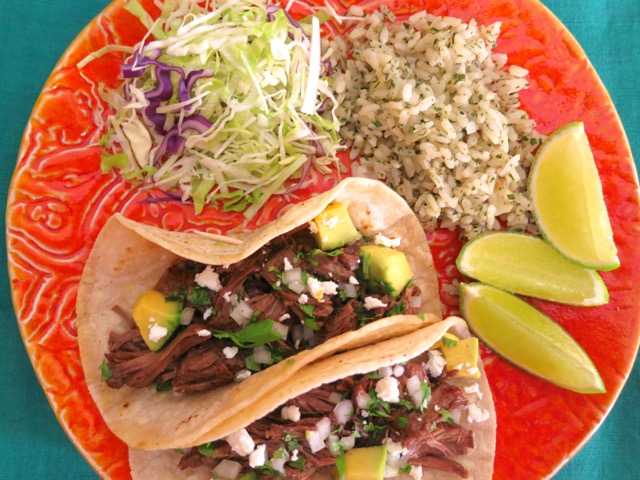
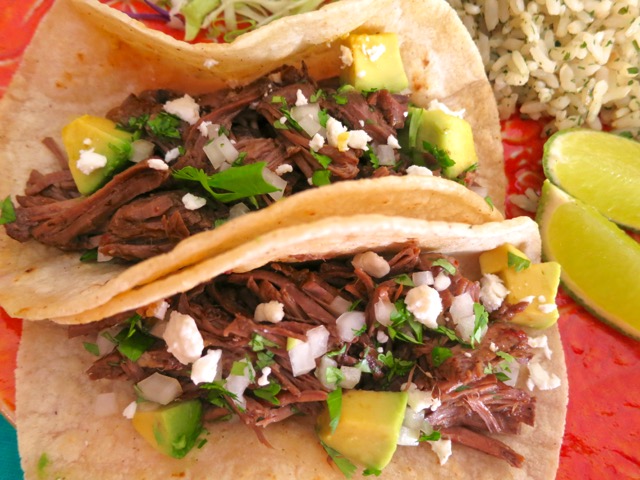
Beef Barbacoa TacosWe can never seem to get enough Mexican cuisine, with its amazing diversity and dynamic flavors.  Braised beef, pork and chicken dishes are some of our favorite meals.  So with that thought in mind, a Mexican-style braise was a natural choice.  One thing leads to another.  We had tacos the first night and quesadillas the following night.  This tasty beef barbacoa would be fantastic in tamales or enchiladas too. I love the idea that so many meals can be made from one recipe.  Plus, you can freeze the beef barbacoa and whip up a quick meal whenever you’re short on time.

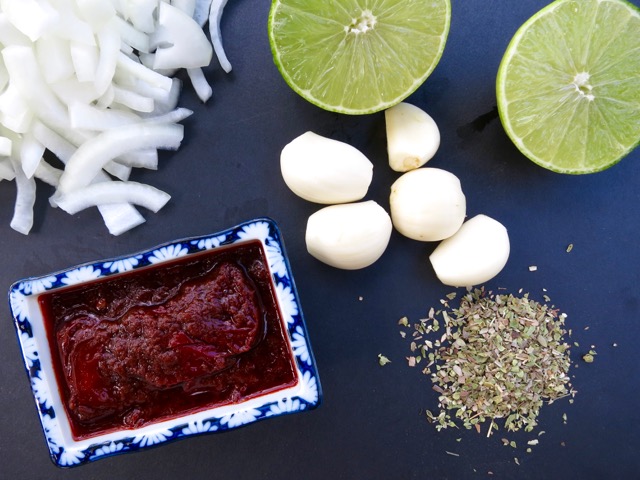
Onion, Lime, Garlic, Oregano, Chipotle Peppers in AdoboThe chipotle chiles in adobo add a bit of smokiness and subtle heat to the beef.  It wouldn’t be the same without them.

Beef Barbacoa

Beef Barbacoa

Beef Barbacoa Tacos

Beef Barbacoa

Beef Barbacoa
 
Updated 2/01/16
Author:
Serves: 6 - 8
Ingredients
  • 3½ pounds trimmed chuck steak, cut into 2 inch chunks
  • kosher salt
  • freshly ground black pepper
  • 1 tablespoon canola oil
  • 1 medium onion, thinly sliced
  • 5 garlic cloves, smashed
  • 1 tablespoon ground cumin
  • 1 tablespoon dried oregano
  • 2 teaspoons mild chile powder
  • 2½ cups chicken broth
  • 4 chipotle chiles in adobo sauce, seeded and minced + 2 teaspoons adobo sauce
  • 2 tablespoons lime juice
  • 2 tablespoons apple cider vinegar
  • 1 4 ounce can diced green chiles
  • ½ teaspoon kosher salt
  • 1 bay leaf
Preparation
  1. Preheat oven to 300 degrees
  2. Heat a few teaspoons of oil in a large Dutch oven or similar oven-proof pot with a cover over medium-high heat. Lightly season beef with kosher salt and a few grinds of pepper. Brown beef in two batches, adding more oil to the pan if needed. Beef should be nicely browned on two sides (let brown on one side for a few minutes without moving the beef). Adjust heat if too high. Remove beef to a platter and set aside.
  3. Using the same pot, lower heat to medium and sauté onions for a minute or two. Add a little oil if pan is too dry. Add garlic, cumin, oregano and chile powder. Stir constantly for a few seconds. Stir in 1 cup of chicken broth, scraping up any browned bits on the bottom of the pot. Add meat back to the pot. Pour remaining 1½ cups broth to pot, along with the chipotle chiles, 2 teaspoons adobo sauce, lime juice, apple cider vinegar, diced green chiles, ½ teaspoon kosher salt and bay leaf. Stir gently and bring to a boil over medium high heat. Cover and transfer to the oven.
  4. Let beef cook for 3 hours, stirring once during the cooking time. Remove from the oven. The meat should be fall apart tender. Remove bay leaf. Taste and add more salt if needed. Shred meat to desired consistency. Serve with corn tortillas that are gently heating on a comal or fried if you prefer.


Dinner, Eggs, Lactose Free, Recipes, Salad

Salad Lyonnaise

December 9, 2015

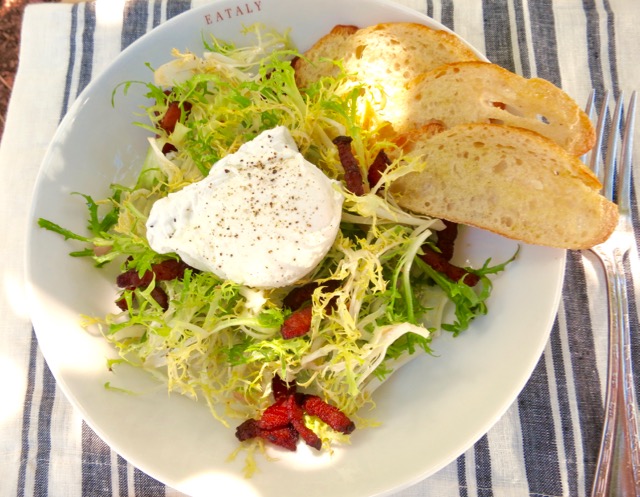
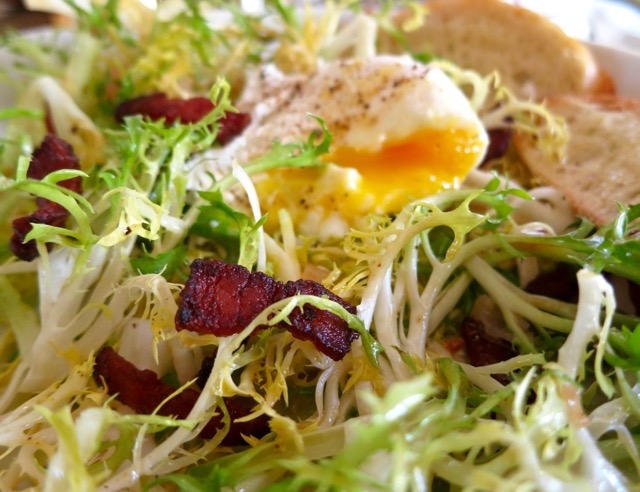
Salad Lyonnaise I first met the salad of my dreams at Fringale  (a wonderful French bistro in San Francisco) many years ago. That dream salad is Salad Lyonnaise, a perfect combination of delicate bitter greens, salty, crispy bacon, tart dressing and a perfectly poached egg.  It’s a simple but stunning salad.

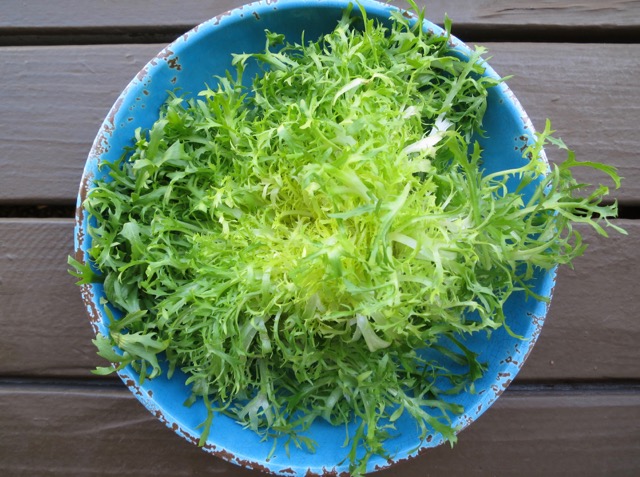
Frisee

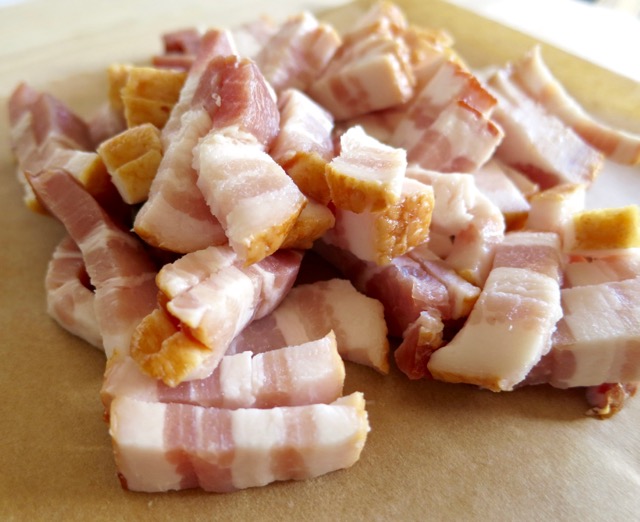
Lardons  Our local Safeway now carries Hempler’s bacon; thick, meaty, and perfect for this recipe.  The toasted baguette’s purpose, besides being delicious on their own, is to ensure that every bit of runny egg yolk does not go to waste.

Salad Lyonnaise

Salad Lyonnaise
 
Author:
Serves: 2
Ingredients
  • 3½ ounces washed frisee, dark green leaves discarded or use for a mixed green salad
  • 4 ounces extra thick bacon, cut into lardons
  • 4 - 6 baguette slices toasted, lightly drizzled with olive oil and a sprinkle of flaky sea salt (Maldon is a good choice)
  • 1 small shallot, finely chopped
  • 2 large eggs
  • 1½ teaspoons Dijon mustard
  • 2 tablespoons sherry vinegar
  • 3 tablespoons extra virgin olive oil
  • salt & pepper
Preparation
  1. Place the washed frisee in a large salad bowl. Cover and chill while you fry the bacon.
  2. Cook bacon until evenly browned and crisp. Remove to a paper towel lined plate.
  3. Discard most of the fat, leaving a tablespoon in the pan. Sauté shallots for a few minutes until softened.
  4. Poach the eggs for 4 minutes. Drain and set aside.
  5. Whisk Dijon mustard, sherry vinegar and olive oil until combined. Season with a bit of salt and freshly ground pepper. Add shallots to the dressing.
  6. Add the bacon to the frisee and pour a few tablespoons of the dressing over the salad tossing so that all of the greens are well dressed. Add more dressing if needed. I usually have a bit leftover. Divide frisee into two bowls. Top with poached egg and toasted baguette. Shower with freshly ground black pepper before serving.


Follow

Get every new post delivered to your Inbox

Join other followers: