Browsing Category

Dinner

Dinner, Lactose Free, Recipes, Tofu, Vegan, Vegetarian

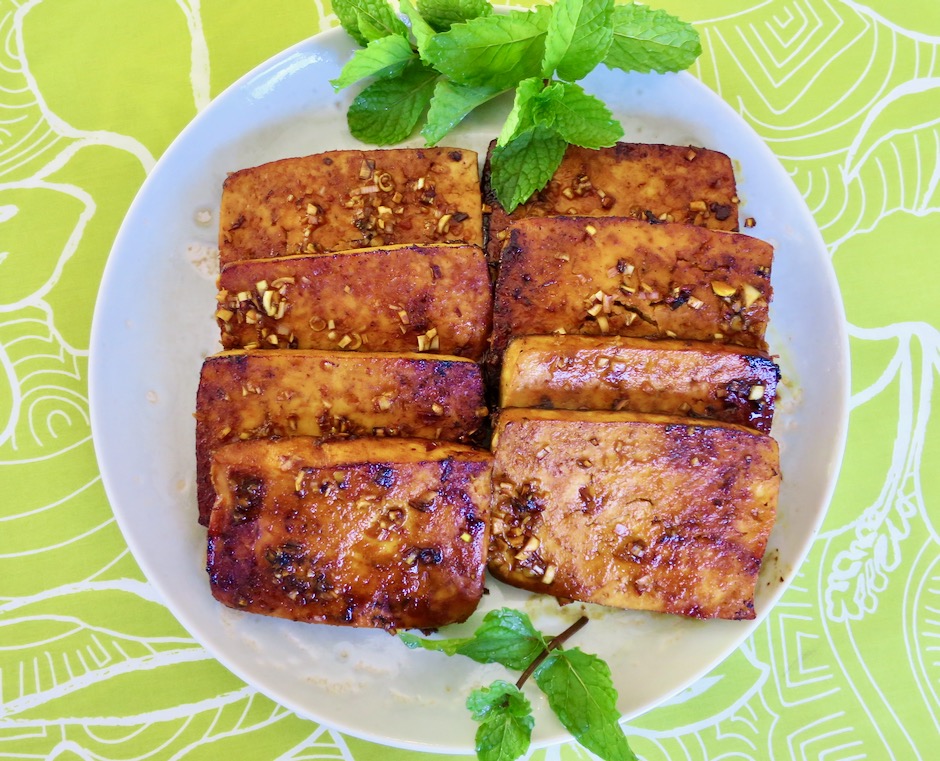
Lemongrass Tofu

January 9, 2020

Lemongrass Tofu

Our lemongrass plant is now growing beautifully after we transplanted it to a sunnier corner of the garden.  Now that it is flourishing, I pondered over what to make next with our fresh lemongrass.  This grass-like herb has stalks that when cut, have mild and citrusy notes that add a delightful flavor to any dish you use it in.  Tofu immediately came to mind.

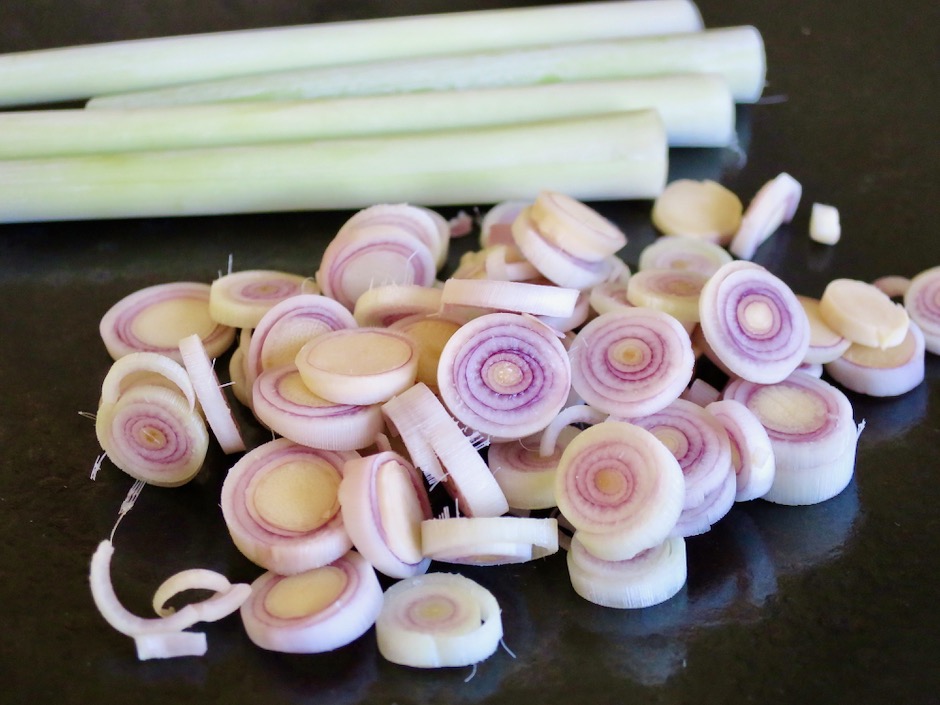
Lemongrass

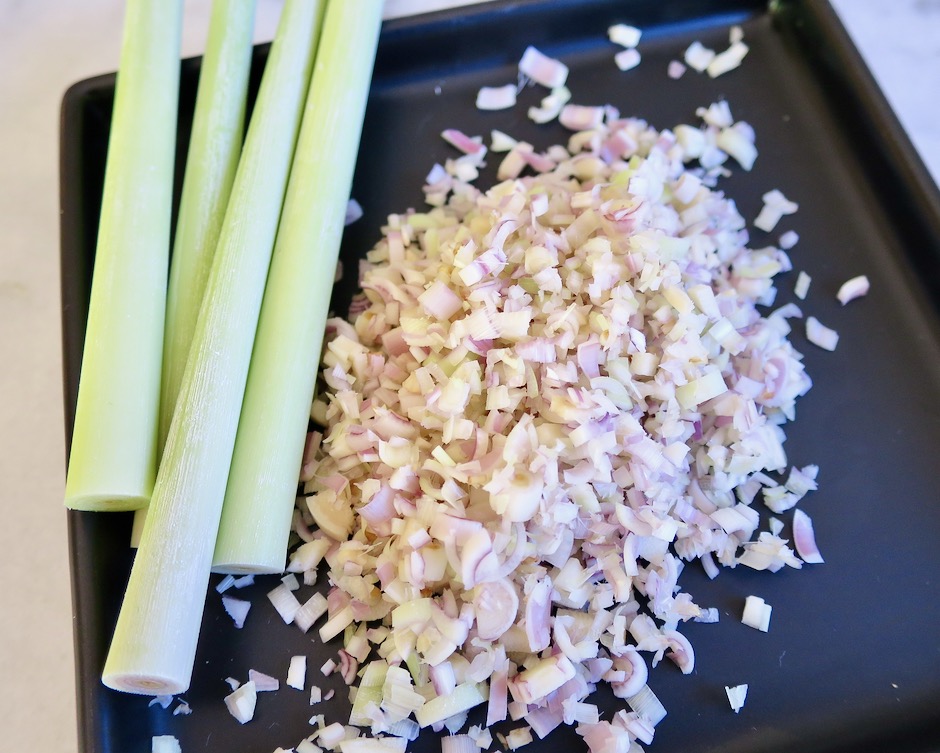
Finely Chopped Lemongrass

Use only the tender white portion of the lemongrass stalks.  I usually peel away a few of the outer layers as they can be quite fibrous.  The fragrance of cut lemongrass is exquisite.

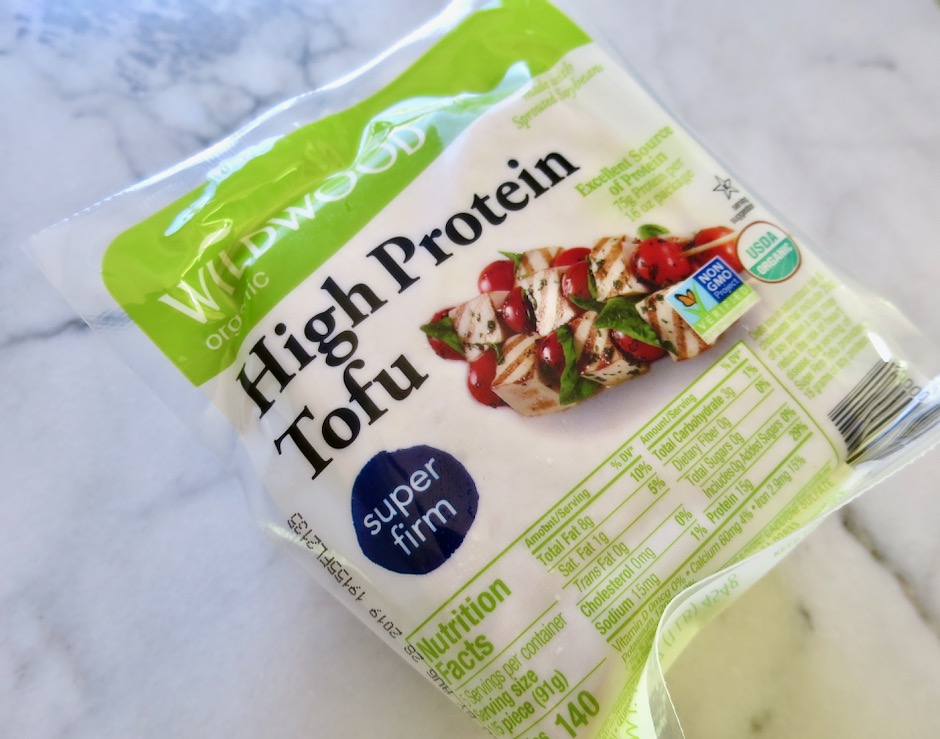
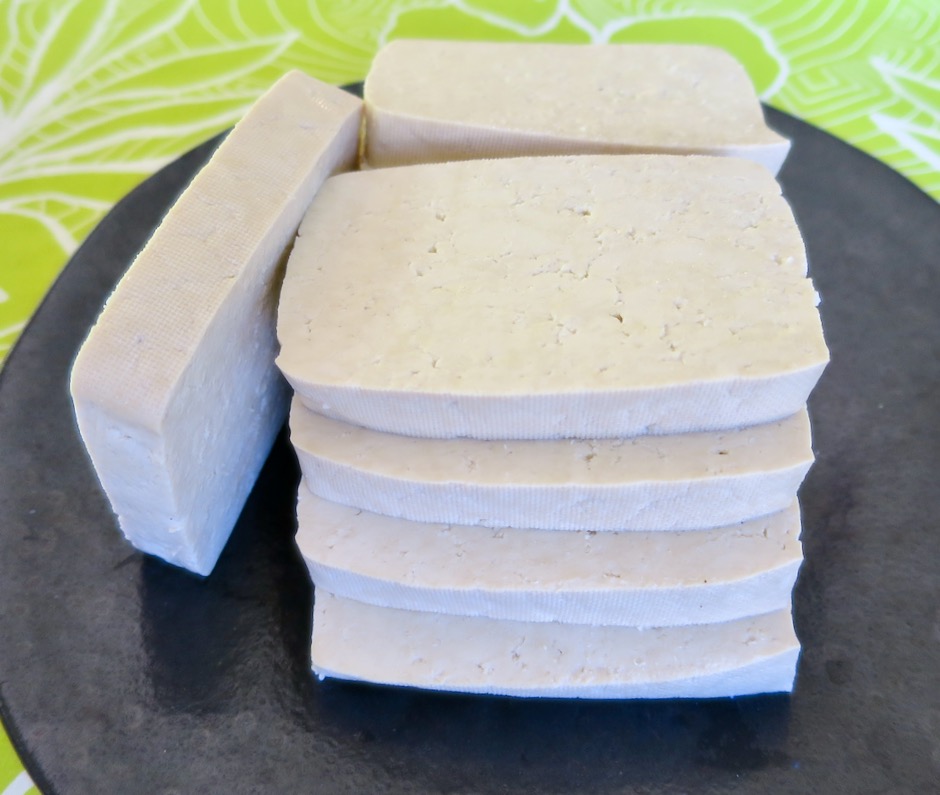
Super Firm Tofu

I find that super firm tofu works best as the cooked pieces hold their shape very nicely.  Also you save time not having to press the water out because of its firmness.

Sliced Tofu

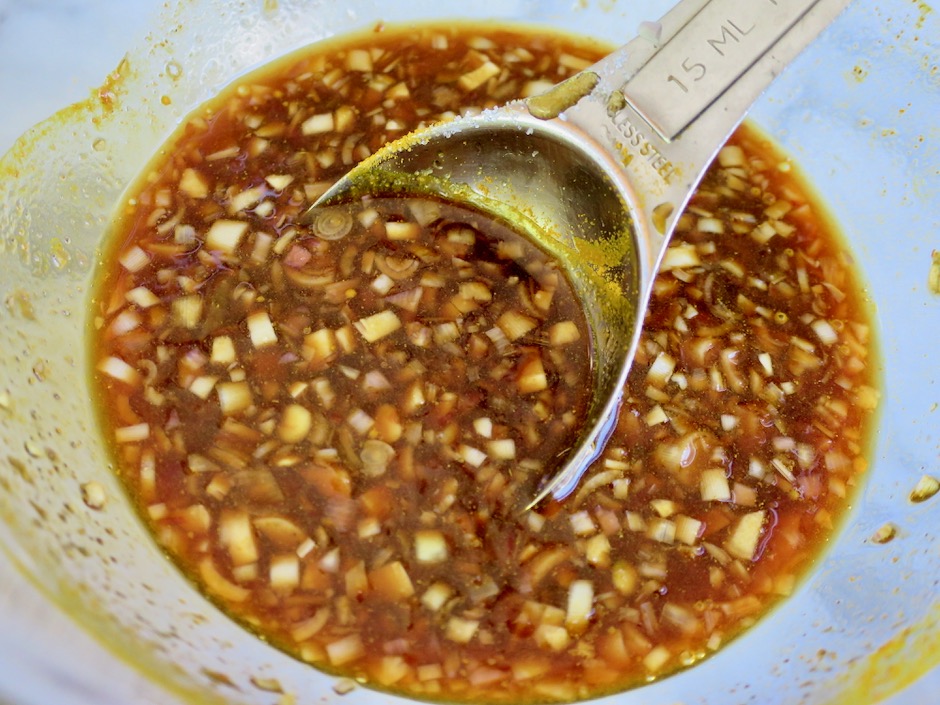
Lemongrass Marinade

The few ingredients called for in the marinade make this an easy and quick meal you can prepare on the fly.  Leftovers make for a tasty lunch to take to work.

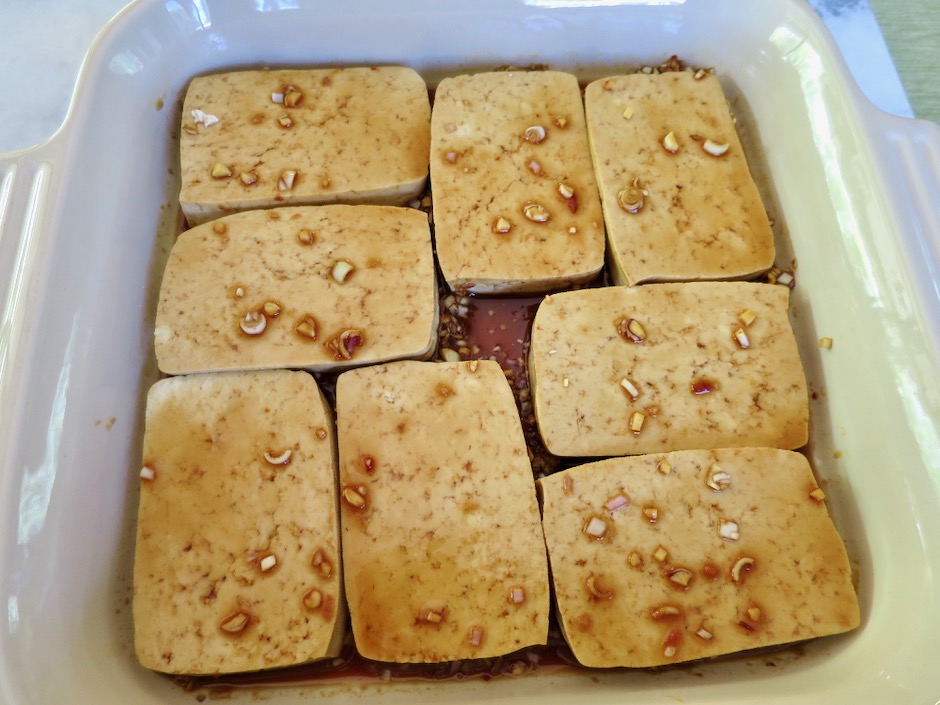
Tofu in Lemongrass Marinade

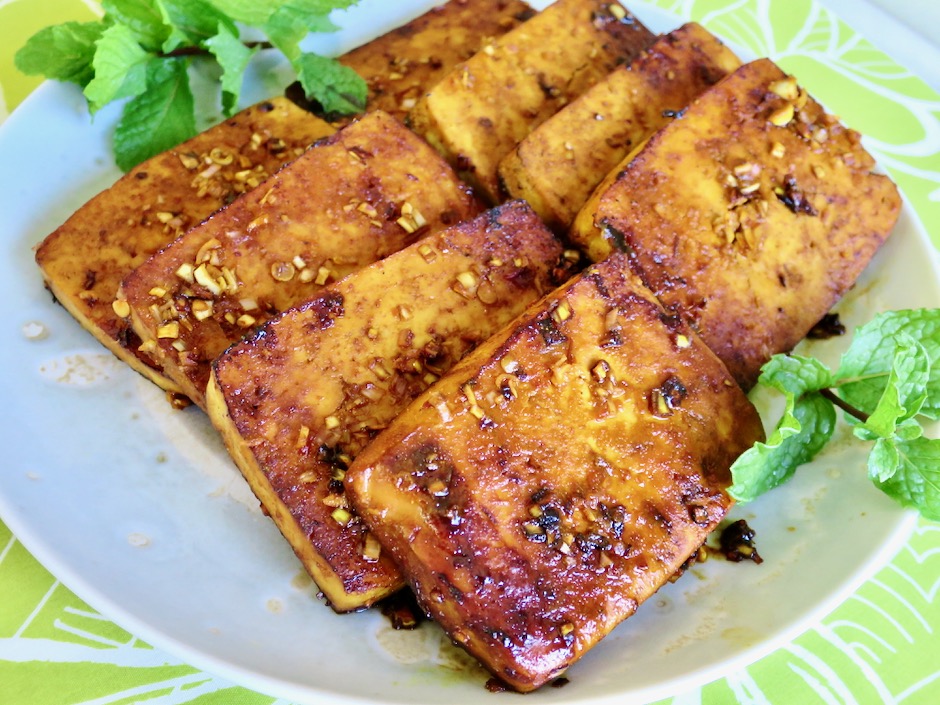
Lemongrass Tofu

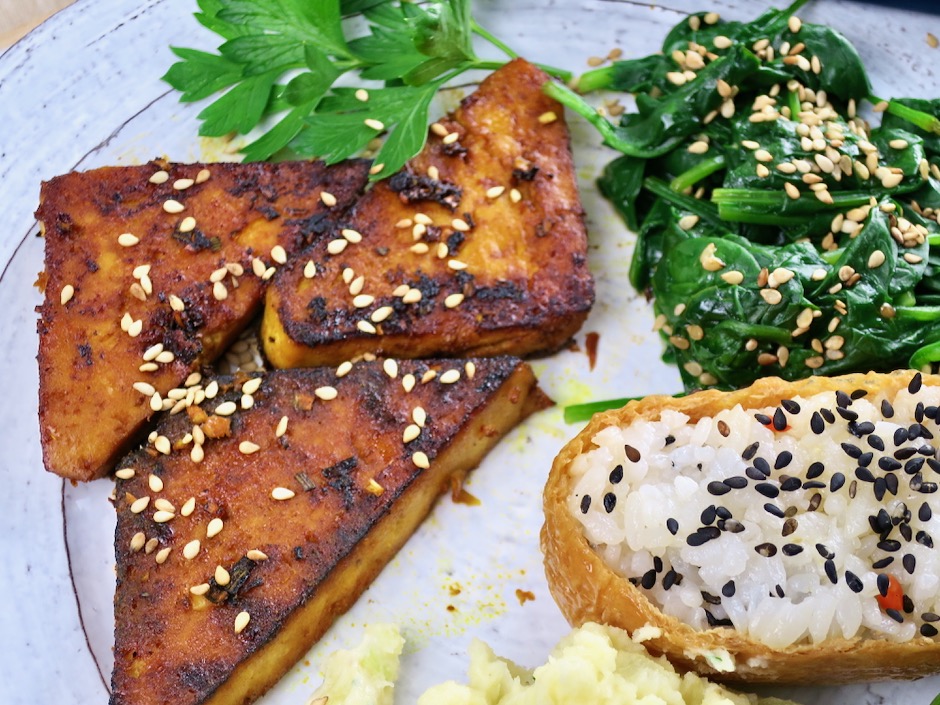
The glorious  color of the fried tofu comes from a smidgen of turmeric.  A little goes a long way with this ground spice.

Lemongrass Tofu with Inari Sushi & Spinach

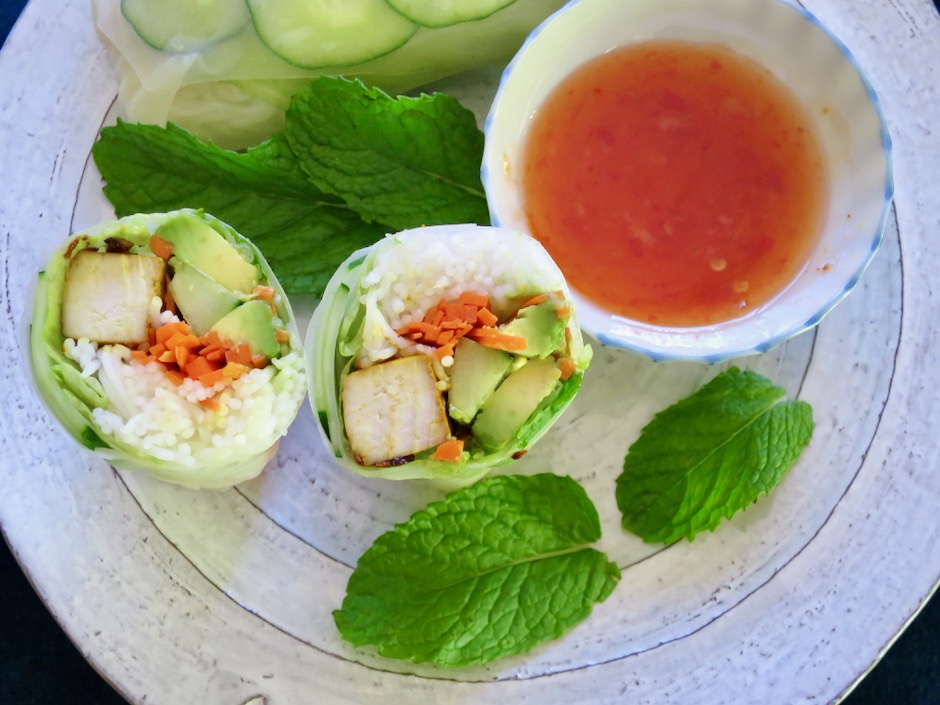
Lemongrass Tofu Spring Rolls

Lemongrass tofu is the perfect protein for a vegetarian spring roll.  Stuff the roll with crispy cucumbers, carrots, rice noodles and lots of mint.

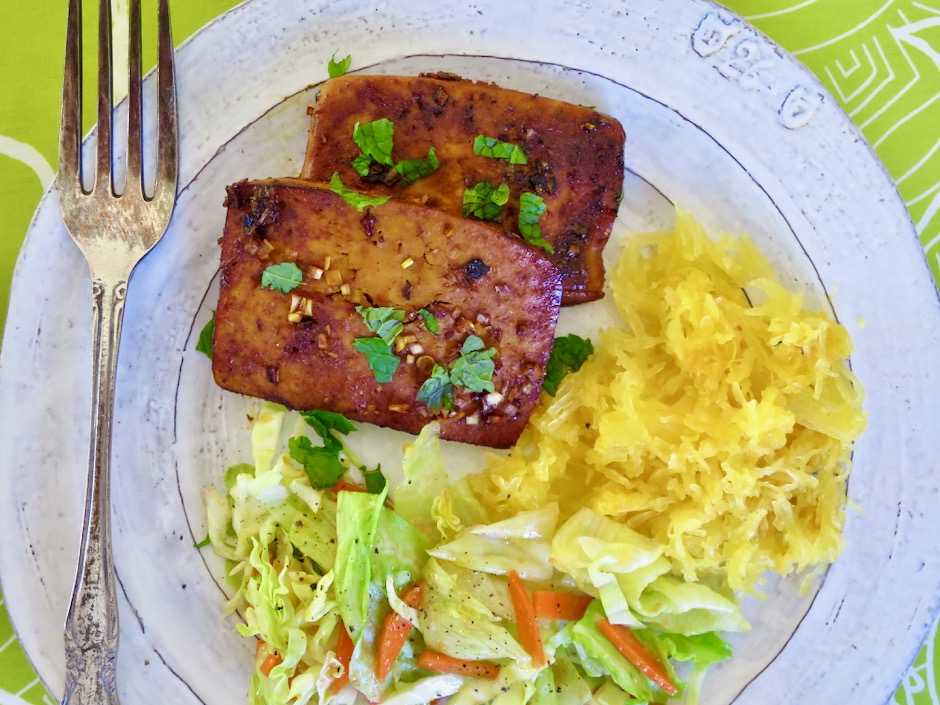
Lemongrass Tofu with Spaghetti Squash & Salad

Lemongrass Tofu
 
Adapted from Epicurious.com
Author:
Serves: 8
Ingredients
  • 3-4 lemongrass stalks, outer layers peeled, bottom white part thinly sliced and finely chopped (about ¼ cup)
  • 2 tablespoons soy sauce (Kikkoman recommended)
  • 1 tablespoon less sodium soy sauce (Kikkoman recommended)
  • 1½ teaspoons sambal oelek (Huy Fong recommended)
  • ¾ teaspoon ground turmeric
  • 1 tablespoon granulated sugar
  • 16 ounce package super firm tofu (Wildwood recommended) sliced into ¾-inch slabs
Preparation
  1. Combine the lemongrass, soy sauce, sambal oelek, turmeric and sugar in a small bowl. Pour mixture into a low-sided glass dish that will fit the tofu slabs in one layer. Add tofu and let marinate for 5 minutes, then turn pieces over to marinate another 5 minutes.
  2. Heat 2 tablespoons canola oil in a 12-inch skillet (deep sided preferred, tofu can splatter as it cooks) over medium heat. Add tofu slabs and cook until nicely browned, about 4 minutes. Turn the heat down to medium-low if it seems too hot. Flip tofu pieces over and cook until second side is nicely browned.
  3. Serve with your favorite side dishes, sliced over cold noodles, or stuffed into spring rolls.


Appetizers, Beans, Dinner, Lactose Free, Recipes, Side Dishes, Vegan, Vegetarian

Creamy Fresh Herb Hummus

November 24, 2019

Creamy Fresh Herb Hummus

Homemade hummus is the best.  It is so easy to prepare and the end product is certainly worth the 30 minutes you spend making it. All the ingredients except for the herbs and pistachios go into the food processor.  Blitz away until the mixture is as smooth as you want it to be.  We enjoy eating hummus with homemade pita chips and falafel.  Hummus keeps well in the refrigerator and makes a great snack for home or work.

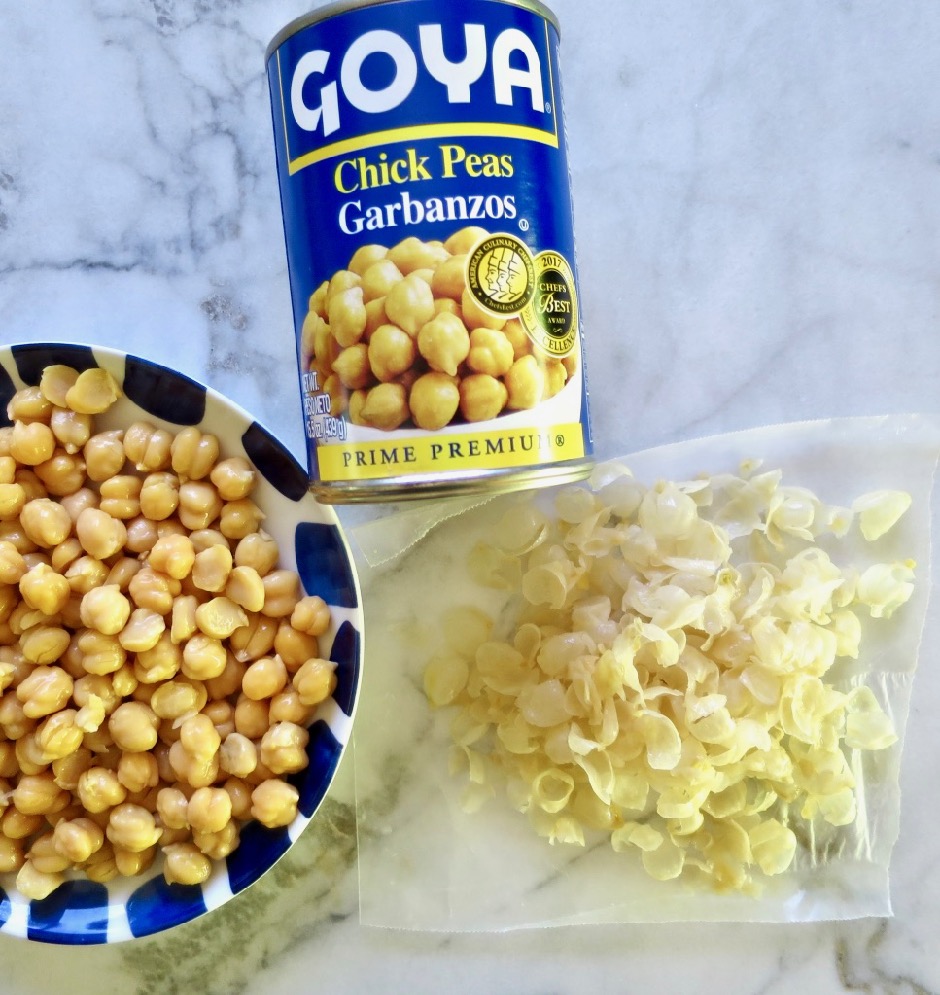
Chickpeas with Skins Removed

This time around I decided to remove the skins from the chickpeas. It took me about 9 minutes to pinch off the skins from a can of beans.  I didn’t mind the extra step since I enjoy spending time in the kitchen.  Of course this is optional, but I found the hummus to be magnificently smooth.  I came upon a curious recipe from the Minimalist Baker blog.  The undrained chickpeas and garlic cloves are heated in the microwave for a few minutes making the chickpeas very smooth and creamy when blended together with the other ingredients.  The garlic mellows a bit which makes for a well-balanced hummus.

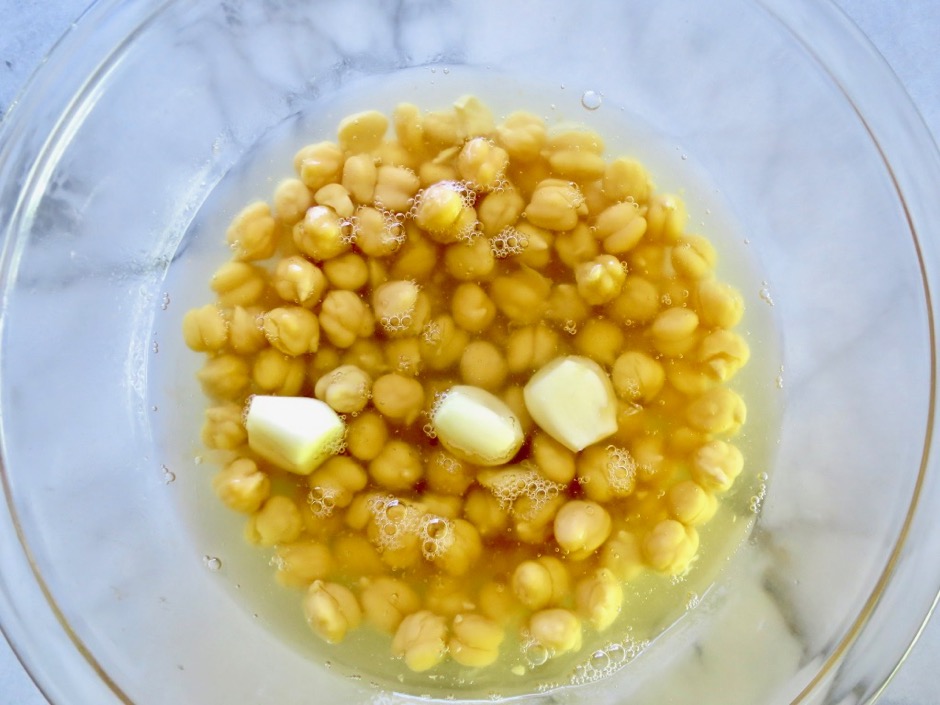
Chickpeas & Garlic

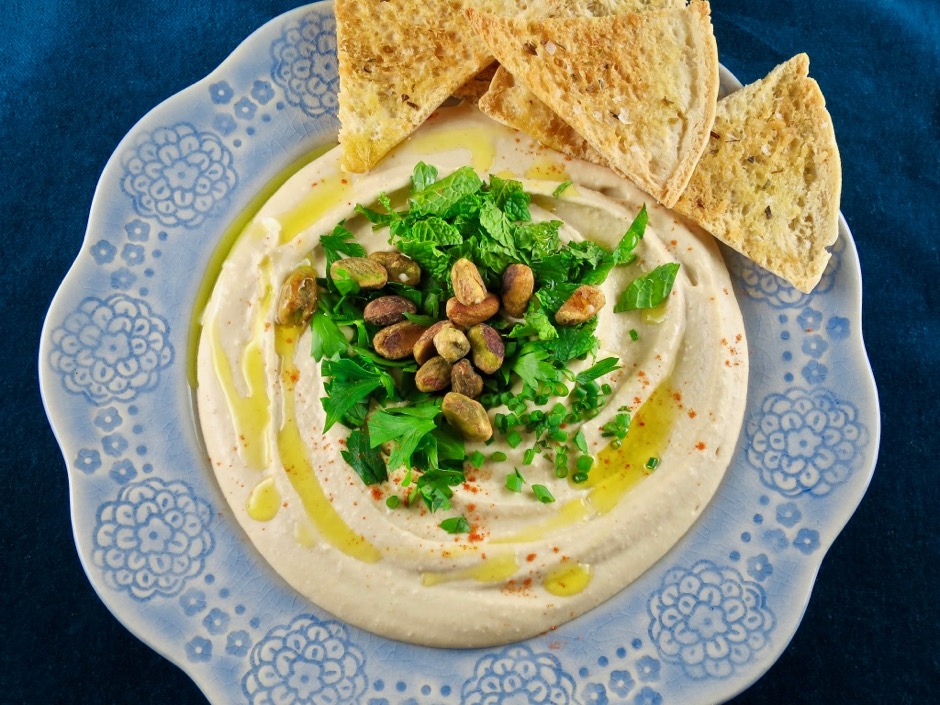
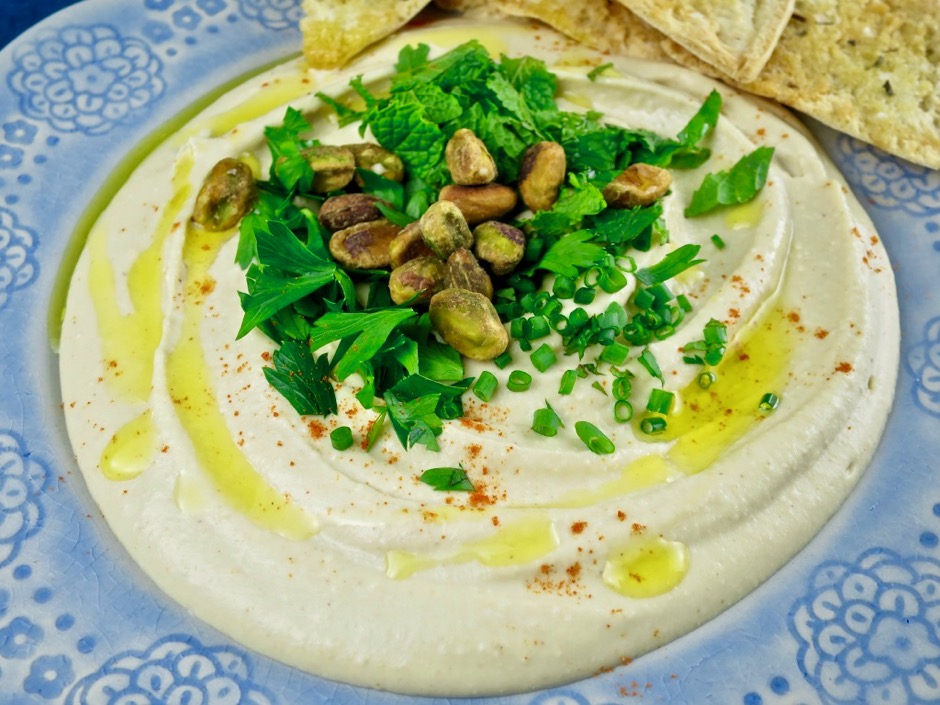
When you microwave the chickpeas use a large bowl since the chickpea liquid tends to expand. I cover the bowl with plastic wrap leaving a small vent for air to escape.  Once the chickpeas come out of the microwave I drain them, saving just a few tablespoons of the liquid for later.  Then everything goes into the food processor until smooth and creamy.  Place the warm hummus in a container and refrigerate until cool.  Transfer the cooled hummus to a serving plate, add your favorite fresh herbs, pistachios, and a swirl of olive oil.  Dust with cayenne pepper and serve with pita chips.

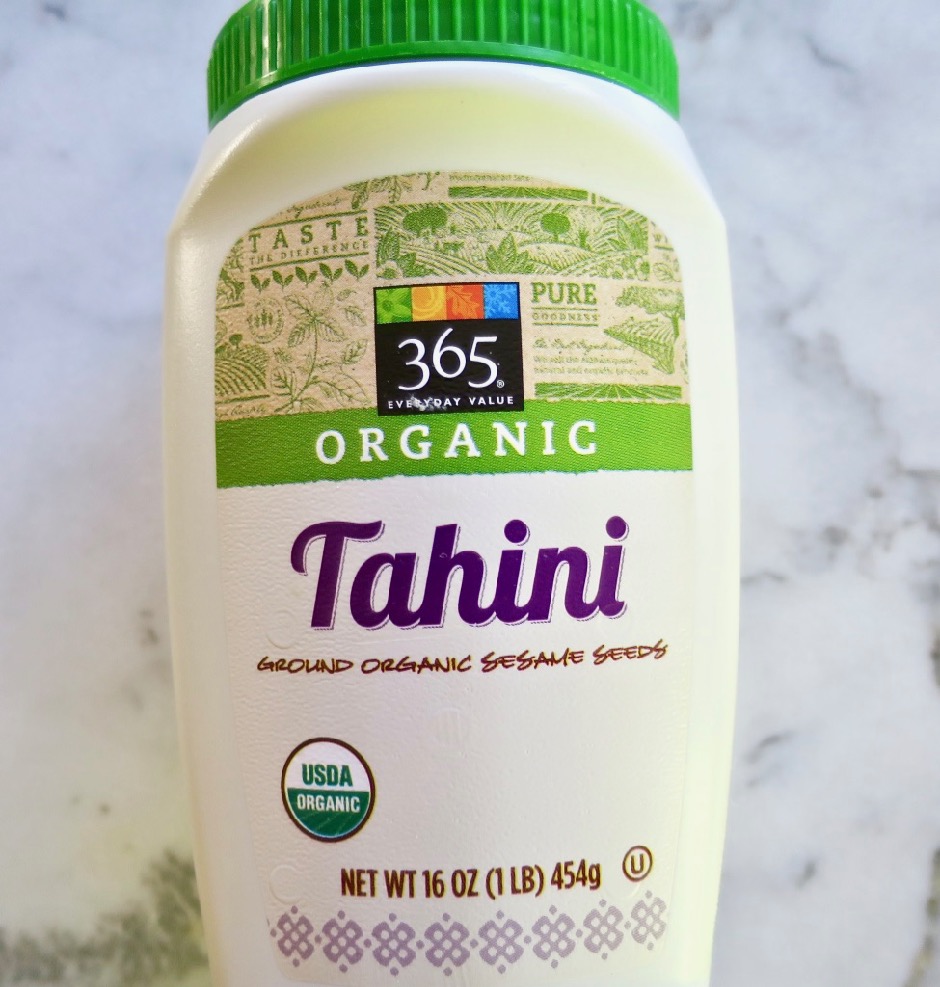
It’s really a chore to stir tahini in the container or jar that it comes in.  The bottom of the container usually has solid pieces of tahini that are hard to get at.  These days I just pour the entire container into a bowl and whisk away until the tahini is mixed to perfection.  The thought of having to clean another bowl might discourage you but you will save a lot of frustration. It only takes a minute to wash the bowl!

Creamy Fresh Herb Hummus

Creamy Fresh Herb Hummus
 
Author:
Serves: 6
Ingredients
  • 1 can (15 ounce) chickpeas, drained with liquid reserved, skins removed (optional)
  • 3 medium garlic cloves, peeled
  • ¼ cup + 1 tablespoon well stirred tahini
  • 2½ - 3 tablespoons fresh lemon juice
  • ¾ teaspoon kosher salt
  • 2-3 tablespoons cold water
  • 1-2 tablespoons reserved chickpea liquid
  • ¼ teaspoon ground cumin
  • ⅛ teaspoon cayenne (optional) + more for serving
  • 2 tablespoons extra virgin olive oil + more for serving
  • handful of fresh herbs
  • pistachios, salted and shelled
Preparation
  1. Drain and reserve the liquid from the chickpeas. Pinch off the skins from the chickpeas
  2. Transfer chickpeas, reserved liquid and 3 garlic cloves to a large bowl. Cover with plastic wrap leaving a small vent for the air to escape. Microwave for 3½ - 4 minutes.
  3. Drain chickpeas, reserving 2 tablespoons of liquid. Transfer chickpeas to a food processor along with the garlic cloves, tahini, lemon juice, salt, 2 tablespoons cold water, 1 tablespoon chickpea liquid, cumin, cayenne and olive oil. Process until mixture is smooth, scraping down the sides as needed. If the hummus is too thick, add water or chickpea liquid until it is the texture you prefer. Keep in mind the hummus will thicken a bit once refrigerated. Transfer mixture to a container and refrigerate until chilled.
  4. When ready to serve, spoon hummus onto a serving plate. Place fresh herbs in the center and top with pistachios. Drizzle olive oil over hummus and sprinkle a bit of cayenne over the top. Serve with pita chips.


Dinner, Japanese, Lactose Free, Recipes, Rice Dishes, Side Dishes, Vegan, Vegetarian

Brown Rice with Edamame

October 19, 2019

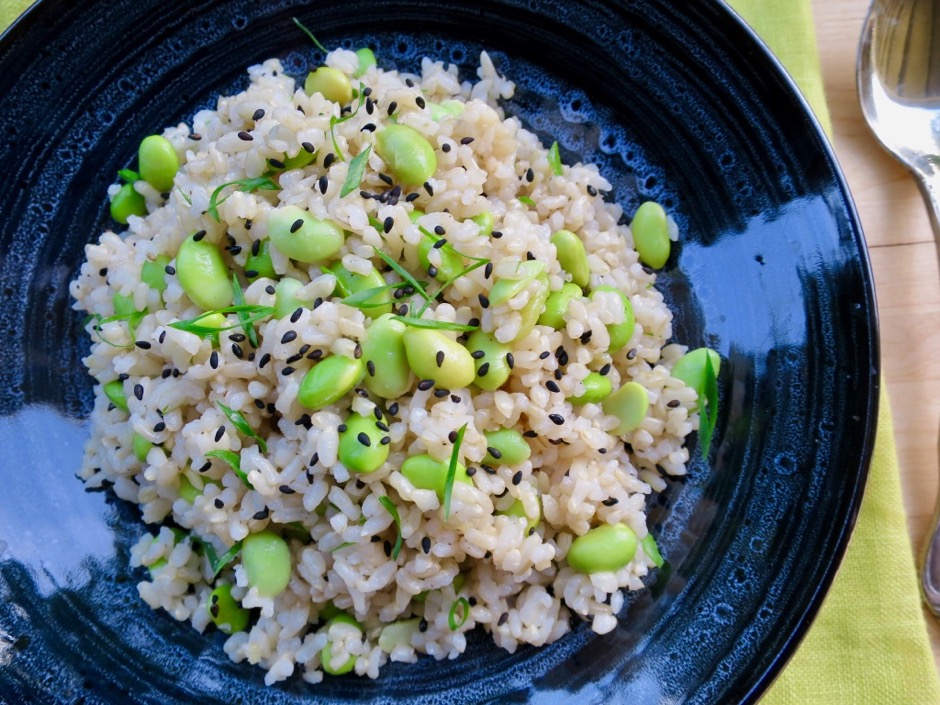
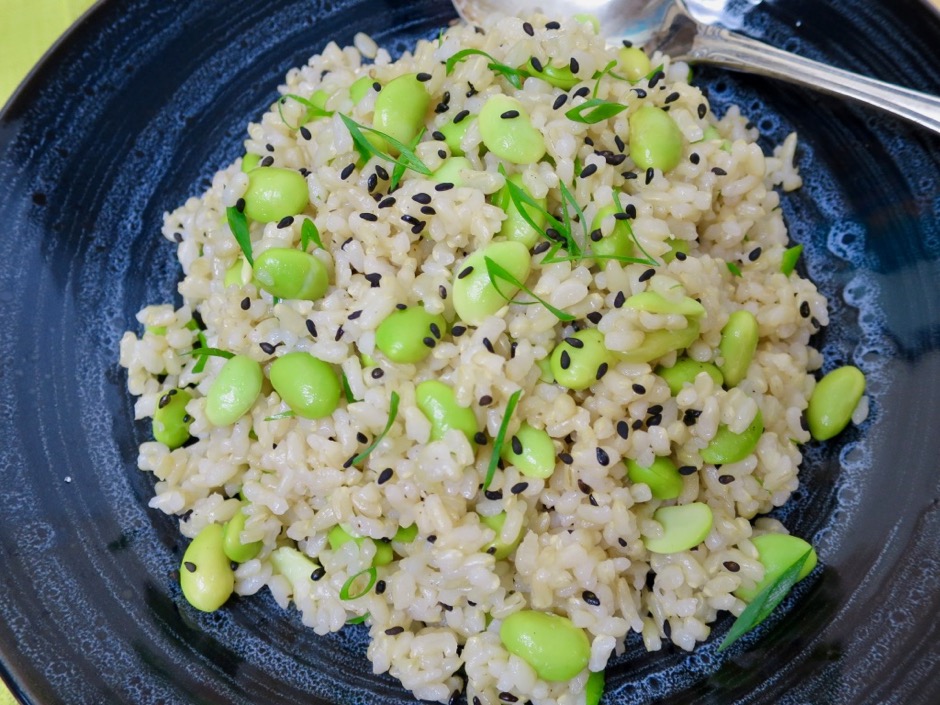
Brown Rice with Edamame

If I had to compile a list of my favorite foods, rice (and eggs) would be at the top.  This humble grain is simple to prepare, can be an accompaniment to a number of dishes including tempura or seared ahi, or it can be turned in to something show stopping like this dish.  Here is a healthy and flavorful rice dish that is a snap to make.  The edamame mix beautifully with the cooked brown rice and sesame seeds.

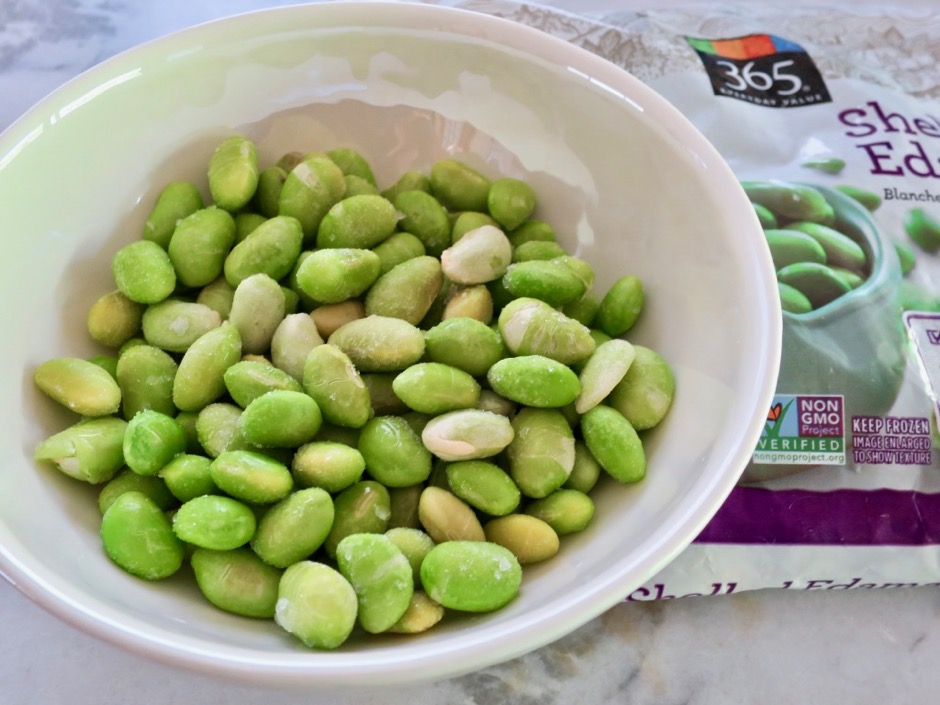
Frozen Edamame

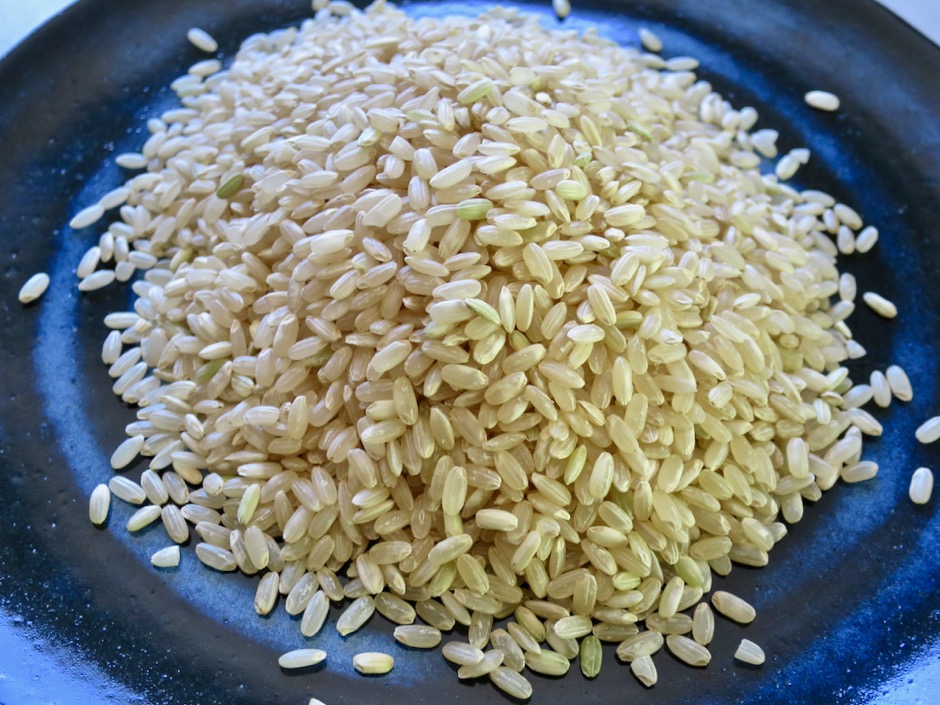
Brown Rice

Brown rice can take a while to cook so plan ahead.  You can make this in the morning, cover and refrigerate then heat slightly before serving.  This dish is best served at room temperature.

Brown Rice with Edamame

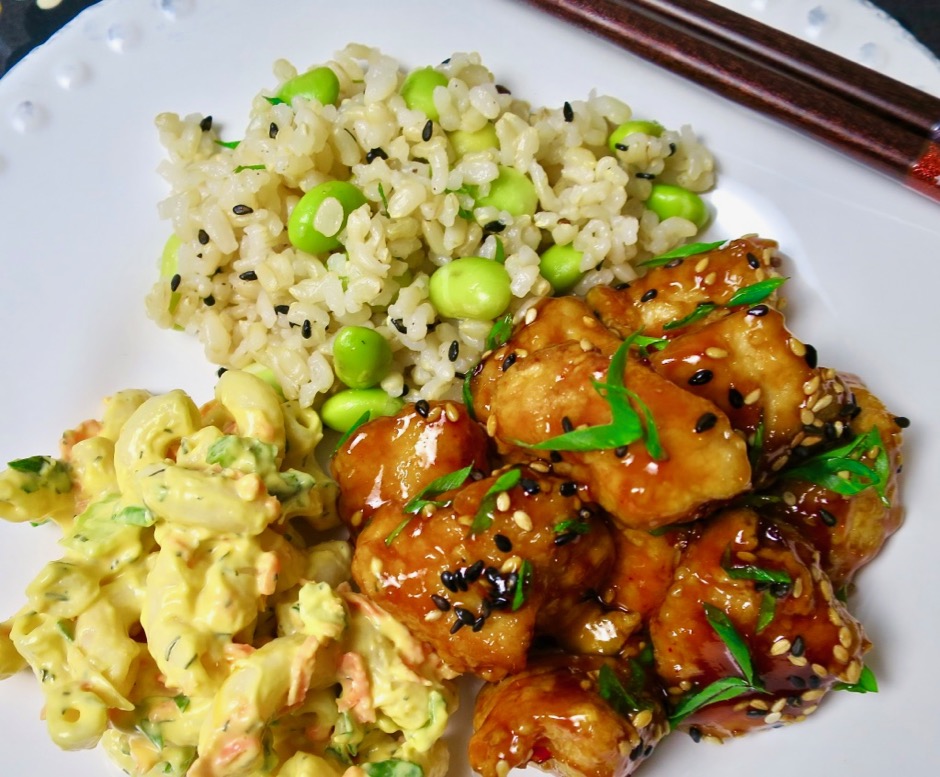
This rice goes well with orange chicken, grilled teriyaki salmon, and all types of tofu dishes.  I can be thoroughly content eating this rice with a side of kimchi or Japanese pickles.

Brown Rice with Edamame

Brown Rice with Edamame
 
Adapted from Martha Stewart's recipe
Author:
Serves: 2 - 4
Ingredients
  • 1 cup medium grain brown rice, cooked according to package directions
  • 1 cup frozen shelled edamame
  • ½ teaspoon sugar
  • 1 tablespoon fresh lime juice
  • 1 tablespoon unseasoned rice vinegar
  • 1 teaspoon sesame oil
  • kosher salt
  • 2 scallions thinly sliced on the diagonal
  • black roasted sesame seeds
Preparation
  1. Cook rice in a rice cooker or on the stovetop according to package directions.
  2. Cook frozen edamame in a small pot of boiling water for 4-5 minutes. Drain well.
  3. In a small bowl, dissolve sugar in lime juice and rice vinegar. Add sesame oil and stir to combine. Set aside.
  4. Transfer rice to a medium bowl. Fluff rice with a fork. Sprinkle ¼ teaspoon of kosher salt and stir into the rice . Add edamame, dressing and sesame seeds. Stir well to combine the flavors, adding more salt to taste. Sprinkle scallions over the rice before serving.


Dinner, Duck, French, Lactose Free, Recipes, Sous Vide

Sous Vide Duck Confit

October 6, 2019

Sous Vide Duck Confit

Without a doubt, my favorite classic French dish is duck leg confit. I’ve had this dish every year at Fringale, a small French bistro in San Francisco. It is the one meal I always look forward to each time we are there.  Duck confit is one of those dishes that takes a lot of patience because of the lengthy process of preparing it.  The duck is salt cured and then cooked slowly in lots of duck fat.  The problem of doing this the traditional way, is that you need quite a bit of duck fat as the duck legs need to be submerged in it, then slowly cooked for several hours.  Sous vide duck confit on the other hand allows the home cook to replicate this dish without requiring all that duck fat.  The duck legs are cooked in a sealed bag that holds the small amount of fat that renders from the duck legs, reproducing the submerged effect of the classic method. The first time we made it I thought the 36 hour cooking time would never end.  But it did, and the outcome was fantastic.  When you sous vide meat the first thing you’ll notice is that it looks quite drab.  There’s no browning (yet) but the meat is cooked to perfection.  In this recipe the duck is finished for 7-8 minutes under the broiler until the skin is gloriously browned and crisp.

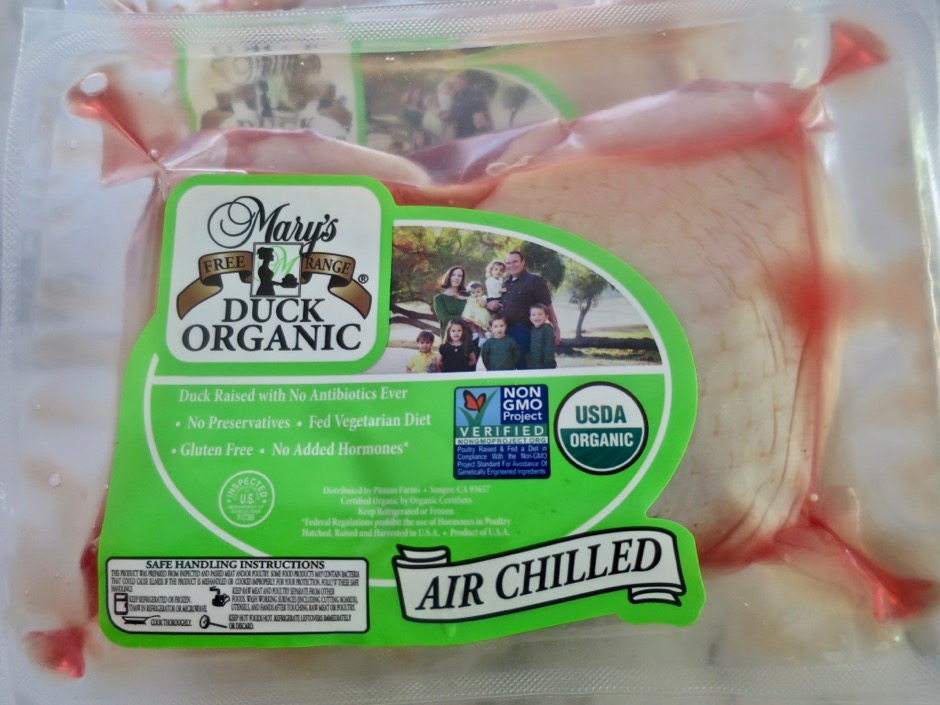
Mary's Organic Duck Legs

Fortunately we can find good duck legs at our local Whole Foods market.  We buy 3 packs of two legs each and sous vide them all at once then vacuum seal and freeze the ones we don’t eat right away.

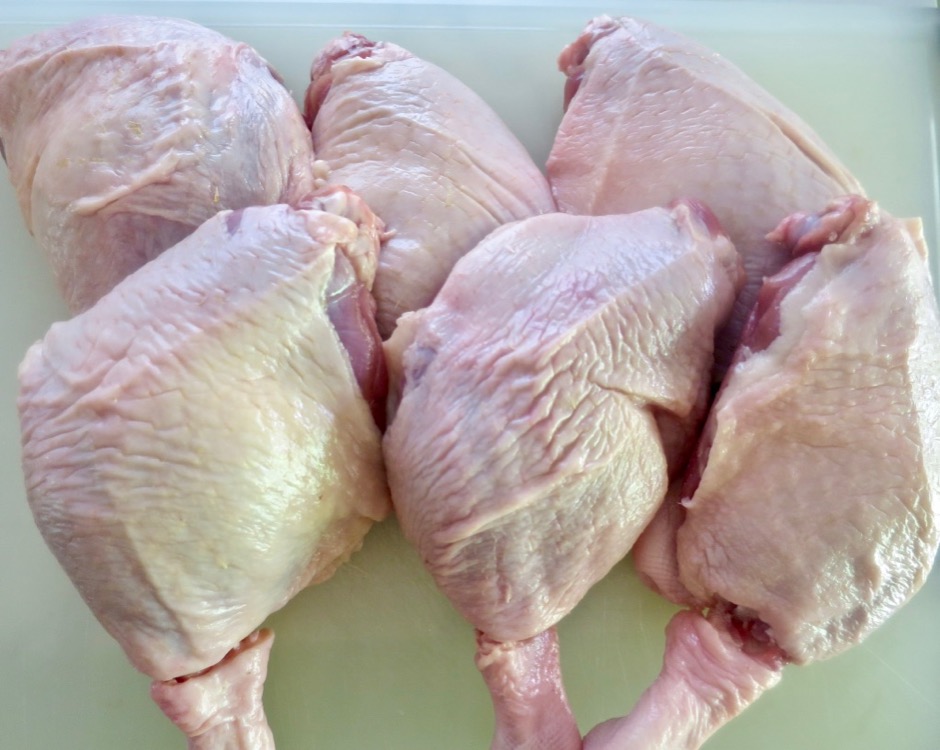
Mary's Organic Duck Legs

Frenching the duck legs (cutting away the meat from the bone) makes for an elegant presentation.  I also trimmed off some of the thick, excess fat from the duck.

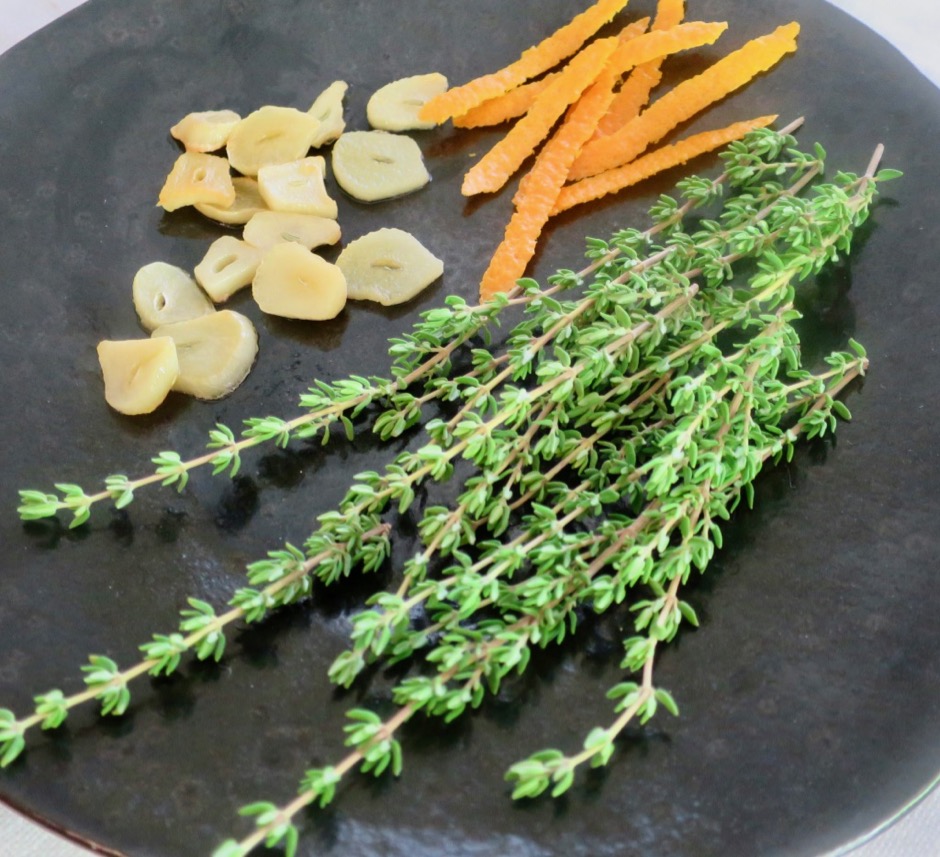
Fresh Thyme, Garlic & Orange Peel

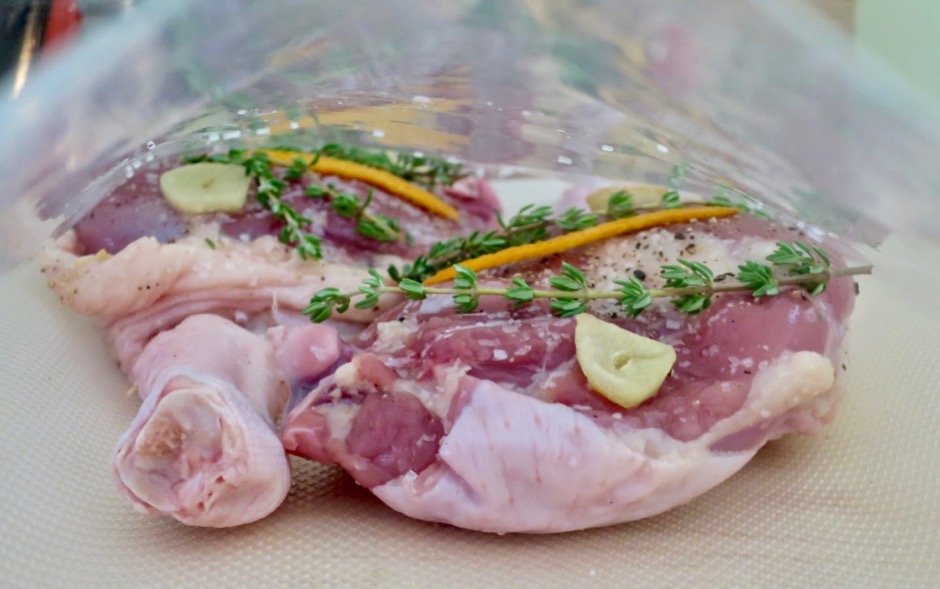
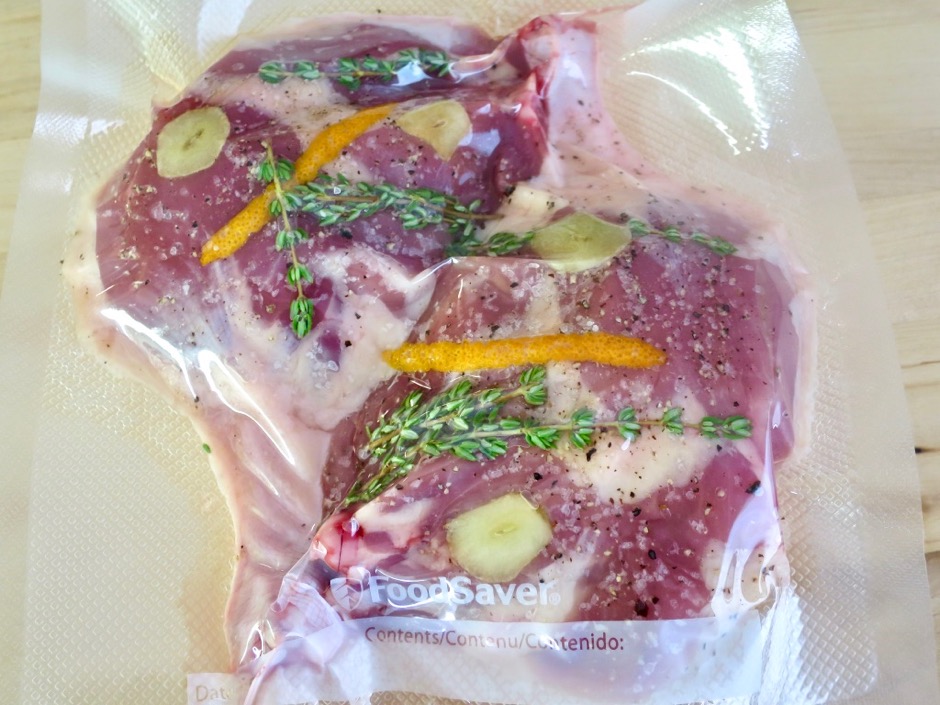
The duck legs are generously salted then sealed in an airtight bag with thyme, garlic and orange peel (optional) and torn bay leaves if you prefer.  There is some discussion as to whether or not using raw garlic at low cooking temperatures is safe. To err on the side of caution, I slice the garlic and gently pan-fry each piece before they go into the sous vide bag with the duck legs.  Alternatively, you can substitute dried minced garlic.

Mary's Organic Duck Legs

Mary's Organic Duck Legs

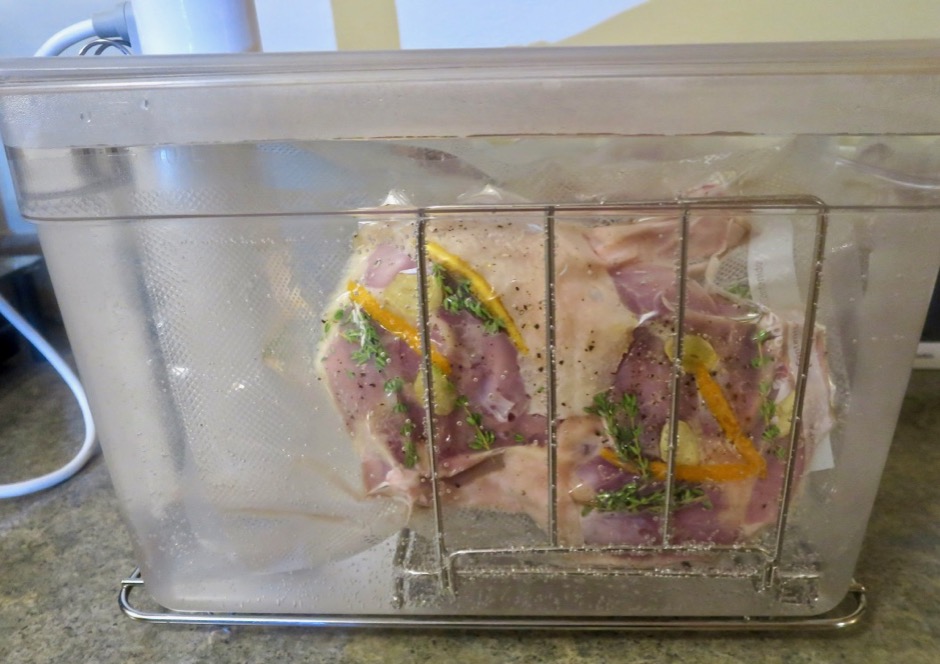
Joule Sous Vide

Let the 36 hour timer begin!  Our favorite sous vide device is the ChefSteps Joule.  You may have seen some very large and heavy sous vide machines at various stores.  The Joule is small, light weight and controlled through their app on your phone.

Sous Vide Duck Legs

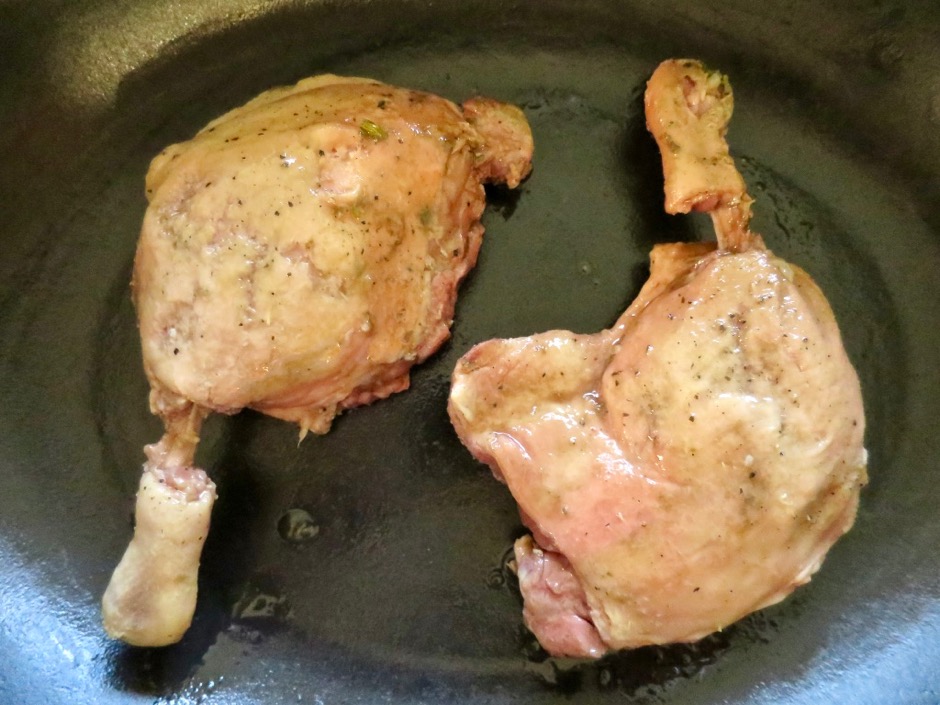
Once the duck leg’s 36 hour sous vide time is up, they are gently wiped clean of any herbs and excess duck fat.  You can clearly see that the duck legs are pale and not very attractive at this point. But they are perfectly cooked and fall off the bone tender.

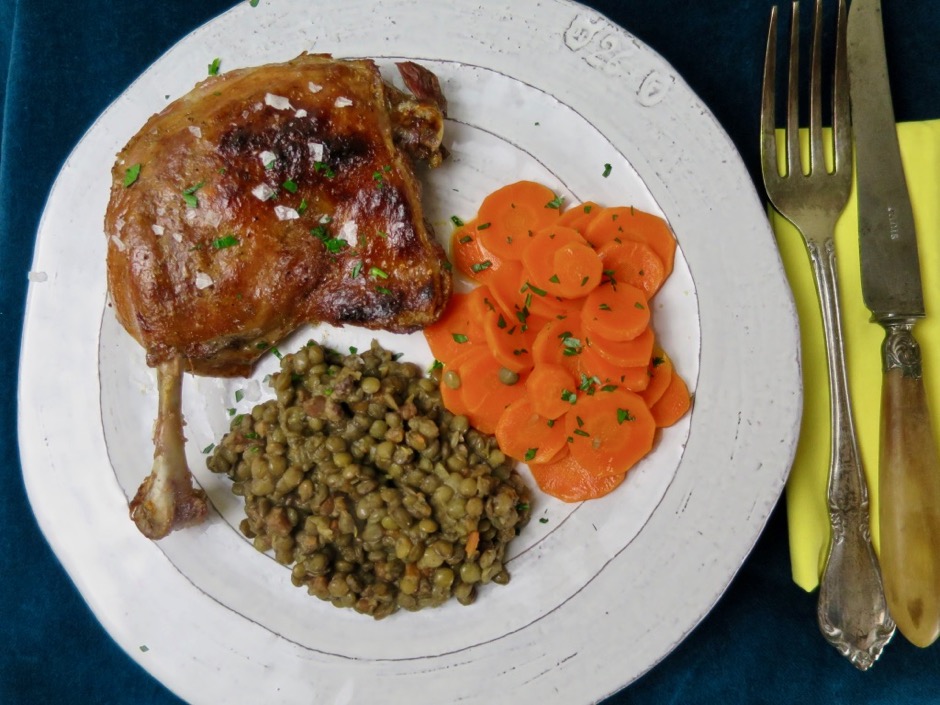
Sous Vide Duck Confit

The duck legs are placed in a roasting pan (we use a higher sided pan as the duck can splatter a bit) and one that is safe to use under the broiler.  We use a heavy enameled cast iron pan.

Sous Vide Duck Confit

I like to serve this with braised lentils though sometimes you need a quick fix which means any type of potato (even tater tots are welcome) will be just fine. Sometimes you get both.

Sous Vide Duck Confit

Sous Vide Duck Confit

Sous Vide Duck Confit
 
Adapted from Serious Eats & ChefSteps
Author:
Serves: 6
Ingredients
  • Special equipment: Sous vide immersion circulator, vacuum sealer and bags (or Ziploc freezer bags), large pot or dedicated sous vide container with lid (to prevent excessive evaporation)
  • 6 fresh duck legs, trimmed of excess fat
  • kosher salt
  • freshly ground black pepper
  • 2 garlic cloves sliced thin, pan-fried on low heat
  • fresh thyme sprigs
  • slivers of orange peel (optional)
  • 2 bay leaves, torn (optional)
Preparation
  1. Heat water to 155 degrees
  2. Generously salt both sides of the duck legs. Grind fresh pepper over each side (to taste).
  3. Place thyme sprigs, garlic, and orange peel and bay leaf (if using) on meaty side of the duck legs. Place 2 duck legs in each vacuum bag and seal according to vacuum sealer manufacturers instructions (or use 3 separate Ziploc freezer bags using water displacement technique to remove air).
  4. Place sealed bags in preheated water bath. If the bags float, weigh them down. Set timer for 36 hours.
  5. When finished, remove bags from water (If not eating all of the duck right away, transfer to an ice water bath to cool quickly. Then freeze for up 4 months).
  6. Remove duck legs from plastic bags and scrape away thyme, orange peel, bay leaves, excess fat and garlic. Heat broiler to high heat. Place duck legs in oven proof skillet or roasting pan and broil on the second shelf down from the top for 7-8 minutes or until the skin is nicely browned. Serve with braised lentils.
 

Dinner, Dressing, Lactose Free, Recipes, Salad, Vegan, Vegetarian, Veggies

Papaya Seed Dressing

September 20, 2019

Papaya Seed Dressing

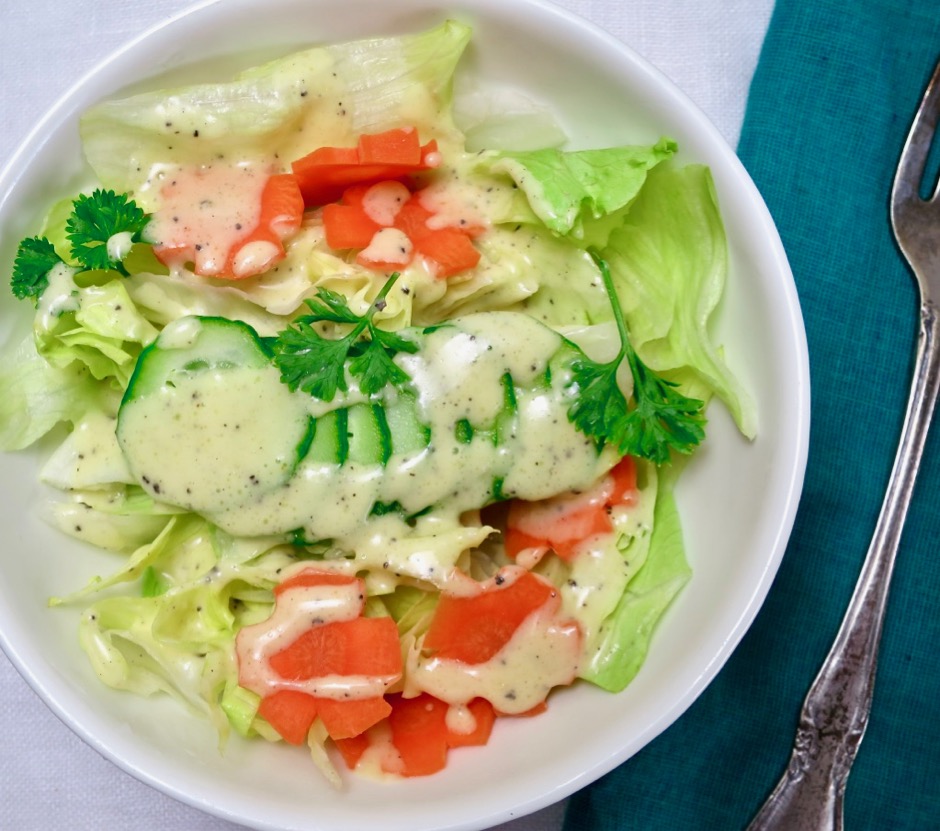
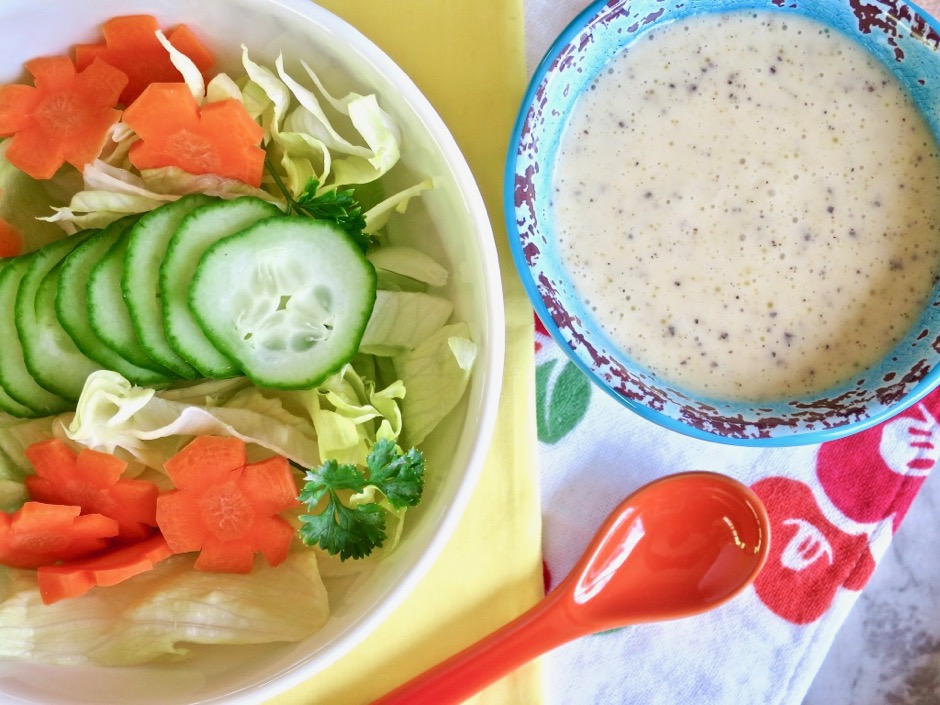
No one seems to know who created papaya seed dressing but I do recall enjoying it as far back as the 70’s.  I used to buy packets of papaya seed dressing then mix it up at home.  These days, I prefer to make most things from scratch, especially salad dressings. This sweet-tart dressing is one of them.  It’s so easy to make because all the ingredients are  blended at one time.  Voila!  You end up with a delicious dressing that is wonderful on a crisp salad.
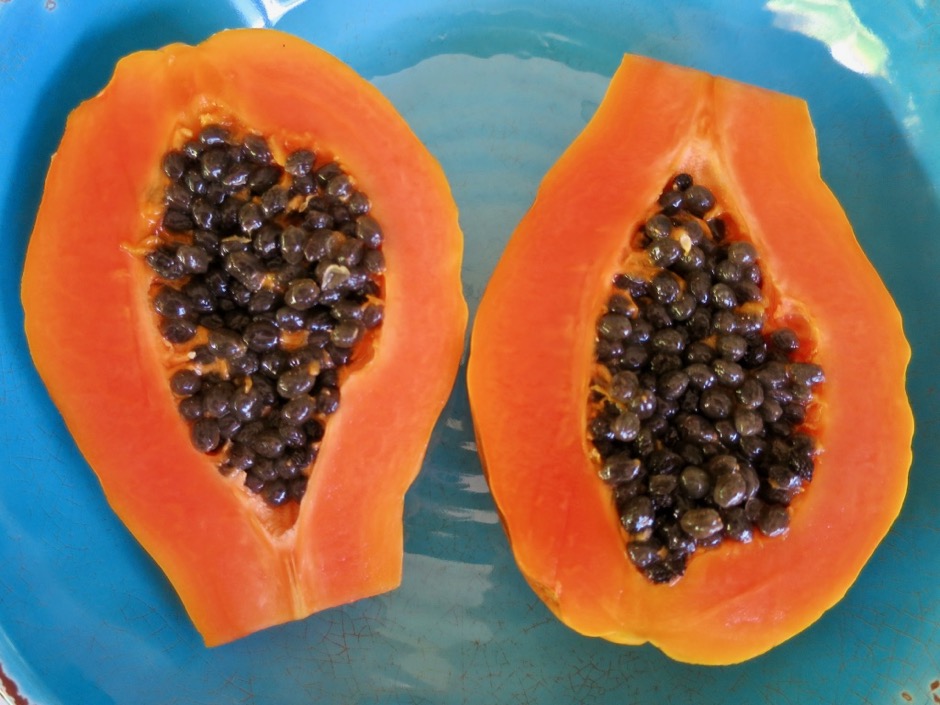
Homegrown Strawberry Papaya

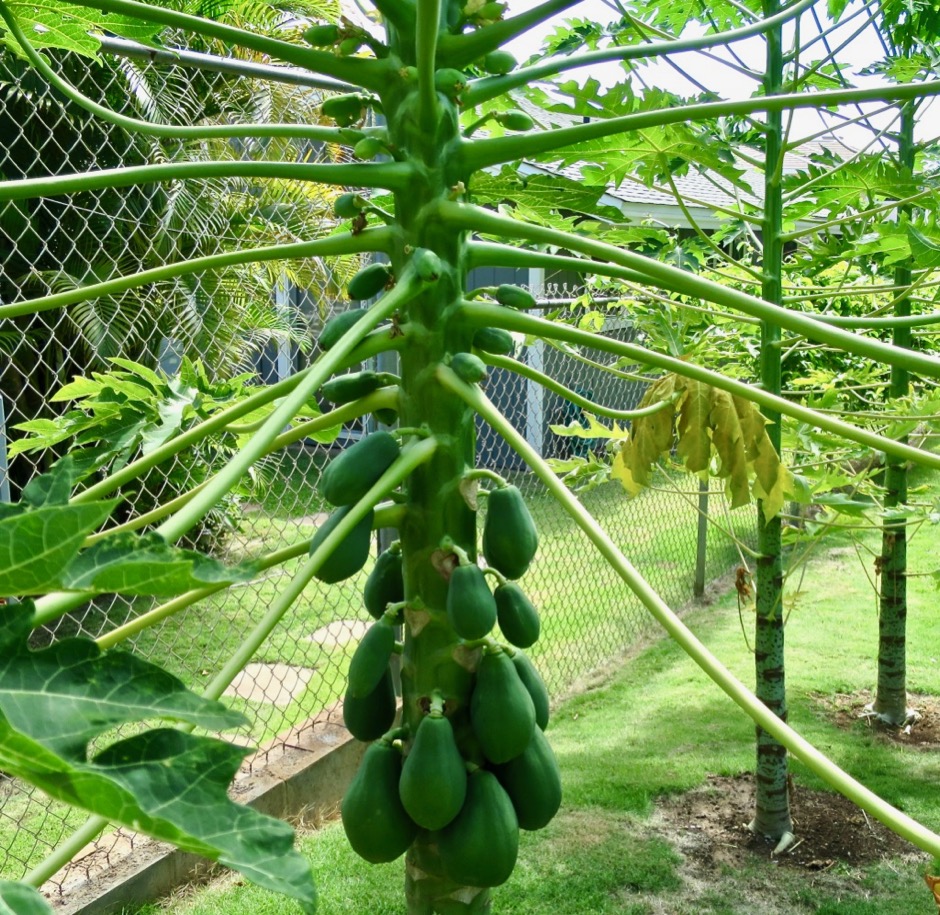
John grows Sunrise and Sunset papayas throughout the year. It’s one of those fruits that do well in hot and sunny Kihei.  The trees don’t take up much space and the papayas are gorgeous.  Normally the seeds get thrown out, but I like to save a few for this dressing. I’ve found that freezing the seeds for later works great.  Rinse and freeze in a small baggie or plastic container.

Sunrise Papaya Trees

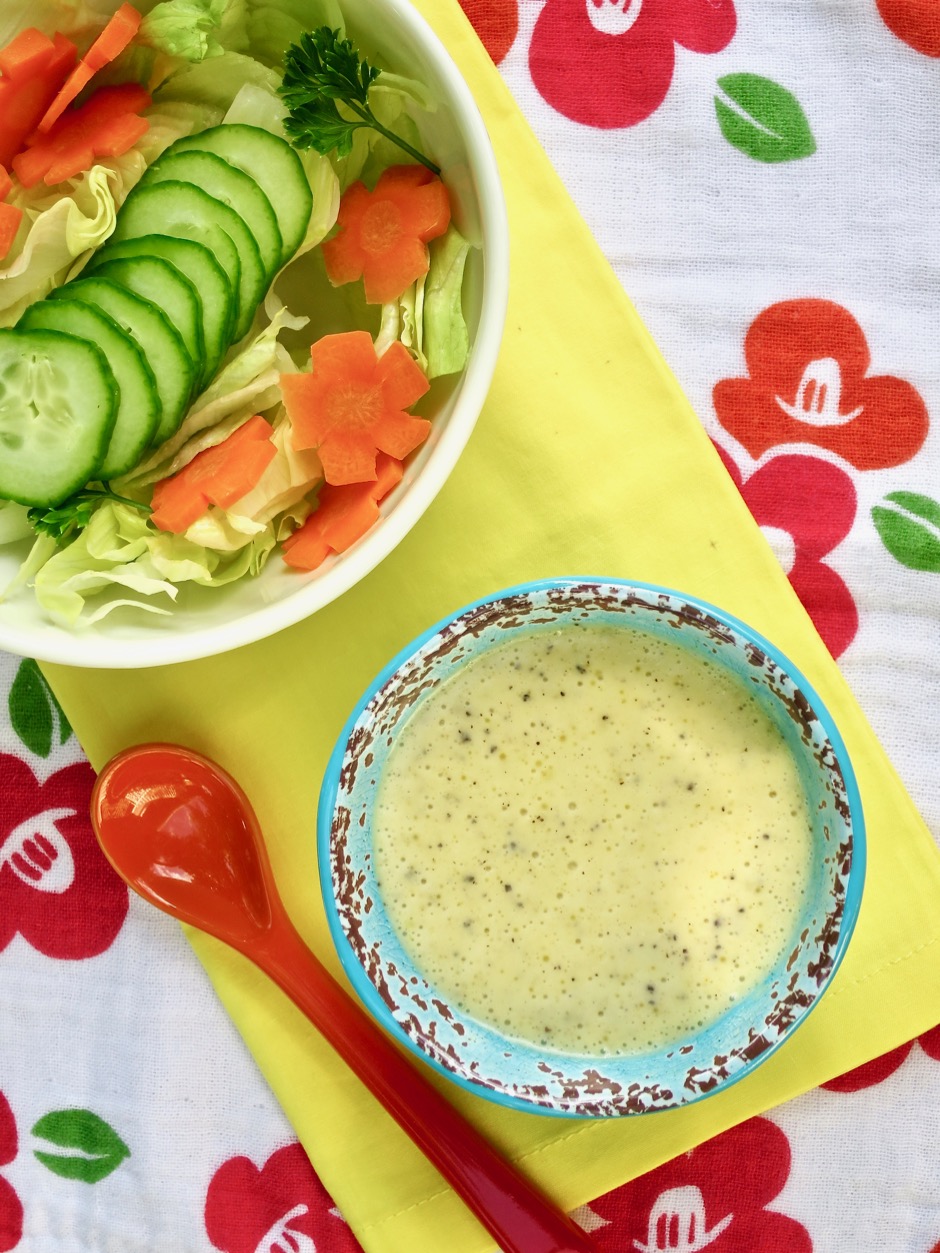
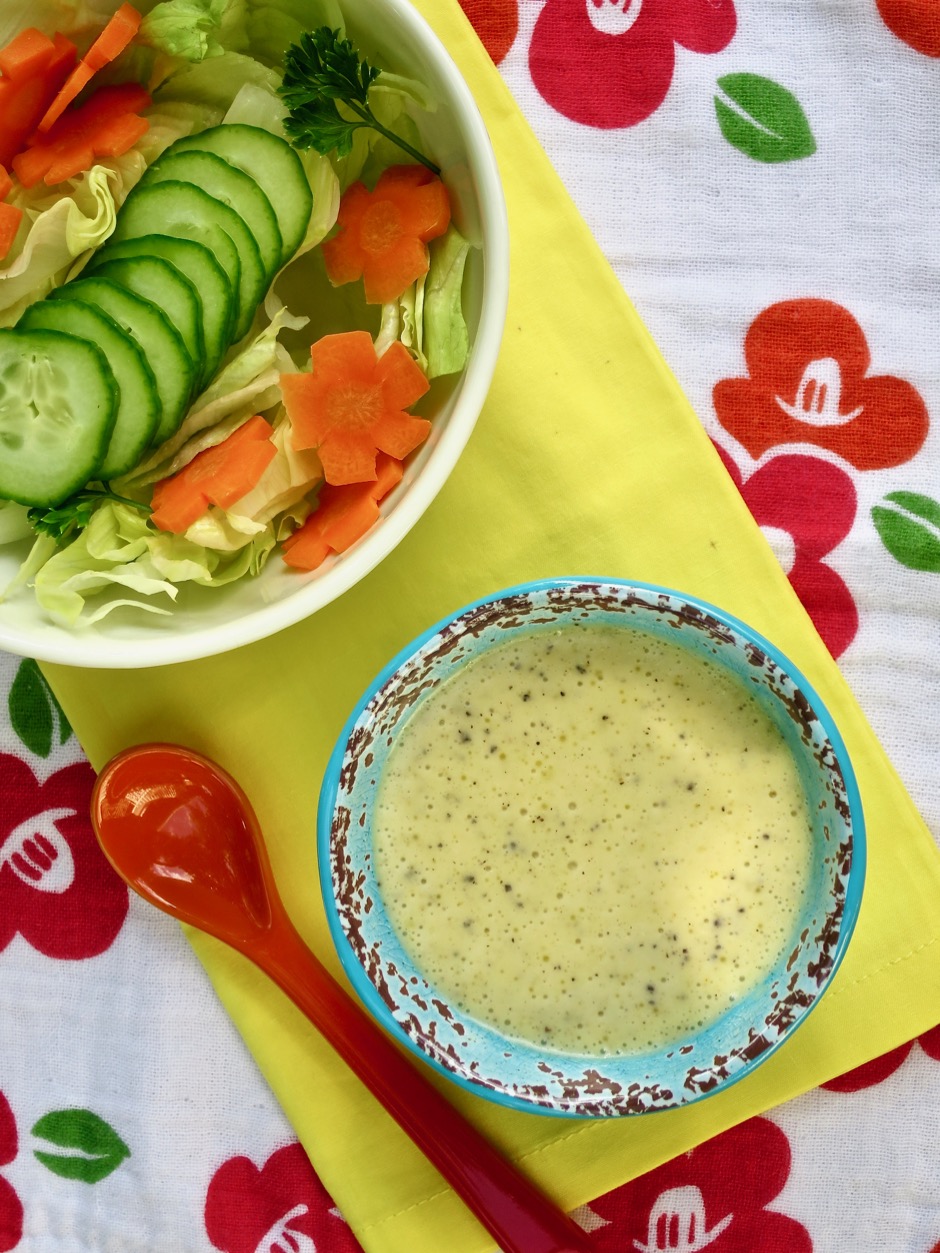
Papaya Seed Dressing Salad

I’m a fan of iceberg lettuce even though it’s not among the most nutritious lettuces out there.  I know that many people frown upon iceberg lettuce but it has its place in many of my dishes.  A wedge salad for instance, would not have been born if not for iceberg lettuce.  And Aunty Ruby’s somen salad would not be the same if I were to use a different type of lettuce.   Iceberg lettuce and papaya seed dressing are a perfect match!

Papaya Seed Dressing

Papaya Seed Dressing
 
Author:
Serves: ¾ cup
Ingredients
  • 2 tablespoons chopped onion
  • 1½ teaspoons papaya seeds. rinsed
  • ¼ cup unseasoned rice vinegar
  • 4 teaspoons sugar
  • ½ teaspoon dry mustard (Coleman's)
  • 1 teaspoon Dijon mustard
  • ¼ teaspoon kosher salt
  • few dashes of ground turmeric
  • ¼ cup canola oil
  • ¼ cup extra virgin olive oil
Preparation
  1. Combine all ingredients together and puree using a handheld mixer or blender. Serve over crispy greens such as iceberg lettuce, carrots, cucumbers, watercress, endive, shredded cabbage and romaine. Dressing keeps well for about 5 days.


Bread, Dinner, Japanese, Lactose Free, Pork, Recipes, Sandwiches

Katsu Sando

August 18, 2019

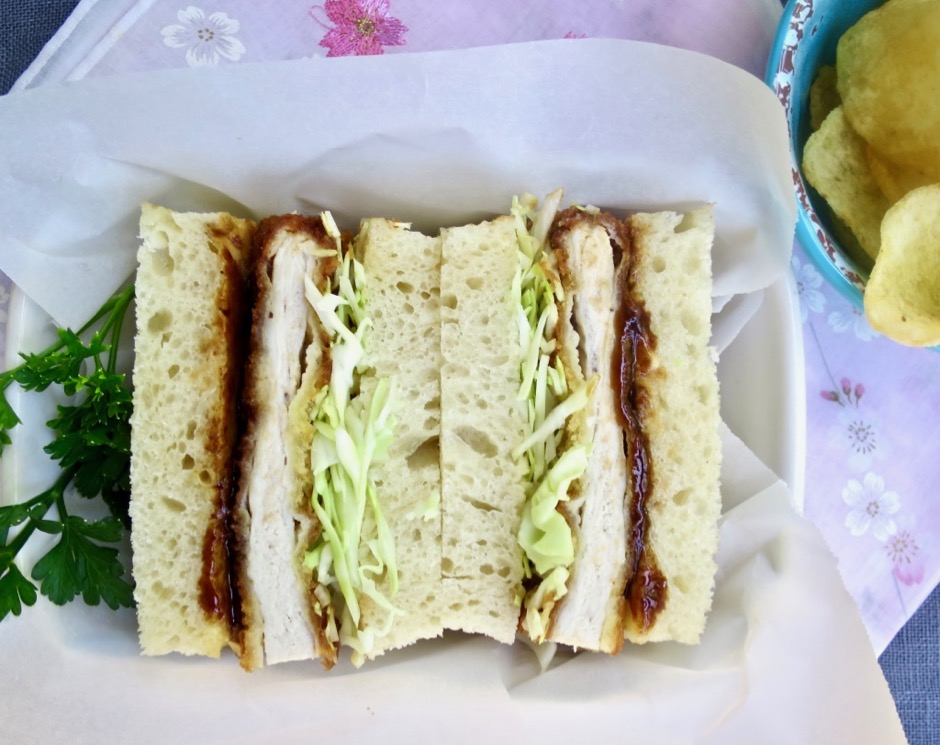
Katsu Sando

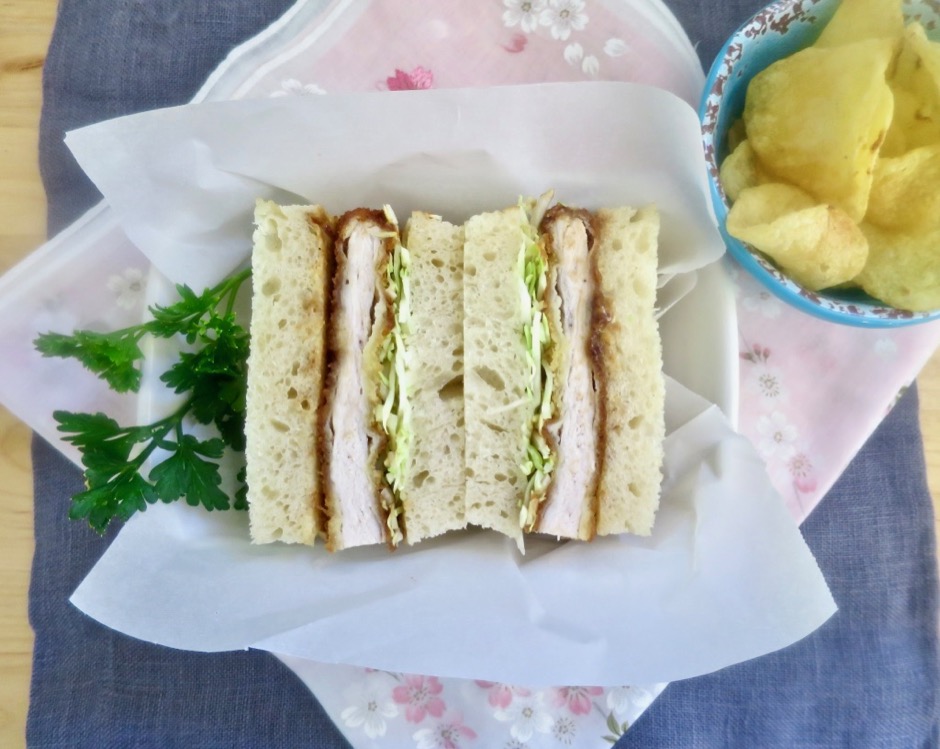
Tonkatsu is without a doubt one of my favorite dishes.  When we visited Japan in 2018 we went to the original Ginza Bairin inTokyo for tonkatsu.  They don’t take reservations, which means the line of patrons starts forming at least 30 minutes prior to opening.  We were pretty deep in the line, but luckily for us, we got the last two seats for the first seating.  The tonkatsu did not disappoint.  When we have a craving for katsu we make our own with pork or sometimes chicken.  Both are equally delicious served with rice, macaroni salad, shredded cabbage and namasu.  Katsu sando’s (the Japanese term for tonkatsu sandwiches) are another terrific way to serve the crunchy pork cutlets.  These sandwiches are compact, beautiful and tasty.

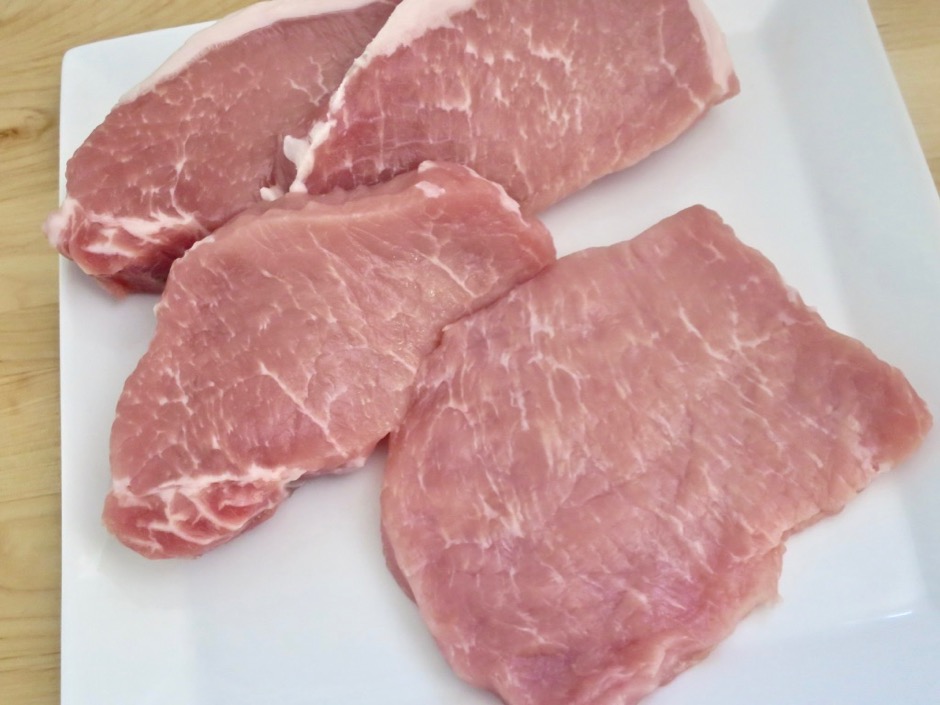
Pork Cutlets From Top to Bottom: Out of the Package, Trimmed, Pounded

Boneless pork loin chops are quite reasonably priced.  I bought a 4-pack that cost me under $6.00.  Once I got home from the market, I trimmed off the small amount of fat and pounded the pork to an even thickness of about 1/3-inch which also tenderizes the meat.

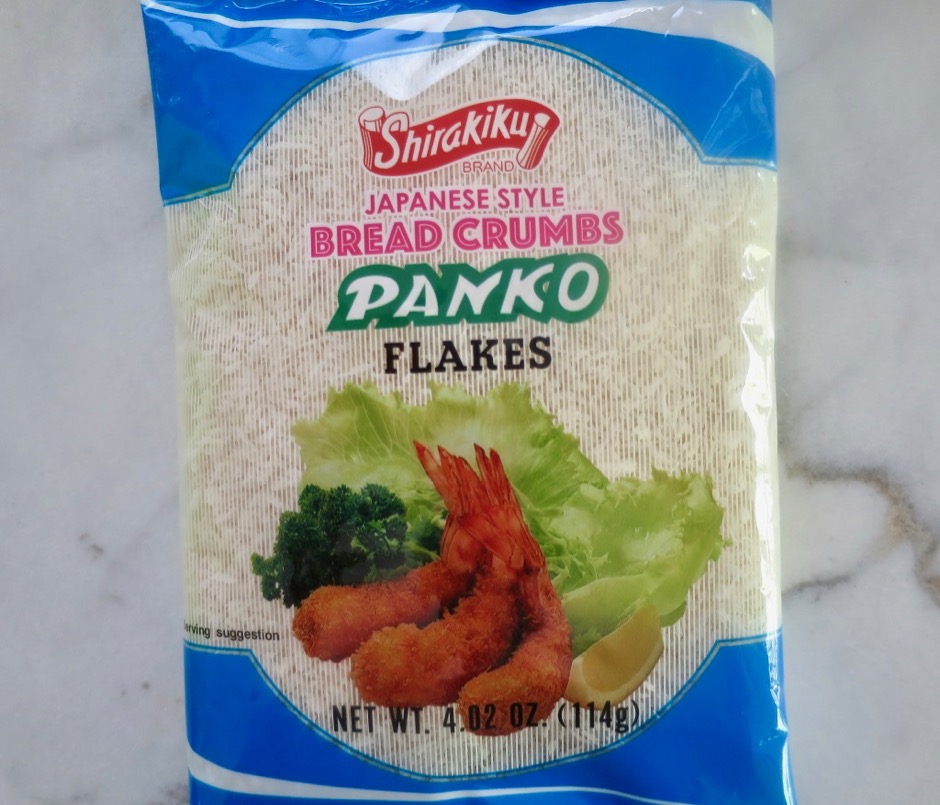
Panko

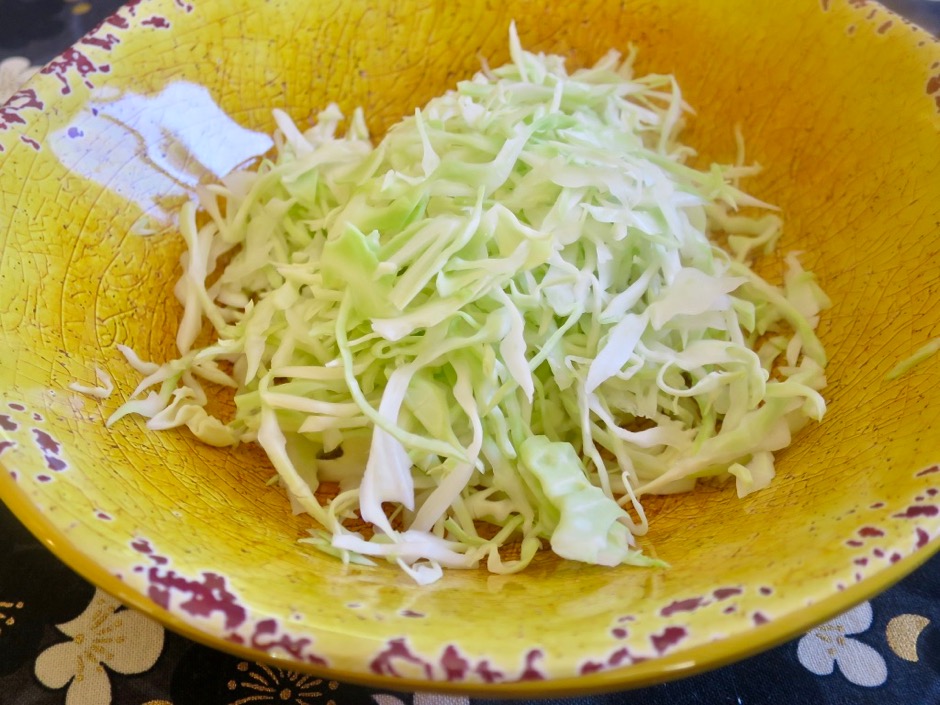
Crispy Shredded Cabbage

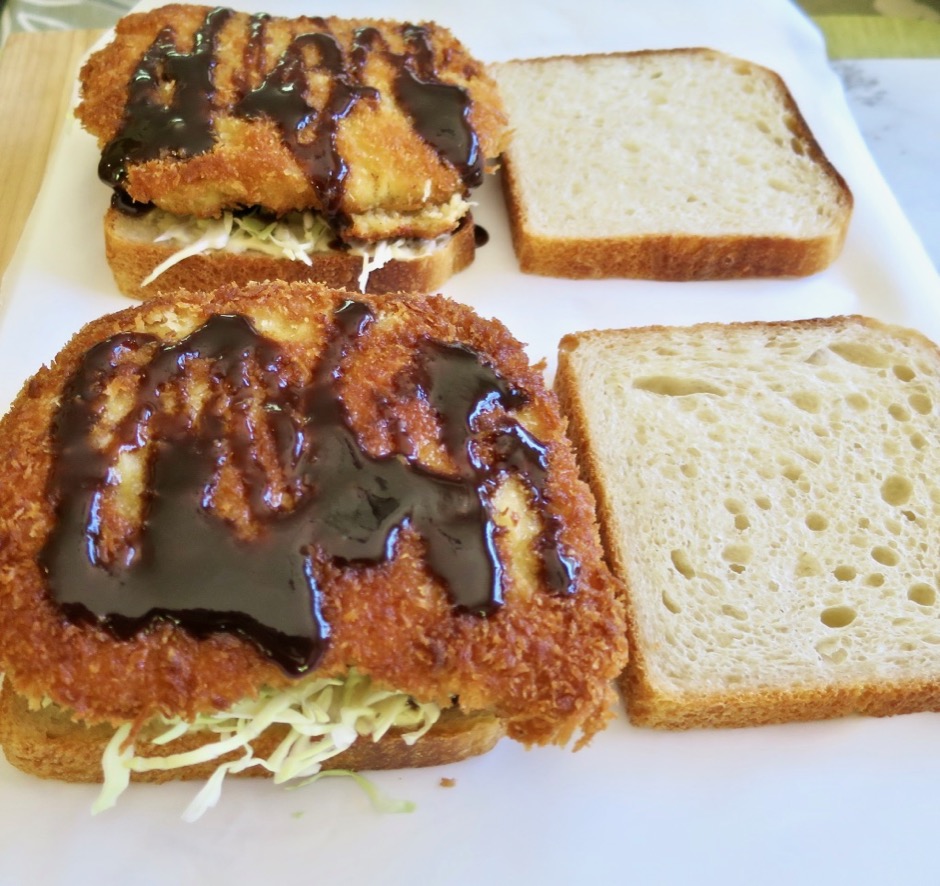
Shredded cabbage is a must with this sando,  The crispy cabbage enveloped in the soft bread and fried pork with savory tonkatsu sauce is absolutely the best sando you can imagine.

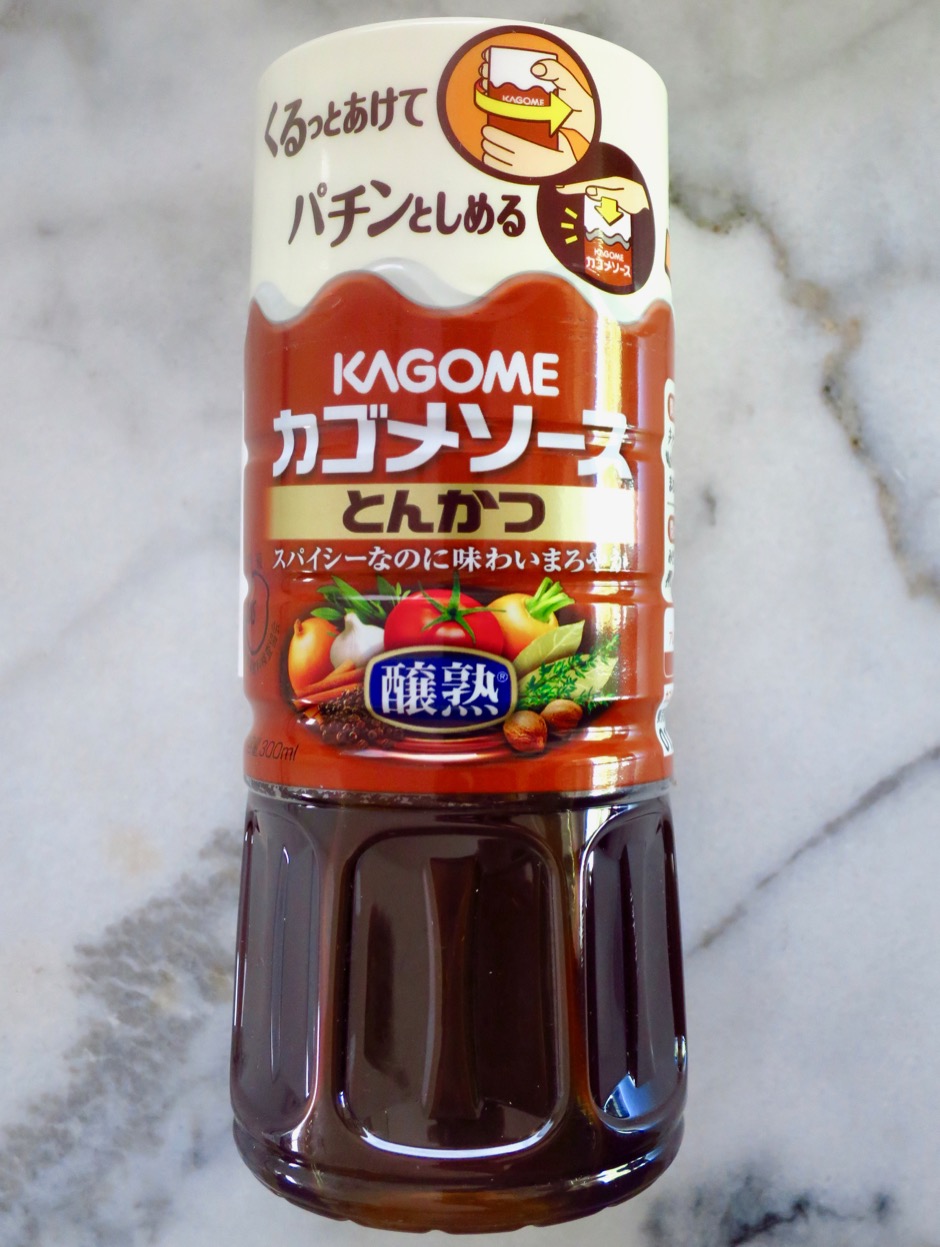
Tonkatsu Sauce

There are so many brands of tonkatsu sauce available.  My favorite is Kagome.  If you can find it, give it a try.  Good katsu sauce = tasty sando.

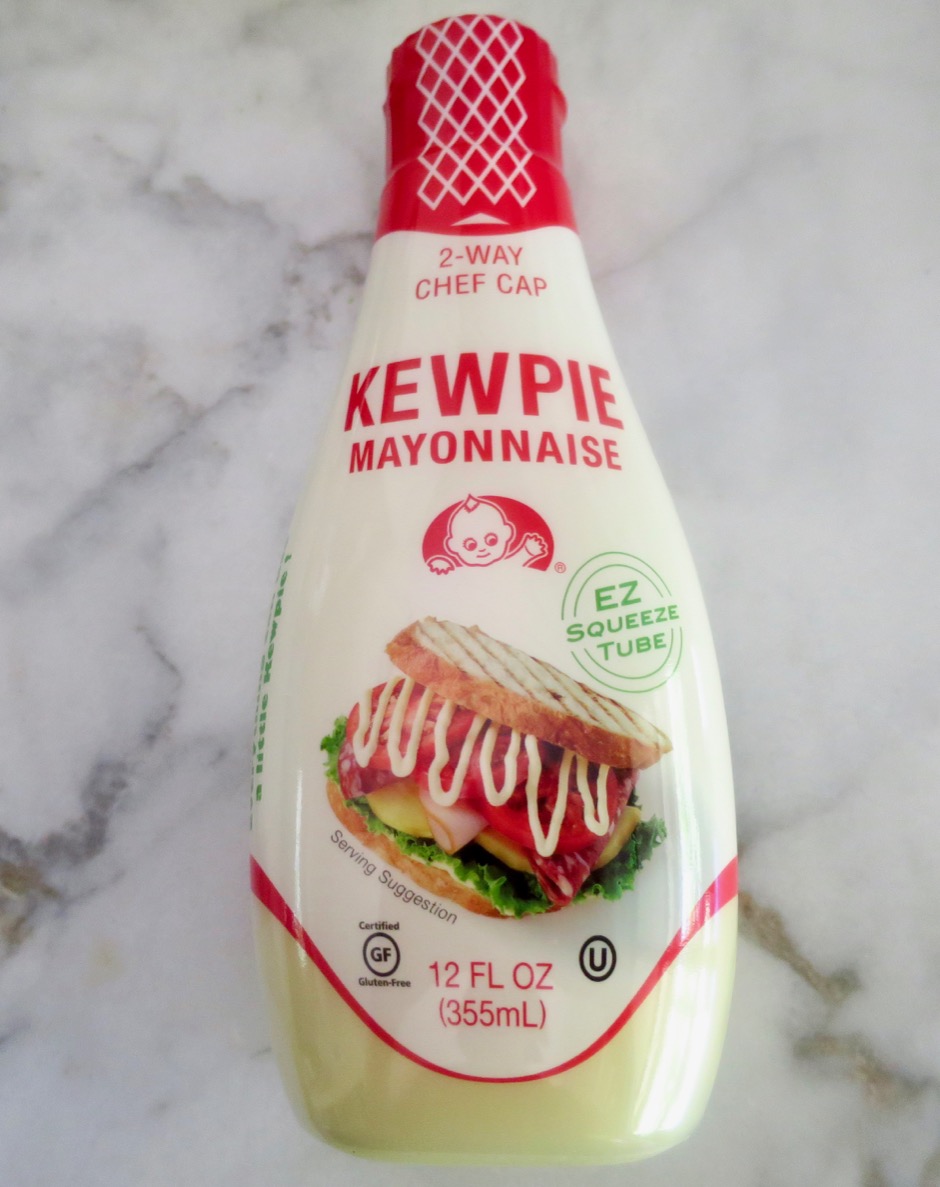
Kewpie Mayonnaise

Kewpie mayonnaise can be found at most markets these days and on-line.  Of course regular mayonnaise will do just fine, especially since it is not the star of the sandwich. But I like to go Japanese all the way when making this.  Most use Japanese milk bread for the sandwiches.  Since John makes all of our bread, he made this white loaf just for katsu sando and it turned out to be a keeper.

The Beginning of the Best Sando

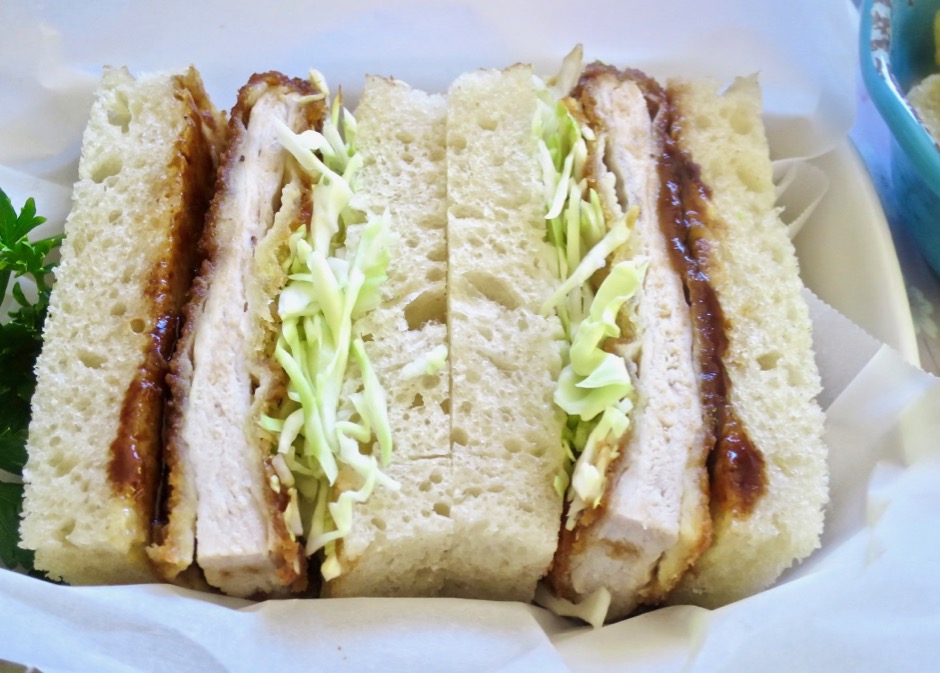
Katsu Sando

Gazing at this photo of the Katsu Sando makes me want to eat one right now!

Katsu Sando

Katsu Sando
 
Author:
Serves: 4
Ingredients
  • 4 boneless pork chop cutlets (about 5 ounces each) trimmed of fat and pounded to ⅓-inch thick
  • ⅓ cup all-purpose flour
  • 2 large eggs
  • 1 tablespoon sour cream (optional)
  • 1½ cups panko
  • salt and pepper
  • canola oil for frying pork
  • 8 slices white bread
  • butter (we use Miyoko's vegan butter)
  • tonkatsu sauce (Kagome brand is our favorite)
  • Kewpie mayonnaise or regular mayonnaise
  • 1 cup shredded cabbage
Preparation
  1. Pork should be pounded to ⅓-inch thick or up to ½-inch if you prefer thicker pieces. Salt and pepper both sides of pork cutlets.
  2. Place flour and panko on separate large plates. Mix eggs with 1 tablespoon sour cream if using, in a wide shallow bowl.
  3. Dredge each piece of pork in flour, shaking off excess. Dip pieces in egg mixture. Allow remaining egg to drip back into the bowl. Place pork in panko and spread panko over the top. Press firmly so the panko adheres to the pork. It's best to use a dry, clean hand so the panko doesn't clump and fall off.
  4. Heat a large skillet preferably with high sides over medium to medium-high heat with enough oil to reach ¼-inch up the sides of the pan. Once the oil is hot, fry pork in two batches, until nicely browned and the internal temperature reaches 145 degrees. Transfer fried pork to a rack or plate. Continue frying the other two pieces of pork.
  5. To make the sandwich, butter 4 slices of bread. Spread tonkatsu sauce over the butter. Set aside.
  6. Spread mayonnaise on the other four slices of bread. Add shredded cabbage on the mayonnaise, followed by tonkatsu sauce. Place a fried pork cutlet on top and drizzle more tonkatsu sauce over the pork. Place buttered bread slices on top of the pork. Using a sharp knife, cut off the crusts and any extra pork to make a uniform sandwich. Cut each sandwich in half. Serve with chips and extra tonkatsu sauce.


Follow

Get every new post delivered to your Inbox

Join other followers: