Browsing Category

Dinner

Appetizers, Dinner, French, Fruit, Gardening, Recipes, Side Dishes, Veggies

Tomato Galette

October 11, 2020

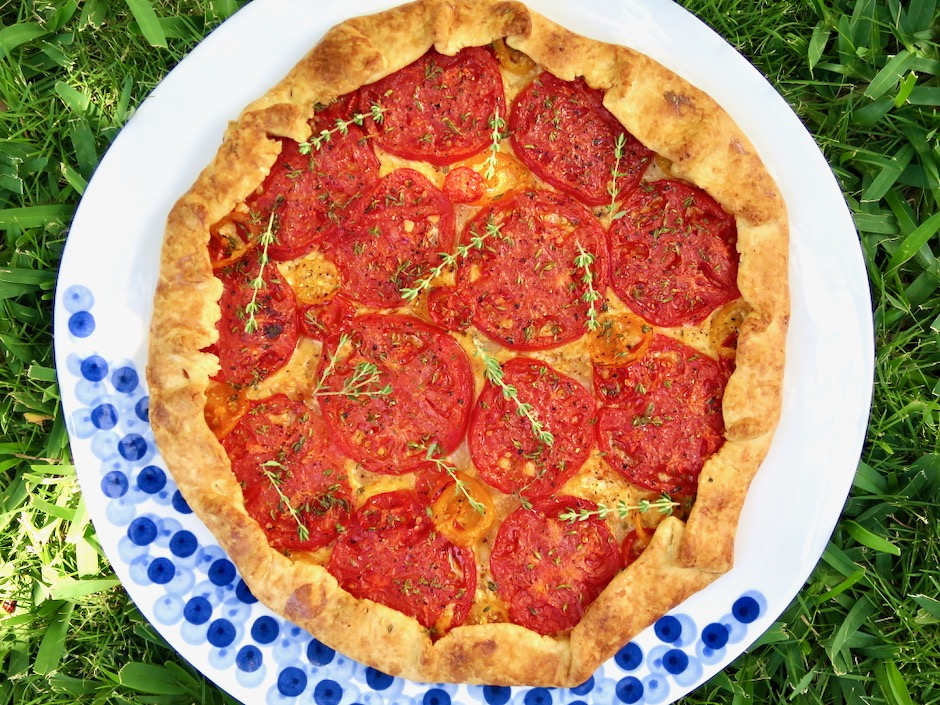
Tomato Galette with Thyme

One of the delights of a galette is its free-form crust.  The dough doesn’t require any trimming after being rolled out.  In fact, the ragged edges of the crust are what gives a galette its beautiful, rustic appearance.  Whether you are making a savory or sweet filling, a galette is a gorgeous dish to bring to the table.

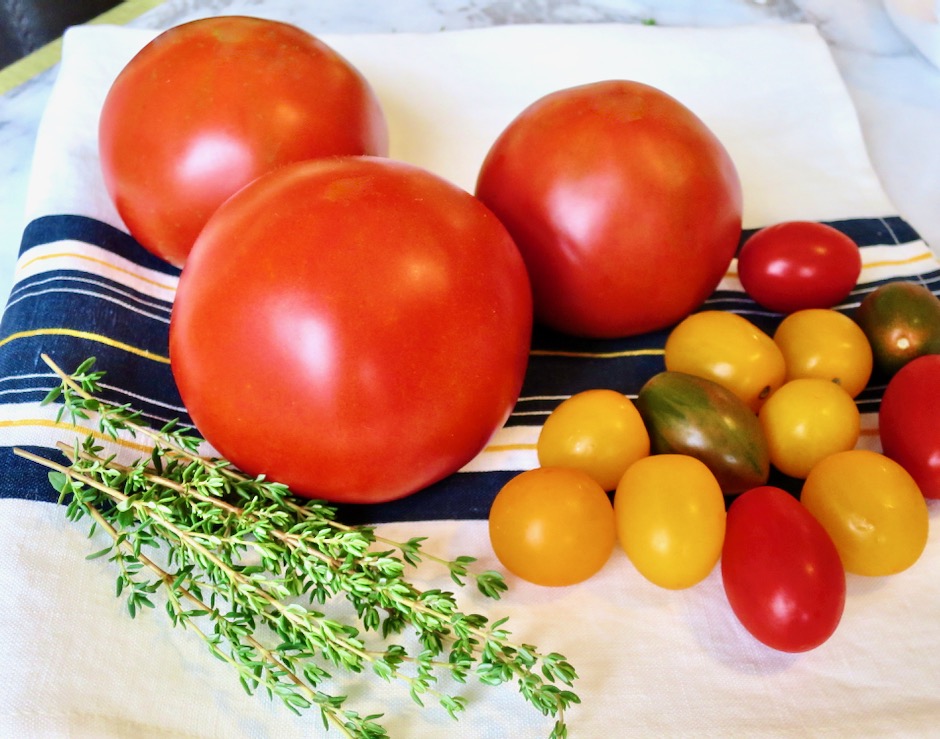
Tomatoes & Thyme

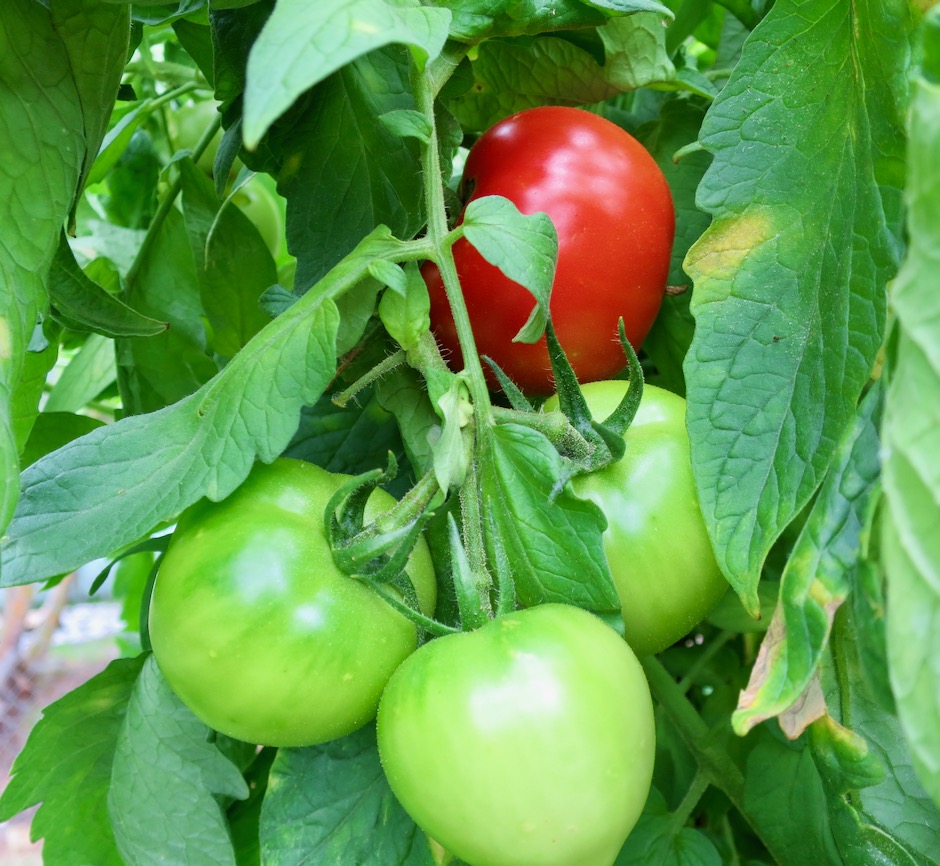
This year we grew Katana beefsteak tomatoes (Kitazawa Seed Co.) which turned out to be our new favorite.  They are meaty, juicy, and so flavorful with a gorgeous deep red color.  They are the perfect tomato for this galette and on a side note, they make for an exceptional BLT sandwich.

Katana Beefsteak Tomatoes in the Garden

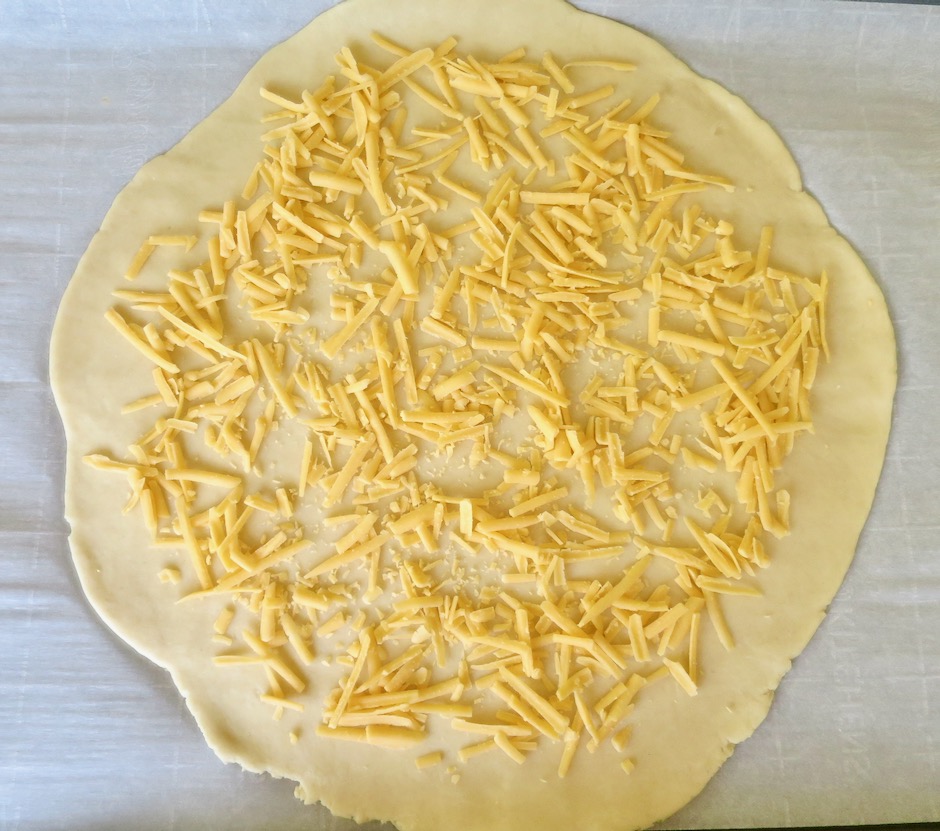
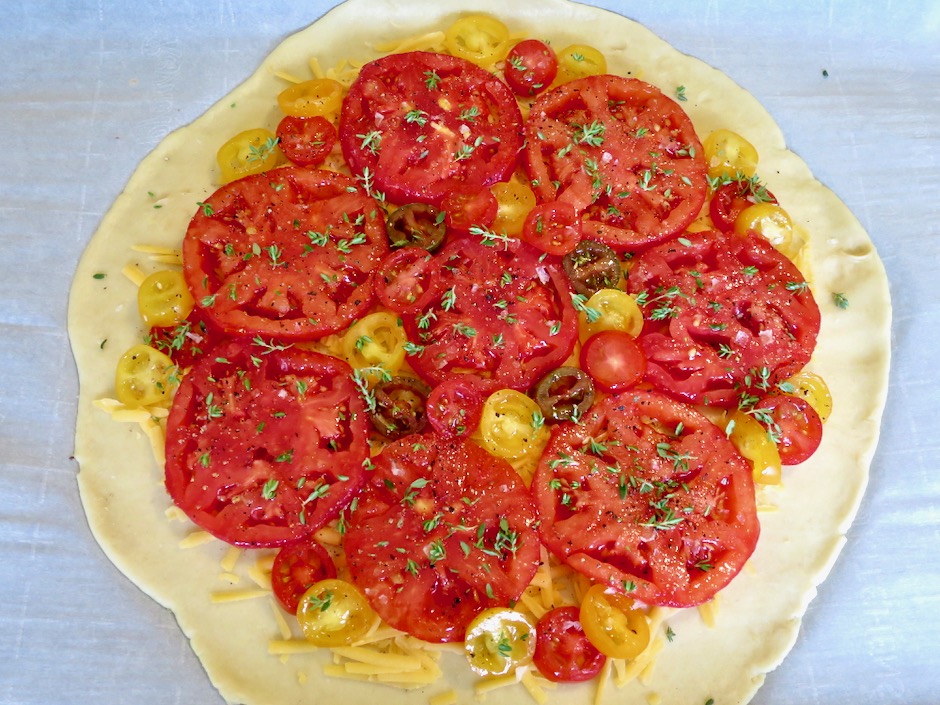
Sharp Cheddar Sprinkled Over Galette Dough

A sprinkling of sharp cheddar cheese is all you’ll need.  The small amount of cheese is just enough to add a bit of richness allowing the tomatoes to really shine.

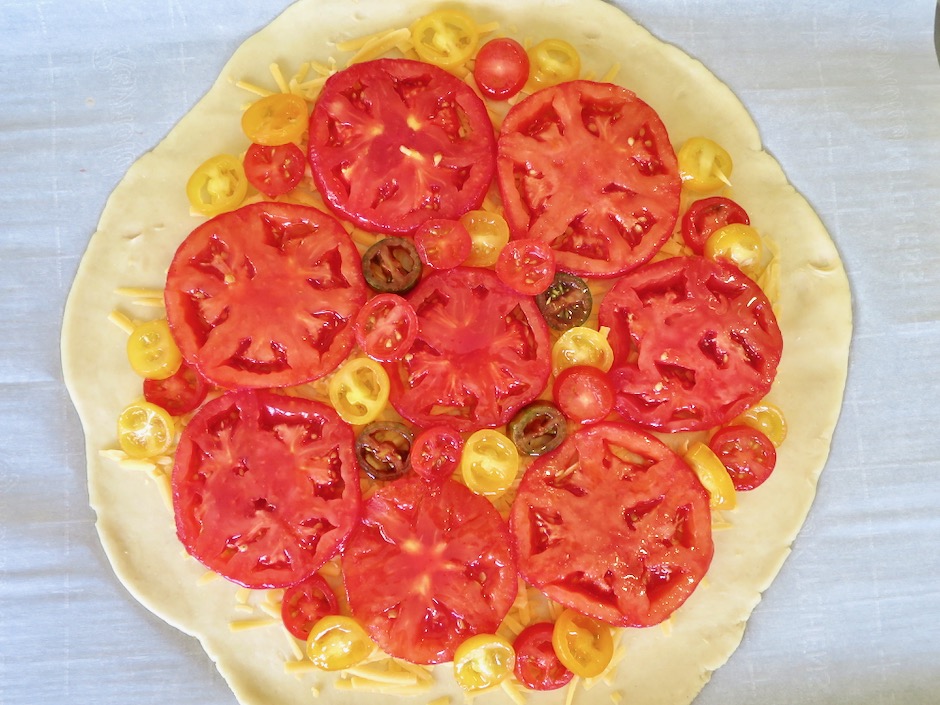
Preparing Tomato Galette with Thyme

Choose tomatoes that are meaty and hold up well to slicing.  I prefer to peel the tomatoes (except for the mini ones) because the skin has a different texture than the tomato flesh and it is especially noticeable once tomatoes have been cooked.

Preparing Tomato Galette with Thyme

Fresh thyme and tomatoes are a perfect match.  I included a handful of colorful sweet cherry tomatoes that added a nice contrast with the red beefsteaks.

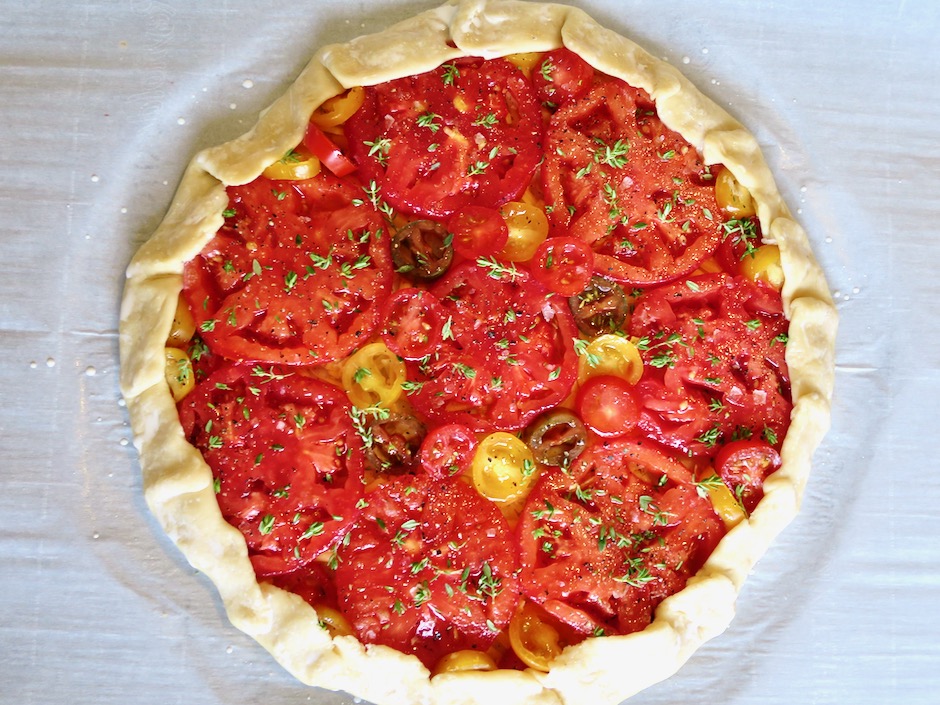
Tomato Galette with Thyme Ready to Bake

The edges of the dough are folded over the tomatoes to make a rustic crust that will bake up beautifully.

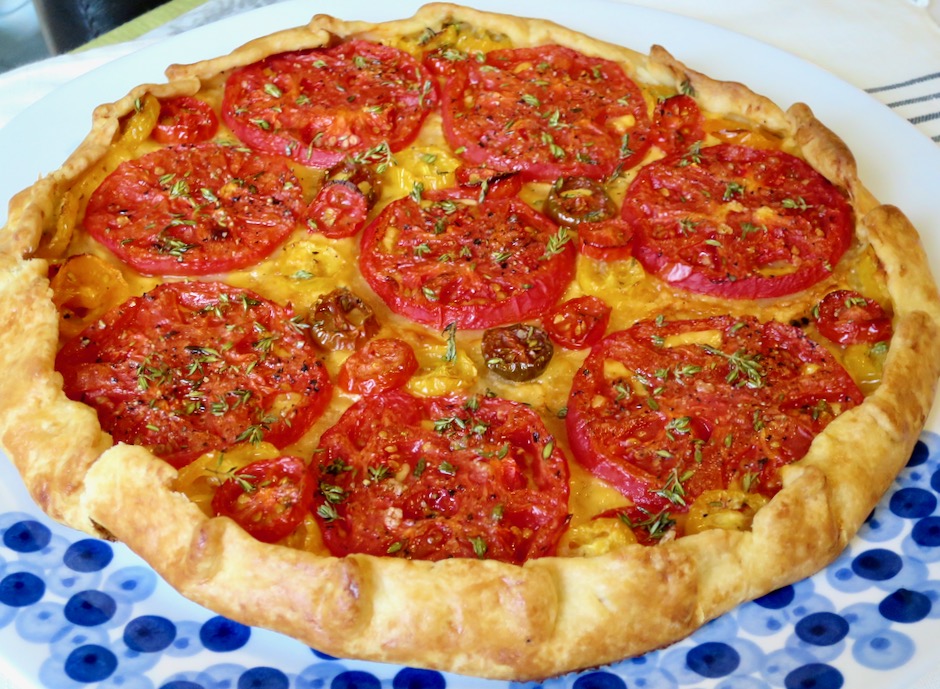
Tomato Galette with Thyme

Tomato Tart
 
Galette dough adapted from Dorie Greenspan's recipe
Author:
Serves: 4
Ingredients
  • For the dough:
  • 1½ cups (204g) all-purpose flour
  • ½ teaspoon sugar
  • ½ teaspoon kosher salt (1/2 teaspoon fine sea salt if using unsalted butter)
  • 1 Earth Balance Buttery Stick (8 tablespoons, 4 ounces, 113g), frozen for 30 minutes, then cut into small cubes
  • ¼ cup ice water
  • 1 tablespoon milk or cream for brushing the crust (optional)
  • For the tomato galette:
  • 1 cup coarsely grated sharp cheddar cheese, not packed
  • 1 pound meaty ripe tomatoes, peeled and sliced into ⅓-inch rounds
  • handful of assorted cherry tomatoes sliced (optional)
  • olive oil for brushing
  • Maldon sea salt or other flaky salt
  • freshly ground black pepper
  • a few fresh thyme sprigs
  • julienned basil (optional)
Preparation
  1. Place flour, sugar and salt in a food processor. Pulse a few times to blend. Add cubes of cold Buttery Sticks and pulse until mixture resembles coarse meal. Add some of the ice water and pulse. Continue to add more water, pulsing each time (about 3 additions). Use longer pulses until dough holds together when you pinch it (dough will not be formed into a ball). Transfer dough to a clean work surface and use the heel of your hand to smear small pieces of dough, which will help to incorporate the Buttery Sticks. Gather the dough and form into a flat disk. Place between 2 sheets of parchment paper. Roll out dough into a 12-inch circle. Place dough with parchment papers onto a sheet pan. Refrigerate for at least 2 hours. Keep refrigerated until you have all other ingredients ready to go.
  2. Preheat oven to 400 degrees ½ hour before you bake the galette. Meanwhile, place sliced tomatoes on paper towels if very juicy. This will help to avoid a soggy crust. Strip thyme leaves from stems and set aside.
  3. Remove galette dough from the refrigerator. Discard top layer of parchment paper. Sprinkle cheese over the dough leaving a 1½-inch border. Place tomatoes over the cheese in a single layer. Brush tomatoes with olive oil. Sprinkle Maldon or other flaky salt over the tomatoes along with a few grinds of black pepper. Sprinkle fresh thyme leaves over the top. Gently fold the pastry over the tomatoes, making pleats as you go. Brush edges with cream or milk (optional). Bake galette for about 35 minutes or until the crust is golden brown. Let galette cool for a few minutes before cutting into wedges. It is best served just warm or at room temperature. Sprinkle with julienned basil if using. The galette makes for a terrific meal served with a crispy green salad.

 

Beef, Dinner, Eggs, Korean, Lactose Free, Recipes, Rice Dishes, Veggies

Korean Soybean Sprouts Rice Bowl

September 26, 2020

Soybean Sprouts Rice Bowl with Sunny-Side Up Egg

To say that I love rice would be an understatement, so making this umami filled rice bowl was an easy decision.  Once you do a little prep work, everything goes into a rice cooker.  It’s a suitable meal for lunch or dinner.

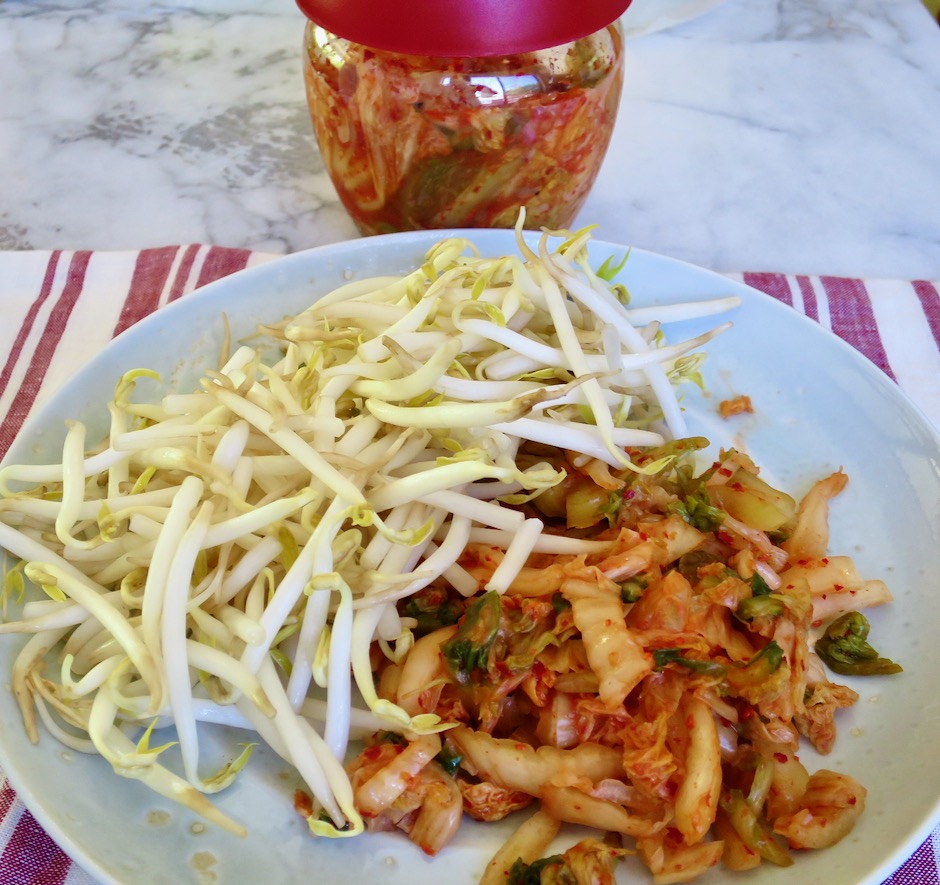
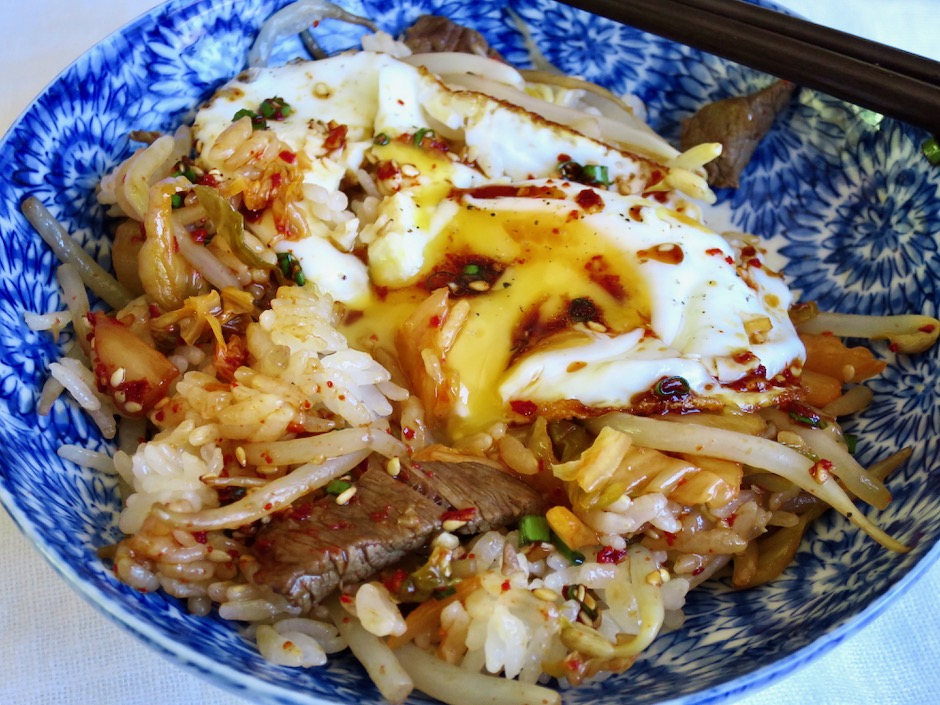
Soybean Sprouts & Kimchi

Even thought the sprouts are cooked with the rice and other ingredients, they still retain a nice texture.  The kimchi adds such a wonderful flavor to the rice, with just a bit of heat.

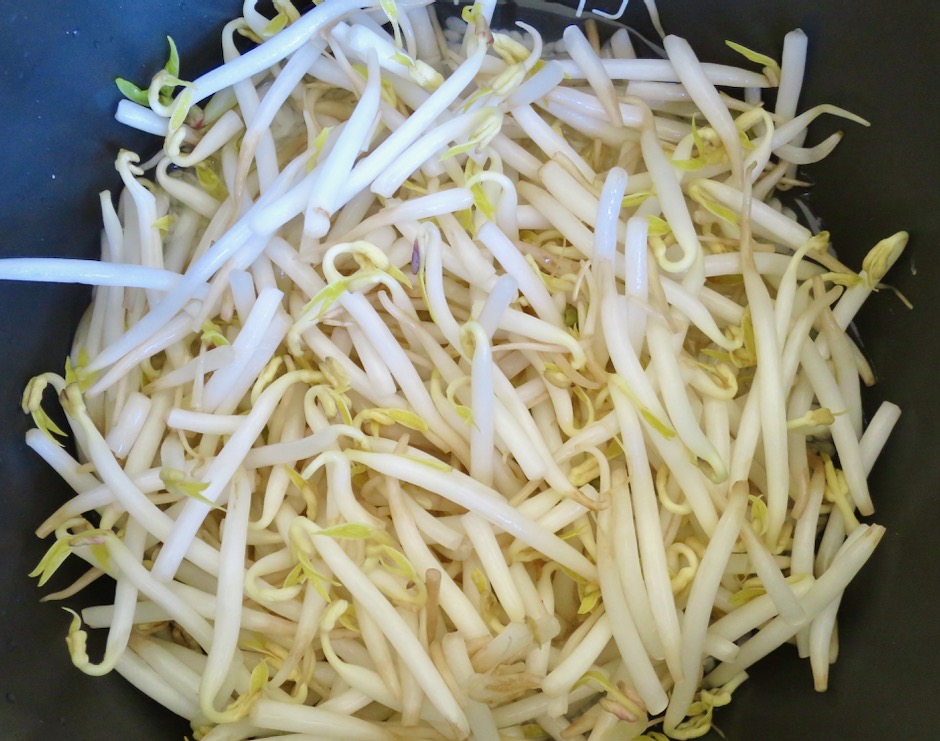
Soybean Sprouts

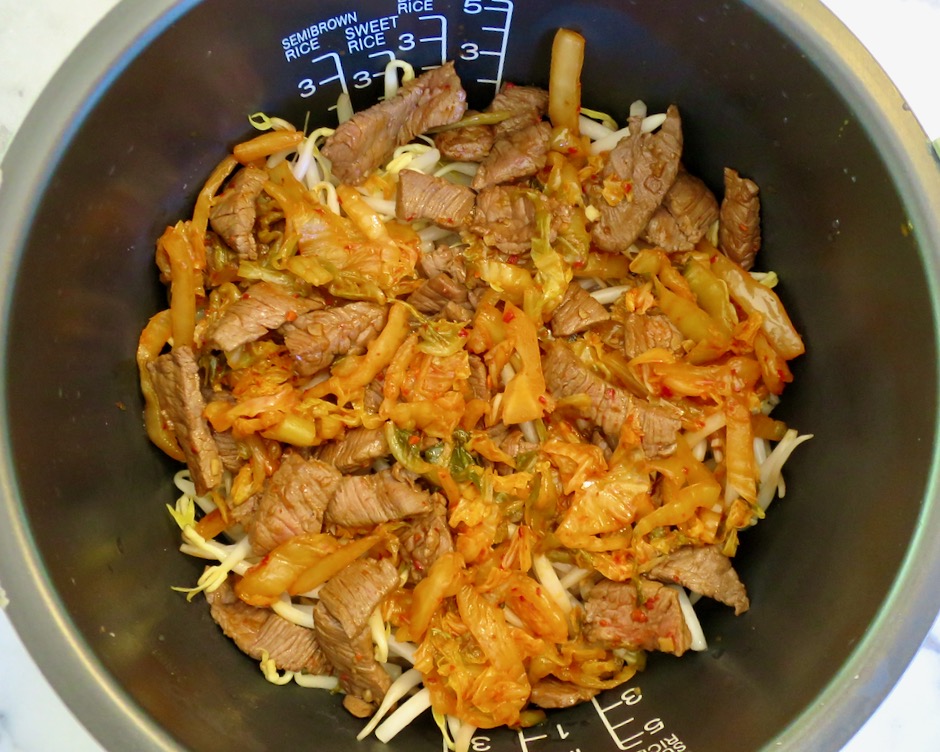
Soybean Sprouts, Kimchi & Filet Mignon over Rice

The original recipe from Korean Bapsang calls for adding a bit of seasoned beef or pork to the rice dish as an option. However, you can omit this for a vegetarian version. I have cooked this dish with and without meat and both are equally delicious.  All ingredients are added on top of the rice (pictured above) then cooked together.

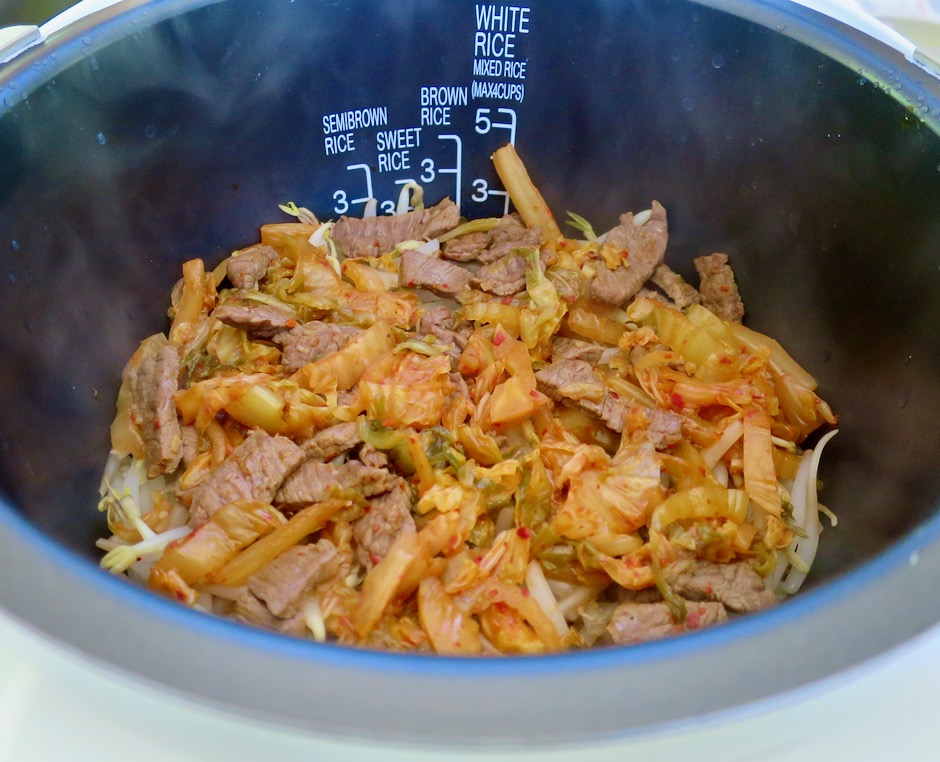
Cooked Soybean Sprouts, Kimchi & Filet Mignon over Rice

Once your rice timer goes off, you are ready to serve your meal.

Rice Bowl Sauce

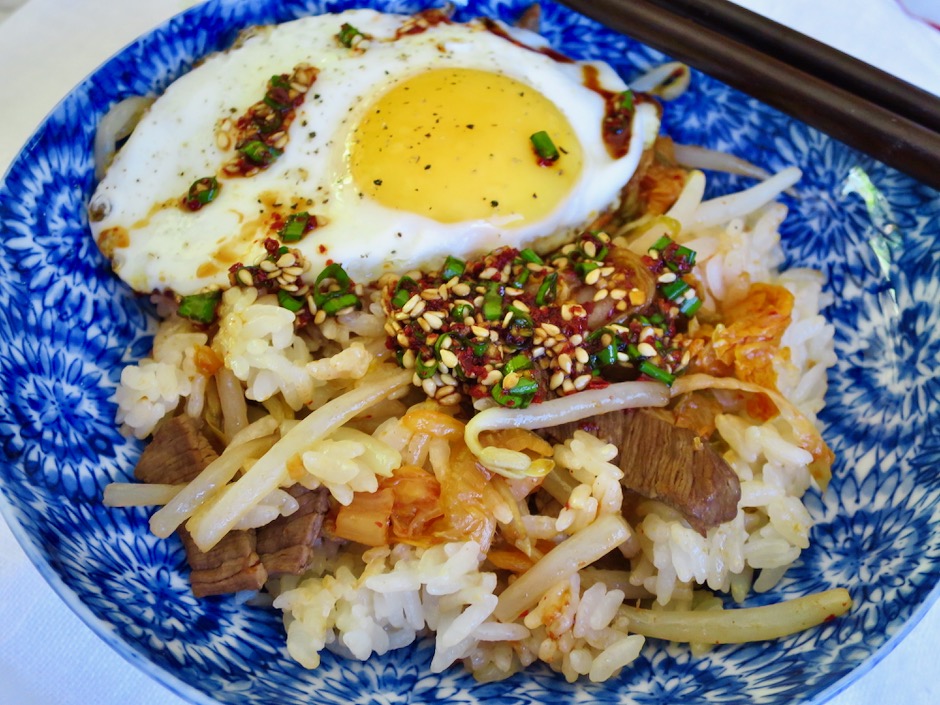
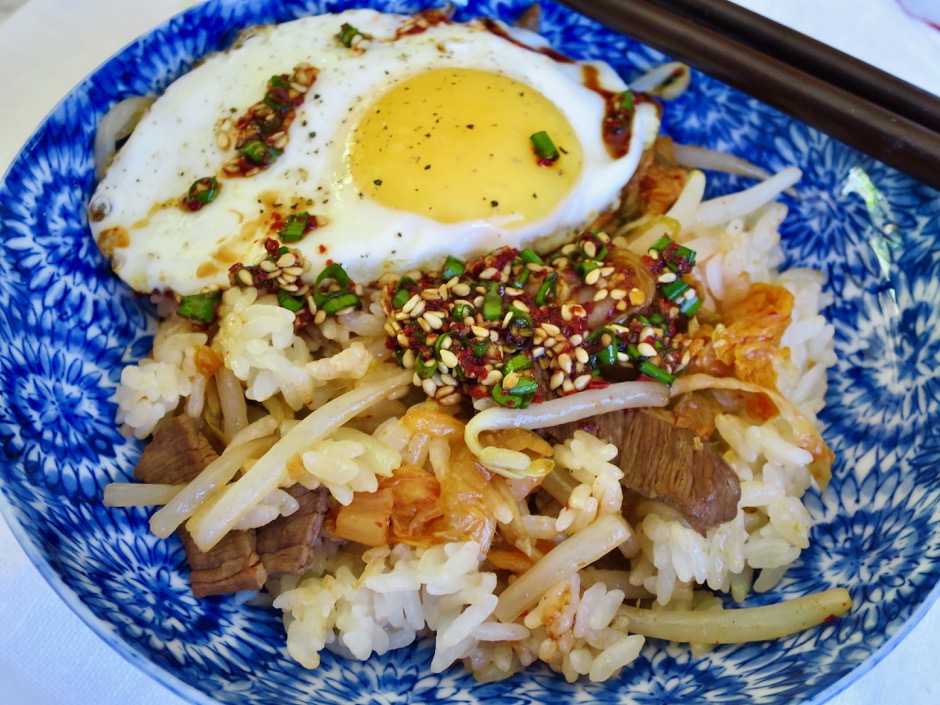
The sauce is drizzled over the rice bowl.  I couldn’t resist adding a sunny-side up egg to mine.

Soybean Sprouts Rice Bowl with Sunny-Side Up Egg

Soybean Rice Bowl
 
Adapted from Korean Bapsang blog
Author:
Serves: 2
Ingredients
  • 1 cup (measuring cup for rice cooker) short grain white rice
  • Vegetables & Meat:
  • 8 ounces soy bean sprouts, rinsed and drained well
  • 3 ounces filet mignon, thinly sliced (omit meat and next 4 ingredients for vegetarian version)
  • ½ teaspoon minced garlic
  • 2 teaspoons soy sauce
  • 1 teaspoon mirin
  • 1 teaspoon sesame oil
  • ½ cup kimchi, thinly sliced
  • 1 tablespoon kimchi juice
  • Sauce:
  • 2 tablespoons soy sauce
  • 1 teaspoon sesame oil
  • ½ teaspoon gochugaru (Korean red pepper flakes)
  • 1 teaspoon roasted sesame seeds
  • ½ teaspoon garlic, minced
  • ½ teaspoon sugar
  • 2 green onions, finely chopped
  • 2 sunny-side up eggs (optional)
Preparation
  1. Rinse rice and drain well. Place in rice cooker. Add water to 1 cup line minus 1 tablespoon.
  2. Marinate meat (if using) with garlic, soy sauce, mirin and sesame oil. Meanwhile, heat a small skillet with a 1½ teaspoons of canola oil over medium high heat. Stir fry kimchi for 2 minutes, adding some juice from the kimchi to intensify the flavor. Remove to a small plate. Add meat (if using) to the same pan and stir fry for a minute or two, just until barely cooked through.
  3. Spread soy bean sprouts over the the rice, followed by the kimchi, and meat. Start the rice cooker (do not use quick cooking option).
  4. While the rice is cooking, mix all of the sauce ingredients together in a small bowl. When the rice is nearly done, cook your sunny-side up eggs. When the rice timer goes off, gently fluff the rice distributing the bean sprouts, kimchi and meat. Serve in bowls with sauce drizzled over the rice and top with sunny-side up eggs.


Appetizers, Dinner, Korean, Lactose Free, Recipes, Sauces, Tofu, Vegan, Vegetarian

Warm Tofu with Spicy Sauce

September 4, 2020

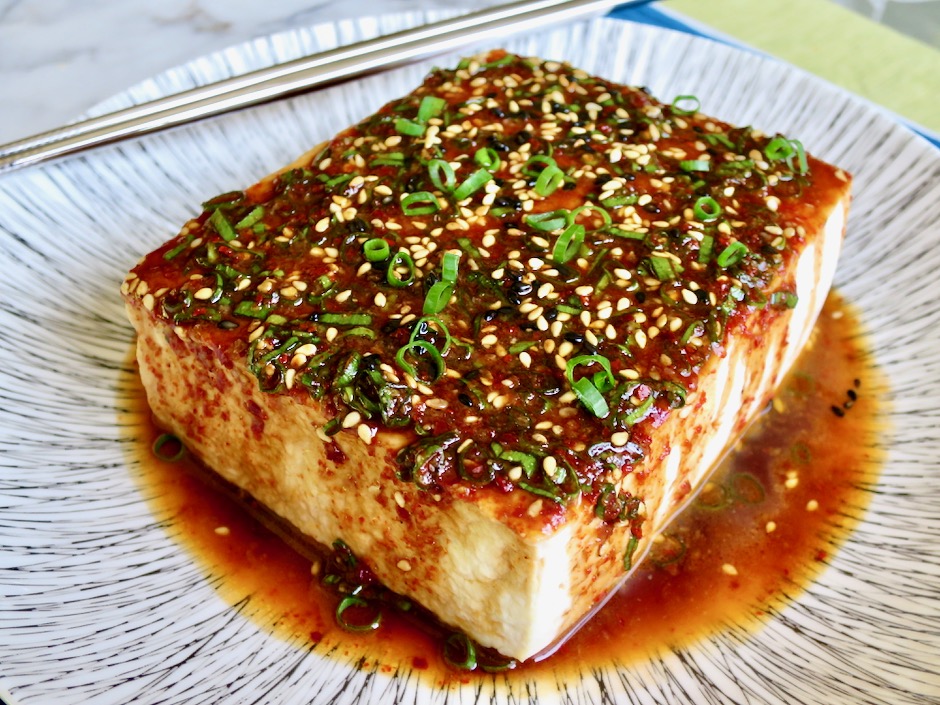
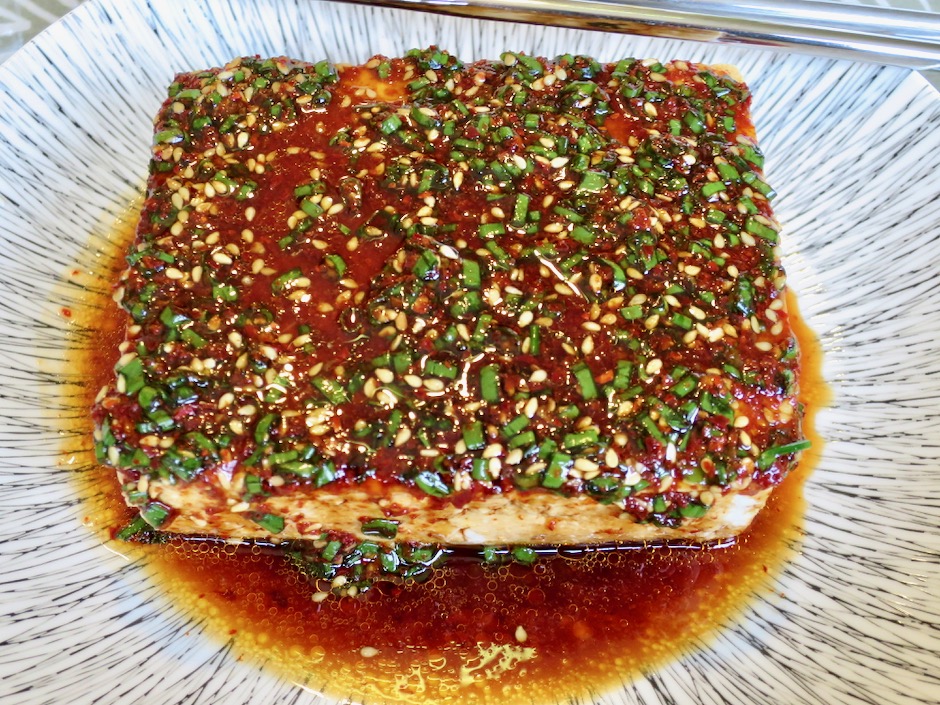
Warm Tofu with Spicy Dipping Sauce

I am a confirmed lover of tofu whether it’s baked, pan-fried, in miso soup, or simply served with grated ginger, slivered green onions and soy sauce.  I came across this recipe on Alexandra’s Kitchen blog recently.  The original recipe came from Ruth Reichl who was the Editor in Chief of the now defunct and beloved Gourmet magazine. It struck all the right notes: fast, savory and tasty.

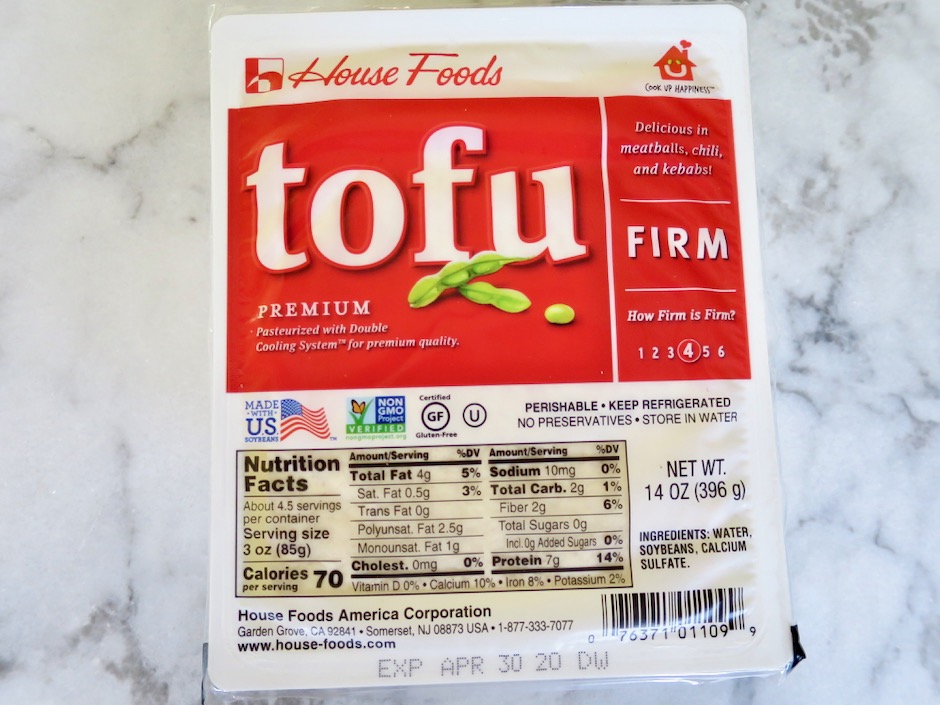
Firm Tofu

Firm tofu is the best option for this recipe as it keeps its shape when sliced.

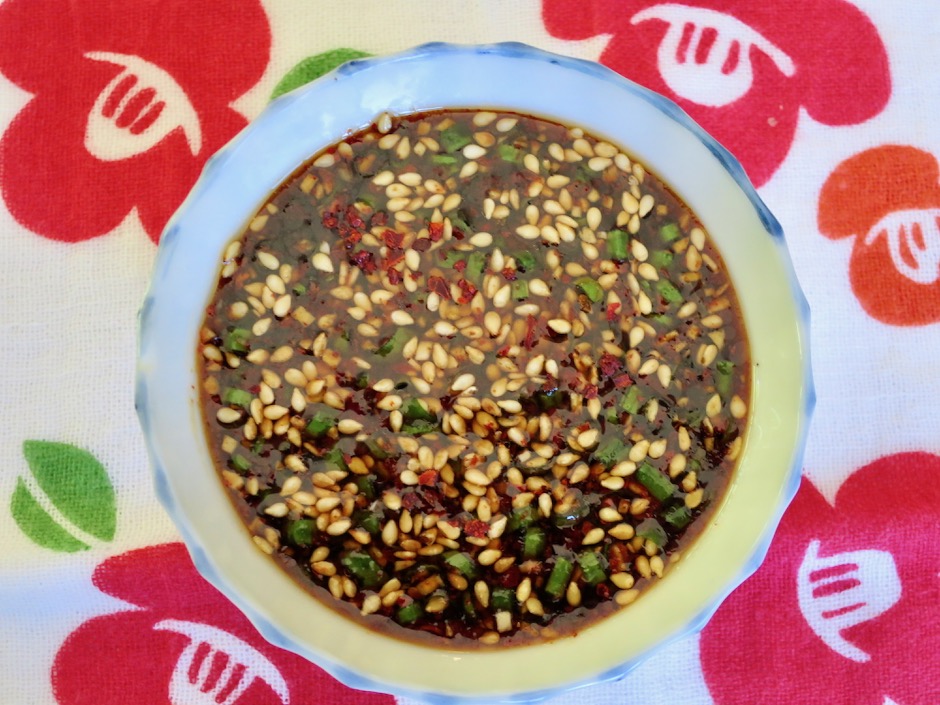
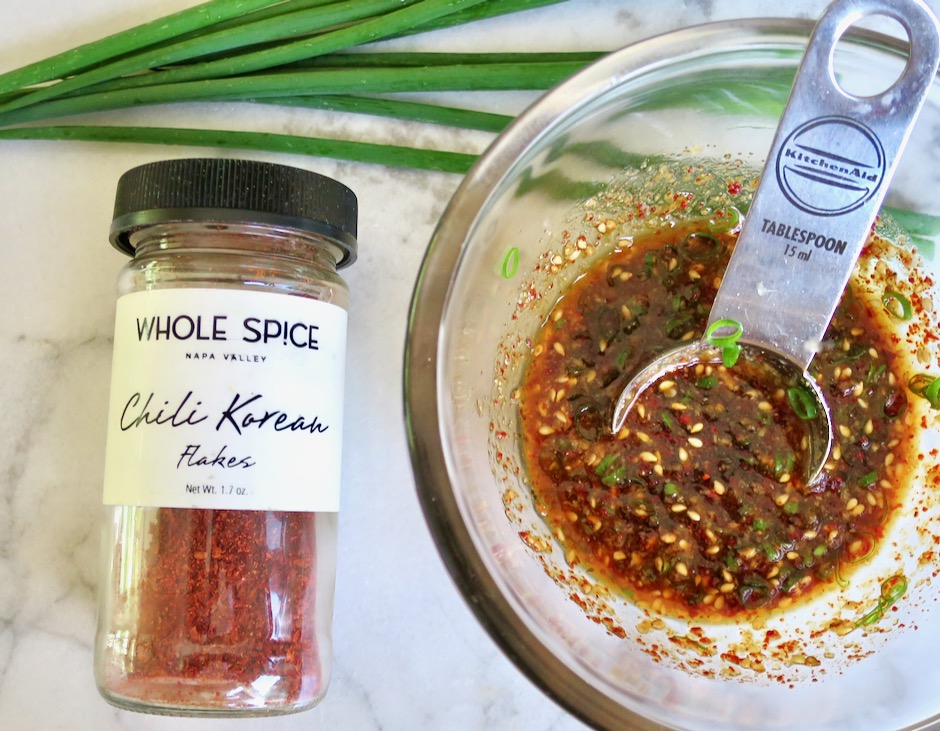
Gochugaru, Green Onions, Spicy Sauce

If you don’t have any gochugaru (Korean chili flakes) I suggest that you buy some right away.  With its gentle heat and smoky, fruity flavor, it’s the chili that I use most often.  I use gochugaru for Korean pan-fried steak, and in a dipping sauce for Korean pancakes and dumplings, as well as in kimchi.

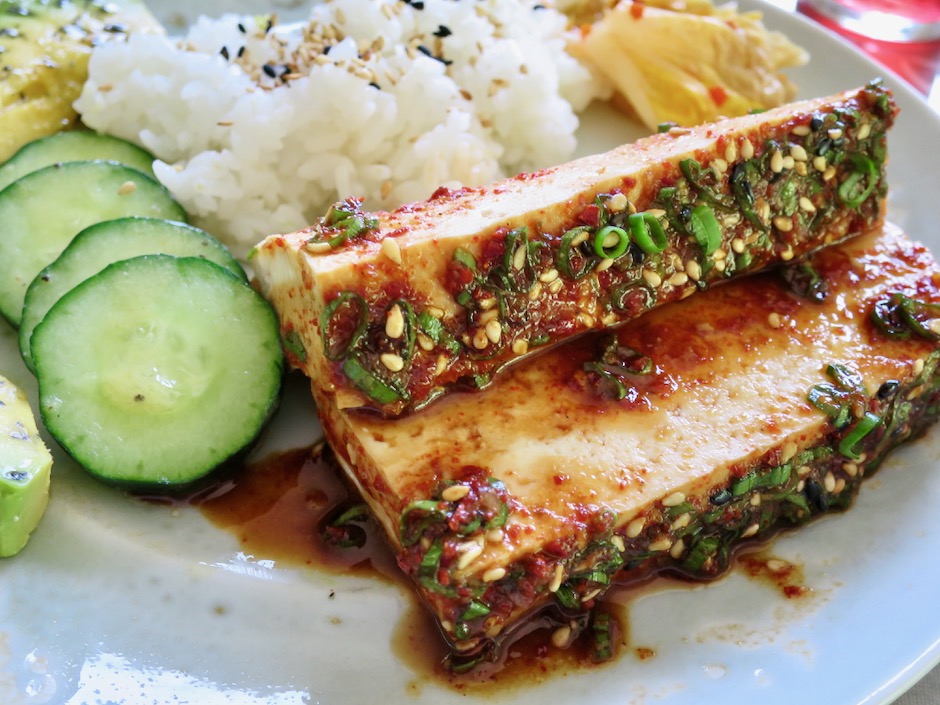
Warm Tofu with Spicy Dipping Sauce

Serve the tofu with crispy cucumber slices, kimchi and Japanese rice.

Warm Tofu with Spicy Dipping Sauce

Warm Tofu with Spicy Sauce
 
Adapted from Alexandra's Kitchen blog & Gourmet Magazine
Author:
Serves: 2
Ingredients
  • 1 (14 ounce) package firm tofu
  • 1½ tablespoons soy sauce (Kikkoman recommended)
  • 1½ tablespoons low sodium soy sauce (Kikkoman recommended)
  • ½ teaspoon granulated sugar
  • 1 tablespoon roasted sesame oil (Kadoya recommended)
  • 1 teaspoon gochugaru (Korean chili flakes)
  • 2 teaspoons roasted sesame seeds (white or a mix of white and black)
  • ¼ - ½ teaspoon finely grated garlic
  • 3 tablespoons finely sliced green onions
Preparation
  1. Rinse the tofu, then cover with cold water in a medium saucepan. Bring to a simmer over medium-high heat. Turn heat down to keep warm.
  2. In a small bowl, combine the soy sauces and sugar. Mix until the sugar dissolves. Stir in the sesame oil, gochugaru, sesame seeds, garlic, and green onions. Set aside.
  3. Carefully drain water from pot and remove tofu to a paper towel-lined plate. Pat tofu dry. Transfer tofu to a shallow bowl and spoon some of the sauce over the top. Serve with Japanese rice and extra sauce on the side.


Dinner, Italian, Lactose Free, Pasta, Recipes, Veggies

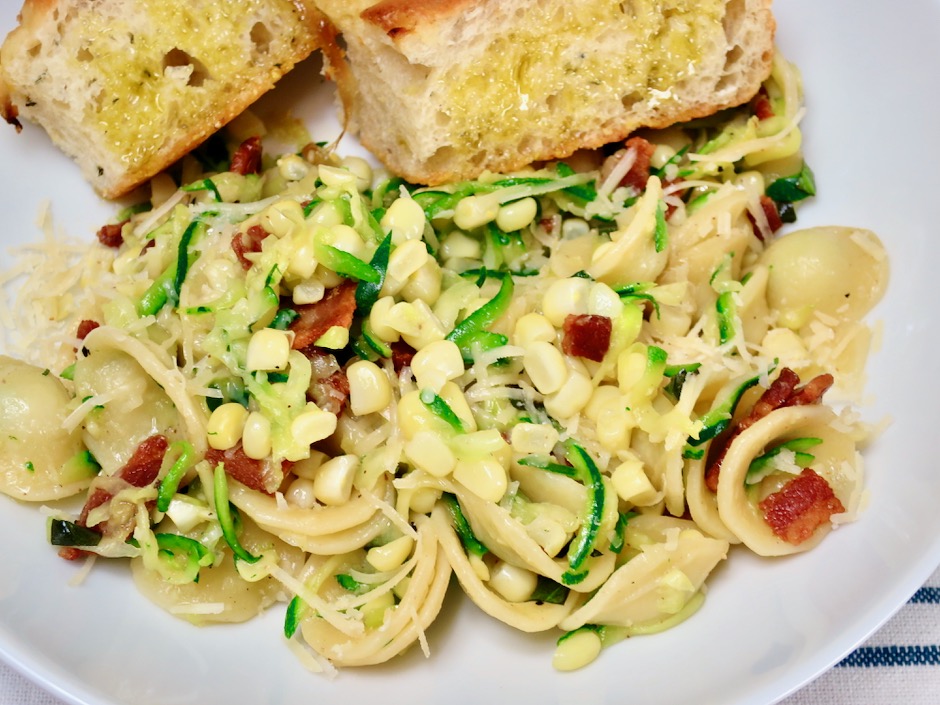
Summer Weekend Pasta

August 21, 2020

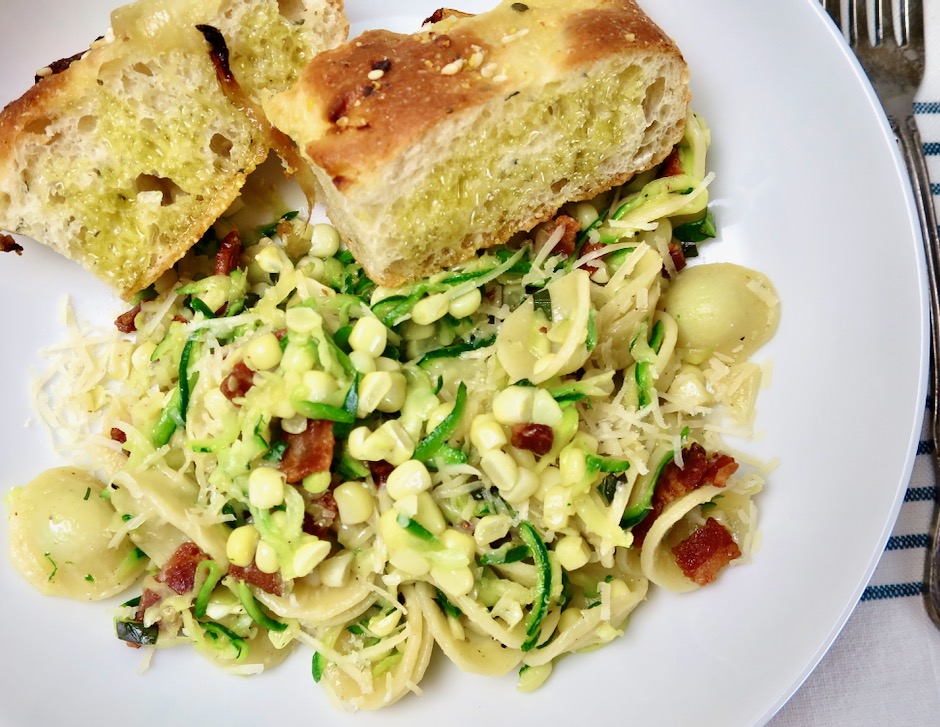
Summer Weekend Pasta

This is a lovely, summery pasta dish whose ingredients can be adjusted to include whatever fresh veggies you might have on hand.  Now that corn is in season, make sure to include it along with the bacon (yum).  I do love the bright green specks of zucchini tucked in-between the orecchiette, but that’s not to say that you couldn’t switch it out for another green vegetable such as julienned kale or thin strips of asparagus.  Whatever you choose, keep in mind they should be cut, grated, or sliced into petite sizes so they meld nicely with the orecchiette.

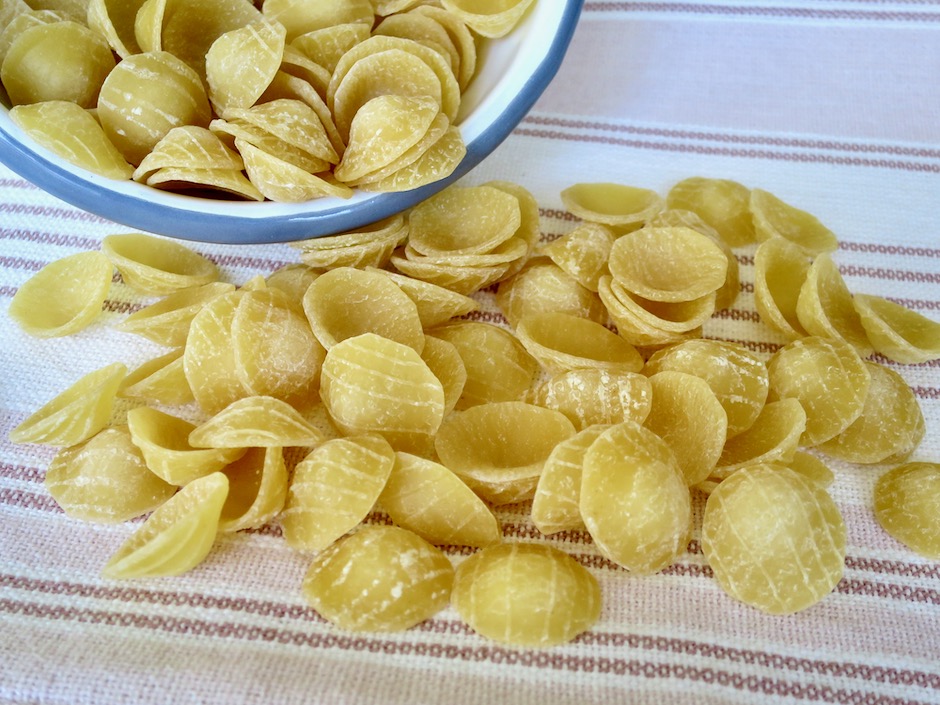
Orecchiette

Orecchiette is the perfect pasta for this dish.  The domed shape of this pasta is ideal for catching the little nuggets of corn, bacon, and zucchini.

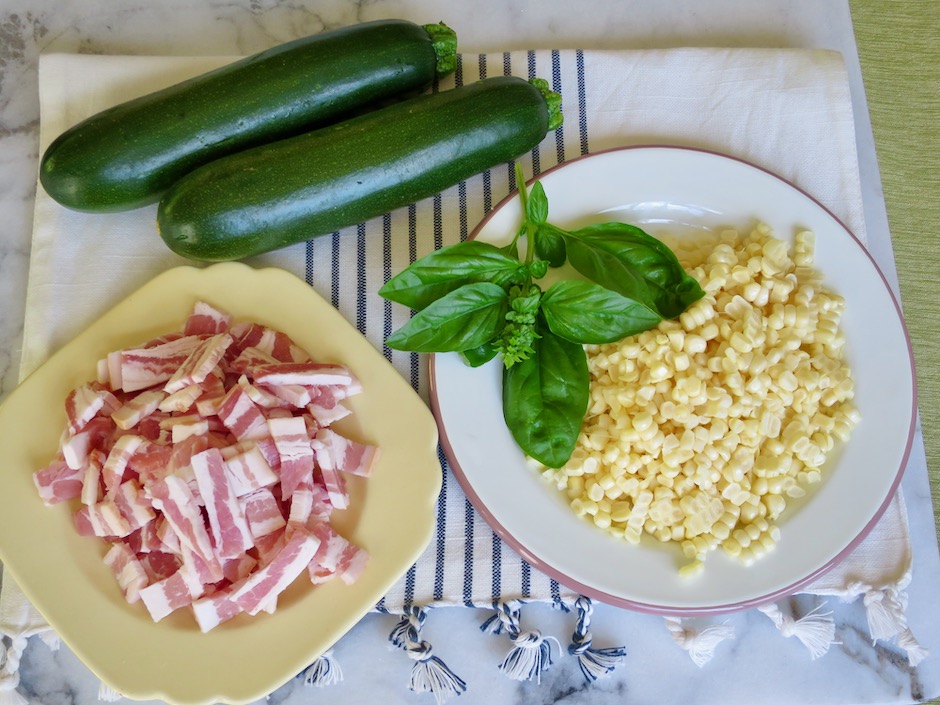
Zucchini, Corn, Basil, Bacon

Bacon = Happiness.

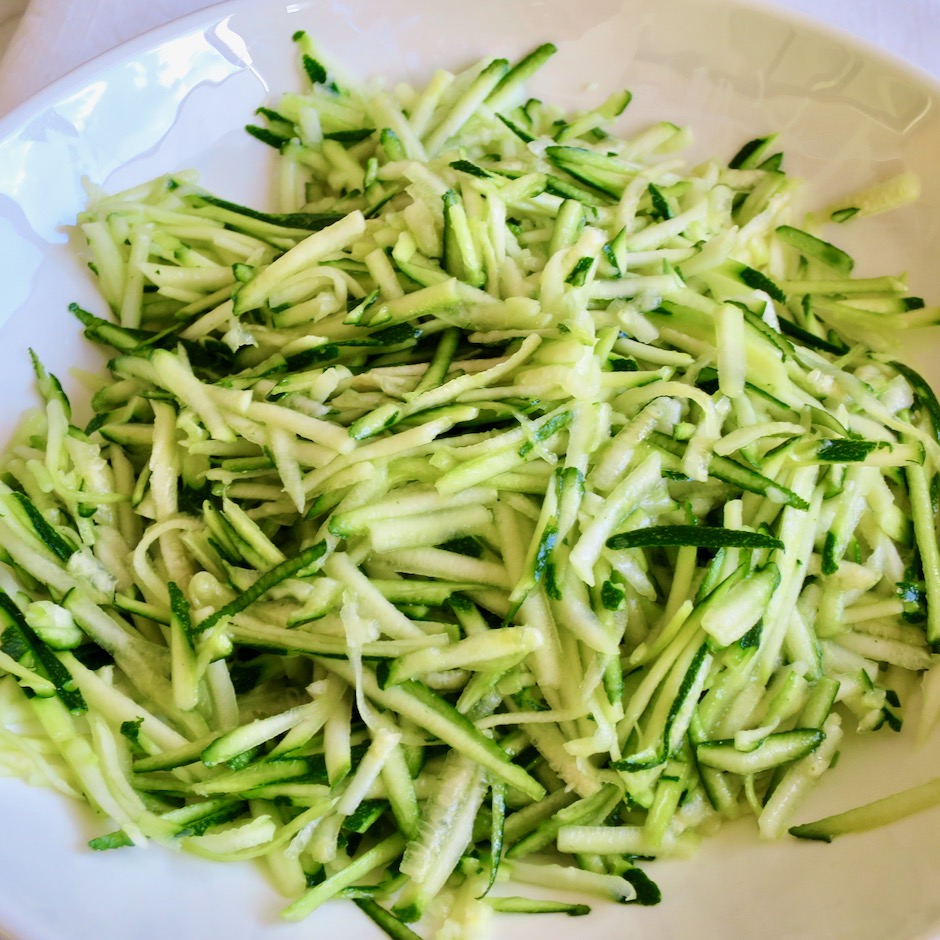
Grated Zucchini

The zucchini is grated and salted before being squeezed to extract as much liquid as possible.  This will ensure you do not end up with watery pasta.  The final dish is a bowlful of summer flavors.

Summer Weekend Pasta


Summer Weekend Pasta
 
Adapted from Food52
Author:
Serves: 2
Ingredients
  • 4 slices thick bacon, cut crosswise into ¼-inch pieces
  • 1 medium garlic clove, peeled and crushed
  • pinch of red pepper flakes (optional)
  • 2 medium green zucchini, ends trimmed
  • ½ pound orecchiette
  • 2 ears corn, kernels cut from the cobs
  • 1 tablespoon roughly chopped or torn basil
  • kosher salt and freshly ground black pepper
  • olive oil for finishing
  • grated parmesan cheese for serving
Preparation
  1. Grate the squash on a box grater or large hole grater. Place grated squash in a bowl and toss with 1 teaspoon kosher salt. Let sit for at least 10 minutes, and up to 30 minutes.
  2. Bring a large pot of generously salted water to a boil for the pasta. Meanwhile, cook bacon in a large saute pan with crushed garlic clove over medium heat. Cook until the bacon is crisp. Remove bacon to a paper towel-lined plate. Discard the garlic clove.
  3. Once the water comes to a boil, add the pasta and cook until al dente. While the pasta is cooking, take fistfuls of the salted squash and squeeze firmly to extract liquid. Set aside in a bowl.
  4. Drain the pasta but don't shake it; you want a little pasta water to help create a sauce. Pour it back in the pot. Add the pressed squash, corn kernels and bacon to the pot. Toss everything together. Add salt and pepper to taste. Drizzle in a tablespoon or two of olive oil. Add basil and red pepper flakes if using. Toss once before serving and sprinkle with grated parmesan.


Dinner, Japanese, Lactose Free, Pasta, Recipes, Vegan, Vegetarian

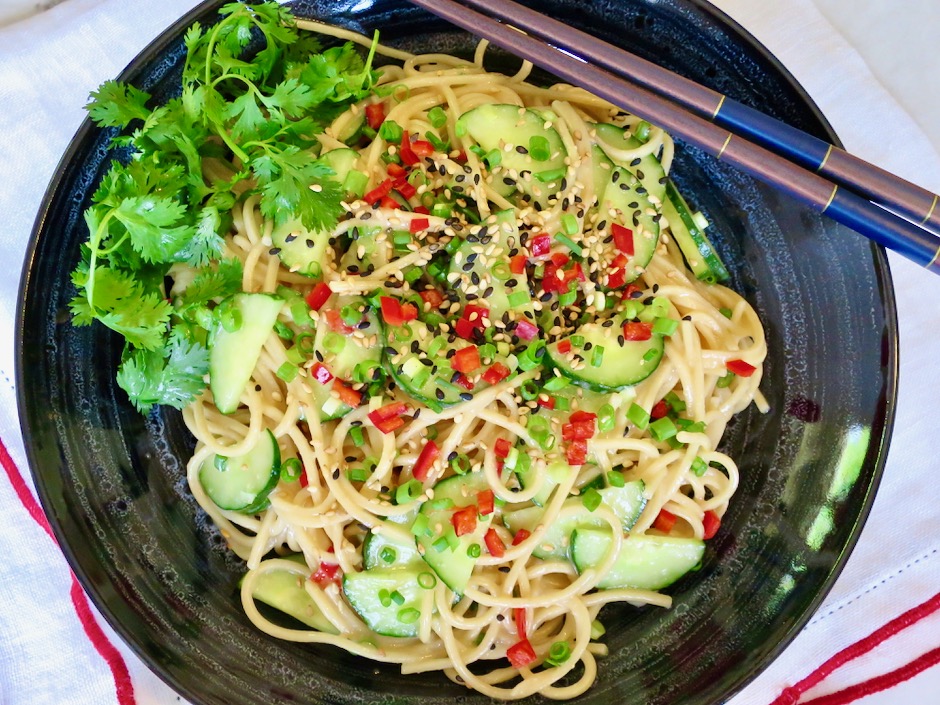
Cold Miso Sesame Ramen

August 13, 2020

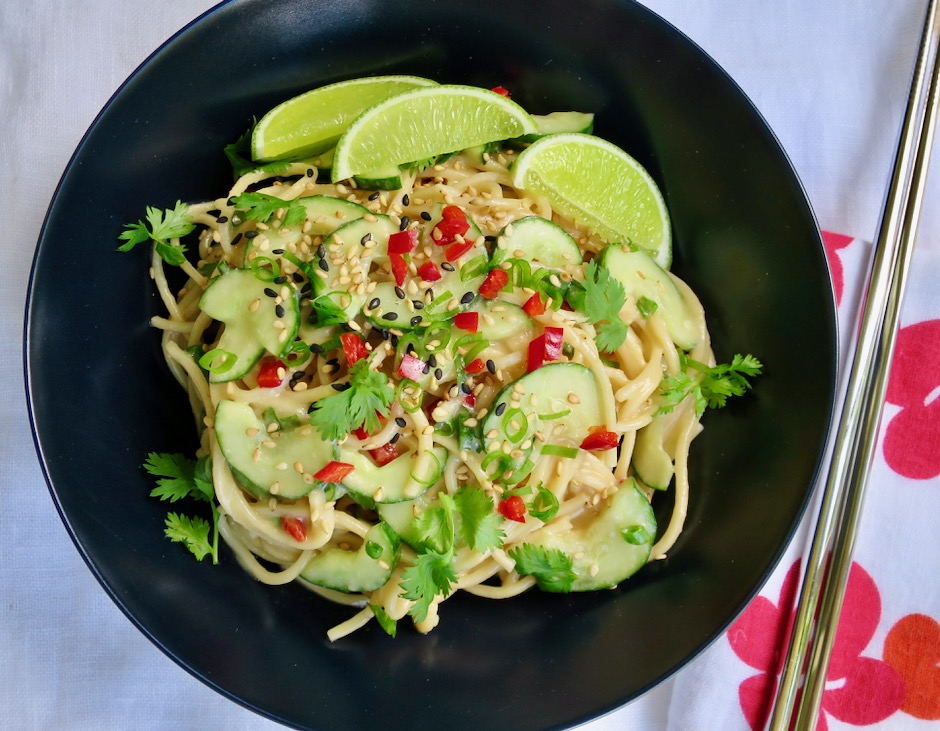
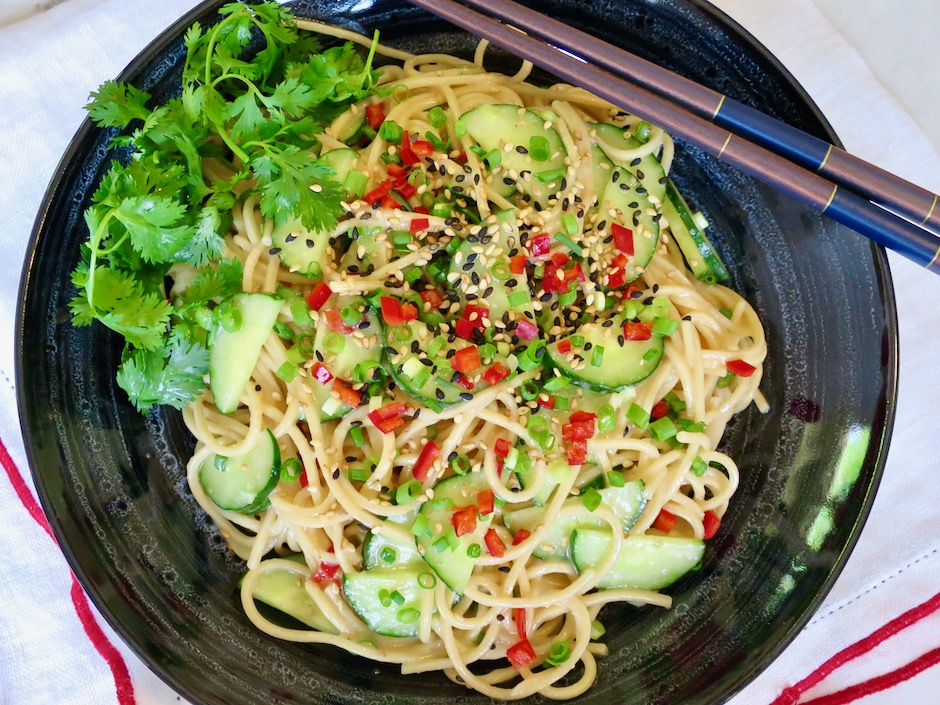
Cold Miso Sesame Ramen

Cold noodle dishes have always been a favorite of mine, especially during the summer when it is blazing hot.  Dressings and sauces made with light miso are always so tasty.  I enjoy its mild and slightly sweet flavor. This is such an easy meal to throw together if you are short on time.  You can make it in advance, just leave the dressing out until you are ready to serve it.

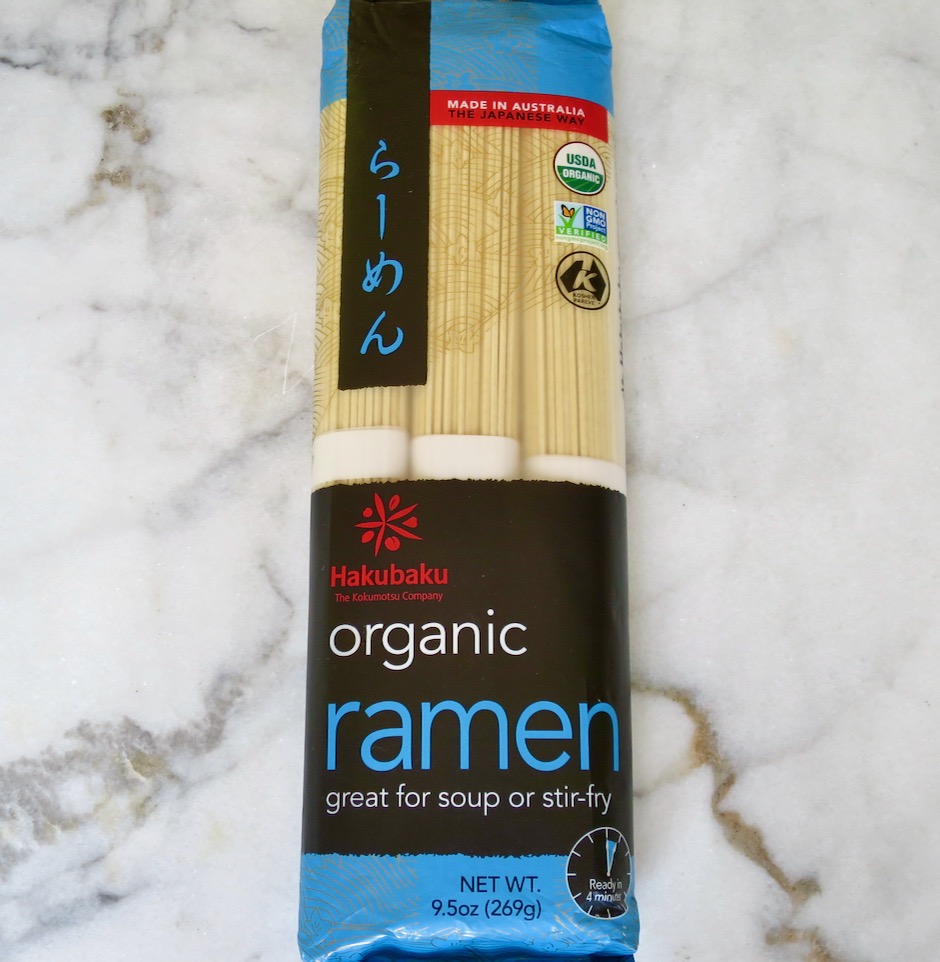
Hakubaku Ramen

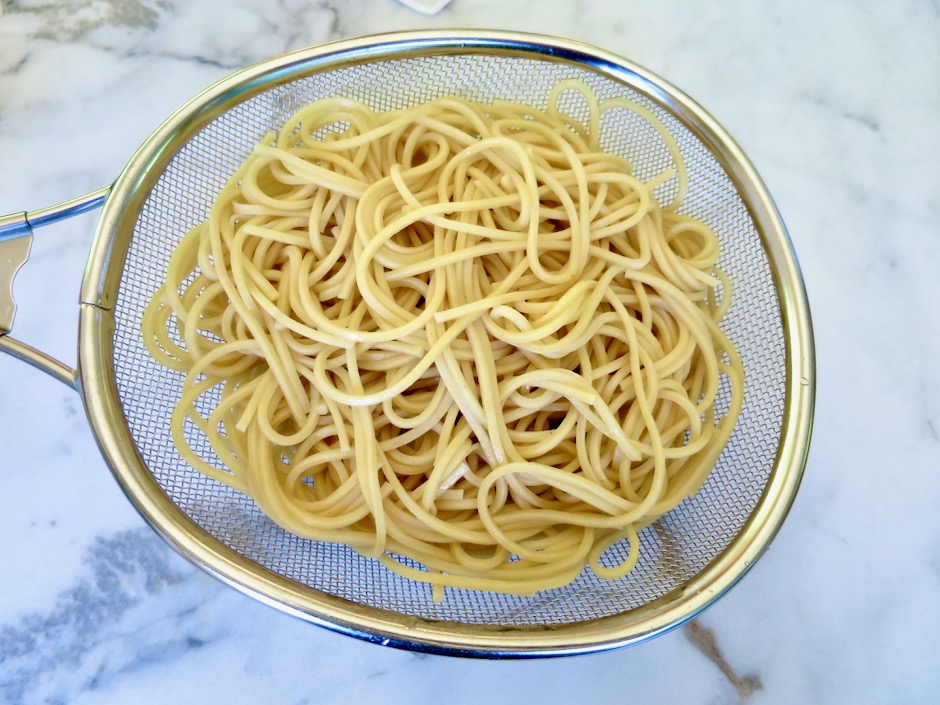
Hakubaku dried ramen is a good choice if you can find it.  Otherwise use your favorite ramen or substitute it with thin spaghetti.

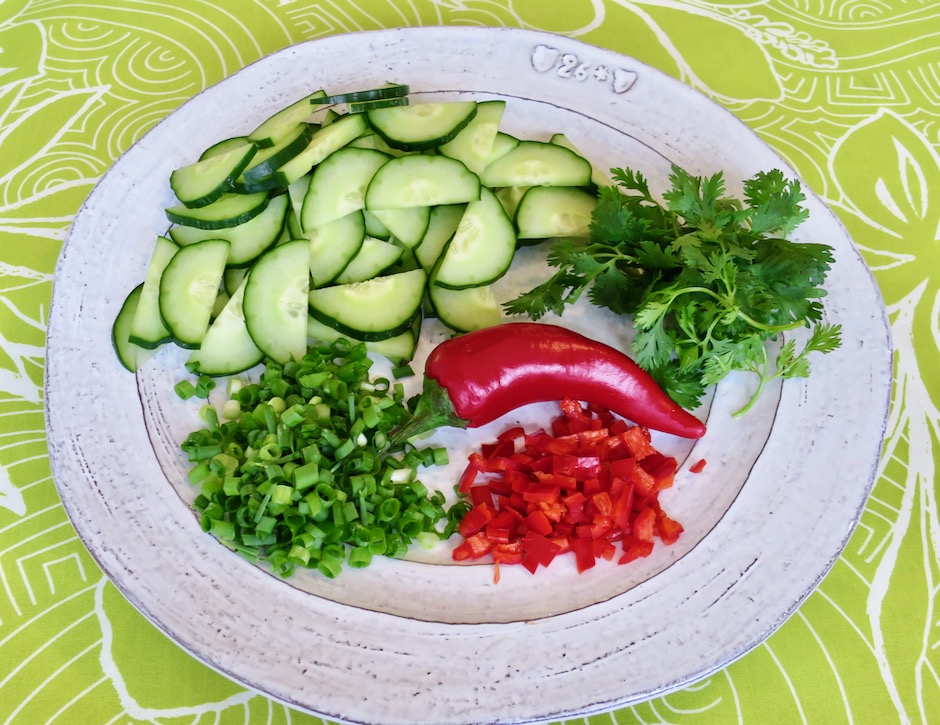
Cucumber, Cilantro, Fresno Pepper, Green Onions

With just a handful of ingredients, you can quickly put together a satisfying lunch.  The Fresno pepper adds a little bit of heat, and a beautiful firecracker red color.

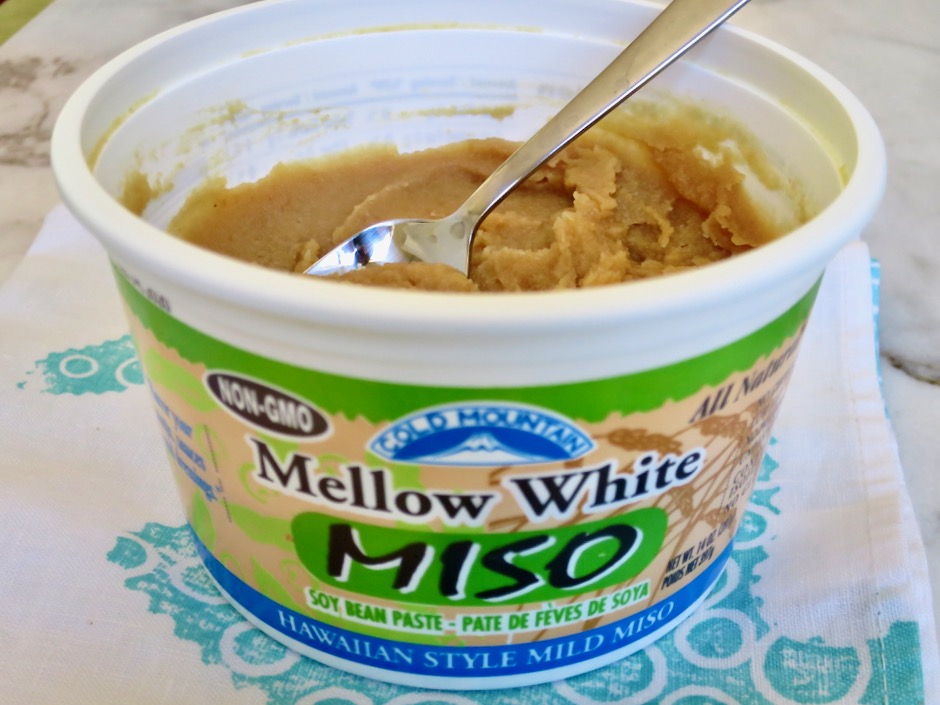
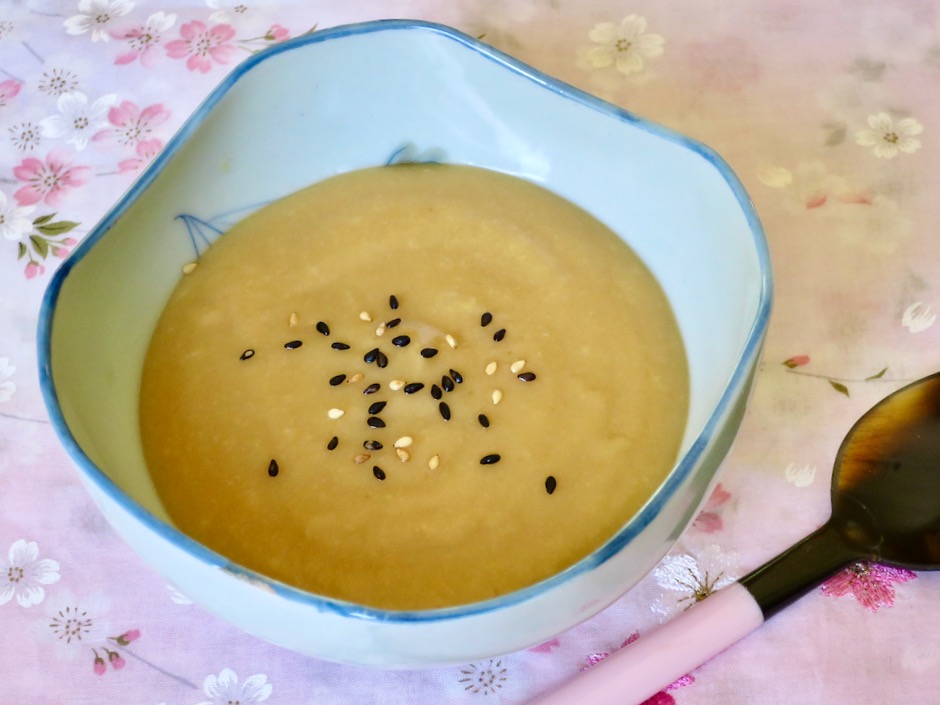
Miso Dressing

The miso dressing is also excellent tossed with crispy greens such as iceberg lettuce, watercress, red and green cabbage, carrots, cucumbers, and radishes.

Hakubaku Ramen

For its ease and flavor, this has become a new favorite dish of mine no matter what time of the year it may be.

Cold Miso Sesame Ramen

Cold Miso Sesame Ramen
 
Adapted from Bon Appetit magazine
Author:
Serves: 2
Ingredients
  • 1 small Fresno chile
  • 2 mini Japanese cucumbers
  • 2 - 4 green onions
  • cilantro (optional)
  • 2 limes (2 tablespoons + wedges for serving)
  • ¼ cup mild miso
  • 2 teaspoons roasted sesame oil
  • 2 teaspoons light brown sugar
  • 1 small garlic clove, grated
  • 2 tablespoons + 2 teaspoons grapeseed or canola oil
  • 8 ounces dry ramen
  • roasted sesame seeds for serving
  • cilantro sprigs for serving (optional)
Preparation
  1. Heat water for ramen in a large pot. Meanwhile, cut Fresno chile in half lengthwise (I use disposable gloves when handling chile peppers). Remove the ribs and seeds (leave ribs in for spicier flavor). Slice into strips and finely chop.
  2. Cut cucumbers in half lengthwise, then slice crosswise into ¼-inch thick half-moons. Thinly slice green onions.
  3. Cut ½ lime into wedges for serving. Juice the other half along with the second lime into a small dish, until you have 2 tablespoons.
  4. Whisk together 2 tablespoons lime juice, miso, sesame oil, brown sugar and garlic in a small bowl until smooth. Slowly whisk in grapeseed oil until dressing is smooth and thick. Whisk in water 1 tablespoon at a time until dressing is the consistancy of heavy cream (1½ - 2 tablespoons). Set aside.
  5. Cook ramen according to package instructions. Rinse under cold water and drain thoroughly, shaking off any excess water (excess water will dilute the dressing). Transfer noodles to a large bowl and toss with the sauce. Add chile, cucumbers, and green onions. Toss again. Divide noodles among shallow bowls. Top with roasted sesame seeds, sprigs of cilantro if using, and lime wedges.


Beef, Dinner, Japanese, Lactose Free, Recipes, Sauces

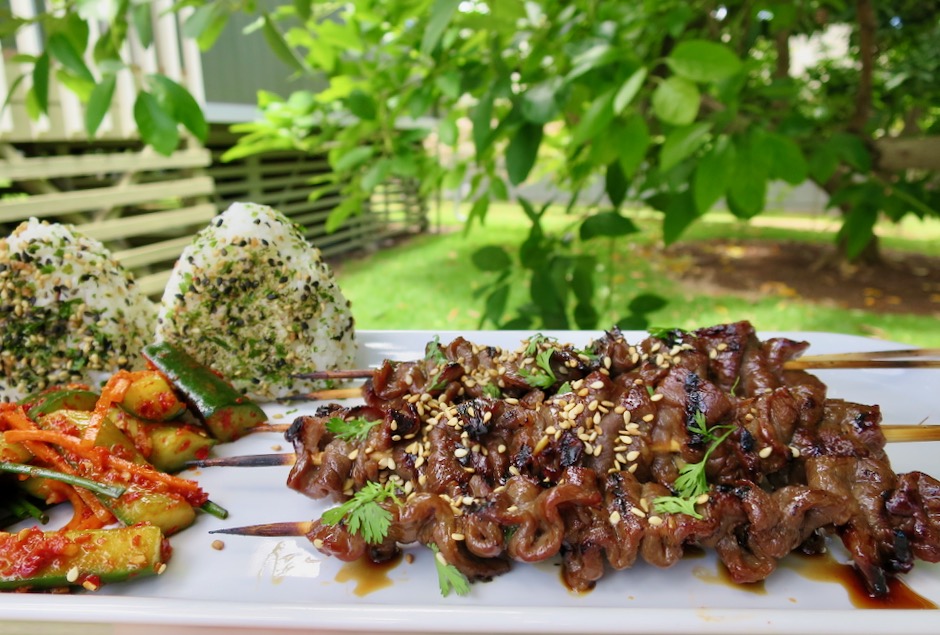
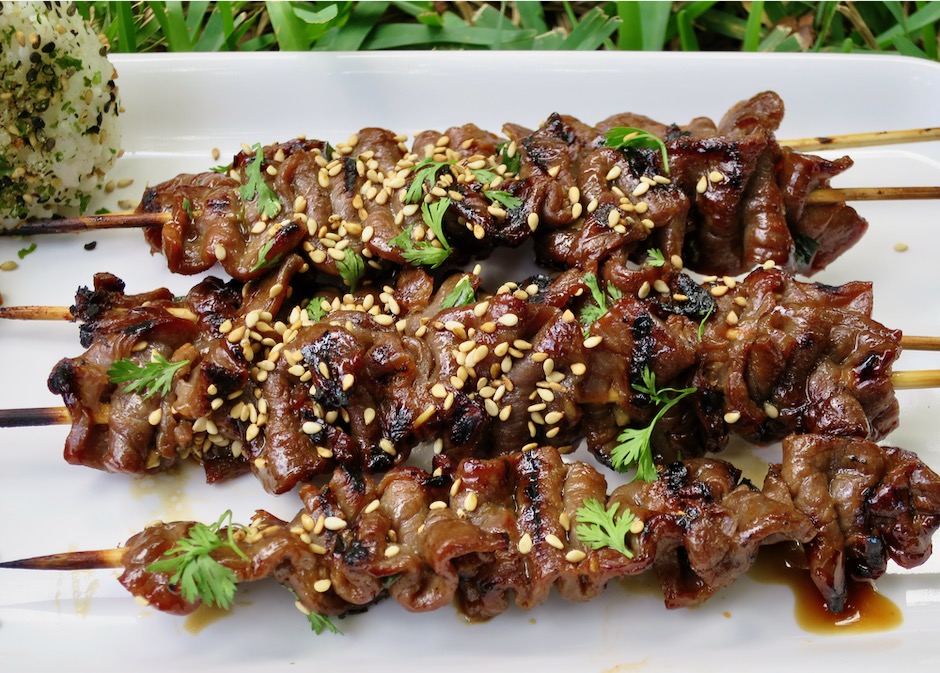
Best Teriyaki Meat Sticks

July 31, 2020

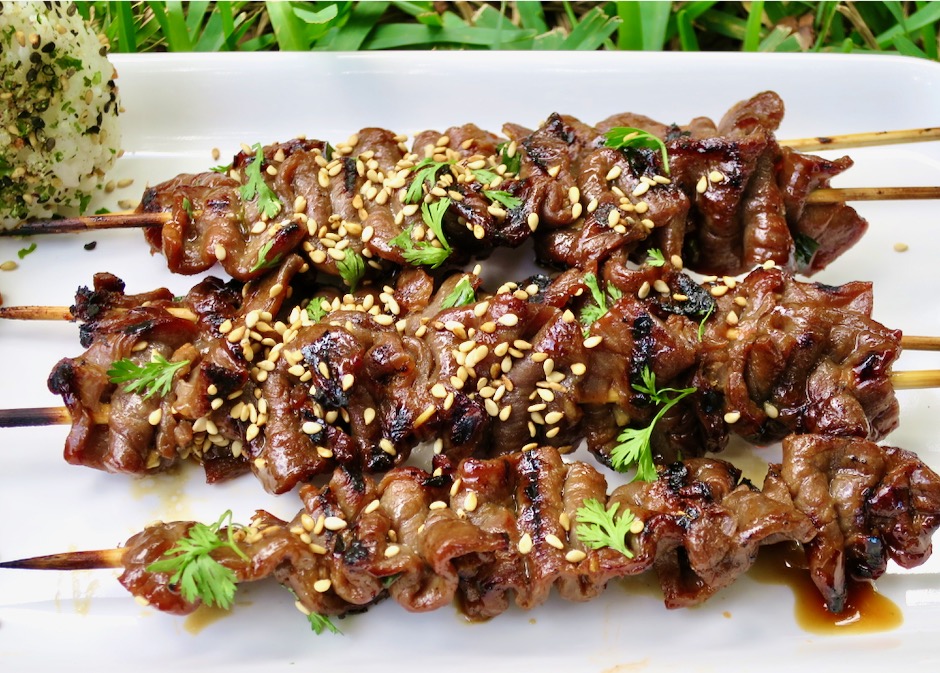
Best Teriyaki Meat Sticks

Over the course of a month or so, I have been on a quest to find the best cut of meat for my teriyaki meat sticks.  I first tried ribeye which turned out to be just fine but not exactly what I was hoping for.  The next time I bought thinly sliced “teriyaki style” meat from my local market.  The thin slices of meat caught my attention but as it turned out, they use round steak which is generally quite tough.  I asked the butcher for his suggestion and tri-tip was his recommendation. Stan kindly offered to slice the meat for me so we made a plan.  I would pick up the meat the following day so he would have the chance to freeze the meat for a bit which makes it much easier to slice in to thin strips.

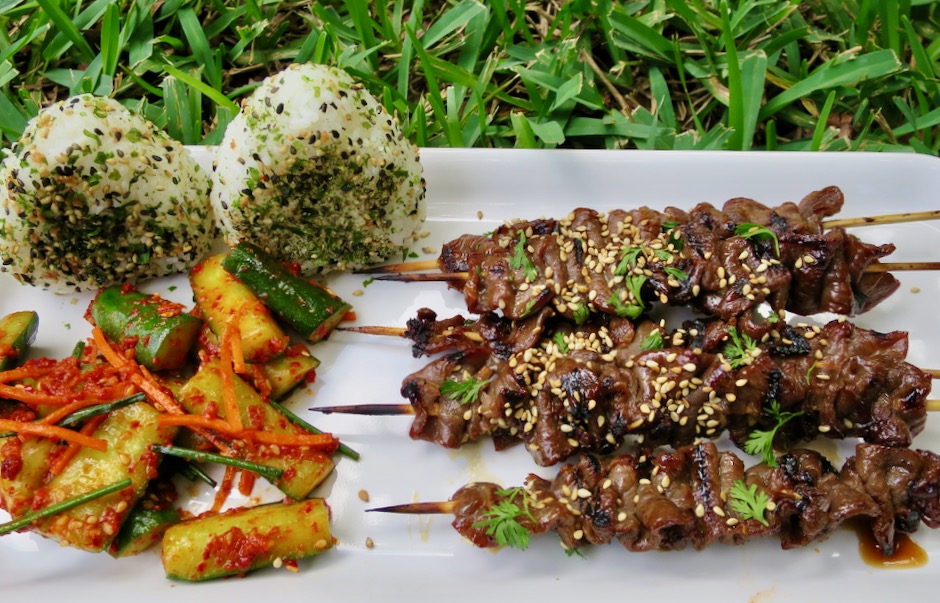
Best Teriyaki Meat Sticks with Oi Kimchi & Onigiri

Tri-Tip

Stan was absolutely correct.  The trip-tip was tender and flavorful.  I appreciated that he offered to slice the meat for me which saved me some time.  It’s fairly easy to slice the meat at home once you freeze it for about an hour to firm up.  All you need is a steady hand and a good knife.

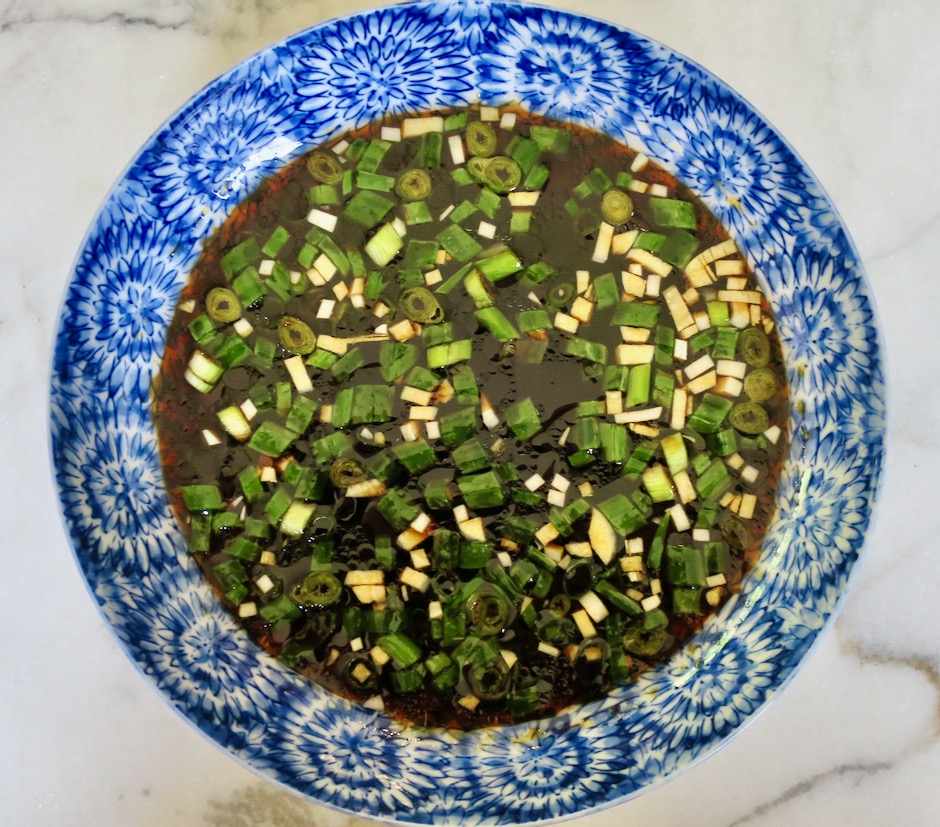
Teriyaki Sauce

The teriyaki sauce smells divine.  The secret ingredient in the sauce is Sherry.  Look for a decent dry or medium Sherry (from Spain=the real deal) if possible.

Medium Sherry

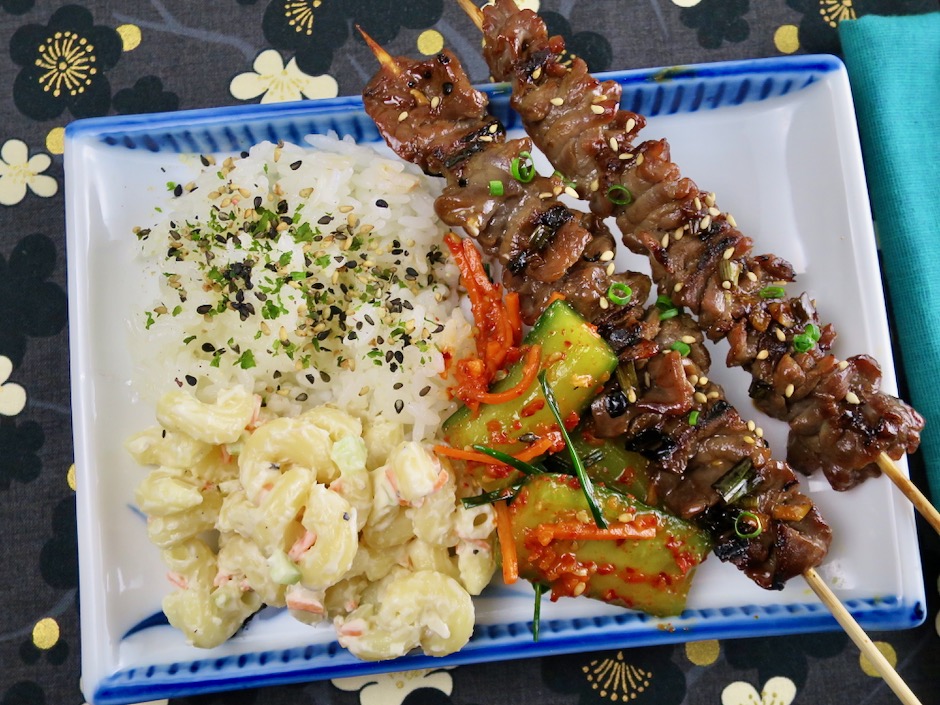
Best Teriyaki Meat Sticks with Oi Kimchi, Mac Salad, Rice

Leftover meat sticks makes a tasty lunch the following day.  I wrap them in foil and heat in the toaster oven for a 5 minutes. Serve with kimchi and mac salad.
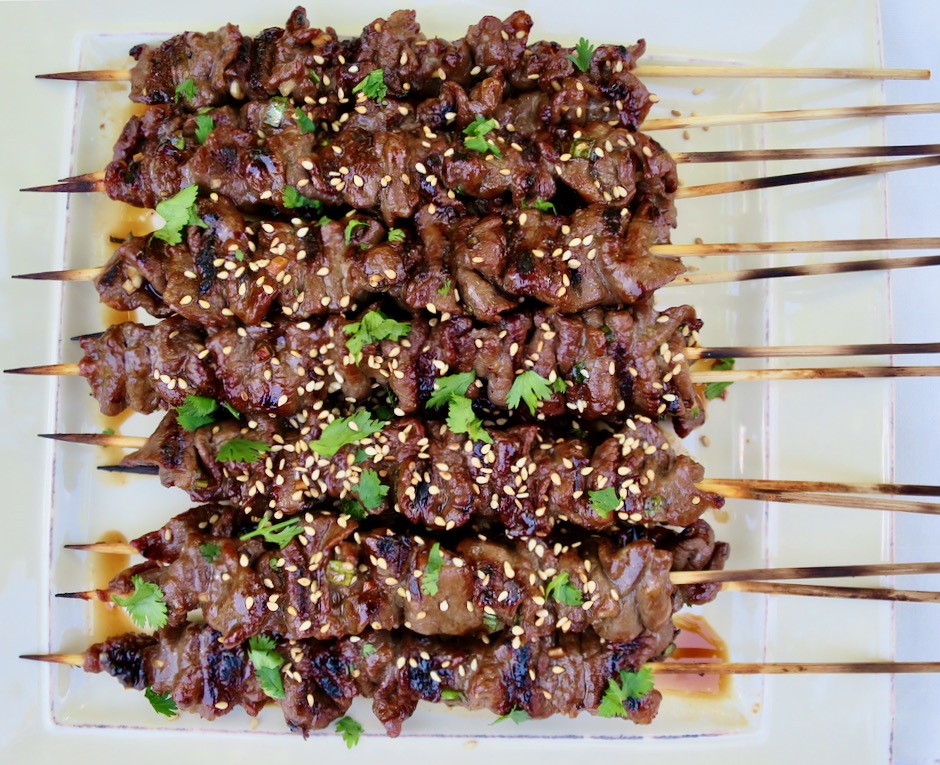
Best Teriyaki Meat Sticks

Best Teriyaki Meat Sticks

Best Teriyaki Meat Sticks
 
Author:
Serves: 14 meat sticks
Ingredients
  • 1 pound tri-tip, sliced into strips that are ⅛-inch thick and 1-inch wide
  • 14 bamboo skewers
  • Teriyaki Sauce
  • ¼ cup granulated sugar
  • ¼ cup + 1 tablespoon soy sauce (Kikkoman recommended)
  • 2 tablespoons sherry (Hartley & Gibson's Amontillado Medium Sherry recommended)
  • 1 tablespoon + 1 teaspoon canola oil
  • 2 medium garlic cloves finely chopped
  • ¼ cup thinly sliced green onions
  • roasted sesame seeds to finish (optional)
  • Note: If you want extra sauce to drizzle over the cooked meat sticks increase recipe by half. Use ½ cup + 3 tablespoons of sauce to marinate meat strips. Reduce the remainder of the sauce in a small saucepan over very low heat (or sauce will burn) until slightly syrupy, about 5 minutes or so. Brush or drizzle the sauce over the cooked meat sticks before serving.
Preparation
  1. Soak 14 bamboo skewers in water while you prepare the sauce and meat sticks
  2. Combine sugar, soy sauce and sherry in a medium bowl, stirring until the sugar has dissolved. Mix in oil, garlic and green onions. Set aside.
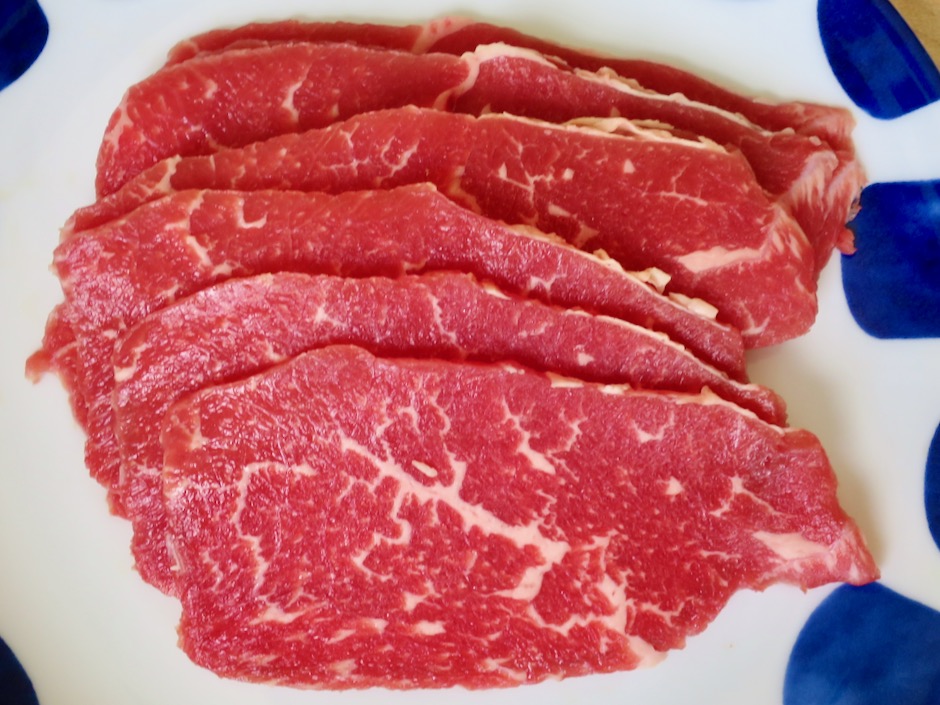
  3. Slice tri-tip in to ⅛-inch thick and 1-inch wide strips. Place in medium-sized bowl and pour in teriyaki sauce. Toss meat in sauce, cover and refrigerate for 1 hour (no longer or meat will be too salty), turning meat in marinade occasionally. Thread beef strips weaving back and forth, onto soaked bamboo skewers.
  4. Heat gas or charcoal grill to medium-high to high heat. Clean and oil grill grates. Place meat sticks on grates and cook, turning several times to ensure they are nicely charred. Cooking time is about 3-4 minutes total on a hot grill.


Follow

Get every new post delivered to your Inbox

Join other followers: