Browsing Category

Dinner

Beans, Chicken, Dinner, Mexican, Recipes, Slow Cooker

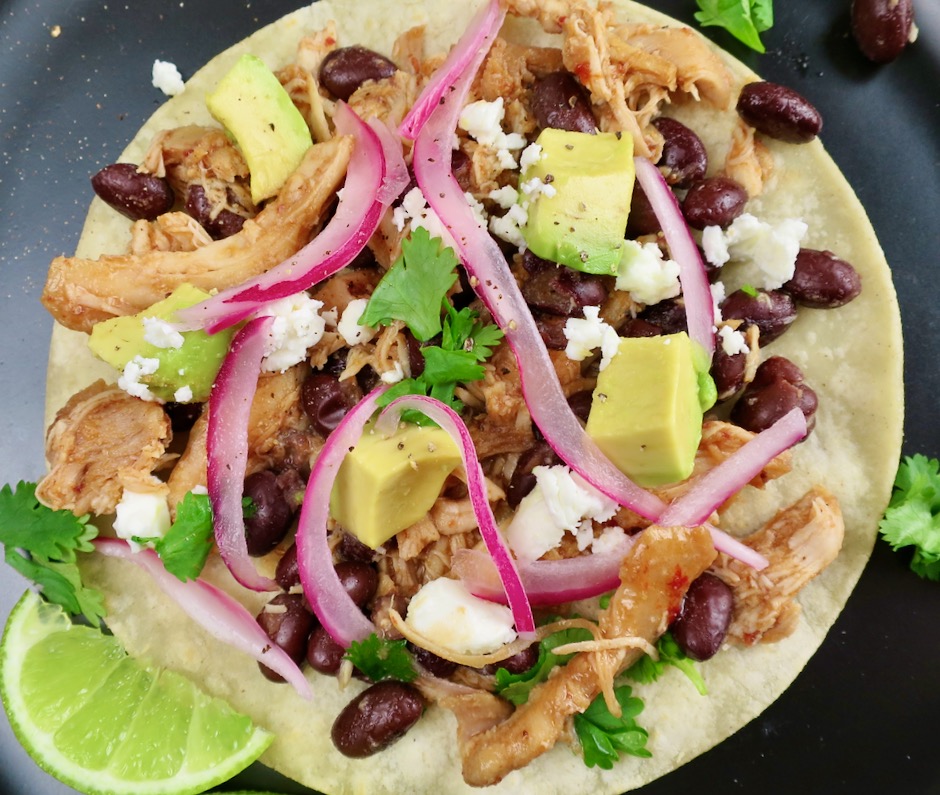
Slow Cooker Chipotle-Honey Chicken Tacos

October 10, 2021

Slow Cooker Chipotle-Honey Chicken Tacos

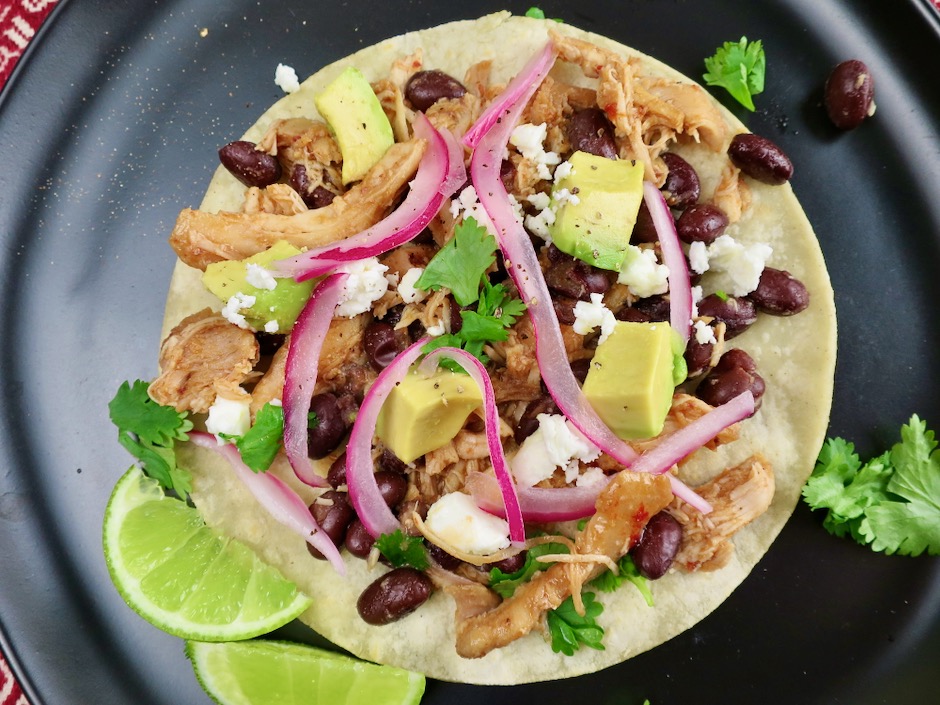
Sarah DiGregorio posted this recipe on the NYT Cooking blog.  She mentions that it may be the easiest tacos you will ever make, and I agree.  The two main seasoning ingredients that make this chicken so tasty, are canned chipotle chiles and honey.  These items may already be in your pantry, but if they aren’t, they are easily found in most supermarkets. Spicy, smoky, chipotle chiles combined with honey are the perfect combination.  These tacos are excellent.

Slow Cooker Chipotle-Honey Chicken Seasonings

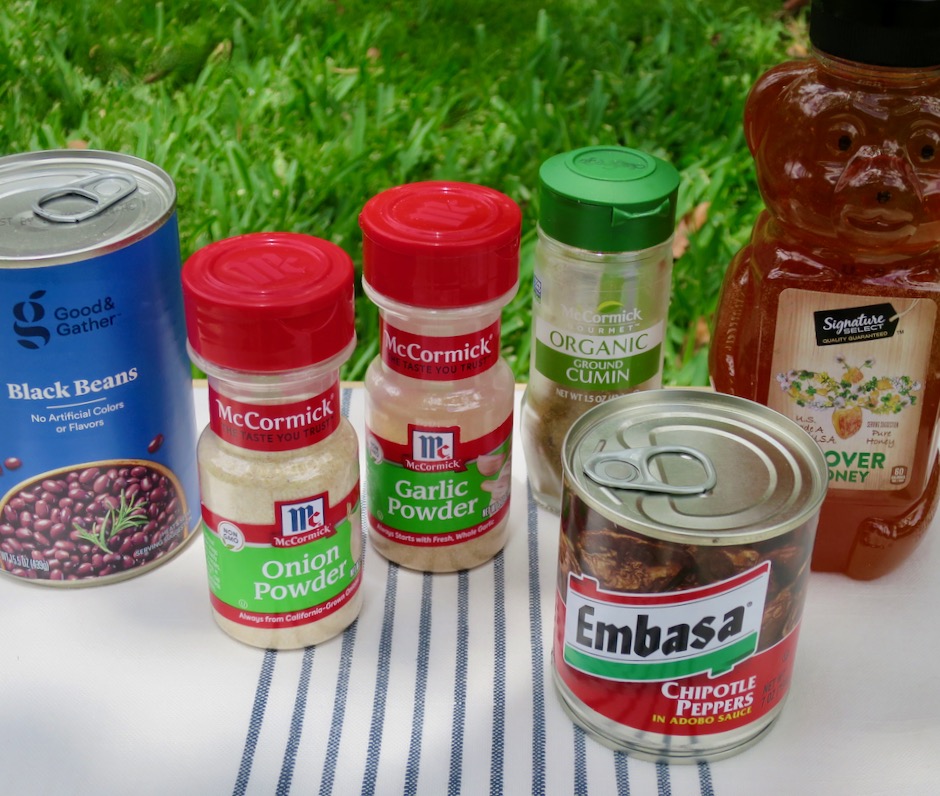
Besides the chicken, chipotle peppers and honey, a few other ingredient make the dish complete.  A bit of cumin, garlic and onion powder add a nice flavor to the chicken and black beans add texture to the finished dish.

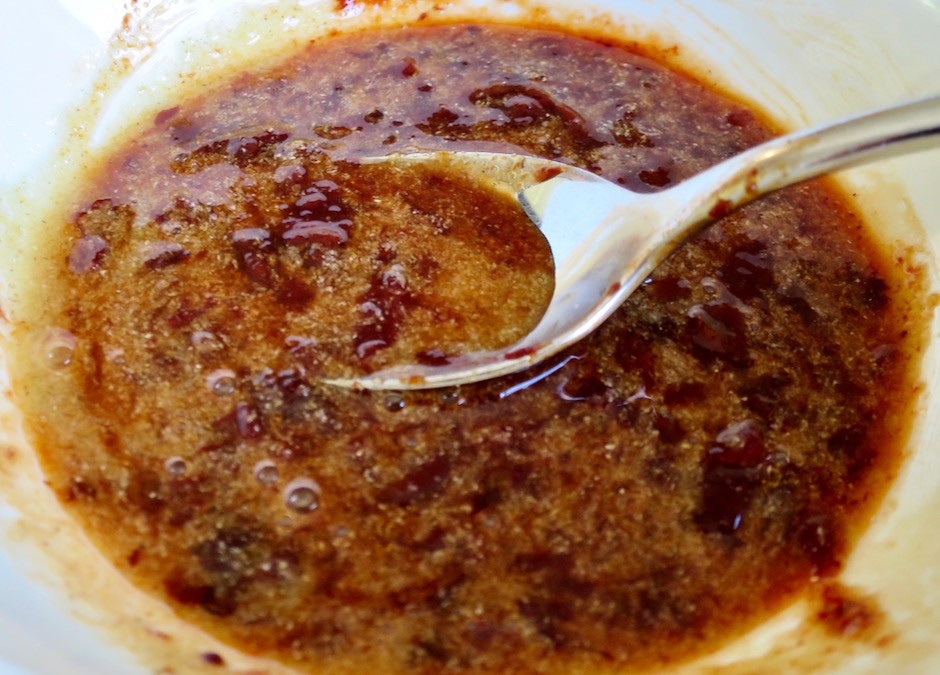
Slow Cooker Chipotle-Honey Chicken Sauce

A few people commented that the chicken might be too dry since there is no added liquid.  However, as the chicken cooks slowly, it will release some liquid which helps to keep it moist.  Fillings for tacos shouldn’t be too saucy or wet, but if you want yours to have a bit more liquid, add 1/2 cup chicken broth to the slow cooker pot.  If you are making the recipe as posted, use the 1 1/2 pounds of chicken called for, or increase the amount of sauce accordingly if you use more chicken.

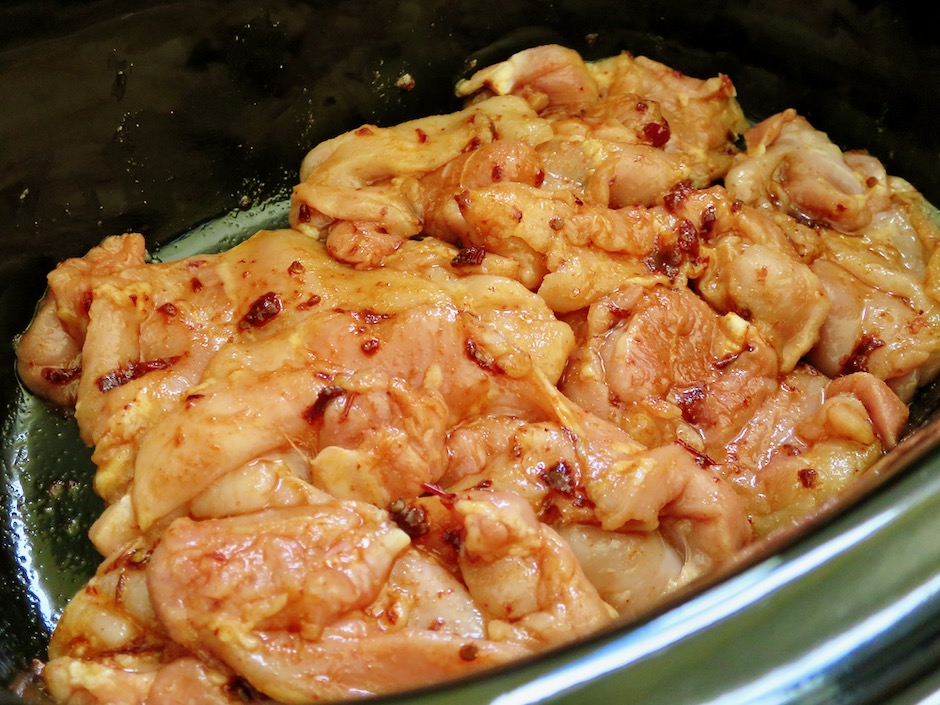
Slow Cooker Chipotle-Honey Chicken Mixed with Sauce

After the sauce is mixed with the chicken, it cooks on low for 4 hours.  Once it is done, the meat is shredded into bite-size pieces.  Lime juice and black beans are stirred in with the chicken.  The dish is now ready to serve on warmed corn tortillas.  I have frozen leftovers in small containers and it keeps well for about 3 months.

Slow Cooker Chipotle-Honey Chicken Tacos

Slow Cooker Chipotle-Honey Chicken Tacos
 
Adapted from NYT Cooking
Author:
Serves: 4
Ingredients
  • 1½ pounds boneless, skinless chicken thighs, trimmed
  • 2½ - 3 tablespoons honey
  • 1 teaspoon onion powder
  • 1 teaspoon garlic powder
  • ½ teaspoon cumin
  • 1 teaspoon kosher salt
  • 1 large or two medium canned chipotle chiles in adobo, seeds removed, finely chopped + 1 teaspoon adobo sauce (use 1 chile for a milder flavor and up to 4 for very spicy flavor)
  • 1 (15-ounce) can black beans, rinsed and drained
  • juice of ½ lime
  • warmed corn tortillas
  • pickled onions, avocado, cilantro, cheese, for serving
Preparation
  1. Combine honey, onion and garlic powders, cumin, salt and chipotle chiles (start with the least amount of chiles) and adobo sauce in a small bowl. Taste to see if the sauce is the right heat for you. Add more chipotle chiles if you prefer a spicier sauce. Mix the sauce with the chicken in a 5 to 8 quart slow cooker. Stir well. Cook for 4 hours (minimum 3 hours, maximum 5 hours) on low setting.
  2. Using two forks, coarsely shred the chicken in the sauce. Stir in black beans and lime juice. Cover and let the beans warm through, about 5 minutes. Taste and add more salt or lime juice if necessary. Serve with warmed corn tortillas, pickled onions, avocado, cilantro and cheese

 

Bread, Dinner, Italian, Recipes

Crispy Cheesy Pepperoni Pan Pizza

September 26, 2021

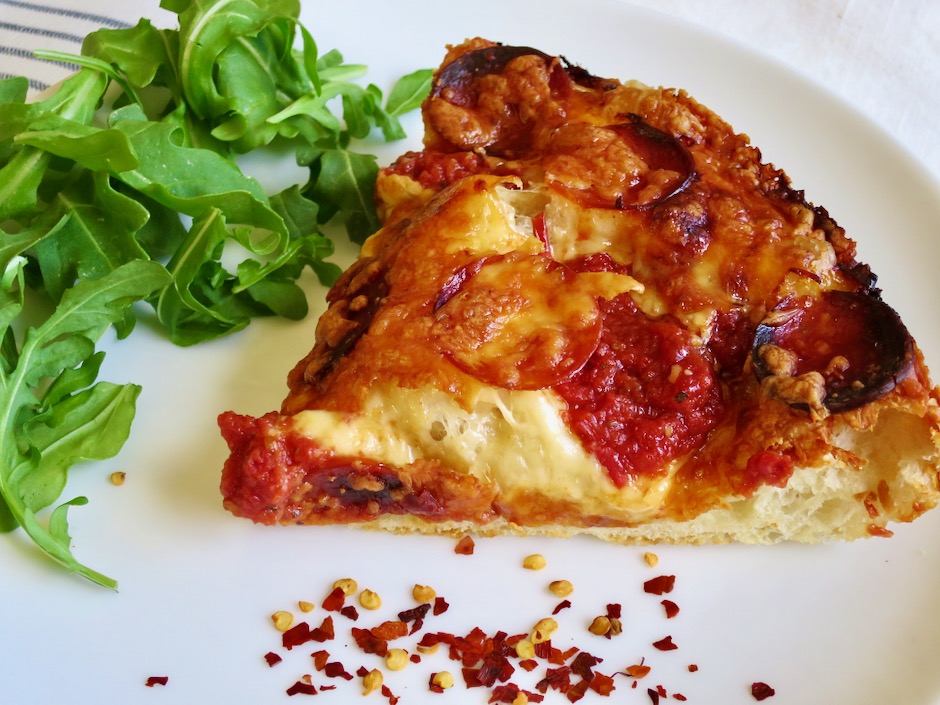
Crispy Cheesy Pepperoni Cast Iron Pan Pizza

Pizza is one of our favorite meals to prepare.  Most of the time we make thin crust pizza from a recipe John found in the Pizza Bible.  We bake it on our pizza stone in the oven after preheating it for nearly an hour, and at the highest temperature possible in a standard oven, which is usually 550 degrees (and the pizza is excellent).  I found this cast iron pan pizza recipe at King Arthur’s Baking site and I thought I would give it a try for something different.  Wow!  The rave reviews on their website were spot on.  The delightful airy, yet slightly chewy crust is superb.  I love everything about this pizza.  If you have a cast iron pan, make this pizza. You will love it.

Crispy Cheesy Pepperoni Cast Iron Pan Pizza

The crust is divine, soft, airy, with the perfect texture. 

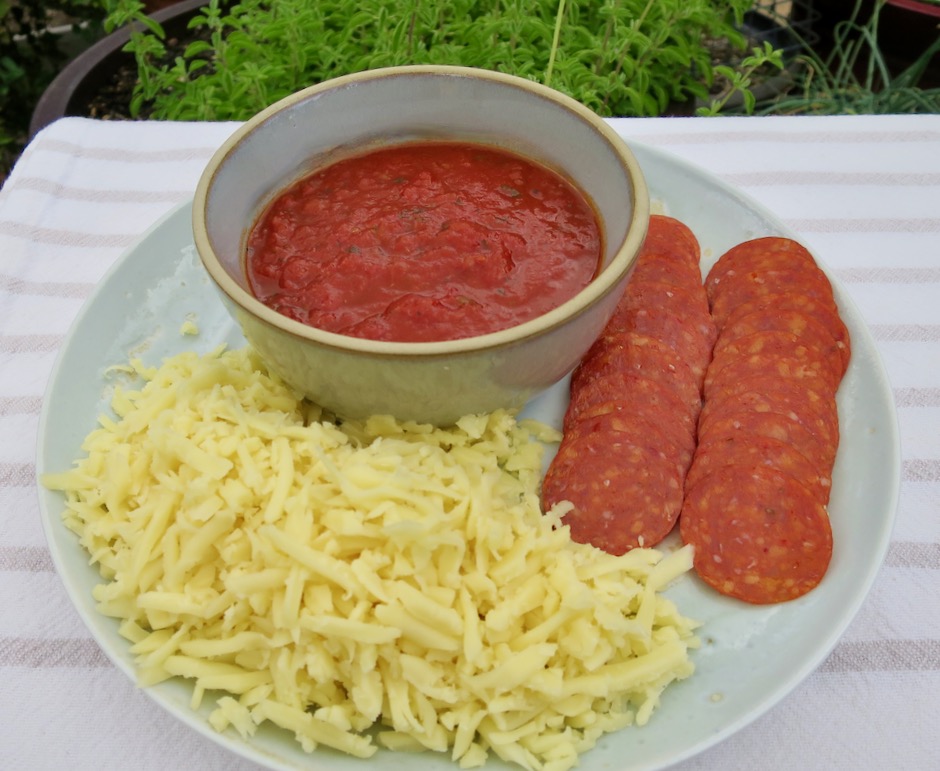
Pizza Sauce, Pepperoni, Mozzarella

Use your favorite toppings but keep it simple. You don’t want to weigh the dough down with too many ingredients.

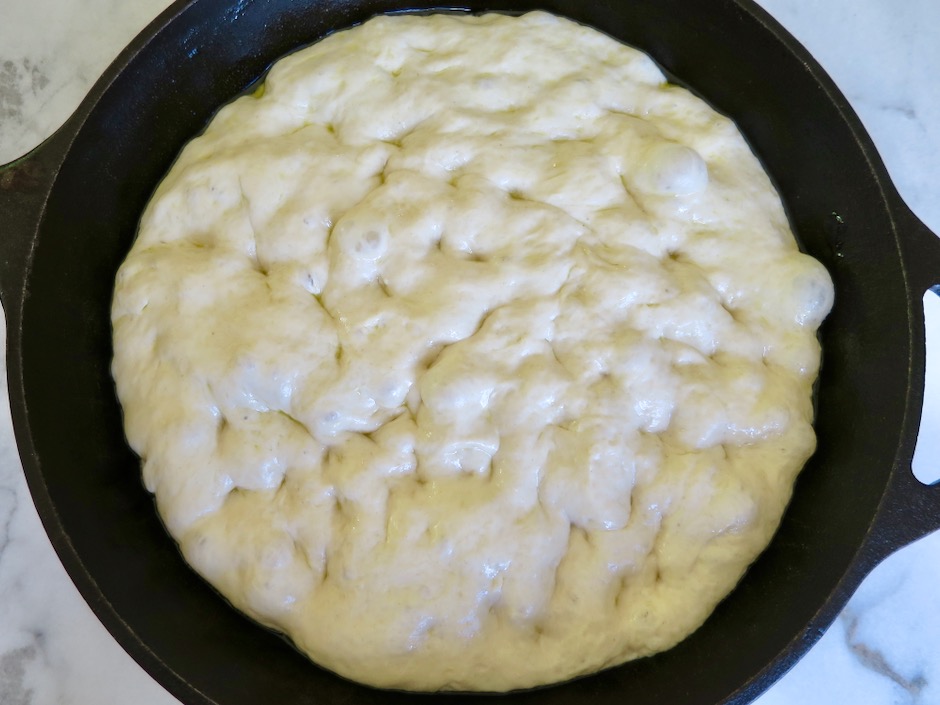
Pizza Dough

Look at this beautiful puffy dough.  

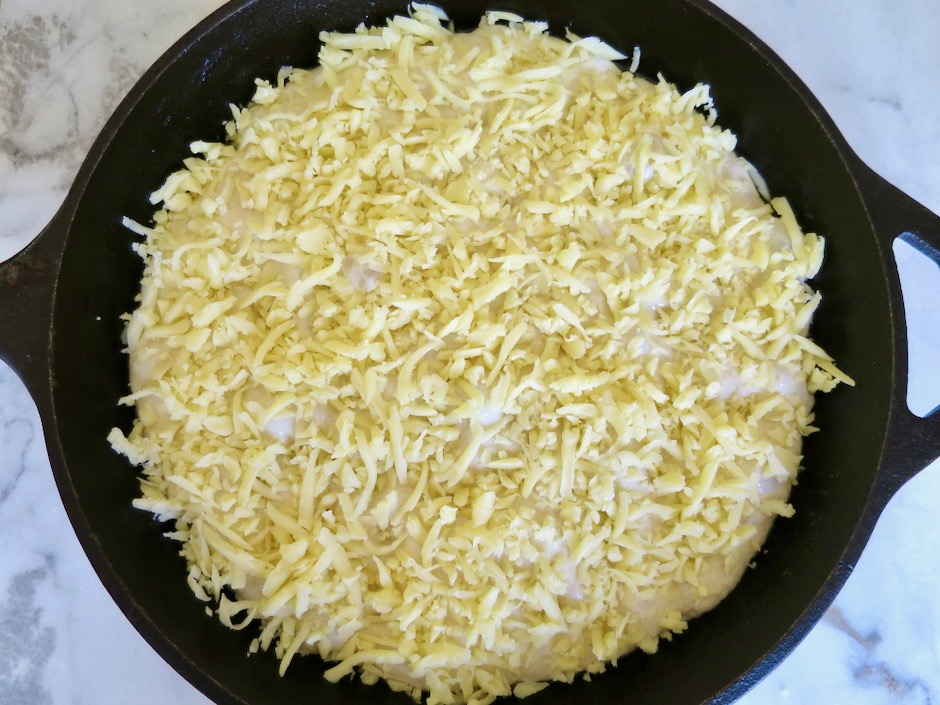
Crispy Cheesy Pepperoni Cast Iron Pan Pizza - Layering Ingredients

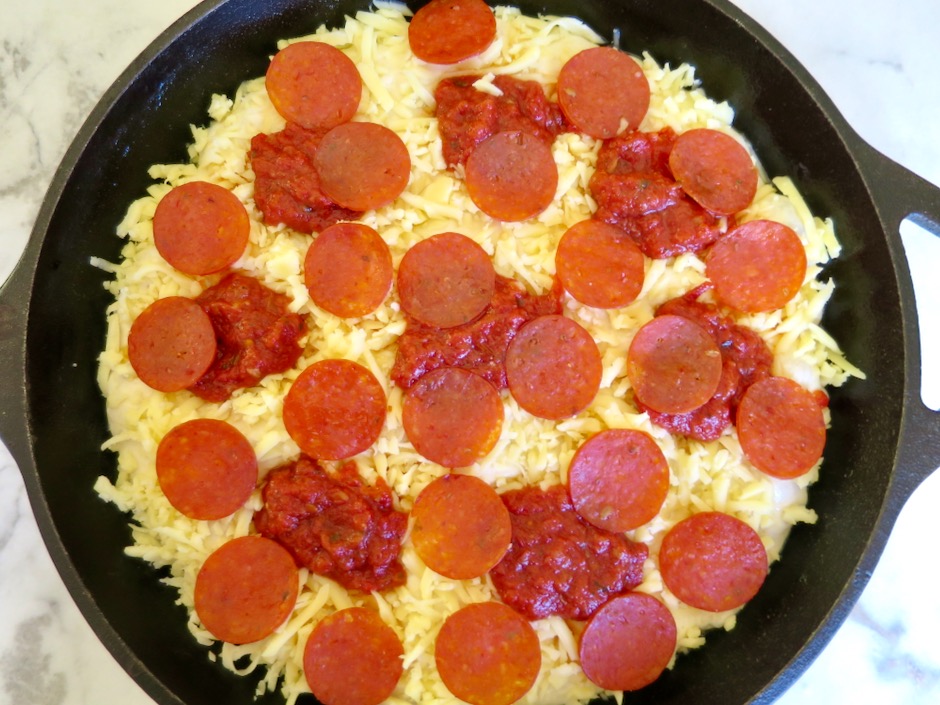
We added the recommended amount of cheese plus a bit of pepperoni, which I have to admit, I can’t resist.
Crispy Cheesy Pepperoni Cast Iron Pan Pizza - Layering Ingredients

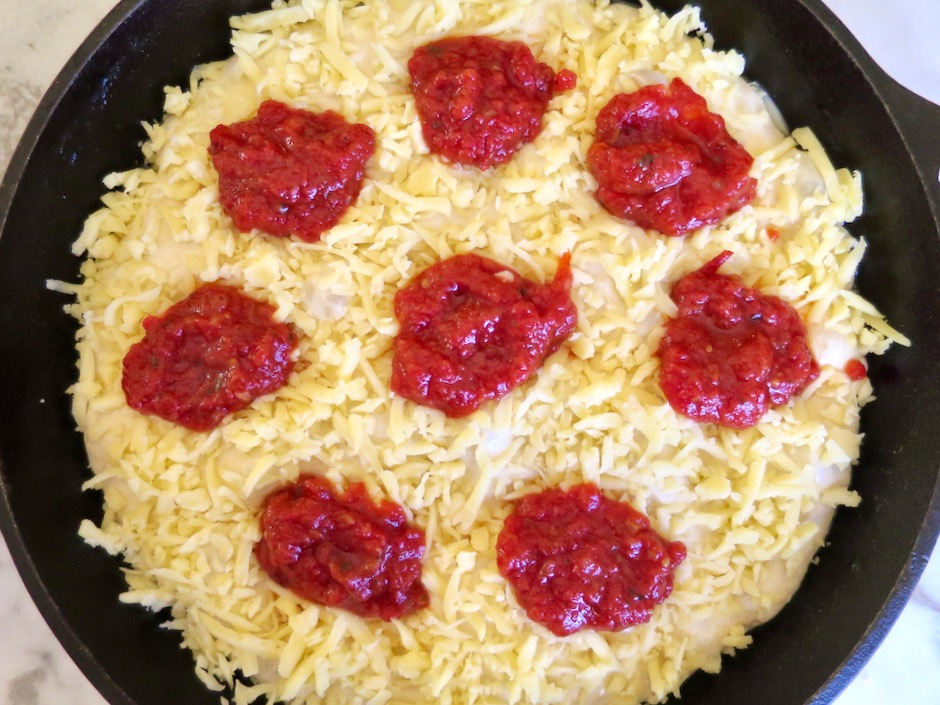
For this pizza, the sauce is added on top of the cheese.  This ensures that the crust bakes up beautifully without being soggy.

Crispy Cheesy Pepperoni Cast Iron Pan Pizza - Layering Ingredients

Crispy Cheesy Pepperoni Cast Iron Pan Pizza - Ready to Bake

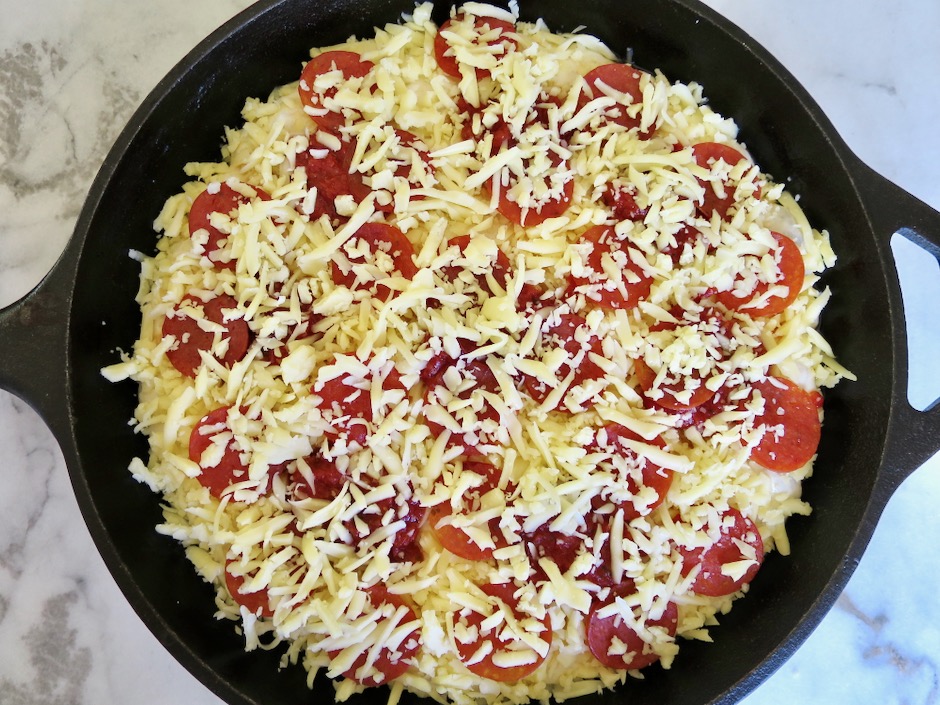
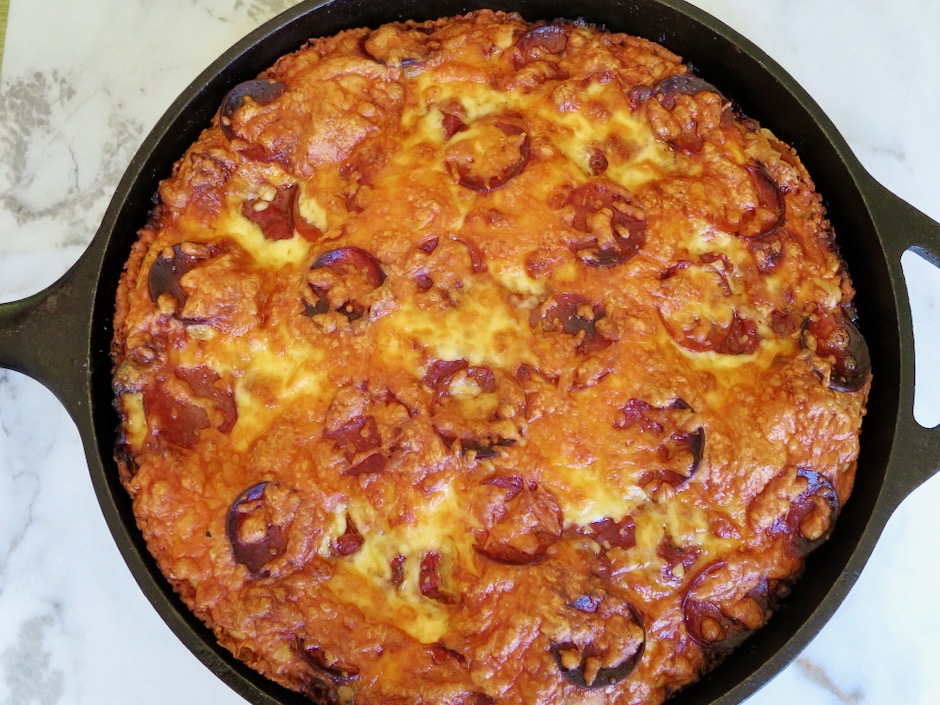
The last topping is a bit more cheese.  The pizza is then baked into a gorgeous pie.

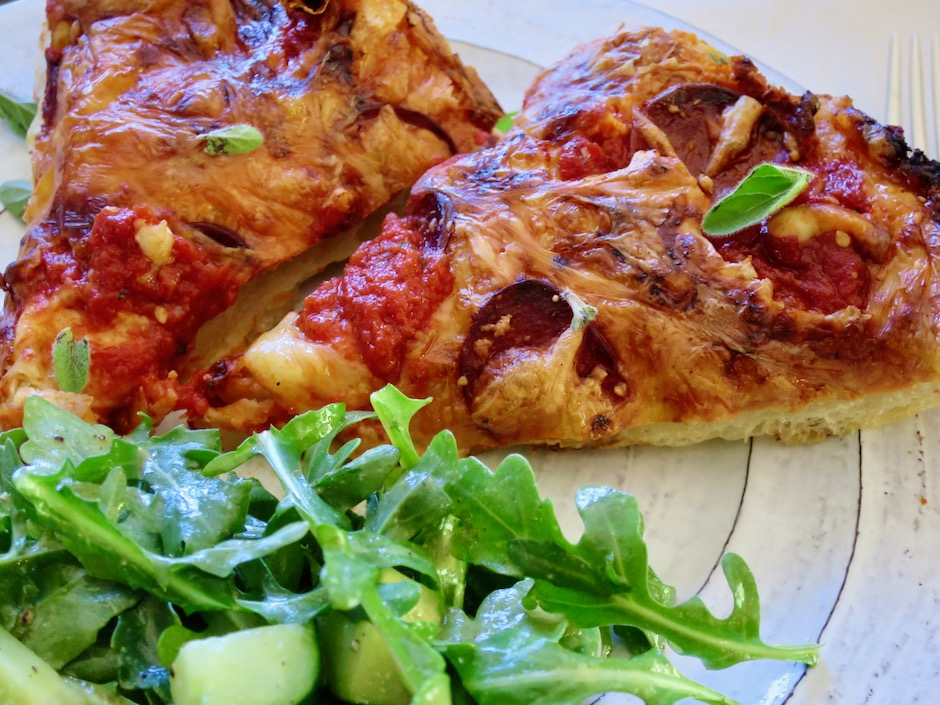
Crispy Cheesy Pepperoni Cast Iron Pan Pizza

Crispy Cheesy Pepperoni Cast Iron Pan Pizza

Crispy Cheesy Pepperoni Cast Iron Pan Pizza
 
Author:
Serves: one 9" - 10" pan pizza
Ingredients
  • 2 cups (240g) King Arthur unbleached all-purpose flour
  • ¾ teaspoon salt (7g)
  • ½ teaspoon instant yeast
  • ¾ c (170g) water
  • 2 tablespoons olive oil, equally divided (13g each)
  • 6 ounces (170g) mozzarella, grated
  • ½ cup (113g) pizza sauce
  • 25 small slices of pepperoni (I render my pepperoni in the toaster oven for 3 minutes before adding to the pizza)
  • freshly grated Parmesan cheese, fresh julienned basil, fresh or dried oregano, red pepper flakes for sprinkling on the top after baking, optional
Preparation
  1. Special Equipment: 9" - 10" cast iron pan
  2. Weigh your flour; or measure it by gently spooning it into a cup, then sweeping off any excess. Place flour, salt, yeast, water, and 1 tablespoon of the olive oil in a bowl of a stand mixer or other medium-large bowl. Stir everything together to make a shaggy, sticky mass of dough with no dry patches of flour. This should take 30-45 seconds in a mixer using the beater paddle or about 1 minute by hand, using a spoon or spatula. Scrape down the sides of the bowl to gather the dough into a rough ball; cover the bowl.
  3. After 5 minutes, uncover the bowl and reach a bowl scraper or wet hand down between the side of the bowl and dough, as though you were going to lift the dough out of the bowl. Instead of lifting, stretch the bottom of the dough up and over its top. Repeat three more times, turning the bowl 90 degrees each time. This process of four stretches, which takes the place of kneading, is called "stretch and fold."
  4. Re-cover the bowl and after 5 minutes do another fold. Wait 5 minutes and repeat; then another 5 minutes, and do a fourth and final fold. Cover the bowl and let the dough rest for 40 minutes. Then refrigerate it for a minimum of 12 hours, or up to 72 hours. It will rise slowly as it chills, developing flavor.
  5. About 3 hours before you want to serve your pizza, prepare your pan. Pour the remaining 1 tablespoon of olive oil into a well-seasoned cast iron skillet that is 10" - 11" diameter across the top, and about 9" across the bottom. Heavy, dark cast iron will give you a superb crust; but if you don't have it, use another oven-safe heavy bottom skillet similar in size. You can use a 10" round cake pan or 9" square pan. Tilt the pan to spread the oil across the bottom, and use your fingers to spread some oil up the edges of the pan.
  6. Transfer the dough to the pan and turn it once to coat both sides with the oil. After coating the dough in oil, press the dough to the edges of the pan, dimpling it using the tips of your fingers in the process. The dough may start to resist and shrink back; that's OK, just cover it and let it rest for 10-15 minutes, then repeat the dimpling/pressing. At this point, the dough should reach the edges of the pan. If it doesn't, give it one more 10-15 minute rest before dimpling/pressing a third and final time. Cover the crust and let it rise for 2 hours at room temperature. The fully risen dough will look soft and pillowy and will jiggle when you gently shake the pan. Don't let the dough rise much longer or it may spill over the pan's edge when baking.
  7. About 30 minutes before baking, place one rack at the bottom of the oven and one toward the top (about 4" - 5" from the top heating element). If you have a pizza stone, place it on the bottom rack. Preheat the oven to 450 degrees.
  8. When you are ready to bake the pizza, sprinkle about three-quarters of the mozzarella evenly over the crust, making sure to cover the entire crust leaving no bare dough showing. This will yield caramelized edges that are delicious. Dollop small spoonfuls of the sauce over the cheese. You may choose to use less than the ½ cup of sauce, using ⅓ cup instead. Scatter pepperoni slices evenly over the pizza. Sprinkle the remaining cheese over the top.
  9. Place the cast iron pan on your pizza stone if using, otherwise bake the pizza on the bottom rack of the oven for 18 - 20 minutes, until the cheese is bubbling and the bottom and edges of the crust are a rich golden brown (use a spatula to check the bottom). If the bottom is brown but the top needs more time, transfer the pizza to the top rack and bake for 2 to 4 minutes. On the other hand, if the top seems fine but the bottom needs a few more minutes, leave the pizza on the bottom rack for another 2 to 4 minutes. Home ovens can vary a lot, so use visual cues and your own preferences to gauge when you have achieved the perfect bake.
  10. Remove pizza from the oven and place on a heatproof surface. Carefully run a table knife or spatula between the edge of the pizza and side of the pan to prevent the cheese from sticking as it cools. Let the pizza cool briefly, transfer to a cooling rack or cutting surface. This will prevent the crust from becoming soggy.
  11. Slice the pizza into thick wedges and serve the pizza anywhere from medium-hot to warm. Pass around the Parmesan, julienned basil, dried oregano and red pepper flakes.


Beef, Dinner, Lactose Free, Recipes, Sandwiches, Smoker

Smoked Tri-Tip Sandwiches

September 14, 2021

Smoked Tri-Tip sandwich

Tri-Tip is a cut of meat that I was not familiar with just a few years ago and one that I did not grow up eating as a child. However, last summer I went to my local market and asked the butcher what would be the best cut of meat for my teriyaki meat sticks.  I was surprised when he said “Tri-Tip.”  I went along with his recommendation and never looked back.  This recipe showcases the delicious flavor the Tri-Tip is known for. The lean yet slightly marbled cut of meat is just perfect for the smoker.  It allows the meat to cook slowly, picking up that slightly smoky flavor yet keeping the meat tender and juicy, perfect for a tri-tip sandwich.

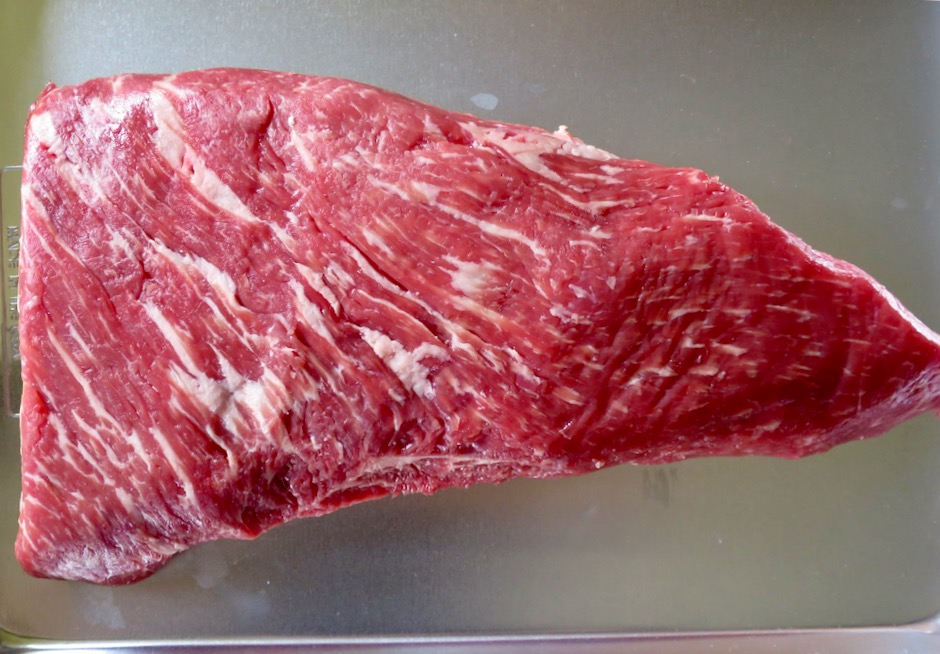
Tri-Tip

This is a perfect example of what a Tri-Tip should look like. 

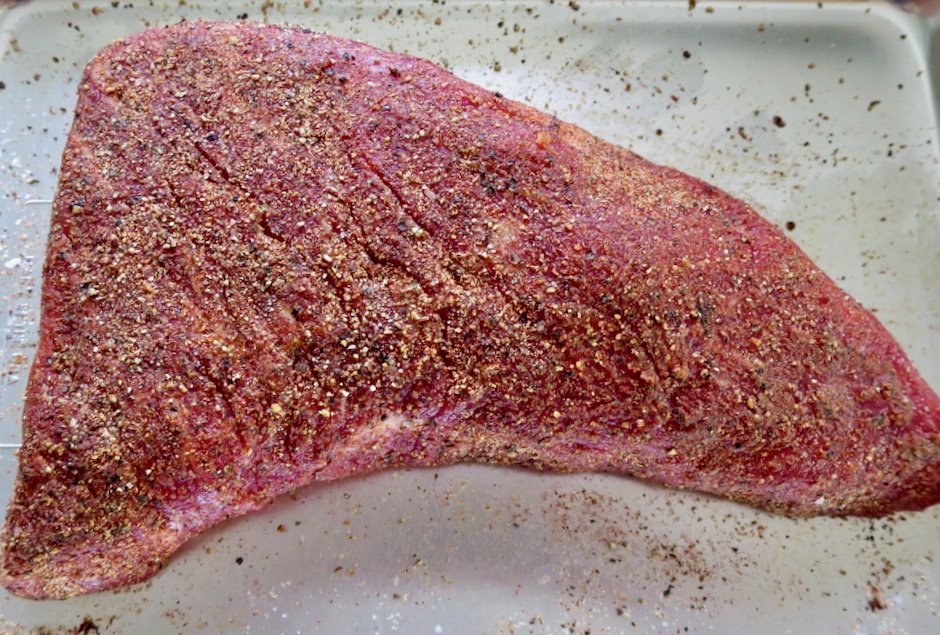
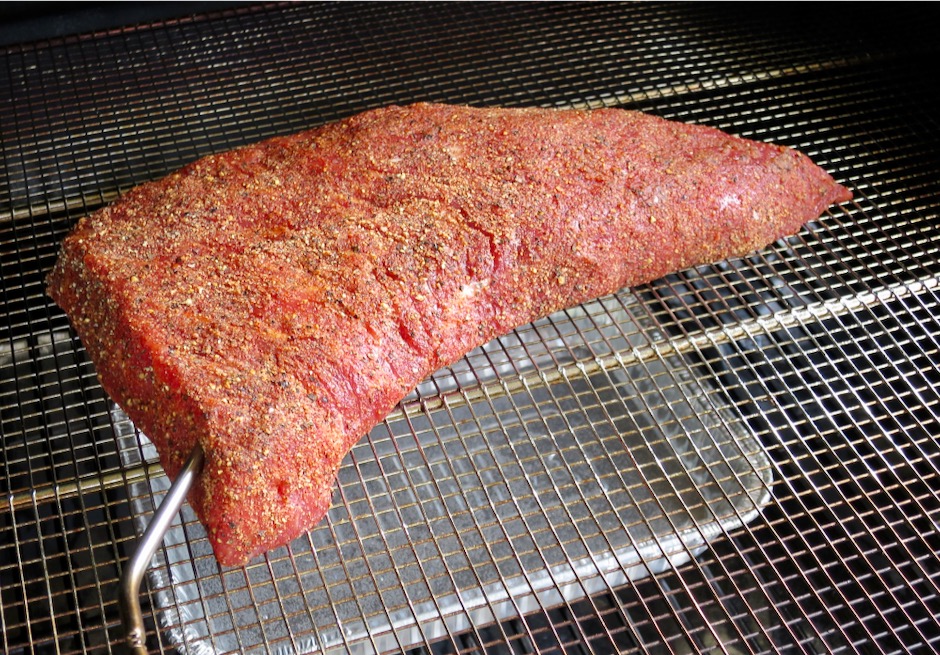
Tri-Tip with Dry Rub

A flavorful and simple dry rub is all you need for this recipe.  The smoky flavor and dry rub create the perfect seasoned meat when sliced up for a sandwich.

Tri-Tip on the Smoker

A remote thermometer probe helps to monitor the process of the meat and avoid overcooking.  If you don’t have one, check the meat with a instant read thermometer periodically.

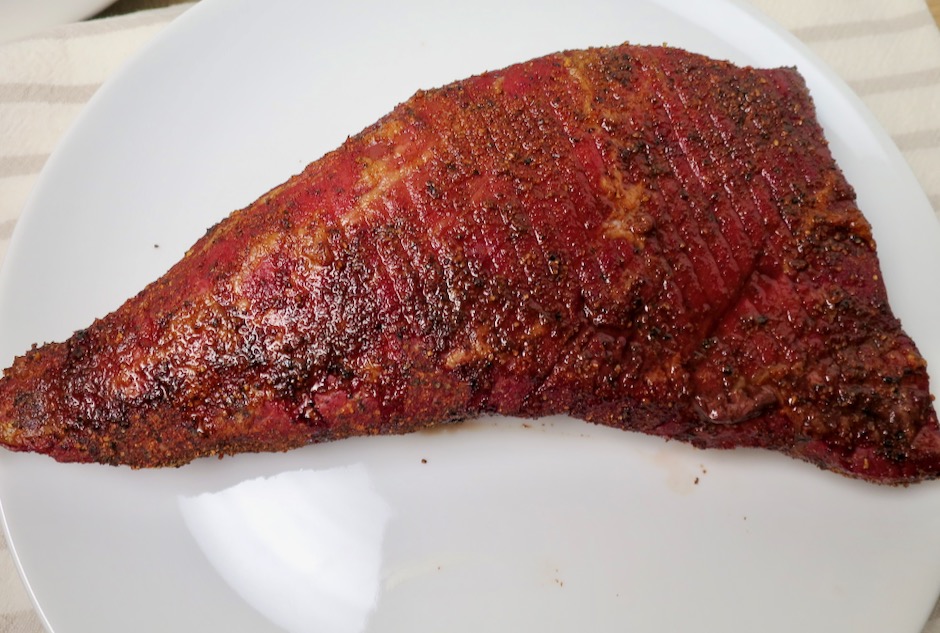
Smoked Tri-Tip

This glorious Tri-Tip is done!  It’s best to let the meat rest for 20 minutes, then transfer to the refrigerator until slightly chilled before serving.  This helps to firm up the meat when slicing into thin pieces for the most delectable steak sandwich. 

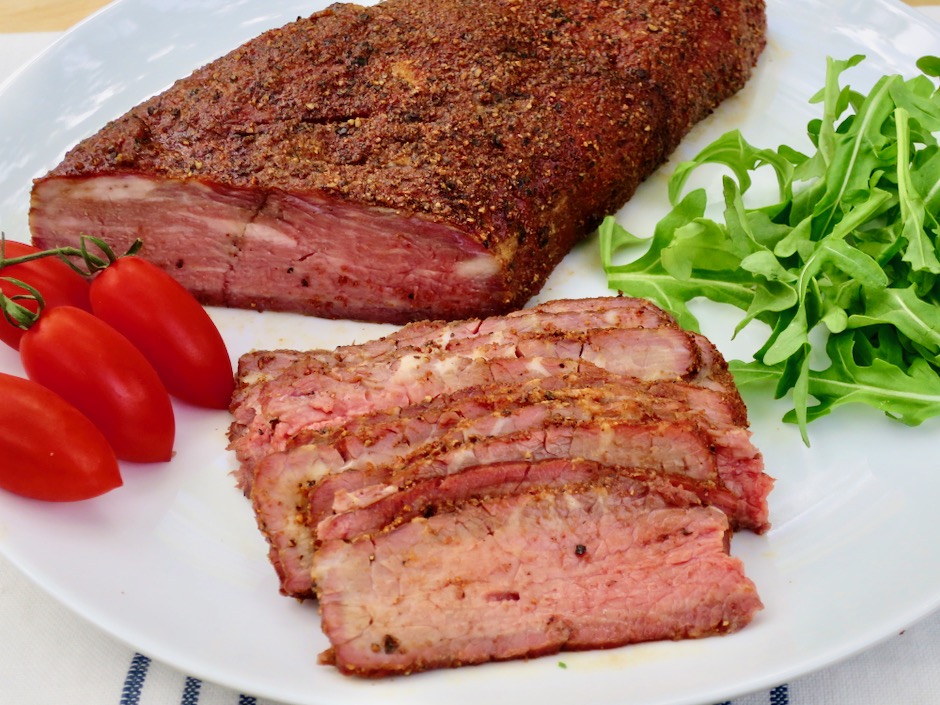
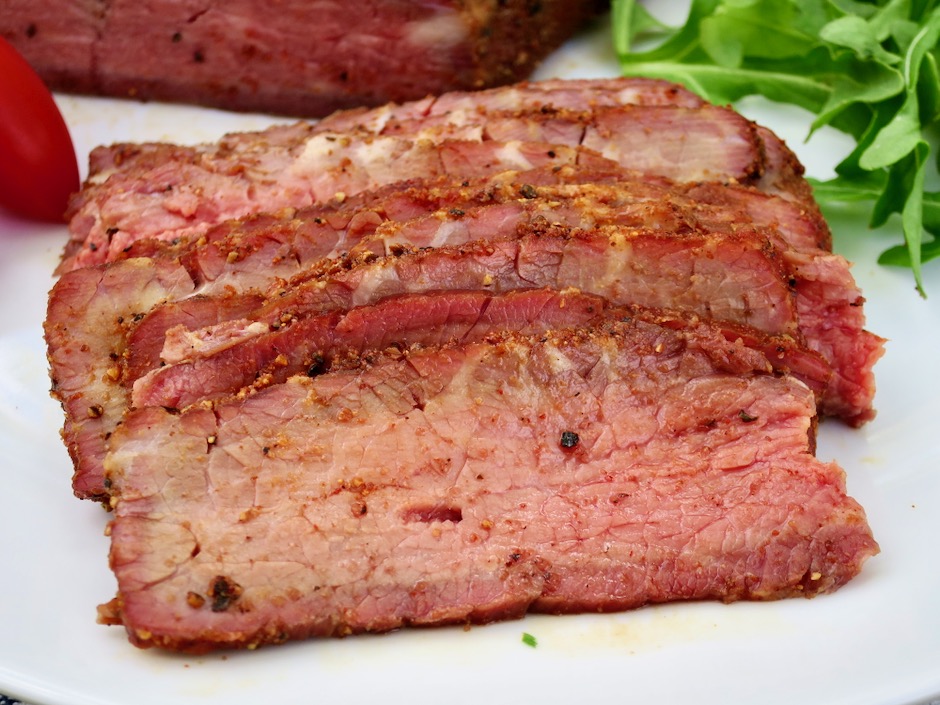
Smoked Tri-Tip

Smoked Tri-Tip

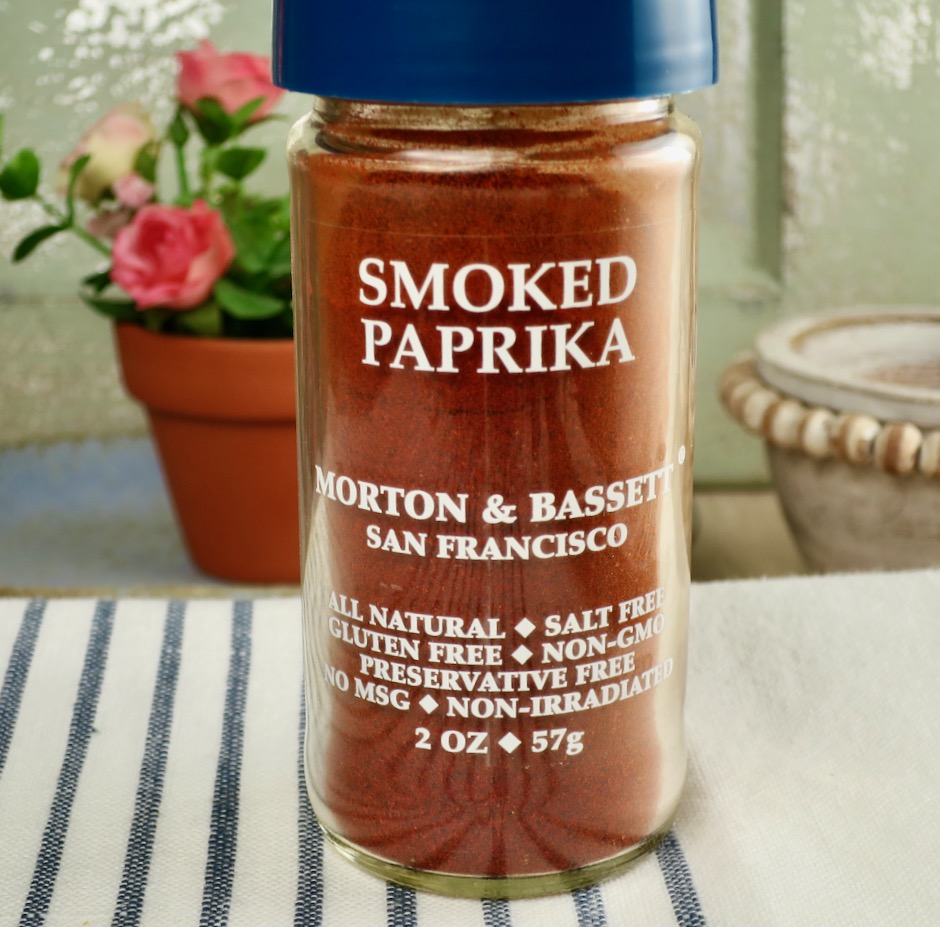
The Tri-Tip is perfectly tender and so flavorful.  If you don’t already have smoked paprika pick up a jar at your favorite market.

Smoked Paprika

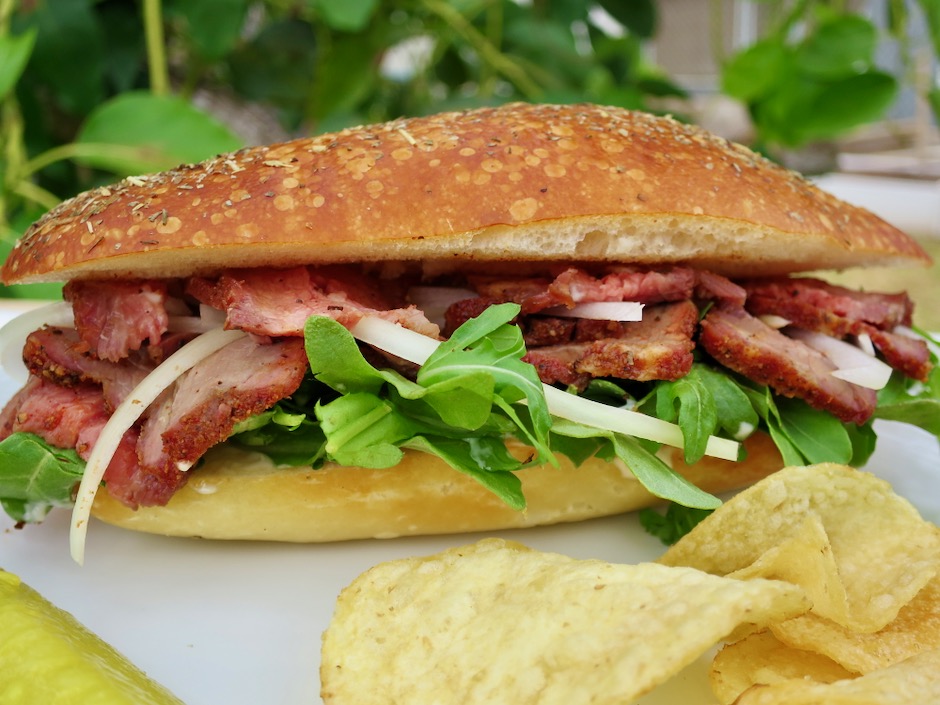
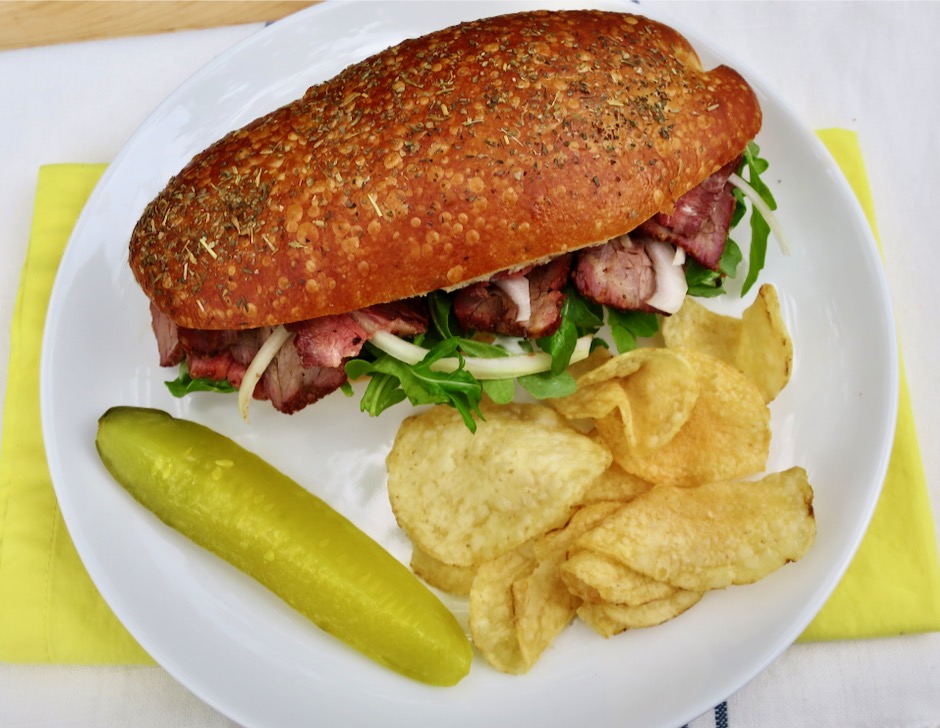
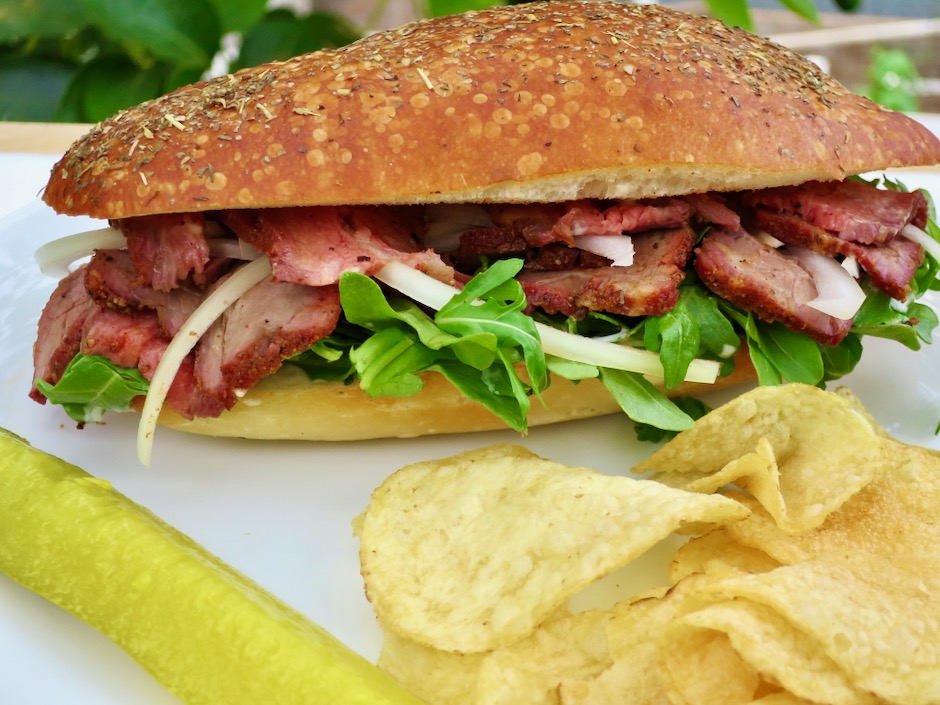
Smoked Tri-Tip Sandwich

We like our Tri-Tip sandwiches stuffed in a roll served with mayo-horseradish sauce, thinly sliced sweet onions, and lots of arugula.  Pickles and chips on the side are a good accompaniment, or if time allows, this potato salad or one with a vinaigrette would certainly be a hit.

Smoked Tri-Tip Sandwich

Smoked Tri-Tip Sandwiches
 
Author:
Serves: 4-6
Ingredients
  • 1½ pound Tri-Tip
  • 2 teaspoons kosher salt (I use Diamond Crystal, if using Morton's decrease to 1½ teaspoons)
  • 1 teaspoon freshly ground black pepper
  • 1 teaspoon garlic powder
  • 1 teaspoon smoked paprika (mild)
  • 4 - 6 sandwich rolls, buns, or your favorite bread
  • mayonnaise
  • prepared horseradish
  • sweet onion slices
  • arugula
Preparation
  1. Pat meat dry with paper towels. Sprinkle both sides of meat with kosher salt. Place in the refrigerator (on a plate or rack) for 2-3 hours, uncovered.
  2. Heat smoker to 225 degrees. Just before cooking sprinkle meat with pepper, garlic powder and smoked paprika. Massage spices into meat.
  3. Place Tri-Tip directly on rack in smoker and cook for approximately 2½ hours, or until interior temperature reaches 145 degrees. If you prefer your beef more rare, shoot for 135 - 140 degrees. Let beef cool for 20 minutes or so, cover and transfer to the refrigerator to chill for a few hours before slicing into thin pieces. You may also choose to slice the beef before chilling (refrigerating firms it up and makes it easier to slice thin pieces). Serve with mayo-horseradish sauce, sweet onions, and arugula on your favorite rolls, buns, or sandwich bread.


Bread, Dinner, Eggs, Fish, Italian, Lactose Free, Recipes, Sandwiches

Italian-Style Tuna Sandwich

August 29, 2021

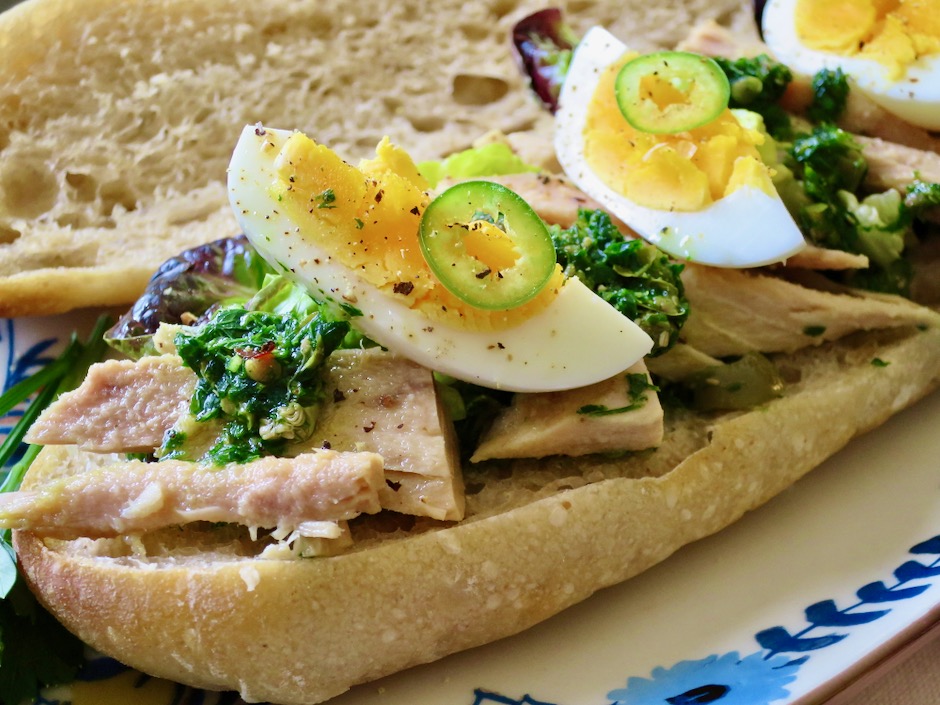
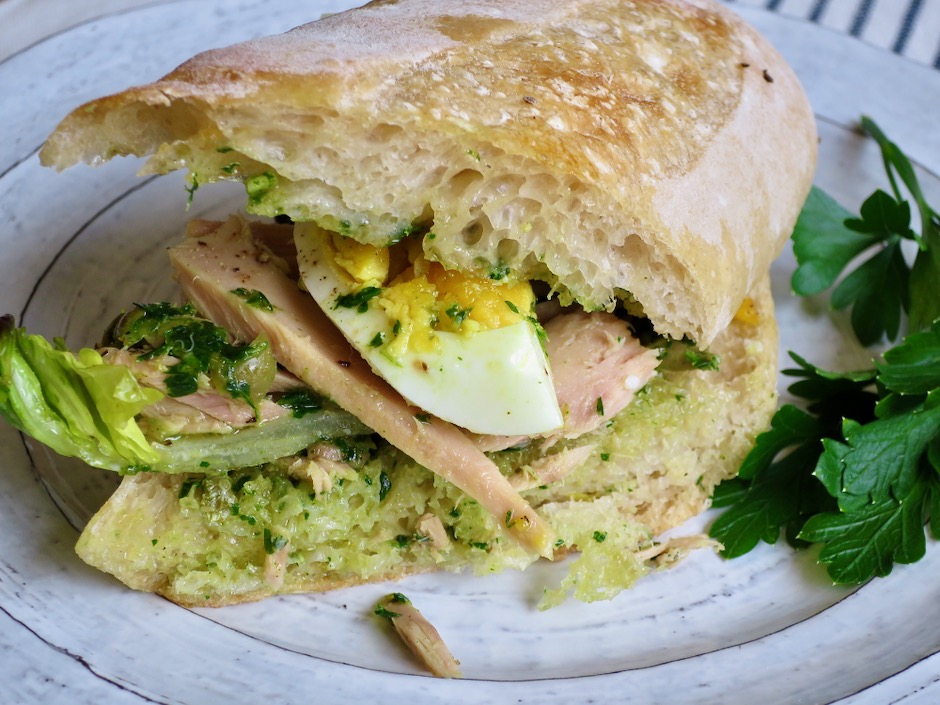
Italian-Style Tuna Sandwich

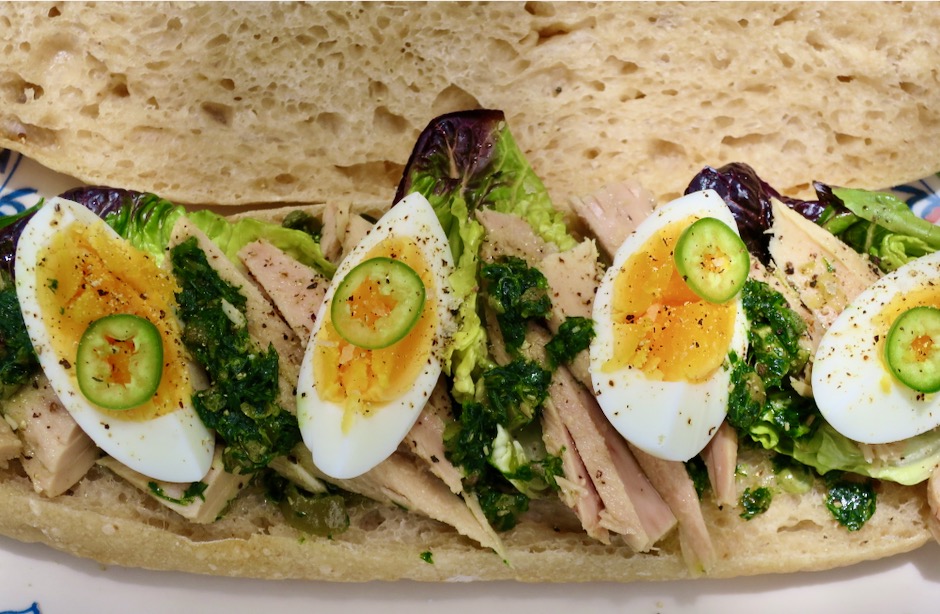
We love all types of sandwiches but tuna is one of our favorites.  Whether it is tuna salad with mayonnaise, celery, onion and a dash of dried dill, or tuna in olive oil on John’s toasted sourdough, we enjoy all of them.  This particular version is a real treat.  A salsa verde made with Italian parsley, rich olives, briny capers and anchovy fillets plus zesty lemon and olive oil make this sandwich very special.  The salsa verde is refreshing and pairs well with the tuna and hard-boiled eggs.  This is truly a sandwich “to die for.”

Italian-Style Tuna Sandwich

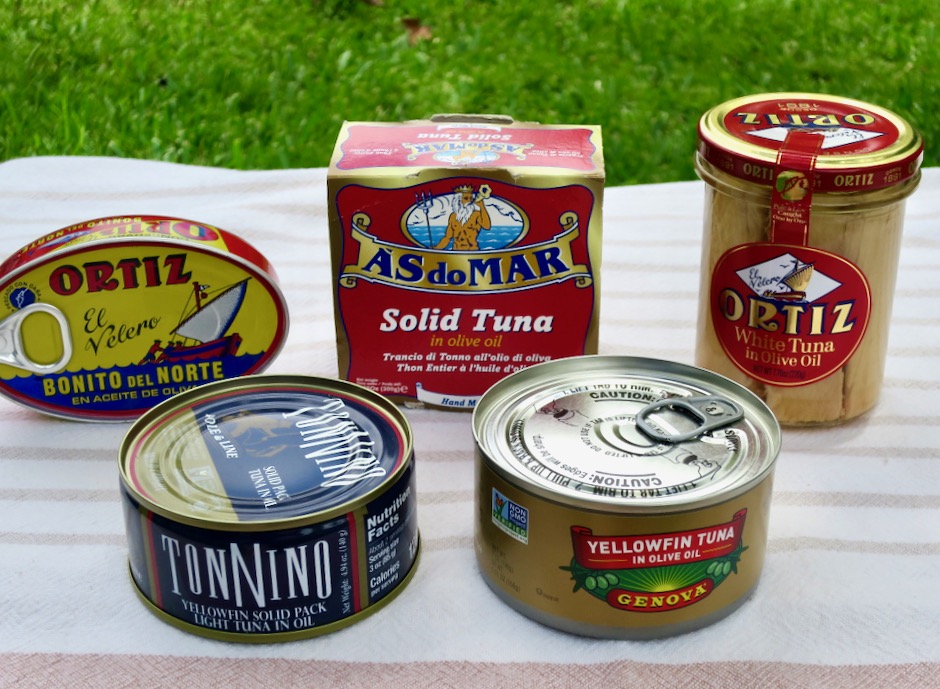
Tuna in Olive Oil Selection

We buy all sorts of tuna in olive oil.  One of my favorites is As do Mar.  You can find this brand on line or in specialty stores, but I have never seen it in Hawaii markets.  Genova tuna is available at Costco for a very fair price.  Ortiz is another high-end tuna.  The small cans are perfect for two.  We used Ortiz tuna in the jar, above right, for this sandwich.  Beautiful thin tuna steaks are delicious.  You can find this item at Whole Foods in Kahului.  You will pay a dear price for this luxury item, but think of it as a treat that you deserve now and then.  

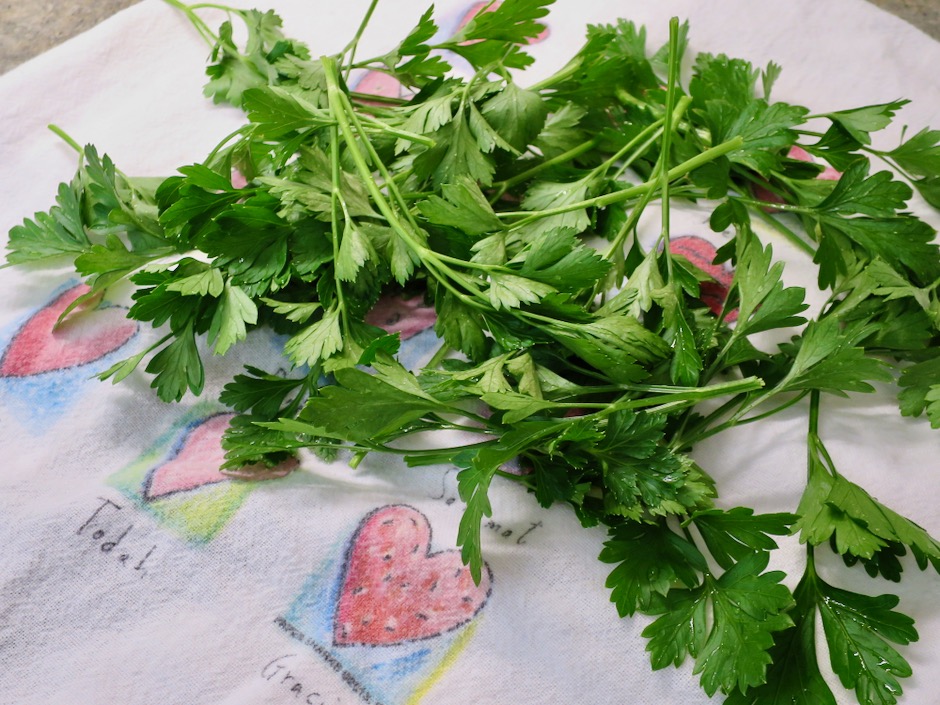
Italian Parsley from the Garden

We always have Italian parsley growing in the garden.  It is the herb I use most.  It’s great to be able to snip a few sprigs off the plant when you need them.  

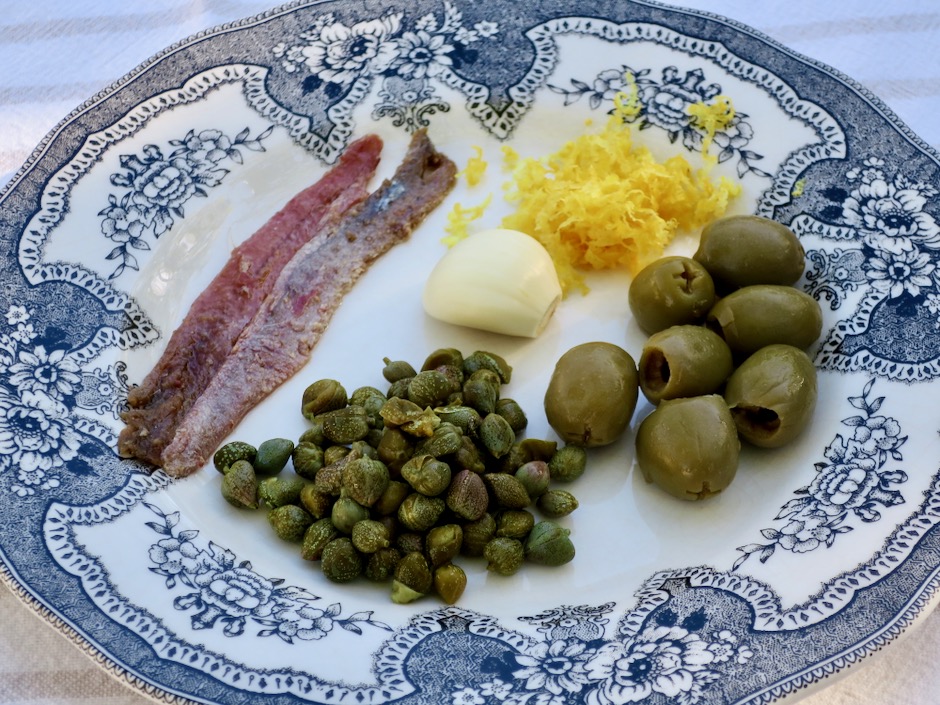
Anchovies, Garlic, Lemon Zest, Olives & Capers

Ortiz tuna is top notch and so are their anchovies.  There is no comparison to the ones you might find at the grocery stores.  You can find Ortiz anchovies in the    R. Fields section at Foodland Farms in Wailuku.

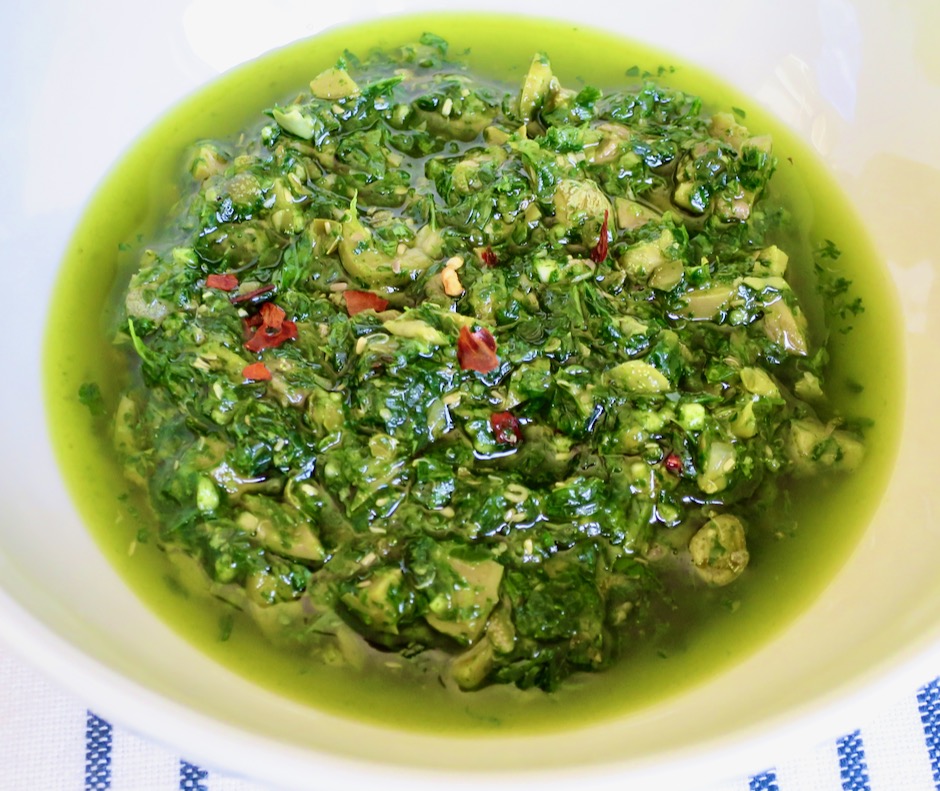
Salsa Verde

The salsa verde is delicious and gorgeous.  If you have leftovers, mix it up with pasta shells to make a delicious salad.  Toss some good feta into the salad and you’re all set.

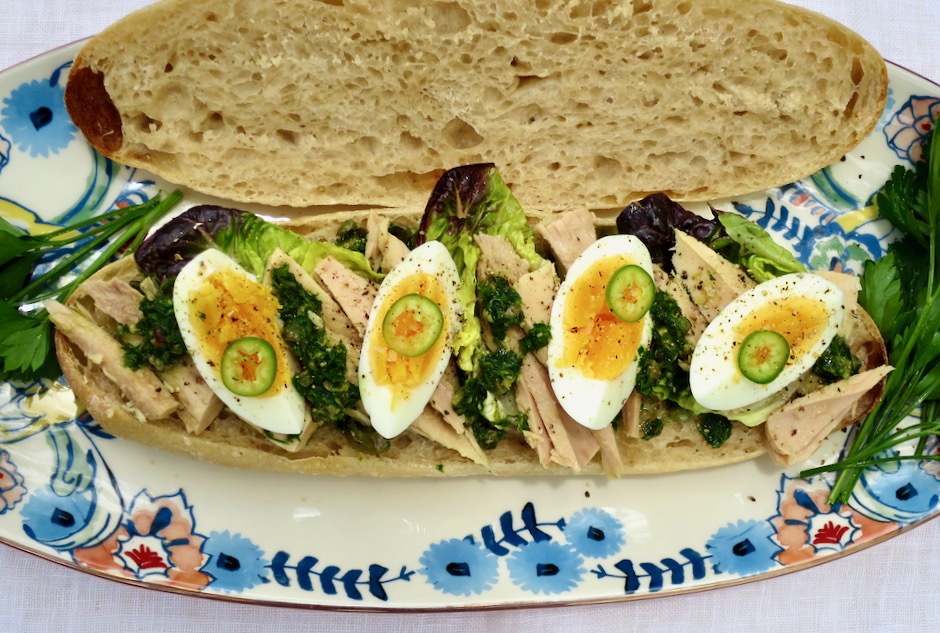
Italian-Style Tuna Sandwich

Be sure to serve the sandwich on good bread.

Italian-Style Tuna Sandwich

Italian-Style Tuna Sandwich
 
Adapted from NYT Cooking
Author:
Serves: 2
Ingredients
  • Salsa Verde: 1 cup lightly packed Italian parsley leaves, washed and dried
  • ½ cup extra-virgin olive oil
  • 1 medium-large garlic clove, minced
  • 2 tablespoons roughly chopped green olives
  • 2 large anchovy fillets, finely chopped
  • 1 tablespoon capers, drained
  • zest of 1 lemon
  • pinch of crushed red pepper
  • freshly ground black pepper
  • Sandwiches: 2 ciabatta rolls or 1 small baguette
  • lettuce leaves or arugula
  • 6 ounces best quality tuna in olive oil, drained
  • 2 hard boiled eggs, halved
Preparation
  1. Whiz parsley leaves and ½ cup olive oil in a food processor or blender to a pesto-like consistency, then transfer to a small bowl. Add garlic, chopped olives, anchovies, capers, lemon zest and red pepper to parsley mixture. Stir well. Season with freshly ground black pepper to taste. The olives, anchovies and capers are quite salty on their own so additional salt may not be needed.
  2. Split ciabatta rolls or baguette with a serrated knife. Spread cut sides with salsa verde. Put a few lettuce leaves on the bottom piece of the bread and arrange tuna evenly over the lettuce. Top with sliced hard-boiled eggs (salt and pepper each piece). Drizzle with more salsa verde then press sandwich closed. Cut baguette into two even portions and serve.


Beans, Dinner, Lactose Free, Mexican, Recipes, Vegan, Vegetarian

Tlacoyos

August 15, 2021

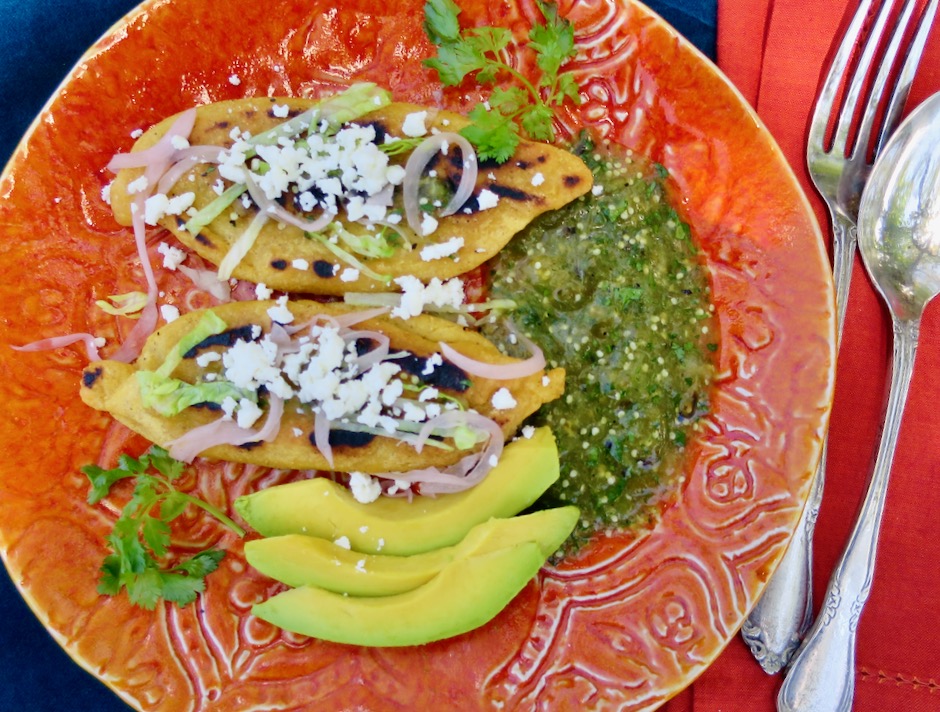
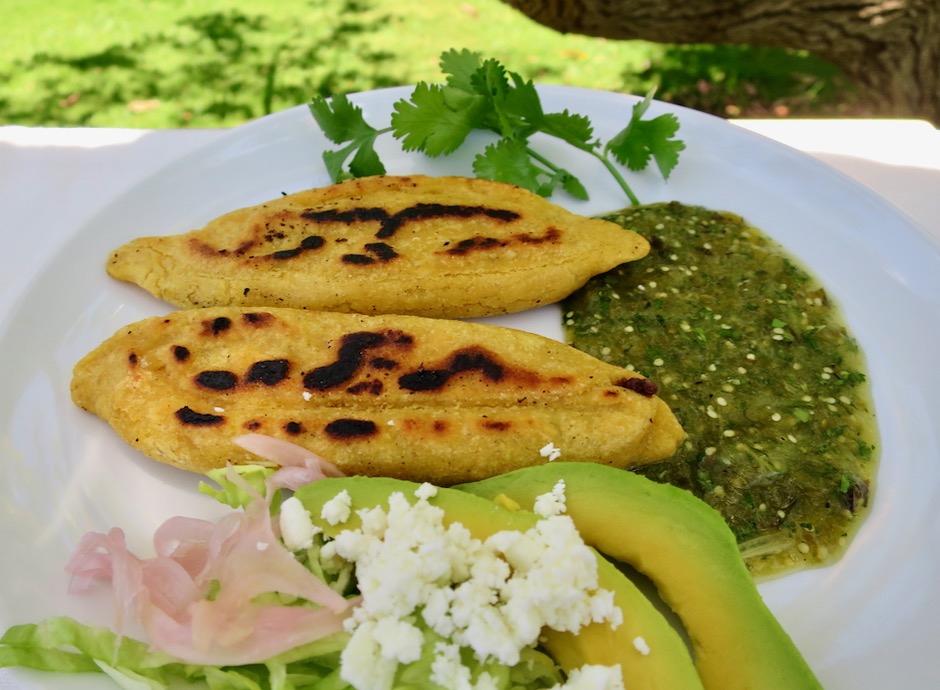
Tlacoyos with Roasted Salsa Verde

Our chance event started out with a neighbor who came by at sunset one afternoon, asking if he could have a few avocado leaves from our tree.  It was the first time we met Nestor, a local chef, and as it turns out, it was our good fortune.  Nestor explained he uses avocado leaves in some of his Mexican recipes.  Of course we agreed to give him some avocado leaves as well as a handful of ripe avocados.  Several days later, Nestor delivered some of his homemade tlacoyos, a rustic Mexican street food dish made with masa dough and beans. They were so delicious I couldn’t stop thinking about them.  I was determined to make my own and with just a few ingredients, this dish became one of our favorite Mexican meals.

Tlacoyos

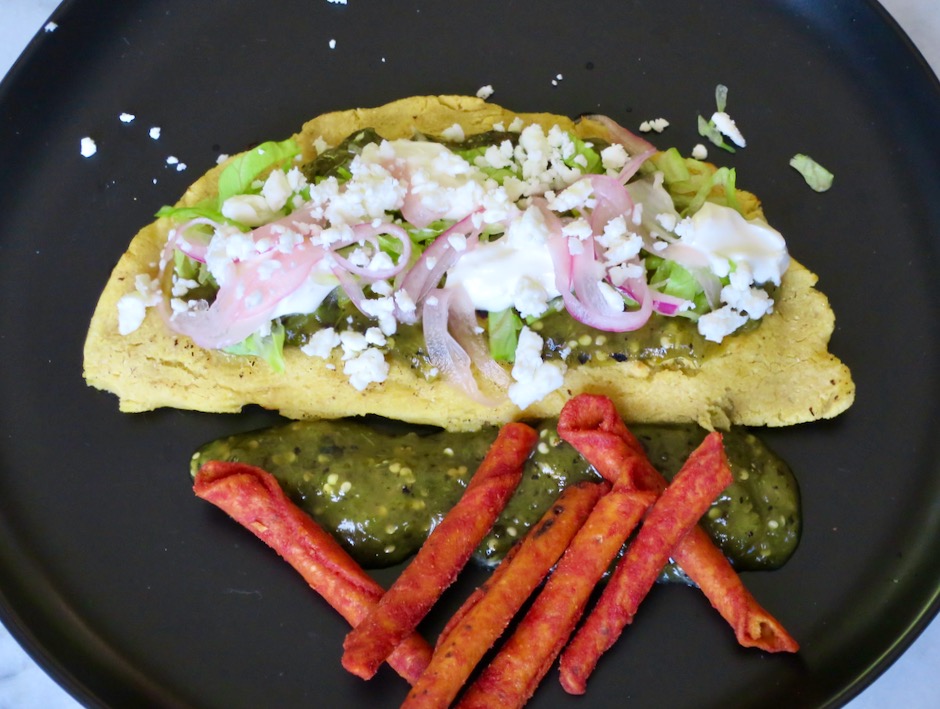
If you’re a fan of masa harina in all of its various forms (tortillas, tamales etc.) you’ll want to add this to the Mexican section of your recipe files.  The toppings and roasted salsa verde served with the tlacoyos bring this humble dish together making it a stellar meal.  

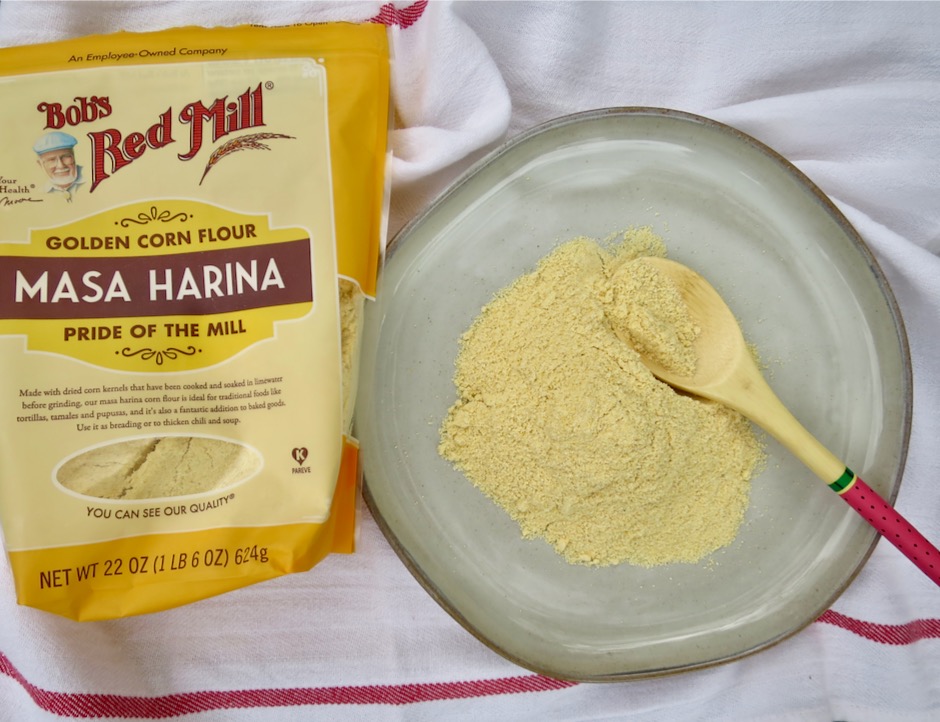
Masa Harina

Bob’s Red Mill masa harina is a good choice if you can find it.  It has a wonderful flavor and comes in small 22 ounce bags.  If you want a larger quantity consider a big bag of Maseca brand which is just over four pounds.  Keep in mind they have two types of masa.  You will want the one labeled “Tamal.”

Masa Harina

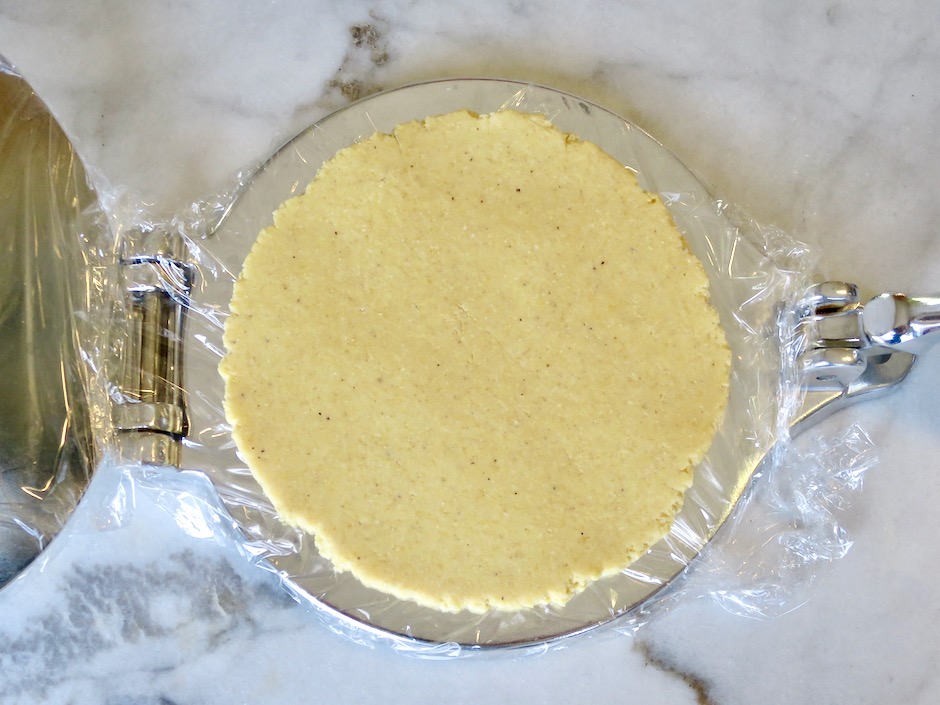
I used a tortilla press to flatten the masa however flattening the masa harina balls with your hands is easy to do.  

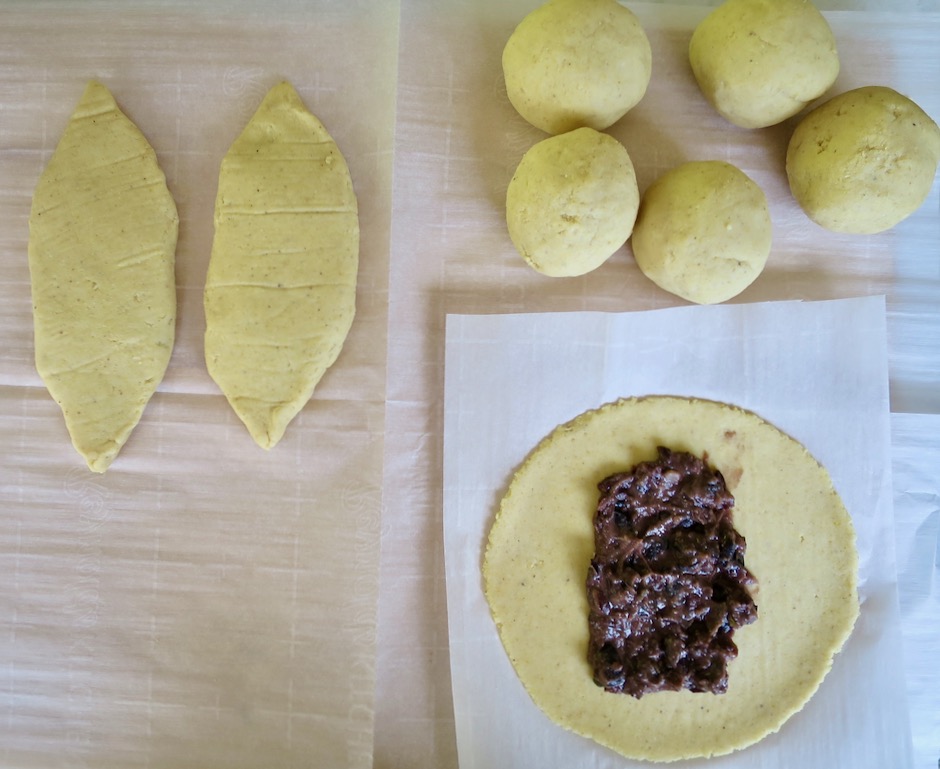
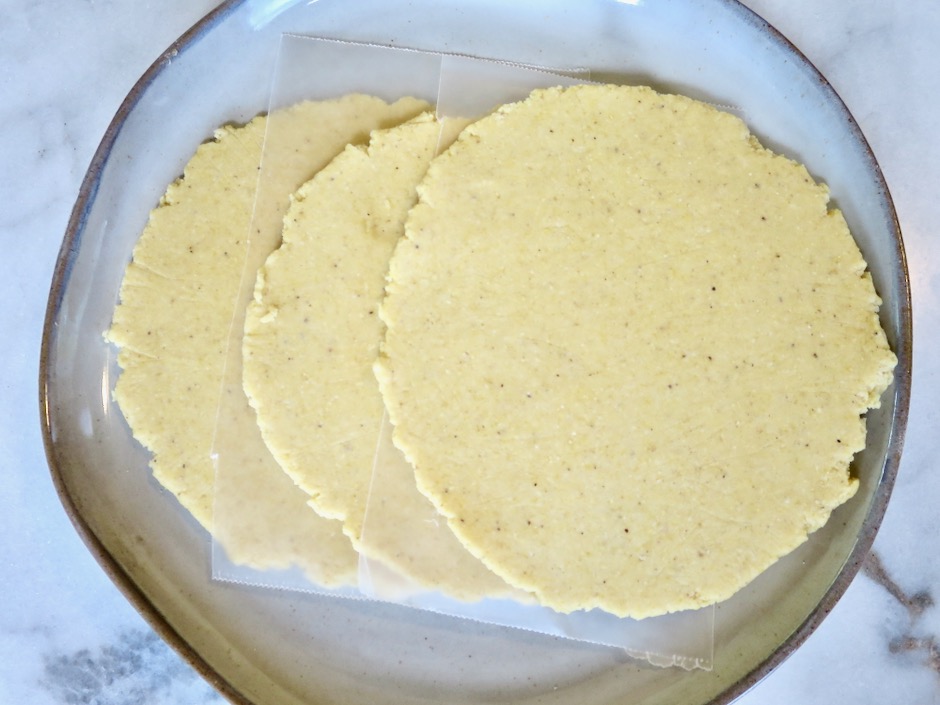
Masa Harina Rounds

Shaping Tlacoyos

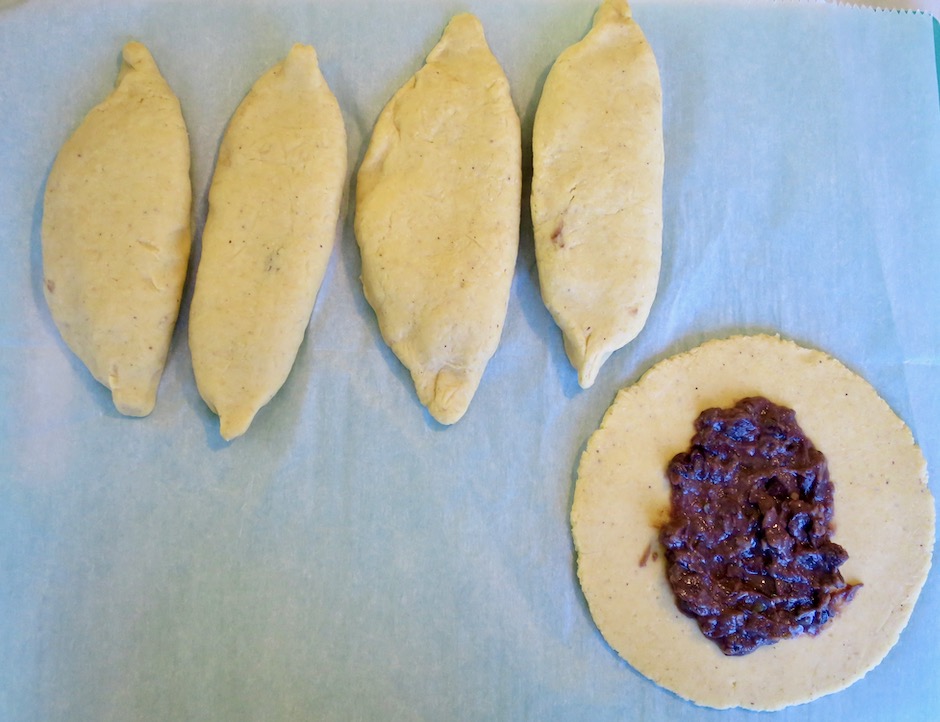
Black beans are one of the most common fillings for tlacoyos.  They have the perfect consistency as a filling and very flavorful.

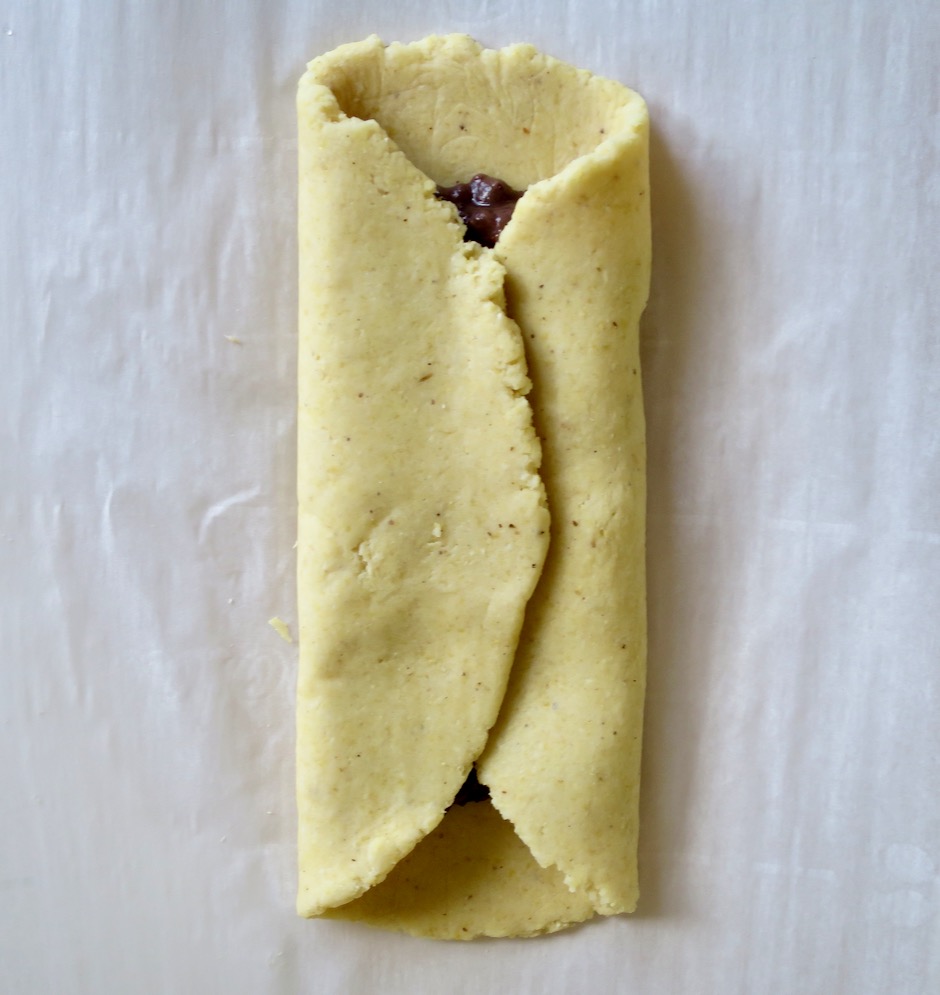
Shaping Tlacoyos

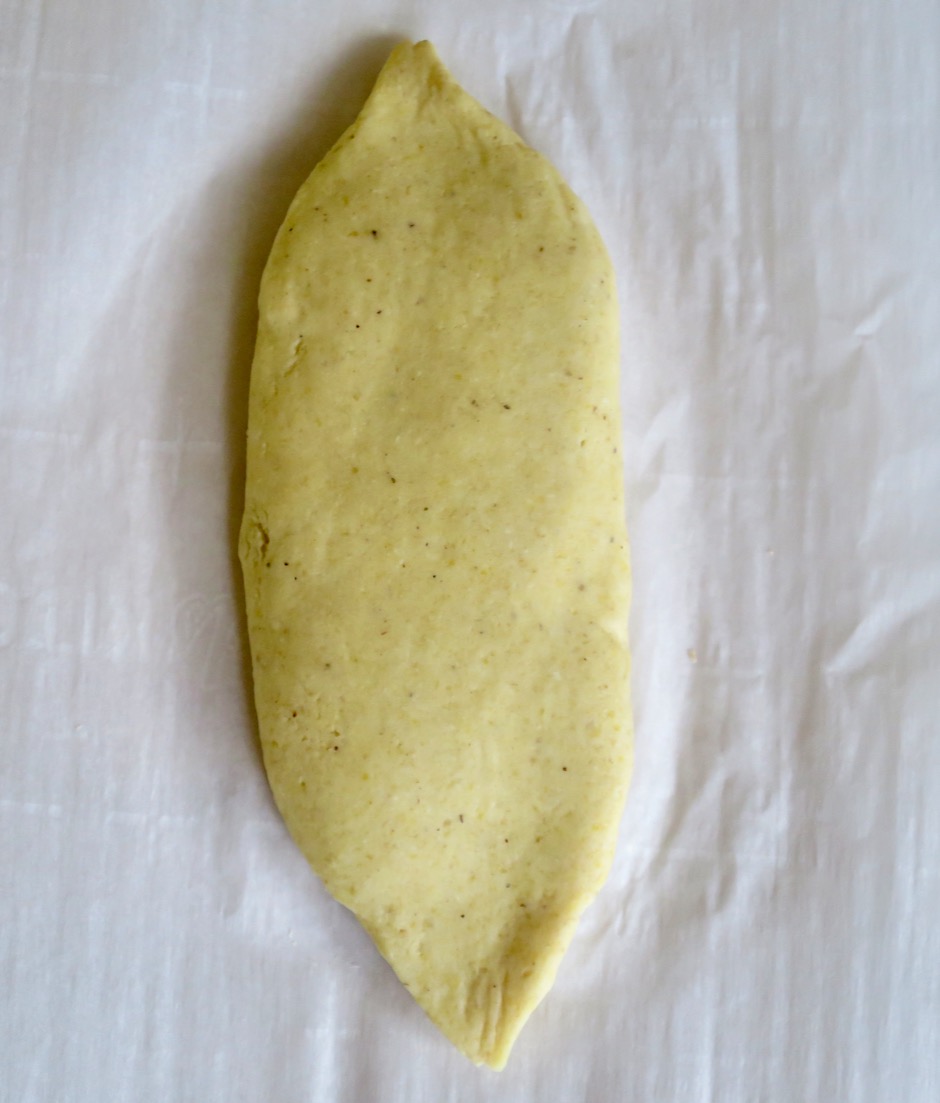
Once the filling is placed in the center of the masa round, the sides are brought to the center then gently pinched together to form a tight seal.  The ends are pinched together into an oval shape.

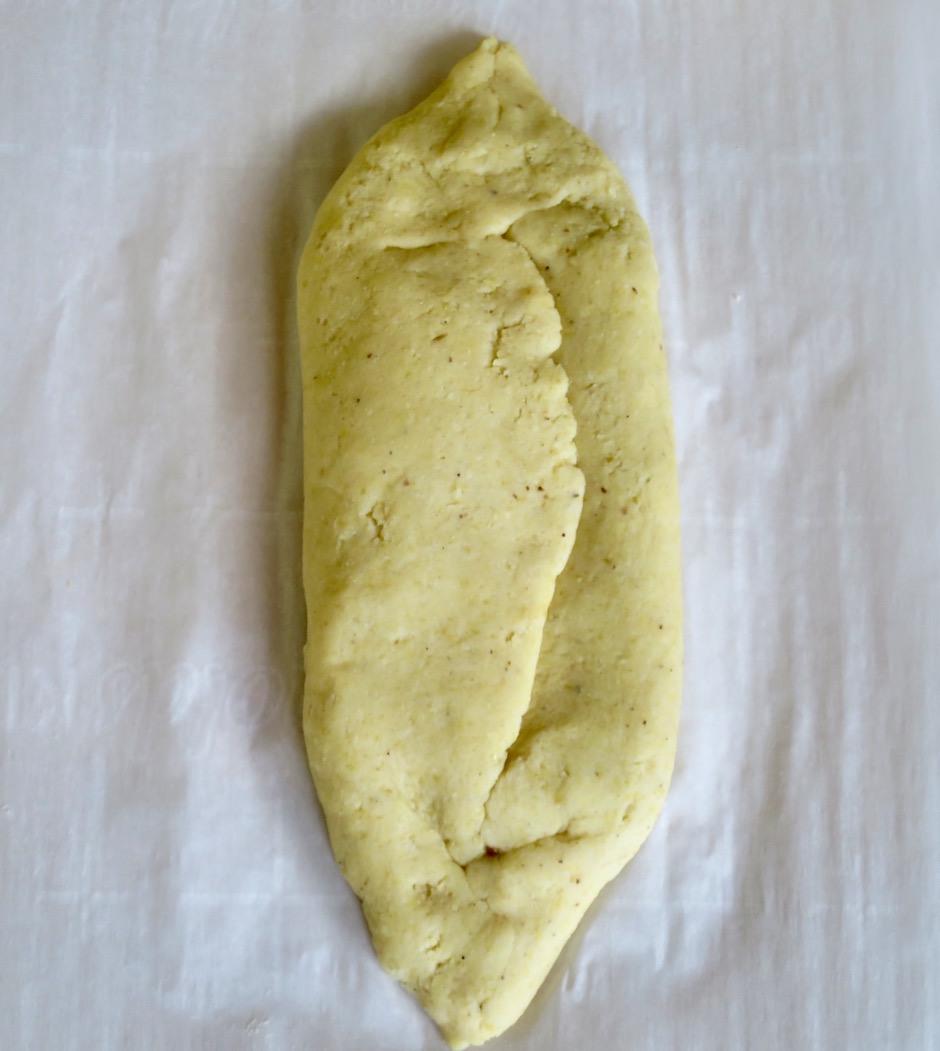
Shaping Tlacoyos

The seams are gently pressed together so the filling will not leak when frying.  Pinch together any cracks that appear.

Shaping Tlacoyos

Shaping Tlacoyos

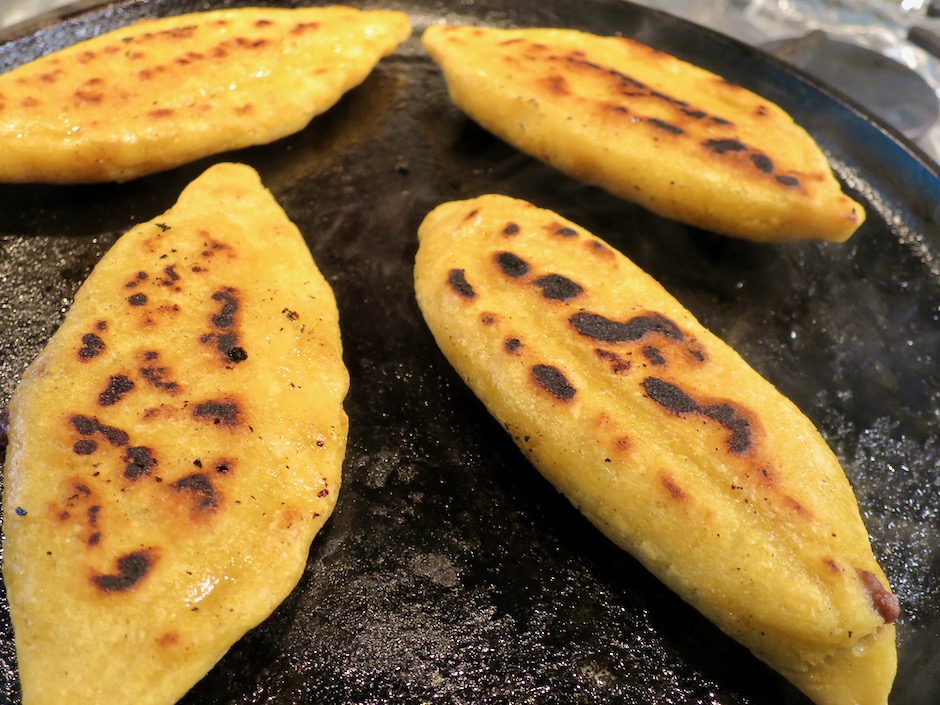
Typically the tlacoyos are oval shaped however I have seen round ones as well.  The tlacoyos that Nestor brought to us were shaped into little triangles.  No mater how you shape them, be sure to get a nice char on both sides.  This brings out the delicious flavor of the masa.

Black Bean Tlacoyos

Tlacoyos

Tlacoyos
 
Author:
Serves: 2 servings
Ingredients
  • 1½ cups masa harina (Bob's Red Mill recommended)
  • ½ teaspoon salt
  • 1¼ cups warm water
  • Filling of your choice such as refried black beans, potatoes and cheese. I have made these with beef barbacoa and they were delicious. Just be sure the filling is not too wet or it will leak out when frying.
  • Canola oil for frying
Preparation
  1. In a medium bowl, mix together masa, salt, and water. Add additional water by the teaspoon if dough seems dry. You want the dough to be quite moist for this recipe so that it doesn't crack when shaping and frying. Divide dough into 6 equal portions (8 for mini tlacoyos) and shape into balls.
  2. Using your hands or a tortilla press, flatten each ball into a fairly thick circle. Spread 1 tablespoon and up to 1½ tablespoons refried beans (if making 6) down the center of the dough making sure to leave a 1-inch border. Bring both edges of the dough towards the center and pinch together to form a tight seal. Slightly flatten the tlacoyo into an oval shape making sure not to press too hard so the beans won't leak out. Cover with plastic wrap while you continue with the rest of the dough.
  3. Heat a cast iron skillet (nonstick will work if you don't have a cast iron skillet) over medium heat. Place half of the tlacoyos in the pan and fry until they begin to char. Drizzle in a few teaspoons of oil and continue to fry until both sides are nicely charred. Continue with the remaining tlacoyos. You may serve the tlacoyos with any of these toppings: Salsa verde, shredded lettuce, pickled red onions, queso fresco, sour cream, nopalitos, cilantro, and avocado slices.


Beans, Dinner, Recipes, Salad, Side Dishes, Vegetarian, Veggies
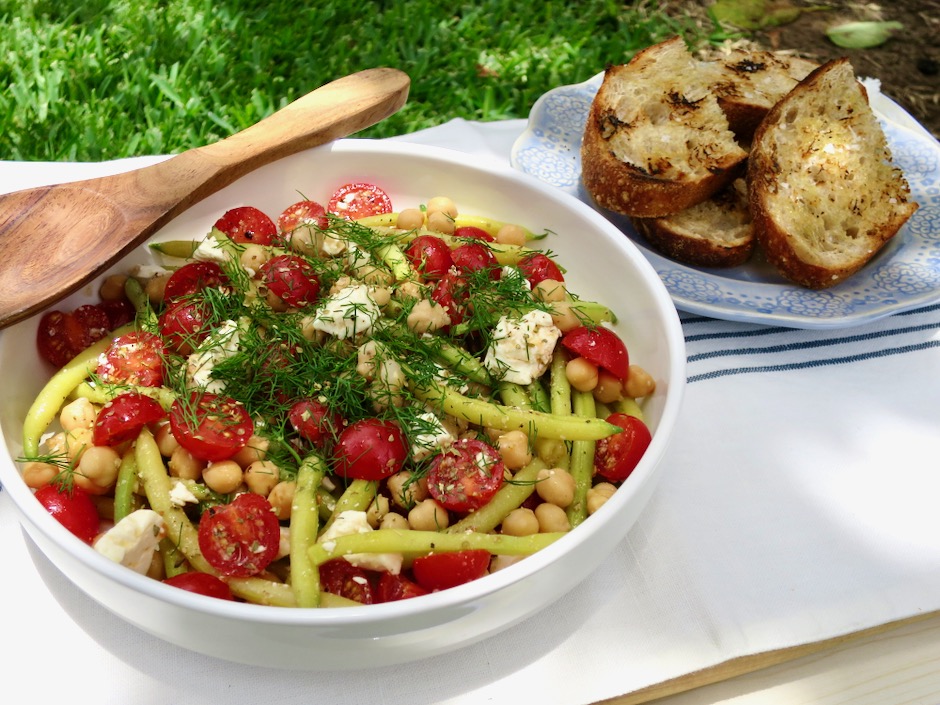
Tomato-Wax Bean Salad with Chickpeas, Feta and Dill

August 8, 2021

Tomato-Wax Bean Salad with Chickpeas, Feta & Dill

The summer weather has been quite brutal here in South Maui.  With temperatures reaching 90+ degrees, it’s hard to imagine cooking up a fancy meal in the kitchen all afternoon.  If you’re looking for a superb summer salad, consider making this.  Not only does this salad make a satisfying lunch, it can be transformed into a delightful dinner served with some good sourdough bread or focaccia.  

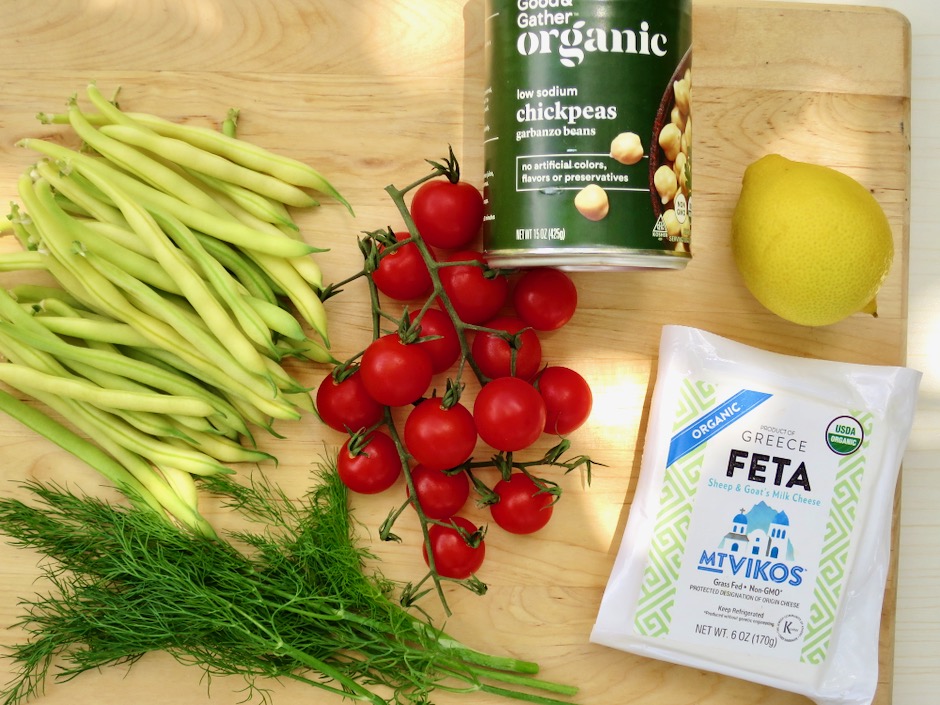
Salad Ingredients

You will briefly turn on the stove to cook the beans for a few minutes until they are tender-crisp.  No other cooking is required for this dish.

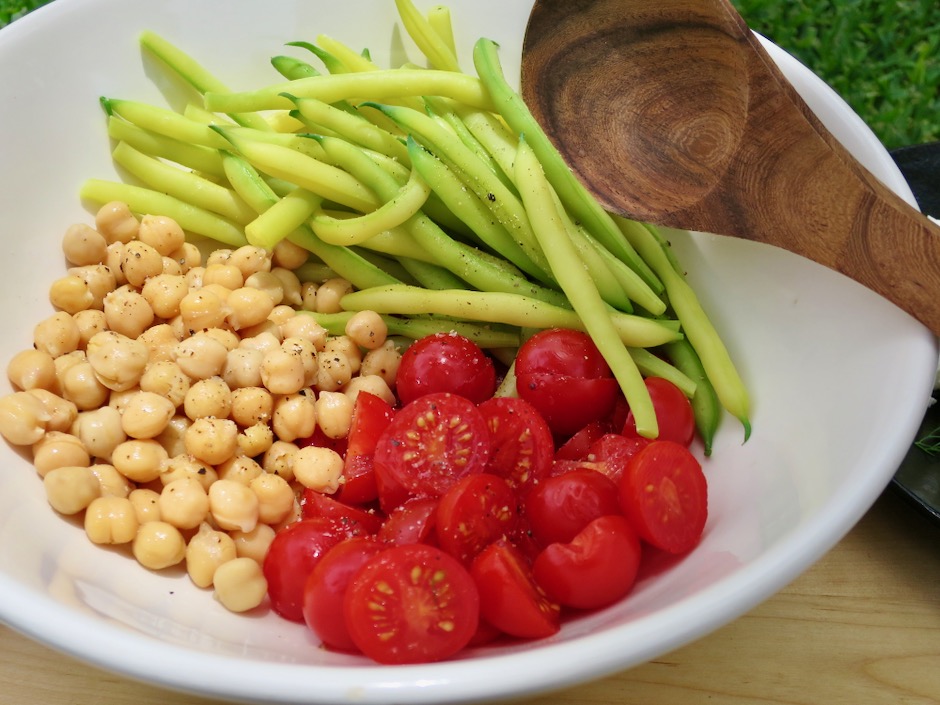
Wax Beans from the Garden, Cherry Tomatoes, Chickpeas

We grew these beautiful beans in the garden just before the summer heat became too much for successfully growing most vegetables.  There are plenty of green beans at the market that will work perfectly for this recipe.

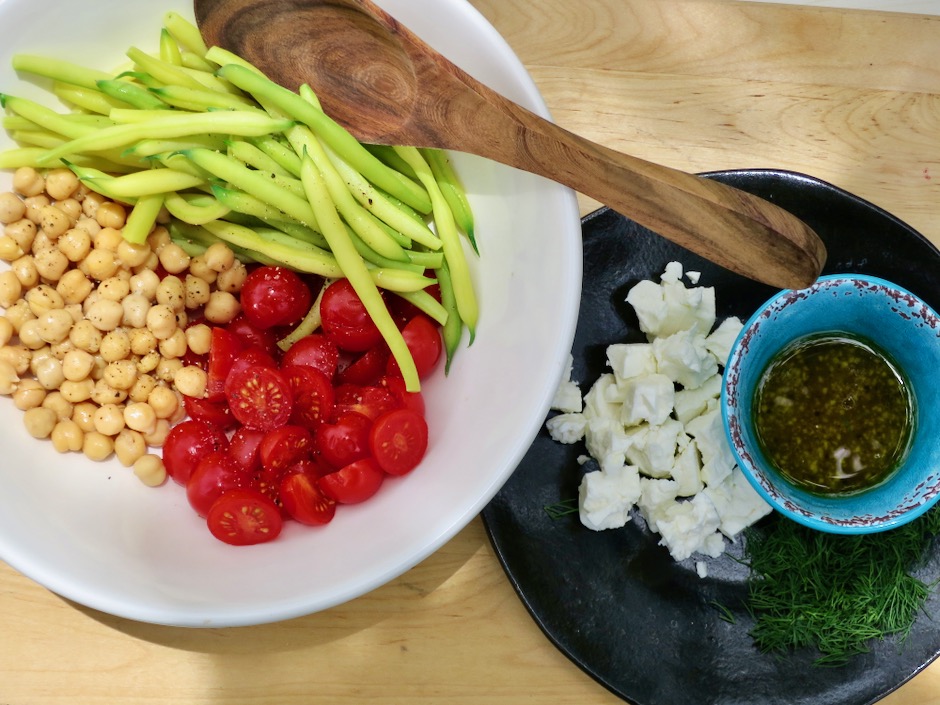
Wax Beans from the Garden, Cherry Tomatoes, Chickpeas, Feta, Dressing

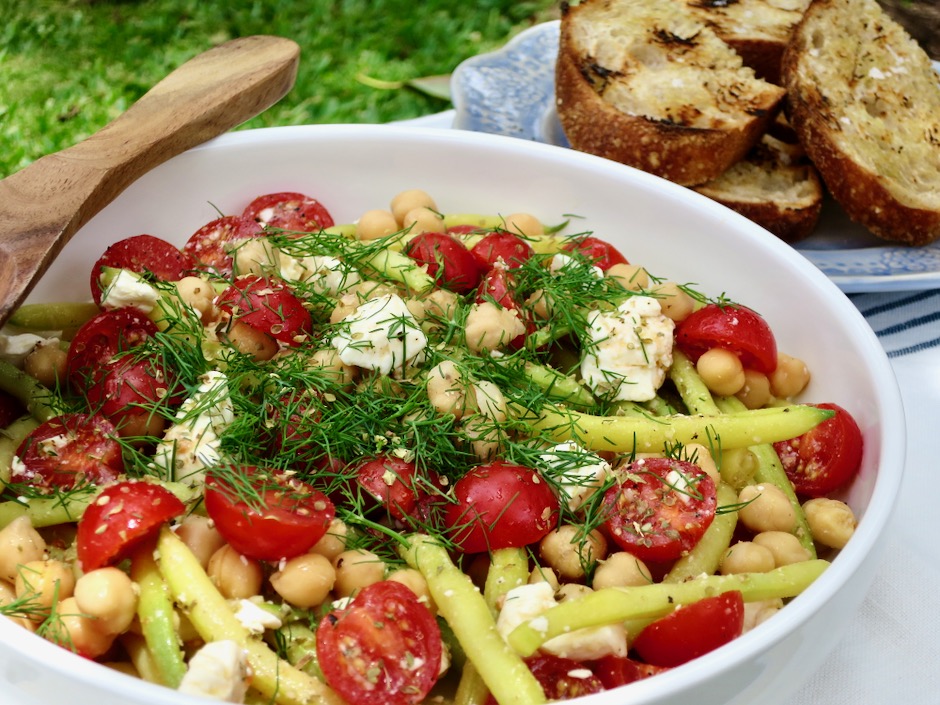
The crisp beans, juicy tomatoes, earthy chickpeas and creamy feta works out to be the perfect combination, with fresh dill being the icing on the cake.  A bright and tangy dressing makes this salad sing.

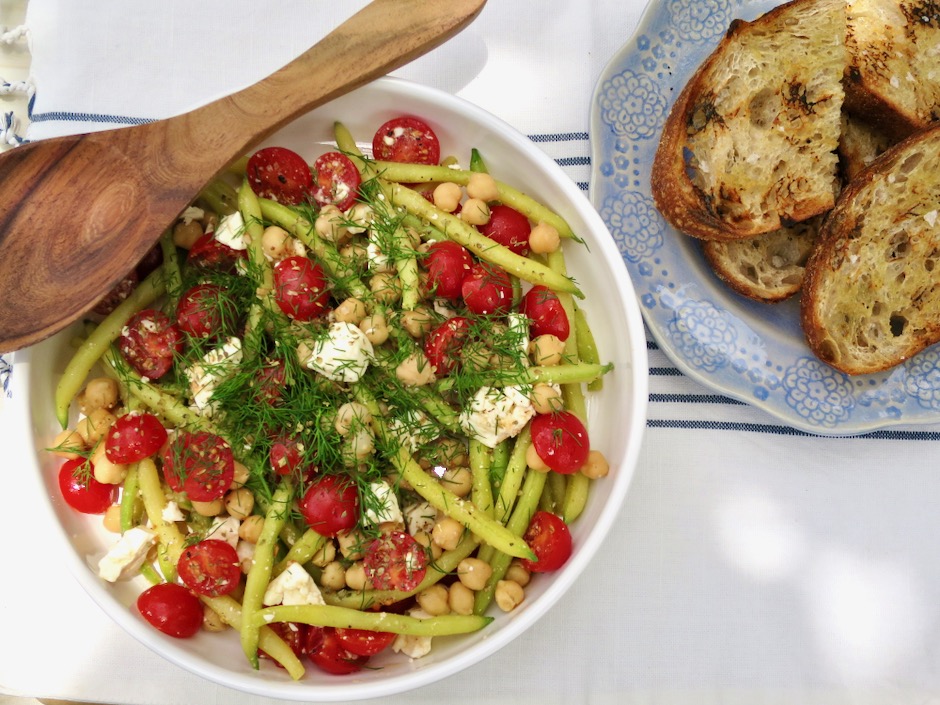
Tomato-Wax Bean Salad with Chickpeas, Feta & Dill

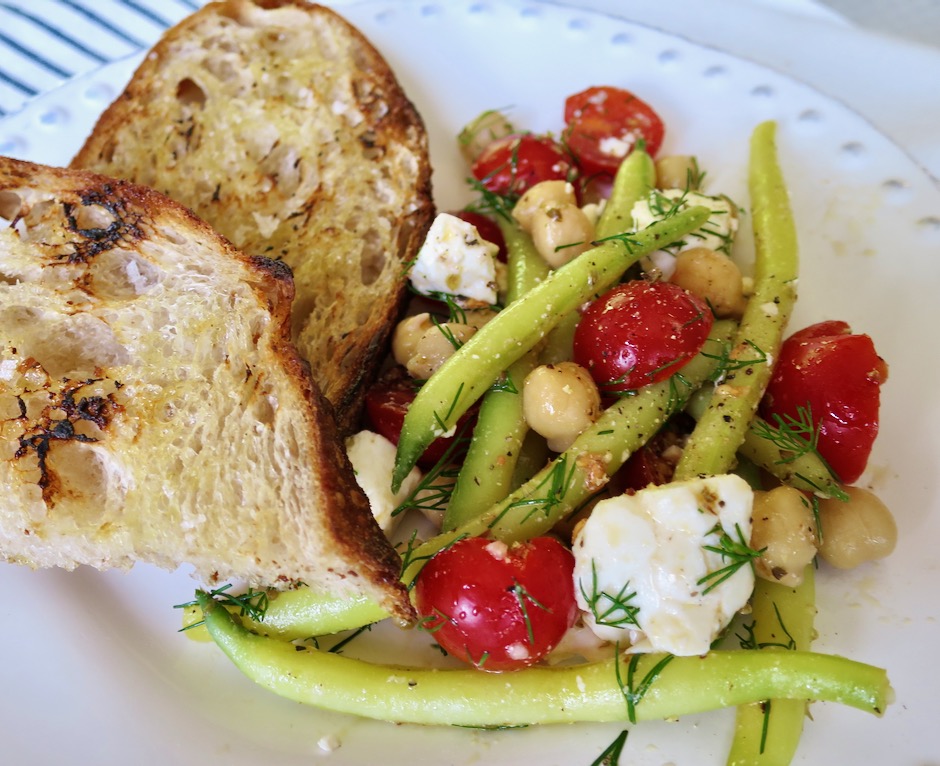
I highly recommend grilling some good sourdough bread to accompany the salad.  The slightly smoky flavor of the bread completes the meal.  Toasted cornbread or focaccia would also be a good option.


Tomato-Wax Bean Salad with Chickpeas, Feta & Dill with Grilled Bread

Tomato-Wax Bean Salad with Chickpeas, Feta, Dill & Grilled Bread

Tomato-Wax Bean Salad with Chickpeas, Feta and Dill
 
Adapted from New York Times Cooking
Author:
Serves: 2 - 4 as side dish
Ingredients
  • 6 ounces wax beans or green beans
  • 1 tablespoon fresh lemon juice
  • ½ tablespoon red wine vinegar
  • 1 small garlic clove, minced (or ½ medium clove)
  • 1½ tablespoons extra-virgin olive oil
  • ½ pint cherry tomatoes, halved
  • ½ can (15-ounce) chickpeas, drained and rinsed
  • 2 ounces crumbled (large pieces) feta, Mt. Vikos recommended
  • 1 tablespoon roughly chopped fresh dill
  • ¼ teaspoon dried oregano
Preparation
  1. Bring a medium saucepan of water to boil over high heat. Add ½ teaspoon salt, then green beans. Cook until beans are tender and crisp, about 2 minutes. Transfer beans to a bowl of ice water to cool. Drain in a colander and blot dry with a kitchen towel.
  2. In a small bowl, put lemon juice, vinegar, garlic, a pinch of salt and some black pepper to taste. Whisk in olive oil.
  3. Add cherry tomatoes, green beans and chickpeas to a wide salad bowl. Season with salt and pepper. Add dressing and toss to coat. Add feta and toss once more. Let marinate 10 minutes, tossing occasionally. To serve, sprinkle generously with dill and dried oregano.


Follow

Get every new post delivered to your Inbox

Join other followers: