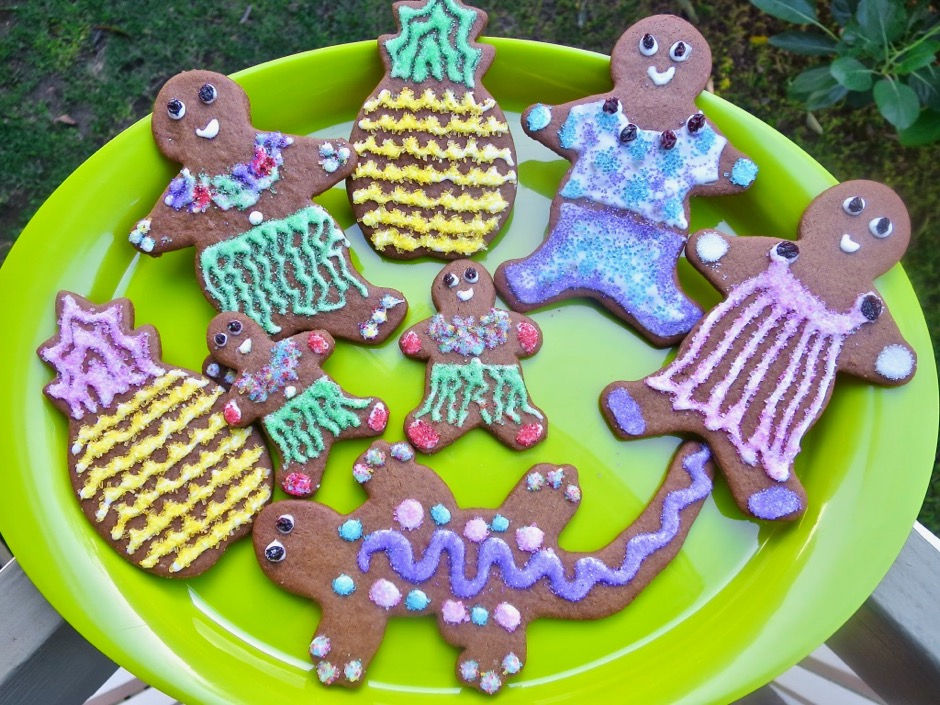
It’s the holiday season again, and there’s still time to whip up some crispy Hawaiian style gingerbread cookies before Christmas. My original post of this recipe was back in December 2013 and I have been making these cookies many years prior to that date, and every year since. My mom used to make gingerbread cookies for her students every Christmas. It was in my Manoa home where I learned to love these guys. It takes a day to bake and decorate these cookies but I find joy in giving them away to family and friends each holiday season. Who can resist a gecko, a pineapple, or hula dancing gingerbread cookie? So if you have a bit of time this week, make a small batch of these cookies. Here is my original post. This year I made two-thirds of the recipe because I was short on time. Make the dough the night before you bake the cookies. This way, you can start baking as soon as the sun comes up.
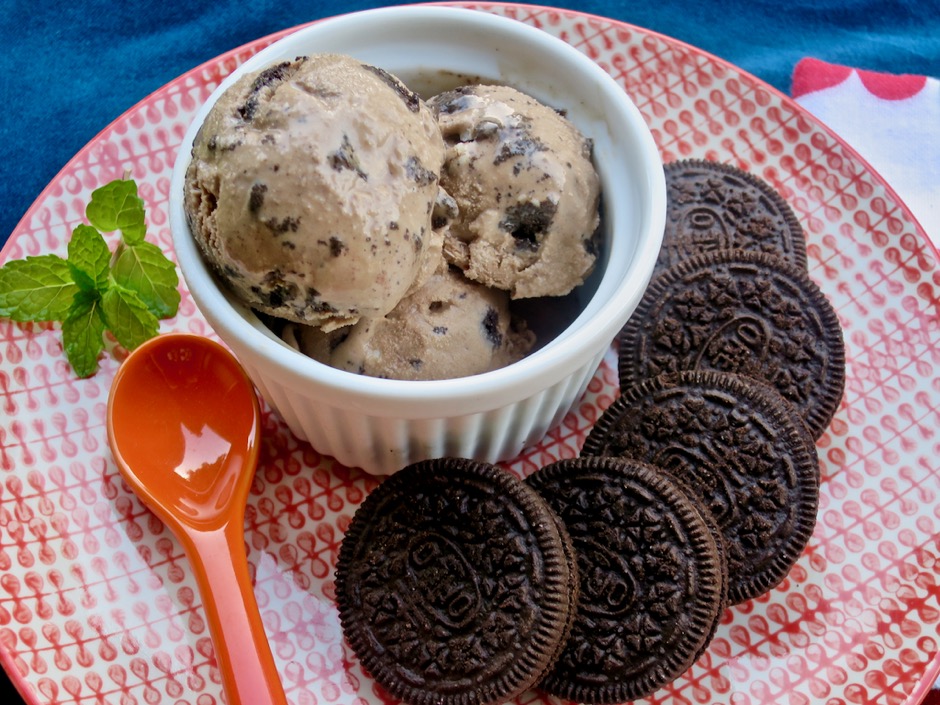
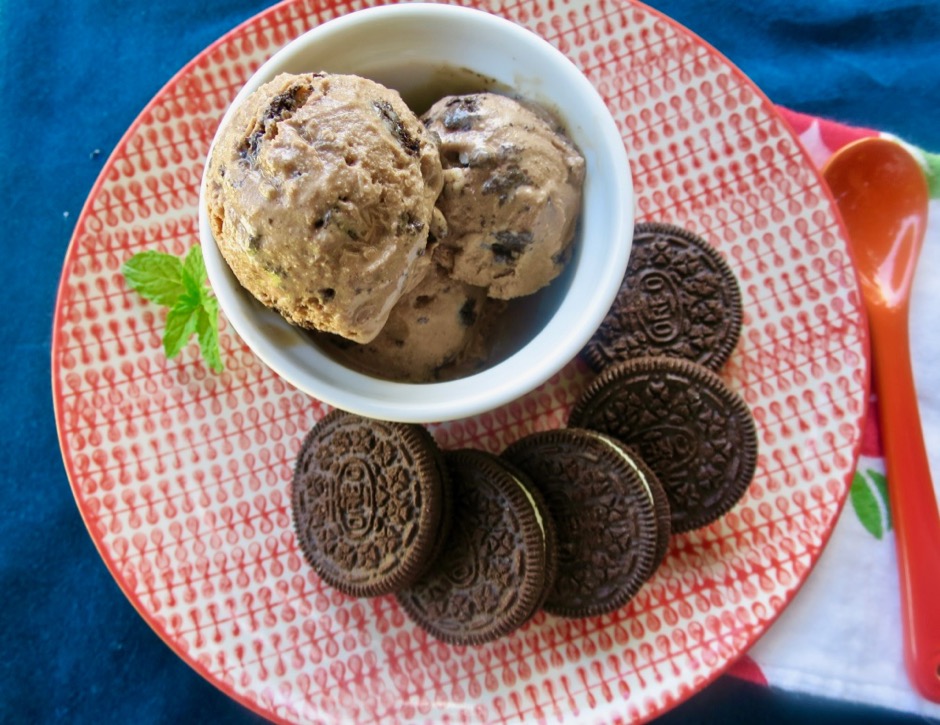
Being lactose intolerant is a culinary challenge, particularly when dining out. Virtually all restaurants use dairy products in most of their dishes. This is especially true with dessert menus. So I rarely order sweets. However, with so many lactose free dairy products now available, making homemade ice cream has become a real treat. This delicious ice cream is made with Organic Valley lactose free half and half (of course you can use regular half and half). It has become one of my favorite desserts.
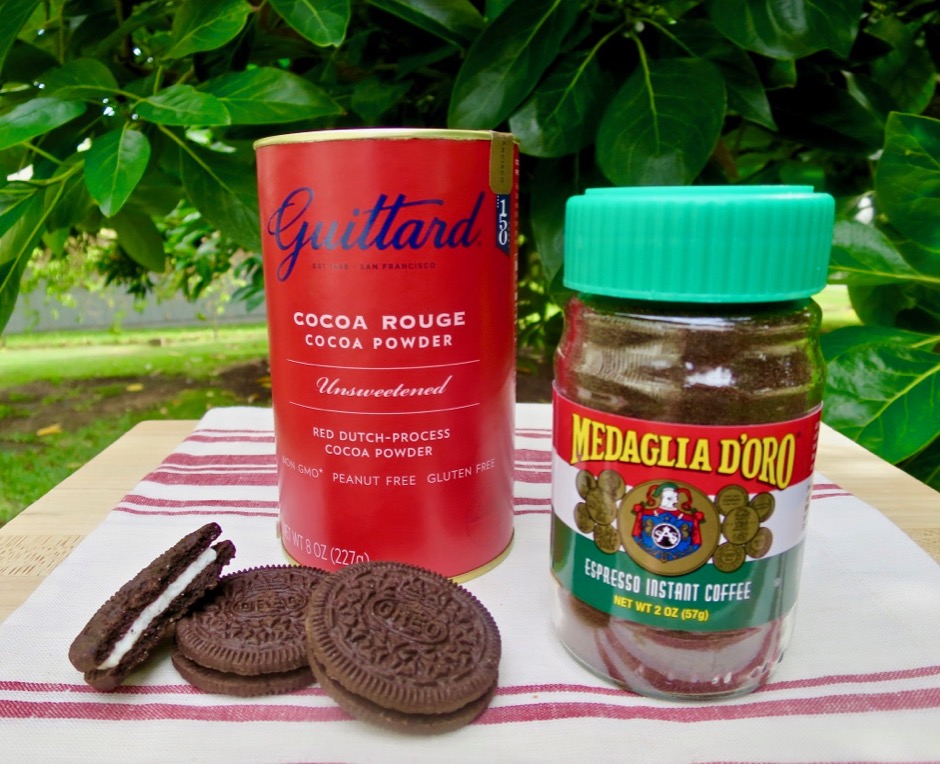
Three ingredients make this ice cream so exquisite: chocolate, espresso powder, and bits of Oreo cookies. These ingredients tie it all together to make the perfect combination of flavors.
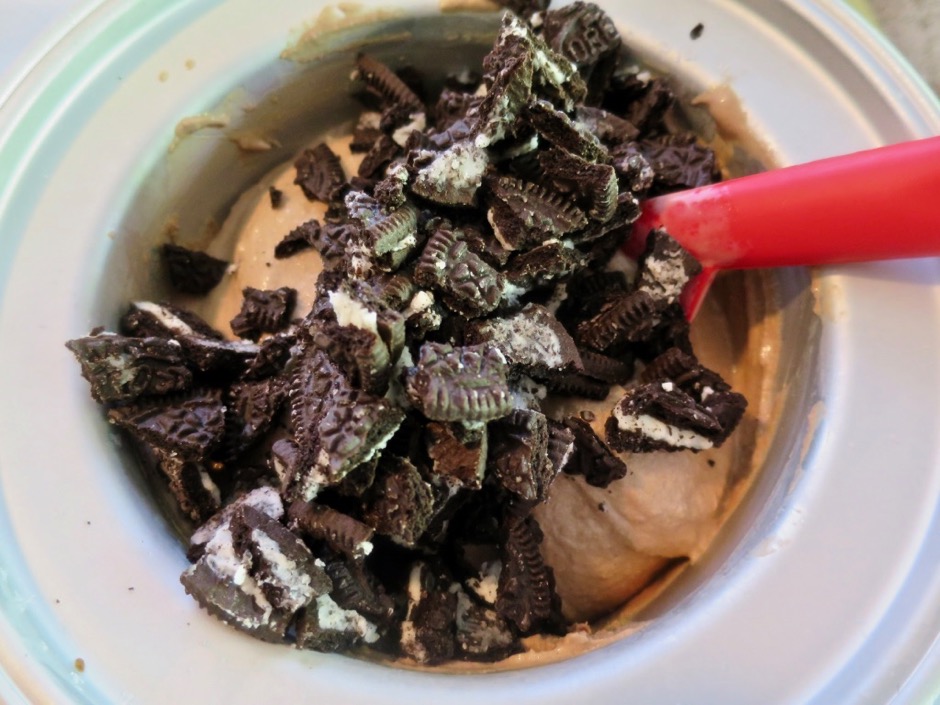
The Oreos are stirred in just before freezing the ice cream. Transfer the ice cream to a plastic container and freeze until firm.
3 cups cold lactose free half and half (or regular half and half),divided
¾ cups sugar
2 tablespoons espresso powder
2 tablespoons cocoa powder, Dutch process preferred
¼ teaspoon xanthum gum (optional)
1 teaspoon vanilla extract
10 Oreo cookies, broken into small pieces
Preparation
Whisk together 1 cup of the half and half, sugar, expresso powder, cocoa and xanthum gum. Stir in the remaining 2 cups of half and half and the vanilla extract.
Transfer bowl to the freezer for about 10 minutes, until mixture is nicely chilled.
Transfer mixture to your ice cream maker and churn according to your manufacturer's directions, 20-25 minutes. Stir in cookie bits and transfer ice cream to a plastic container. Freeze for at least 4 hours or overnight before serving.
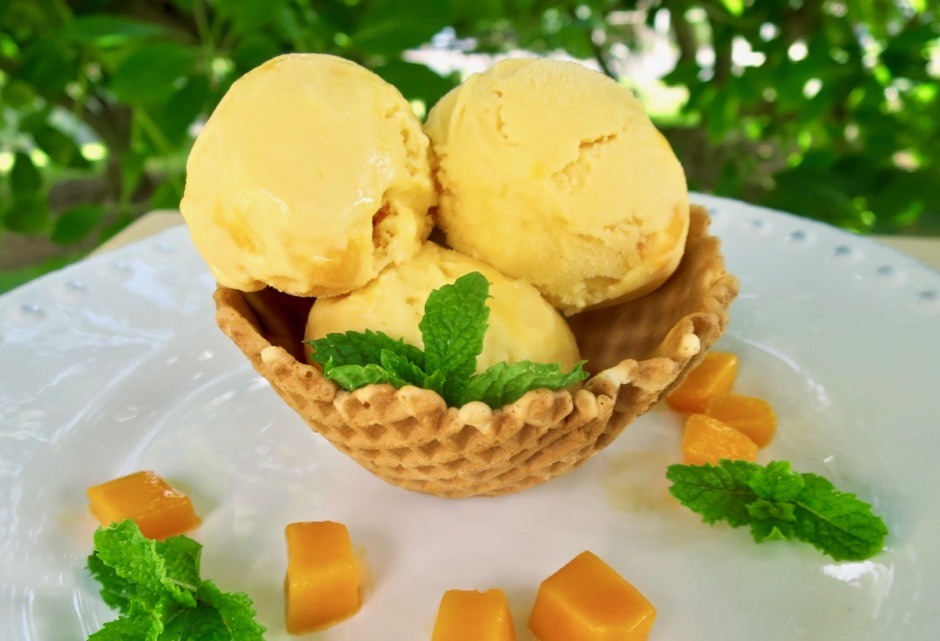
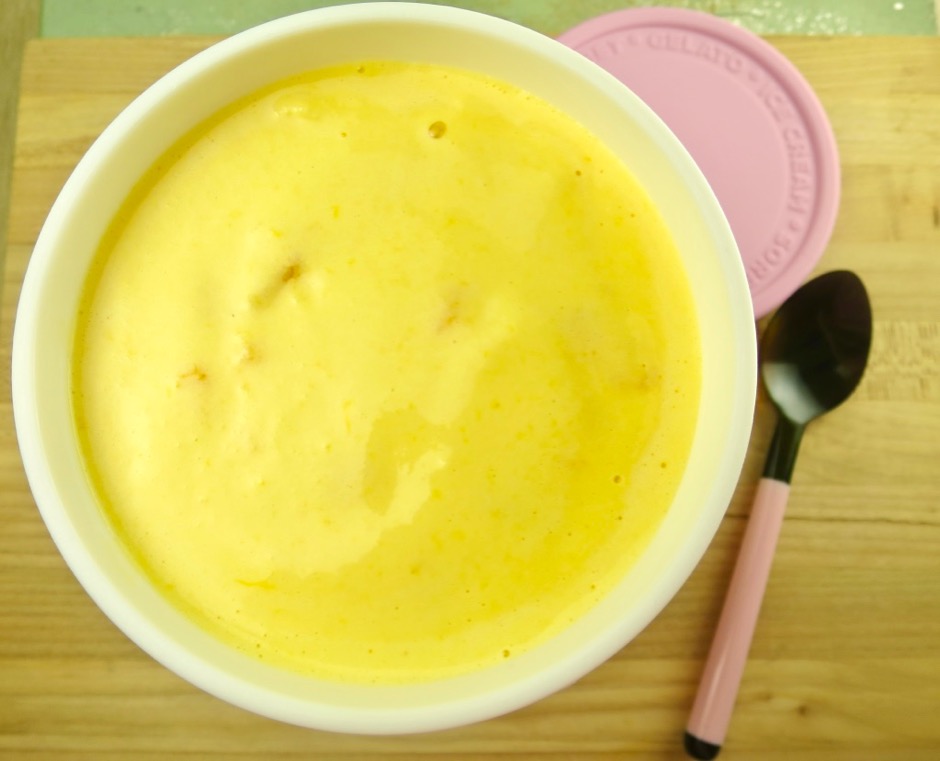
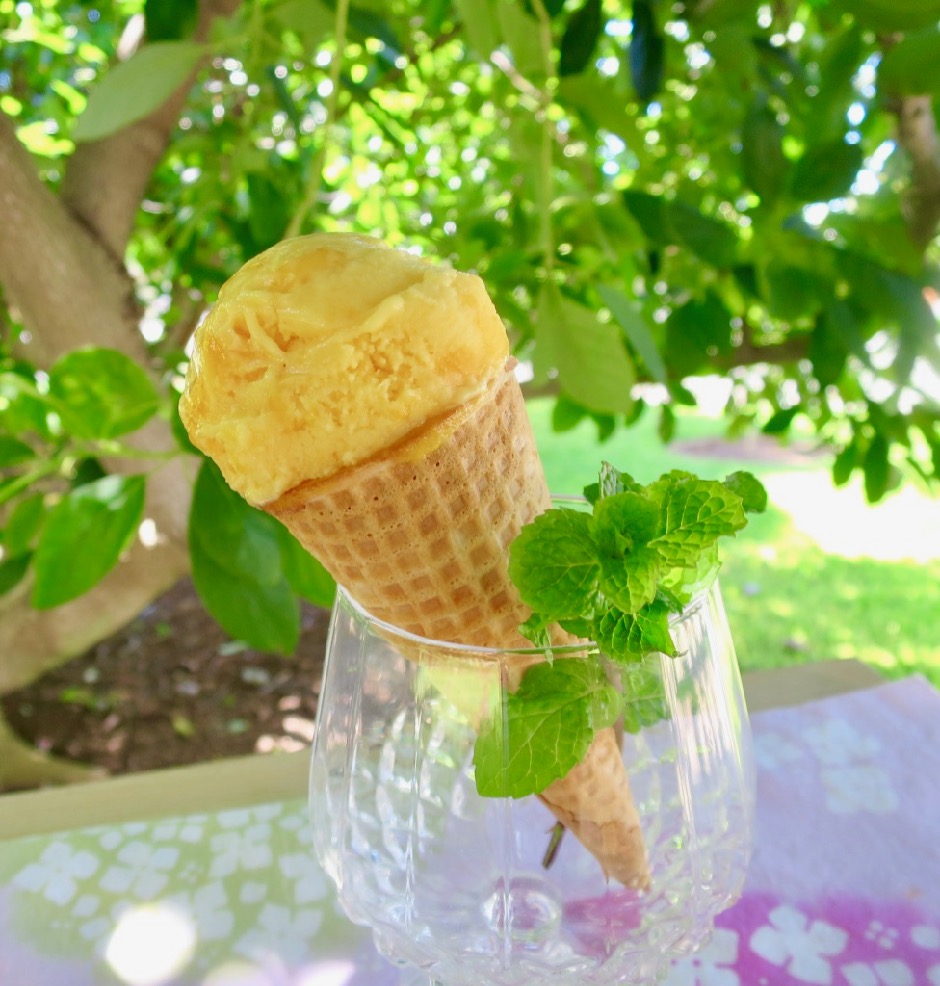
A few months ago I was experimenting with different strawberry ice cream recipes. I found a recipe by King Arthur Flour that people raved about, and for good reason: the ice cream is delicious. I decided to adapt the recipe and substituted the strawberries with our super sweet Pirie and Rapoza mangos. I also elected to add some lilikoi juice to the recipe, which brought an additional level of flavor. The small amount of lilikoi juice is just enough to create a perfectly balanced tropical flavor.
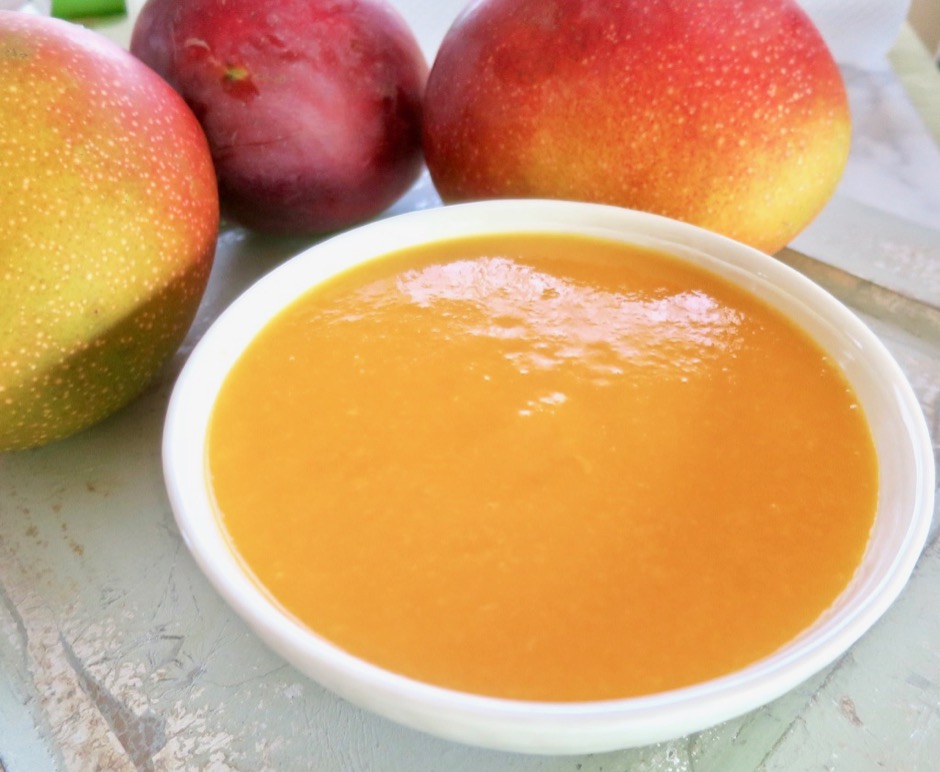
I pureed the mango using my immersion blender. If you don’t yet have one, I highly recommend acquiring this handy kitchen tool. It is easy to clean and doesn’t take up nearly as much of your precious kitchen space as a full-sized blender does.
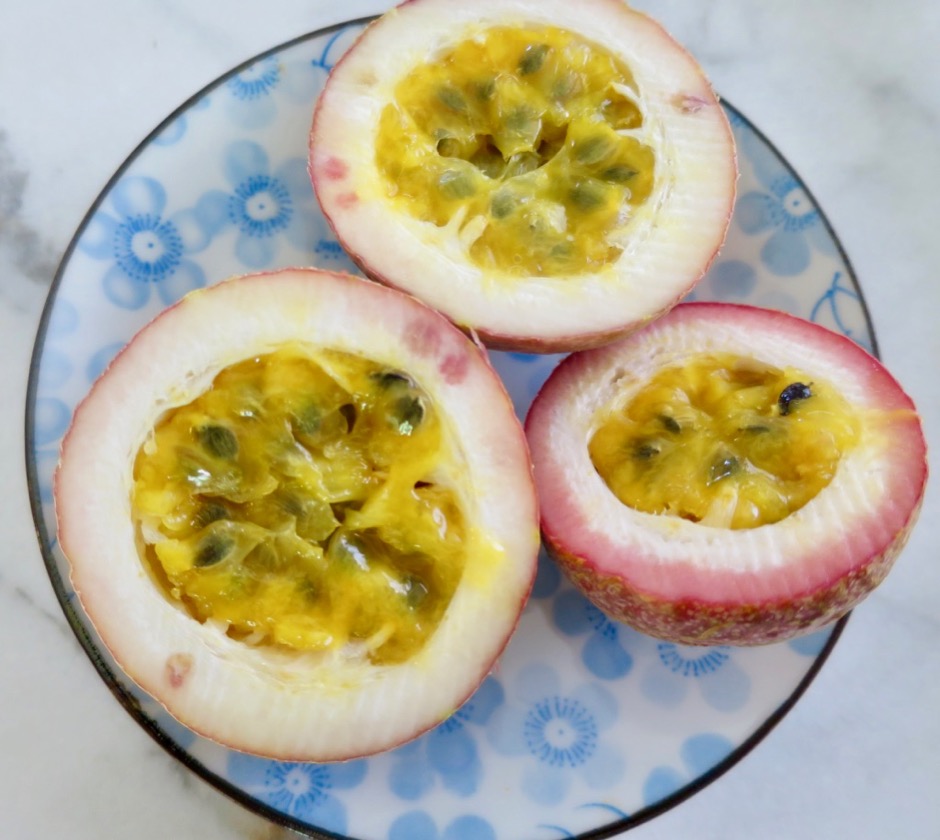
The fragrance of a fresh cut lilikoi is just fantastic. We grow yellow and purple lilikoi vines and like having the two varieties.
This mango-lilikoi ice cream is quite simple to make. I freeze the purée during mango season so that I’ll have it throughout the year to make ice cream whenever I’m craving homemade ice cream with a true mango and lilikoi flavor.
Finely dice mango to make 1 cup. Combine diced mango with ¼ cup sugar and 2 tablespoons vodka. Stir gently to combine, cover and chill in the refrigerator for a few hours.
Coarsely chop remaining mango and puree with an immersion blender. Strain puree and measure out 1¼ cups.
Whisk the xanthan gum with the remaining ¾ cup of sugar in a large mixing bowl. Whisk in the mango puree, lilikoi juice, half & half, and corn syrup, whisking until fully combined. Cover and chill in the refrigerator until very cold, about 2 hours. If you are short on time, freeze the mixture for about 15 minutes or until well chilled.
Process the mixture in your ice cream maker according to the manufacturer's instructions. My Cuisinart takes about 25 minutes. In the last minute of churning add the diced mangos (drain and discard liquid first ). Transfer ice cream to a covered container and freeze for at least 3 hours before serving.
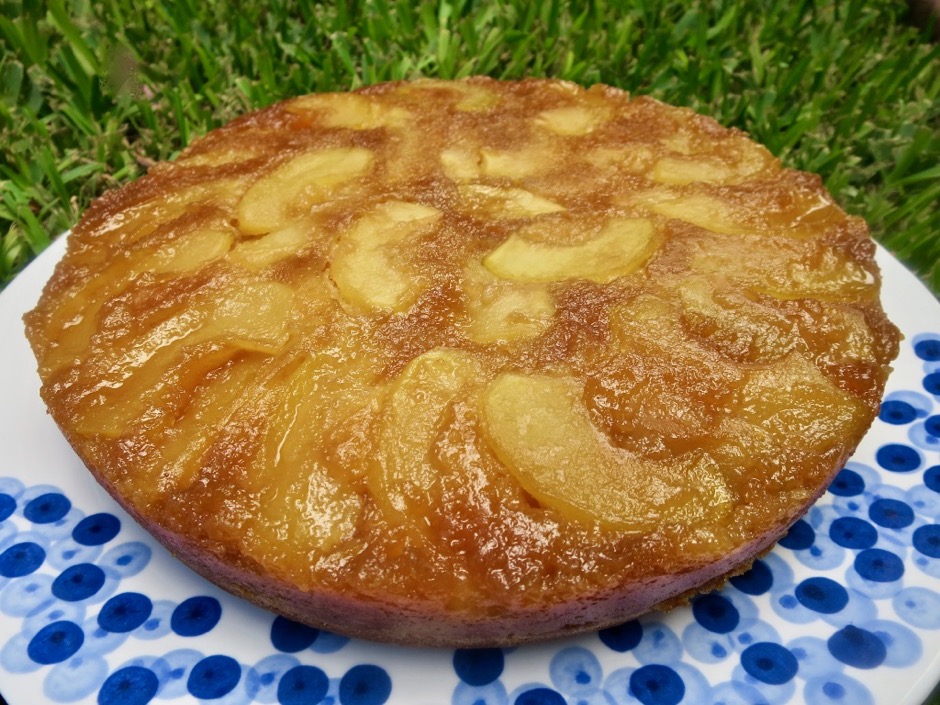
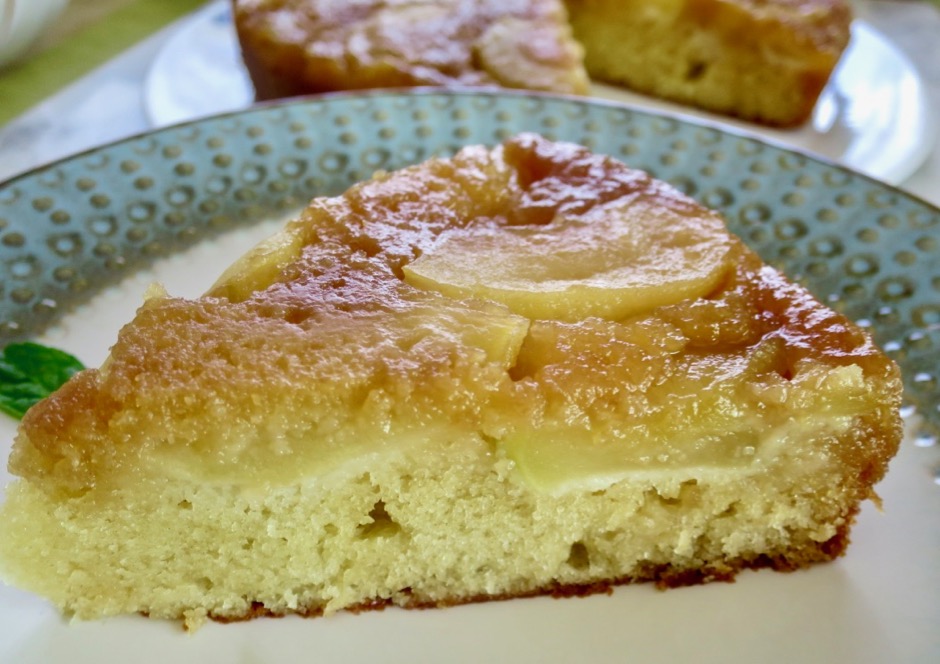
I was paring down my collection of back issues of my food magazines recently. I always thumb through them one last time to make sure I didn’t miss something good. I occasionally find recipes that did not catch my attention in the past, but now piques my interest. This recipe by Joanne Chang, who is an acclaimed chef and is especially known for her delectable desserts, is one of those discoveries. It’s a humble dessert, but one that will impress after the first bite. The pure maple syrup and tart apples were meant for one another.
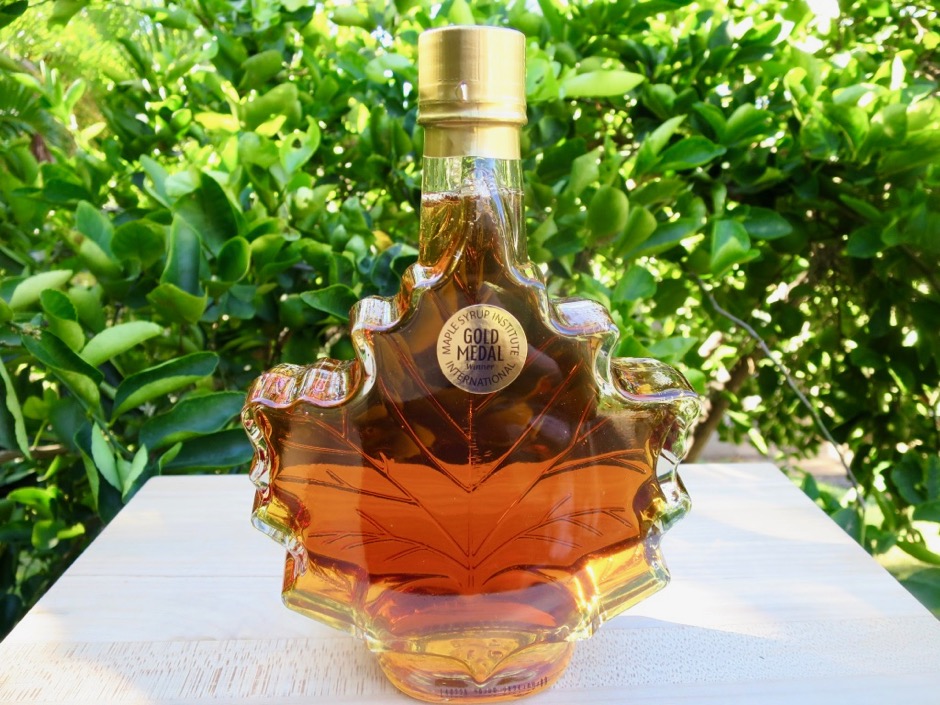
This pure maple syrup was a gift from a Canadian family who were vacationing on Maui. The days of Log Cabin syrup are forever gone!
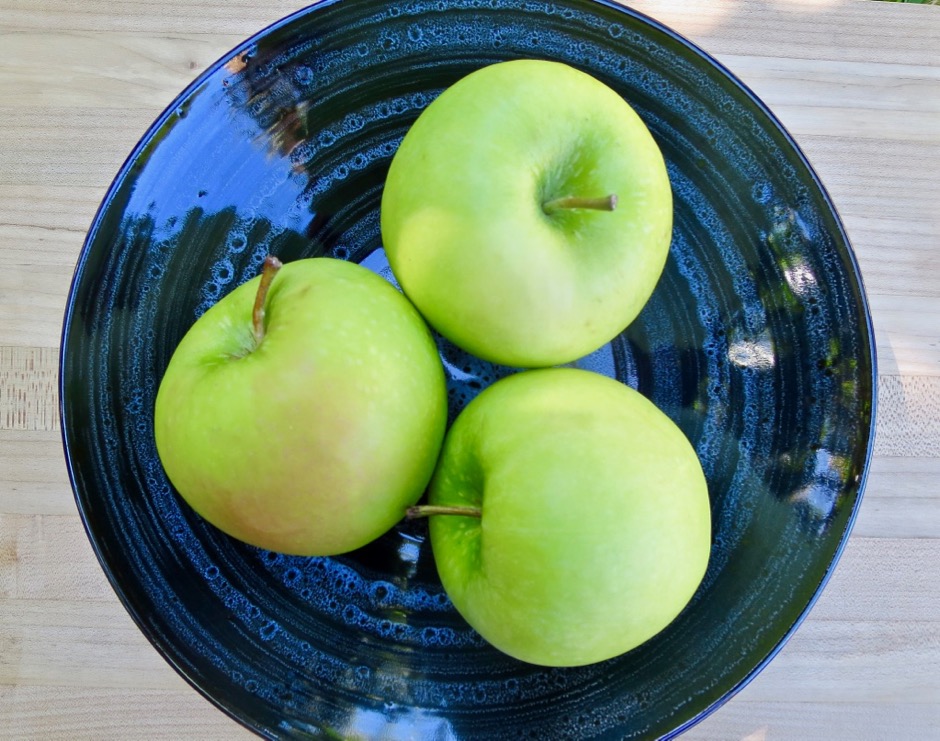
Crisp and tart Granny Smith apples are the right choice for this recipe. They keep their shape when baked and the flavor is perfect when infused with the maple syrup.
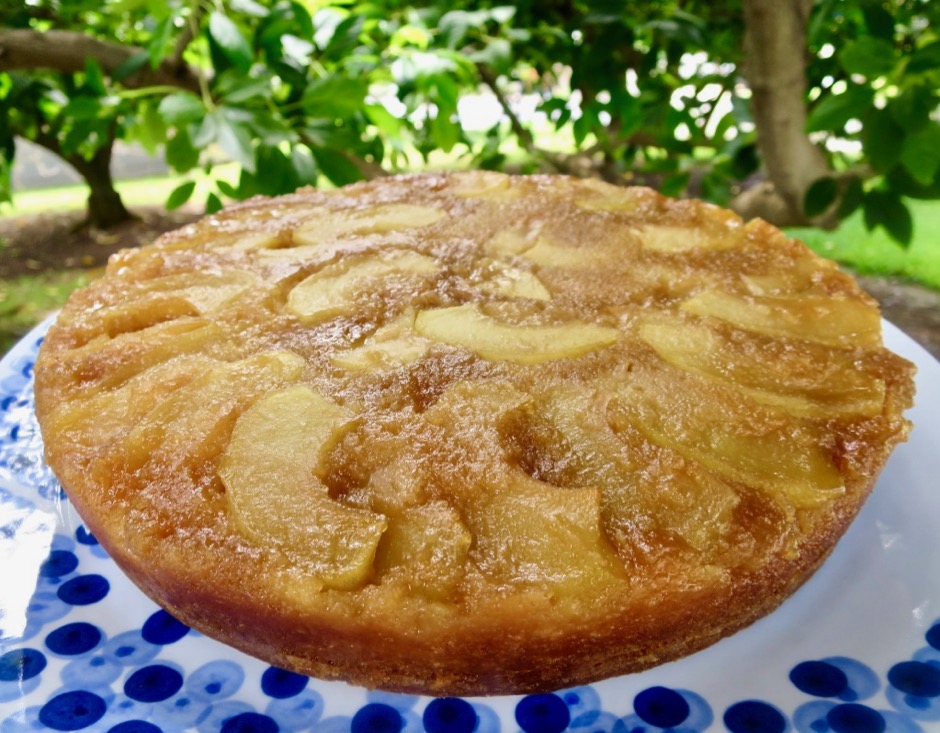
The recipe is a cinch to make. Reduce the maple syrup a bit until it thickens slightly. Pour it into the pan, layer the apples over the syrup, pour in the batter, and bake the cake. The house is filled with the most unbelievable scent of maple syrup and apples.
***If you use unsalted butter, increase the salt to ¾ teaspoon
***The recipe calls for a 10-inch cake pan. Make sure you use one with 3-inch depth. I have also made this cake in a 9"x3" pan and left out about ⅓-1/2 cup of the cake batter.
Preparation
Preheat oven to 350 degrees. Butter and flour a 10-inch cake pan.
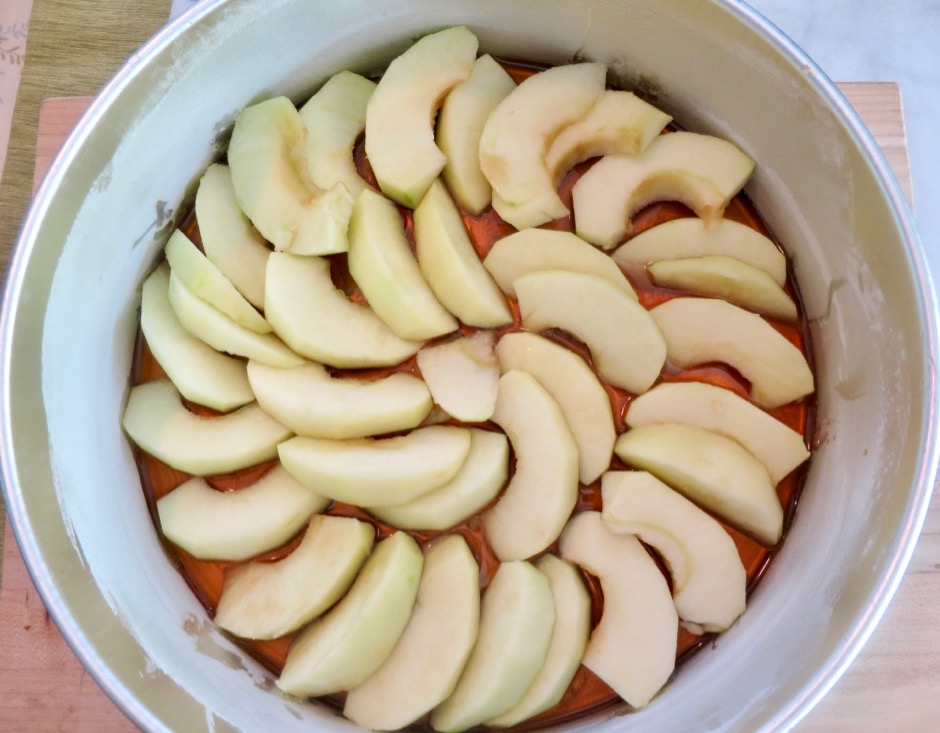
In a large saucepan, bring maple syrup to a boil over medium-high heat, then simmer over low heat until thick and reduced to ¾ cup, about 20 minutes. Be sure to keep an eye on the syrup. If left unattended, it may foam up and overflow (making a mess) if the heat is too high. Pour thickened syrup into the cake pan. Arrange apples in the pan in 2 concentric circles, overlapping them slightly.
In a medium bowl, whisk the flour, baking powder, baking soda and salt. In a glass measuring cup, whisk the eggs with the buttermilk and vanilla. In the bowl of a standing electric mixer fitted with the paddle, beat the butter and sugar at medium speed until fluffy, about 2-3 minutes. Beat in the dry and wet ingredients in 3 alternating batches until the batter is smooth; scrape down the sides of the bowl.
Pour the batter over the apples and spread it in an even layer. Bake the cake for about 60-70 minutes, or until golden on top and a toothpick inserted in the center comes out clean. Let the cake cool on a rack for 45 minutes.
Place a plate on top of the cake and invert the cake onto the plate; tap lightly to release the cake. Remove the pan. Let the cake cool slightly, then cut into wedges and serve.
You may serve the cake with creme fraiche or vanilla ice cream.
I’m always looking for new, interesting cookies. I stumbled upon these AK Cookies in the late and lamented Lucky Peach magazine. The ingredients seemed like ordinary items you might have in your pantry and I loved the idea of adding shredded coconut to the dough. Turns out these are more than just your ordinary cookies with chocolate, oatmeal and nuts. The coconut adds the je ne sais quoi that turns on otherwise common cookie into something special. This is a cookie that is equally appropriate with your morning coffee or served for dessert along with a scoop of vanilla ice cream.
The curious name of the cookie appears to be a play on the place where Peter Meehan and his wife Hannah Clark first had these cookies while visiting friends in Anchorage, Alaska (hence AK). Whatever the name, these are cookie perfection. There is an ideal combination of nuts, coconut, oatmeal, and chocolate in each bite.
If you want to make bigger cookies, by all means go for it. The recipe calls for using a 2-ounce ice cream scoop to make squash ball sized dough rounds. I used my Oxo Good Grips medium cookie scoop to make 40 smaller cookies. These guys freeze well.
½ teaspoon kosher salt (1 teaspoon if using unsalted butter)
1 cup shredded unsweetened coconut
1 12-ounce bag semi-sweet or bittersweet chocolate chips (dark chocolate for lactose free)
2 cups quick cooking oats
1 cup coarsely chopped walnuts or pecans
Preparation
Preheat oven to 350 degrees.
Using a mixer fitted with the paddle attachment, cream the Buttery Sticks and sugars on medium-high speed until the mixture is pale tan and smooth, about 2 minutes. Add the eggs and vanilla and mix for another 4 minutes. Add the dry ingredients in order, mixing them in on low speed, just until each is incorporated into the dough.
Use a medium scoop (I use Oxo) or a larger one for bigger cookies, to scoop all the dough onto a cookie pan and chill in the refrigerator for at least 30 minutes before baking.
When you are ready to bake the cookies, space them well on a parchment-lined cookie pan (or use a Silpat) and bake for about 10 - 12 minutes. Bigger cookies will take a little longer to bake. Test cookies after 10 minutes of baking. They should be deep golden brown. Let the cookies cool on the pan for a few minutes, then transfer to a cooling rack. The cookies are best when fully cooled.
These days there is a far better selection of good lactose-free products available to those of us who are lactose intolerant. I love Green Valley’s lactose free yogurt, cream cheese and sour cream. I’ve been told they will soon have lactose free cottage cheese available which is excellent news as I use it in my favorite cheesy beef stuffed shells. Organic Valley makes lactose-free half and half, a real life saver when it comes to making desserts such as this strawberry ice cream. I love the simplicity of this recipe from King Arthur Flour. It doesn’t require simmering the sugar and cream, nor does it call for using eggs. It’s just a delight to be able to make lactose-free ice cream at home with the freshest fruit available as well as in flavors usually not found in markets.
Strawberries are in season right now so it’s the perfect opportunity to whip up some homemade ice cream. We still have some Pirie and Rapoza mangos on our trees which means mango ice cream is up next.
A portion of the strawberries are sliced thinly and mixed with sugar and vodka. The strawberries eventually go into the ice cream during the last few minutes of churning. They add a nice pop of extra strawberry flavor in every spoonful.
Wash, hull, and quarter 6 ounces of strawberries. Slice the quarters very thinly. Place in a bowl and pour ½ cup of the sugar and the vodka over the berries. Mix, cover, and refrigerate at least 2 hours.
Wash, hull and quarter the remaining berries, and puree with an immersion blender or regular blender. Strain through a fine-mesh strainer to remove the seeds. Measure out 1½ cups of the strained puree.
In a large mixing bowl,whisk the remaining ¾ cup sugar with the puree. Whisk in the corn syrup and half & half until fully combined. Whisk in a pinch of salt, or to taste.
Chill the mixture until very cold, about 2 hours. Transfer the mixture to the freezer and chill for another 15 minutes.
Pour mixture into the ice cream maker and process according to the manufacturer's instructions. My Cuisinart takes about 25 minutes. In the last few minutes of churning, retrieve the sliced strawberries from the refrigerator and drain the liquid. Add the berries to the ice cream for the final few turns.
Transfer the ice cream to a covered container and freeze for at least 4 hours or overnight.