Browsing Category

Dessert

Breakfast, Dessert, Lactose Free, Recipes, Vegetarian

Whole Wheat Buttermilk Granola Muffins

October 5, 2020

Buttermilk Granola Muffins

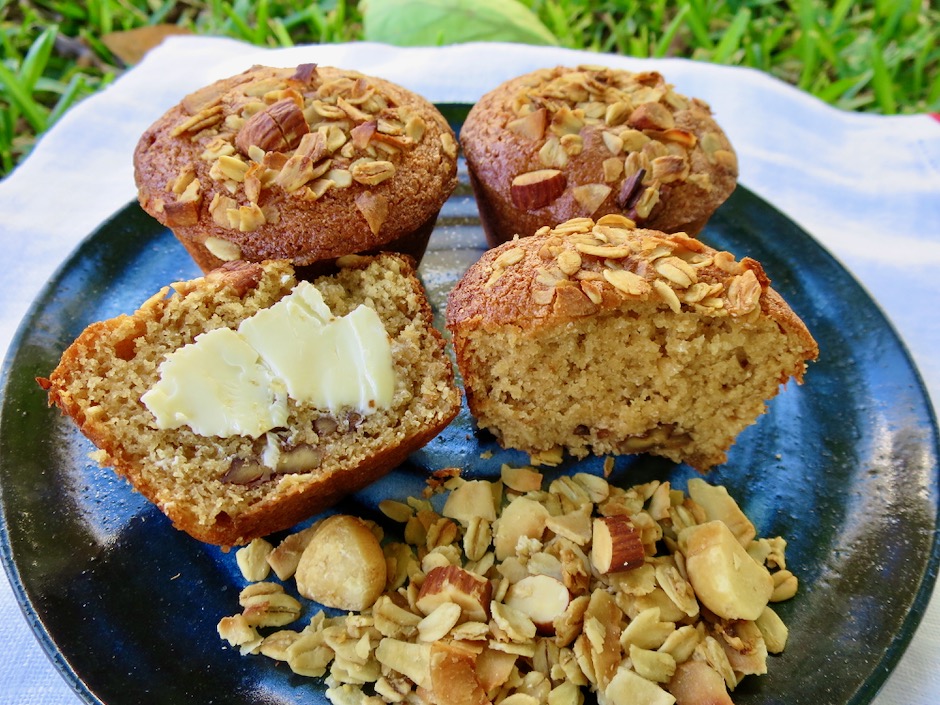
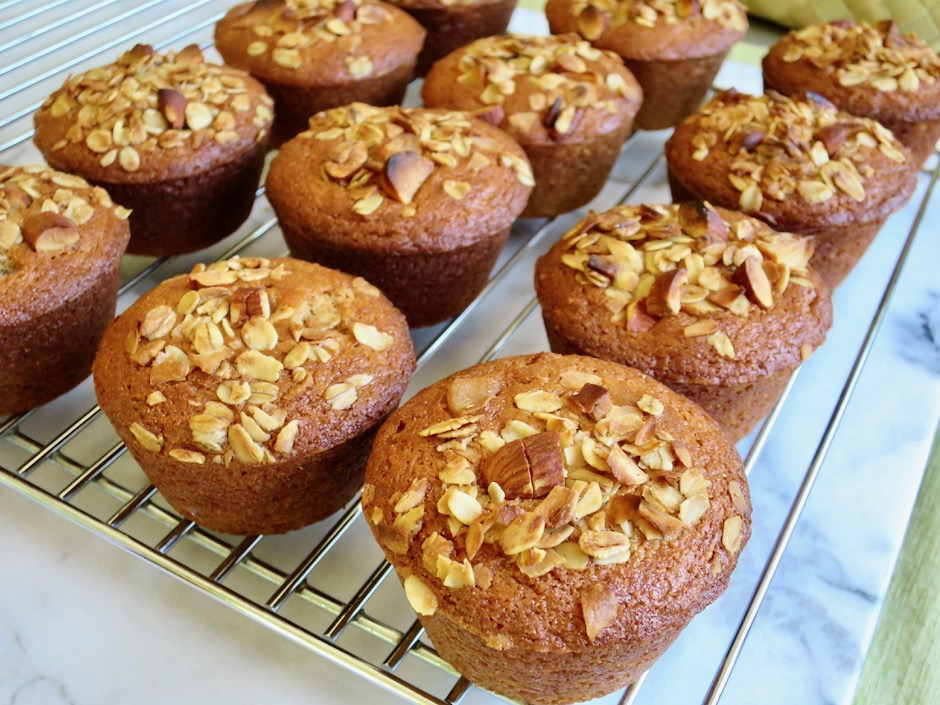
Not long ago, my sister gave me an excellent bag of locally made granola.  I wondered what would be the best way to make it shine.  At first, I thought about just sprinkling it over yogurt for breakfast but then decided that granola muffins would be much more exciting.   This simple recipe turns out some mighty tasty muffins.

Buttermilk Granola Muffins

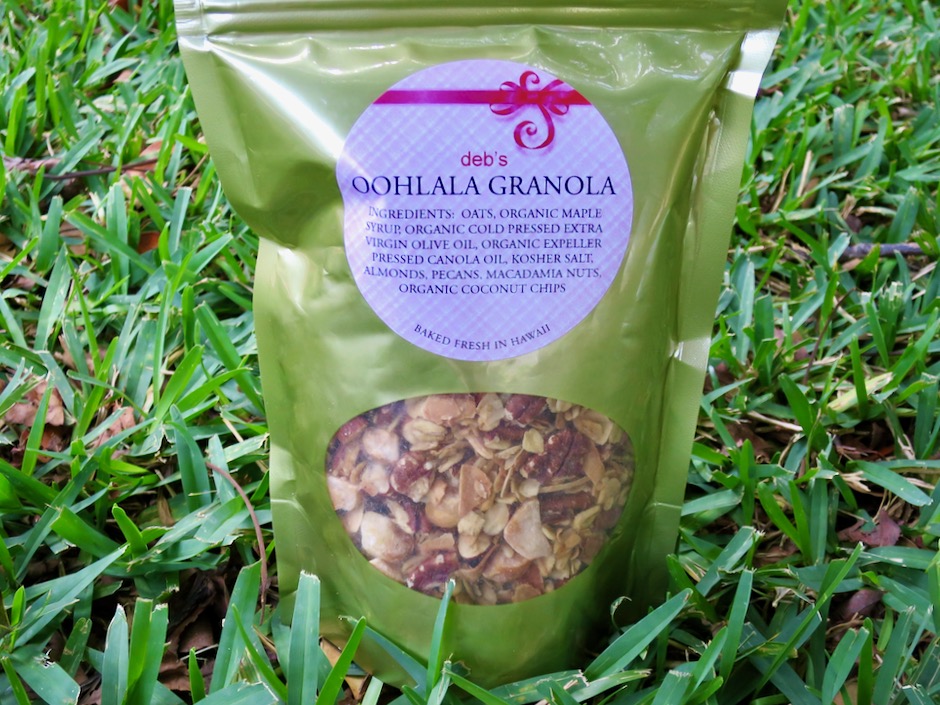
Hawaii Made Granola

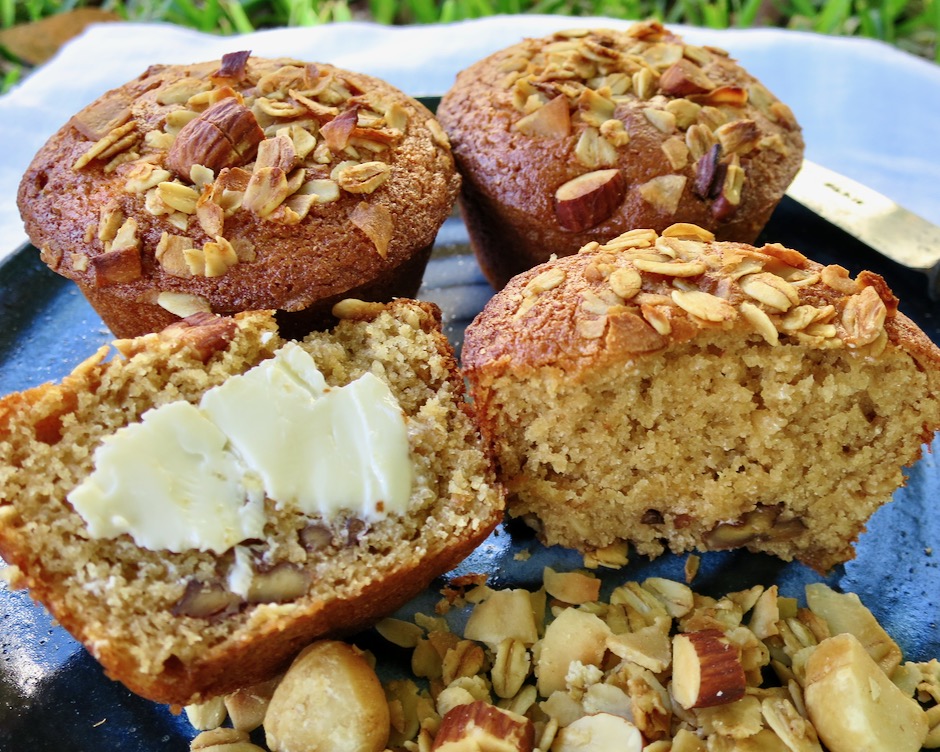
I love the name of Deb’s baked in Hawaii granola.  Besides the more common ingredients such as oats and almonds that you might find in many granolas, this one includes rich and buttery  macadamia nuts and coconut chips that get nice and toasty when sprinkled over the top of the muffins.

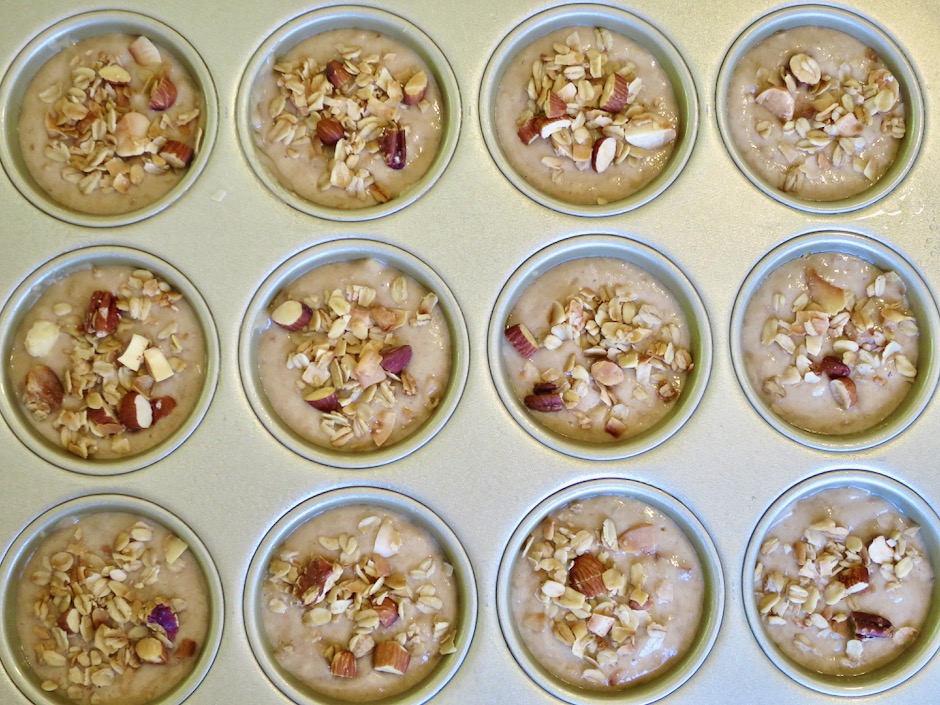
Buttermilk Granola Muffins Batter

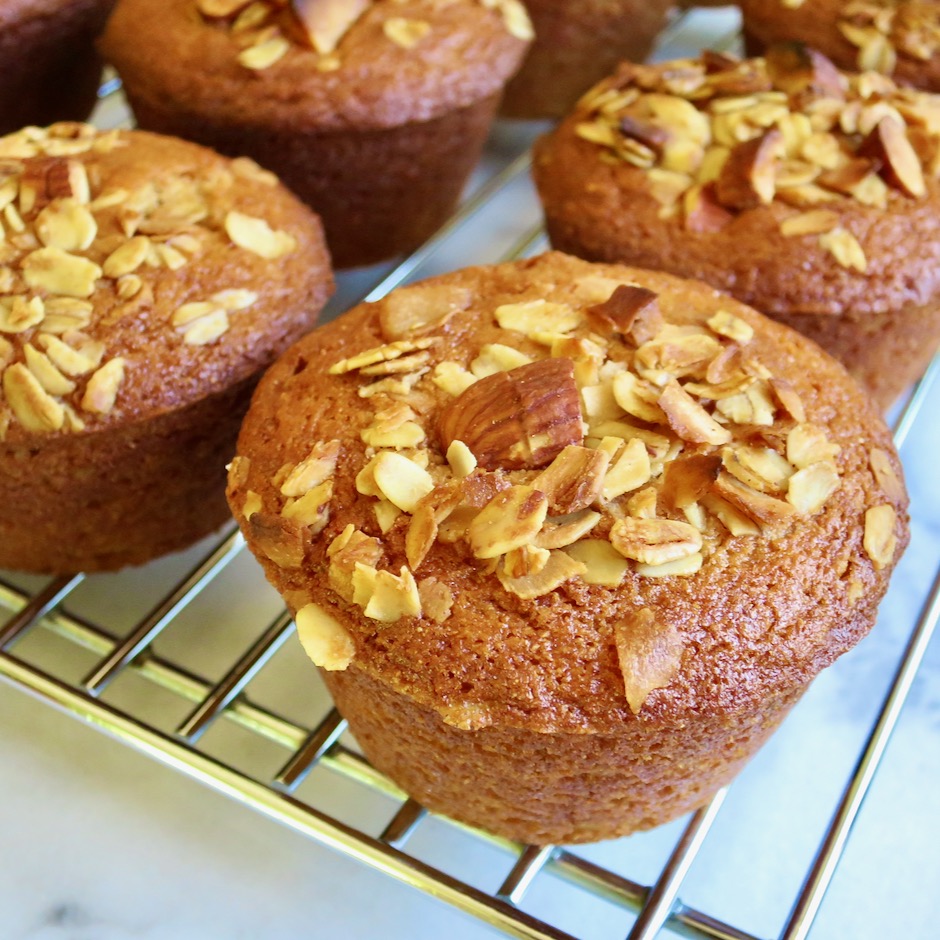
Besides the granola in the batter, you’ll want to sprinkle more granola over the top of each muffin before baking.  This lends a very tasty and crispy texture to each bite.

Buttermilk Granola Muffins

Buttermilk Granola Muffins

Buttermilk Granola Muffins
 
Adapted from King Arthur Flour
Author:
Serves: 12
Ingredients
  • 2 cups (227g) King Arthur white whole wheat flour
  • 1 cup (213g) light brown sugar, packed
  • ¾ teaspoon salt
  • 1 teaspoon baking powder
  • ½ teaspoon baking soda
  • ¾ teaspoon cinnamon
  • 1 cup (99g) granola + ¾ cup (74g) for muffin topping
  • 1 teaspoon vanilla extract
  • ⅓ cup (67g) canola oil
  • 1½ cups (340g) lactose free buttermilk
  • (To make lactose free buttermilk add 1½ tablespoons of white vinegar to a 2-cup liquid measuring cup. Pour lactose free whole or 2% milk over the vinegar to measure 1½ cups. Allow the milk to sit for 5-10 minutes to thicken a bit).
Preparation
  1. Preheat oven to 400 degrees. Lightly grease the cups of a standard muffin pan.
  2. Whisk together all of the dry ingredients including 1 cup of granola.
  3. In a separate bowl, whisk together the vanilla, canola oil and lactose free buttermilk. Pour the liquid ingredients into the dry ingredients, stirring just to combine. Spoon the batter into the prepared muffin cups, filling nearly full. Sprinkle the remaining ¾ cup of granola over the tops of the muffins.
  4. Bake the muffins for 16-18 minutes. Test for doneness by inserting a toothpick in the middle of one of the muffins. The toothpick should come out clean.
  5. Remove the muffins from the oven and set pan on a cooling rack for at least 5-10 minutes. When they are cool enough to handle, remove muffins from pan and cool on a rack. Muffins freeze well for a few months.


Dessert, Lactose Free, Recipes

Fudge Brownies

September 19, 2020

Fudge Brownies

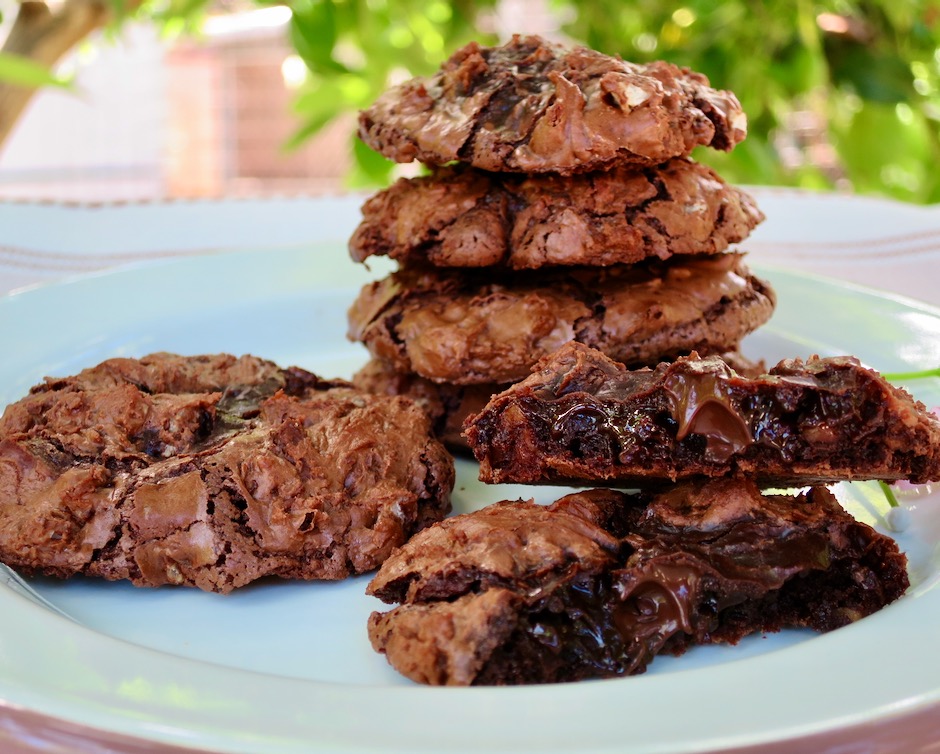
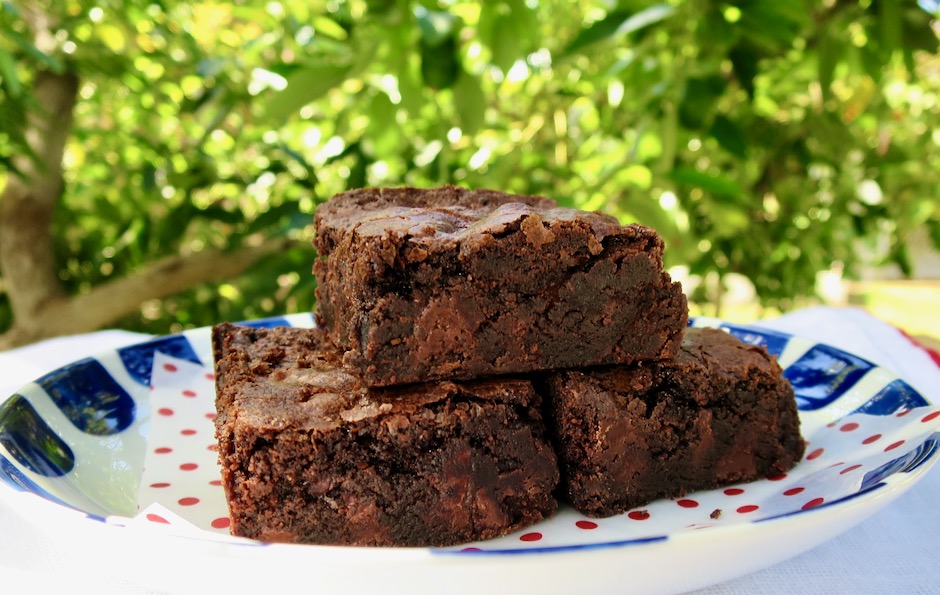
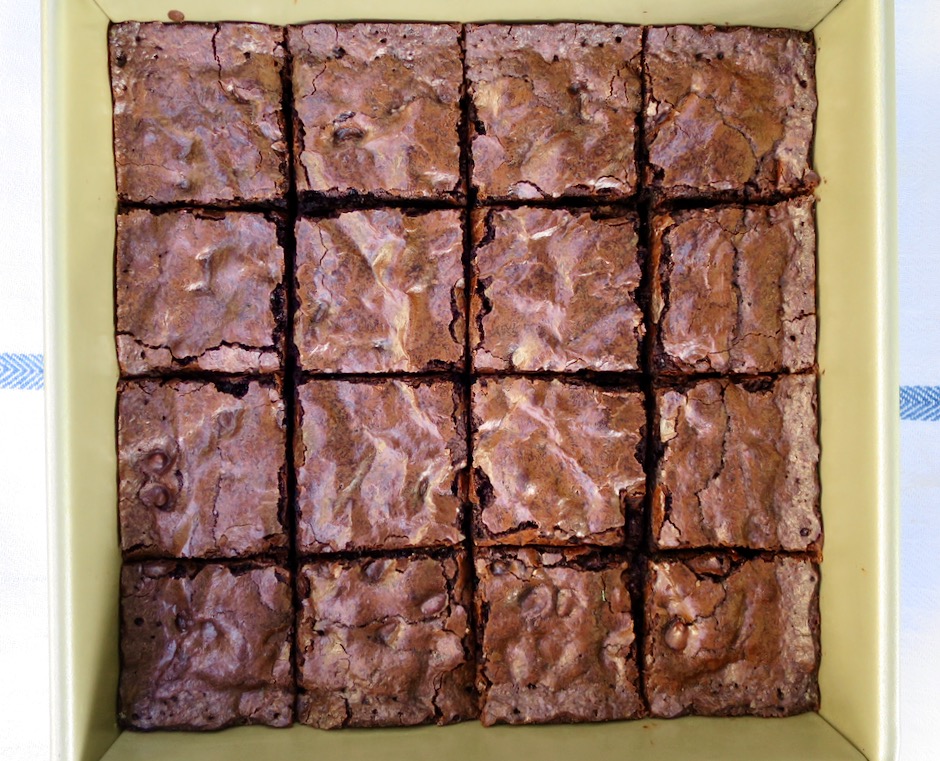
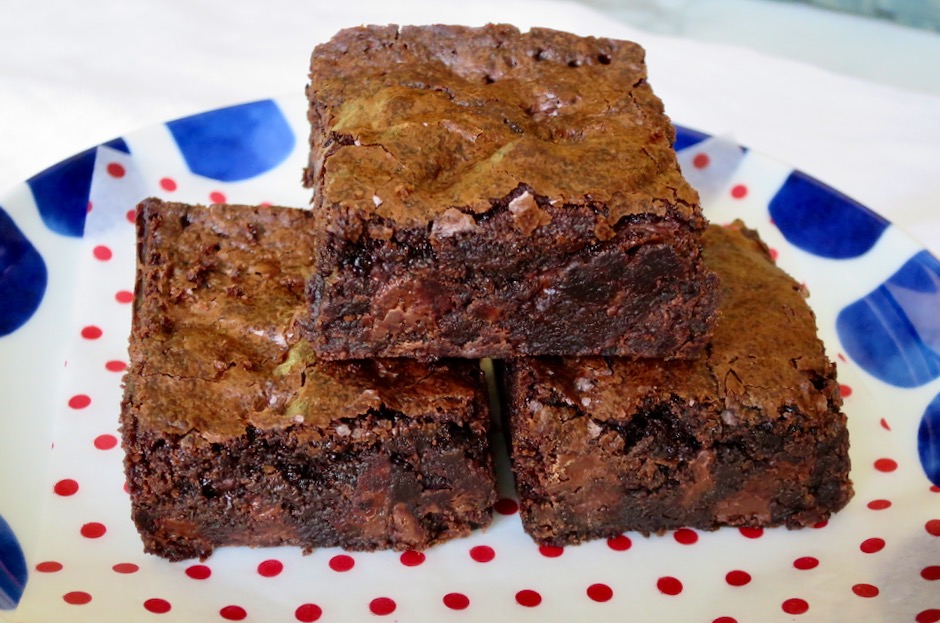
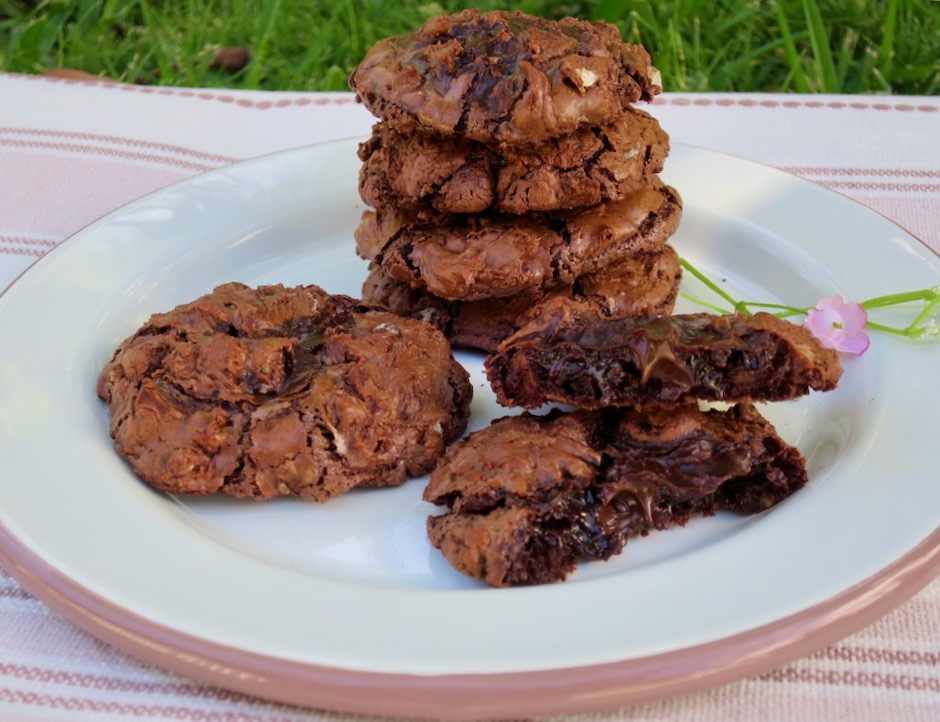
These fudge brownies are ultra moist with tons of chocolatey flavor thanks to both the Dutch-process cocoa and chocolate chips.  This combination makes for a divine brownie that will surely satisfy any chocolate craving.

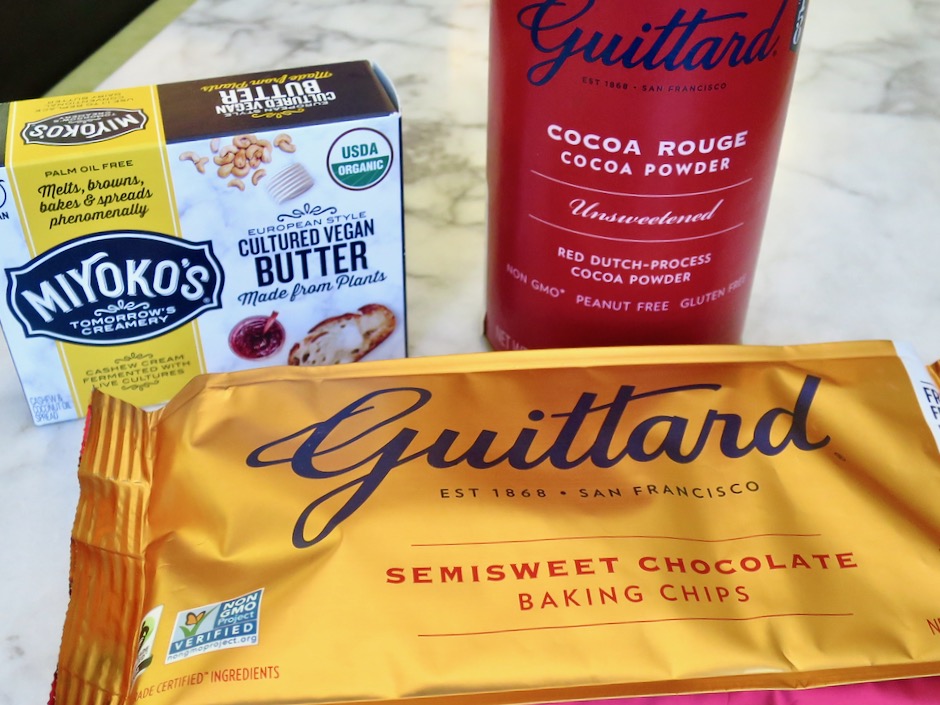
Miyoko's Vegan Butter, Guittard Dutch Process Cocoa, Guittard Semisweet Chocolate Chips

Dutch-process cocoa powder is treated with an alkali that neutralizes its acidity that makes it darker in color with a milder flavor than natural cocoa powder.  When baking, Dutch-process cocoa powder is usually combined with another neutralized ingredient such as baking powder.  When a recipe calls for Dutch-process cocoa powder, it is not always interchangeable with natural cocoa powder especially when baking.  Many brownie recipes that call for natural cocoa such as Hershey’s, do not use any leavening, or very little (baking soda).  So for this recipe, it is essential to stay with Dutch-process cocoa.  Safeway stores carry the excellent Guittard brand in their baking aisle.

Fudge Brownies

Rich, decadent brownies with crackly tops.

Fudge Brownies

Fudge Brownies
 
Adapted from King Arthur Baking Company
Author:
Serves: 16
Ingredients
  • 2 large eggs
  • ½ cup + 2 tablespoons (53g) Dutch-process cocoa
  • ½ teaspoon kosher salt
  • ½ teaspoon baking powder
  • ½ teaspoon espresso powder (optional)
  • 1½ teaspoons vanilla extract
  • 8 tablespoons (113g) MIyoko's cultured vegan butter (or 1 stick regular unsalted butter)
  • 1⅛ cups (224g) granulated sugar
  • ¾ cup (89g) King Arthur unbleached all-purpose flour
  • 1 cup (170g) semisweet chocolate chips
Preparation
  1. Preheat oven to 350 degrees. Lightly grease an 8" x 8" pan.
  2. Beat eggs with a hand mixer on medium speed with cocoa, salt, baking powder, espresso powder (if using), and vanilla for about 1 minute until smooth.
  3. Melt butter over low heat in a medium saucepan, then add the sugar. Stir to combine. Continue to stir until mixture is hot, but not bubbling (about 110-120 degrees). Add the hot butter/sugar mixture to the egg/cocoa mixture, stirring until smooth. Add the flour and chips, stir until smooth.
  4. Spoon the batter into the prepared pan, smoothing the top to make an even layer. Bake the brownies for about 32 minutes (check after baking for 28 minutes as oven temperatures vary). A toothpick inserted into the center should come out clean or with just a few moist crumbs clinging to it. Remove pan from the oven and cool on a rack before cutting and serving, about 45-60 minutes.


Breakfast, Dessert, Fruit, Gardening, Lactose Free, Recipes, Vegetarian

Lilikoi Pound Cake

September 12, 2020

Lilikoi Pound Cake

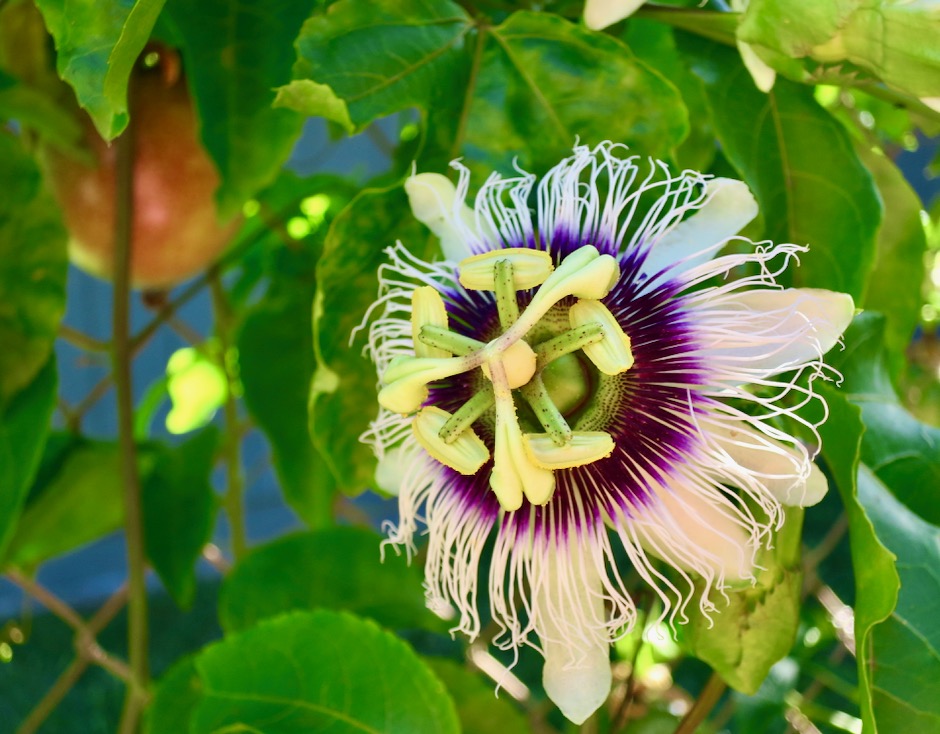
Lilikoi fruit has the most amazing fragrance.  The flowers on the vines are spectacular with delicate tendrils that stand out with their vivid purple centers.  The plants seem to do well in our warm, dry climate here in Kihei.  We grow both the yellow and purple varieties.  If we are not using the puree right away, it goes in our freezer to be used at a later date for lilikoi jelly, tarts, and pound cake.

Lilikoi Blossom

The gorgeous flowers of the lilikoi plant open up in the sunlight.  The bumble bees do their thing flying from flower to flower pollinating as they go.  You may notice the purple lilikoi tucked in the back of the vine.

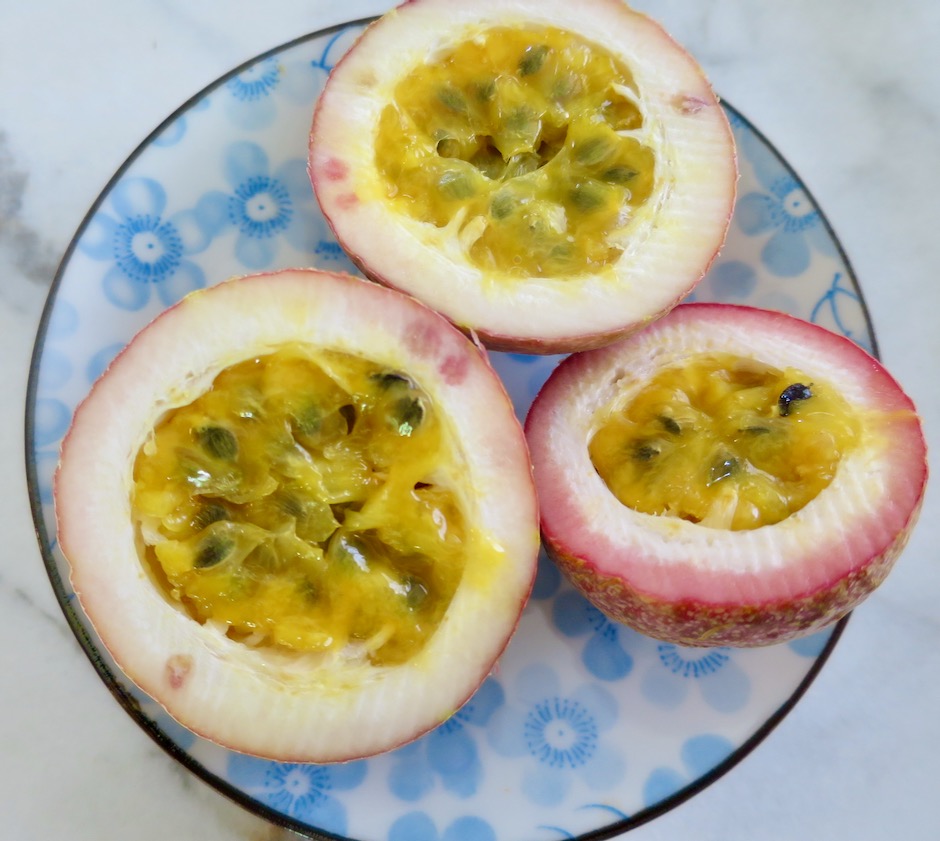
Fresh Lilikoi from the Garden

The rind of the fruits are unassuming, however, once you cut the fruit in half, you’re in for a wonderful surprise.  The aromatic juicy pulp is a delight. Don’t let the seeds deter you from tasting one. They can be eaten if you don’t mind a bit of “texture” but for jelly, glazes, sauces and such, I leave them out.

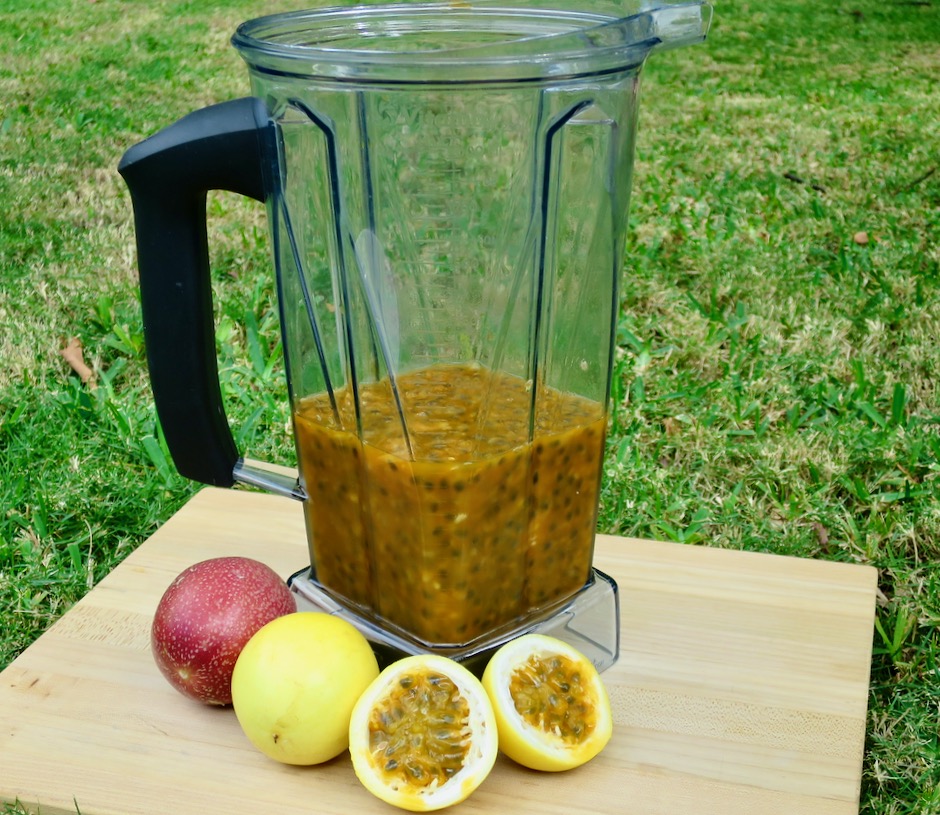
Separating Pulp from Seeds

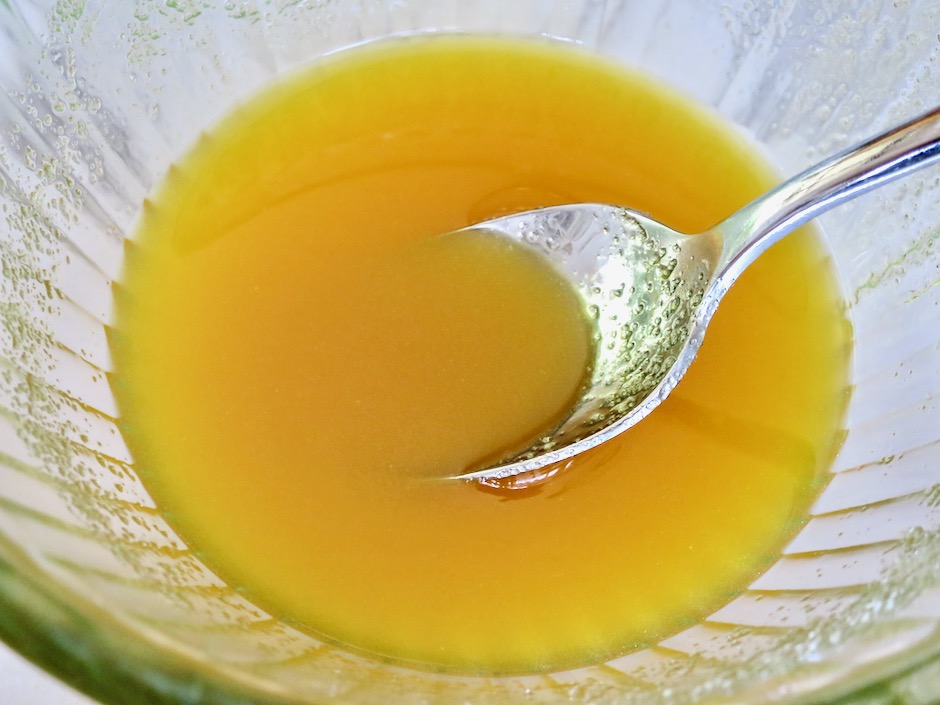
The easiest method for separating the pulp from the seeds is to use a blender on low speed.  I then use a food mill and discard the seeds. You may use a sieve if you do not have a food mill.

Lilikoi glaze

The lilikoi glaze is what takes this pound cake to another level.  It has become my favorite cake to bake these days.

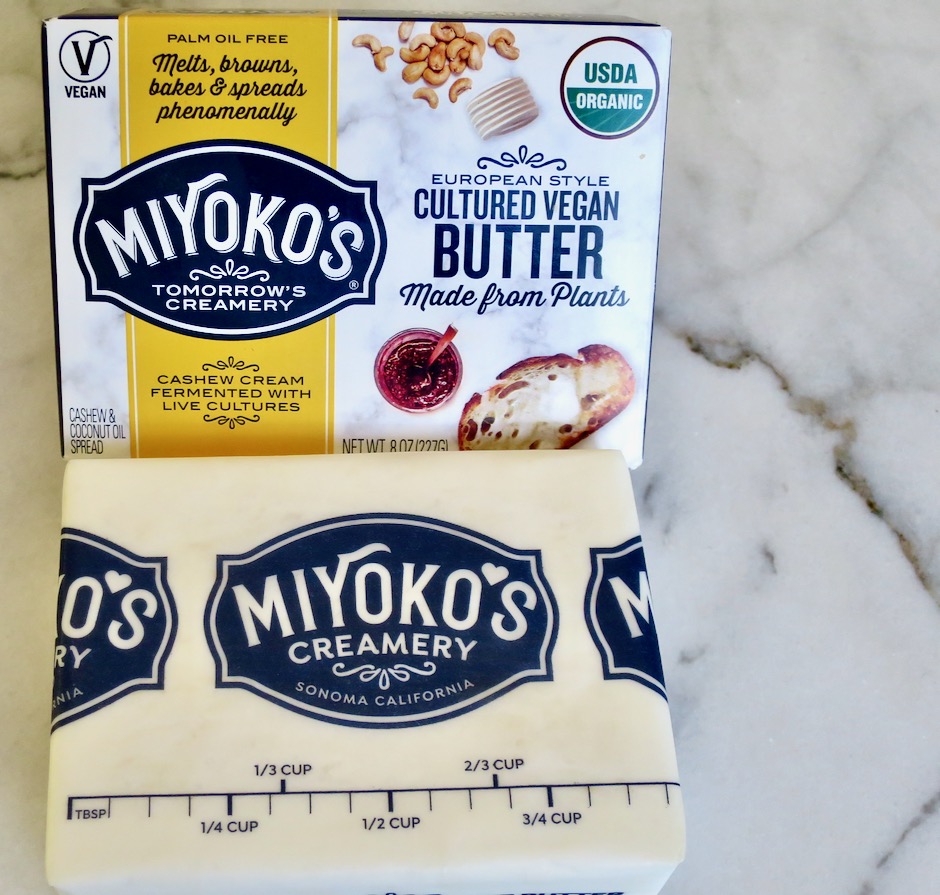
Miyoko's Vegan Butter

Miyoko’s cultured vegan butter is a perfect alternative to real butter if you are lactose intolerant.

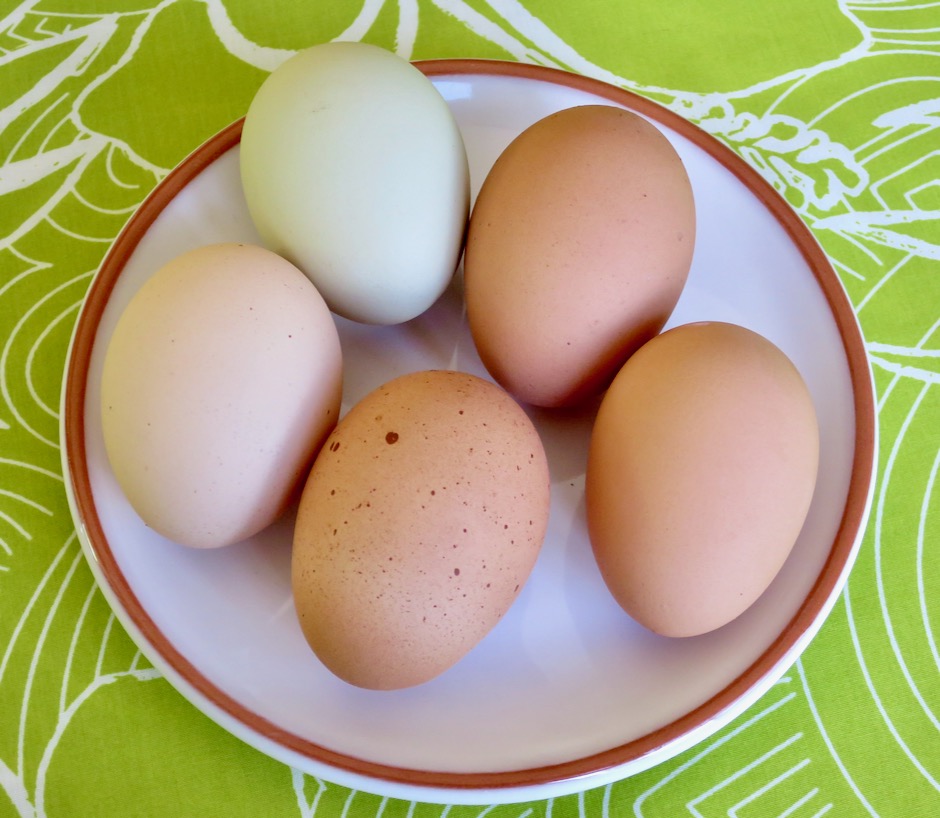
Judy & John's Fresh Eggs

Our neighbors Judy and John spoil us with their fresh eggs.  Not only are they superior to store-bought eggs (so much fresher) but they are lovely to look at with their various colors.  A real treat.

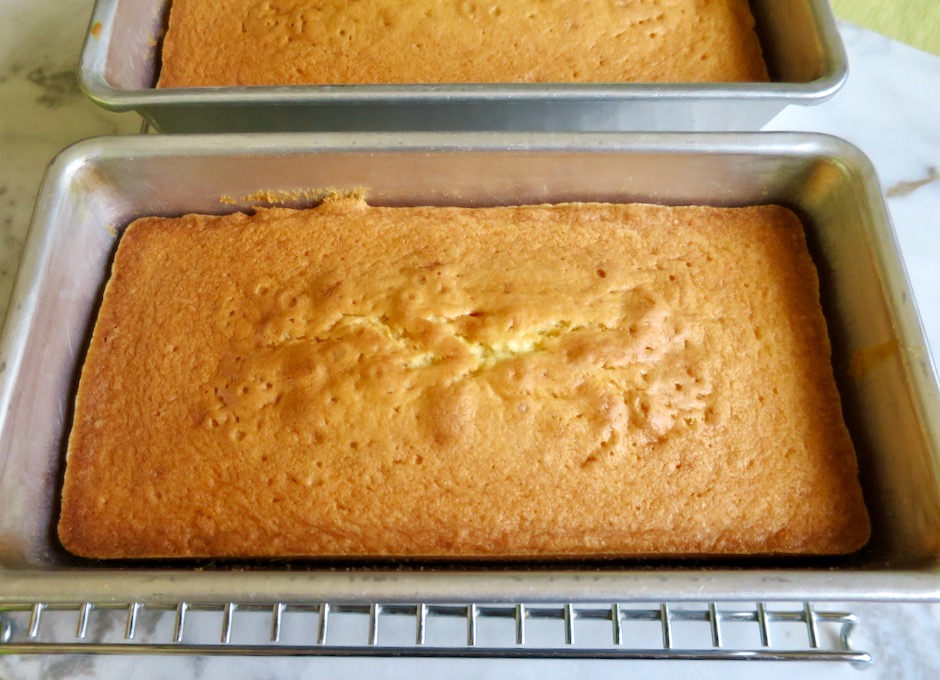
Lilikoi Pound Cake Out of the Oven

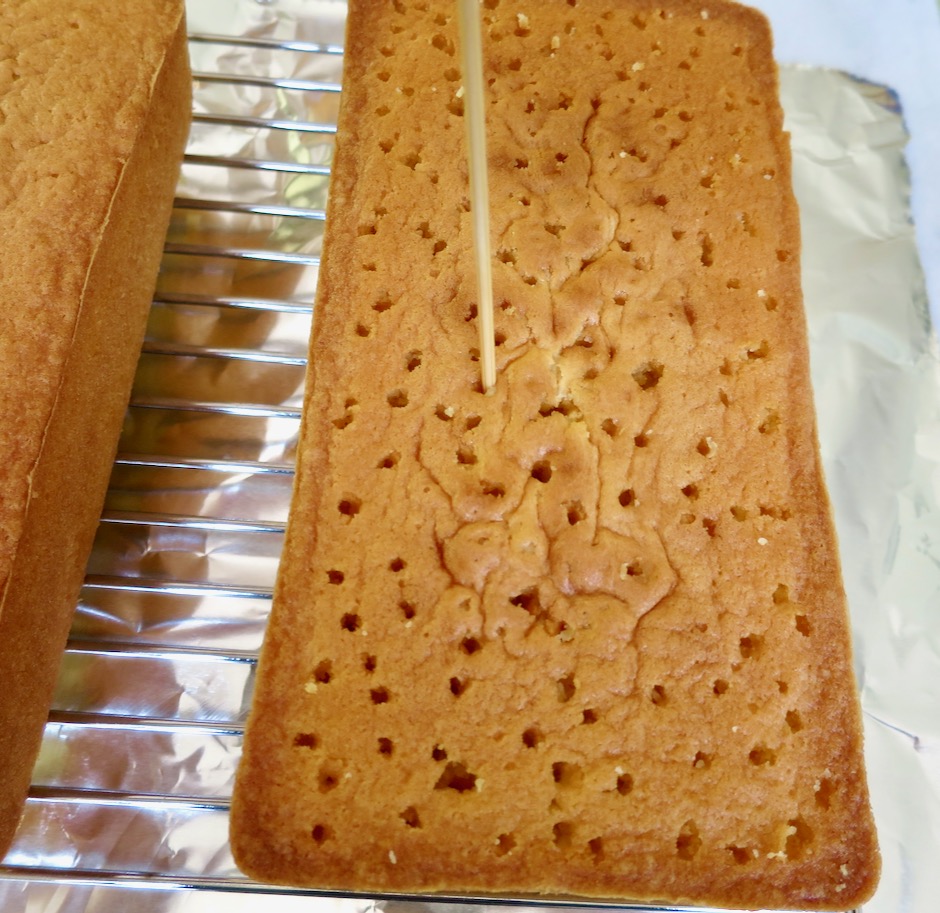
Preparing Pound Cake for Lilikoi Glaze

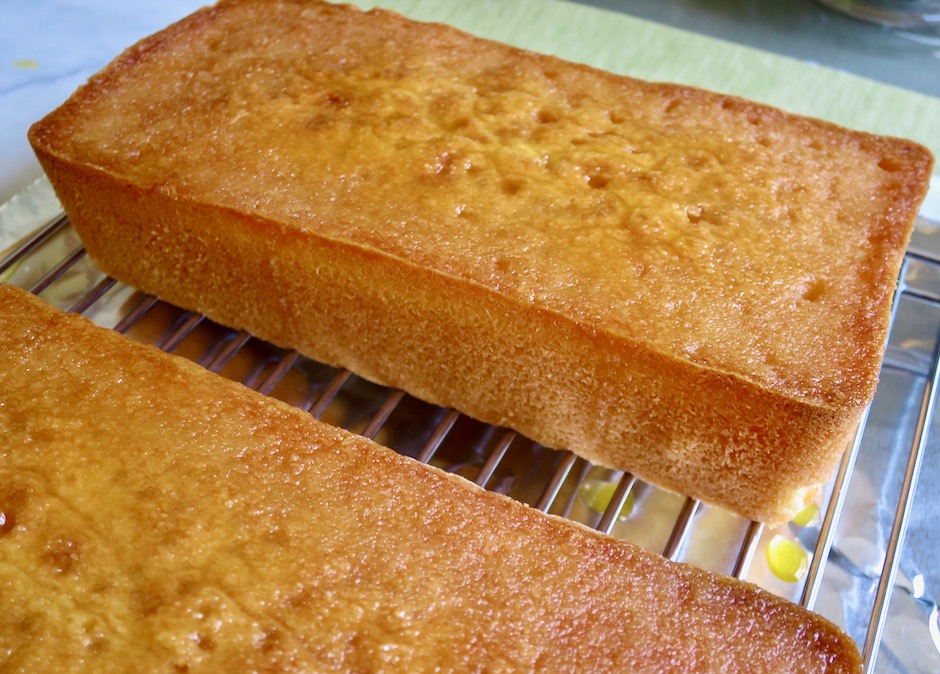
Though not particularly attractive at this point, poking holes is the best way to get the lilikoi glaze to seep down into the cake.  Spoon the glaze over the cake, wait for a few seconds for it to be absorbed and then continue with the remainder of the glaze.

Lilikoi Pound Cake

Lilikoi Pound Cake

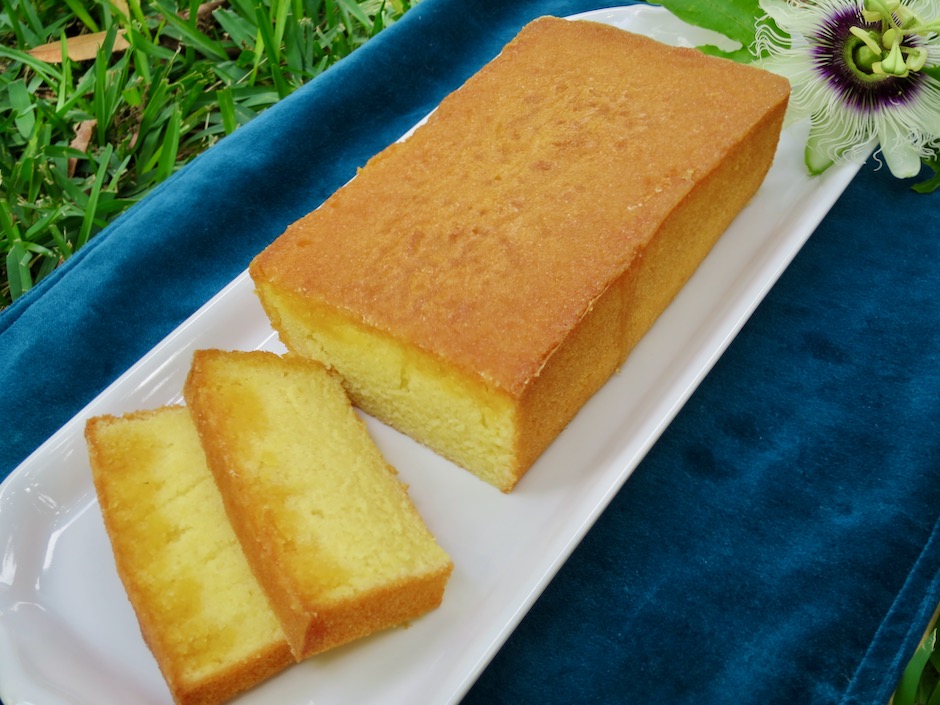
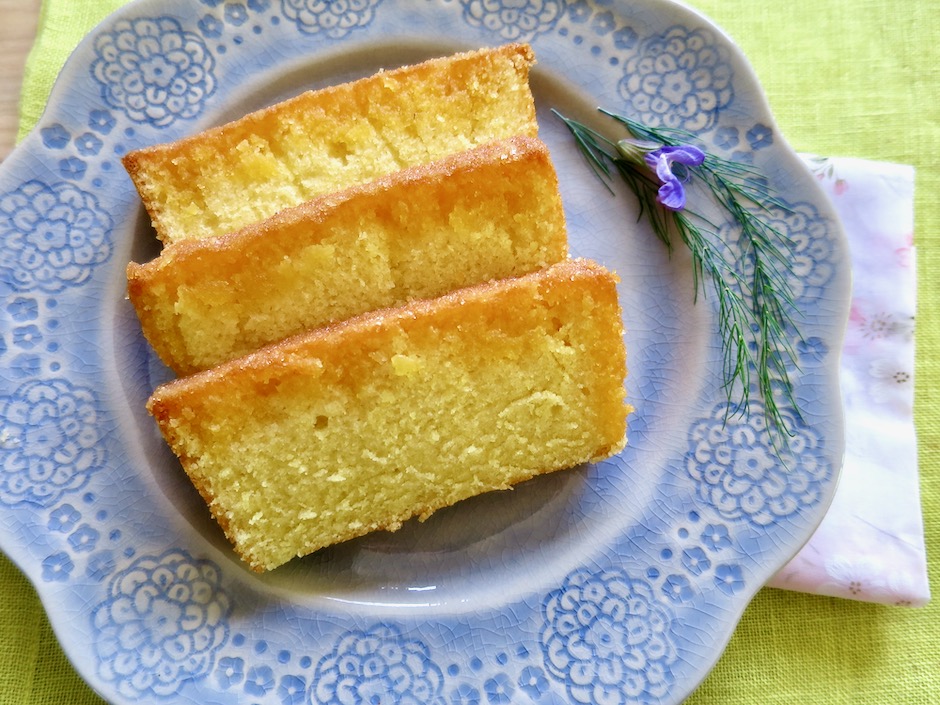
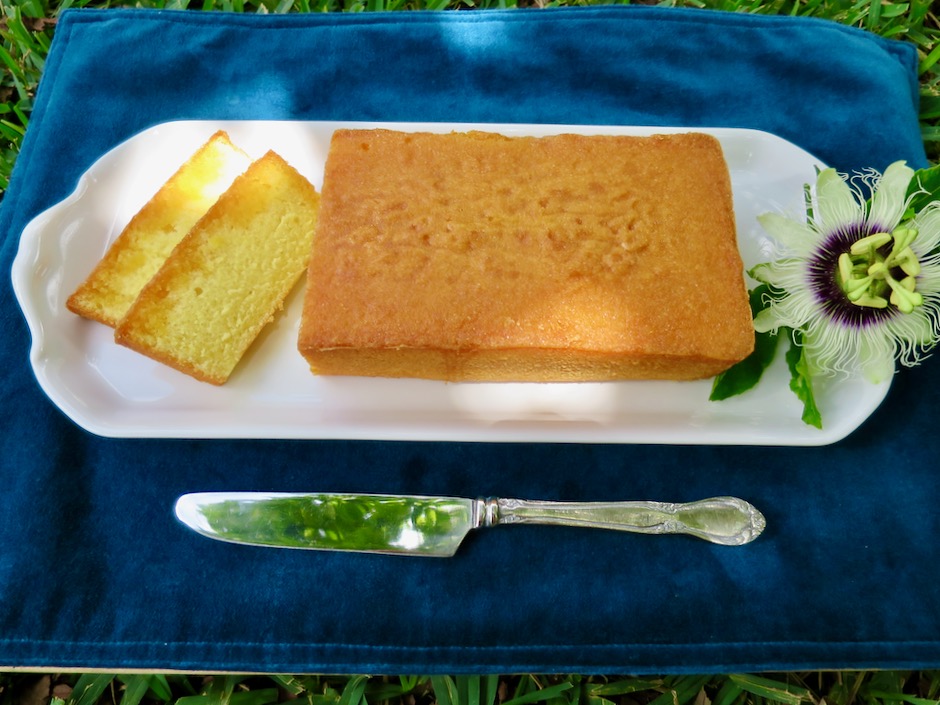
This cake is tender, moist and not too sweet. Just how a pound cake should be.  Once the glaze sets, it develops into a crisp and light sugar coating over the top of the cake.

Lilikoi Pound Cake

Lilikoi Pound Cake
 
Recipe adapted from King Arthur's Lemon Glazed Pound Cake
Author:
Serves: 2 cakes
Ingredients
  • Cake:
  • ¾ cup + 2 tablespoons (14 tablespoons, 198g) Miyoko's vegan butter (substitute with Earth Balance Buttery Sticks or unsalted butter) at room temperature
  • ⅜ cup (85g) Green Valley lactose free cream cheese (or regular cream cheese), at room temperature
  • ½ teaspoon kosher salt
  • 1½ cups (298g) granulated sugar
  • 1¾ cups (206g) unbleached all-purpose flour (King Arthur recommended)
  • 1 teaspoon baking powder
  • 1 teaspoon vanilla extract
  • 1 tablespoon lilikoi puree
  • 5 large eggs, at room temperature
  • Glaze:
  • ⅓ cup lilikoi puree
  • ¾ cups granulated sugar
Preparation
  1. Preheat oven to 350 degrees. Line the bottoms of two 8½ x 4½-inch loaf pans with parchment paper and grease each pan.
  2. In a medium-sized mixing bowl, beat together the butter and cream cheese with a hand-held mixer until soft and fluffy. Add the salt, sugar, flour, and baking powder. Beat for 4-5 minutes; the batter will be stiff (use a firm spatula).
  3. Add the vanilla, 1 tablespoon lilikoi puree, and 1 egg. Beat well. Continue to add the eggs one at a time, beating well and scraping the sides and bottom of the bowl after each addition. When done, the batter will be very fluffy. Spoon the batter into the prepared pans.
  4. Bake the cakes for 35-40 minutes, or until a toothpick inserted into the center comes out clean.
  5. Remove the cakes from the oven and let cool on a wire rack for 15 minutes. Meanwhile, make the glaze by mixing the lilikoi puree and sugar together in a small bowl. Mix until well combined. The sugar will not have dissolved, but this is what gives the cake a light and crisp topping.
  6. Turn cakes out onto a wire rack (gently turn right side up) with a piece of aluminum foil underneath the rack. Poke holes with a wooden skewer all over the tops of each cake. Slowly spoon glaze over the cakes. Allow time for the cakes to absorb the glaze before adding more glaze. Slice and serve cake once it has cooled for several hours. You may freeze the pound cake for a few months. Wrap cooled cake in foil, place in plastic freezer bag.


Breakfast, Dessert, Lactose Free, Recipes

Farmhouse Buttermilk Cake

August 29, 2020

Farmhouse Buttermilk Cake

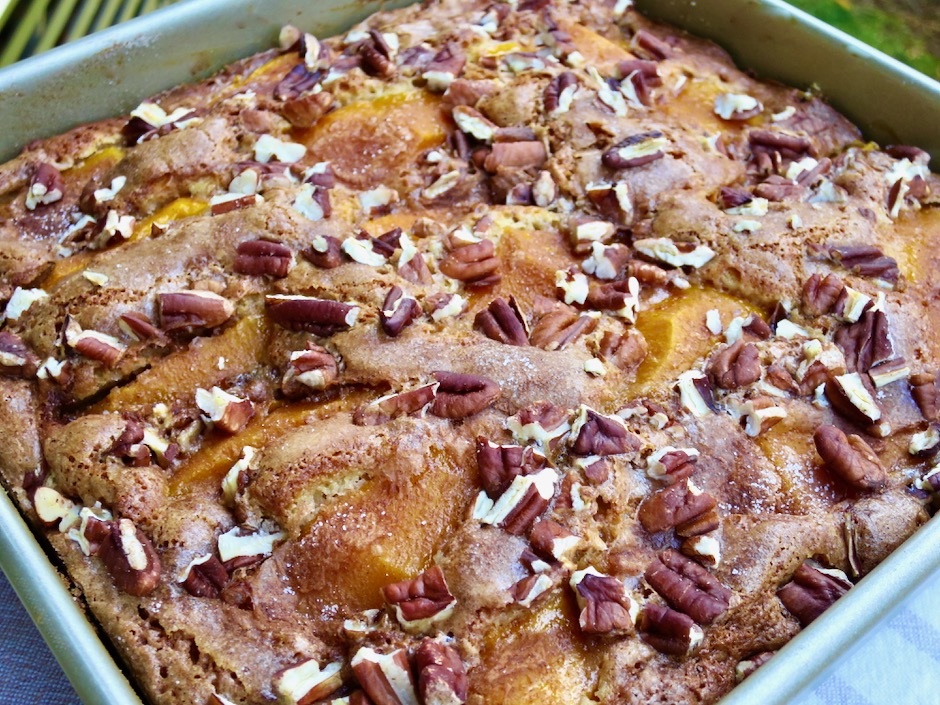
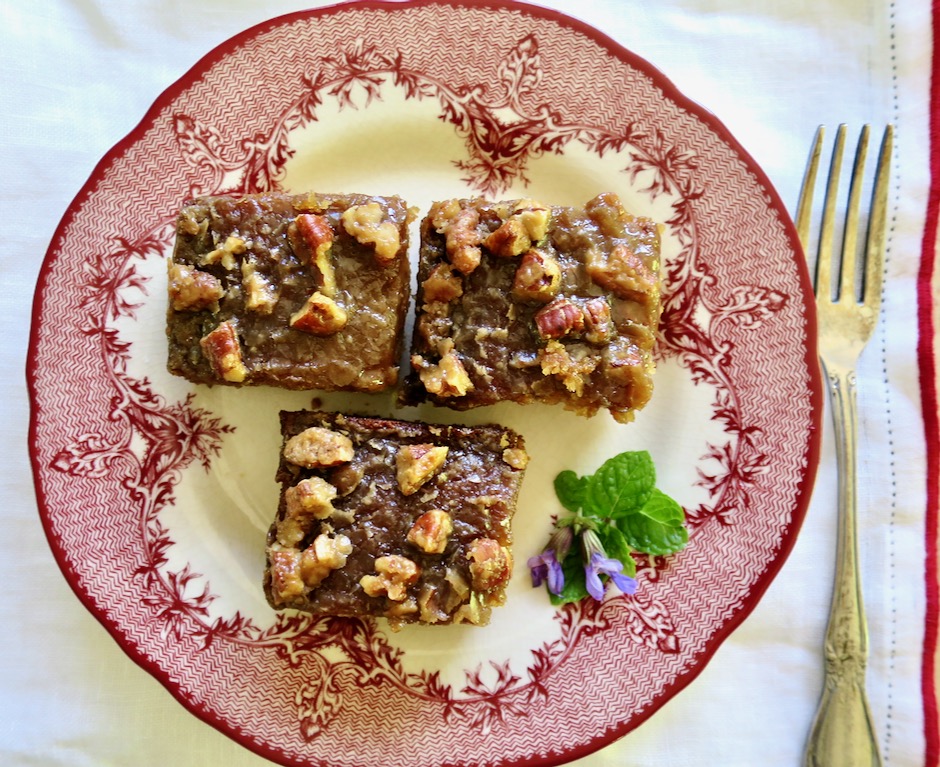
This sweet and moist cake recipe comes from King Arthur Baking Company.  The topping seeps down into the cake which makes it extra moist, and the rich, buttery pecans are truly delightful.  I wanted a smaller cake so I cut the recipe in half and used an 8×8-inch baking pan.

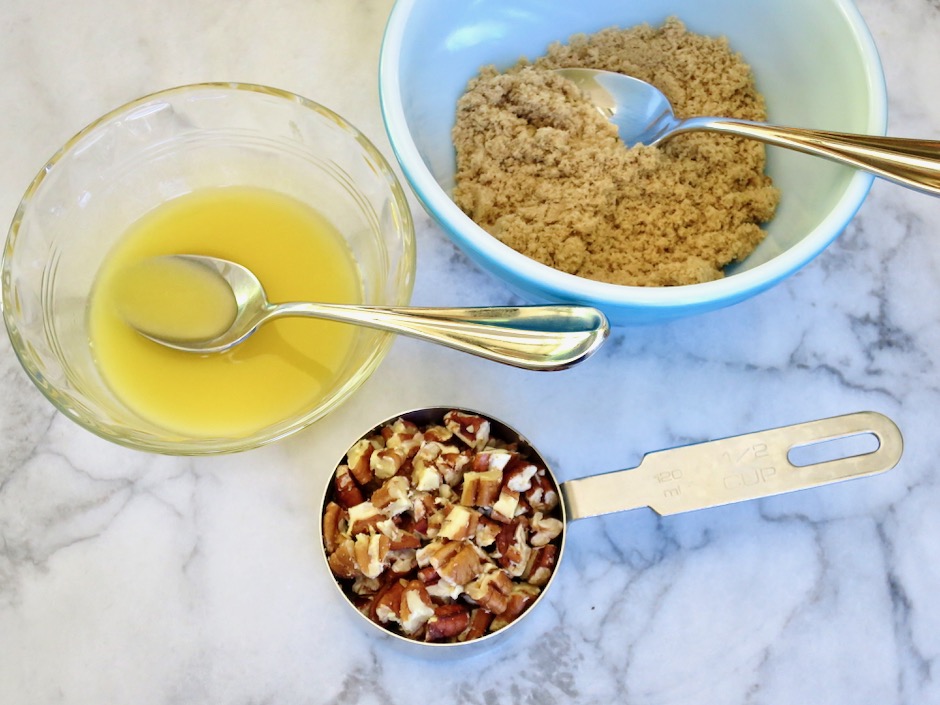
Melted Earth Balance Buttery Sticks, Brown Sugar, Pecans

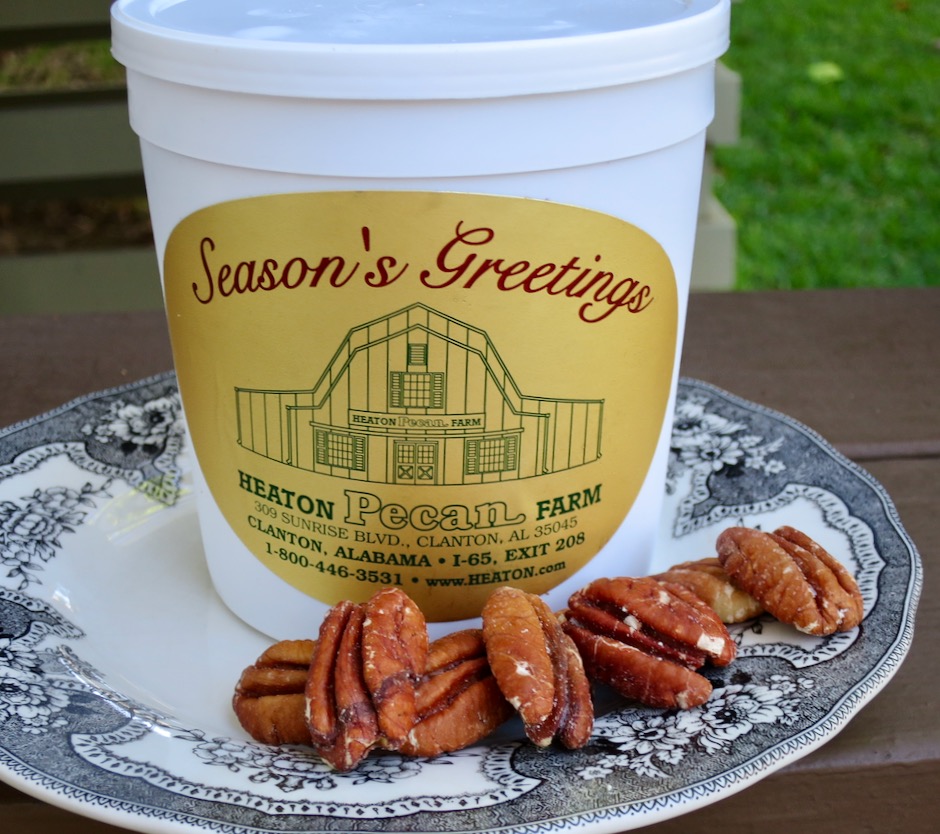
Heaton Farm Pecans

A guest who visited my workplace last Christmas brought me a container of pecans from his hometown. I’ve kept them in my refrigerator so they stay nice and fresh.  I was able to put these excellent pecans to good use with this recipe.

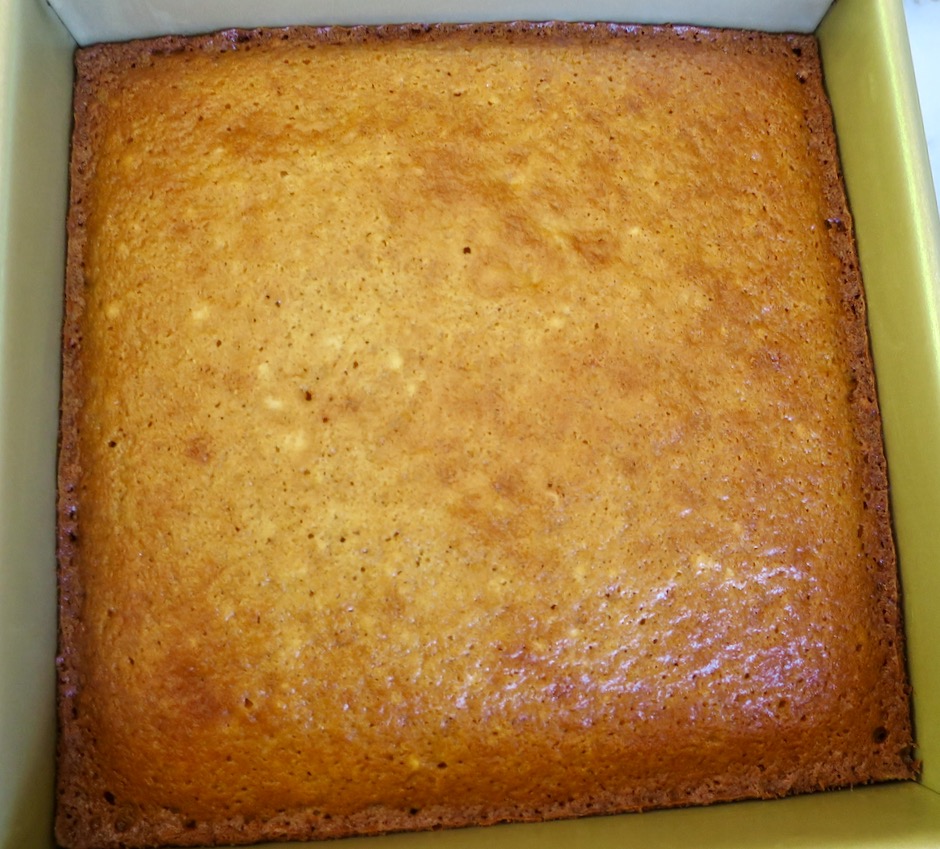
Farmhouse Buttermilk Cake

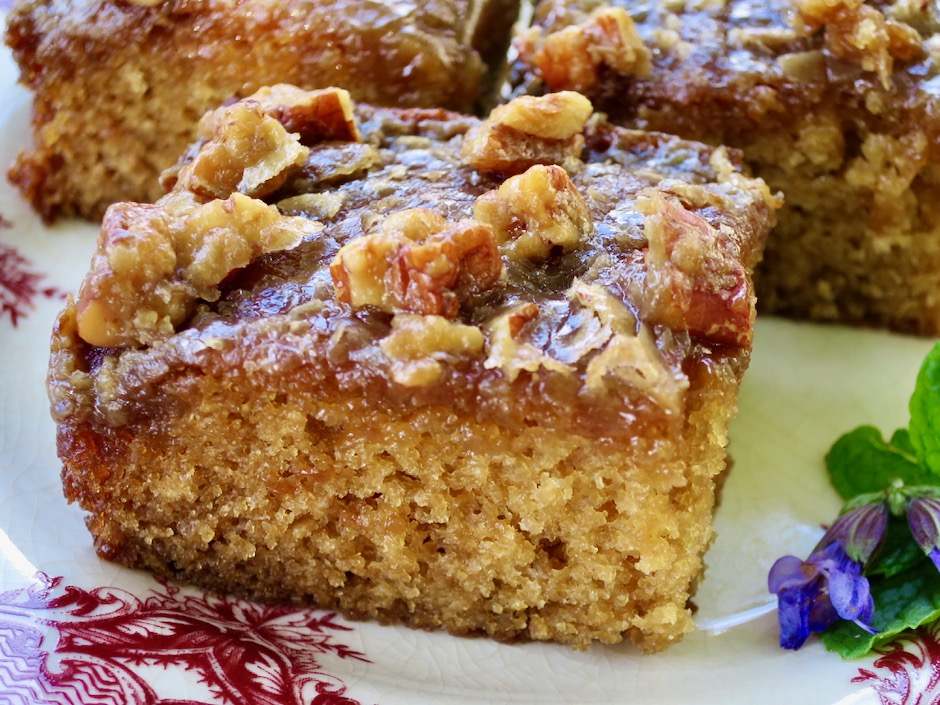
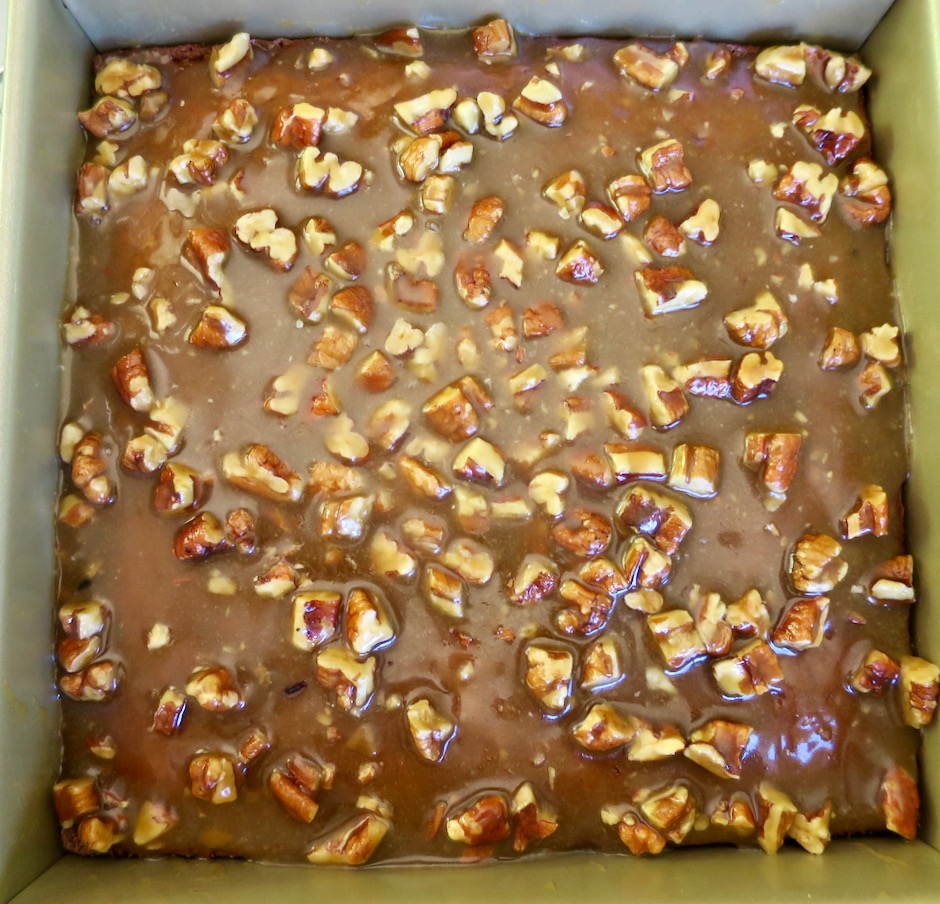
The cake itself is pretty straight forward.  Butter, brown sugar, eggs and buttermilk all play a part in making this moist cake.  It may look like any other cake, that is, until you add the topping to it.  The cake then goes back in the oven for another 10 minutes and the topping warms up becoming a gorgeous glaze.

Farmhouse Buttermilk Cake

Farmhouse Buttermilk Cake

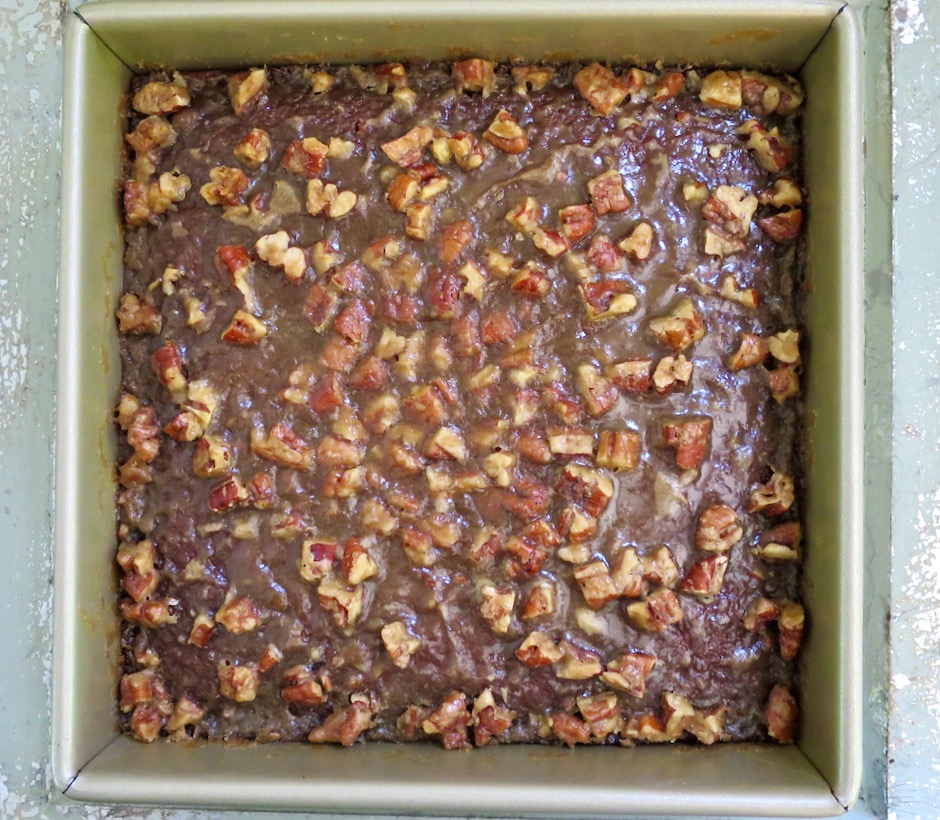
The thick topping has now become a beautiful glaze.  You can serve it right away at this point, but I like to let the cake cool for an hour or two until the glaze has set.

Farmhouse Buttermilk Cake

Farmhouse Buttermilk Cake
 
Adapted from King Arthur Flour
Author:
Serves: 1 8x8 cake
Ingredients
  • Cake:
  • ¼ cup (57g) Earth Balance Buttery Sticks (or unsalted butter) at room temperature
  • 1 cup (213g) light brown sugar, firmly packed
  • 1 large egg, at room temperature
  • 1 cup (227g) lactose free buttermilk at room temperature (add 1 tablespoon white vinegar to a 1-cup measuring cup, add lactose free milk to measure 1 cup total, let sit 10 minutes to thicken)
  • 1 teaspoon vanilla extract
  • 1 teaspoon baking soda
  • ½ teaspoon kosher salt
  • 1½ cups (180g) unbleached all-purpose flour (King Arthur recommended)
  • Topping:
  • 3 tablespoons (43g) melted Earth Balance Buttery Sticks
  • ½ cup (107g) light brown sugar, firmly packed
  • ⅛ c (29g) milk
  • ½ cup (57g) diced pecans
  • *add ⅛ teaspoon fine sea salt if using unsalted butter
Preparation
  1. Preheat oven to 350 degrees. Line the bottom of an 8x8-inch cake pan with parchment paper. Lightly grease the pan.
  2. Beat the butter and brown sugar until smooth. Add the egg and beat until smooth. Stir in the buttermilk and vanilla extract. Add baking soda, salt, and flour to the wet ingredients, beating until thoroughly combined. Pour batter into the prepared pan. Bake the cake for 30 minutes.
  3. Towards the end of the baking time, prepare the topping by stirring the butter and sugar together. Add the milk and pecans. The glaze will be thick but pourable.
  4. Pour the topping over the baked cake making sure to spread it evenly (corners too). Return the cake to the oven for another 10 minutes.
  5. Remove the cake from the oven. The topping will look very runny. Letting the cake sit at room temperature for a few hours will allow the glaze to set. The cake can be frozen for a couple of months.


Dessert, Fruit, Lactose Free, Recipes, Vegan, Vegetarian

Buttery Pineapple Crumble Bars

August 6, 2020


Baked Buttery Pineapple Crumble Bars

I received a gorgeous, ripe pineapple recently.  I thought about making more mango-pineapple jam but our mangos were not quite ready.  I found this recipe from Southern Living and thought it would be the perfect way to use up the entire pineapple.  The recipe turned out to be a real delight.  The pineapple really shines with its fresh sweet and tart flavor.

Buttery Pineapple Crumble Bars

A crisp crust is layered with fresh chopped pineapple and crumb topping that includes sliced almonds.

Perfectly Ripe Pineapple

A gorgeous pineapple perfectly ripe and ready to eat.

Fresh Pineapple

Buttery Pineapple Crumble Bar Crust

The crust is baked and cooled before the pineapple and crumb topping are added.  I used almost the entire pineapple as the recipe calls for 4 cups of chopped fruit.

Buttery Pineapple Crumble Bar Crust Topped with Fresh Pineapple

The pineapple mixture is spooned over the baked crust and the crumb topping sprinkled over it.

Buttery Pineapple Crumble Bar Crust Topped with Fresh Pineapple & Crumble Topping

Once in the oven, the pineapple crumble will bake for 45-55 minutes.  The scent of fresh pineapple fills the air as it bakes.

Baked Buttery Pineapple Crumble Bars

Baked Buttery Pineapple Crumble Bars

Buttery Pineapple Crumble Bars
 
Adapted from Southern Living
Author:
Serves: 16
Ingredients
  • 2 cups (254g) all-purpose flour
  • ¾ cup Earth Balance Buttery Sticks, softened
  • ½ teaspoon vanilla extract
  • 1⅓ cups (200g & 66g) sugar, divided
  • ¼ teaspoon kosher salt
  • 4 cups (20 ounces or 570g) chopped fresh pineapple
  • ¼ cup (30g) corn starch
  • 1½ tablespoons fresh lemon juice
  • ¼ heaping cup (30g) slivered almonds
Preparation
  1. Preheat oven to 375 degrees. Line bottom of a 9-inch square baking pan with parchment paper. Lightly spray pan with cooking spray.
  2. Beat flour, butter, vanilla, 1 cup of sugar, and a pinch of kosher salt in a stand mixer fitted with a paddle attachment on medium speed until mixture resembles coarse crumbs, about 1 minute. Reserve 1 cup of the crumb mixture in a small bowl for the topping. Press the remaining crumb mixture evenly into bottom of prepared pan.
  3. Bake crust until golden brown, about 18 minutes. Transfer pan to a wire rack, and cool completely, about 45 minutes (preheat oven again to 375 degrees after 30 minutes cooling time)
  4. Meanwhile, gently stir together chopped pineapple, cornstarch, lemon juice, remaining ⅓ cup sugar, and ¼ teaspoon salt in a bowl until thoroughly combined. Spread pineapple mixture over cooled crust.
  5. Stir together the almonds and reserved crumb mixture in a small bowl. Sprinkle mixture evenly over pineapple mixture on crust. Bake at 375 degrees until the topping is lightly browned, about 45-55 minutes. Transfer to a wire rack. Cool completely, about 1 hour. Cut into 16 squares. Leftovers may be frozen. Separate layers with waxed paper.


Cookies, Dessert, French, Lactose Free, Recipes

Financiers ~ French Almond-Browned Butter Cakes

July 16, 2020

Raspberry & Almond Financiers

Cook’s Illustrated recently published this wonderful recipe in their bimonthly magazine.  I was not familiar with these petite cakes known in France by the curious name, financiers.  John knew exactly what they were and recommended that I make some.  I may not have made them if I didn’t already have a mini muffin pan which is required for this recipe.  Now that I have made them numerous times, I can say that it is worth buying the pan even if you only use it make these little treats.  Fianciers (almond-browned butter cakes) are typically offered to restaurant guests at the end of a meal.  These little cakes can be popped in your mouth or daintily eaten in one or two bites.

24- Cup Mini Muffin Tin, Baking Spray with Flour

Cook’s Illustrated goes into detail on why using baking spray with flour is so important for this recipe.  As they tested different batches of financiers, the ones made with regular vegetable spray produced domed cakes.  For most other pastries made in muffin tins, that is what you would want and expect. However, I learned that authentic financiers should have relatively flat tops and the flour in baking spray provided a bit of insulation so the sides of the cakes could rise more before setting, resulting in sides that were mostly even with the tops of the cakes.

Almond Flour, Egg Whites, Miyoko's Vegan Butter

With just 6 ingredients, finaciers are a breeze to make.    Almond flour and browned butter are what gives these cakes their distinctive flavor.  I was pleased to know that Miyoko’s vegan butter can be browned just like the real thing.

Miyoko's Browned Butter

Miyoko's Browned Butter

Browning the butter takes just a couple of minutes.  Once the butter has browned quickly transfer it to a small bowl so that it doesn’t burn.
Financiers Batter

The browned butter is mixed in with the other ingredients then divided into the mini muffin tin.

Almonds, Fresh Raspberries, Frozen Strawberries

I have tried a few different toppings such as raspberries, strawberries, chocolate and sliced almonds.  I like the financiers with strawberries or raspberries, however, my favorite is the financiers with sliced almonds. La présentation est magnifique!

Financiers Ready to be Baked

Financiers

If you use strawberries or raspberries, cut them into small pieces so there is less of a chance they will sink to the bottom of the batter.

Financiers

Financiers

Financiers
 
Adapted from Cook's Illustrated magazine
Author:
Serves: 24
Ingredients
  • 5 tablespoons (2.5 ounces) Miyoko's vegan butter (or unsalted butter)
  • ¾ cup (3 ounces) finely ground almond flour
  • ½ cup + 1 tablespoon (4 ounces) granulated sugar
  • 2 tablespoons all-purpose flour
  • pinch of table salt or ⅛ teaspoon if using unsalted butter
  • ⅓ cup (3 ounces) egg whites (liquid or fresh)
  • Sliced almonds (lightly toasted), fresh or frozen raspberries and strawberries (small pieces cut from the top of fruit). If using frozen fruit keep pieces frozen until you are ready to use them.
Preparation
  1. Special equipment: 24-cup mini muffin tin, large wire rack for cooling, baking spray with flour.
  2. Adjust oven rack to middle position and heat oven to 375 degrees. Generously spray 24-cup mini muffin tin with baking spray with flour. Melt butter in a 10-inch skillet over medium-high heat. Cook, stirring and scraping skillet constantly with a rubber spatula, until milk solids are dark golden brown and butter has a nutty aroma, about 1-3 minutes. Immediately transfer butter to a heatproof bowl.
  3. Whisk almond flour, sugar, all-purpose flour, and salt together in a medium bowl. Add egg whites. Using a rubber spatula stir until combined. Stir in butter until incorporated. Distribute the batter evenly among muffin cups. Note that the muffin cups should be filled less than halfway otherwise you will run out of batter. Place slivered almonds or small pieces of raspberries or strawberries on top of the batter (don't press into the batter).
  4. Bake until the edges are well browned and the tops are golden, about 14 minutes, rotating muffin tin halfway through baking. Remove tin from oven and immediately invert wire rack on top of the tin. Invert rack and tin; carefully remove pan. Turn cakes right side up and let cool for about 20 minutes before serving. They are best eaten the same day they are baked, but can be stored in an airtight container at room temperature for a few days or frozen for a few months. Bring to room temperature before serving.
 

Follow

Get every new post delivered to your Inbox

Join other followers: