Browsing Category

Dessert

Cakes, Dessert, Lactose Free, Recipes

Coconut and Cardamom Cake

August 14, 2023

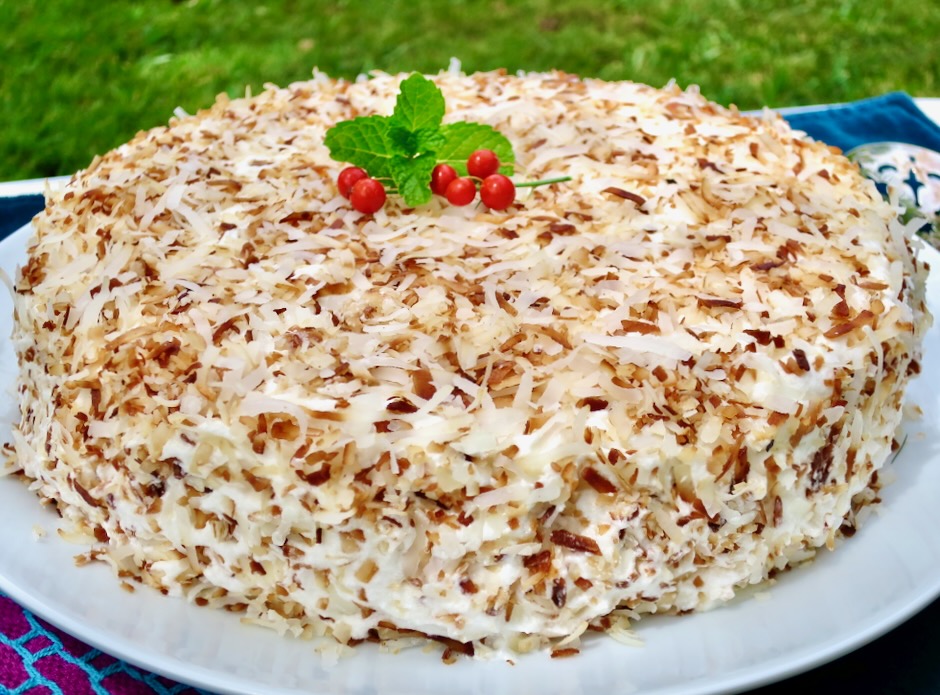
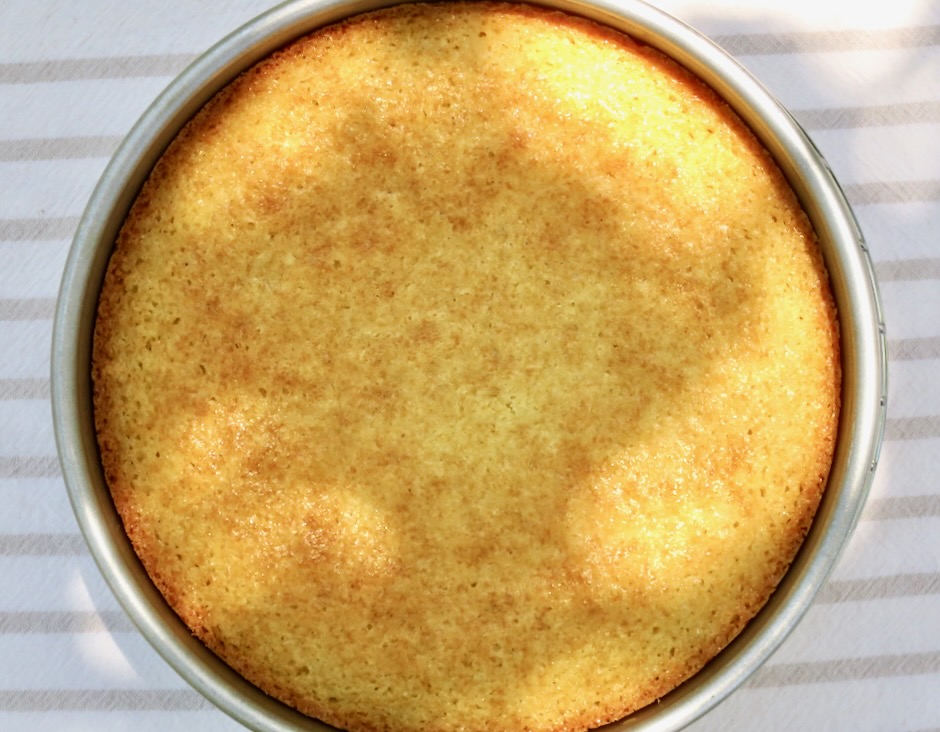
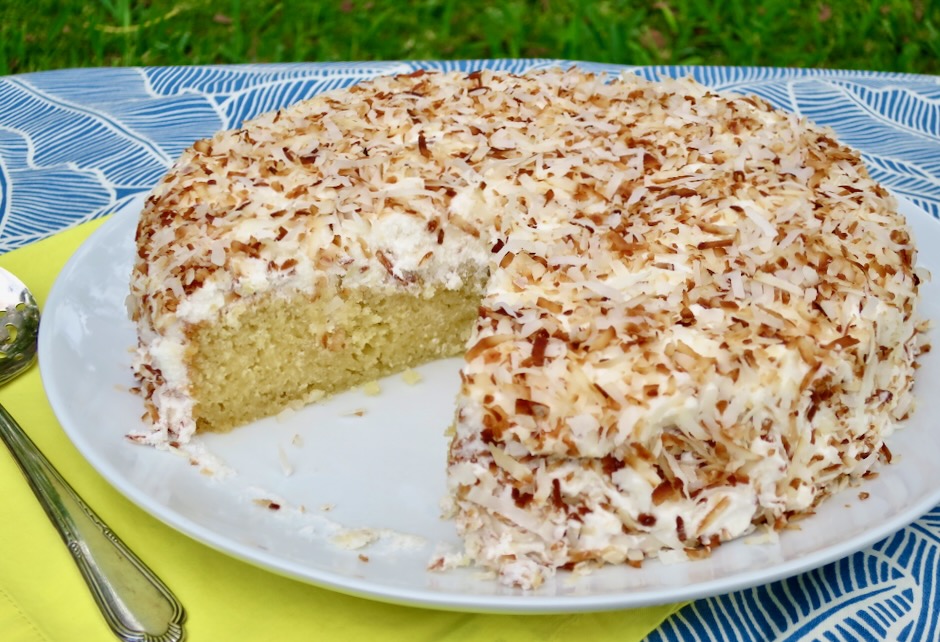
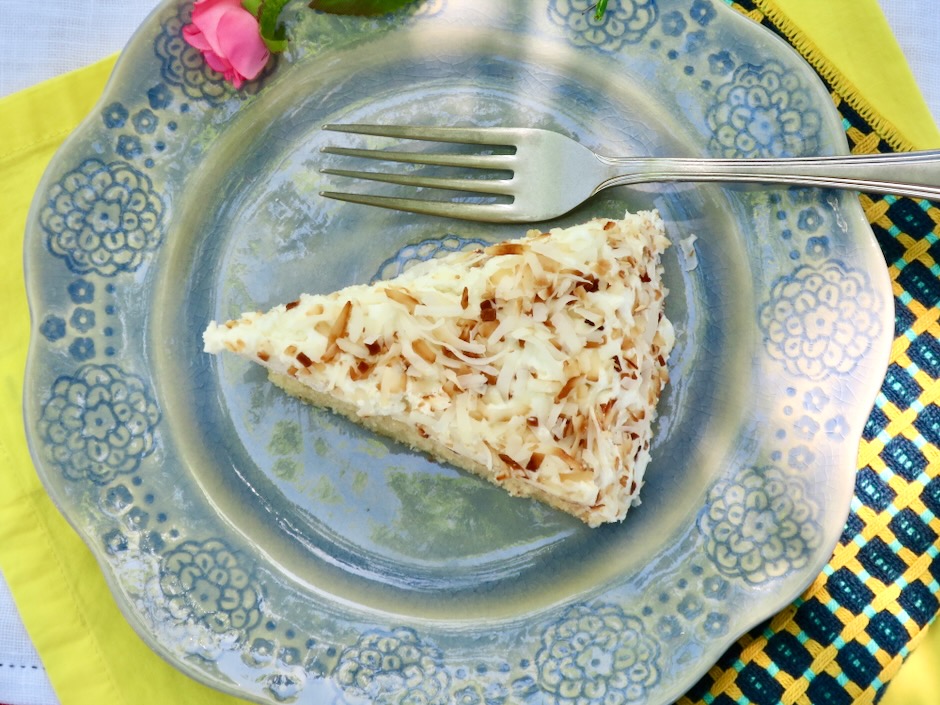
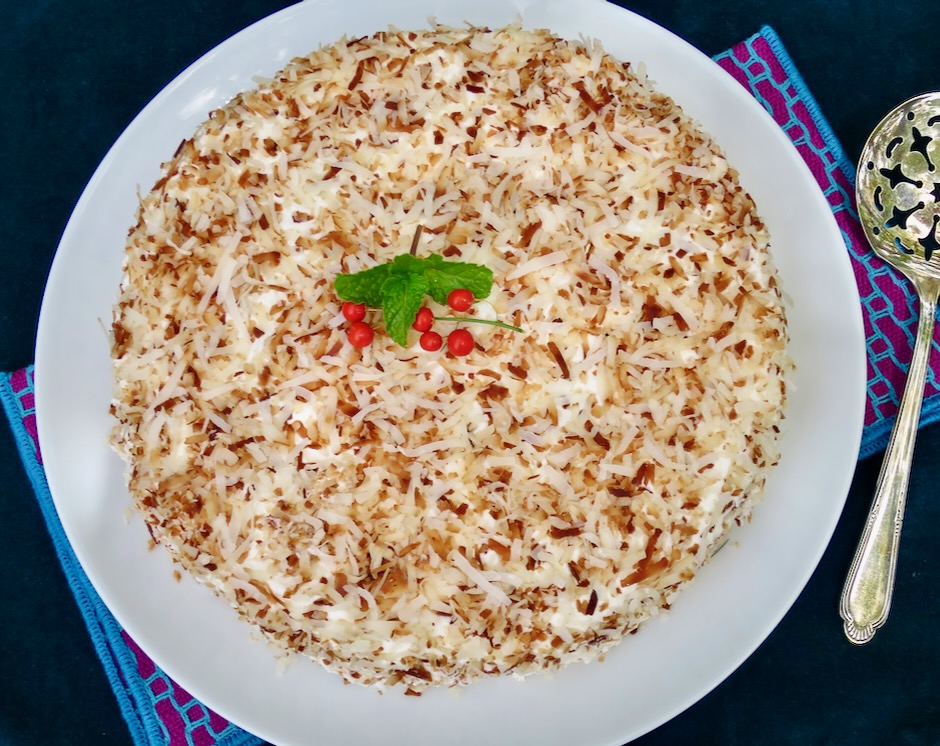
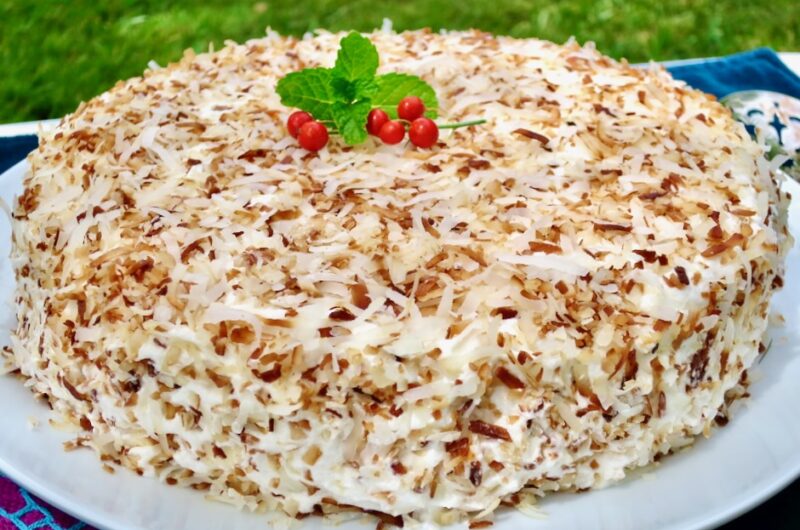
The irresistible flavor of toasted coconut is not only delicious but makes a beautiful topping on this cardamom scented cake. A simple yellow cake that pairs well with the rich, buttery frosting (yes you should lick the bowl) checks all the dessert boxes. I can’t imagine a better cake.

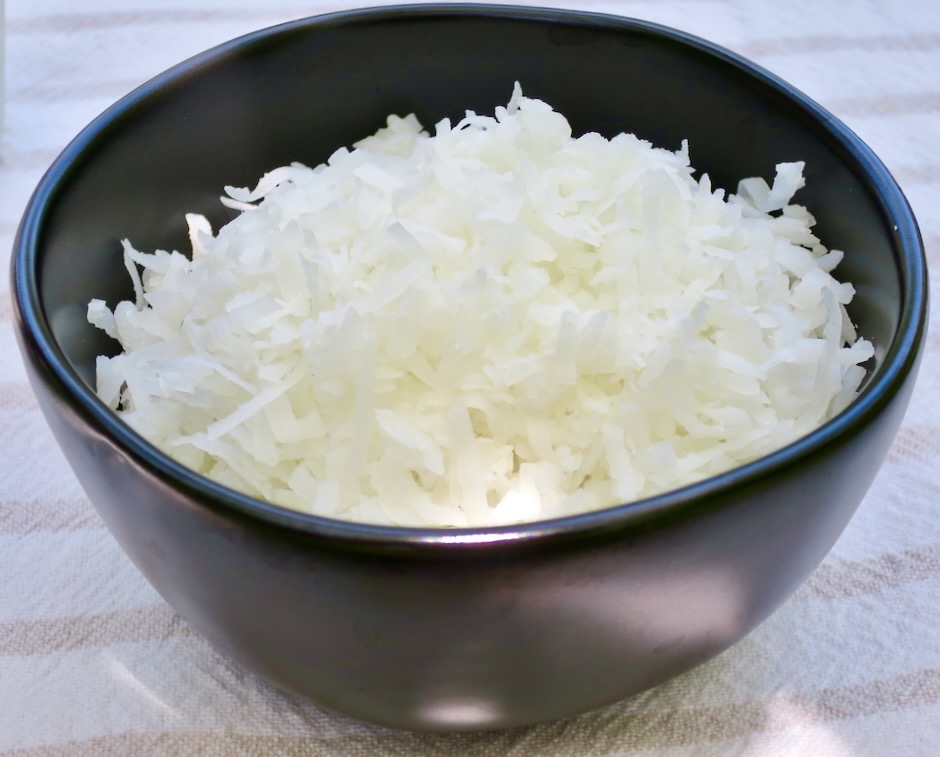
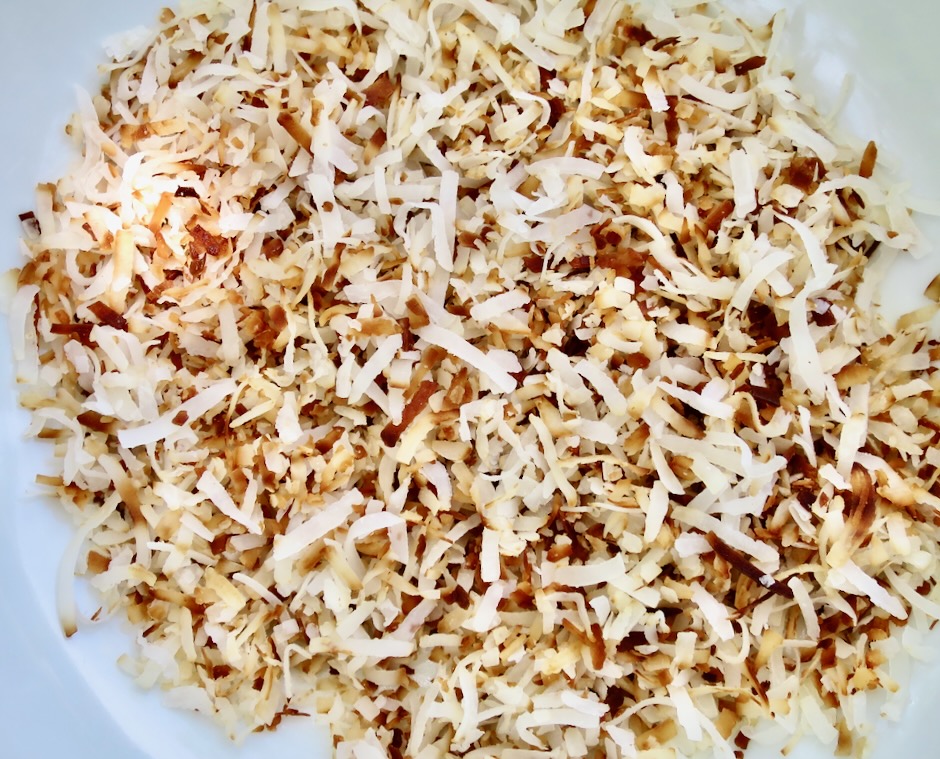
It takes just 5-7 minutes to toast shredded coconut. This step is important as it intensifies the coconut flavor and adds a little crunch and color to the cake. Make a little extra to snack on while you are frosting the cake.

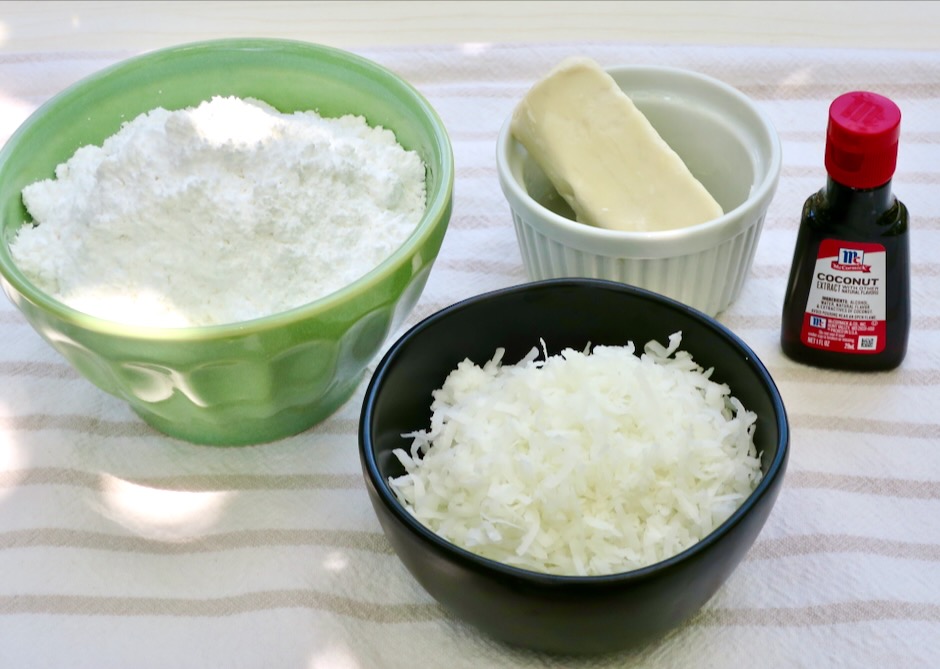
The frosting consists of powdered sugar, butter, a bit of half and half or cream, coconut extract, a dash of salt and toasted coconut.

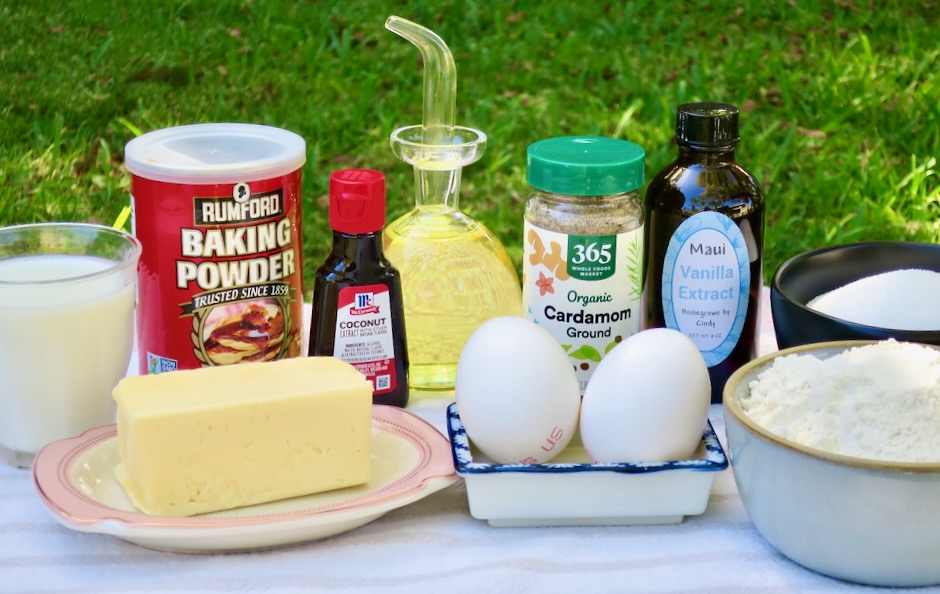
Most of the cake ingredients will be in your pantry. I made a quick trip to the market to purchase coconut extract and cardamom.

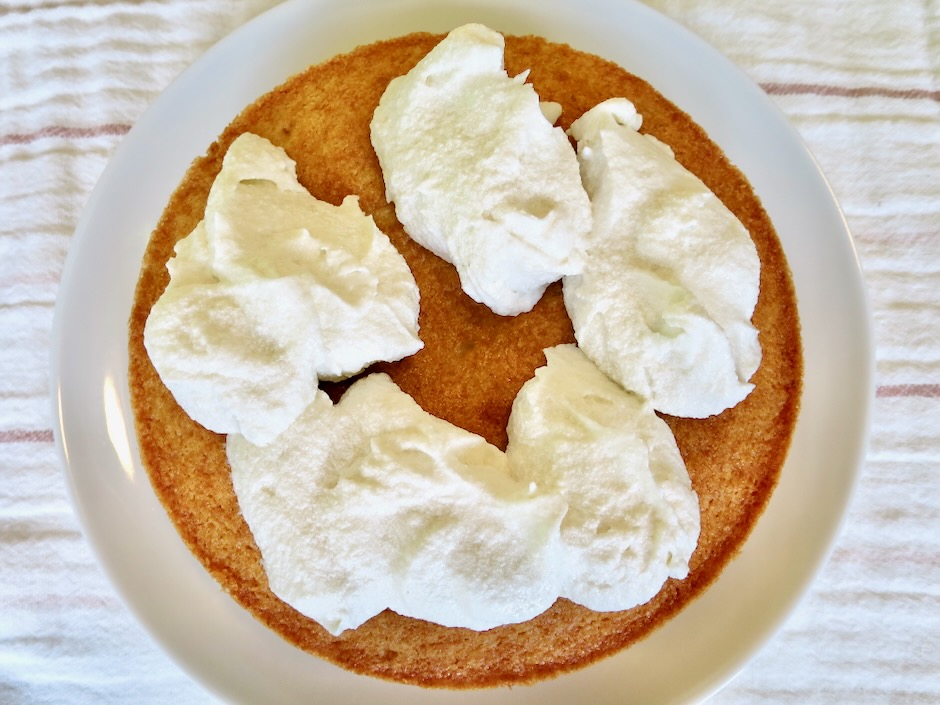
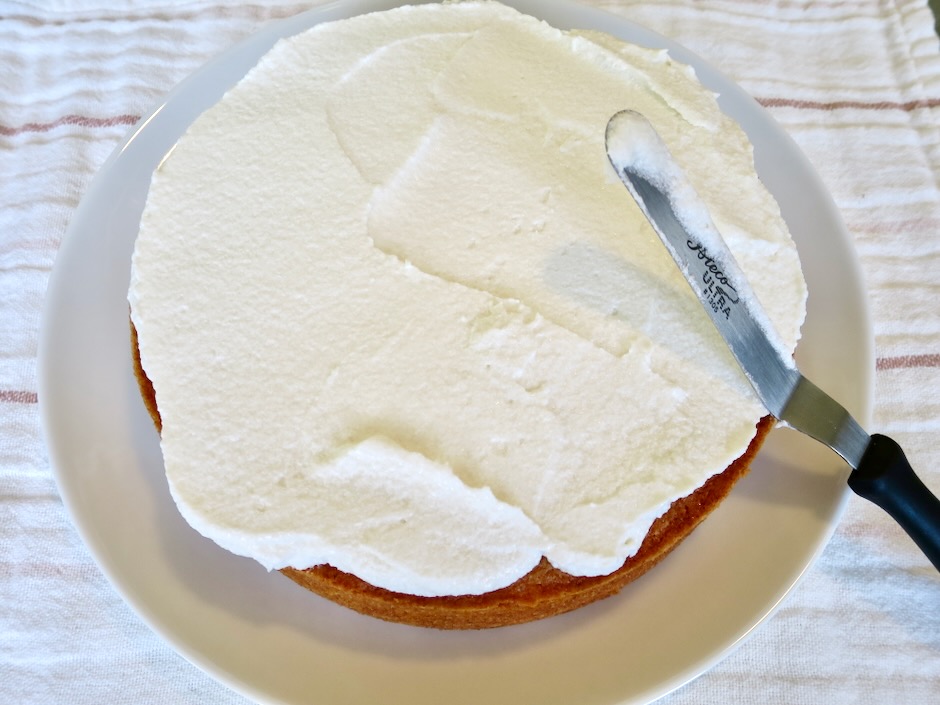
Dollop spoonfuls of the frosting over the top of the cake then using an offset cake spatula smooth over the sides.

It can be a little tricky applying the coconut to the sides of the cake. Just do your best to gently pat small handfuls on the sides then tidy up later.

This is a gorgeous coconut cake that can be served alone or with a small scoop of vanilla ice cream. The flavor of the cake with that hint of cardamom and coconut is intoxicating.

Coconut and Cardamom Cake

Recipe by Kiyo
Servings

10

servings

Adapted from Bon Appetit magazine

Ingredients

  • Cake
  • 1/2 cup (1 stick, 113g) Earth Balance Buttery Sticks or unsalted butter, room temperature, plus more for the pan

  • 1 1/3 cups (167g) all-purpose flour

  • 1 1/4 teaspoons baking powder

  • 3/4 teaspoon Diamond Crystal or 1/4 + 1/8 teaspoon Morton kosher salt if using Earth Balance Buttery Sticks (increase to 1 teaspoon Diamond Crystal or 1/2 teaspoon Morton if using unsalted butter)

  • 1/2 teaspoon ground cardamom

  • 1 cup (200g) granulated sugar

  • 2 large eggs

  • 2 tablespoons vegetable or canola oil

  • 1 teaspoon vanilla extract

  • 1/2 teaspoon coconut extract

  • 1/2 cup lactose free or regular whole milk

  • Frosting
  • 1 cup (85g) sweetened shredded coconut

  • 1/2 cup (113g) Miyoko’s Hint of Salt vegan butter or unsalted butter, room temperature

  • 2 cups (220g) powdered sugar

  • 1/2 scant teaspoon Diamond Crystal or 1/4 + 1/8 teaspoon Morton kosher salt if using Miyoko’s vegan butter (increase to 3/4 teaspoon Diamond Crystal or 1/2 teaspoon Morton kosher salt if using unsalted butter)

  • 1/4 teaspoon coconut extract

  • 1/4 cup lactose free half and half or regular heavy cream or half and half

Directions

  • Cake
  • Place a rack in middle of oven and preheat to 325 degrees. Butter an 8″ round cake pan and line the bottom with a parchment paper round.
  • Whisk flour, baking powder, salt, and cardamom in a medium bowl to combine.
  • Beat granulated sugar and 1/2 cup Buttery Sticks or unsalted butter in a large bowl using a hand mixer on medium speed until light and fluffy, about 3 minutes. You may also use a stand mixer (medium speed) with a paddle attachment. Add eggs one at a time, beating until incorporated after each addition. Add oil, vanilla extract, and coconut extract beating until combined. Reduce speed to low and gradually pour in milk; beat until incorporated. Scrape down sides of bowl and mix to combine. Add dry ingredients and gently fold in with spatula just until no dry spots remain.
  • Scrape batter into prepared pan, smooth surface. Bake cake until a tester inserted in the center comes out clean, about 45 minutes. Transfer pan to a wire rack and let cake cool for 1 hour then invert onto a small cooling rack. Remove parchment paper then invert cake onto another cooling rack so it is right side up. Allow to cool completely before frosting (1 more hour or so).
  • Frosting and assembly
  • While the cake is cooling, heat a medium skillet (9-inch works well) over medium-low heat. Toast shredded coconut, stirring often, until mostly golden brown, 5-7 minutes. Immediately transfer to a shallow bowl and let cool (coconut will continue to darken slightly as it cools).
  • Using a hand mixer on medium speed, beat Miyoko’s vegan butter or unsalted butter in a medium bowl until light and fluffy, about 3 minutes. Add powdered sugar in 2 additions, beating until combined after each addition. Add salt and coconut extract and beat until incorporated. Reduce speed to medium-low and beat, scraping down sides of bowl as needed, until mixture is very light and fluffy, about 5 minutes. Add half and half or cream and beat until frosting is smooth. Frosting should be thick but spreadable; if it’s too thick beat in more cream 1 tablespoon at a time.
  • Transfer cake to a serving platter. Using an offset spatula, spread frosting evenly over top and sides of cake. Sprinkle shredded coconut over top and sides, pressing gently to adhere. You may chill the cake (covered) for 15 minutes before serving. This will allow the frosting to set up a bit (especially for those of us who live in a warmer climate).

Notes

  • The cake can be baked 1 day in advance of serving. Store in a plastic cake container or cover with plastic wrap once the frosting has set. Remove from the refrigerator 1 hour prior to serving. The cake can also be frozen for up to 1 month. Defrost overnight in the refrigerator before serving.
Chocolate, Dessert, Holiday Treats, Recipes

Triple Chocolate Brownies

June 12, 2023

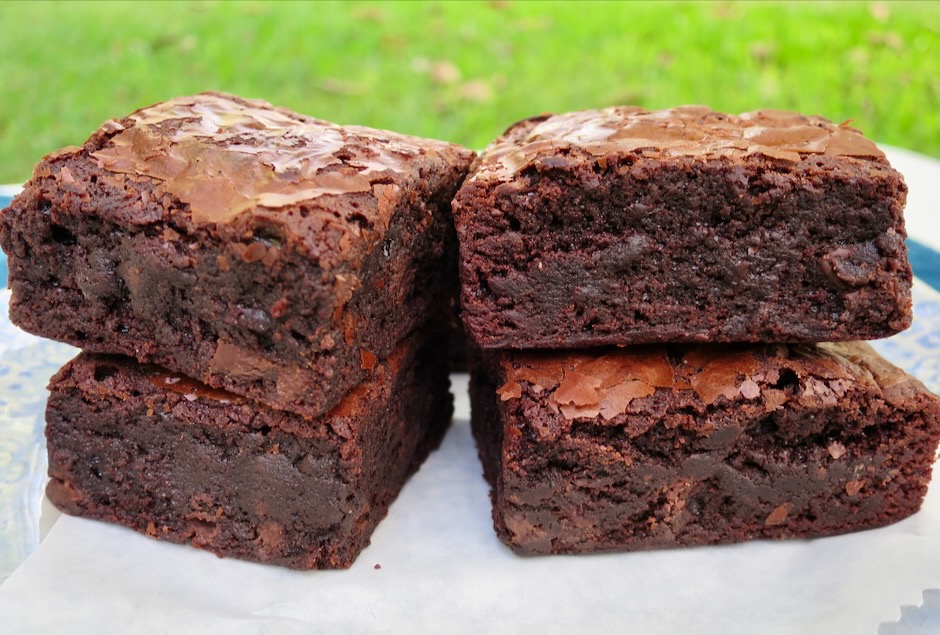
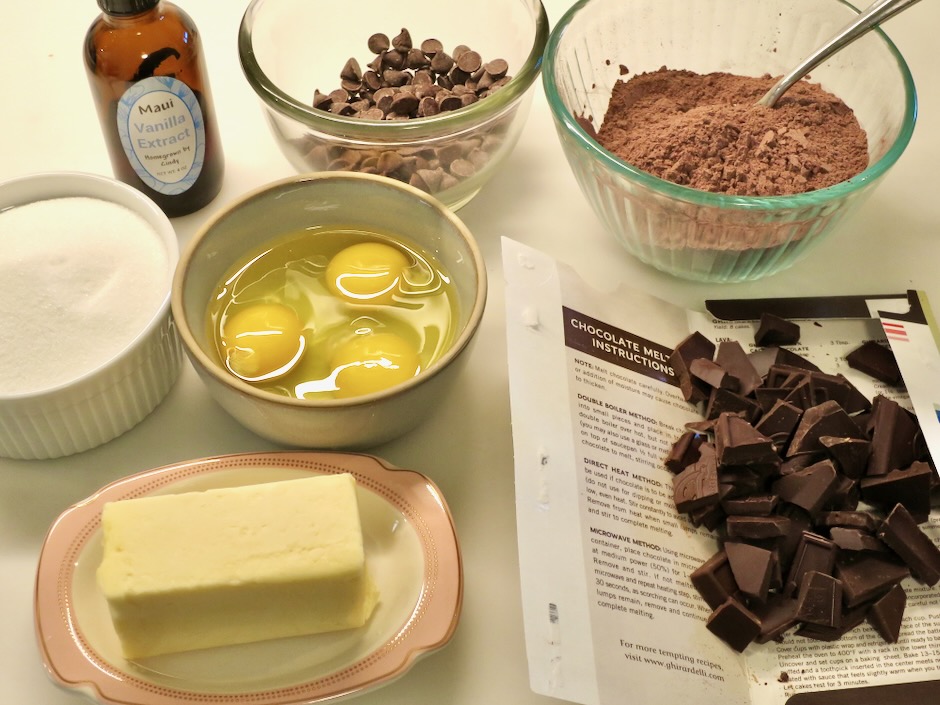
Chris Morocco, Food Director at Bon Appetit magazine, calls these the “fudgy, crackly brownies of my dreams.” Chris baked 144 brownies before declaring these his ideal version of brownies. His hard work, patience and determination paid off. With three types of chocolate, hence the name Triple Chocolate Brownies, these rich and decadent brownies have become one of my favorite chocolate desserts.

The original recipe recommends using 70% bittersweet chocolate but I used 60% since it was what I had on hand.

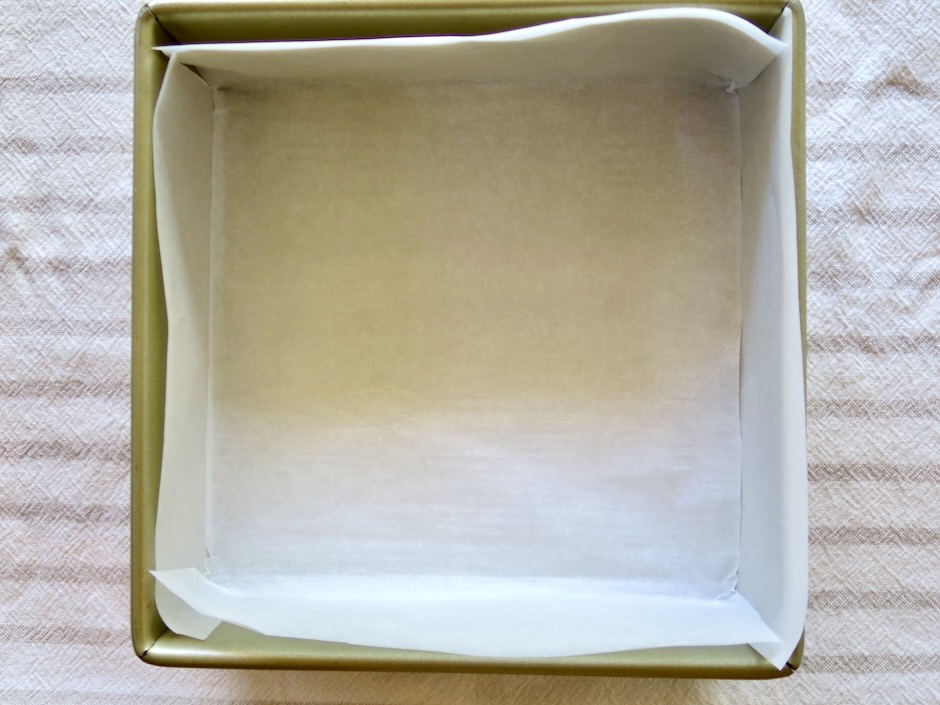
Lining the pan with parchment paper will make it much easier when it’s time to lift out the brownies once they are cooled. Since parchment paper is a bit stiff, it’s best to cut two separate pieces that are the same dimensions, then overlap them. This will allow for neater corners.

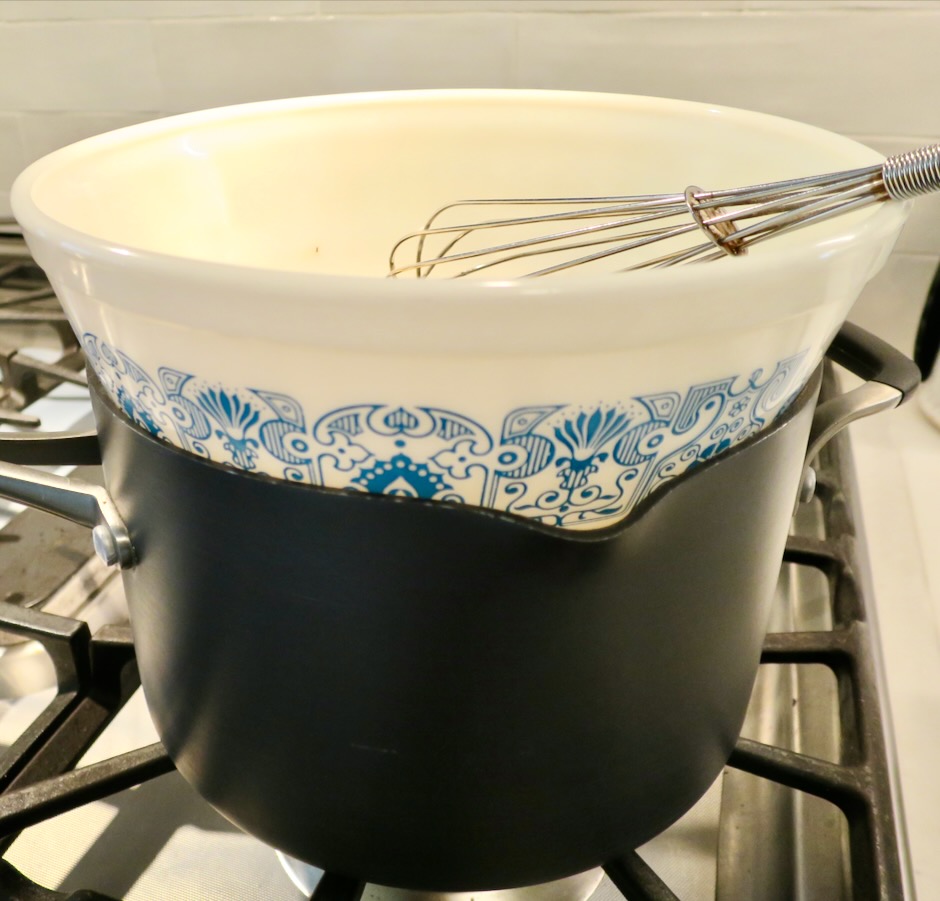
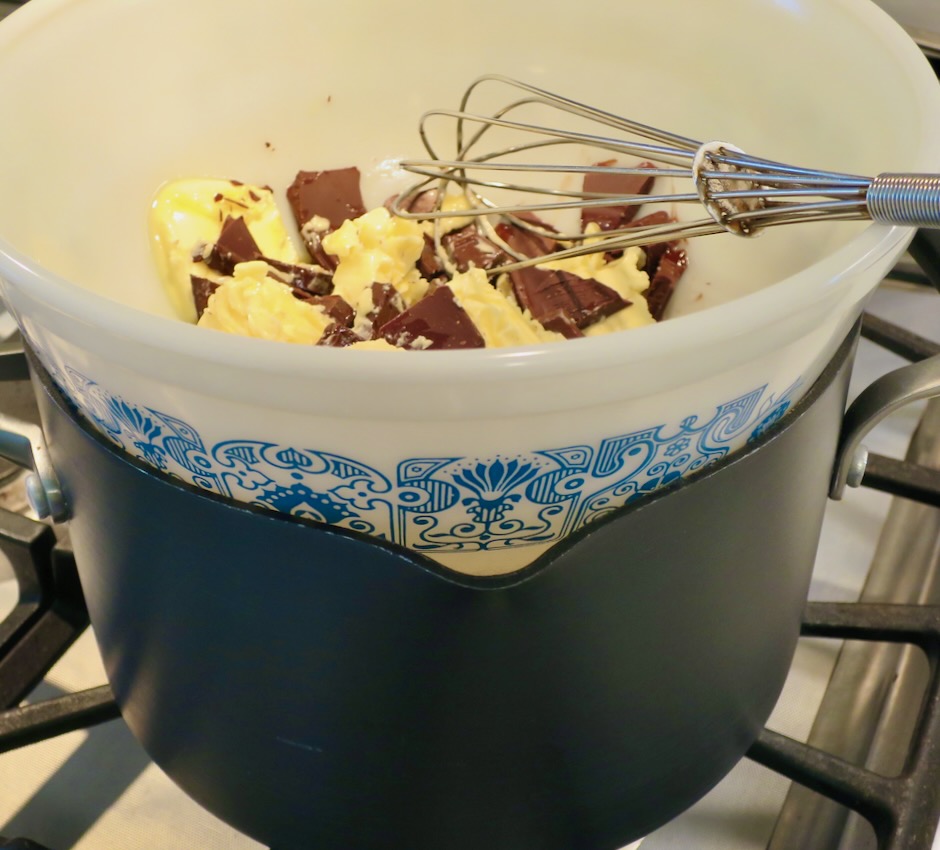
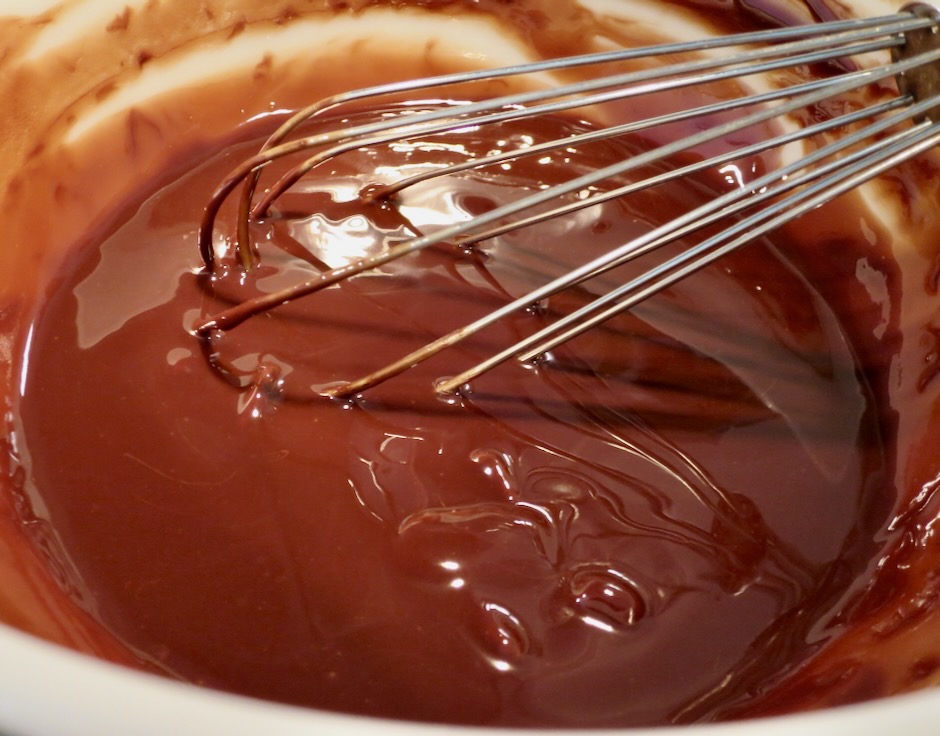
Butter and bittersweet chocolate are melted in a bowl set over a saucepan with barely simmering water.

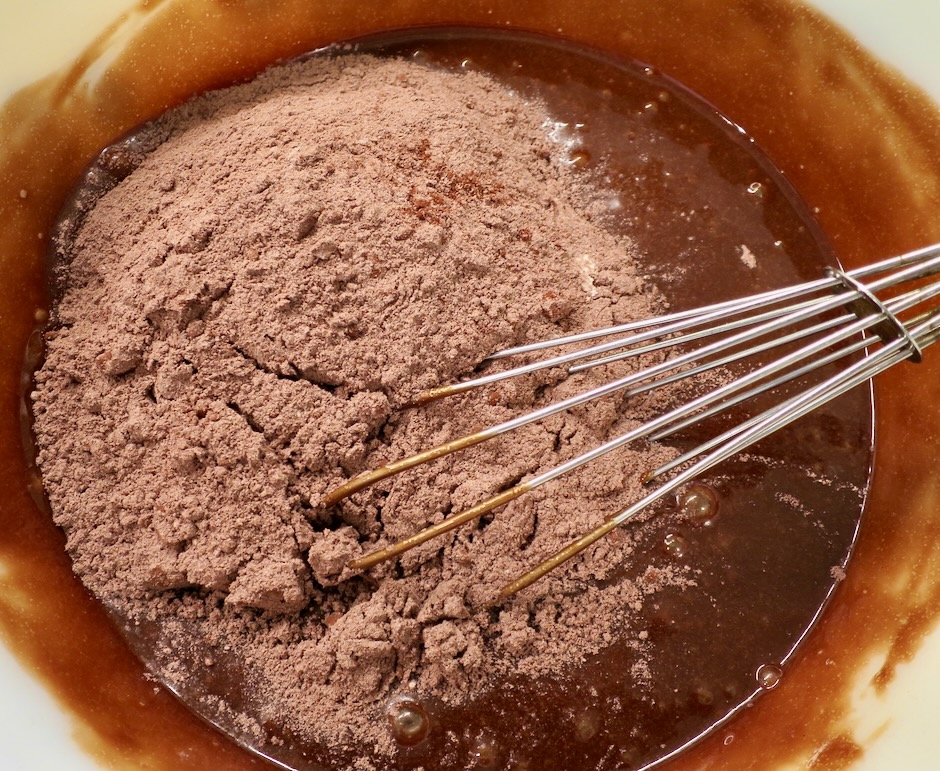
Sugar and eggs have been added to the butter and chocolate mixture.

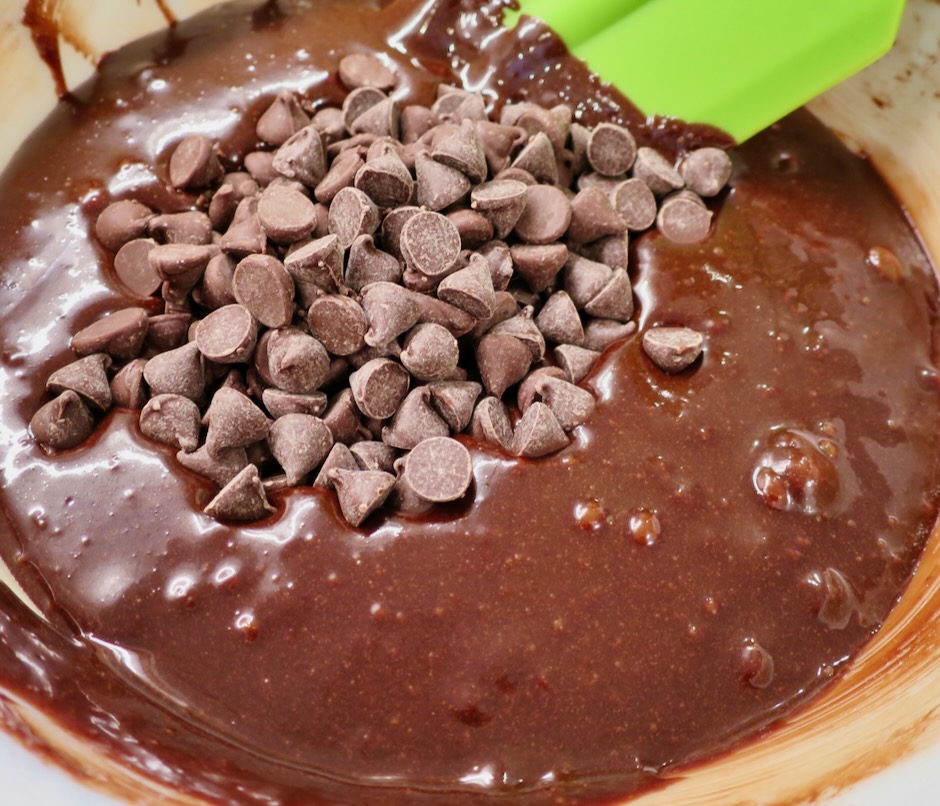
Once the bowl is removed from the heat, the vanilla extract, dry ingredients, and chocolate chips are mixed in.

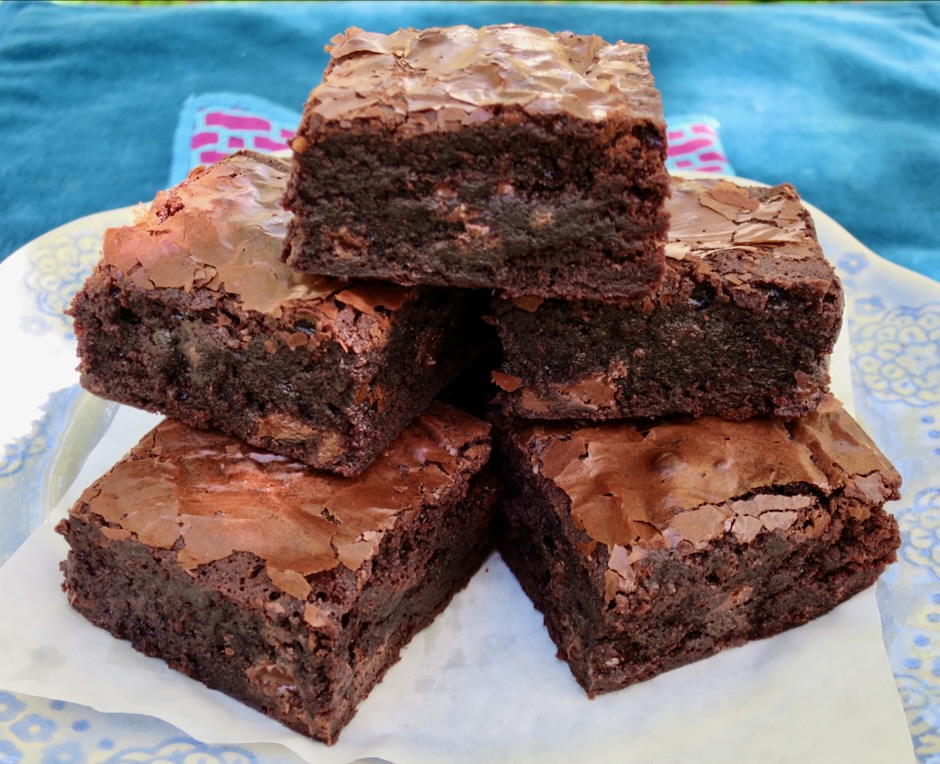
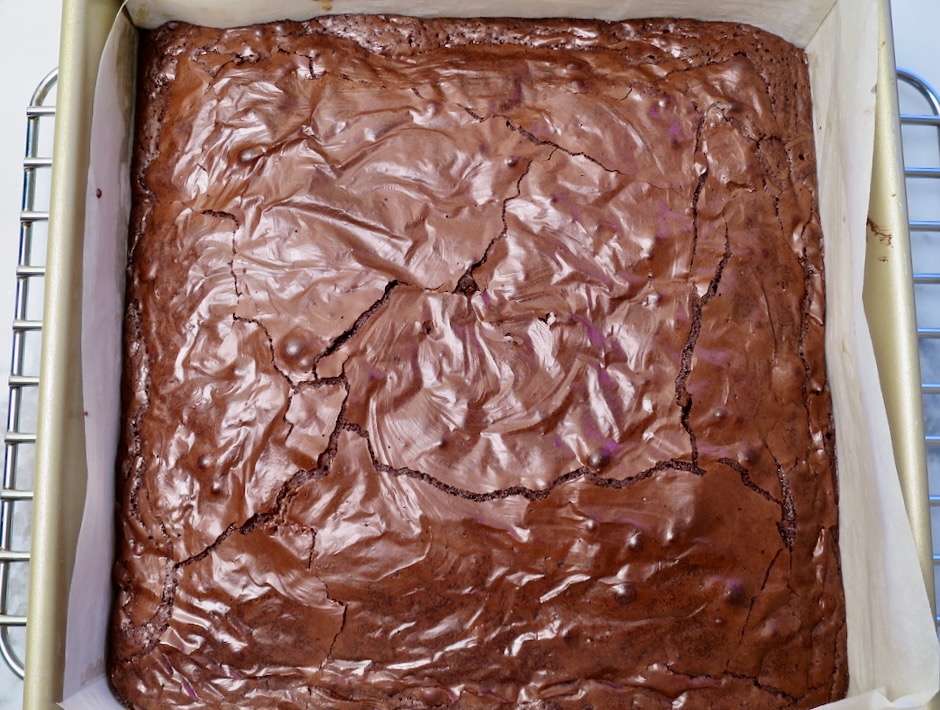
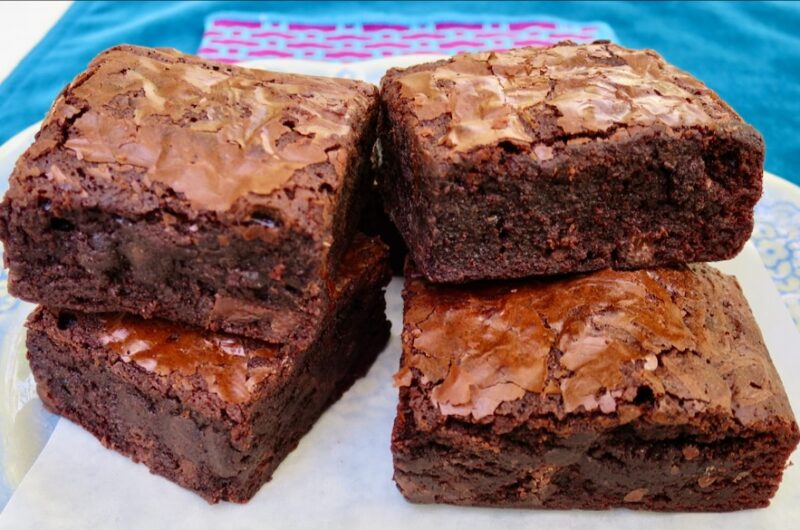
Look at that gorgeous shiny, crinkly top. These are exquisite chocolate-loaded brownies that have perfect rich, fudgy centers and slightly crisp edges.

Triple Chocolate Brownies

Recipe by Kiyo
Servings

12-16

servings

Recipe adapted from Bon Appetit magazine

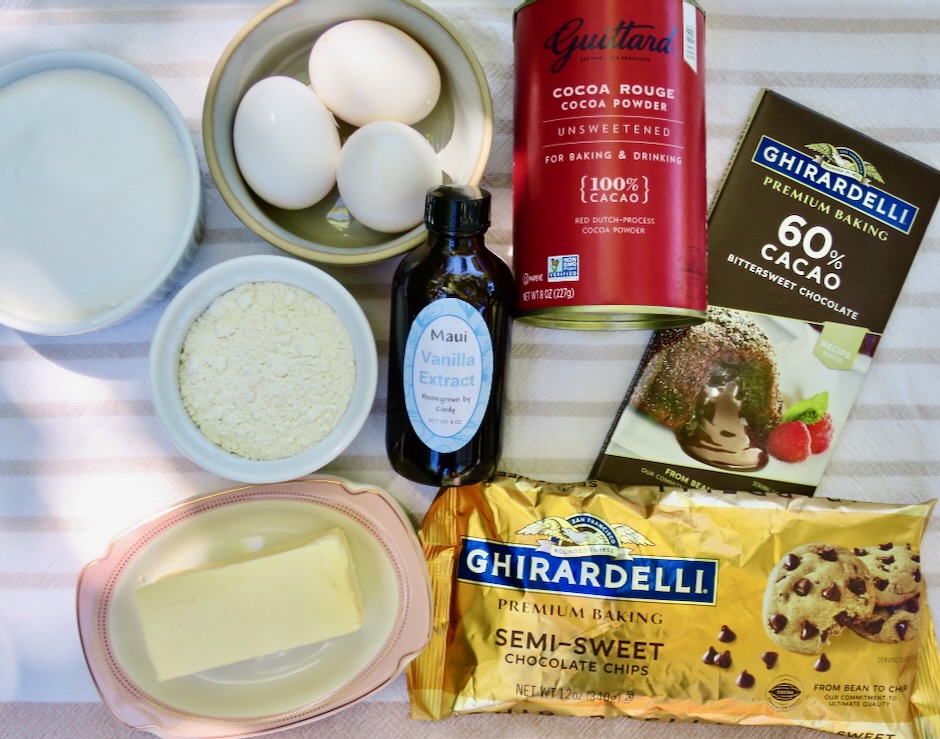
Ingredients

  • Nonstick vegetable spray

  • 1/2 cup (62g) all-purpose flour

  • 1/2 cup (50g) Dutch-process cocoa powder (such as Guittard cocoa rouge)

  • 1 1/4 teaspoons Diamond Crystal or 1/2 teaspoon Morton kosher salt (increase Diamond Crystal to 1 1/2 teaspoons and Morton to 3/4 teaspoon when using unsalted butter)

  • 1/2 cup (1 stick) Earth Balance Buttery Sticks or unsalted butter

  • 4 ounces (113g) bittersweet chocolate (60% or 70%) broken into pieces

  • 1 1/4 cups (250g) granulated sugar

  • 3 large eggs

  • 1 tablespoon vanilla extract

  • 4 ounces (113g) semisweet chocolate chips

Directions

  • Preheat oven to 375 degrees. Line an 8×8-inch baking pan with parchment paper, leaving a generous overhang on two sides. Lightly coat parchment with nonstick spray.
  • Whisk flour, cocoa powder, and salt in a small bowl to combine.
  • Combine Earth Balance Buttery Stick (or unsalted butter) and bittersweet chocolate pieces in a medium heatproof bowl set over a saucepan of barely simmering water (bottom of bowl should not be touching water, see photo above). Heat, stirring occasionally, until chocolate is melted and smooth, about 5 minutes.
  • Whisk in granulated sugar, then add eggs one at a time, whisking very vigorously between additions. Once all eggs are incorporated, continue to whisk 1 minute more. Remove bowl from heat and whisk in vanilla extract, then whisk in dry ingredients. Using a rubber spatula, stir in semisweet chocolate chips. Scrape batter into prepared pan; smooth surface.
  • Bake brownies until set across top and tester inserted into the center comes out with just a few moist crumbs attached, 27-30 minutes. Let cool in pan at least 1 hour before removing from the pan and cutting into 12-16 pieces. If you live in a warm climate, transfer the pan to the refrigerator once cool enough to place on the refrigerator shelf and chill for 30 minutes. This will help firm up the brownies.

Notes

  • Thoroughly cooled brownies can be frozen in an airtight container (separate layers with wax paper) for a few months.
Breakfast, Dessert, Lactose Free, Recipes, Summertime Meal

Blueberry Pie Bars

May 9, 2023

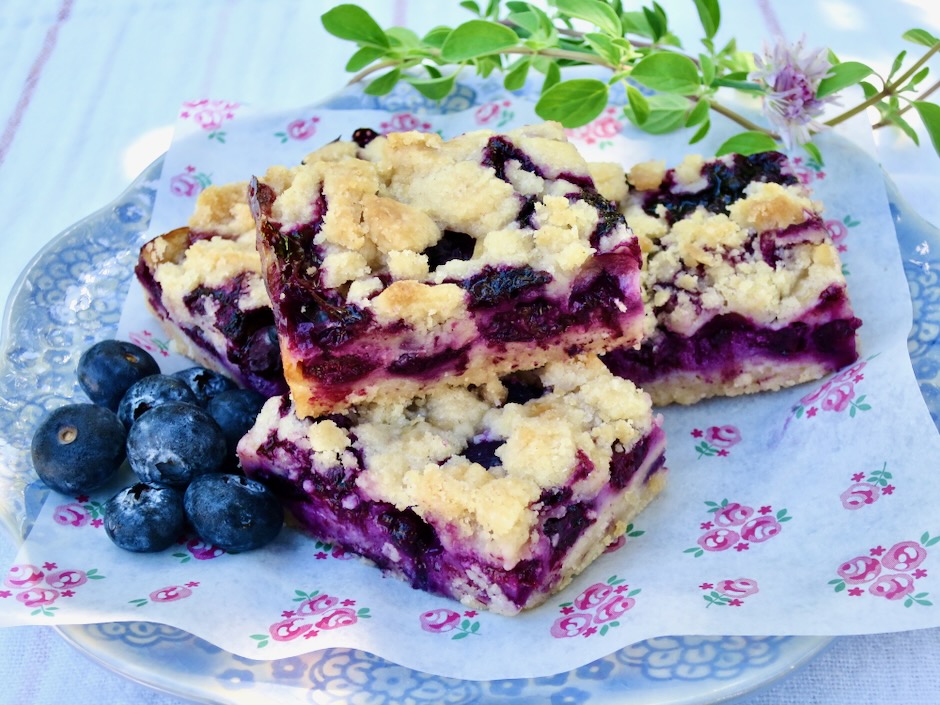
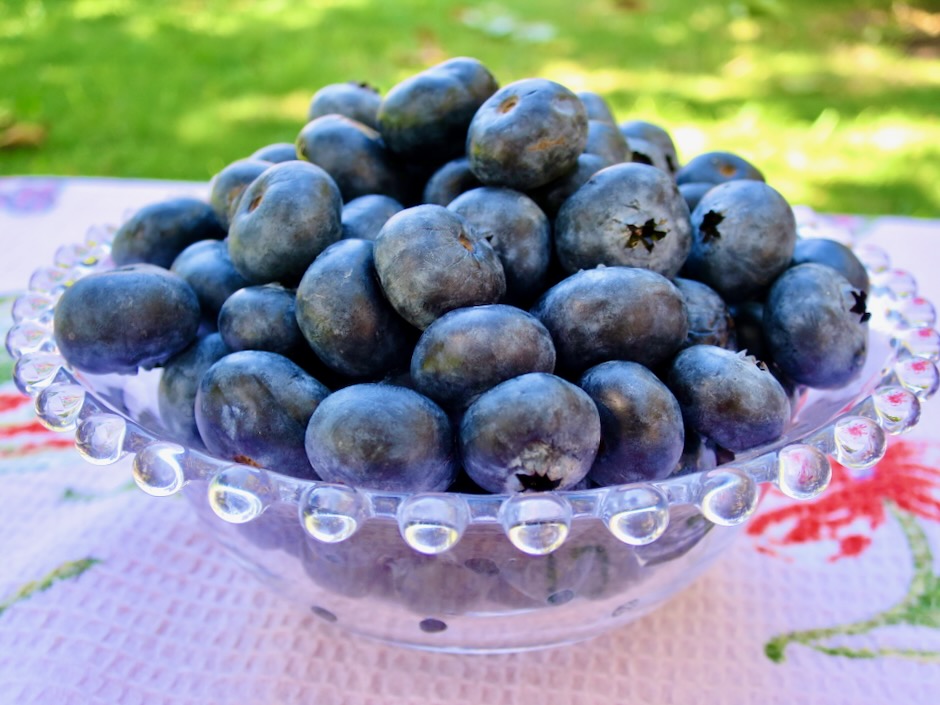
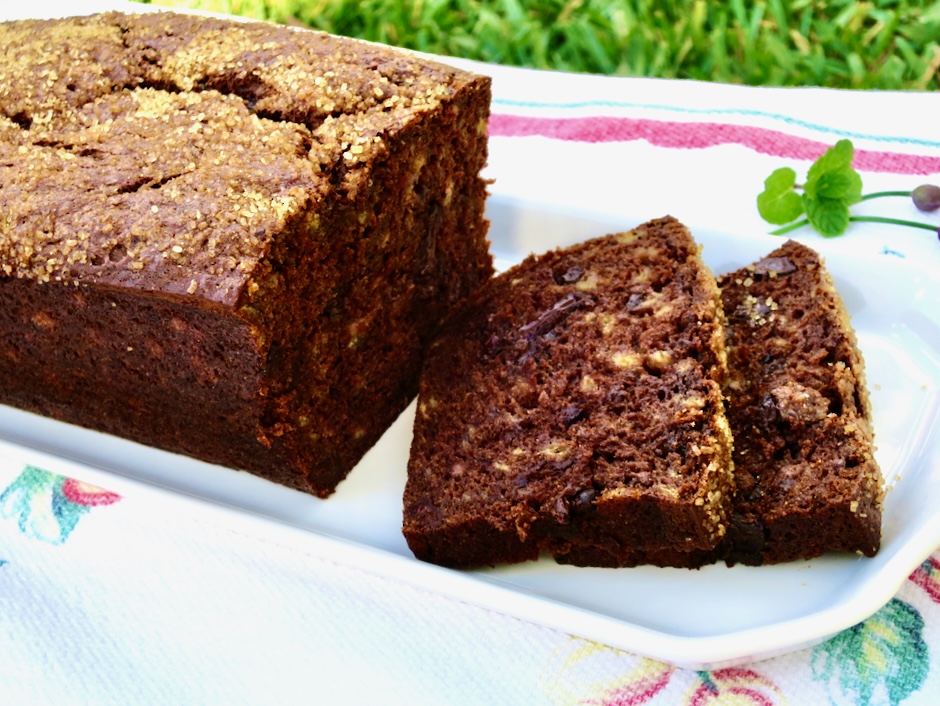
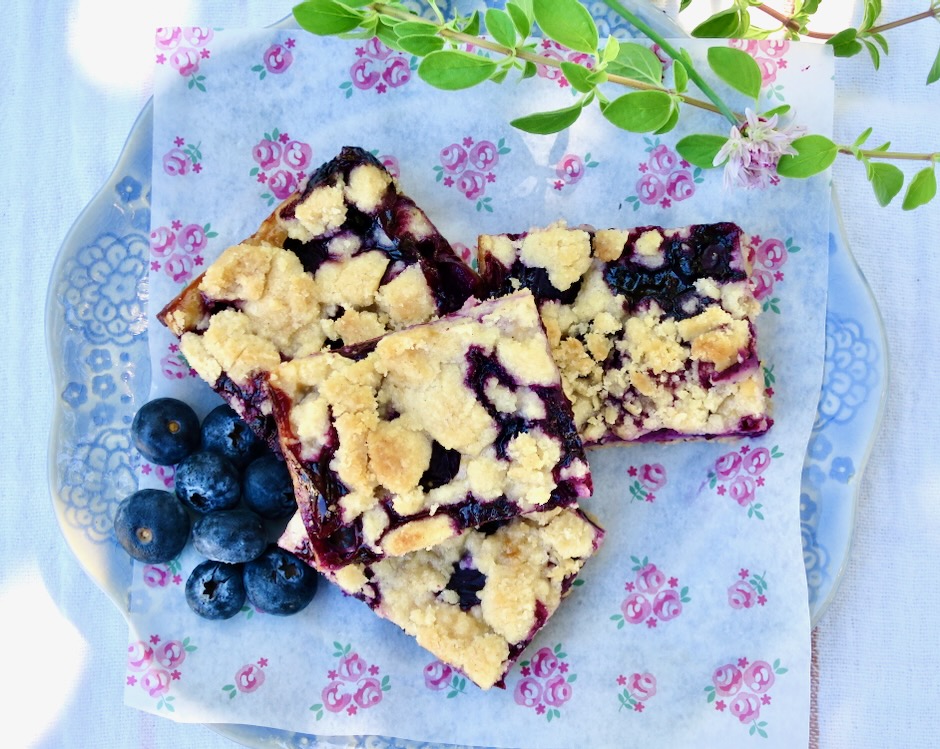
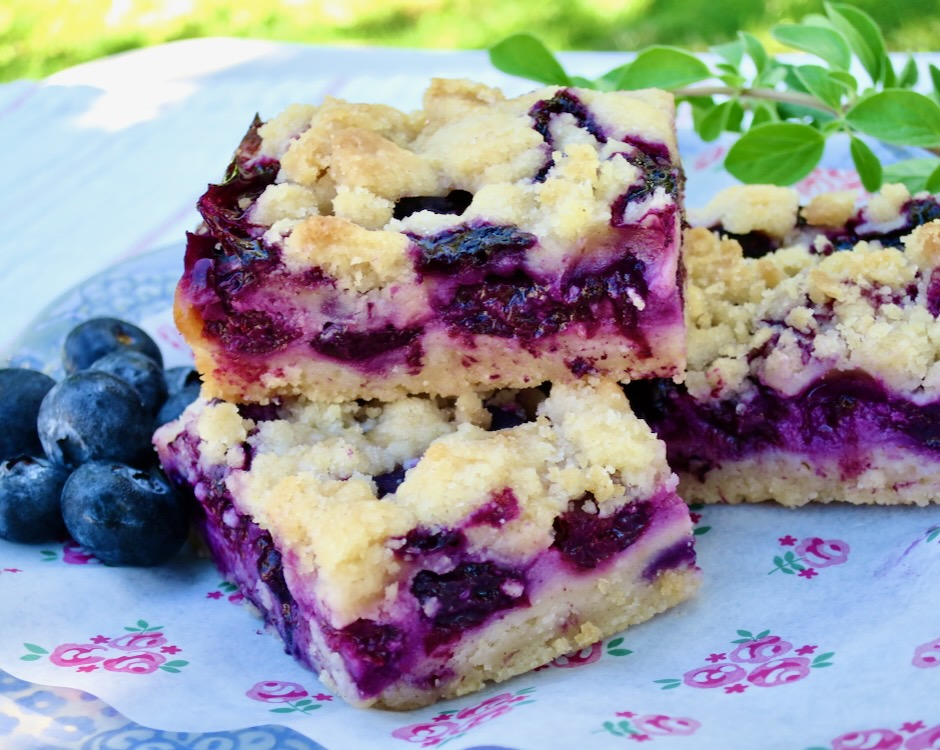
Looking for an irresistible summer dessert? Search no more. These blueberry pie bars from Trisha Yearwood will meet all of your requirements. Fresh, juicy blueberries tucked between a tender crust and crisp, buttery topping are the perfect combination.

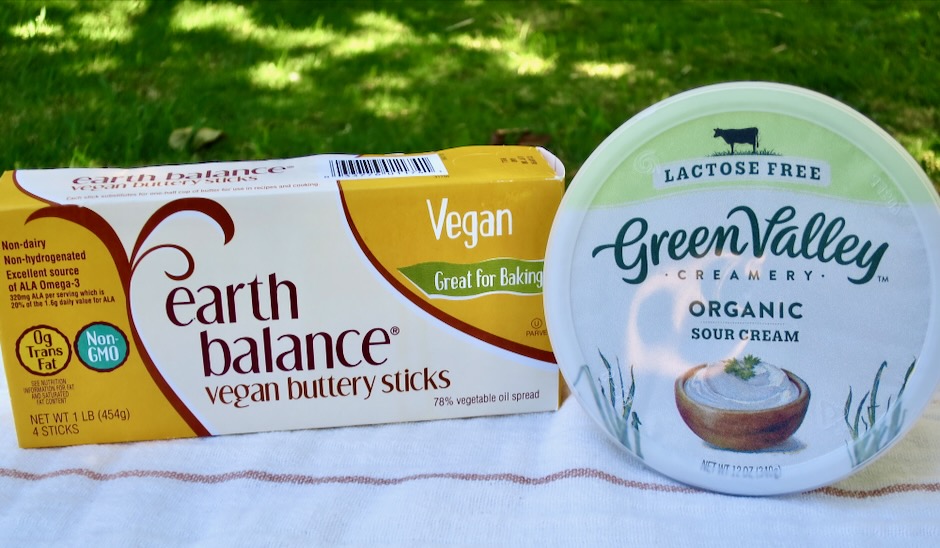
To make this recipe lactose free, I used vegan butter and lactose free sour cream. I use both of these indispensable products in many of my recipes.

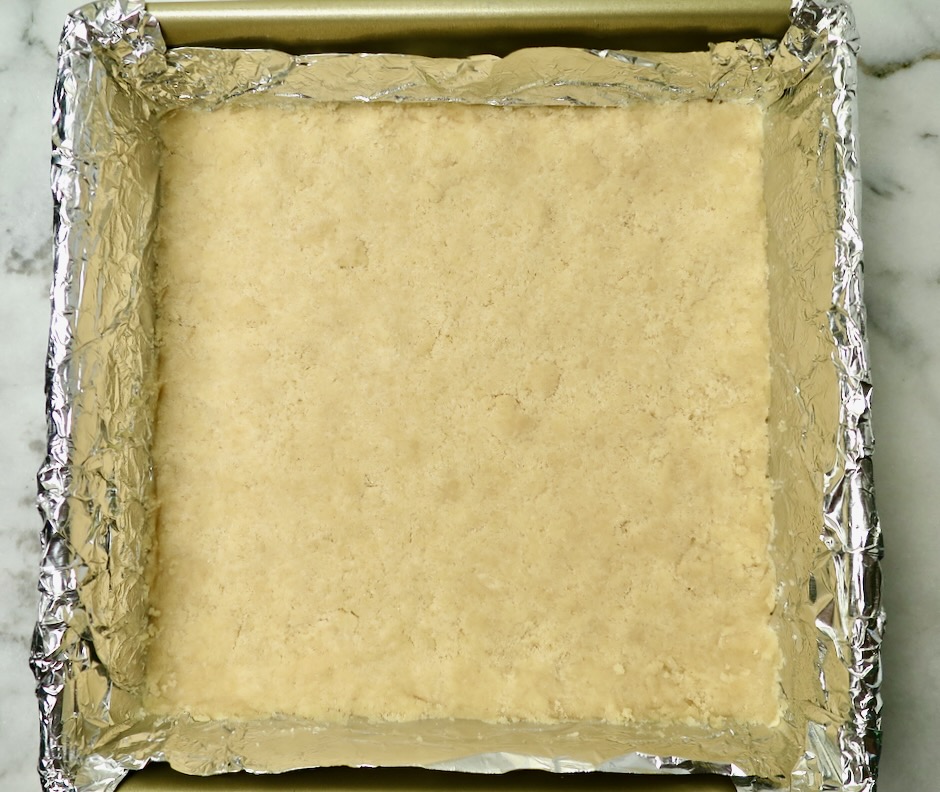
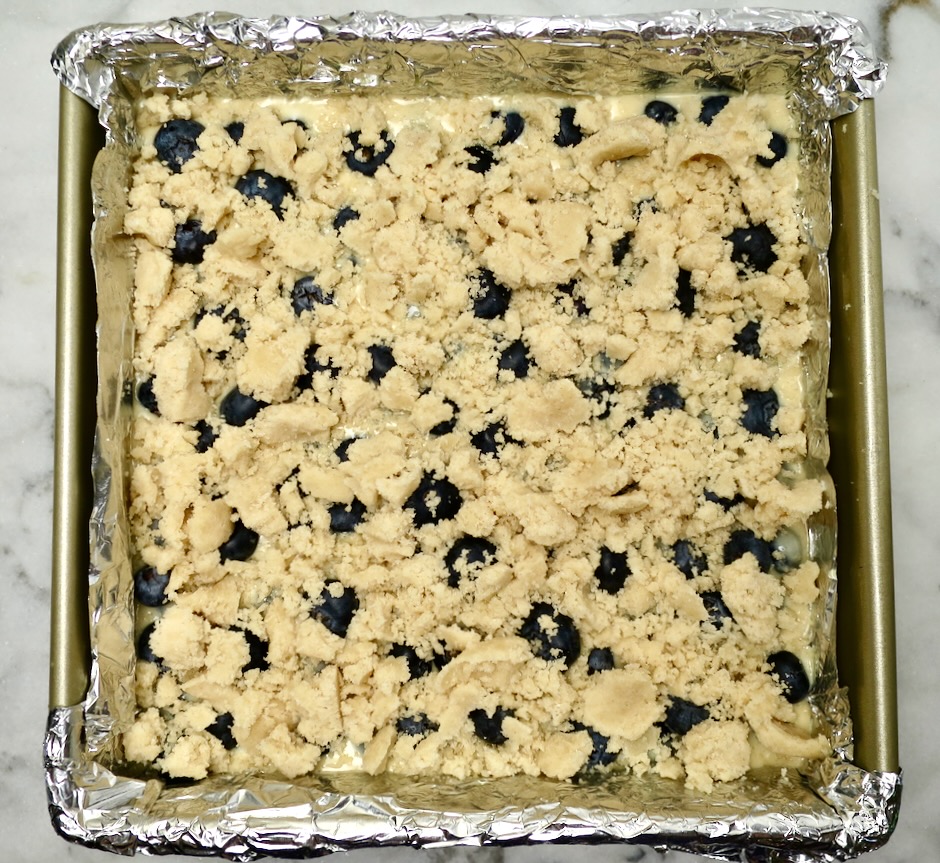
The dough for the crust is pressed into the foil-lined baking pan.

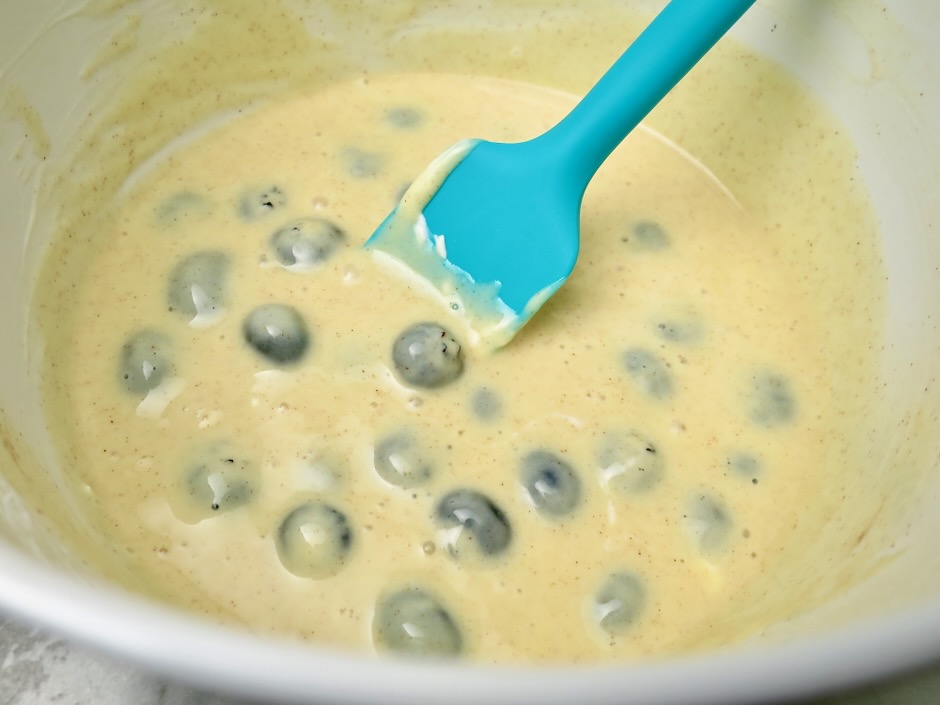
The filling for this recipe is what distinguishes these from other blueberry bars. A mixture of sour cream, egg, sugar, cinnamon and a generous amount of lemon juice are combined with a portion of the blueberries which are then poured over the crust. Trisha refers to the filling as a custard.

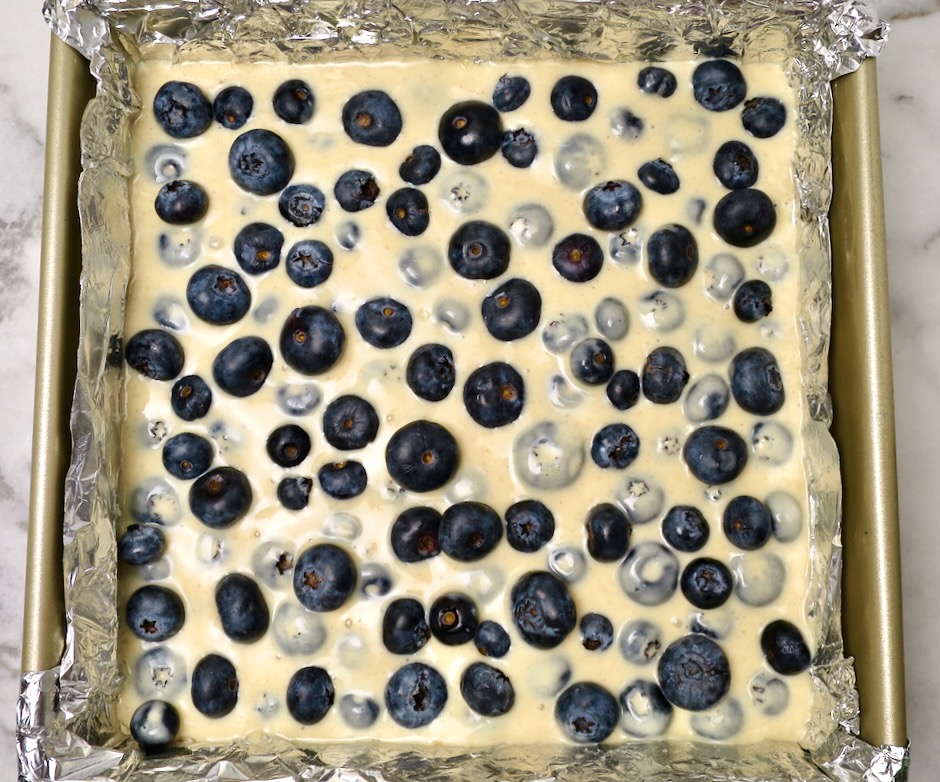
A handful of reserved blueberries are scattered over the filling before adding the crust topping.

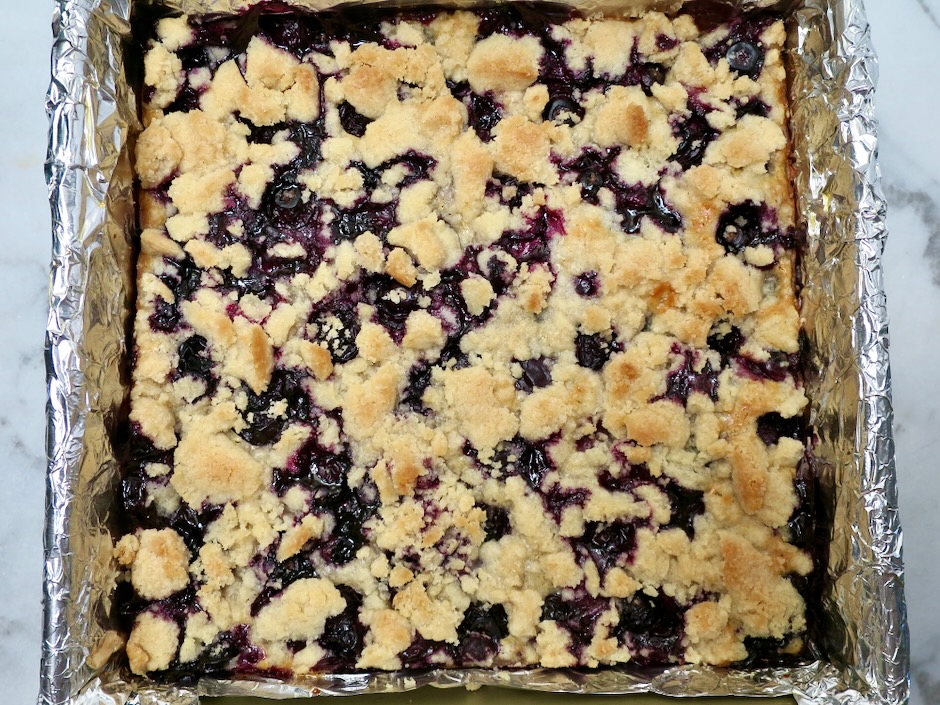
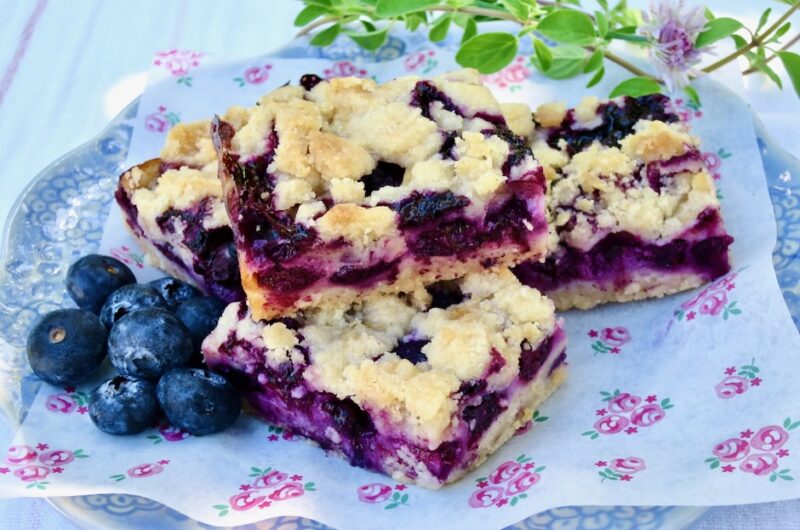
The topping emerges from the oven beautifully browned and the blueberries beneath are delightfully jammy.

These blueberry pie bars are irresistible. I love everything about them. Eat them while they are slightly warm or at room temperature.
Blueberry Pie Bars

Recipe by Kiyo
Servings

16

servings

Recipe adapted from Food Network-Trisha Yearwood

Ingredients

  • Crust
  • 1/2 cup (113g) Buttery Sticks, chilled (or unsalted butter)

  • 3/4 cup (150g) granulated sugar

  • 1 1/2 cups (180g) all-purpose flour

  • 1/2 teaspoon ground cinnamon

  • Pinch of kosher salt

  • Filling
  • 1 large egg

  • 1/2 heaping cup (125g) Green Valley lactose free sour cream (or regular sour cream)

  • 1/3 cup (67g) granulated sugar

  • 2 tablespoons fresh squeezed lemon juice

  • 1 tablespoon all-purpose flour

  • 4 teaspoon cornstarch

  • 2 teaspoons vanilla extract

  • 1/2 teaspoon ground cinnamon

  • 2 cups (296g) fresh blueberries, rinsed and drained well

Directions

  • Preheat oven to 350 degrees. Line an 8×8-inch baking pan with foil that reaches the top sides of the pan.
  • In a bowl of a food processor, combine the Buttery Sticks, sugar, flour, cinnamon and salt. Process until the mixture begins to clump together, 40-60 seconds or so. Remove 1 cup and reserve; press the remaining crust mixture evenly into the prepared baking pan. Set aside.
  • In a medium bowl, whisk together the egg, sour cream, sugar, lemon juice, flour, cornstarch, vanilla extract and cinnamon until smooth. Mix in 1 cup of the blueberries. Pour filling mixture over the crust, shaking the pan gently to settle the custard and berries. Scatter remaining 1 cup blueberries over the top, spreading them evenly.
  • Sprinkle the reserved crust mixture over the berries. Squeeze mixture with hands to encourage large lumps.
  • Bake 1 hour. Let cool on wire rack. Lift foil from pan and transfer to a cutting board. Slice blueberry pie bars into 16 squares, or larger pieces if you prefer.

Notes

  • Leftover blueberry pie bars can be stored in a sealed container in the refrigerator for 3-4 days. Freezing is not recommended as the filling can become a bit soggy when defrosted.
Dessert, Lactose Free, Recipes

Black Magic Cake

April 20, 2023

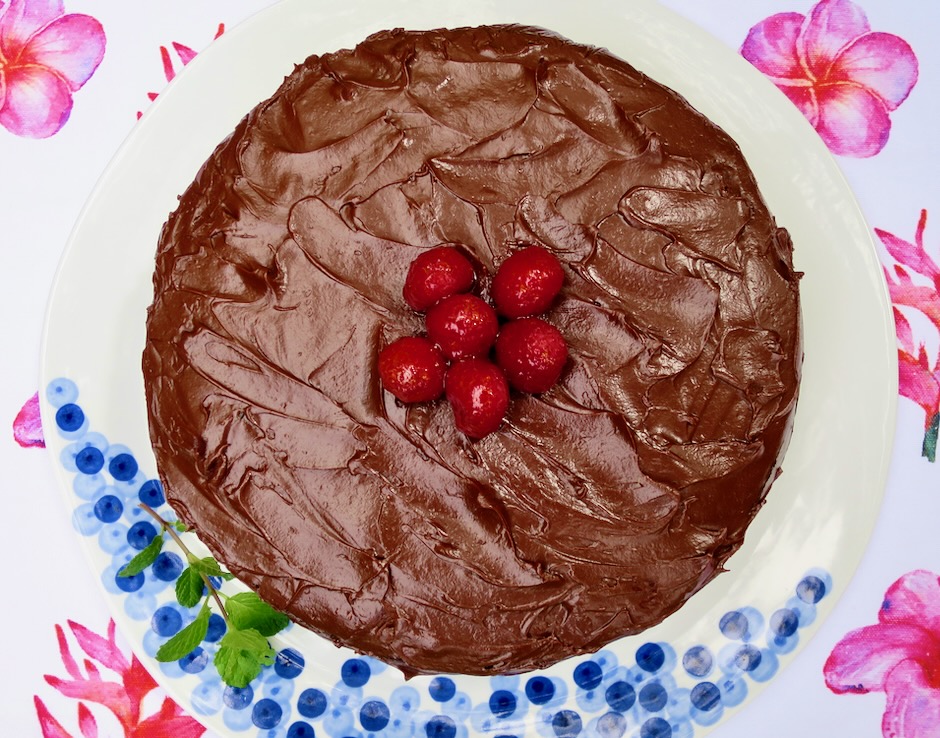
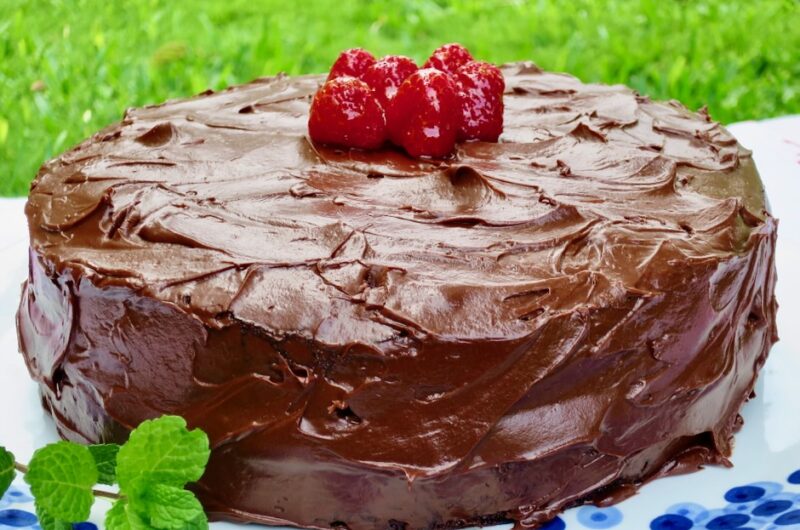
This is an exceptionally delicious and easy to make chocolate cake. You can make it in a fluted tube pan, two 9-inch round cake pans as I did, or a 13x9x2-inch baking pan. The cake is very tender and moist and has just the right amount of sweetness. When you serve this cake, everyone will secretly be hoping you’ll send them home with a slice for the road. It’s not at all surprising this cake recipe from hersheyland.com gets rave reviews and a 5* rating.

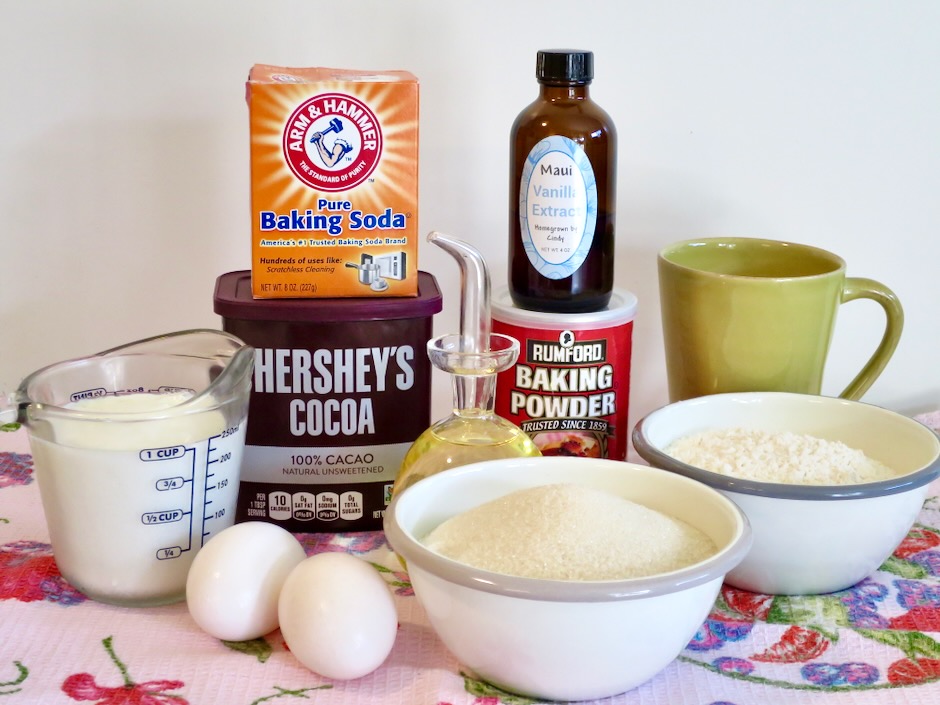
No fancy ingredients are required for this recipe. If you don’t have buttermilk on hand, an acceptable substitution is to make your own by adding a tablespoon of white vinegar to a liquid measuring cup and filling with milk to reach the 1-cup marker. Stir to combine, and let milk sit for 5-10 minutes before using in your recipe.

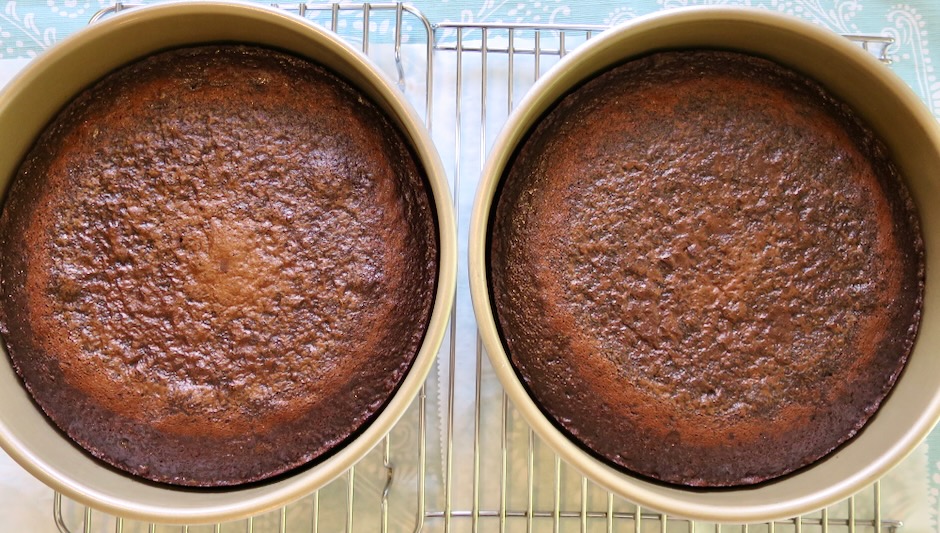
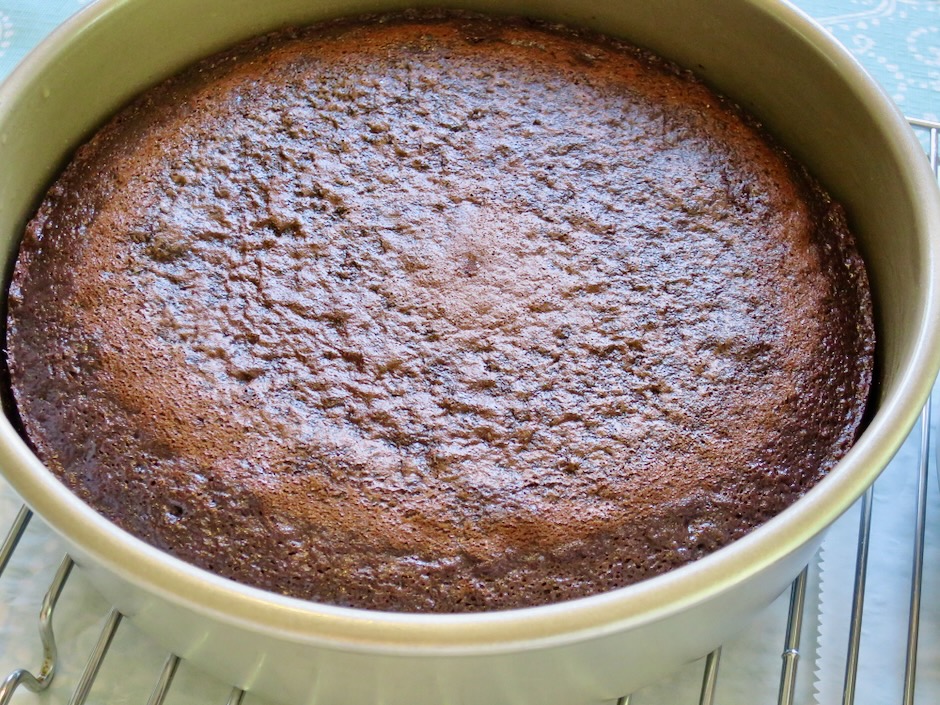
The cakes baked in round pans are done in 30-35 minutes (up to 50 minutes for fluted tube pan). Let cool in the pan for 15 minutes before transferring to a wire rack to cool completely before frosting.

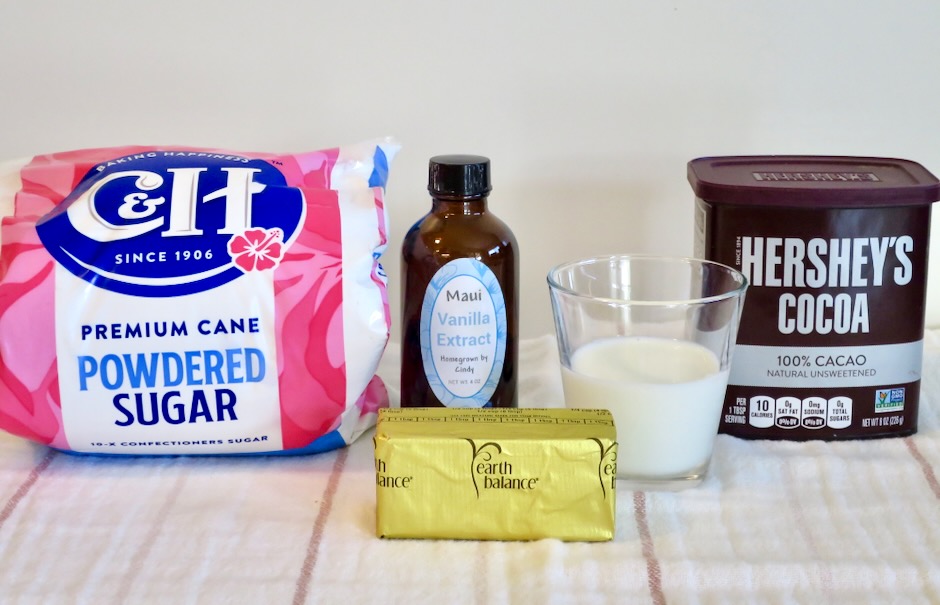
Once again, no fancy ingredients required for the chocolate frosting. I used Earth Balance Buttery Sticks for my lactose free version, however, go ahead and use regular butter when making your frosting.

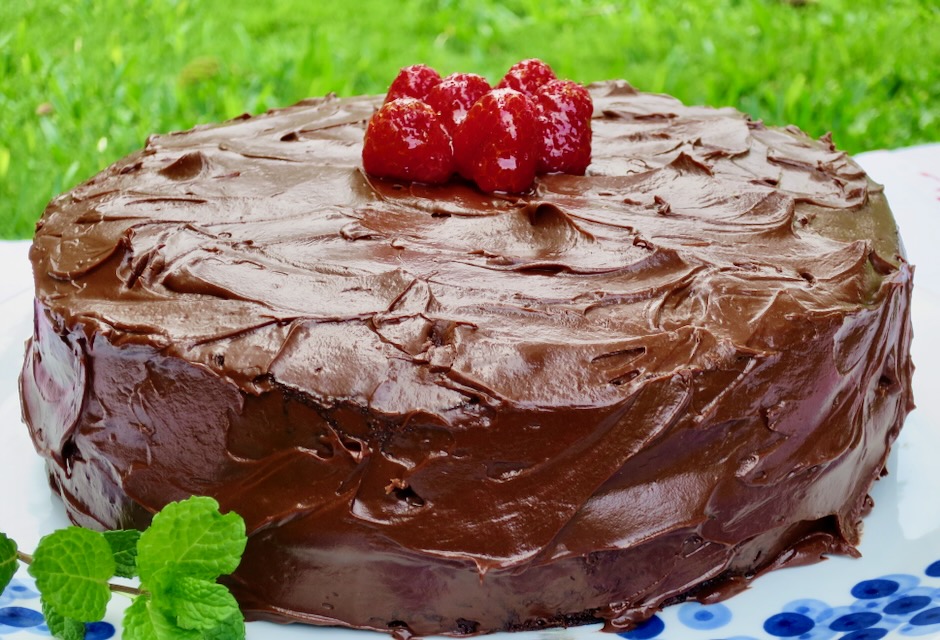
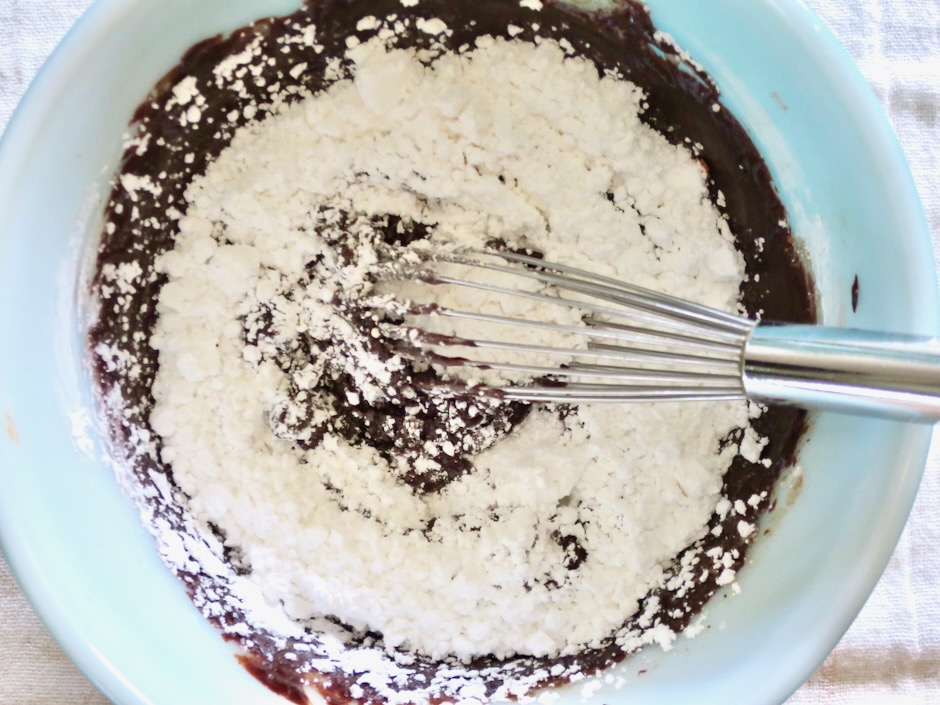
Frosting the cake adds the final touch to what has become my favorite chocolate cake. I used Hershey’s Perfectly Chocolate” Chocolate Frosting (recipe on the back of Hershey’s Cocoa box). If you choose to use a tube pan or make one layer in a 13x9x2-inch pan, frosting the cake is not required. You can simply choose to dust powdered sugar over the top before serving with a scoop of vanilla ice cream or whipped cream.

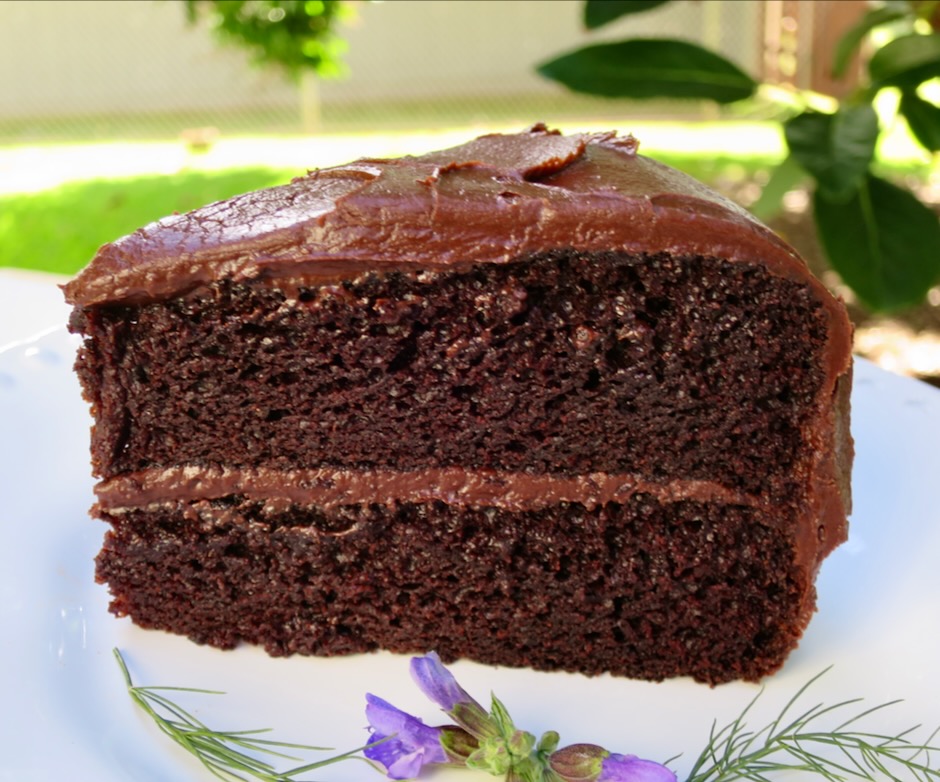
A slice of Magic Cake.

Black Magic Cake

Recipe by Kiyo
Servings

12-14

servings

The best chocolate cake! Adapted from hersheyland.com.

Ingredients

  • Cake: 2 layers, 9-inch cakes
  • 2 cups (396g) granulated sugar

  • 1 3/4 cups (210g) all-purpose flour

  • 3/4 cup (63g) Hershey’s cocoa

  • 2 teaspoons baking soda

  • 1 teaspoon baking powder

  • 1 teaspoon salt

  • 2 large eggs

  • 1 cup (227g) buttermilk or sour milk (sour milk: add 1 tablespoon white vinegar to a liquid measuring cup and add lactose free or regular milk to reach 1-cup marker. Stir and let sit for 5-10 minutes before using in recipe.)

  • 1 cup (227g) strong black coffee or 2 teaspoons powdered instant coffee plus 1 cup boiling water

  • 1/2 cup (99g) vegetable or canola oil

  • 1 teaspoon vanilla extract

  • Frosting
  • 1/2 cup (113g, 1 stick) Earth Balance Buttery Sticks (or regular butter)

  • 2/3 cup (56g) Hershey’s cocoa

  • 3 cups (340g) powdered sugar

  • 1/3 cup (76g) lactose free or regular milk

  • 1 teaspoon vanilla extract

Directions

  • Heat oven to 350 degrees. Place parchment rounds in pan then grease and flour pans including the sides.
  • Stir together sugar, flour, cocoa, baking soda, baking powder and salt in a large bowl. Add eggs, buttermilk or sour milk, coffee, oil and vanilla; beat on medium speed with a hand mixer for 2 minutes (batter will be thin). Pour batter evenly into prepared pans.
  • Bake 30-35 minutes or until a toothpick inserted in the center comes out clean. Cool 15 minutes. Remove cakes from pan and transfer to 2 wire racks that comfortably hold each cake. I found it easiest to place a piece of plastic wrap over the top of the cake pan followed by a flat cutting board and turn the cake out then place a wire rack over the bottom of each cake and flip right side up. Cool completely.
  • Meanwhile, in a large bowl, melt Buttery Stick or regular butter in microwave just until most of the butter has melted. Stir to melt the remaining bits of butter. Whisk in cocoa. Alternately add powdered sugar and milk, beating to spreading consistency. Add a small amount of additional milk if needed. Stir in vanilla.
  • To assemble, place one of the cakes flat side up on a serving platter or cake board. Using an offset spatula, frost the top of the cake with 1/3 of the frosting. Place second cake rounded side up on top of the first layer. Frost the top and sides of the cake with the remaining frosting.

Notes

  • You may chill the cake in the refrigerator if made earlier in the day using a cake cover or by tenting foil over the cake being sure to secure the foil to the edge of the platter so that the cake does not dry out. Remove cake an hour before serving. Leftover cake can be frozen for a few months.
Cookies, Dessert, Lactose Free, Recipes

Chocolate Chip Oatmeal Cookies

March 26, 2023

These excellent cookies come from King Arthur’s Test Kitchen and were crowned the winner of their 2015 recipe of the year. They described the cookies as being “soft and chewy packed with chips.” Though I won’t turn down a soft and chewy homemade cookie, a crispy cookie is my favorite. It was the “packed with chips” that convinced me to try this recipe. I’m not sure why my cookies turned out crispy but I was thrilled with the outcome. They are crispy throughout (not just the edges) and not too thick or too thin. With that said, they are my new favorite cookie.

The original recipe calls for a small amount of oats. I tested a few batches using old fashioned rolled oats and quick cooking oats and found that the latter produced a chocolate chip cookie in which the oatmeal was barely detectable. If you prefer the oatmeal to be more pronounced, use old fashioned oats.

There is no shortage of chocolate chips in this recipe. That’s what makes these cookies so good.

A quick chill in the refrigerator or freezer helps to firm up the dough which makes it much easier to portion out.

Allow the cookies to set on the sheet pan for a few minutes once they are out of the oven before transferring to a cooling rack. Once cooled, wrap and give some to your family and neighbors. I keep a few stashed in the freezer for an after dinner snack, sometimes eating them before they have time to defrost.

Crispy throughout with lots of chocolate = the perfect cookie.

Chocolate Chip Oatmeal Cookies

Recipe by Kiyo
Servings

30

cookies

Adapted from King Arthur Baking Company

Ingredients

  • 8 tablespoons (113g) Earth Balance Buttery Sticks for lactose free cookies, or unsalted butter, at room temperature

  • 1/2 cup (107g) light brown sugar, firmly packed

  • 1/4 cup (50g) granulated sugar

  • 1 large egg, at room temperature

  • 1 1/2 teaspoons vanilla extract

  • 1 cup (120g) unbleached all-purpose flour (King Arthur recommended)

  • 1/2 cup (45g) quick cooking or old fashioned oats

  • 1/2 teaspoon baking powder

  • 1/2 teaspoon baking soda

  • 1/2 teaspoon (scant if using Earth Balance Buttery Sticks) kosher salt

  • 1 1/2 cups (255g) semisweet or dark chocolate chips

Directions

  • Preheat oven to 325 degrees. Line two cookie sheets with parchment paper.
  • In a large bowl, using a hand mixer, beat together the butter and sugars until smooth. Beat in egg and vanilla.
  • In a small bowl, whisk together the flour, oats, baking powder, baking soda, and salt, and add to the butter mixture. Mix until everything is thoroughly incorporated. Scrape the bottom and sides of the bowl, and mix briefly. Stir in the chocolate chips.
  • Cover the bowl and place in the freezer for about 15 minutes to firm up or place in the refrigerator for about 1 hour.
  • For medium sized cookies, scoop 1 heaping tablespoon onto cookie sheet (12 balls fit nicely on a cookie sheet allowing for some spreading as cookies bakes).
  • Bake cookies for 13-16 minutes, until they are light golden brown, with slightly darker edges.
  • Remove the cookies from the oven, let cool on baking sheet for 3 minutes or until they are set enough to handle. Transfer cookies to a cooling rack. Continue baking with the remaining dough alternating with cooled cookie sheets.

Notes

  • Cookies may be frozen for a few months.
Cookies, Dessert, Holiday Treats, Recipes

Gingerbread Cookies & Chocolate Covered Pretzel Rods

December 16, 2022

There’s still time to bake a batch of crispy gingerbread cookies to give away this holiday season. If you’re pressed for time as I was this year, cut the recipe in half. This way you won’t feel overwhelmed having 50+ cookies staring at you begging to be decorated one by one. I made 22 cookies which turned out to be the perfect amount this year.

I used meringue powder for the royal icing instead of pasteurized egg whites. About 5 years ago, Foodland sold pasteurized eggs by the dozen but discontinued carrying them. I could not find them anywhere else so I began to pasteurize my own eggs with our sous vide machine. As I was reading different royal icing recipes, I noticed that meringue powder is often used in place of egg whites. What did I learn after using it for the first time? It is incredibly easy to whip up a bowl of royal icing in just 3 minutes or so using a handheld mixer with a whisk attachment. The icing is smooth and sets perfectly. I’m now sold on using meringue powder for all future recipes that include royal icing. It saves me a lot of time not having to pasteurize eggs. You can find meringue powder online or at Walmart.

These chocolate covered pretzel rods are a lot of fun to make. I am not posting a recipe because you really don’t need one. Gather your ingredients: semisweet or dark chocolate chips, white chocolate chips, assorted sprinkles, red food coloring (for pink frosting), and pretzel rods. A small butter knife helps to spread and smooth the chocolate on the pretzel. Have everything ready to go before you melt the chocolate. Start with 1 cup of chocolate chips and microwave in a medium bowl on 50% power for 30 seconds. It won’t look like the chips have melted but give it a stir then repeat for another 30 seconds (always use 50% power or the chocolate may burn). Stir again, and repeat once more. By now, most of the chips will have melted. Stir the chocolate so all the remaining chips melt. Now you are ready to decorate your pretzel rods with your assorted sprinkles. If the chocolate hardens and is difficult to use, microwave on 50% power for 20 seconds or so to soften it. Sprinkles seem to go every which way when you use them. To keep things a bit tidy, use a sheet pan when decorating the pretzels. The sprinkles will (mostly!) be contained in the pan and not end up on the floor. Another tip is to line a small tray or pan with parchment or wax paper and place it in the refrigerator. Each time you decorate a pretzel, place it on the pan. The cool temperature helps to set the chocolate quickly so that there is less chance of drooping chocolate. You can buy pretzel rod packages online. They make for a nice presentation when giving these away as gifts. These cute pretzel rods can be made for all types of occasions, such as Christmas, New Year’s, Valentine’s Day, or any other celebratory occasion. I found that Walmart has the widest variety of sprinkles, however, they may be low on stock since Christmas is just around the corner. Lee Bear in Kahului also has a nice selection of sprinkles and assorted bags for packaging your sweets. I decorate the pretzels up to 2 weeks in advance and freeze them in an airtight container then package them before giving away.
Happy holidays from my kitchen to yours!

Follow

Get every new post delivered to your Inbox

Join other followers: