Browsing Category

Dessert

Dessert, Lactose Free, Recipes

Lactose Free Pumpkin Pie & Best Ever Pie Crust

November 23, 2014

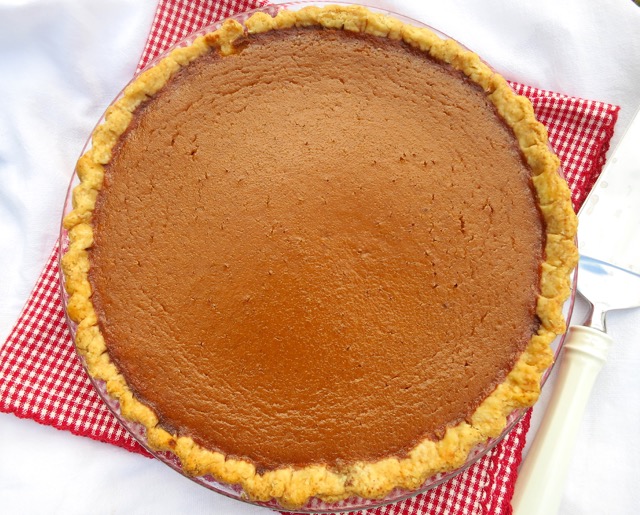
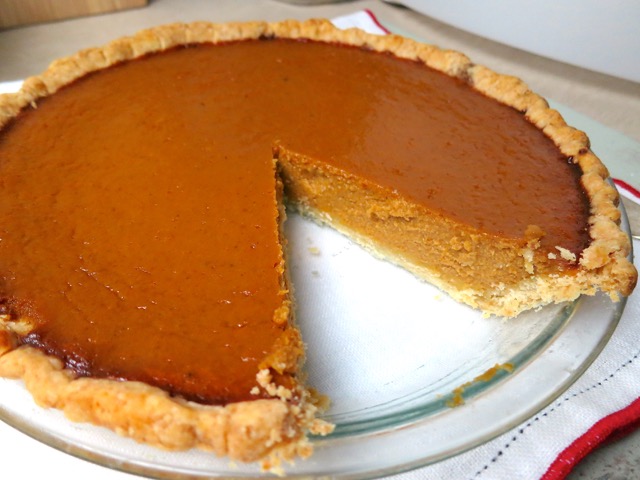
Lactose Free Pumpkin PieThe best pumpkin pie recipes typically utilize sweetened condensed milk or some combination of whole milk and heavy cream.  As I am lactose intolerant, when I bake a pumpkin pie, I always use lactose free whole milk.  Recently I discovered Organic Valley lactose free half and half in my local market. So this time, I used the half and half in my recipe and the pie that emerged from my oven was unexpectedly rich and beautiful.
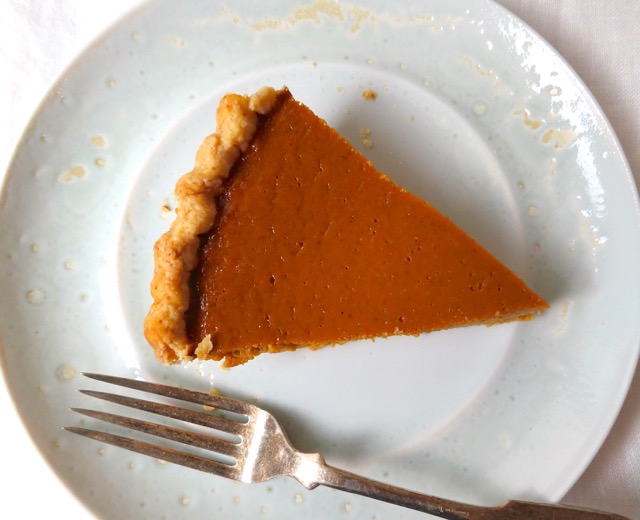
Lactose Free Pumpkin Pie SliceI like to chill my baked pumpkin pie thoroughly.  It helps to firm up the filling.  For the crust, my favorite recipe is Best-Ever Pie Crust from Epicurious.  I use Earth Balance buttery sticks (in place of butter), and Earth Balance shortening.  I also substitute 2 tablespoons of the water with vodka for a double pie crust recipe.

Lactose Free Pumpkin Pie

Lactose Free Pumpkin Pie & Best Ever Pie Crust

Pie Crust

Ingredients

1 1/4 cups unbleached all-purpose flour

3/4 teaspoon sugar

1/4 teaspoon salt

1/2 stick (1/4 cup) chilled Earth Balance Buttery Sticks cut into 1/2 inch cubes

1/2 stick (1/4 cup) frozen Earth Balance shortening (or other non-hydrogenated vegetable shortening) cut into 1/2 inch cubes

2 tablespoons ice water

1 tablespoon vodka

Preparation

Blend flour, sugar, salt in food processor.  Add buttery sticks and shortening.  Using pulse on/off turns, blend until mixture resembles coarse meal.  Transfer mixture to medium bowl, add water and vodka, and mix with fork until dough begins to clump together, adding more water by teaspoons if dry.  Gather dough together, flatten into a disk, and wrap in plastic.  Refrigerate at least 30 minutes.

Meanwhile, preheat oven to 350 degrees.

Roll out dough (I use lightly floured parchment paper) for 9-inch pie plate.  Line dough with parchment paper or foil and weight down with pie weights or dried beans.  Bake for about 15 minutes or until pie crust is very light/golden-colored.

Remove pie crust to a cooling rack.

Pie Filling 

Ingredients

3 large eggs – room temperature

1 can (15 ounce) Libby’s pumpkin purée

2/3 cup packed brown sugar

1/3 cup granulated sugar

1 teaspoon cinnamon

1/2 teaspoon ground ginger

1/2 teaspoon ground allspice

pinch of ground nutmeg

1/2 teaspoon salt

1 tablespoon corn starch

1/2 teaspoon vanilla

2/3 cups lactose free half and half or whole milk

Preparation

Preheat oven to 425 degrees.

Whisk eggs in a large bowl until a bit foamy, about 30 seconds.  Whisk in remaining ingredients except half and half.  Mix until smooth, then whisk in half and half or milk.  Pour into prepared crust.  Bake 15 minutes then turn the heat down to 350 degrees.  Continue to bake for another 40 minutes or until filling has set.

Remove pie to a cooling rack.   Let cool to room temperature before refrigerating.

*If the edges of the crust start to brown too much, this is the perfect way to avoid burning the crust!

 

Dessert, Fruit, Lactose Free, Recipes

Lilikoi Bars

August 11, 2014

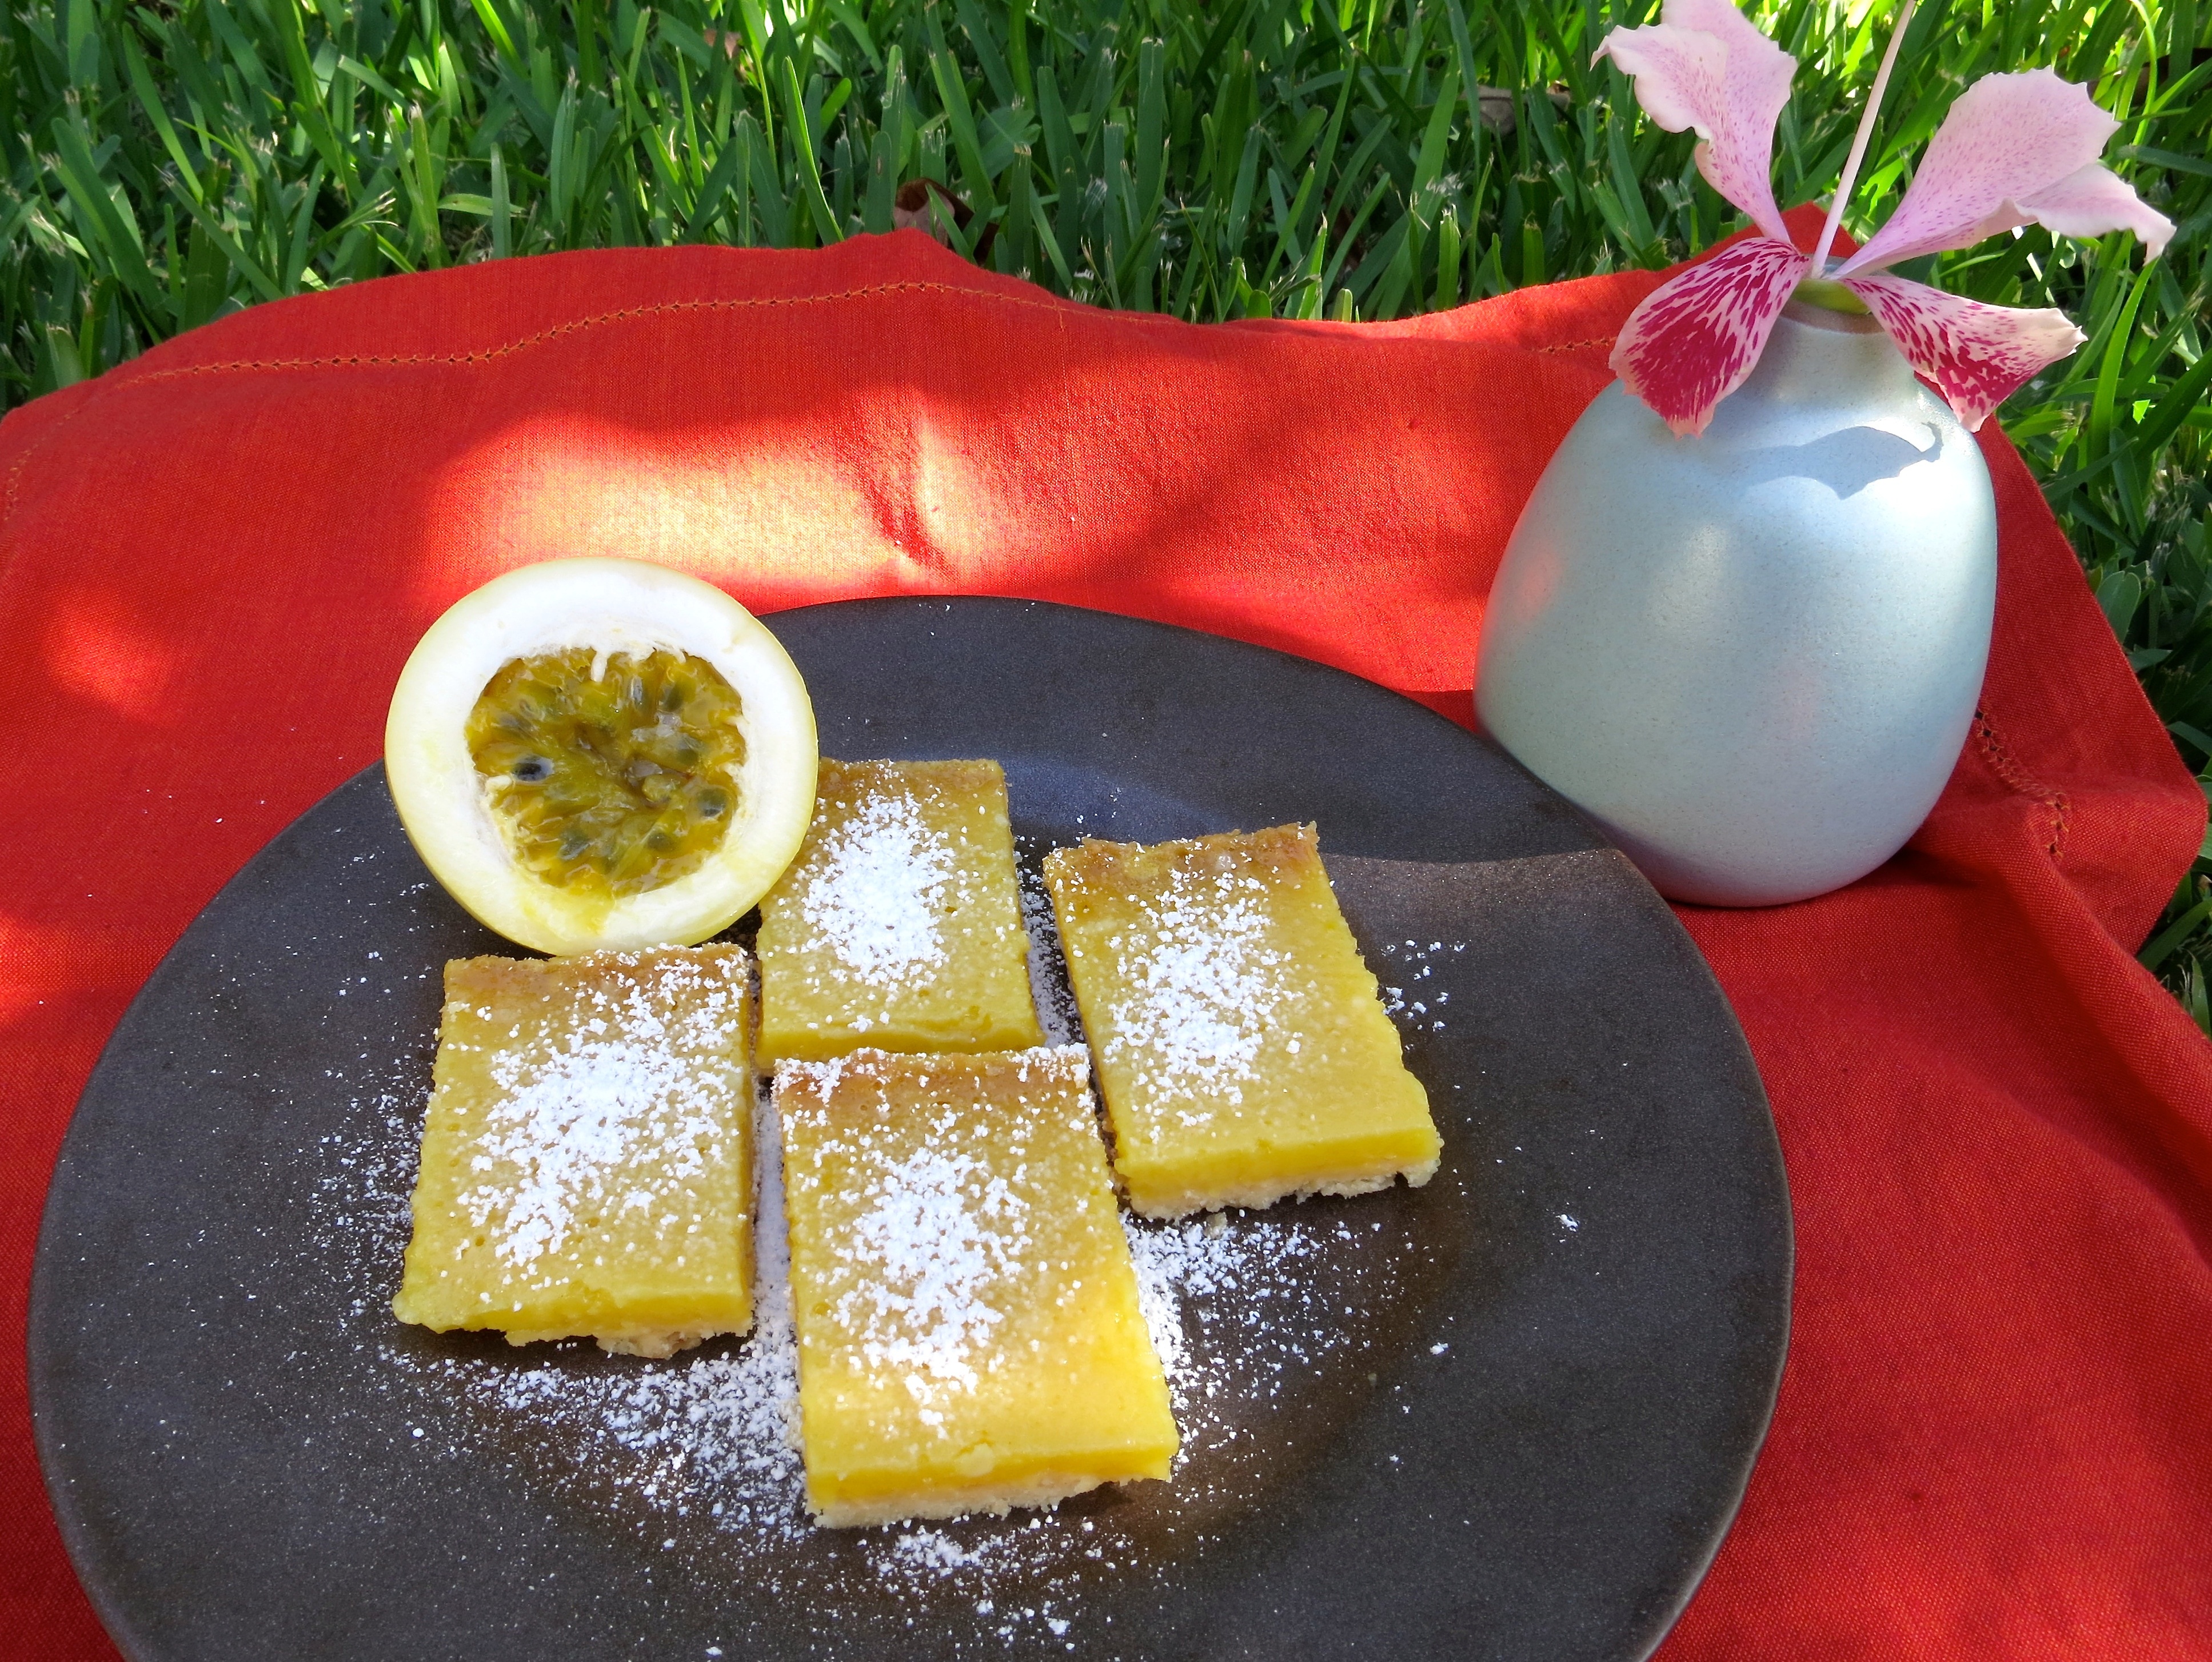
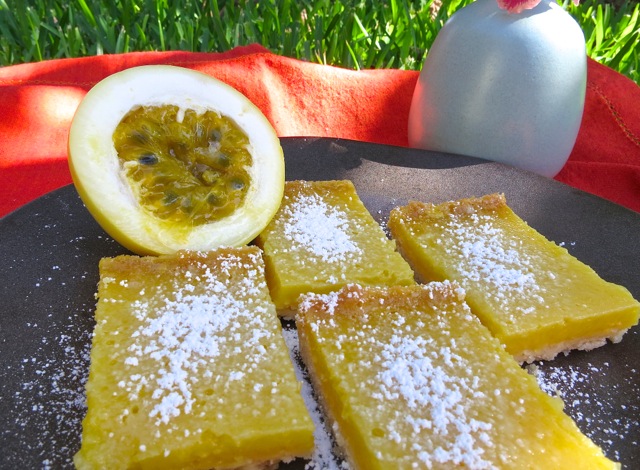
Lilikoi BarsLemon bars are a favorite dessert of mine since they’re easy to make and most importantly, taste great.  Creamy and rich from the eggs, a bit of sweetness with a hit of tartness, they are a wonderful dessert.  This is a variation on the classic lemon bar. In this recipe I used lilikoi (passion fruit) an exotic tropical fruit which has an extraordinarily fragrant scent. Once the fruit is open, the entire room is filled with a wonderful essence that lingers in the air.  It’s mesmerizing….

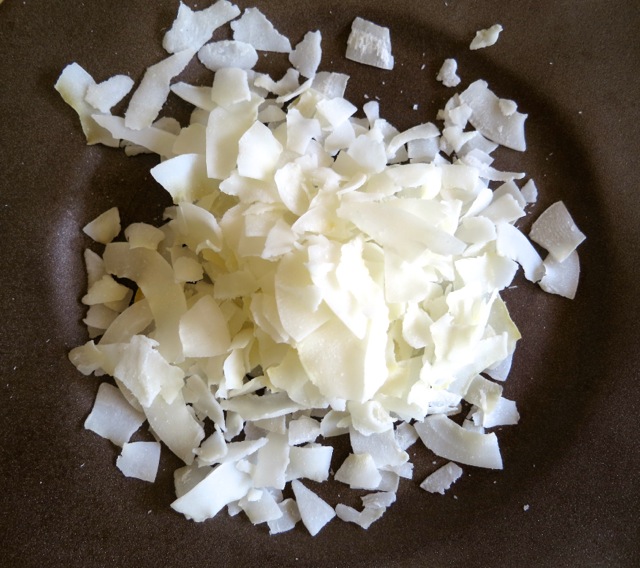
Coconut FlakesNow that we grow our own lilikoi I’m always searching for new recipes.  The fruit hangs gracefully from the vines and drops to the ground once ripe.  They can be left on the counter for a few days and will become more fragrant as each day passes. Their taut skin becomes wrinkled, and honestly, they look very homely at this stage.  But don’t throw them out!  This is perfect time to get out the food mill if you have one, and collect the precious juice.  The food mill is ingenious.  It presses out the juice from the fruit and leaves all the seeds behind.  If you don’t have a food mill use cheese cloth or a jelly bag to  strain the juice.  I freeze the juice in 1 and 2 cup containers to use later.  Speaking of searching for new recipes, I found this excellent recipe on Hungry Cravings.  The shredded coconut in the crust is absolutely divine.  The coconut becomes nicely toasted as the crust bakes and adds a delicious note to the bars.  Don’t leave it out.
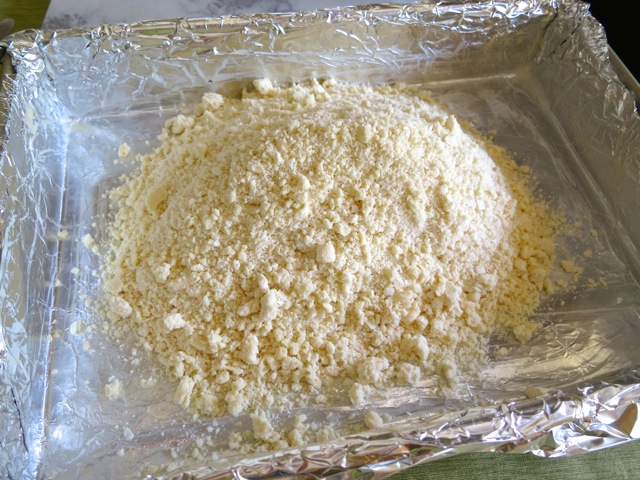
Crust IngredientsThis is the perfect recipe.  Mix up the crust ingredients, dump it in the pan, press and bake it.  You end up with a beautiful, golden crust with hints of toasted coconut.

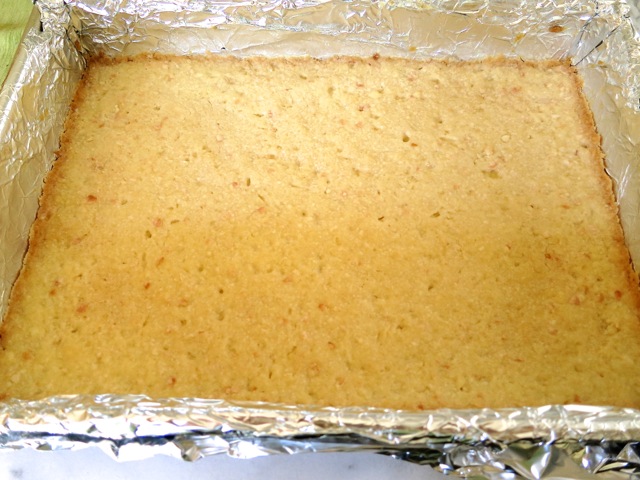
Lilikoi Bar CrustYou can see the bits of coconut in the baked crust.  I didn’t have finely shredded coconut on hand so I chopped up some coconut flakes and it worked out fine.

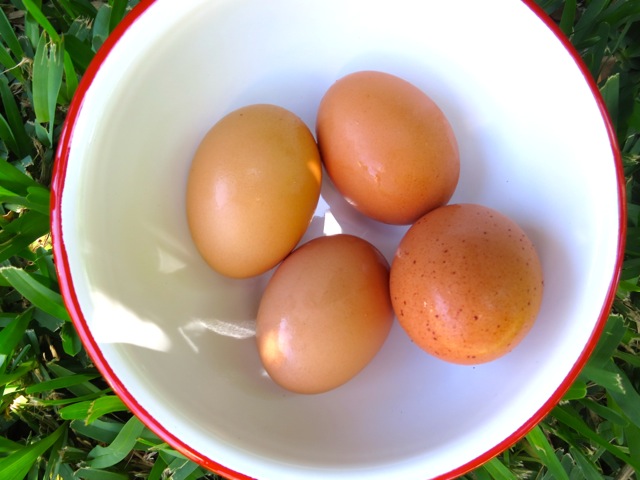
Fresh Eggs

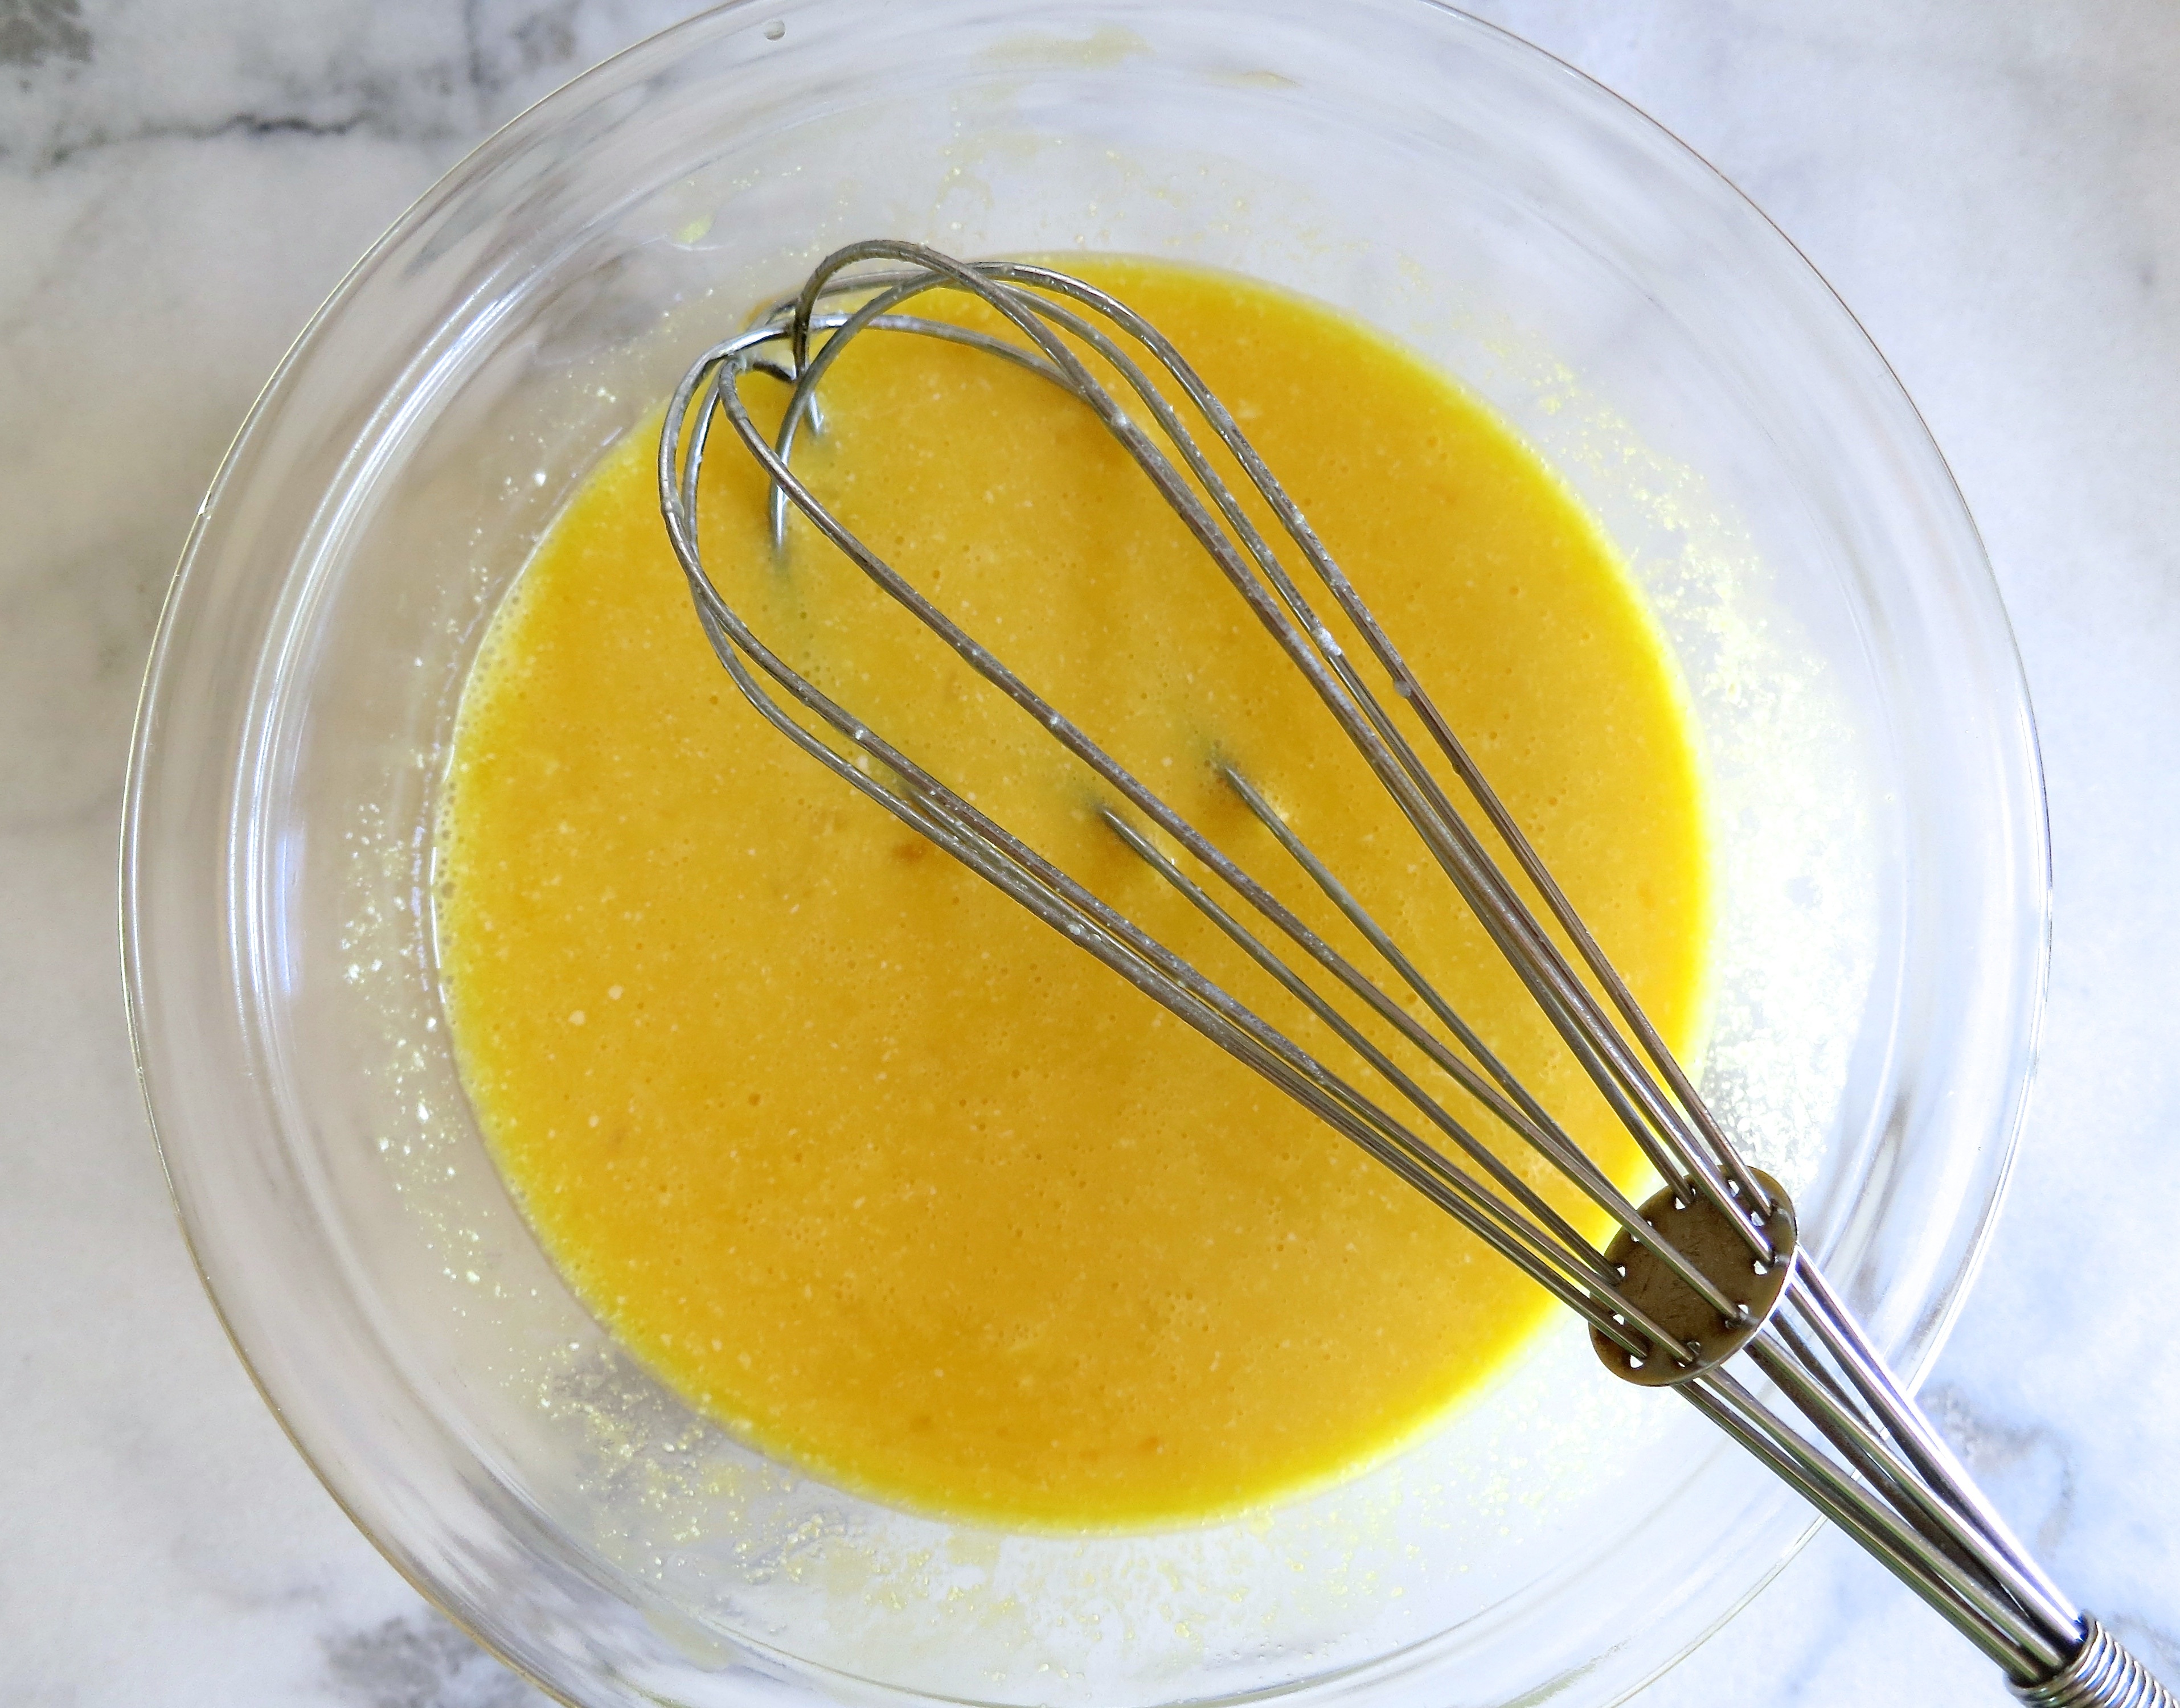
Lilikoi Bar FillingNot only does this recipe have coconut flakes in the crust, it also incorporates coconut milk into the lilikoi layer which adds a subtle richness along with the eggs.

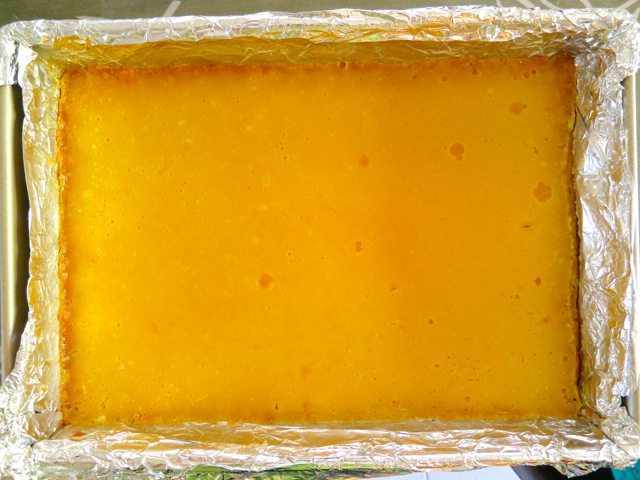
Baked Lilikoi Bars

Lilikoi Bars

Lilikoi-Coconut Bars (Passion Fruit-Coconut Bars)

Updated 9/23/15

Adapted from Hungry Cravings

Ingredients

For the crust:

1 1/2 sticks cold unsalted butter, cut into small pieces (I used lactose-free Buttery Sticks)

1 3/4 cups all-purpose flour

3/4 cups powdered sugar

1/4 cup shredded coconut (I used unsweetened)

3/4 teaspoon kosher salt (1/2 teaspoon kosher salt if using Buttery Sticks)

For the lilikoi-coconut layer:

4 large eggs

1/4 cup coconut milk

6 ounces fresh lilikoi juice

1 1/4 cups sugar

3 tablespoons all-purpose flour

1/4 teaspoon kosher salt

powdered sugar, for dusting

Preparation

Make the crust:

Line a 9 x 13-inch baking pan with heavy-duty aluminum foil leaving an overhang on all sides.  This makes it a breeze to lift out the entire tart once thoroughly cooled.  Lightly butter the foil. Whisk together the flour, powdered sugar, coconut, and salt in a large bowl.  Add the butter and using a pastry cutter, cut the butter into the flour until the mixture resembles coarse crumbs.  Transfer the dough to the baking dish and press into an even layer and up the sides of the pan about 1/3 – 1/2 inch. Refrigerate at least 15 minutes and up to 30 minutes.  Don’t skip this step as it will help to keep the crust from shrinking and pulling away from the sides of the pan which will cause the lilikoi mixture to seep under the crust. While dough is chilling in the refrigerator, pre-heat the oven to 350° then bake for about 20 – 22 minutes, or until lightly browned.

Make the lilikoi-coconut layer:

Blend together the eggs, coconut milk, and lilikoi juice in a small bowl.  Whisk together the sugar, flour, and salt in a large bowl.  Add the lilikoi mixture to the sugar mixture and whisk until smooth.  Pour over the baked crust and bake for 16 – 18 minutes, or until just set.  Let cool to room temperature then transfer to the refrigerator until ready to serve.

Using the edges of foil, lift the bars out of the pan and transfer to a cutting board.  Cut into portions and dust with powdered sugar just before serving.


*Updated the dough procedure to include pressing dough up the sides of the pan about 1/3 – 1/2 inch prior to baking.  This provides a barrier for the lilikoi mixture when you pour it over the baked crust (it could seep down the sides of the baked crust if this is not done).


Dessert, Fruit, Lactose Free, Recipes, Vegan, Vegetarian

Blueberry Tart

May 11, 2014

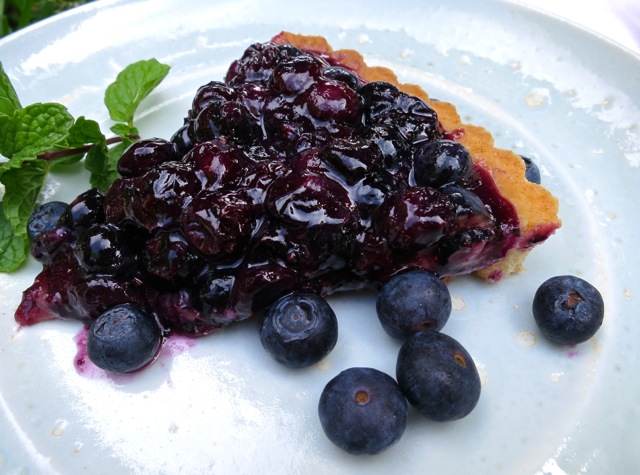
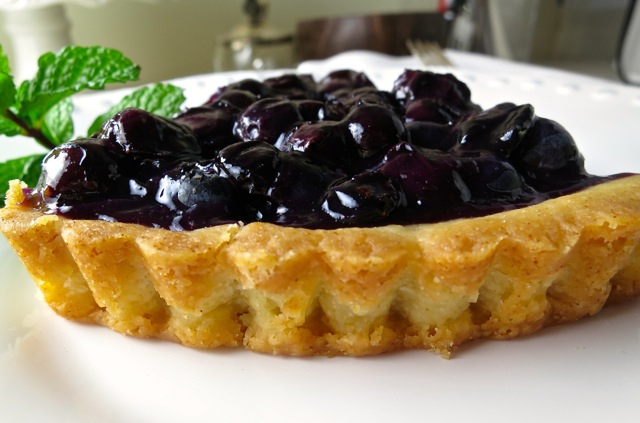
Blueberry Tart I’ve been enjoying fresh blueberries for months, adding them to my yogurt at breakfast, in weekend griddle cakes, and sometimes eating handfuls for a quick snack.  My friend Shanna recently sent me a recipe link for this blueberry tart.  The following week while at Costco I found some gorgeous blueberries so I bought a couple of containers with this Alice Medrich recipe in mind.  Posted by ABC News, as sometimes happens with recipes, there were two important pieces of information left out; tart pan size and oven temperature for the crust.  I only have one tart pan (9-inch) which meant the first problem was solved.  The oven temperature was easy to find after a quick search on the internet. Voila!  Time to make a blueberry tart.
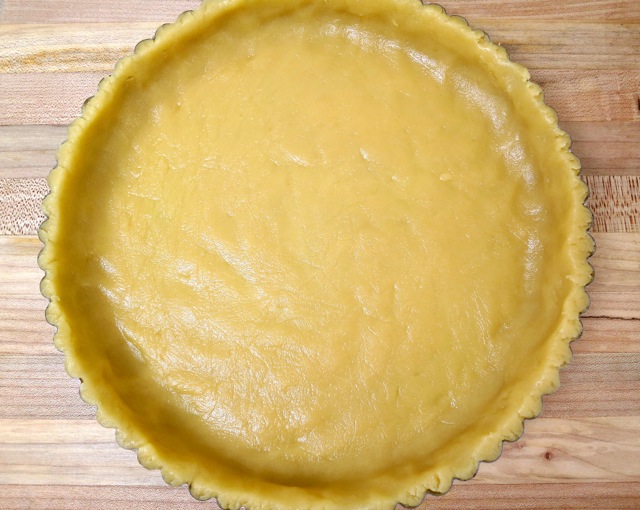
Tart CrustThe dough was quite soft as the recipe mentioned it might be, but that actually made it easy to press into the tart pan.

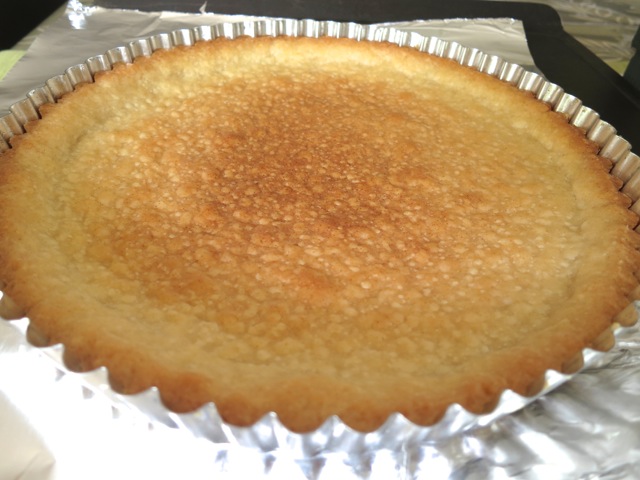
Baked Tart CrustBaked to a beautiful golden color the crust did shrink quite a bit from the top edge of the tart pan.  I thought it might be too shallow but it worked out perfectly.

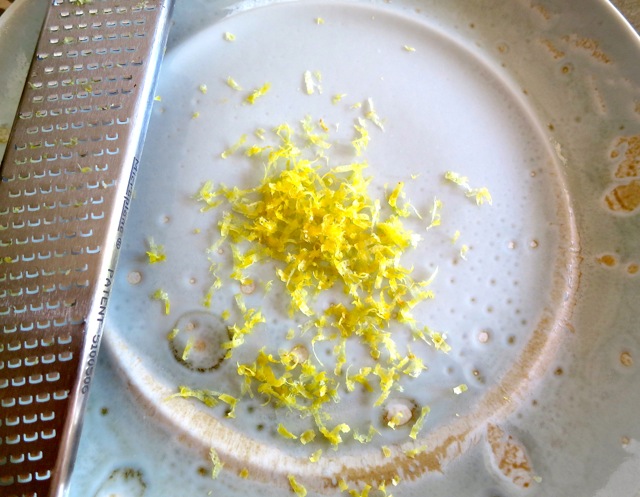
Lemon Zest

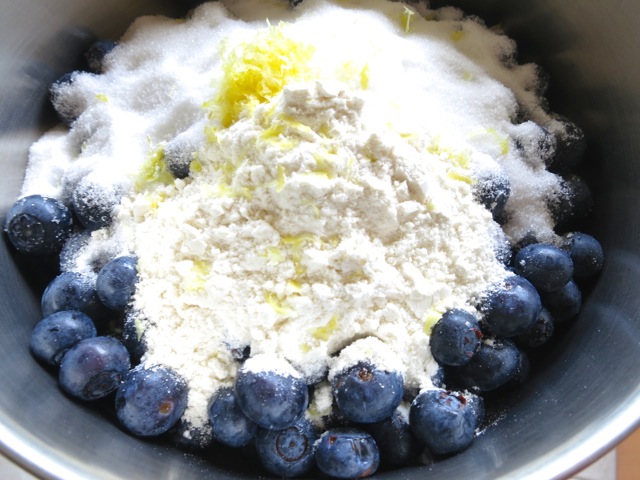
Blueberries, Water, Sugar, Flour, Lemon ZestBlueberries, sugar, water, flour, lemon zest and a dash of salt are combined and heated briefly on the stove.

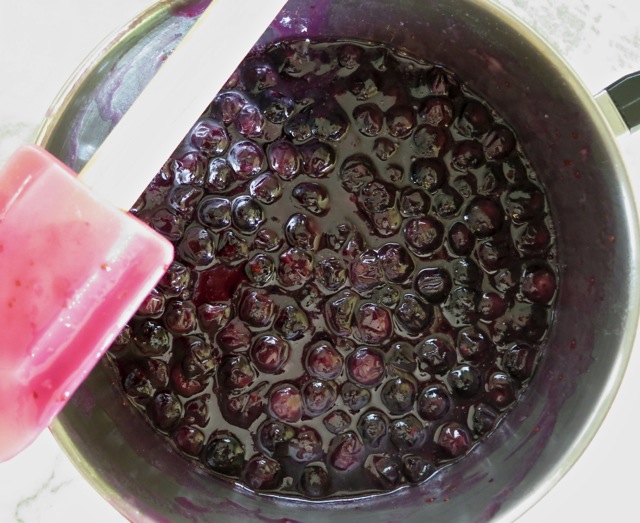
Cooked Blueberries

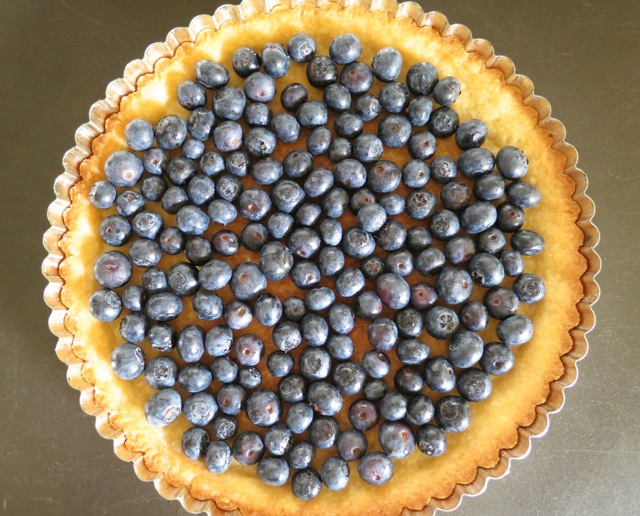
Fresh Blueberries in Tart CrustHalf of the fresh blueberries are set aside and sprinkled over the baked crust before adding the cooked berries.

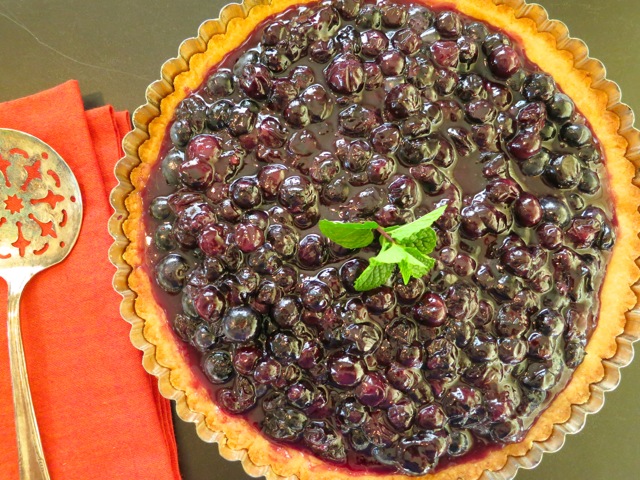
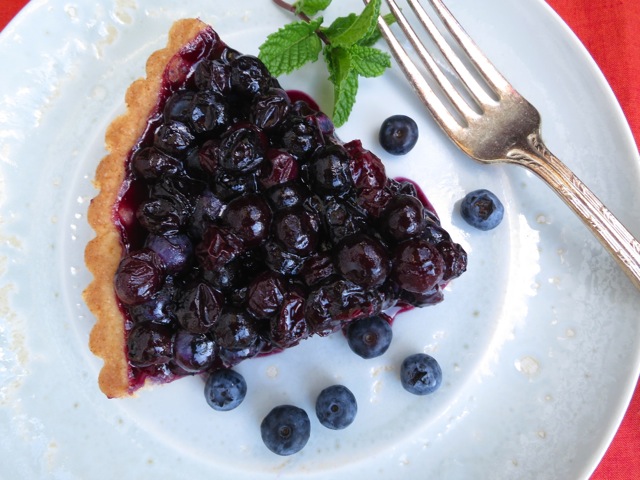
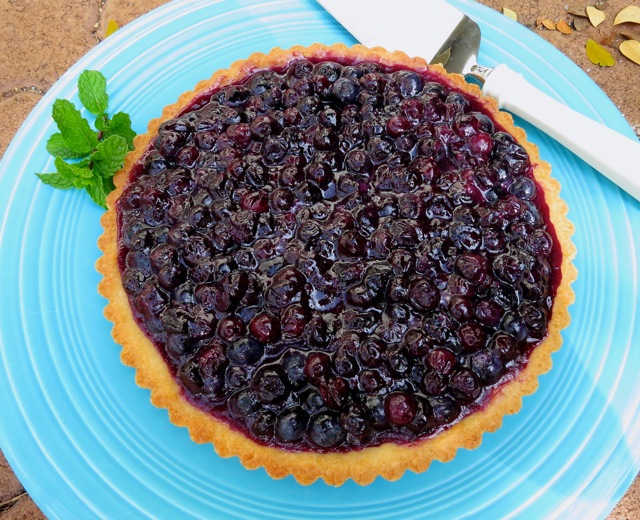
Blueberry TartThis recipe is so easy to prepare.  It is the perfect dessert for a small party.  The tart is chilled thoroughly before serving and that means you can make it in advance.  The recipe mentioned the tart is best eaten the first day however I found it is just as good the following day.

Crispy Tart CrustDelicious, crisp, crust.

Blueberry Tart Plate

Blueberry Tart

Alice Medrich’s Easy Blueberry Tart

Adapted from ABC News

Makes one 9-inch tart

Ingredients

For the crust:

10 tablespoons (5 ounces) unsalted butter, melted (I used Earth Balance Buttery Sticks)

1/4 cup (1.75 ounces) sugar

1 teaspoon vanilla extract

1/4 teaspoon salt

1 1/4 cups + 1 tablespoon (5.75 ounces) unbleached all-purpose flour

1/4 teaspoon baking powder

For the filling:

4 cups fresh blueberries (1 1/2 pounds)

3/4 cups (5.25 ounces) sugar

1/3 cup water

2 tablespoons unbleached all-purpose flour

1/8 teaspoon salt

grated zest of 1 small lemon

Preparation

Preheat oven to 350 degrees.

To make the crust: Combine butter, sugar, vanilla, and salt, in a medium bowl.  Mix the flour and baking powder together thoroughly, add to the butter mixture, and mix just until well blended.  If the dough seems too soft, let it stand for a few minutes to firm up.

Press the dough over the bottom and up the sides of a 9-inch tart pan to make a thin, even layer making sure to press the dough uniformly around the edges of the pan to avoid extra-thick edges. (The crust can be prepared up to 2 days in advance.  Wrap well and refrigerate until ready to use.  Bring to room temperature before baking).  Place tart pan on a baking sheet and bake for 22 – 25 minutes, until the crust is fully golden brown all over.  If the crust puffs up during baking, gently press it down with the back of a fork and prick it a few times.  Set the baked crust aside while you prepare the filling.

Combine 2 cups of blueberries with the sugar, water, flour, salt, and lemon zest in a medium saucepan and bring to a simmer over medium heat, stirring frequently.  Then simmer, stirring, until the filling is thickened and translucent, about 3 more minutes.

Spread the remaining 2 cups of uncooked blueberries in the tart crust.  Spoon the hot blueberry mixture into the crust, covering the raw blueberries evenly.  Spoon enough liquid into the tart so that it just comes up to the edge of the crust.  Discard excess liquid.  Let cool, then refrigerate for at least 2 hours, until the filling is set.

Serve the tart cold. Remove the sides of the pan and transfer the tart to a serving platter. The tart keeps well, covered, in the refrigerator for up to 2 days.


Breakfast, Dessert, Lactose Free, Recipes

Simply Sensational Cinnamon Rolls

February 6, 2014

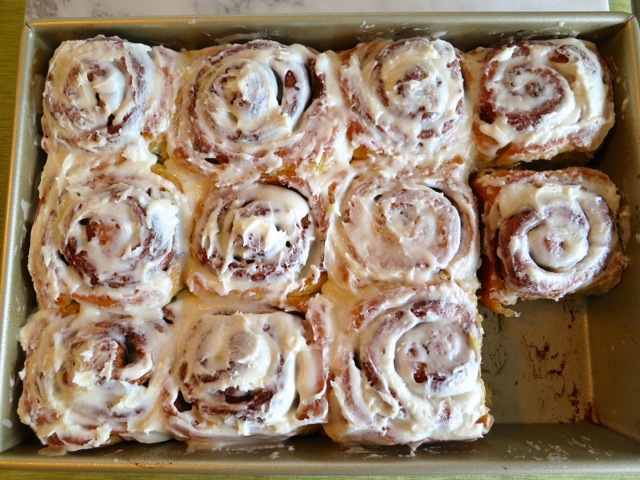
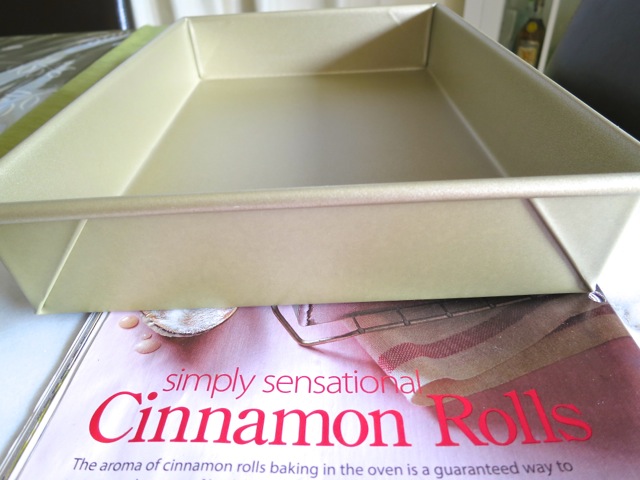
Simply Sensational Cinnamon RollsCook’s Illustrated magazine regularly rates kitchen tools and appliances.  The January/February 2014 issue rated 9 x 13-inch baking pans.  They put the pans through several tests to determine how well they performed and for durability.  I was in the market for a new pan and was ready to switch out the less than mediocre pans I purchased from who knows where.  They highly recommended the Williams-Sonoma Goldtouch pan and according to them, it produced the most evenly cooked, professional baked goods of all the pans they tested.  I ordered one right away.  I also bought a Goldtouch 8 x 8-inch pan, jelly roll pan, and two muffin pans. One thing leads to another…

Disclaimer: I couldn’t wait to taste one of these cinnamon rolls, hence the one missing from the introductory photo.

Williams-Sonoma Goldtouch Baking PanBesides using the pan for cakes and foggies, I was determined to finally try out a cinnamon roll recipe that I had been obsessed with for some time but had never tried.  The recipe comes from the September/October 2012 issue of Cuisine at Home magazine.

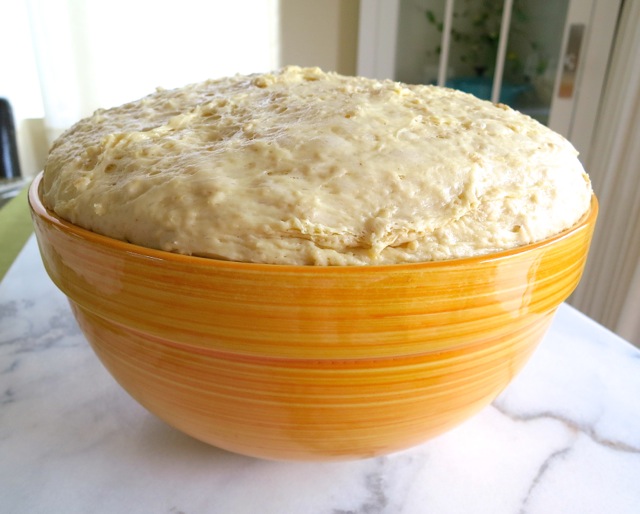
Rising Dough Let the dough rise. Note to self: Use larger bowl next time around.

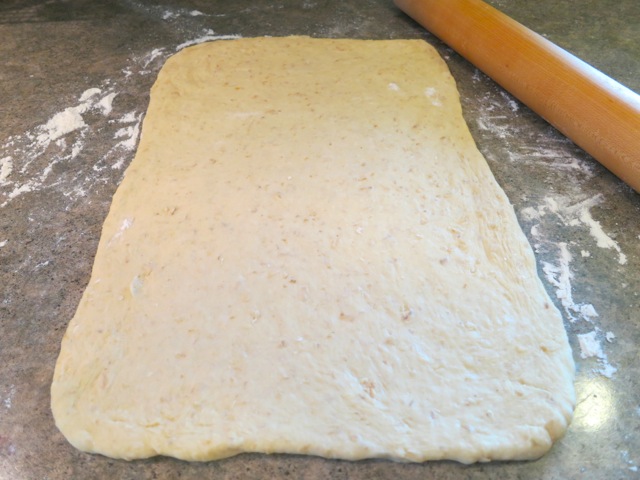
Rolling Out DoughI was quite skeptical about the 1 cup of old-fashioned rolled oats in the recipe.   You can see the oats in the dough pictured above.  It just seemed a bit weird: oats in my cinnamon rolls!   According to Cuisine at Home, the oats add an earthy, nutty flavor to the rolls.  In the end, I was rewarded with the best cinnamon rolls imaginable and they included some healthy whole grain oats.

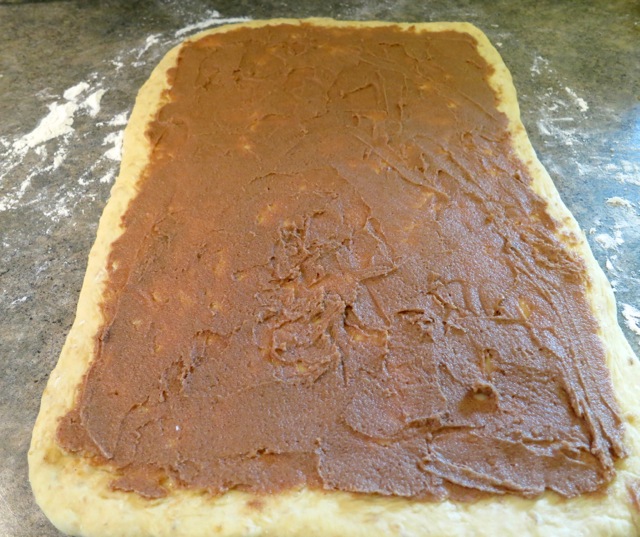
Rolled Out Dough with Butter, Cinnamon and SugarThe dough is divided in half and a sugar, butter and cinnamon mixture is spread on the dough before rolling up.

Rolling Up Dough

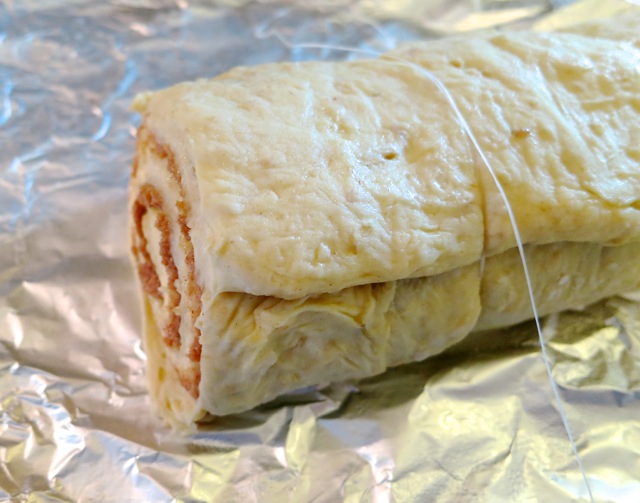
Cutting Cinnamon RollsThe logs are trimmed and cut with dental floss.  Ingenious!  The floss cut through the soft dough flawlessly.

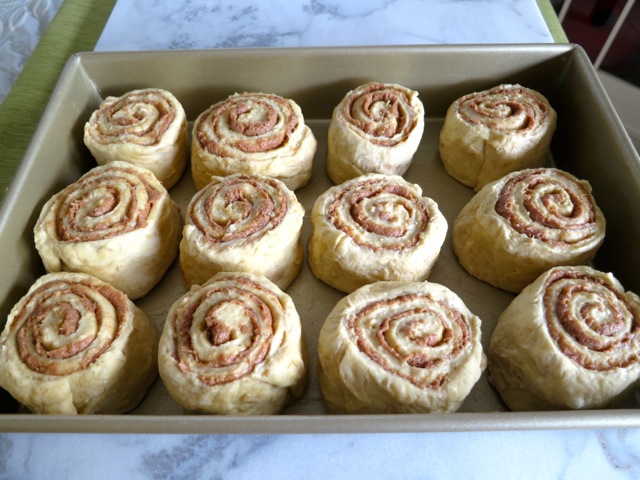
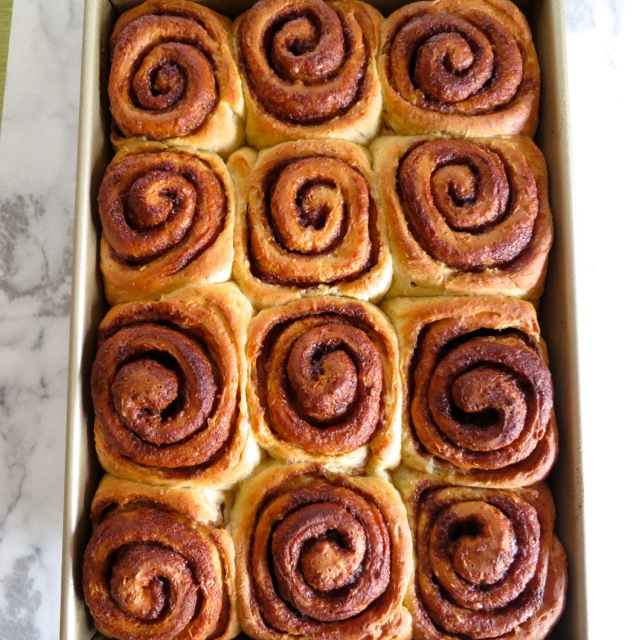
Cinnamon Rolls RisingRising time was about 1 hour.  Into the oven they went and once baked out came 12 beautiful cinnamon rolls waiting to be frosted.  The scent of cinnamon was intoxicating.

Baked Cinnamon Rolls

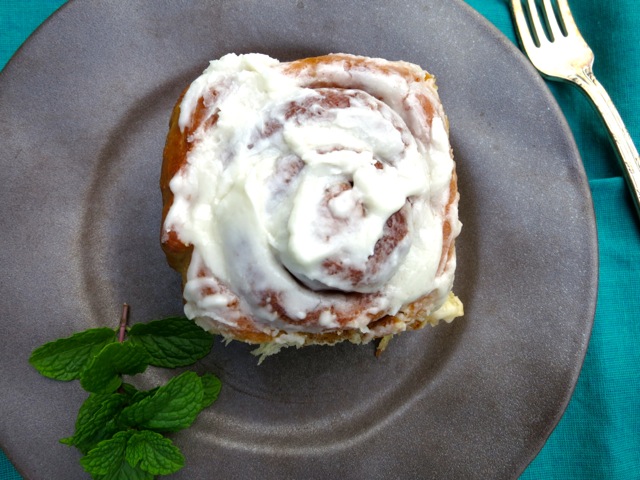
Frosted Cinnamon RollBy the way my new Goldtouch pan is, like the cinnamon rolls, simply sensational.

Cinnamon Roll Plate

Simply Sensational Cinnamon Rolls

Updated 12/06/15

Adapted from Cuisine at Home

Makes 12 rolls

Ingredients

Dough:

1 1/4 cups whole milk (I used lactose free whole milk)

1/2 cup vegetable shortening (preferably trans fat free)

1/4 cup packed brown sugar

1 pkg. active dry yeast (2 1/4 teaspoons)

1 cup old-fashioned rolled oats

1/2 cup hot water

4 cups all-purpose flour

2 eggs

1 teaspoon salt

Filling:

1 1/2 sticks Earth Balance Buttery Sticks. softened (or unsalted butter)

1 cup packed brown sugar

2 tablespoons ground cinnamon

1/4 teaspoon salt (1/2 teaspoon if using unsalted butter)

Frosting:

4 tablespoons unsalted butter, softened (I used Earth Balance Buttery Sticks)

8 ounces powdered sugar (2 cups)

2 – 3 tablespoons whole milk (I used lactose free whole milk)

1 1/2 teaspoons vanilla

1/8 teaspoon salt

Preparation

For the dough:

Heat 1 1/4 cups milk, shortening and 1/4 cup brown sugar in a small saucepan over medium-low until shortening is melted.  Transfer to a bowl of a stand mixer.  Let mixture cool to 100 – 110° (about 30 minutes, the Thermapen is my best friend) then whisk in yeast and proof until foamy, about 5 minutes.

Soak oats in hot water until all water is absorbed.

Add 2 cups flour and eggs to the yeast mixture and mix on low with a paddle attachment until combined.  Switch to the dough hook and add remaining 2 cups flour, oats, and 1 teaspoon salt.   Mix on low speed until incorporated, then increase speed to medium and mix until dough pulls away from the side of the bowl, about 7 minutes.

Transfer dough to a large bowl coated with nonstick spray, cover with plastic wrap, let rise in a warm place until dough doubles in size, about 2 hours.  Lift edges of dough away from bowl and press air bubbles out with your hands.

For the filling:

Combine 1 1/2 sticks butter, 1 cup brown sugar, cinnamon and 1/4 teaspoon salt.

Coat a 9 x 13-inch baking pan with butter.  Transfer dough to a floured surface and gently press to remove air bubbles.  Divide dough into two pieces (a kitchen scale comes in handy) and roll one piece into a 10 x 16-inch rectangle.

Spread half the filling over dough, leaving a 1/2-inch border.  Starting at the short end, roll dough, jelly roll-style, into a log.  Repeat filling and rolling with the second dough half.  Place logs on aluminum foil, loosely cover with plastic wrap and place in freezer for 10 minutes to firm up.

Trim off the ends of the logs with dental floss and discard, then cut each log into six equal pieces with dental floss (place floss  under the log, bring ends up and cross them to cut perfectly neat pieces).  Arrange rolls in the prepared pan spacing them equally to allow for rising.  Cover rolls with a kitchen towel and let rise until puffy, about 1 hour.

Preheat oven to 375°.

For the frosting, beat 4 tablespoons butter, powdered sugar, 2 tablespoons milk, vanilla and salt with a hand mixer.  If the frosting seems too firm, beat in a teaspoon of milk at a time.

Bake rolls until brown, about 30 minutes.  Test for doneness at the 25 minute mark so there is no chance of over baking.  Cool rolls in the pan before frosting.


Dessert, Fruit, Recipes, Vegetarian

Maui Gold Pineapple-Upside Down Cake

December 30, 2013

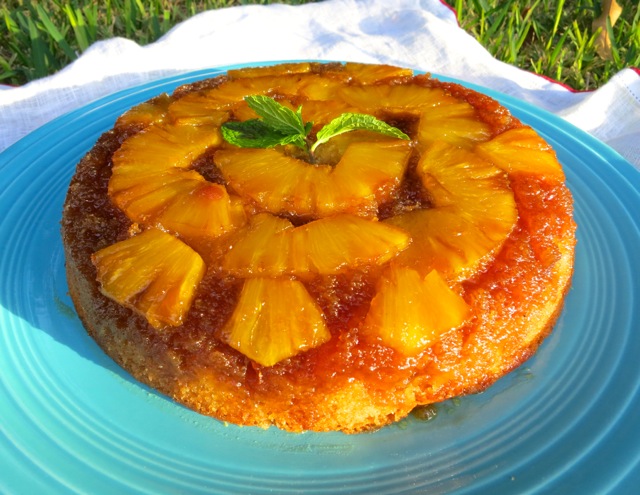
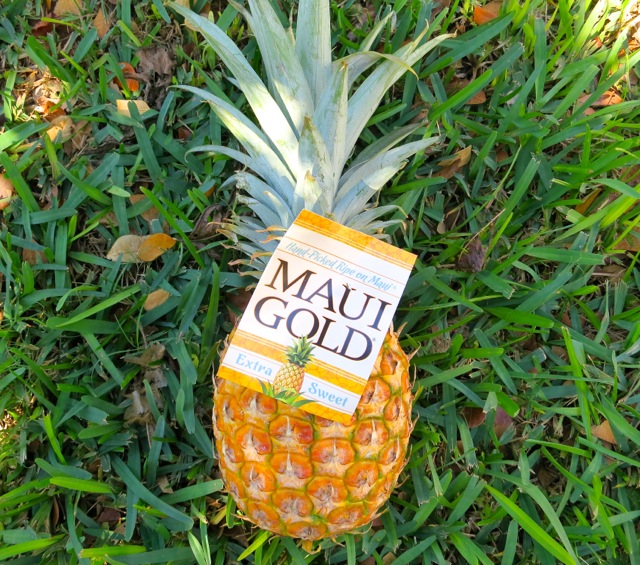
Maui Gold Pineapple Upside-Down CakeMaui Gold pineapples are extra sweet with low acidity.  It’s hard to resist perfectly chilled juicy wedges of this gorgeous fruit.  Grown right here on the Valley Isle, they are simply delicious.

Maui Gold PineappleMy step daughters, Katie from Seattle and Jessica from Portland, came to visit recently.  We had a birthday “wing ding” for Katie while she was here and Jessica made a scrumptious pineapple upside-down cake for dessert. Jessica is a wonderful cook and we always have such a good time planning out our next meal together.Sliced Maui Gold PineappleFresh, sweet slices of pineapple are the star attraction of this cake.  This recipe comes from Gourmet magazine.  We didn’t have any cardamom at the time so we used cinnamon instead and it was very good however next time I will definitely use cardamom.  My friend Shanna over at Curls & Carrots is a big cardamom fan and she recently sent me a bag of this intoxicating, warm, and exotic spice.  Mahalo Shanna!

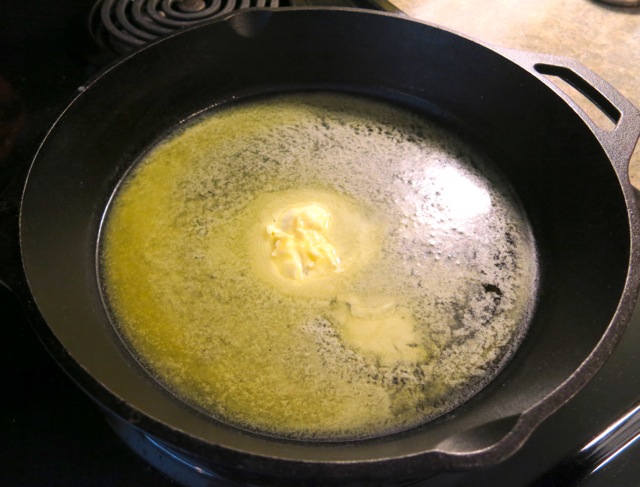
Melted ButterButter is melted in a 10″ cast iron skillet before adding the brown sugar.

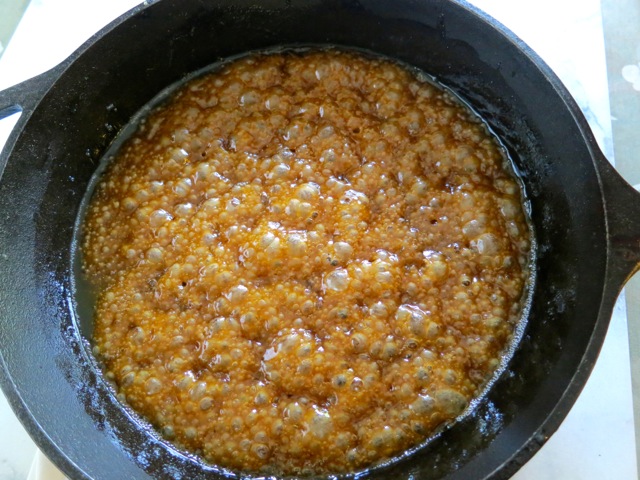
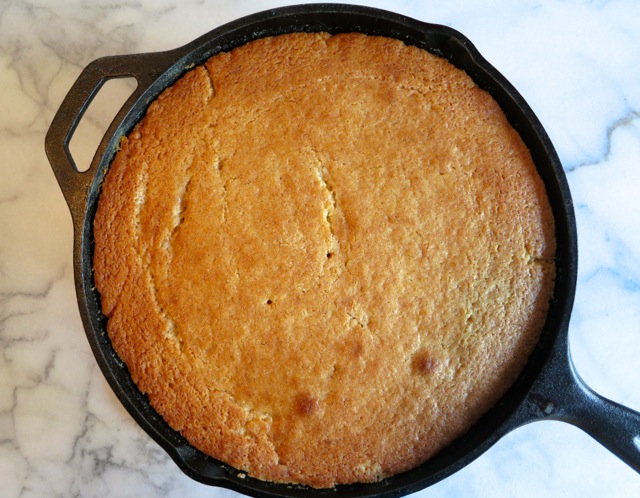
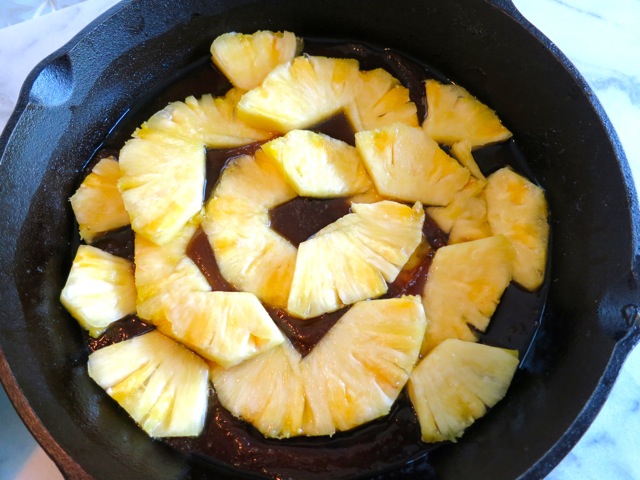
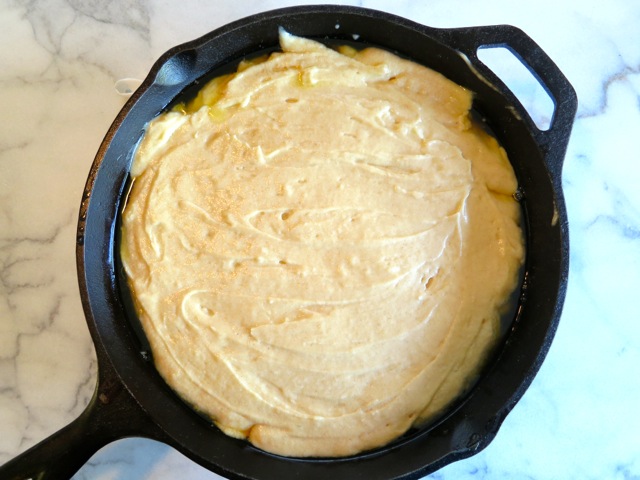
Melted Butter and Brown SugarAllow the butter and brown sugar mixture to bubble just a bit before you remove it from the heat.Layer PineappleLayer pineapple slices over the melted butter and sugar and pour batter over the pineapple.  Smooth the batter with a spatula.

Add Batter

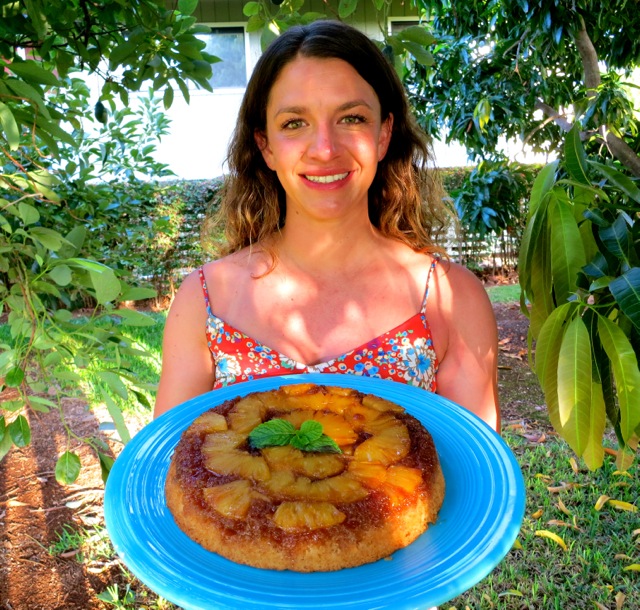
Baked Maui Gold Pineapple Upside-Down CakeInvert a serving plate over the skillet and invert cake onto the plate.Jessica's Pineapple Upside-Down CakeJessica with her gorgeous Maui Gold Pineapple Upside-Down Cake.

Maui Gold Pineapple Upside-Down Cake

Adapted from Gourmet Magazine

Serves 8 – 10

Ingredients

For Topping:

1/2 medium Maui Gold or other sweet pineapple, peeled, quartered lengthwise, and cored

3/4 stick unsalted butter (I used Earth Balance Buttery Sticks, lactose free and vegan)

3/4 cup packed light brown sugar

For Batter:

1 1/2 cups all purpose flour

2 teaspoons ground cardamom

2 teaspoons baking powder

1/4 teaspoon salt

3/4 stick unsalted butter, softened (I used Earth Balance Buttery Sticks)

1 cup sugar

2 large eggs

1 teaspoon vanilla

1 tablespoon dark rum

1/2 cup unsweetened pineapple juice

1 tablespoon dark rum for sprinkling over cake

Make Topping:

Cut pineapple crosswise into 3/8 inch thick pieces.

Melt butter in skillet.  Add brown sugar and simmer over medium heat, stirring, 4 minutes. Remove from heat.  Arrange pineapple on top of sugar mixture in concentric circles, overlapping pieces slightly.

Make Batter:

Preheat oven to 350 degrees.

Sift together flour, cardamom, baking powder, and salt.

Beat butter in a large bowl with an electric mixer until light and fluffy, then gradually beat in granulated sugar.  Add eggs, one at a time, beating well after each addition.  Beat in vanilla and rum.  Add half of flour mixture and beat on low speed just until blended.  Beat in pineapple juice, then add remaining flour mixture, beating just until blended. (Batter may appear slightly curdled.)

Spoon batter over pineapple topping and spread evenly.

Bake cake in middle of oven until golden and a tester comes out clean, about 35 minutes.

Let cake stand in skillet 5 minutes. Invert a plate over skillet and invert cake onto plate (keeping plate and skillet firmly pressed together).  Sprinkle rum over cake and cool on rack.  Serve cake just warm or at room temperature.

***Cake is best served the day it is made though it may be made 1 day ahead and chilled, covered.  Bring to room temperature before serving.


Cookies, Dessert, Recipes

Crunchy Gingerbread Cookies ~ Hawaiian Style

December 15, 2013

Hula Gingerbread Cookies‘Tis the season to dig out the cookie cutters that are tucked away in the cupboard.  Almost every holiday season I set aside a full day to bake and decorate gingerbread cookies.  Of course I have to eat at at least one or two of these crunchy cookies, before packaging them up to give away to friends and family.

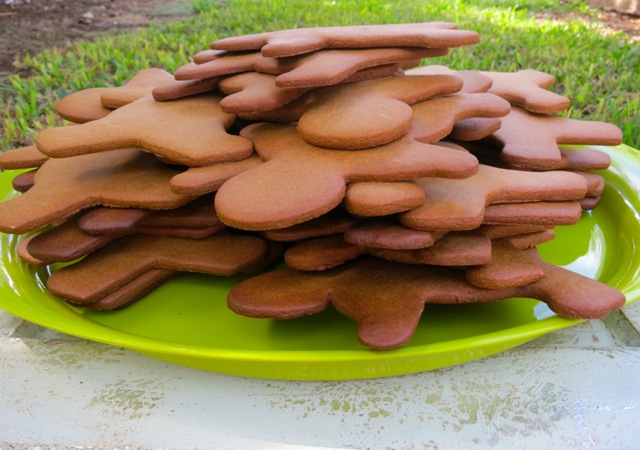
Stack of Gingerbread CookiesAfter baking the cookies, I grab a stool and sit at my kitchen counter and decorate the cookies.  Now I can see why my mom (who was a school teacher) asked me to help her decorate her gingerbread cookies (she made them for her young students). Depending on how many cookies you bake, it may take a full day from start to finish.

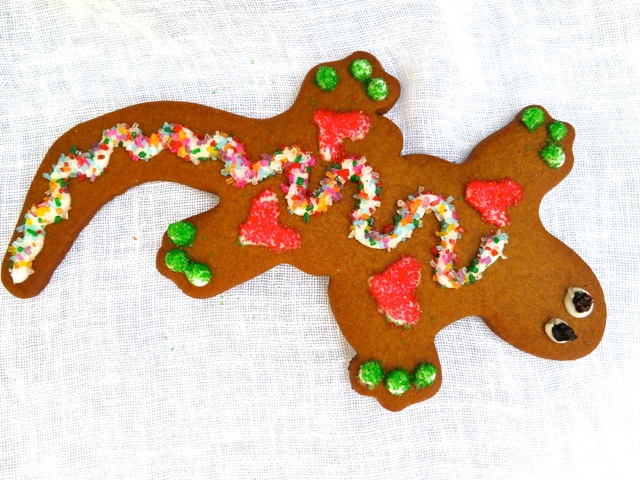
Cookie SprinklesThe recipe for these cookies came from my husband’s Aunt Frieda. I’m not certain where she found it (the original recipe is entitled “Gingersnaps”).  The dough is a bit tricky to work with because it’s quite soft.  Chilling the dough well in the refrigerator at least 2 hours, then a brief stay in the freezer helps to firm it up a bit.  It’s better to use smaller cookie cutters that have simple outlines. My gecko cutter is pushing the limit!

Gingerbread Gecko Cookie

Table Full of Cookies

Gingerbread Cookie Heart


Gingerbread Cookies

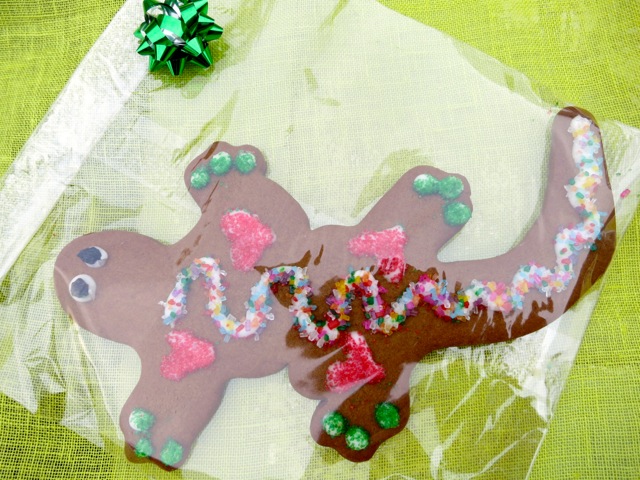
Wrapped Up Gecko

Gingerbread Cookies

Crunchy Gingerbread Cookies

Makes about 45 cookies

Update 12/15/18: I have a new oven and found that that my cookies take about 14-15 minutes to bake to ensure a crispy cookie.  The cookies should cool on the baking sheet for about 5 minutes before transferring to a rack to cool completely before decorating.

Ingredients

1 1/2 cups shortening

1 1/2 cups plus 2 tablespoons sugar

1/3 cup strong hot coffee

1 cup molasses

7 1/2 cups cake flour

1 1/2 teaspoons salt

1 1/2 teaspoons baking soda

3 teaspoons ground ginger

1 1/2 teaspoons ground cloves

1 1/2 teaspoons cinnamon

Preparation

Cream shortening and sugar thoroughly in a very large bowl.  I find it best to use a firm spatula or wooden spoon and cut the shortening into the sugar.  It will make it easier to cream together the two ingredients.

Pour the molasses into a 2 cup measuring cup or bowl and add the hot coffee.  Stir to combine then add to the creamed mixture.  Stir well.

Sift dry ingredients together and gradually add to the liquid mixture. Stir well to combine ingredients.  The dough will be quite soft however you can add a bit more flour if you feel it needs it.  Divide dough into 5 pieces, pat into a disk and wrap separately in plastic wrap.  Chill for a couple of hours in the refrigerator.  You can also refrigerate the dough overnight for convenience.  Place the chilled dough disks in the freezer for about 15 – 30 minutes prior to rolling the dough.  Then remove them one at a time to roll out.

Preheat oven to 340 degrees.  The original recipe calls for 350 degrees however my oven seems to run hotter than it should.

Tear off large pieces of waxed paper to roll the dough on.  Flour the paper and roll the dough thin, about 1/8 inch thick.  I flour my rolling pin often too.  Remove the extra pieces of dough around the cut outs and form into a disk, wrap in plastic, and place back in the freezer to use later.  To transfer cut out shapes to cookie sheet, simply place your hand over the cut out and lift the waxed paper up and gently flip the cookie onto your hand loosening the edge of the dough from the waxed paper.  Carefully turn your hand over placing the cut out dough on to the cookie sheet.  Once the dough is on the cookie sheet, it can’t be moved so do your best to space the dough so that you can fit others on the pan making use of most of the space. It takes a bit of practice but it works.  I usually roll out enough dough for 4 gingerbread men on one piece of waxed paper.  Start with a new piece of waxed paper each time you roll out the dough and remember to lightly flour it.

Bake the cookies for about 12 – 14 minutes.  Rotate the pans halfway through the baking process and check for doneness after 12 minutes.  The cookies should have a nice dark brown color.  Let the cookies cool on the pan for about 5 – 10 minutes until they firm up and can be easily transferred with a spatula to a cooling rack.  Let cool completely before decorating.

Icing & Decorating

4 1/2 cups sifted powdered sugar

3 egg whites (I use pasteurized eggs)

3 teaspoons fresh lemon juice

Assorted cookie sprinkles

Currants

Combine all ingredients and stir well.  If the icing is too thin, add more sugar.  If the icing is too thick, add a few drops of water or lemon juice.  Place icing in a  squeeze bottle with a narrow tip.  Start decorating!

Cookies can be stored in a air tight container at room temperature for a day or two, after which they should be frozen in Ziplock bags. They can also be sealed individually in cellophane bags as gifts.


Follow

Get every new post delivered to your Inbox

Join other followers: