Browsing Category

Dessert

Breakfast, Dessert, Lactose Free, Recipes

Maple Scones with Candied Pecans

February 29, 2016

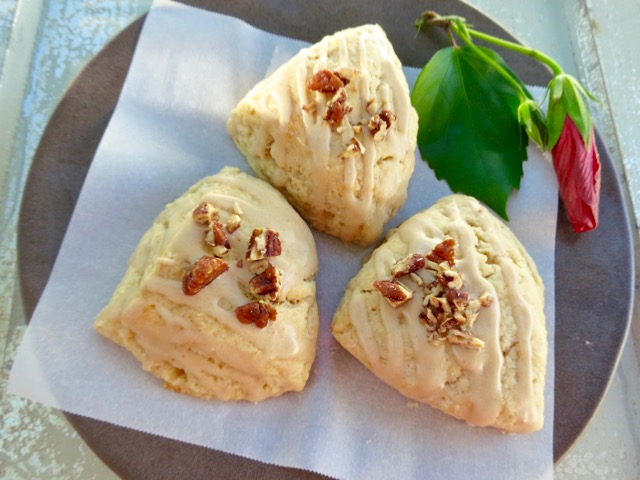
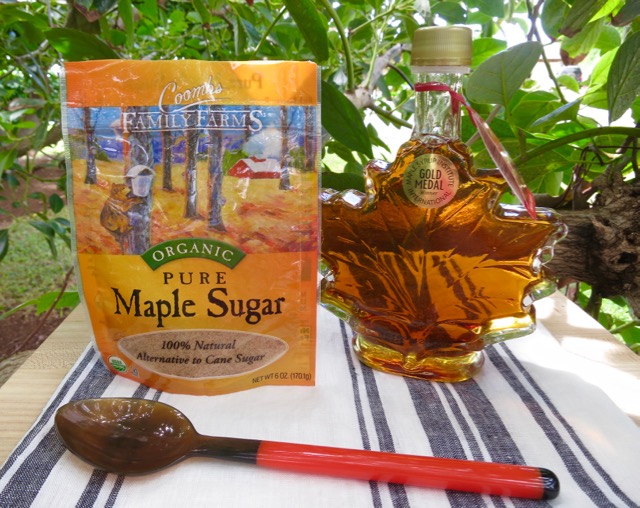
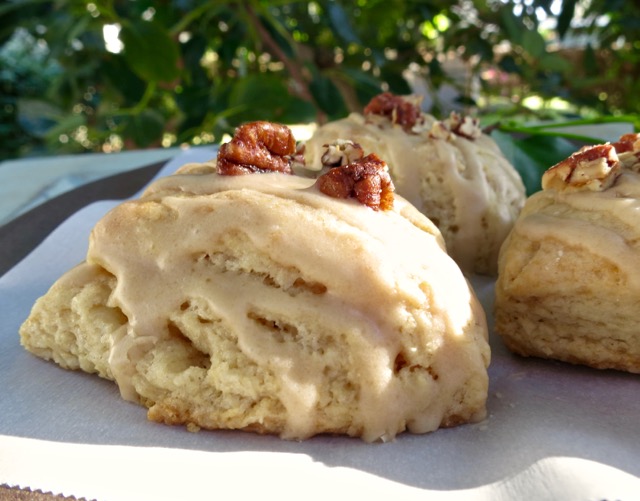
Maple Tea Scones with Candied PecansIf you enjoy a light and delicate scone, look no further. This recipe adapted from Bon Appetit will please not only you, but just about everyone. I eat them warmed up or sometimes crisp the top a bit in the toaster oven for a few minutes.  My pantry was over flowing with lots of maple syrup and maple sugar and this maple scone recipe immediately came to mind.

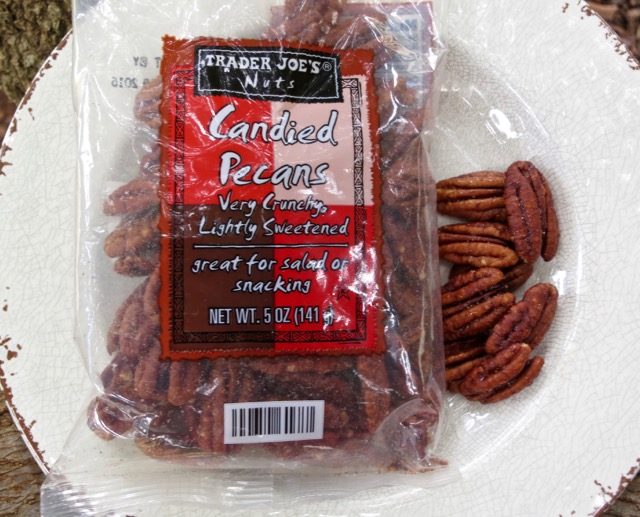
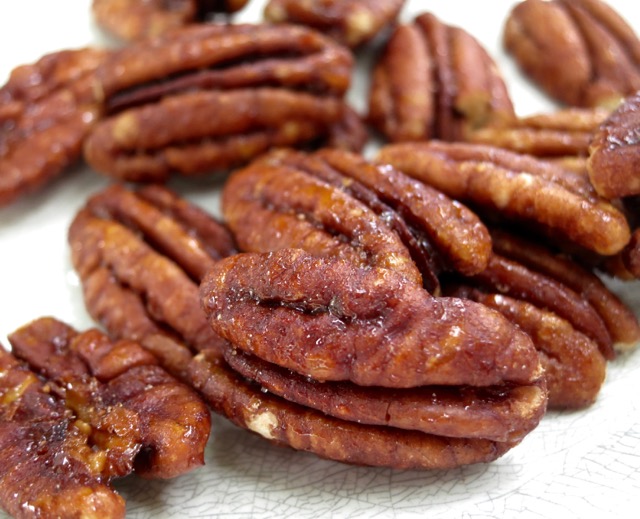
maple scones - 1 (4)I also had some crunchy candied pecans so I sprinkled them over the scones after they were done baking, along with a light maple glaze.

Candied Pecans

Candied Pecans

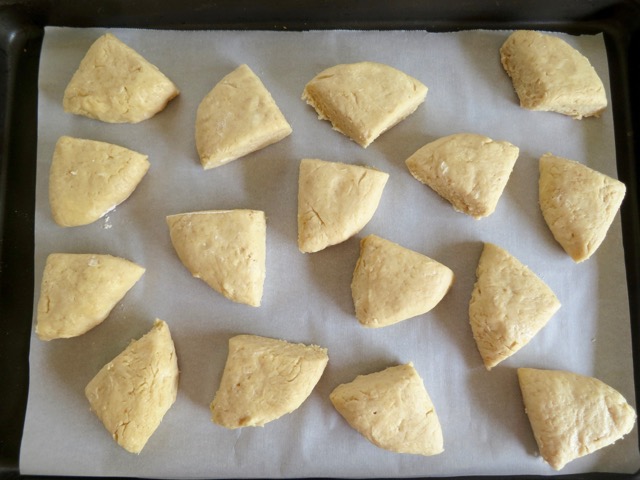
Maple Tea Scones Ready for BakingThese are petite scones.  You could make them larger, but I find they are the perfect size for a morning snack with a cup of coffee.

Maple Tea Scones with Candied Pecans

Maple Scones with Candied Pecans
 
Author:
Ingredients
  • 3 cups all-purpose flour
  • 4 tablespoons (packed) maple sugar, or dark brown sugar
  • 1½ teaspoons baking powder
  • ½ teaspoon baking soda
  • ¼ teaspoon salt
  • ¾ cup (1½ sticks) Earth Balance Buttery Sticks, or unsalted butter, chilled and cut into ½ inch pieces. If using unsalted butter increase salt to ½ teaspoon
  • ½ cup plus 3 tablespoons lactose free half and half, or regular half and half
  • ½ cup plus 2 tablespoons pure maple syrup
  • 1 cup powdered sugar
  • ½ cup coarsely chopped candied pecans, optional
Preparation
  1. Preheat oven to 375 degrees.
  2. Whisk flour, 2 tablespoons maple sugar or dark brown sugar, baking powder, baking soda and salt in a large bowl to blend. Add butter and using a pastry blender, cut butter into dry ingredients until mixture resembles coarse meal. If you do not have a pastry blender use your fingertips to incorporate the ingredients.
  3. Stir in ½ cup half and half and ½ cup maple syrup in a small bowl to blend.
  4. Gradually add half and half mixture to flour mixture, stirring just until dough comes together. Add a bit more cream if dough is dry.
  5. Turn dough onto a lightly floured surface. Knead dough gently until smooth, about 5 turns. Cut dough into 4 equal pieces. Using floured hands, pat out dough into into even rounds; cut each round into 4 wedges. Transfer wedges to baking sheet, spacing 2" apart. Bake scones until golden and tester inserted in center comes out clean, about 13 minutes. Transfer to cooling rack.
  6. Meanwhile, whisk remaining 2 tablespoons maple sugar or dark brown sugar, 3 tablespoons half and half, and 2 tablespoons maple syrup in a medium bowl to blend. Gradually whisk in enough powdered sugar to form a thick glaze.
  7. Drizzle or spread glaze over slightly warm or cooled scones. Top with chopped candied pecans.
  8. For larger scones, pat dough into 8" round and cut into 8 wedges. Baking time will increase. Check scones after 15 minutes of baking. Continue to bake if scones need more time, checking every two minutes.


Dessert, Lactose Free, Recipes

Jean’s Currant Tarts

January 8, 2016

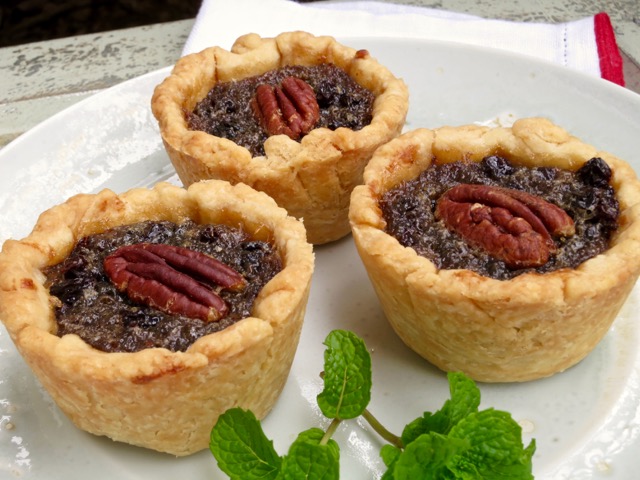
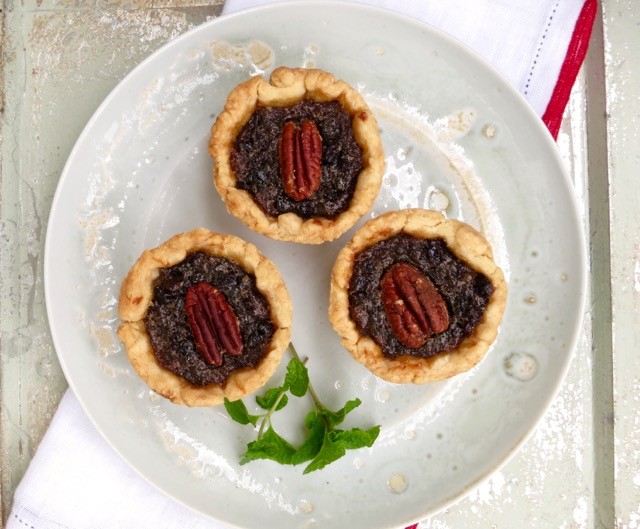
Jean's Currant TartsMany families have treasured recipes handed down through multiple generations.  This is a favorite recipe from John’s family.  His mom Jean, was taught this simple recipe by her mother Ida, and she, by her mother before her.  As children, John and his siblings just loved these tarts.  Once John left home and went off on his own, Jean would send these tarts to him in the mail.  How lucky he was!  We often make these for our own family get togethers.  Everyone loves a good, flakey pie crust.  However, most pies have far more filling than crust.  These tarts on the other hand, have equal parts of both.

Currants

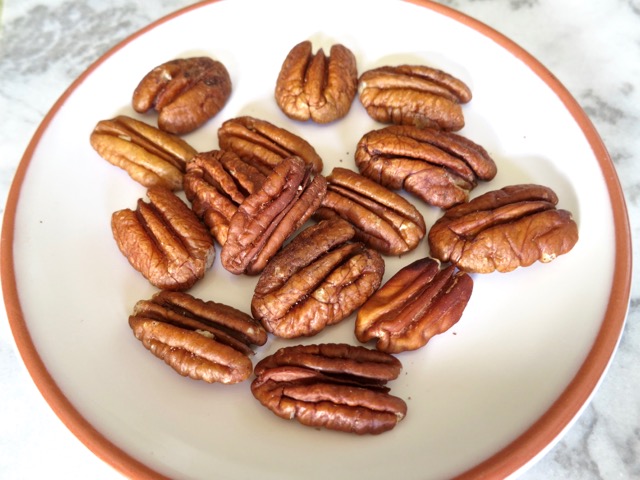
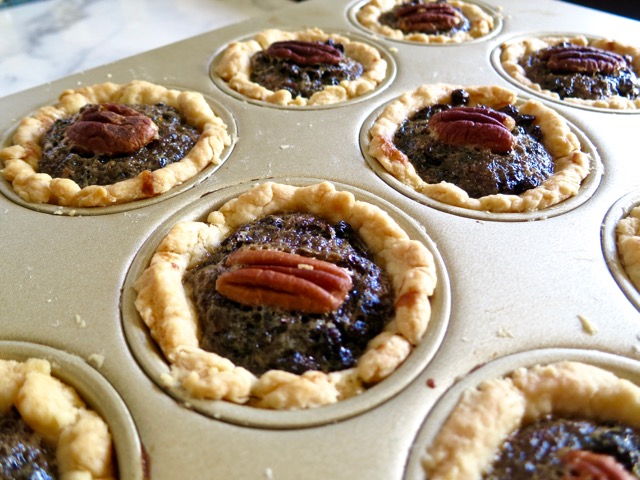
PecansTopping each tart with a pecan seals the deal.  They are perfectly toasted after being in the oven for 30 minutes.

Jean's Currant TartsTarts are a pie lover’s dream come true.  A crispy crust surrounding a sweet filling…..

Jean's Currant Tarts

Currant Tarts
 
Author:
Cuisine: Dessert
Serves: 12
Ingredients
  • pastry for a double-crust pie
  • 1 10 ounce box currants or raisins
  • 1½ cups brown sugar, loosely packed
  • 2 large eggs, lightly beaten
  • 1 teaspoon vanilla extract
  • 12 whole pecans for topping (or chopped and added to the filling)
Preparation
  1. Preheat oven to 375 degrees.
  2. Divide dough in to 12 equal portions. Form into balls and roll out to 5" circles. Place dough circles in muffin tins and press to even out. Trim off excess dough.
  3. To plump up currants, soak in a small bowl of boiling water for 5 minutes. You may add a few tablespoons of rum to the water for added flavor. Drain well.
  4. Combine currants, brown sugar, eggs and vanilla. Mix well.
  5. Scoop currant mixture into pie crust filled muffin tins and top with a pecan. It may seem there is not enough filling however it will expand as it bakes.
  6. Bake until the crusts are very lightly browned, about 30 minutes. Cool in pan for 15 minutes before removing to a cooling rack. Serve as is or with a scoop of vanilla ice cream.
  7. The tarts freeze beautifully.
 

Cookies, Dessert, Recipes

Chocolate Dipped Oreos

December 29, 2015

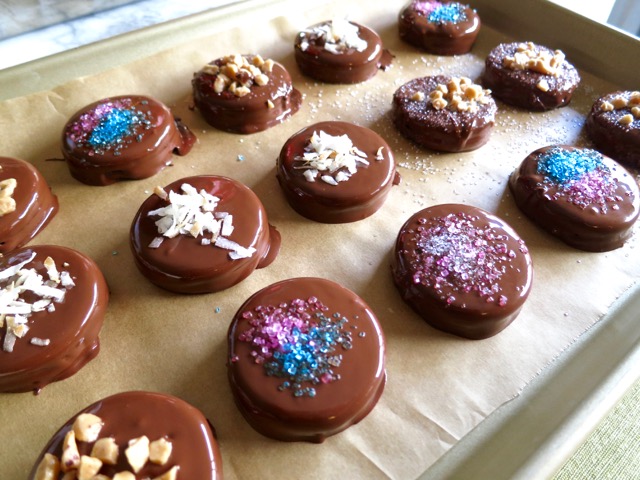
Chocolate Dipped OreosHow can one improve on Oreos: America’s favorite cookies?  Here is the way! Dipping the cookies in chocolate takes these store-bought treats to another level. It might seem extravagant, but I suspect you will fall in love with these delightfully crunchy treats.  Sprinkle your favorite toppings on the cookies and wrap them up for gifts any time of the year.  They are one of the easiest holiday treats ever.

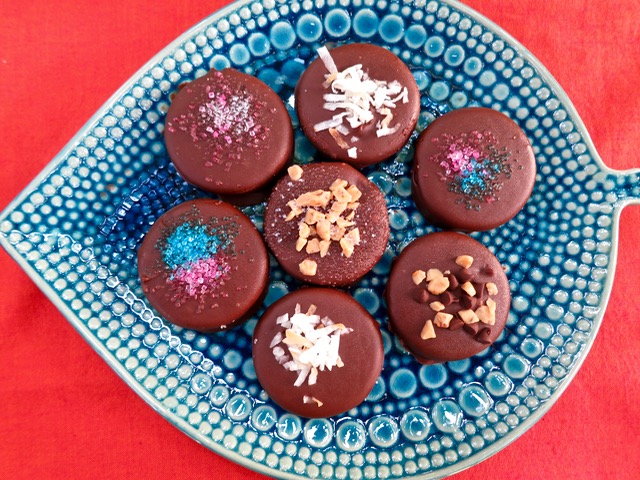
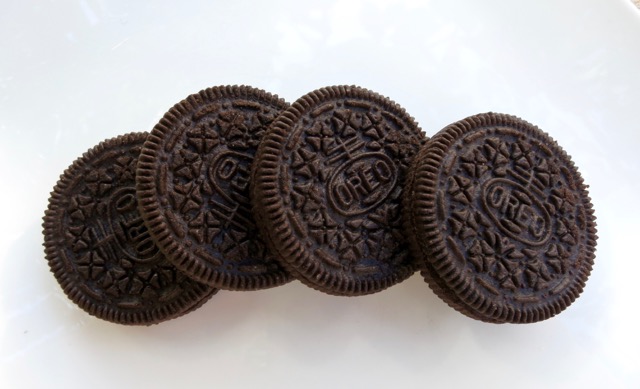
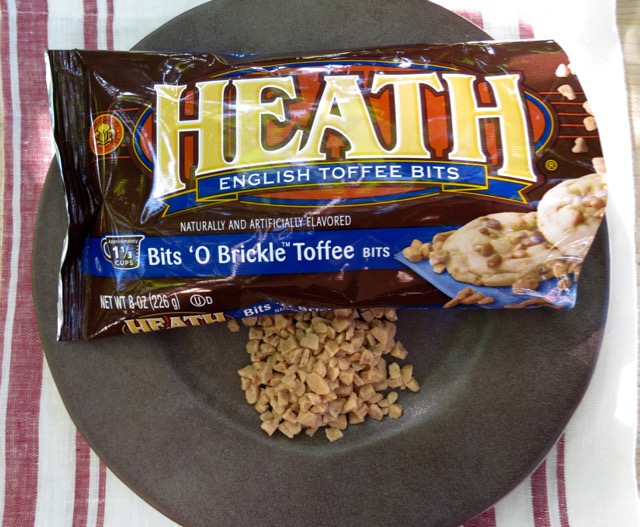
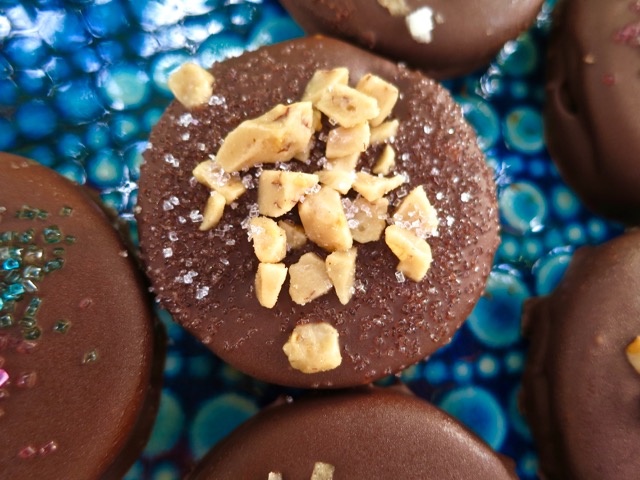
Oreo CookiesOreos are wonderful as is, (they are apparently three times more popular than the next cookie brand), but even better dipped in chocolate and topped with toffee bits, toasted coconut, sugar crystals or mini chocolate chips. Thanks to Georgia of the Comfort of Cooking blog for this terrific recipe!

Toffee Bits

Chocolate Dipped OreosThe chocolate dipped cookies are placed in the refrigerator on a parchment-lined baking sheet to set the chocolate for about 2 hours.  These beautiful cookies are perfect for any occasion.  They are delicious served with a scoop of vanilla ice cream.

Chocolate Dipped Oreos with Toffee Bits

Chocolate Dipped Oreos
 
Author:
Serves: 36 - 44 cookies
Ingredients
  • 1 (14.3 oz.) package Oreo cookies (there are 36 cookies in this package but depending on how you dip your cookies in the chocolate, you could easily make up to 44 cookies in which case you will need to purchase the Family Size package!)
  • 4 cups semisweet chocolate chips
  • 2 tablespoons canola oil
  • Assorted toppings of your choice
Preparation
  1. Line a large baking sheet with parchment paper, set aside.
  2. In a medium heatproof bowl, microwave chocolate chips for about 1½ minutes on high. Give it a stir and microwave for another 15 seconds or so until all of the chocolate has melted. Stir in the canola oil (this makes for easier dipping).
  3. Dip one cookie at a time into the chocolate, coating completely. Lift out cookie with a fork and shake gently side-to-side to remove excess chocolate. Lay cookie on parchment lined baking sheet and immediately sprinkle with your favorite topping. Repeat until all cookies have been dipped and decorated. The chocolate mixture has a tendency to thicken a bit as it cools which makes it more difficult to work with. Simply place the bowl back in the microwave for 10 seconds or so to soften the chocolate.
  4. Place tray in your refrigerator to set chocolate, at least 2 hours. I store my cookies in an airtight container in the refrigerator (warm temperatures in Hawaii!).


Dessert, Fruit, Lactose Free, Recipes

Mango Yogurt & Banana Popsicles

December 2, 2015

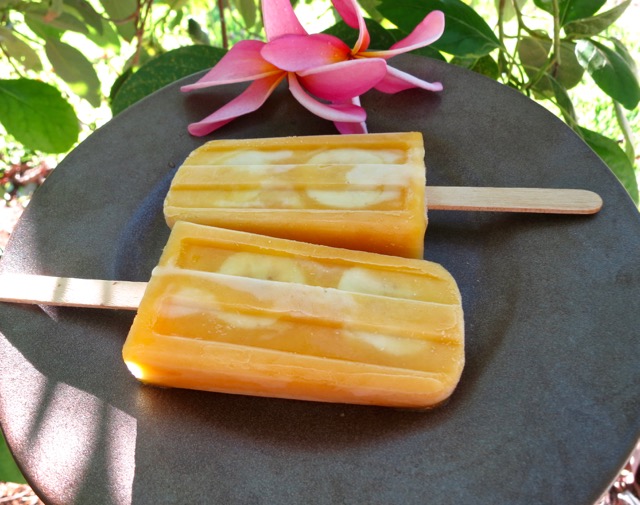
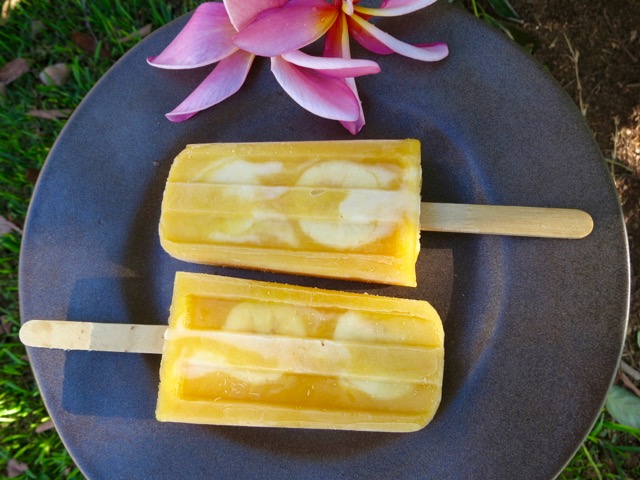
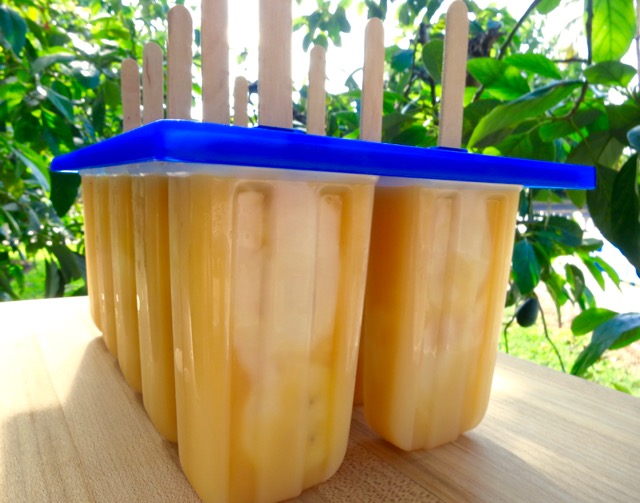
Mango Yogurt & Banana PopsiclesNow that mango season is over (we still have two lonely Rapoza’s on our tree) I have to buy fruit at the market again.  Not that there isn’t good fruit available, but for me, nothing is as good as a sweet mango. I did plan ahead this year and froze mango slices to use in my favorite popsicle recipe.  Here in Hawaii, with our warm temperatures, popsicles are popular year round.

Mango Popsicles - 1 (5)

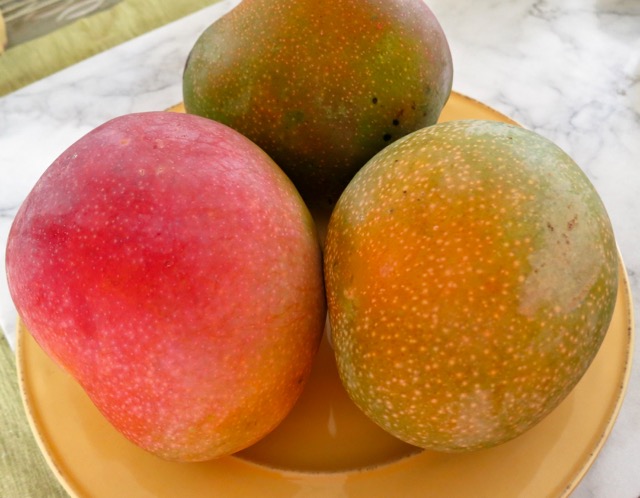
Rapoza MangosThese Rapoza are beauties.  They are huge and juicy, sometimes weighing up to 3 pounds!

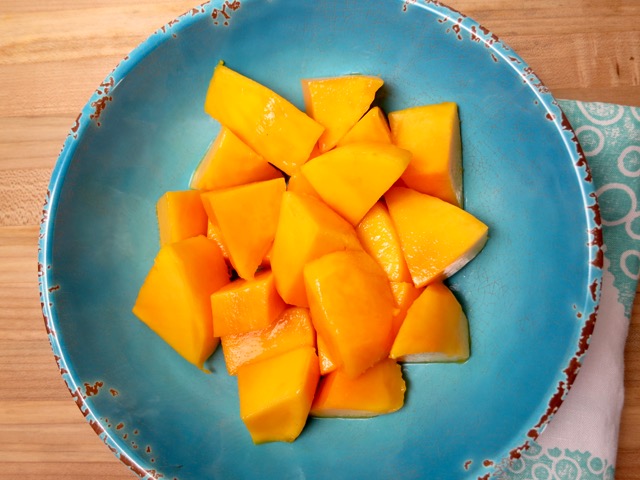
Chopped Mango

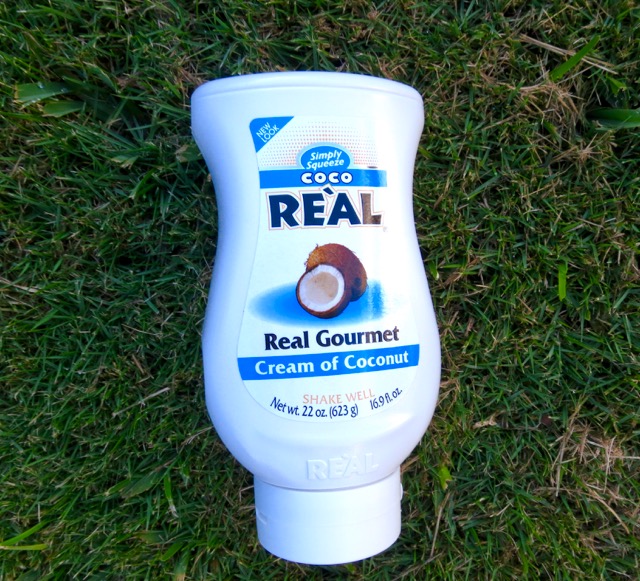
Cream of Coconut

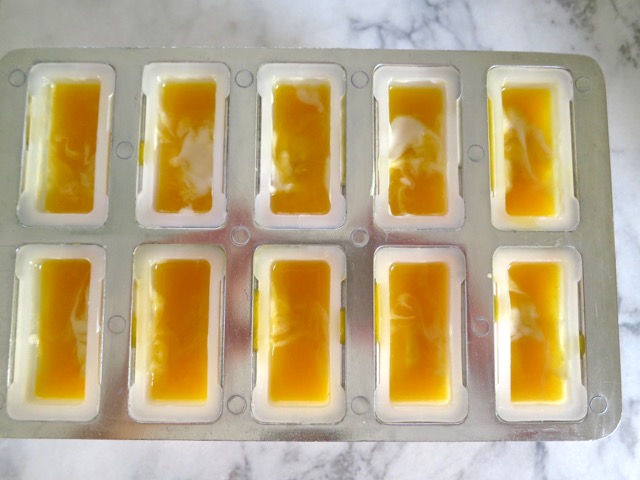
Mango Puree with YogurtAfter sharing some of my popsicles at work, my friends and co-workers were hooked.  They all bought the same popsicle maker that I use and now everyone is trying out different recipes of their own.

Mango Yogurt & Banana Popsicles

Mango Yogurt & Banana Popsicles
 
Author:
Ingredients
  • 2 heaping cups coarsely chopped mango
  • 2 tablespoons granulated sugar
  • 6 ounces vanilla yogurt (I used Green Valley lactose free yogurt)
  • 3 tablespoons cream of coconut
  • 2 medium bananas, cut into 20 thin slices
Preparation
  1. Puree mango with sugar in a blender or food processor. Transfer to a measuring cup.
  2. In separate measuring cup, whisk yogurt with coconut cream until smooth.
  3. You may combine the mango and yogurt mixture together or alternatively, pour a little mango puree, then a little yogurt into each popsicle mold and continue layering. The yogurt flavor will be more prominent if you pour it in separately, alternating with the mango puree. Leave about 1-inch of headspace at the top.
  4. Using a wooden skewer, push banana slices down both sides of mold, one on top of the other. Pour extra mango puree to fill each mold about ⅓-inch from the rim to allow for expansion when freezing.
  5. Place cover on popsicle mold and insert wooden sticks (they should be exposed about 1¾-inch from top of popsicle cover). Freeze for at least 6 hours or overnight.
  6. To release popsicles, remove cover and run warm water around the outside of the popsicle mold for a few seconds. Do one side at a time. Pull firmly on sticks while holding on to mold to release. Run more warm water around mold if needed. Wrap popsicles individually with a small piece of waxed paper and freeze in a plastic container.


Dessert, Fruit, Lactose Free, Recipes

Strawberry Yogurt Popsicles

November 8, 2015

Strawberry Yogurt PopsiclesThese popsicles are so easy to make I can’t believe I never thought of making them before.  It all began a few months ago when my sister in-law, Paula, brought over a refreshing mango popsicle she had made.  From that day on I was determined to make my own.

Fresh Strawberries 16 oz.There’s a plethora of popsicle recipes out there in internet land.  It seems you can pretty much use any type of fruit whether it be fresh or frozen.  From there, you can keep it simple and add nothing more, or you might add cream, milk, nuts, coconut milk, or yogurt which I did in this case.  They are very easy to make and homemade popsicles taste so good.

Crushed Strawberries

Cream of CoconutCream of coconut is normally found in the liquor section of the market where the drink mixers are sold.

Ice Pop MakerI bought this popsicle maker from Amazon the moment Paula came over with her mango popsicle.  It’s just $12.99 and with Amazon Prime you get free shipping.  It’s easy to use and makes 10 refreshing popsicles at a time.  If you don’t have a popsicle maker, I urge you to get one right away!  Popsicles are great all year round.

Strawberry Yogurt Mixture for PopsiclesLeave a little space at the top for expansion otherwise it will be difficult to remove the top of the ice pop maker once they are frozen.  I didn’t do that the first time around but with a little nudging I was able to remove it without disturbing my precious pops.

Strawberry Yogurt Popsicles

Strawberry Yogurt Popsicles
 
Author:
Cuisine: Dessert
Serves: 10
Ingredients
  • 16 ounces fresh strawberries, rinsed, hulled, and halved if large
  • 2 tablespoons sugar
  • 1 6 ounce container Green Valley lactose free strawberry yogurt (or your favorite brand)
  • 1 6 ounce container Green Valley lactose free vanilla yogurt (or your favorite brand)
  • 3 tablespoons cream of coconut
Preparation
  1. Crush strawberries with a pastry cutter or potato masher. Stir in 2 tablespoons white sugar and set aside
  2. In a medium bowl, whisk yogurt and cream of coconut until smooth. Fold in crushed strawberries
  3. Pour mixture into ice pop maker leaving a little space at the top to allow for expansion. Place cover over ice pop maker and insert popsicle sticks. Freeze for at least 4 hours or over night.
  4. To remove popsicles, run warm water around the mold for a few seconds to loosen them slightly. Wrap popsicles with a small piece of waxed paper and store in an airtight container.


Dessert, Fruit, Lactose Free, Recipes

Coconut Pineapple Bread

July 25, 2015

Coconut Pineapple BreadI bought a beautiful, sweet, pineapple (that most versatile fruit) at Costco to use in a batch of mango-pineapple jam.  It was so large there was quite a bit of fruit left after making the jam.  Hmmm.  What could I make with the rest of the fruit?  Dessert immediately came to mind.  I did a quick search on-line to get some ideas and ended up with this delightful coconut pineapple bread from Maria and Josh’s blog Two Peas & Their Pod.  The coconut scattered over the top of the batter bakes up into a beautiful golden brown toasted coconut crust.

Toasted Coconut

Coconut Pineapple BreadThough this coconut pineapple bread is baked in a loaf pan I think of it more as a cake than bread.  It’s divine.

Coconut Pineapple Bread

Coconut Pineapple Bread

Adapted from Two Peas & Their Pod

Ingredients

1 1/2 cups sweetened shredded coconut

1/2 cup Earth Balance Buttery Sticks (or unsalted butter) at room temperature

1 1/2 cups all-purpose flour

1/2 teaspoon baking soda

1/4 teaspoon kosher salt (1/2 teaspoon if using unsalted butter)

1 cup granulated sugar

3 large eggs

3/4 cup sour cream (I used Green Valley lactose free sour cream)

2 cups fresh pineapple cubes (small dice)

Preparation

Preheat oven to 350°F.  Butter a 9×5-inch loaf pan and set aside.

Spread 1 cup shredded coconut on a foil lined baking sheet.  Bake until lightly toasted, tossing occasionally, about 6 minutes.  Watch closely so the coconut does not burn (edges tend to brown quickly).  Set toasted coconut aside.

In a medium bowl, whisk together the flour, baking soda, and salt.

In the bowl of a stand mixer, beat the butter and sugar on medium speed until light and fluffy.  Add eggs, one at a time, beating well after each addition.  Reduce speed to low, and alternately add flour mixture in three parts and sour cream in two, beginning and ending with the flour mixture.  Mix just until combined. If you don’t have a stand mixer you can substitute it with a hand mixer.

Using a rubber spatula, fold pineapple and toasted coconut into the batter.  Pour batter into prepared pan and smooth top.  Sprinkle with remaining 1/2 cup coconut.

Bake until a toothpick inserted in the center comes out clean, about 60 minutes (cover pan with foil after baking for 35 – 40 minutes so the coconut on top of the bread doesn’t burn).

Remove bread from oven and let cool in pan for at least 30 minutes.  Remove from pan and transfer to a wire rack to cool completely.  Slice and serve!


Follow

Get every new post delivered to your Inbox

Join other followers: