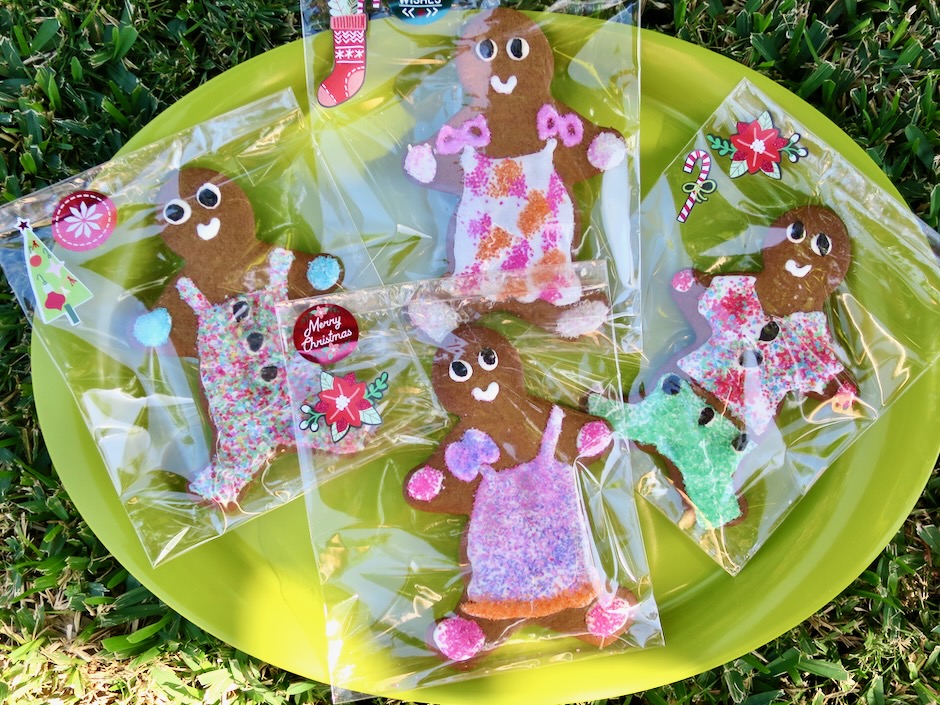
It’s that time of the year to bake up a batch of these gingerbread cookies for family and friends. I can’t think of another holiday cookie that brings such a big smile to everyone who receives one of these adorable treats. Once baked and cooled, the fun begins with decorating the gingerbread cookies.
In preparation of making these cookies:
*Check the freshness of your spices especially those that you only use occasionally.
*Meringue powder is the way to go when icing the cookies. Here on Maui they sell Wilton’s brand at Walmart and Safeway.
*Having a small squeeze bottle to decorate the cookies is very useful. It will allow you to draw fine lines and fill in small areas on the cookies.
*Use currants (smaller than raisins) for the eyes. Or skip this and use a drop of icing instead.
*Allow icing to dry thoroughly then package the cookies and freeze for optimal freshness if making days in advance.
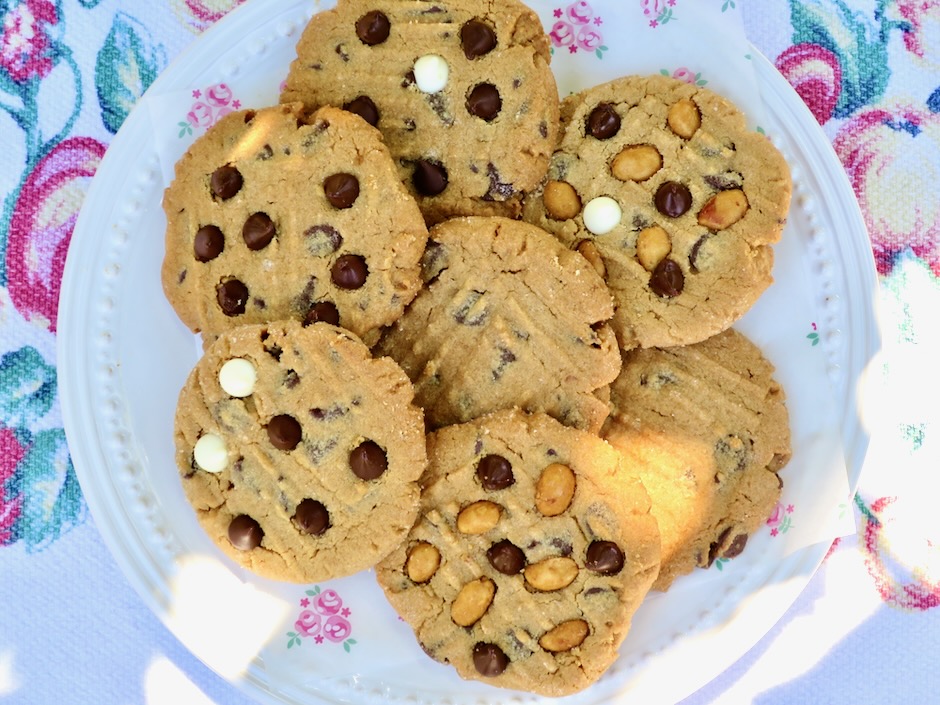
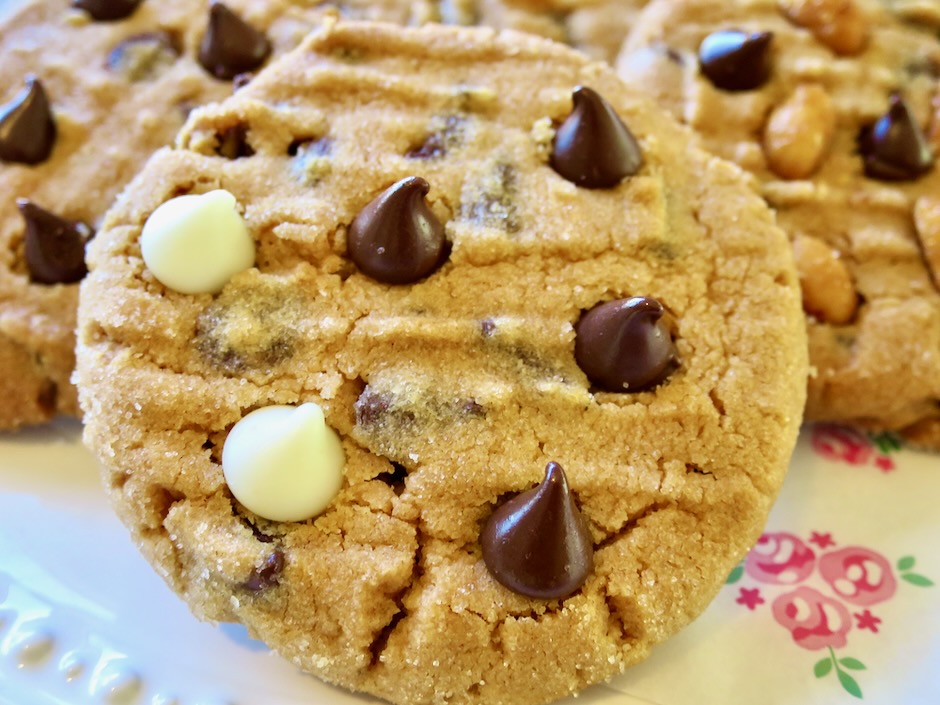
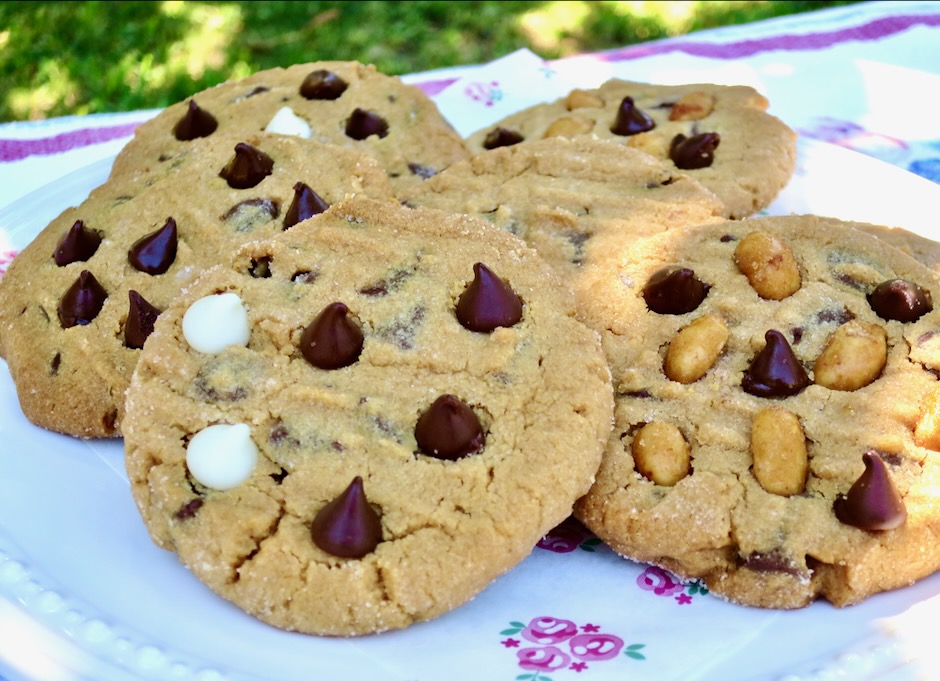
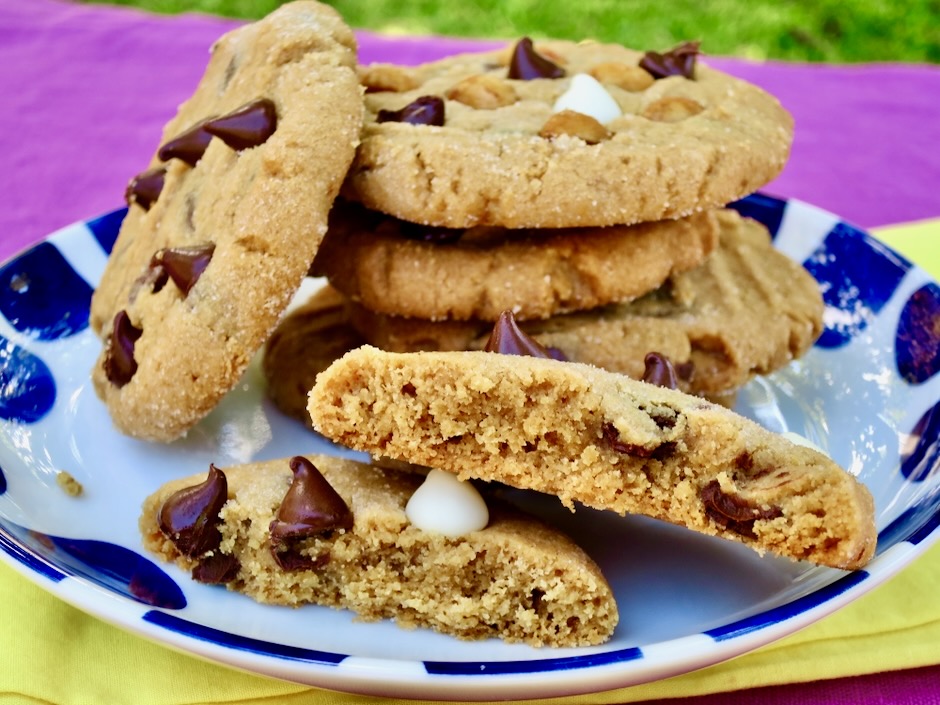
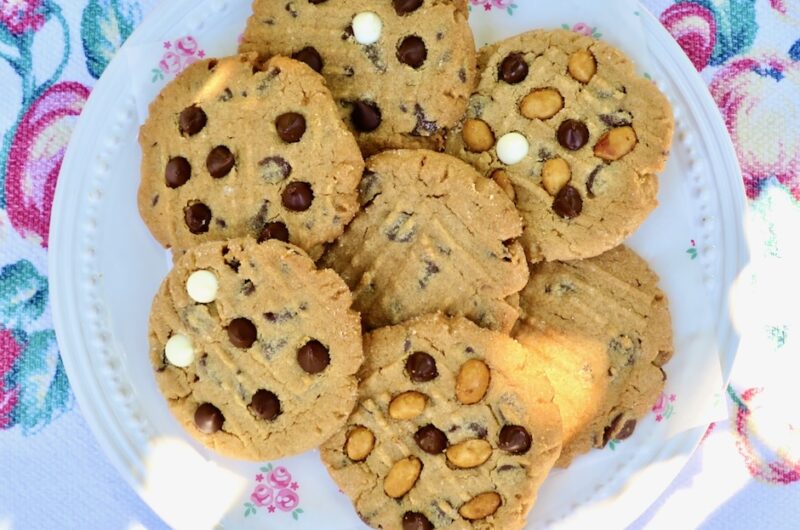
These peanut butter chocolate chip cookies bake up golden brown and delightfully crispy. The perfect balance of peanut butter and melty chocolate makes these cookies irresistible.
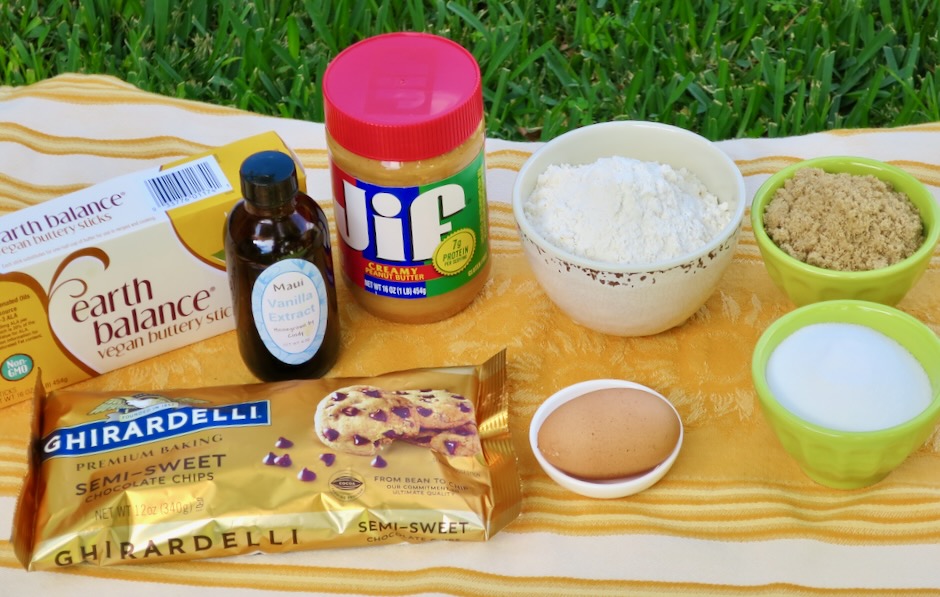
A few simple ingredients will have you have you on your way to some of the best homemade cookies.
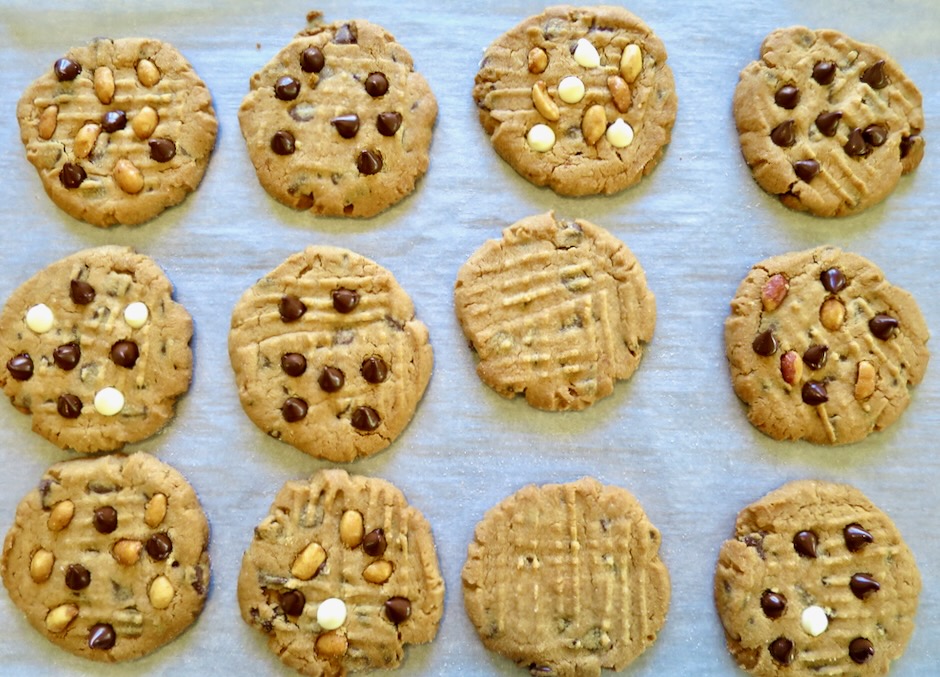
You can add extra chocolate chips and crunchy honey roasted peanuts to make these extra decadent and snazzy looking. Add them as soon as the cookies emerge from the oven. Or simply leave them unadorned, plain and simple for that classic peanut butter cookie look.
These are delicious once they cool off a bit and the chocolate has time to set. They keep well in the freezer where they are close at hand for those sudden cookie cravings.
Crispy Peanut Butter Chocolate Chip Cookies
Recipe by Kiyo
Servings
24
servings
Recipe adapted from Sally’s Baking Edition blog
Ingredients
1 1/4 cups (156g) all-purpose flour
1/2 teaspoon baking powder
1/2 teaspoon baking soda
1/4 teaspoon fine sea salt
1/2 cup (113g) Earth Balance Buttery Sticks or unsalted butter, at room temperature
1/2 cup (100g) granulated sugar
1/4 cup + 2 tablespoons (75g) packed light brown sugar
1 large egg, room temperature
1 cup (250g) creamy peanut butter such as Skippy or Jif
1 teaspoon vanilla extract
1 cup (180g) semi-sweet chocolate chips
1/2 cup (50g) granulated sugar for rolling (optional)
Semi-sweet chocolate chips, white chocolate chips, honey roasted peanuts split in half (optional for decorating)
Directions
Whisk flour, baking powder, baking soda, and salt together in a medium bowl. Set aside.
Using a hand mixer cream the butter and both sugars together on medium speed until smooth, about 2 minutes. Add the egg and beat on medium high until combined, about 30 seconds. Scrape down the sides and bottom of the bowl as needed. Add peanut butter and vanilla, then beat on medium high until combined.
Add the dry ingredients to the wet ingredients and mix on low until combined. Stir in chocolate chips. The dough will be thick and soft. Cover and chill the dough in the refrigerator for 2 hours or up to 2 days. If chilling longer than a few hours, allow the dough to sit out at room temperature for 30 minutes before rolling and baking as the dough will be quite firm and the cookies may not spread.
Preheat the oven to 350 degrees. Line 2 baking sheets with parchment paper.
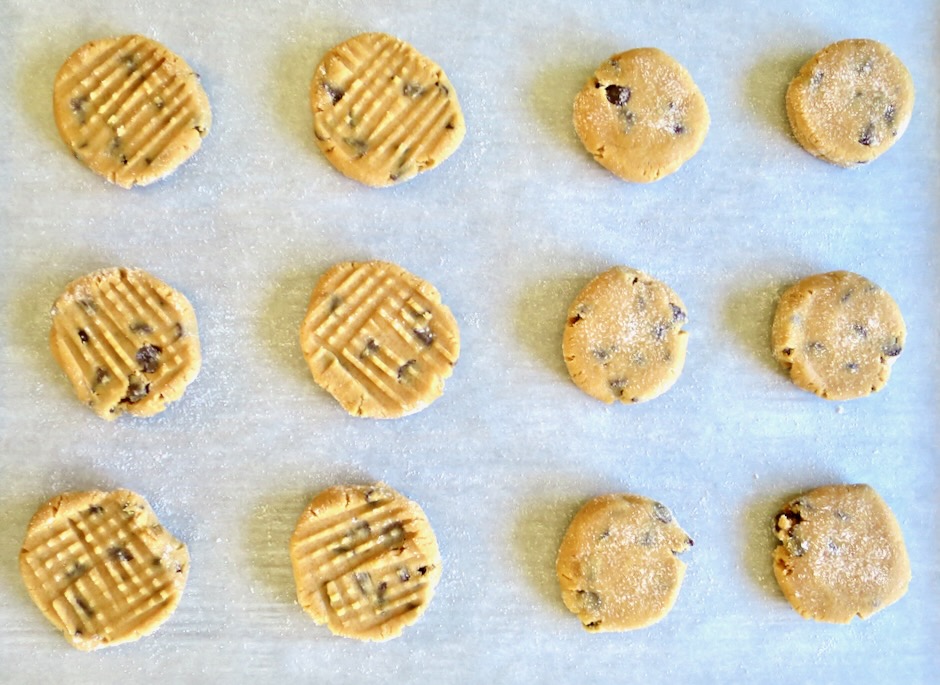
Scoop dough and roll into 24 balls (about 38g each for 3-inch cookies). Roll balls in 1/4 cup granulated sugar (optional). Place 12 balls on each cookie sheet. Flatten each dough ball with the bottom of a bowl or use a fork to make a crosshatch pattern.
Bake one sheet at a time for 16-17 minutes or until nicely browned. It may take up to 18 minutes depending on your oven. These cookies turn out crispy. If you prefer a softer center, bake until the edges are lightly browned, about 14 minutes.
As soon as the cookies are done baking, press in a few extra chocolate chips and/or peanuts while the cookies are still warm and a bit soft (optional). Let cool on the cookie sheet for 10 minutes then transfer to a wire rack and cool completely.
Notes
This recipe makes 2 dozen 3-inch cookies. Double the recipe for larger cookies, up to 60 grams each.
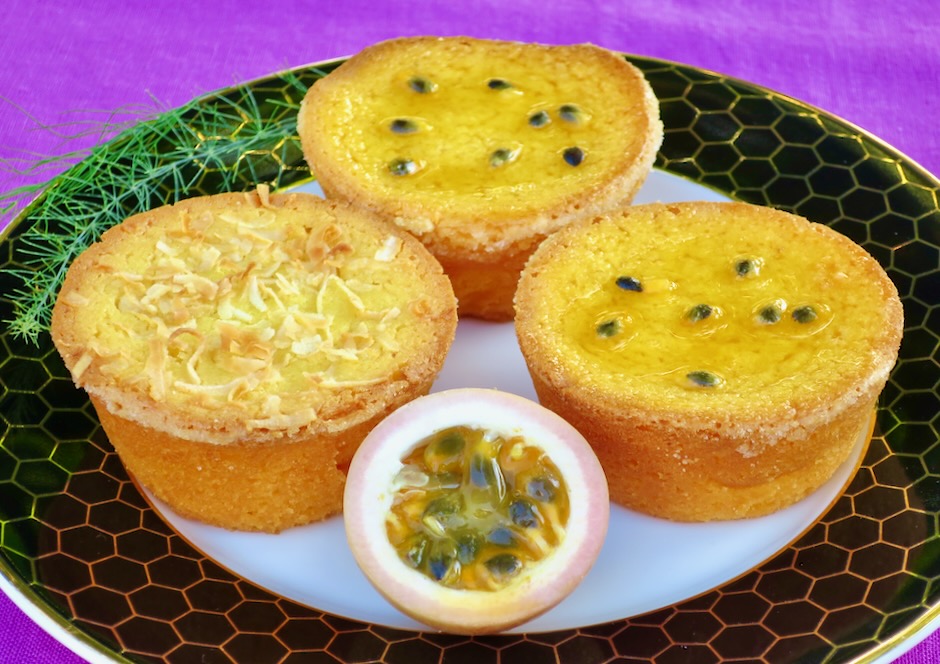
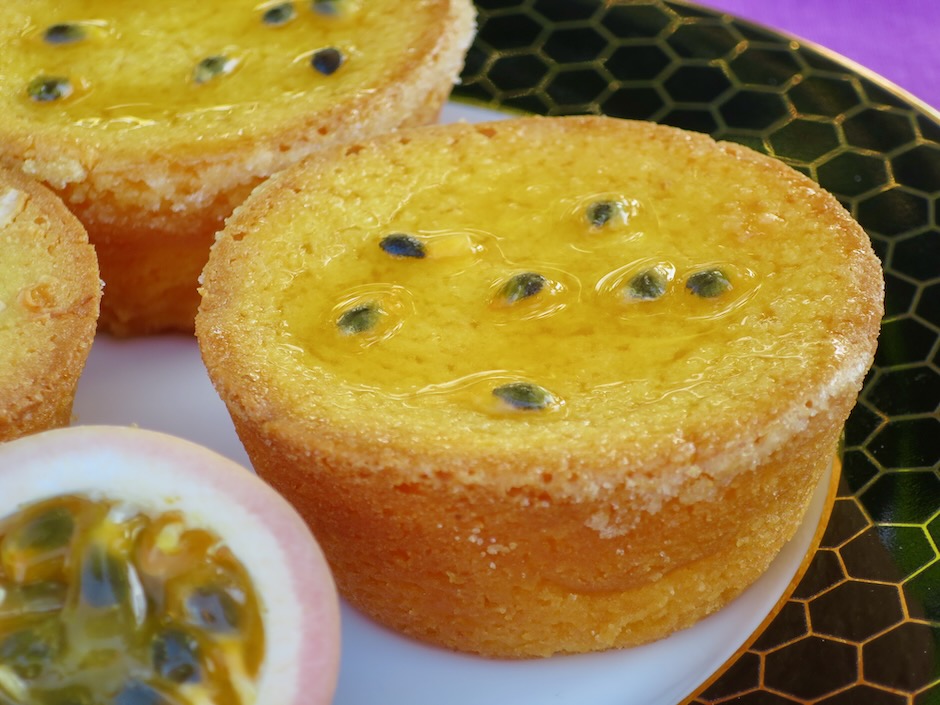
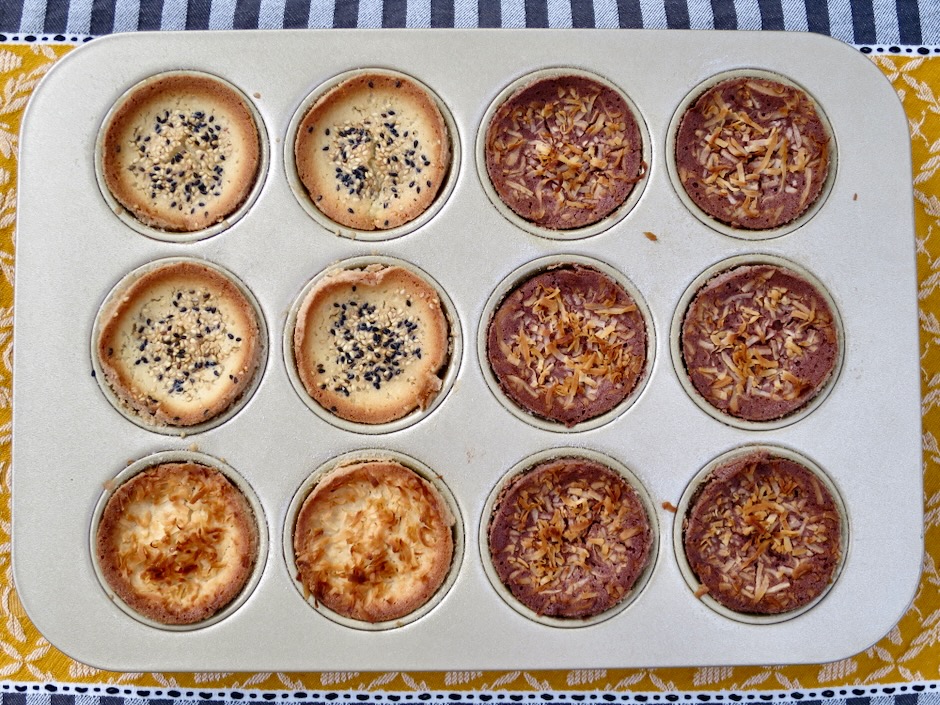
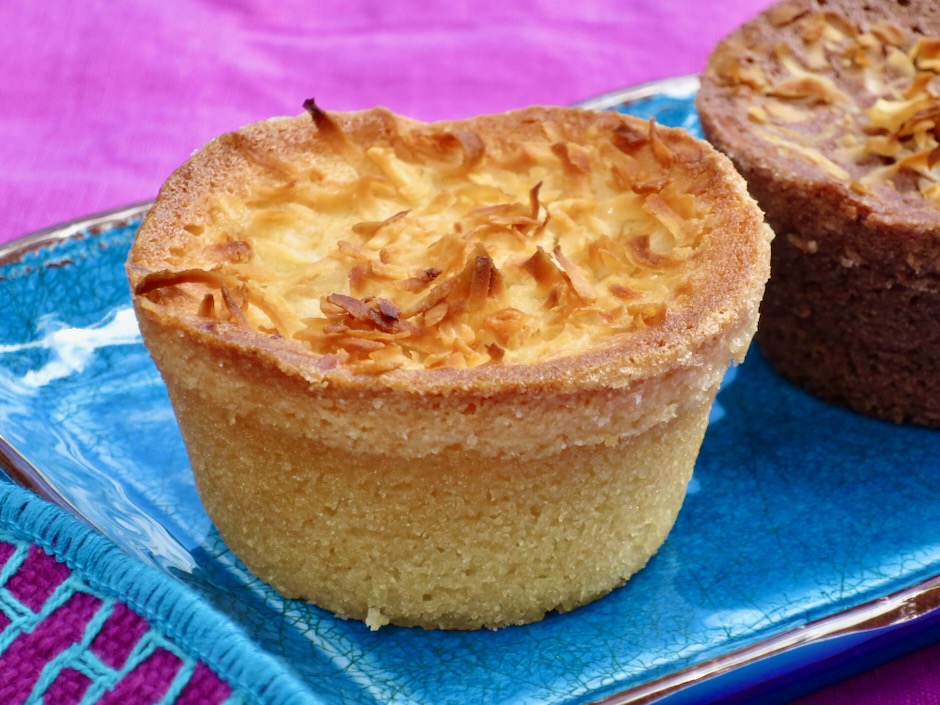
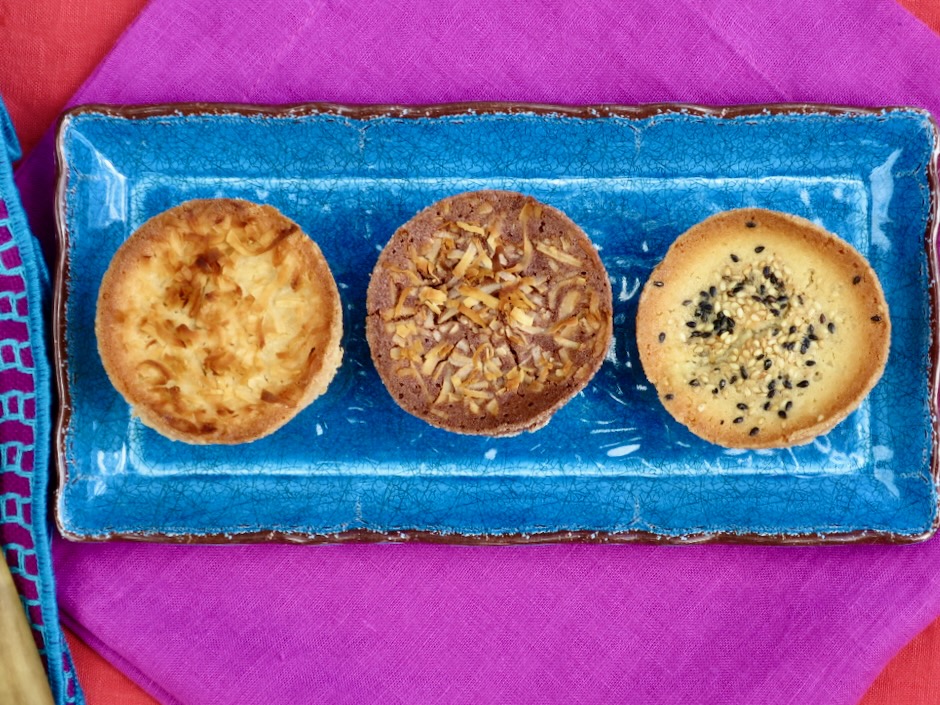
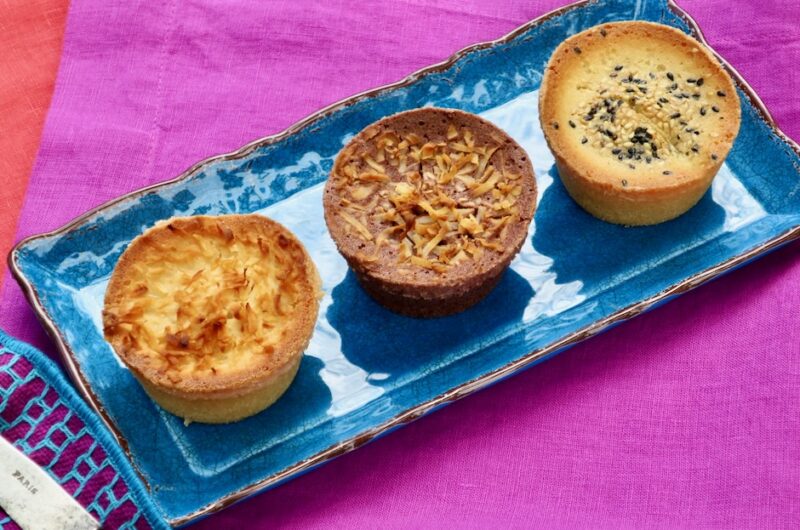
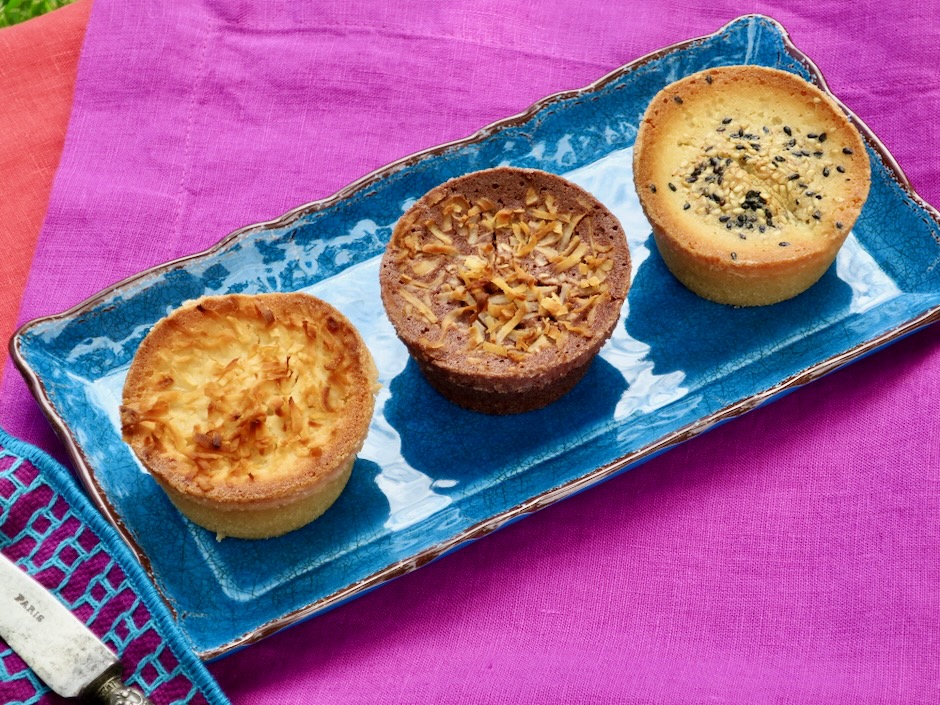
These are by far the best butter mochi cakes that anyone can make at home. They bake up into gorgeous little rounds of deliciousness. The crispy and chewy edges of the mochi cakes are irresistible. Butter mochi is one of the most beloved desserts here in Hawaii. Whether you’re heading to a potluck or just cooking for your family, everyone’s eyes will be on dessert. Its signature chewy yet soft texture and not too sweet flavor are the perfect combination. These delightful mochi cupcakes are so easy to make, perfect to pack up for snacks and picnics, and they freeze well.
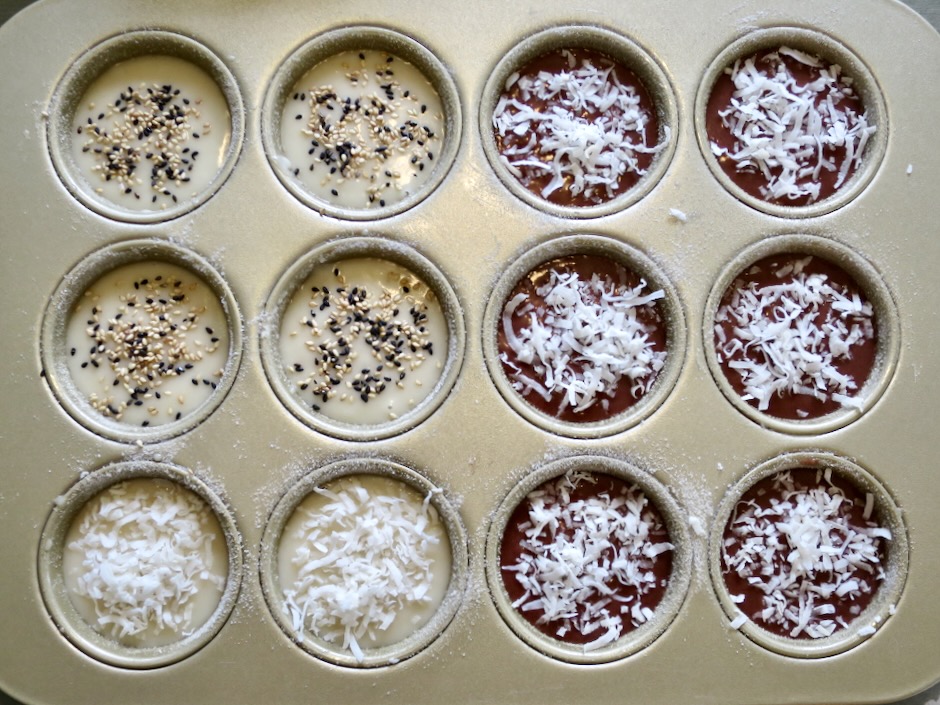
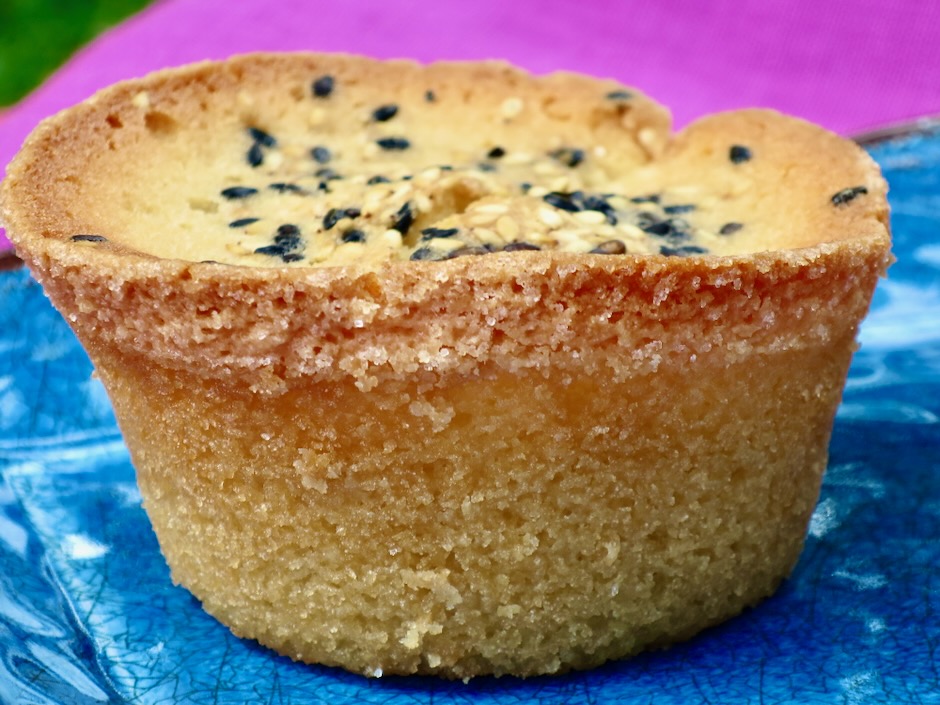
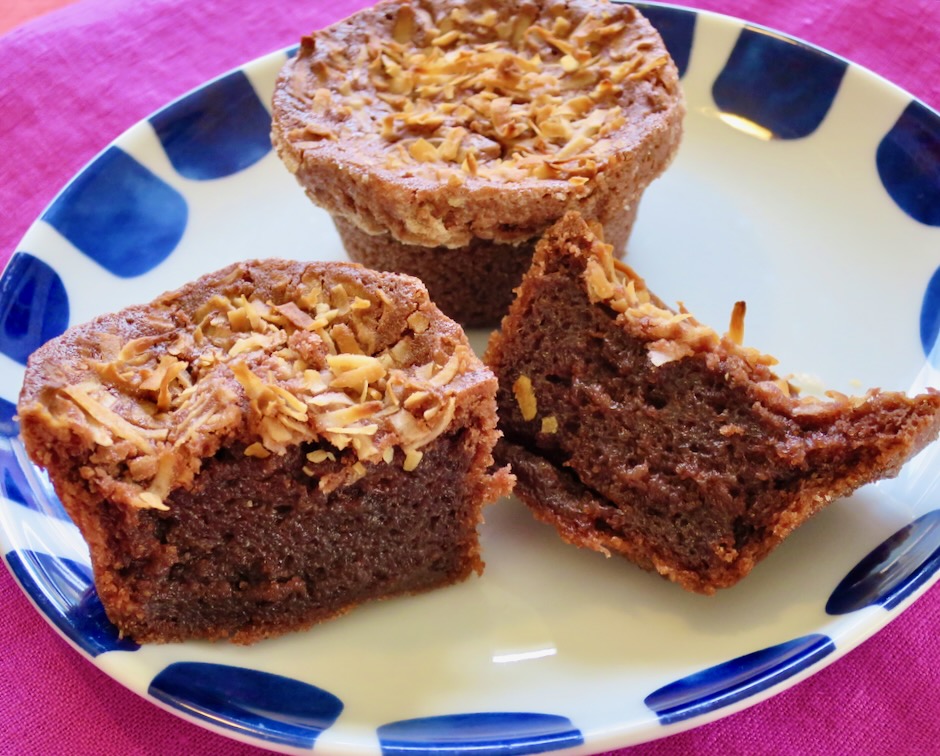
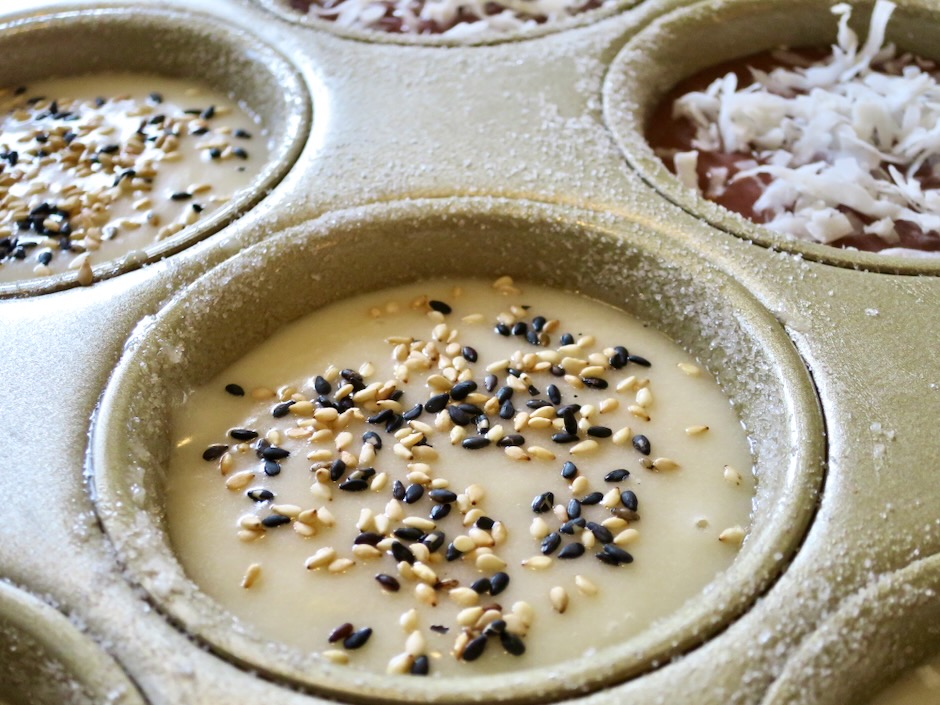
This recipe is very versatile. Make it plain or jazz it up with some coconut flakes, sesame seeds, or chocolate. These additional ingredients make the cakes both charming and distinctive. On a sad note, I recently read that Koda Farms will be closing their business due to rising costs which proved to be overwhelming. They have been everyone’s favorite mochiko flour for nearly 100 years. It was bad news for many of us who have treasured their quality mochiko flour and organic rice. Cheers to Koda Farms for providing their customers with the very best products for so many years.
You can make this recipe in a cake pan, but using a muffin tin proved to be the way to go. There’s no need to cut individual pieces when serving and the presentation is quite stunning. Most importantly, you get that crispy, chewy, very desirable texture in every bite.
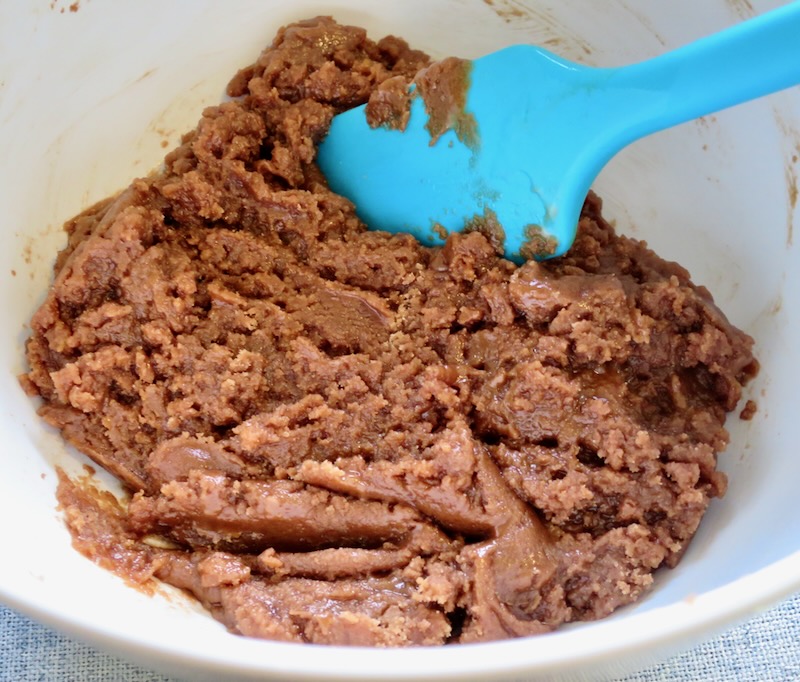
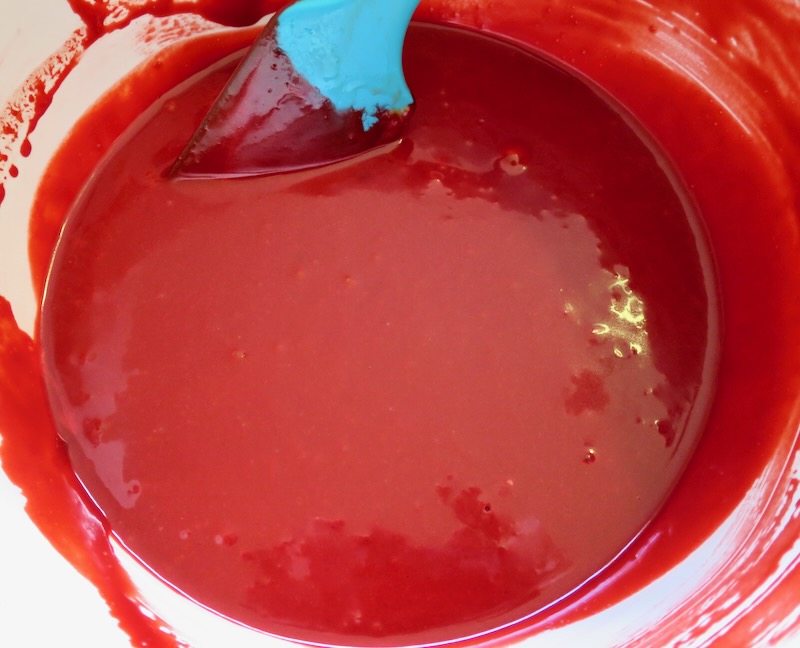
Just for fun, I divided the recipe in half and made some flavored with cocoa powder. This created a few extra dishes and involved weighing ingredients with a scale. Next time I will make two separate batches, because you can never have too many mochi cakes!
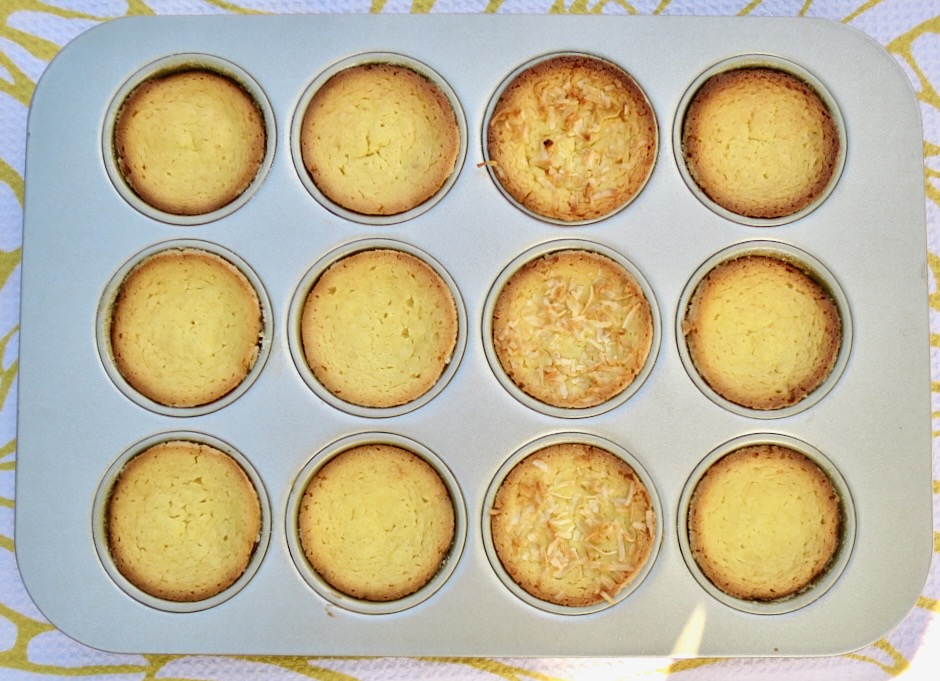
Keep in mind it is perfectly normal for these chewy little treats to be flat or a bit sunken on the top and not domed like cupcakes or muffins.
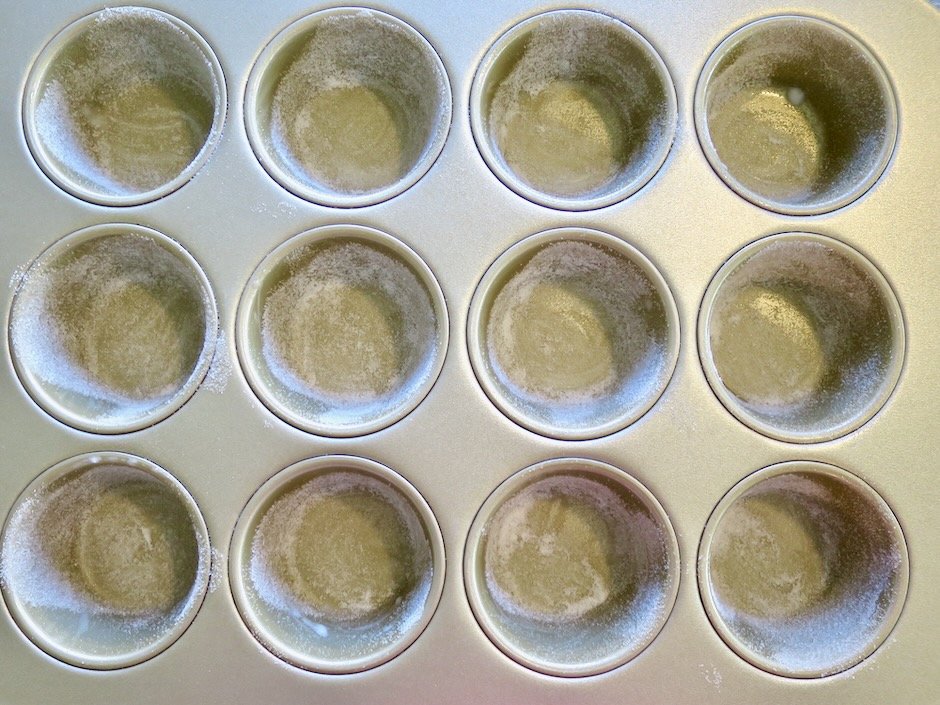
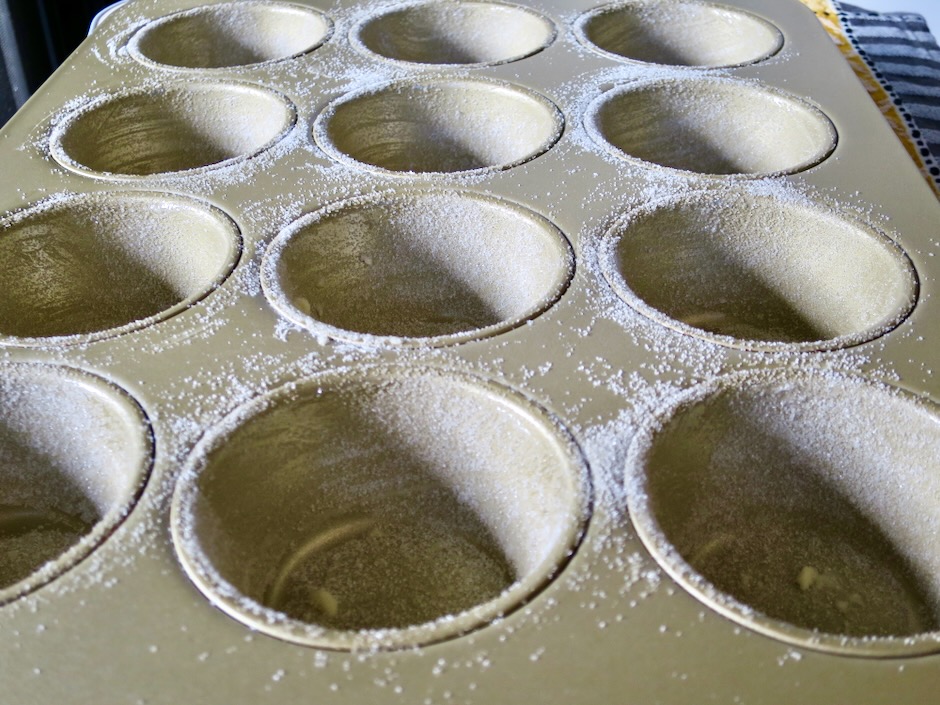
The edges bake up golden brown and crispy. The sugar coated sides add such a nice texture with just a hint of sweetness. Don’t skip the sugar coated pan.
Just one word. Yum!
Mochi Cakes
Recipe by Kiyo
Servings
12
servings
Recipe adapted from Epicurious
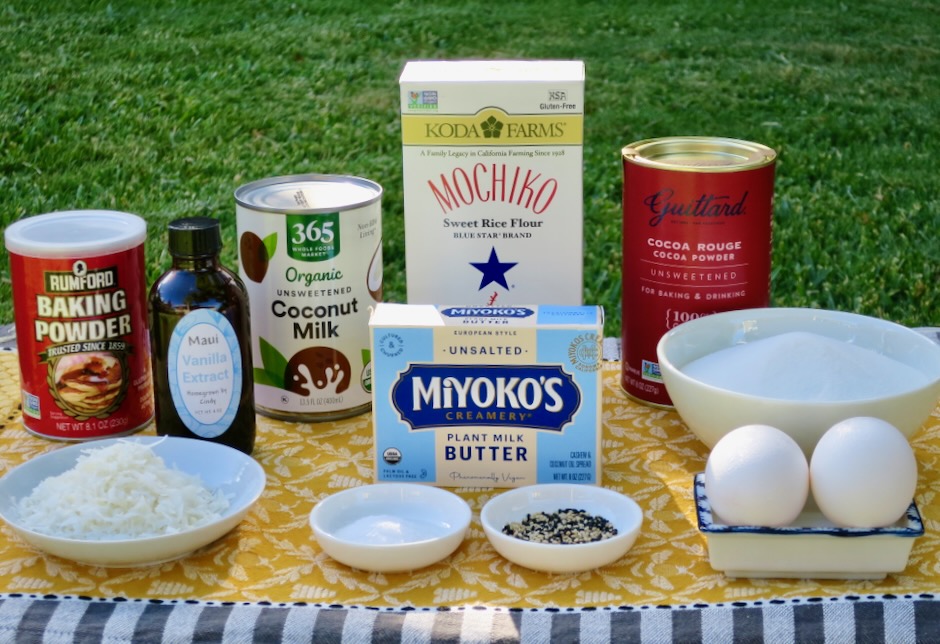
Ingredients
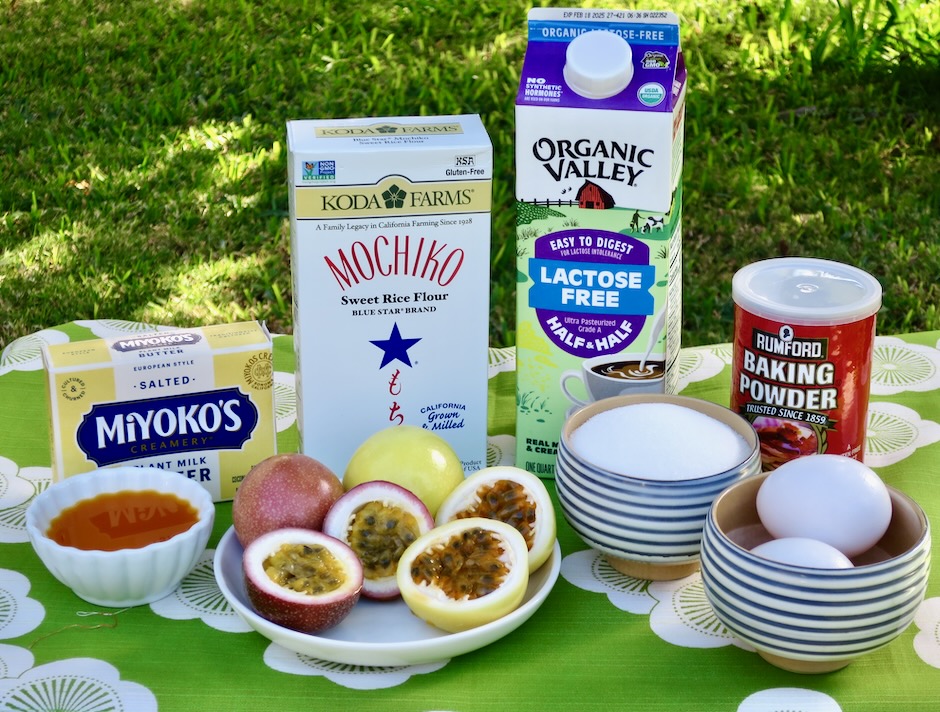
6 tablespoons (85g) Miyoko’s unsalted butter or Earth Balance Buttery Sticks for lactose free version (or regular unsalted butter) melted, plus more for the pan
1 1/2 cups (300g) sugar, plus more for the pan
1 (13.5 ounce) can unsweetened coconut milk (or 1 2/3 cups half & half, lactose free or regular)
3 tablespoons powdered flavoring of choice (unsweetened cocoa powder, matcha powder, malted milk powder) or 3 tablespoons mochiko rice flour if not using other flavored powder
1 teaspoon baking powder
1/3 cup unsweetened shredded coconut, optional
2 tablespoons black or white (or combination) roasted sesame seeds, optional
Directions
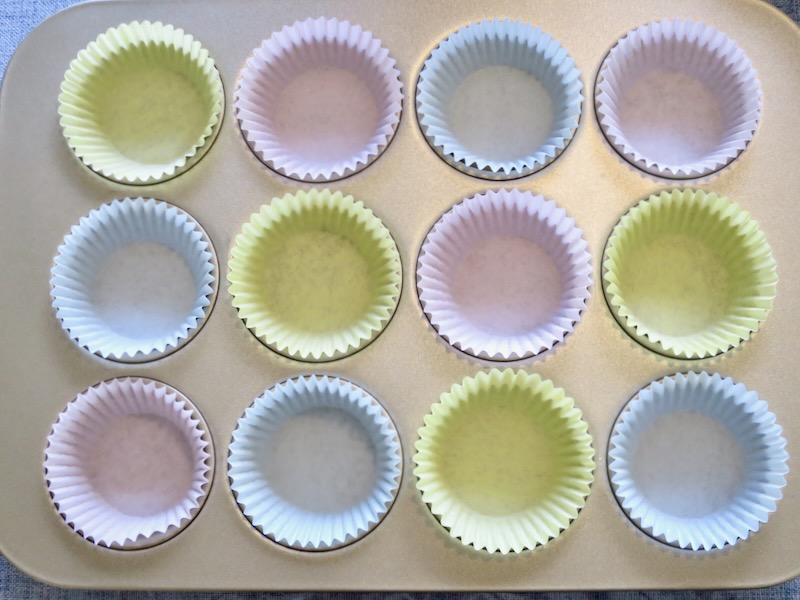
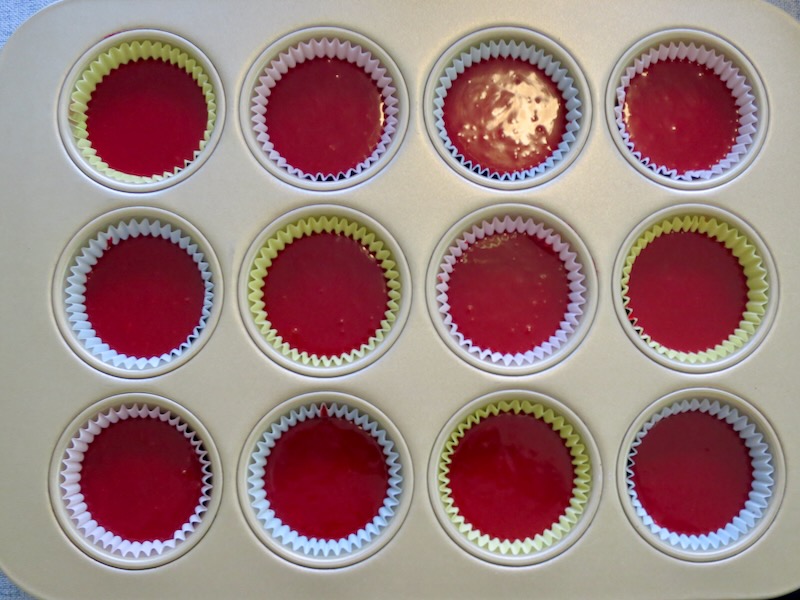
Preheat oven to 350 degrees. Butter a standard 12-cup muffin pan, or 9-inch round cake pan, or 8-inch baking pan. Generously coat the pan with sugar, tapping out excess. (Note: If using a muffin pan you will end up with a bit of extra batter. I used a small 4×6-inch baking dish for this. You may also fill two extra muffin pan cavities for a total of 14 mochi cakes).
Place 1 1/2 cups sugar and 6 tablespoons melted butter in a large bowl. If using coconut milk, shake the can vigorously before opening it. If the coconut milk is lumpy, whisk it in a small pan over medium heat until smooth. Whisk coconut milk into sugar mixture. If using half & half, whisk directly into sugar mixture. Add eggs, vanilla, and salt and whisk to combine.
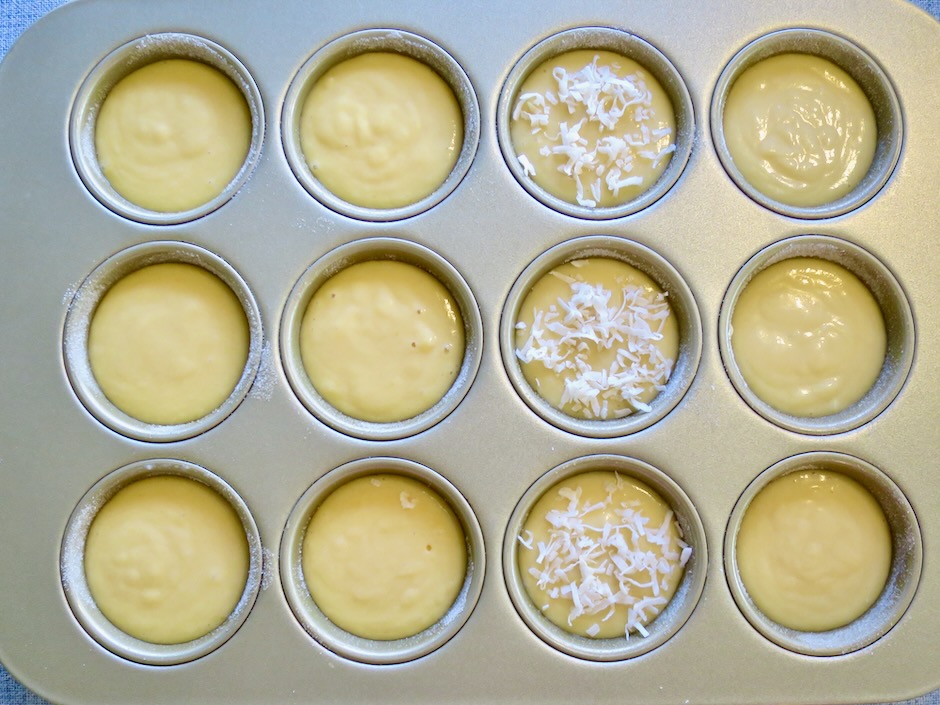
In a medium bowl, whisk mochiko rice flour, 3 tablespoons powdered flavoring of your choice or 3 additional tablespoons of mochiko rice flour and baking powder. Whisk into egg mixture. Scrape batter into prepared pan and sprinkle with coconut or sesame seeds if using.
Bake until edges are lightly browned, tops begin to crack and cake springs back when gently pressed, about 40-45 minutes if using a muffin tin or 55-65 minutes for cake pans (oven temperatures vary, check at the earlier time given). Cakes should be nicely browned around the edges. Transfer pan to a wire rack and let cakes cool in pan for 10 minutes. Run a plastic knife around the rims of cakes and remove to a wire rack to cool completely. If using a cake pan, run plastic knife around perimeter pan, place plate over top and invert onto plate. Place wire rack over cake and invert onto rack, cake will be right side up. Serve once completely cooled.
Notes
Optional: You may add a teaspoon of ground cinnamon or 1/2 teaspoon of cardamom or turmeric to your batter if making plain mochi cakes. Whisk into rice flour in step #3.
Cakes can be frozen for 3 months. Microwave for a few seconds to soften slightly before serving. Or defrost overnight in the refrigerator.
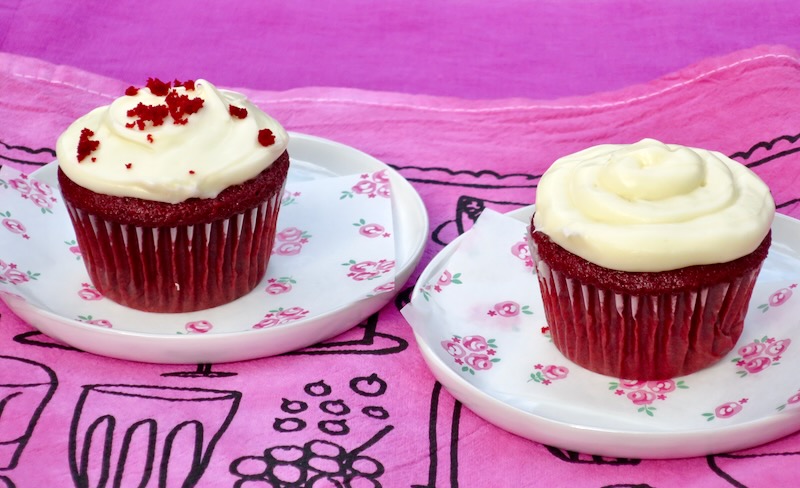
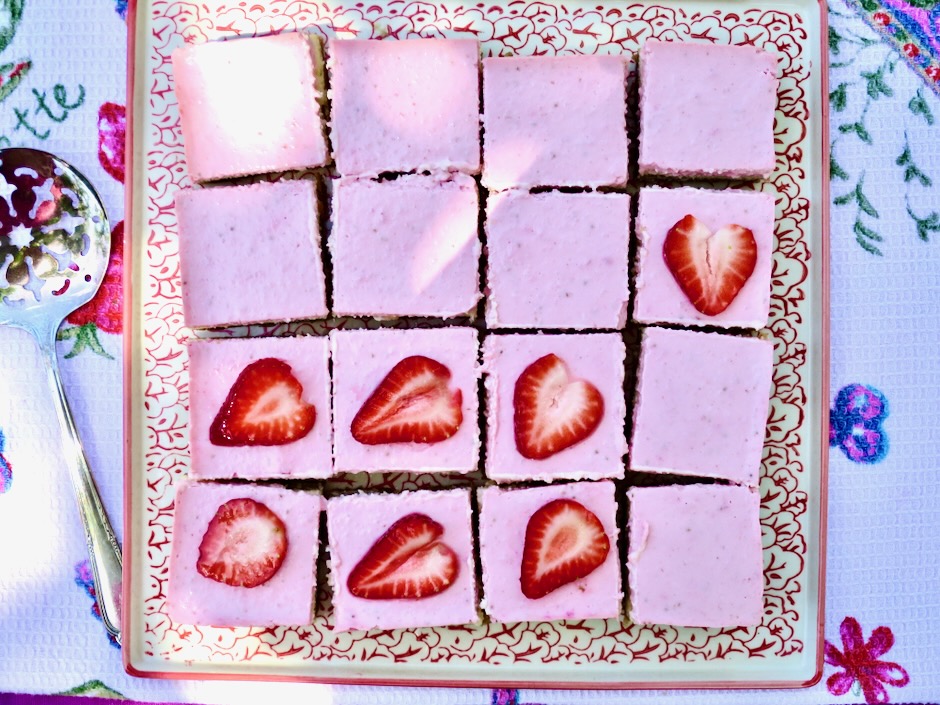
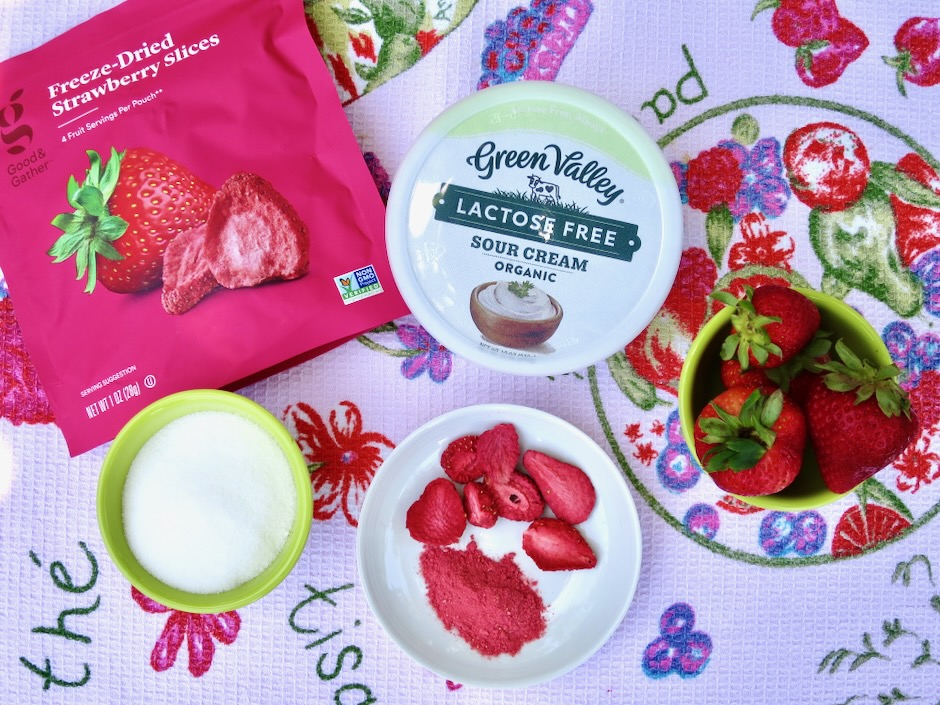
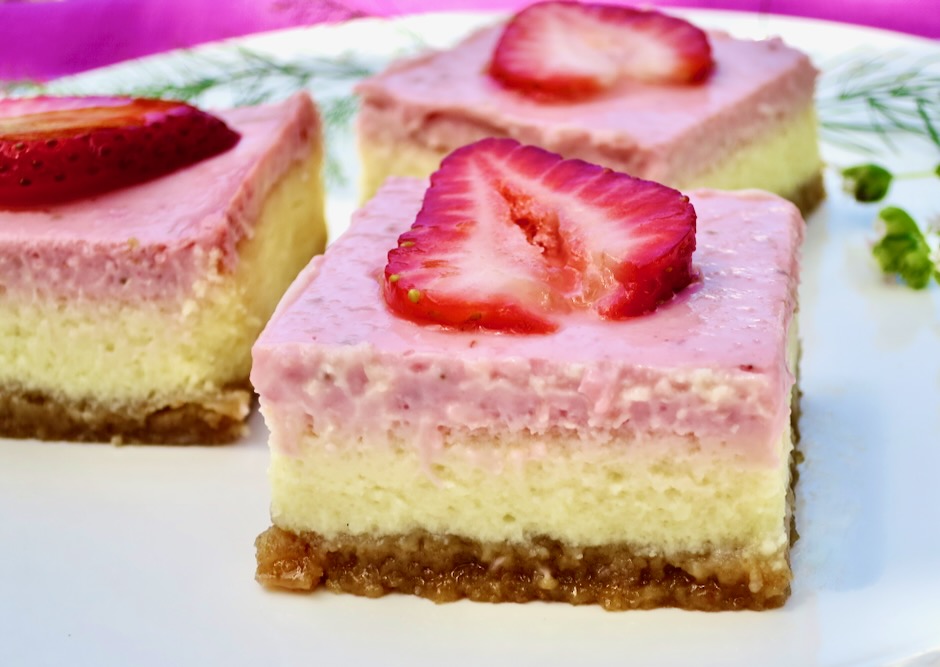
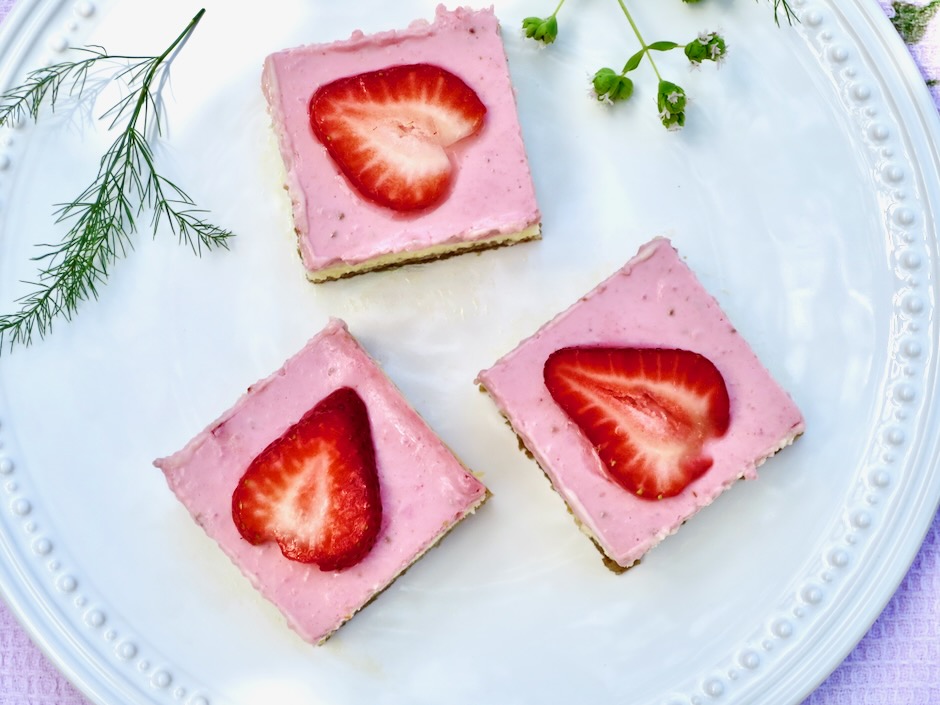
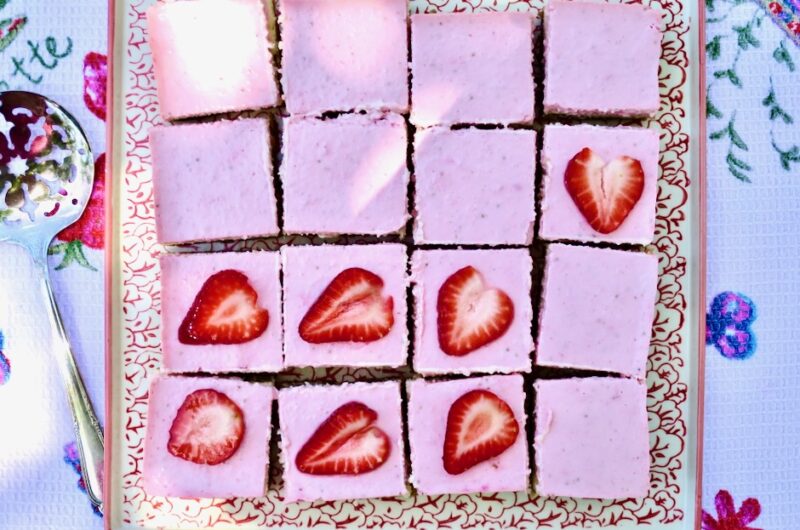
These darling strawberry cheesecake bars are perfect for a light dessert on a summer evening. Fresh strawberries along with sugar and sour cream make up the topping for this not too sweet yet satisfying dessert. This is an easy recipe that anyone can make at home with a few basic ingredients. The one thing to keep in mind is the cheesecake needs to set in the refrigerator for a minimum of 4 hours before serving, so plan ahead. It is sure to be a showstopper at your next gathering.
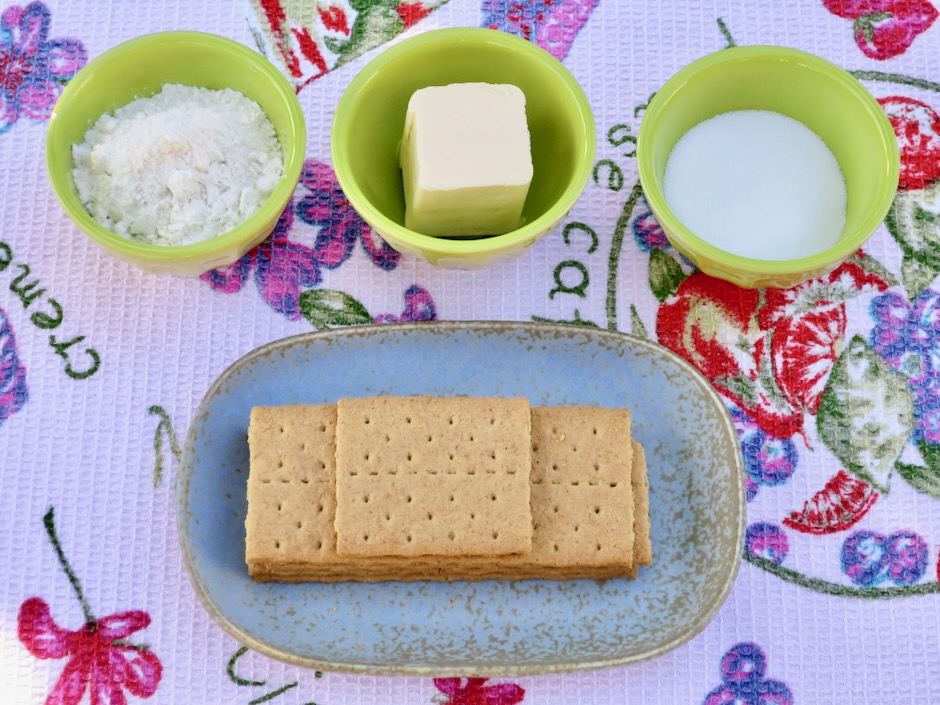
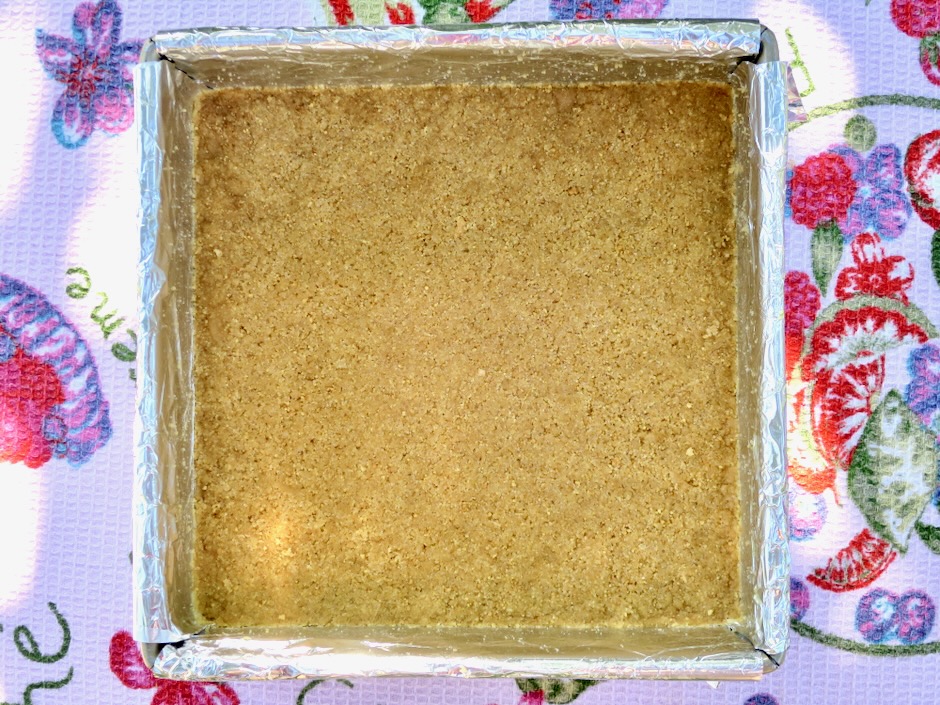
The graham cracker crust couldn’t be easier to make. Flour, butter, sugar, and graham crackers are blitzed in the food processor before being pressed into the pan and baked.
I made half the recipe for a small get together. The full recipe is posted below.
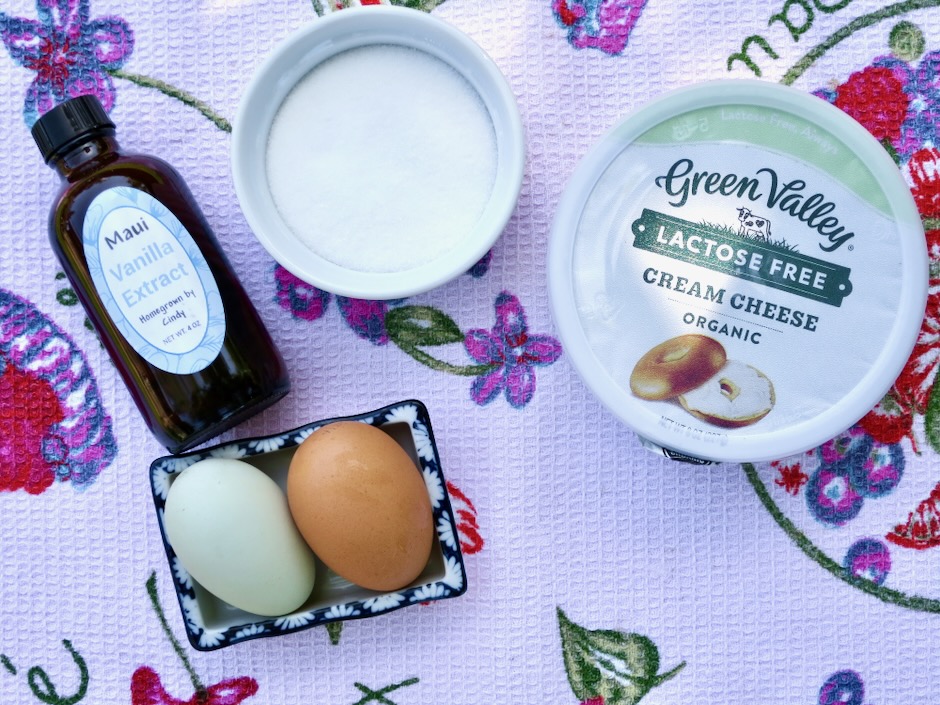
The filling is very easy to prepare. The food processor does all the work.
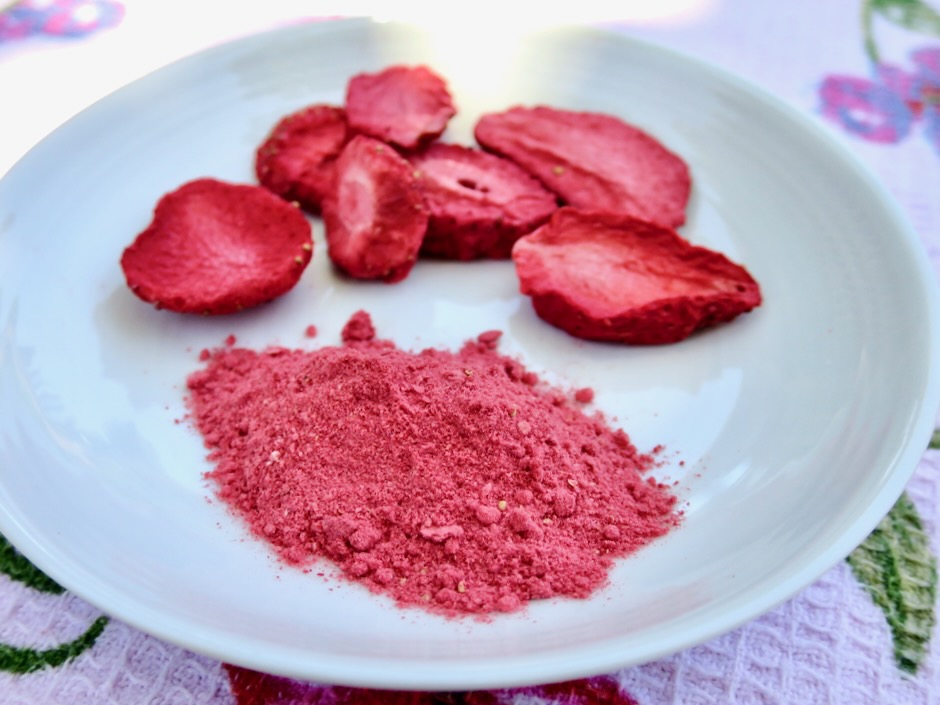
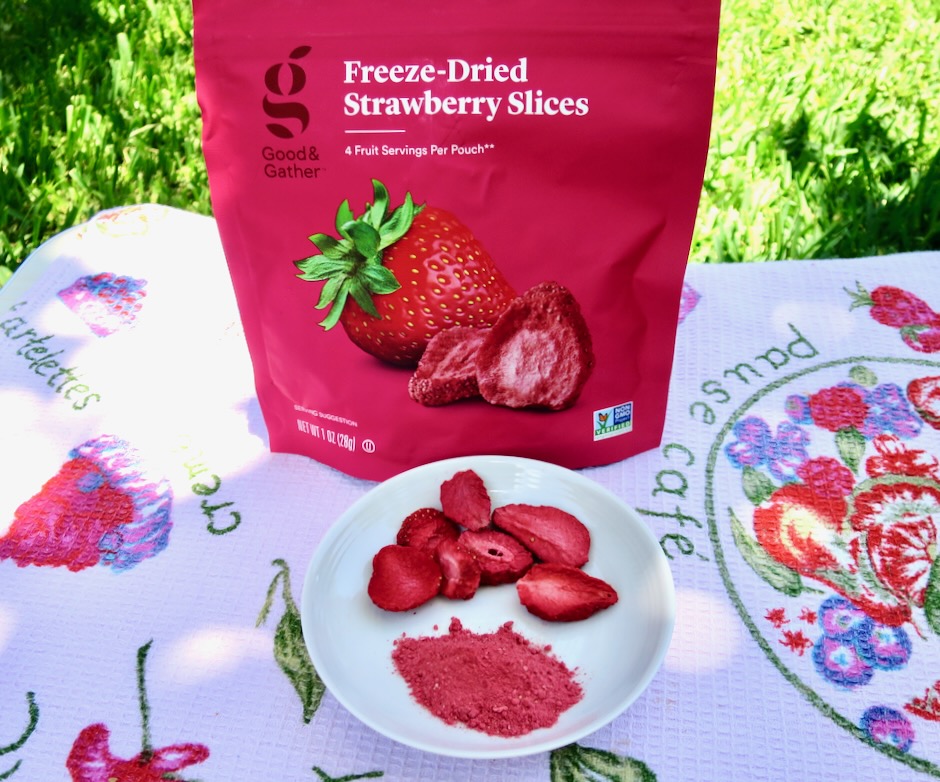
To add an extra boost of strawberry flavor, I used my spice grinder to make strawberry powder with freeze-dried strawberries I bought at Target (some stores sell the powdered form). The strawberry powder adds a fruity punch to the topping.
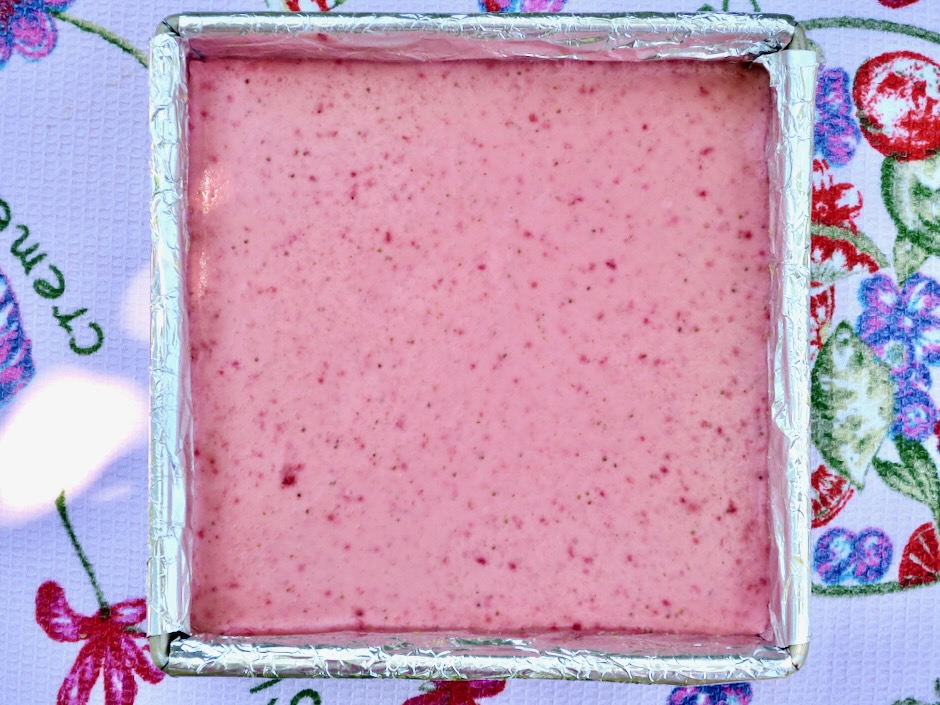
The gorgeous strawberry flecked topping makes the most dreamy dessert for any occasion.
Strawberry Cheesecake Bars
Recipe by Kiyo
Servings
24
servings
7/09/24: Updated weight of graham crackers to 136g Recipe adapted from Cook’s Country
Ingredients
Crust
9 whole graham crackers (136g), broken into pieces
1/2 cup (99g) granulated sugar
3/4 cup (106g) all-purpose flour
1/8 teaspoon salt or 1/4 teaspoon if using unsalted butter
Adjust oven rack to middle position and heat to 300 degrees. Make foil sling for 13×9-inch baking pan by folding 2 long sheets of aluminum foil; first sheet should be 13-inches wide and second sheet should be 9-inches wide. Lay sheets of foil in pan perpendicular to each other, with extra foil hanging over edges of pan. Push foil into corners and up sides of pan, smoothing foil flush to pan. Spray with vegetable oil spray.
For the crust: Process cracker pieces and sugar in food processor until finely ground, about 30 seconds. Add flour and salt and pulse to combine, about 2 pulses. Add melted Buttery Sticks or unsalted butter and pulse until crumbs are evenly moistened, about 10 pulses. Using your hands, press crumb mixture evenly into bottom of prepared pan. Using bottom of dry measuring cup, firmly pack crust into pan. Bake until fragrant and beginning to brown around edges, about 15-20 minutes. Let cool completely.
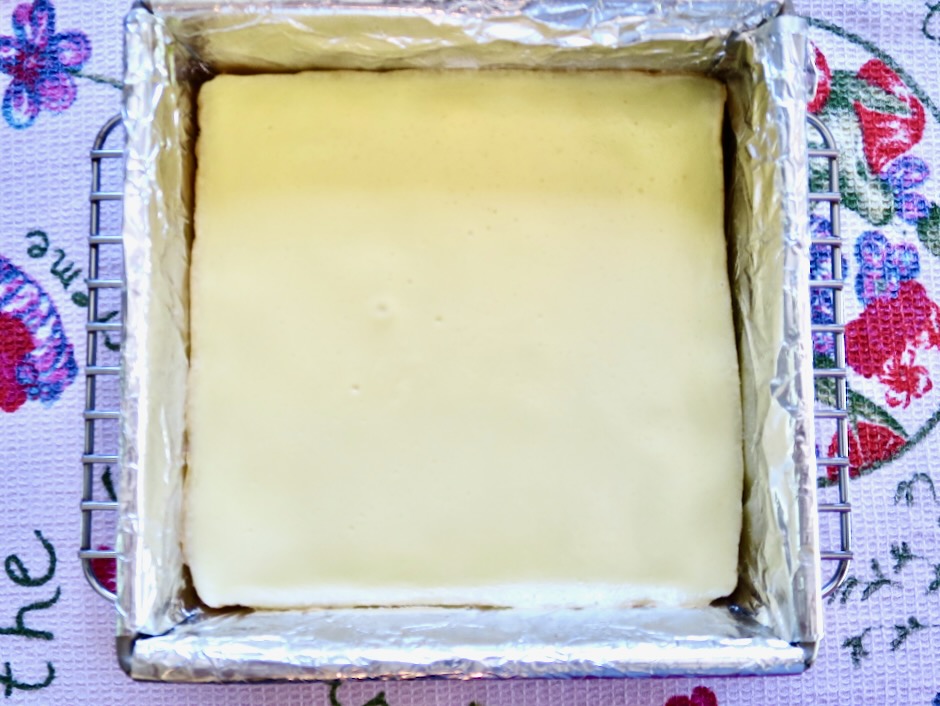
For the filling: In clean, dry processor bowl, process cream cheese and sugar until smooth, about 3 minutes, scraping down sides of bowl as needed. With processor running, add eggs, one at a time, until just incorporated, about 30 seconds total. Scrape down sides of bowl. Add vanilla and process to combine, about 10 seconds. Pour mixture over cooled crust. Bake until center is almost set but still jiggles slightly when pan is gently shaken, about 45 minutes.
For the topping: While filling is baking, in clean, dry processor bowl, process 6 ounces (170g) strawberries and 1/2 cup (99g) sugar until pureed, about 30 seconds. Stir strawberry puree and sour cream in bowl along with pulverized freeze-dried strawberries (if using) until combined. Remove cheesecake from oven. Pour strawberry mixture over cheesecake (cheesecake layer should be completely covered). Return to oven and bake until topping is just set, about 15 minutes. Transfer pan to wire rack and let cheesecake cool completely, about 2 hours. Refrigerate until cold and set, at least 4 hours or up to 24 hours. When ready to serve, slice remaining 5 strawberries thin and gently toss with remaining 1 teaspoon sugar in bowl. Using foil overhand, lift cheesecake out of pan. Cut into 24 squares. Garnish each square with 1 strawberry slice and serve.
Notes
Look for strawberries that are firm but ripe with a fragrant fruity scent. Locally grown strawberries are usually the freshest option.
Cheesecake bars can be frozen for up to 3 months in an airtight container. Defrost in refrigerator overnight.
Everyone loves homemade banana bread. Here’s a delicious version that includes lots of melty chocolate in every bite. America’s Test Kitchen came up with this genius recipe that’s packed with two cups of mashed bananas. It includes cocoa powder and chopped chocolate, hence the name Double Chocolate Banana Bread. And what a treat it is.
If you can find Apple bananas (Manzano) choose them over the common Cavendish bananas. Apple bananas have a sweet and slightly tangy flavor that is far superior to the Cavendish bananas that are commonly found in markets.
This loaf has an ultra-delicious banana flavor thanks to the two cups of mashed bananas in the recipe.
Chopped chocolate transforms this banana bread into something sublime with its melty little pockets of chocolate.
There is a lot of batter for just one loaf pan. I was a bit worried when I peeked through the oven door and saw the batter had risen well over the top rim of the pan. It did not overflow but it was comforting to know there was a baking sheet under the pan just in case. The bread did relax a bit as it baked which was a big relief.
The cake emerges from the oven with the scent of bananas and chocolate and with a splendid crackly sugar topping. The chocolate makes this loaf extra fancy and decadent. It’s the perfect sweet snack for any occasion.
Double Chocolate Banana Bread
Recipe by KiyoCourse: Recipes
Servings
10
servings
Adapted from America’s Test Kitchen
Ingredients
1 1/4 cups (6 1/4 ounces/177g) all-purpose flour
1/4 cup (3/4 ounce/21g) Dutch-processed cocoa powder
1 1/4 teaspoons baking soda
3/4 teaspoon table salt
2 cups mashed very ripe bananas (about 7 Apple bananas or 4 large bananas)
1 cup packed (7 ounces/198g) dark brown sugar
10 tablespoons Miyoko’s vegan butter or regular unsalted butter
2 large eggs
1 bar (4 ounces/113g) bittersweet chocolate, chopped
2 tablespoons Demerara sugar (recommended for a gorgeous crackly topping) or granulated sugar
Directions
Adjust oven rack to middle position and heat oven to 350 degrees. Spray an 8 1/2 by 4 1/2-inch loaf pan with vegetable oil spray. You may also use a 9×5-inch loaf pan.
Whisk flour, cocoa, baking soda, and salt together in a bowl. Whisk bananas, brown sugar, melted butter, and eggs in a large bowl until thoroughly combined. Add flour mixture to banana mixture and whisk gently until just combined (batter will be lumpy). Fold in chopped chocolate.
Place prepared pan on a small rimmed baking sheet. Transfer batter to prepared pan. Bake for 8 minutes then sprinkle demerara or granulated sugar over the top. (You may sprinkle the sugar over the batter before baking but I found that it can be absorbed by the wet batter and will not be as noticeable once the loaf has baked, especially when using granulated sugar). Bake until a toothpick inserted in the center comes out clean, about 60 minutes longer (total baking time is approximately 70 minutes).
Let bread cool in pan on a wire rack for 30 minutes. Tilt pan and gently remove the bread. Let bread continue to cool on the wire rack for at least 30 minutes longer. Serve warm or at room temperature.
Notes
This is a big loaf. The cake will rise well over the top rim of the loaf pan while baking. I followed the directions and placed a rimmed baking sheet under the loaf pan just in case, however, the bread did not overflow. If you don’t have an 8 1/2 x 4 1/2-inch pan use a 9×5-inch pan.
You may freeze the bread for a couple of months. Slice and serve at room temperature.
These cuties are a real treat that I make just once a year. Christmas is close, but you still have time to whip up a small (or large) batch of these crunchy gingerbread cookies. Decorating the cookies is a blast! Both children and adults will be delighted to receive a homemade gingerbread cookie this holiday season.
Through the years of making these cookies I have used several different recipes. This recipe makes delicious cookies that are thin and crispy. It’s a large recipe that will make approximately 45 cookies depending on the size of cookie cutter used. This year I tried Sally’s recipe that uses unsalted butter instead of shortening (I used Earth Balance Buttery Sticks to make it lactose free) and a larger amount of spices. It makes just about 22 gingerbread cookies which is exactly what I wanted this year. The cookies turned out great. I rolled them out a bit thinner than the recipe calls for and baked them longer so that my cookies would be crispy all the way through. If you prefer softer cookies roll them out as the original recipe instructs you to. When rolled out a bit thinner, they turned out to be similar in texture to the original recipe I used in the past so either option works great. Just keep in mind that the dough for both recipes needs to be refrigerated overnight to firm up before rolling out. Kudos to Sally for her always reliable recipes!
As mentioned in this post, I used pasteurized egg whites for the icing in the past. Last year I discovered (late in the game) meringue powder. It’s easier to use and can be easily stored for more cookies next year.
I hope you have the chance to make a small batch of these adorable cookies this holiday season.
Recipes adapted from Sally’s Baking Addiction blog
Ingredients
440g (3 1/2 cups) all-purpose flour (if you do not have a scale use the spoon and level method to measure the flour) + more for rolling
1 teaspoon baking soda
1/2 teaspoon salt (use a scant 1/2 teaspoon if using Earth Balance Buttery Sticks as they contain some salt)
1 tablespoon ground ginger
1 tablespoon ground cinnamon
1/2 teaspoon ground allspice
1/2 teaspoon ground cloves
145g (10 tablespoons) Earth Balance Buttery Sticks or unsalted butter, at room temperature
150g (3/4 cup) packed light or dark brown sugar
200g (2/3 cup) unsulphured molasses such as Brer Rabbit or Grandma’s brand)
1 large egg, at room temperature
1 teaspoon vanilla extract
Royal Icing & Decorating
240g (2 cups) powdered sugar
1 1/2 tablespoons meringue powder
5 tablespoons room temperature water
Assorted sugar sprinkles
Currants for gingerbread cookie eyes
Directions
In a large bowl whisk together the flour, baking soda, salt, and all of the spices. Set aside.
In a large bowl using a hand mixer or stand mixer fitted with a paddle attachment, beat the Earth Balance Buttery Sticks or unsalted butter on medium speed until completely smooth and creamy, about 1 minute. Add the brown sugar and molasses and beat on medium-high until combined and creamy. Scrape down sides of the bowl as needed. Beat in the egg and vanilla on high speed for a full 2 minutes, scraping down the sides and bottom of the bowl as needed.
On low speed, slowly mix the dry ingredients into the wet ingredients. You may use a firm spatula if the dough is too thick for the hand mixer. Once the ingredients are combined, divide the dough (it will be very soft) into 3 even portions and place on separate pieces of plastic wrap and wrap tightly patting gently to form into disk shapes. Transfer disks to a ziplock bag. Chill dough thoroughly for at lest 4 hours and preferably overnight.
Preheat oven to 350 degrees. Position racks in the middle and lower third level (just below the middle). Line 2 large baking sheets with parchment paper. Set aside. Meanwhile, place the dough disks in the freezer for 5-10 minutes. This will make rolling and cutting the cookies much easier if you are making thin and crispy cookies or if you live in a warm climate.
Place a large piece of parchment paper on the counter and flour it generously. Remove 1 disk from the freezer and place on the parchment paper. Sprinkle a bit of flour on the top of the dough disk as well as the rolling pin. For thin cookies roll dough just under 1/4-inch. For softer cookies roll dough 1/4-inch thick. Cut into shapes and transfer to the baking sheets leaving 2-inches of space between them. Transfer dough scraps to the freezer to firm up.
Transfer the cookie sheets to the oven racks (positioned as mentioned above) and bake for 12-14 minutes for crispy cookies (cookies larger than 4-inches), rotating cookie sheets from front to back as well as switching shelves halfway through baking time. For smaller cookies bake for approximately 8-10 minutes. For thinner cookies check doneness after they have baked for 11 minutes as oven temperatures can vary quite a bit. For smaller cookies check after they have baked for 8 minutes. Allow cookies to cool on the pan for 4-5 minutes before transferring to a cooling rack. Continue with the remaining dough. Decorate cookies once they are completely cool. I make my cookies up to 3 weeks in advance and freeze until I am ready to pass them out.
Royal Icing & Decorating Cookies
Place all ingredients in a medium sized bowl with high sides. Using a hand mixer with a whisk attachment, beat on high speed for 1 1/2-2 minutes. If the icing is too thin, add more sugar and if too thick, add a bit of water. This recipe will make enough icing for 35+ medium sized cookies. If you plan to decorate with minimal icing on your cookies, cut the recipe in half.
Transfer icing to a small plastic squeeze bottle for easy application and outlining. Use various colors of sprinkles to make your cookies look fantastic! Allow icing to set completely before transferring cookies to storage containers. Freezing is the best method to keep cookies fresh if not passing out the day they are baked.