Browsing Category

Chocolate

Chocolate, Cookies, Dessert, Recipes

Crispy Peanut Butter Chocolate Chip Cookies

November 3, 2024

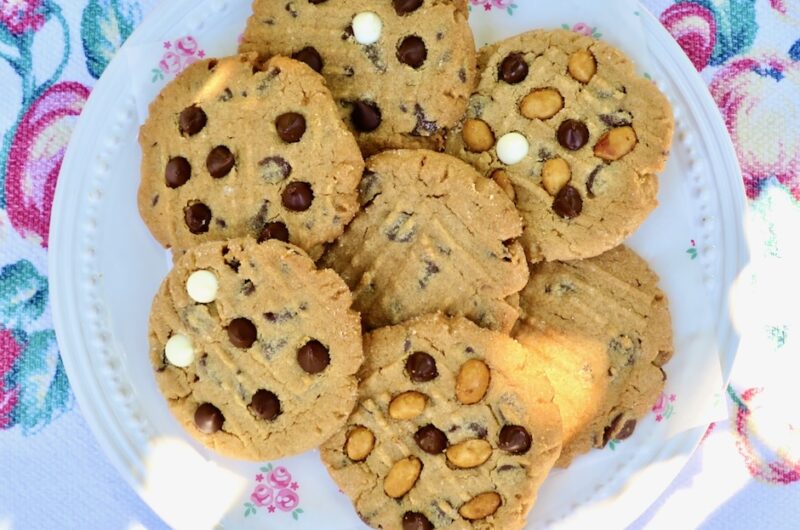
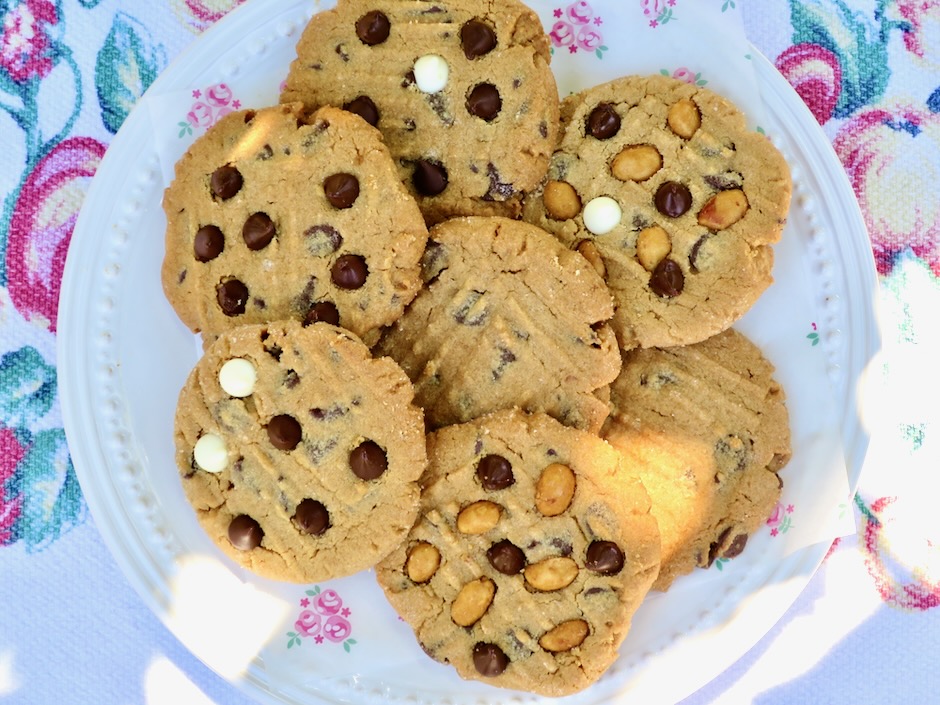
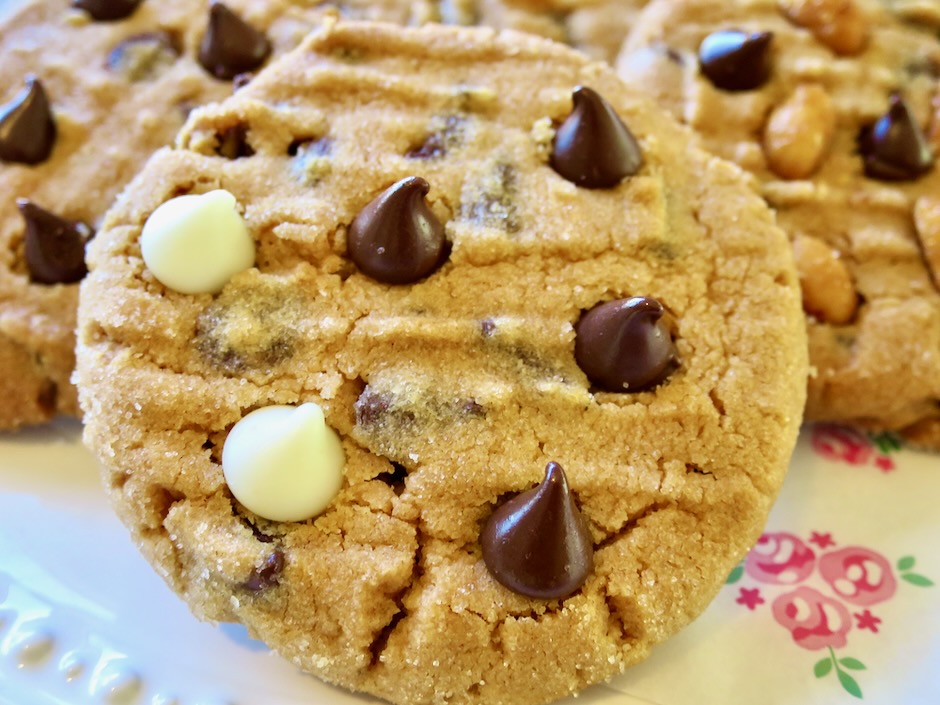
These peanut butter chocolate chip cookies bake up golden brown and delightfully crispy. The perfect balance of peanut butter and melty chocolate makes these cookies irresistible.
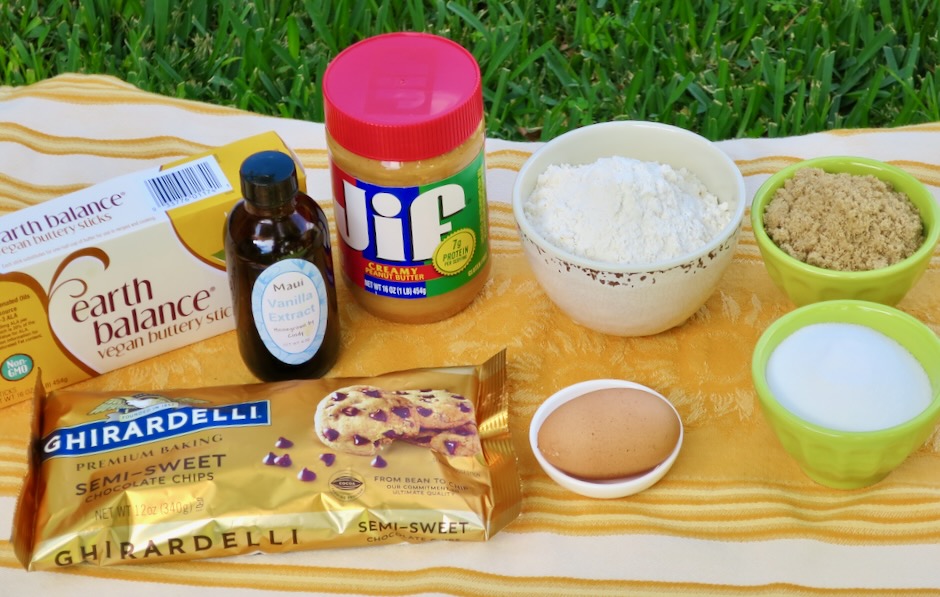
A few simple ingredients will have you have you on your way to some of the best homemade cookies.
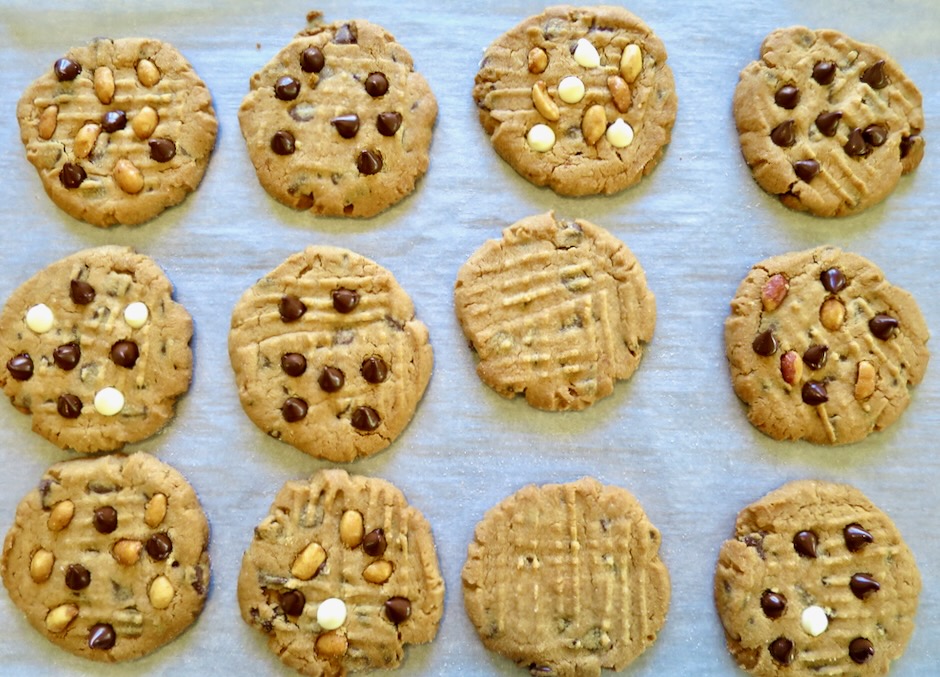
You can add extra chocolate chips and crunchy honey roasted peanuts to make these extra decadent and snazzy looking. Add them as soon as the cookies emerge from the oven. Or simply leave them unadorned, plain and simple for that classic peanut butter cookie look.
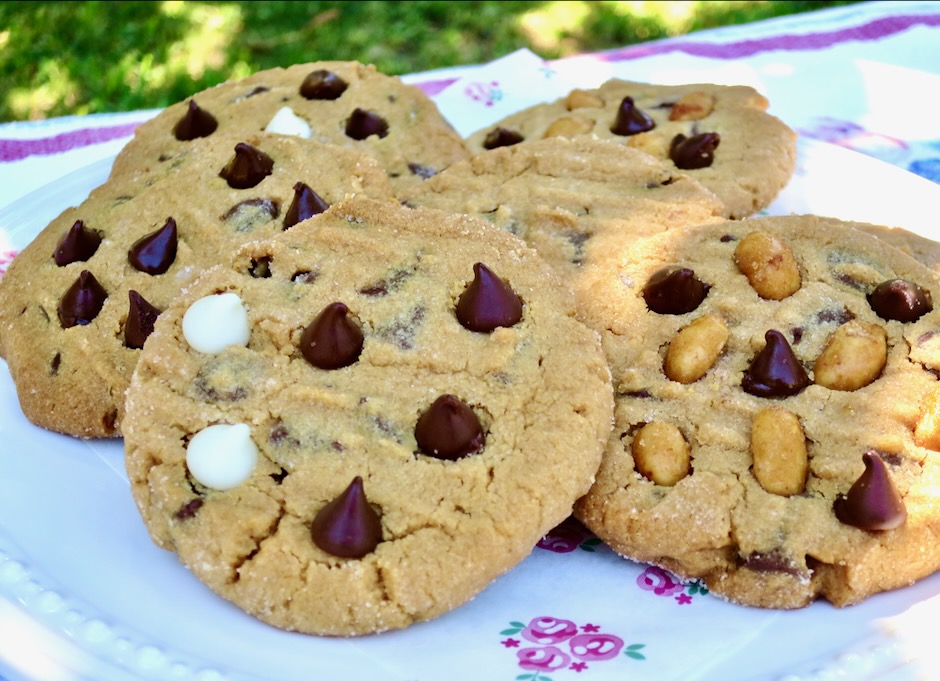
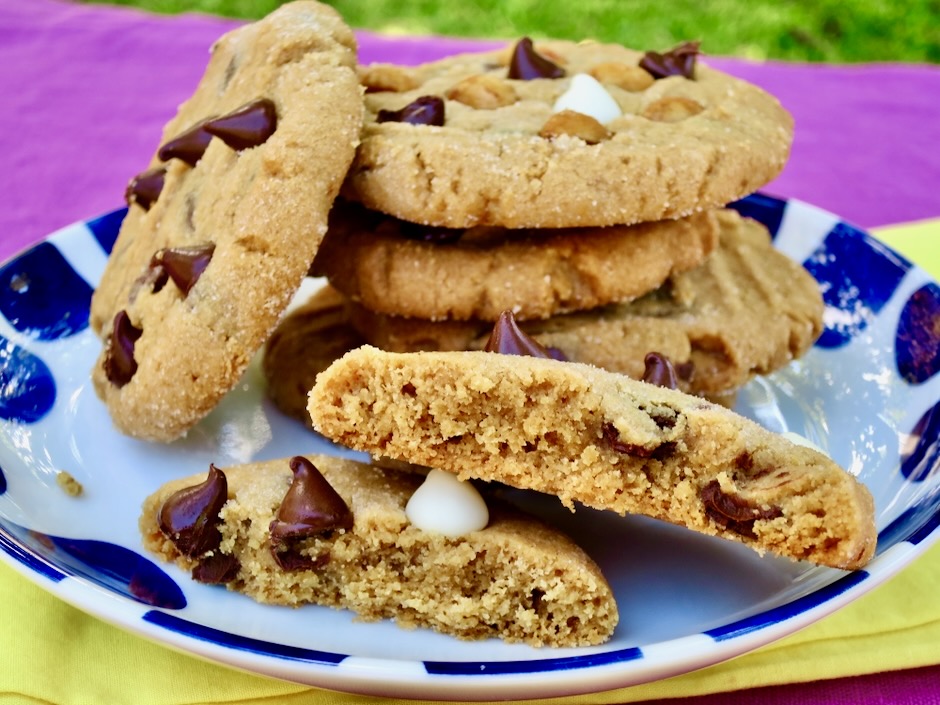
These are delicious once they cool off a bit and the chocolate has time to set. They keep well in the freezer where they are close at hand for those sudden cookie cravings.

Crispy Peanut Butter Chocolate Chip Cookies

Recipe by Kiyo
Servings

24

servings

Recipe adapted from Sally’s Baking Edition blog

Ingredients

  • 1 1/4 cups (156g) all-purpose flour

  • 1/2 teaspoon baking powder

  • 1/2 teaspoon baking soda

  • 1/4 teaspoon fine sea salt

  • 1/2 cup (113g) Earth Balance Buttery Sticks or unsalted butter, at room temperature

  • 1/2 cup (100g) granulated sugar

  • 1/4 cup + 2 tablespoons (75g) packed light brown sugar

  • 1 large egg, room temperature

  • 1 cup (250g) creamy peanut butter such as Skippy or Jif

  • 1 teaspoon vanilla extract

  • 1 cup (180g) semi-sweet chocolate chips

  • 1/2 cup (50g) granulated sugar for rolling (optional)

  • Semi-sweet chocolate chips, white chocolate chips, honey roasted peanuts split in half (optional for decorating)

Directions

  • Whisk flour, baking powder, baking soda, and salt together in a medium bowl. Set aside.
  • Using a hand mixer cream the butter and both sugars together on medium speed until smooth, about 2 minutes. Add the egg and beat on medium high until combined, about 30 seconds. Scrape down the sides and bottom of the bowl as needed. Add peanut butter and vanilla, then beat on medium high until combined.
  • Add the dry ingredients to the wet ingredients and mix on low until combined. Stir in chocolate chips. The dough will be thick and soft. Cover and chill the dough in the refrigerator for 2 hours or up to 2 days. If chilling longer than a few hours, allow the dough to sit out at room temperature for 30 minutes before rolling and baking as the dough will be quite firm and the cookies may not spread.
  • Preheat the oven to 350 degrees. Line 2 baking sheets with parchment paper.
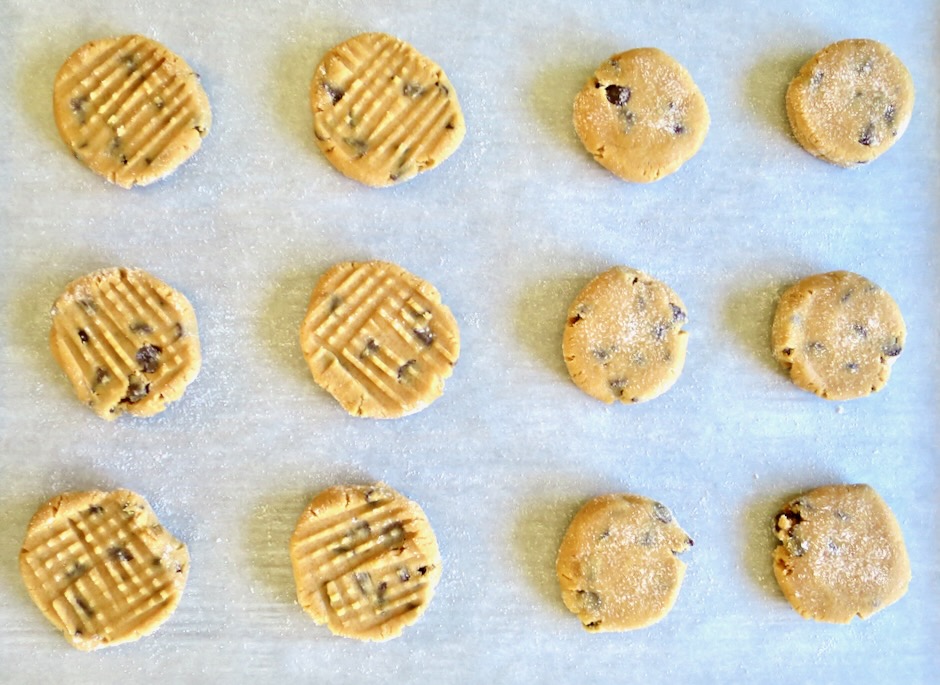
  • Scoop dough and roll into 24 balls (about 38g each for 3-inch cookies). Roll balls in 1/4 cup granulated sugar (optional). Place 12 balls on each cookie sheet. Flatten each dough ball with the bottom of a bowl or use a fork to make a crosshatch pattern.
  • Bake one sheet at a time for 16-17 minutes or until nicely browned. It may take up to 18 minutes depending on your oven. These cookies turn out crispy. If you prefer a softer center, bake until the edges are lightly browned, about 14 minutes.
  • As soon as the cookies are done baking, press in a few extra chocolate chips and/or peanuts while the cookies are still warm and a bit soft (optional). Let cool on the cookie sheet for 10 minutes then transfer to a wire rack and cool completely.

Notes

  • This recipe makes 2 dozen 3-inch cookies. Double the recipe for larger cookies, up to 60 grams each.
Cakes, Chocolate, Dessert, Japanese, Lactose Free, Recipes

Mochi Cakes

August 30, 2024

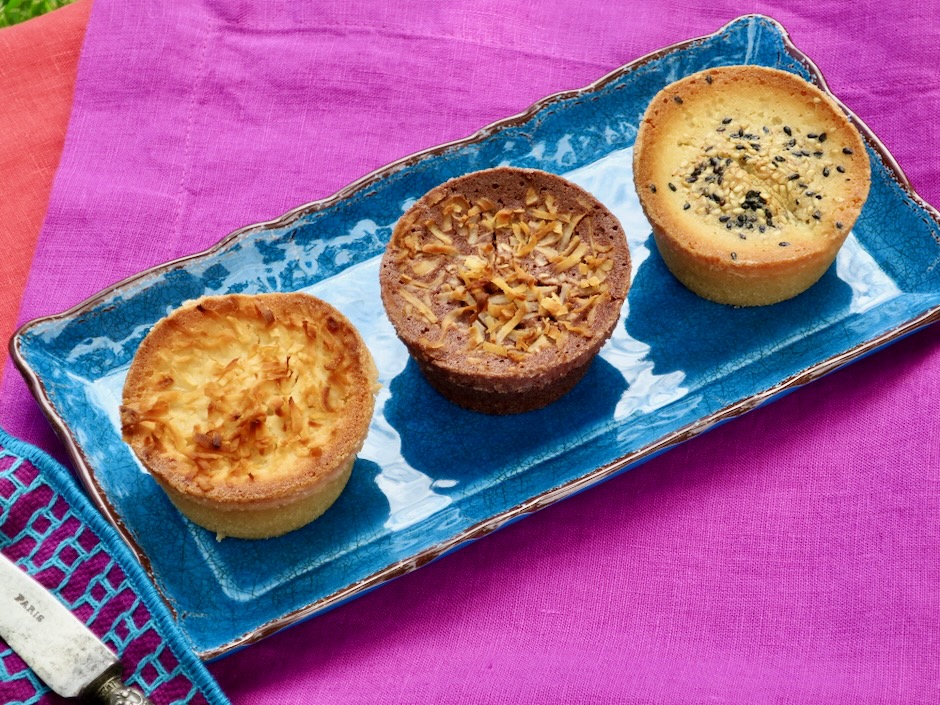
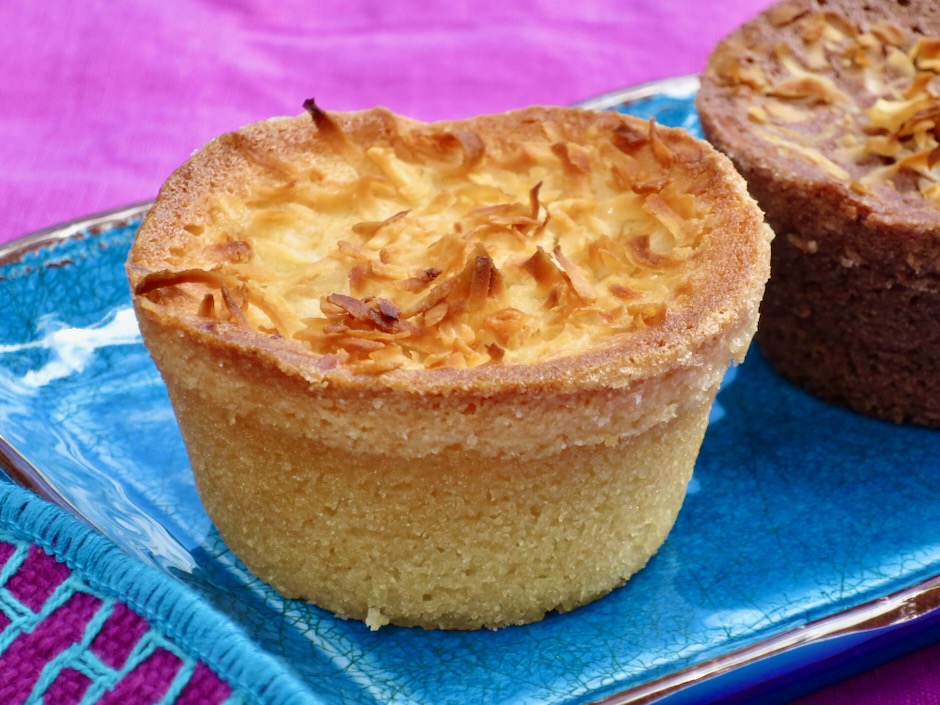
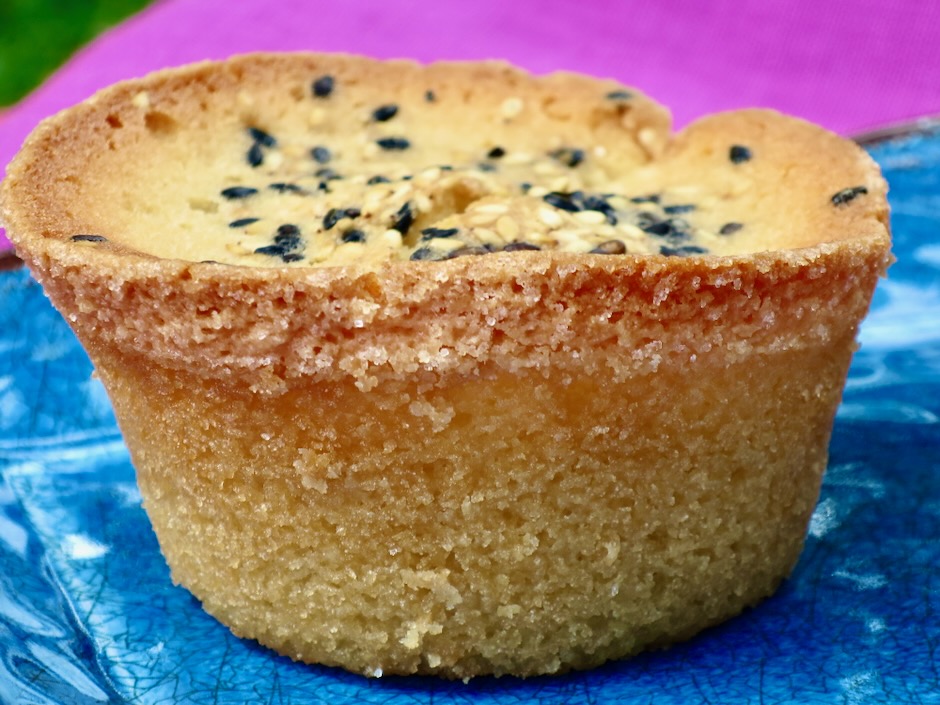
These are by far the best butter mochi cakes that anyone can make at home. They bake up into gorgeous little rounds of deliciousness. The crispy and chewy edges of the mochi cakes are irresistible. Butter mochi is one of the most beloved desserts here in Hawaii. Whether you’re heading to a potluck or just cooking for your family, everyone’s eyes will be on dessert. Its signature chewy yet soft texture and not too sweet flavor are the perfect combination. These delightful mochi cupcakes are so easy to make, perfect to pack up for snacks and picnics, and they freeze well.

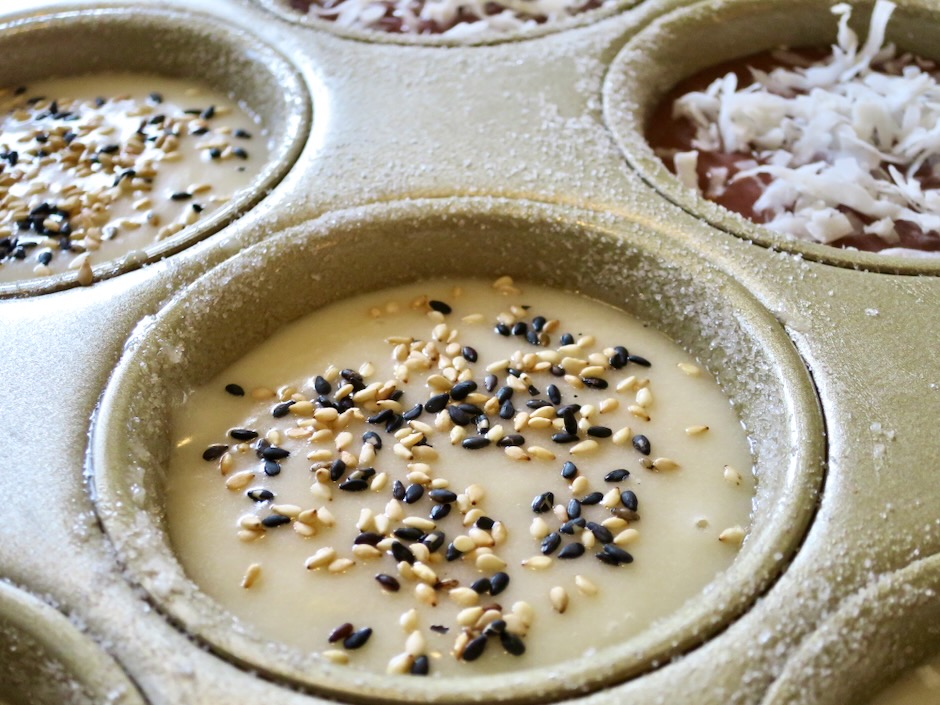
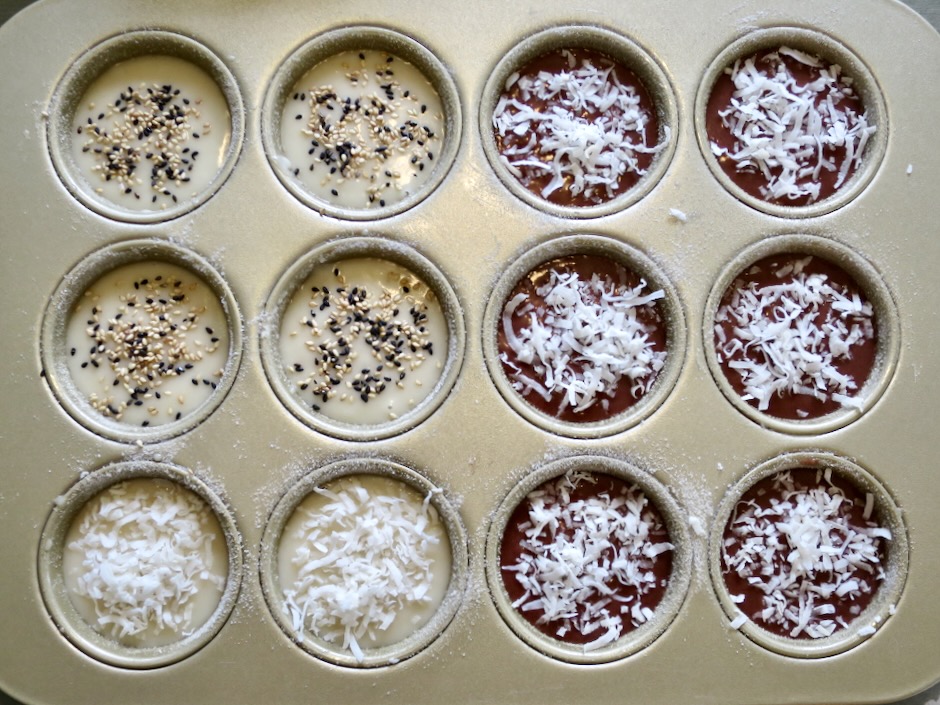
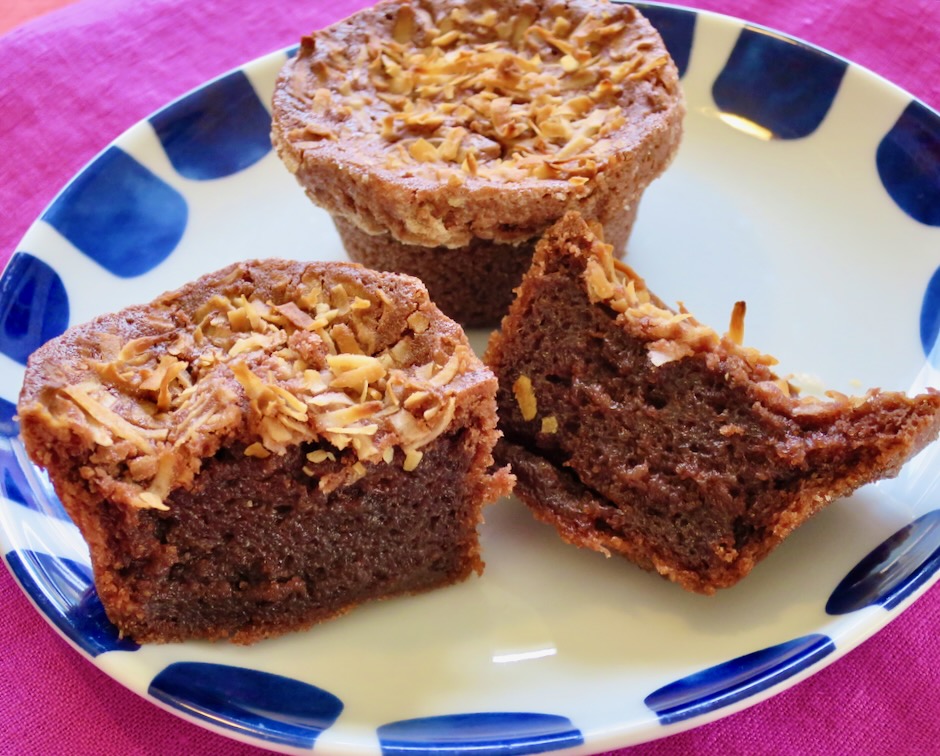
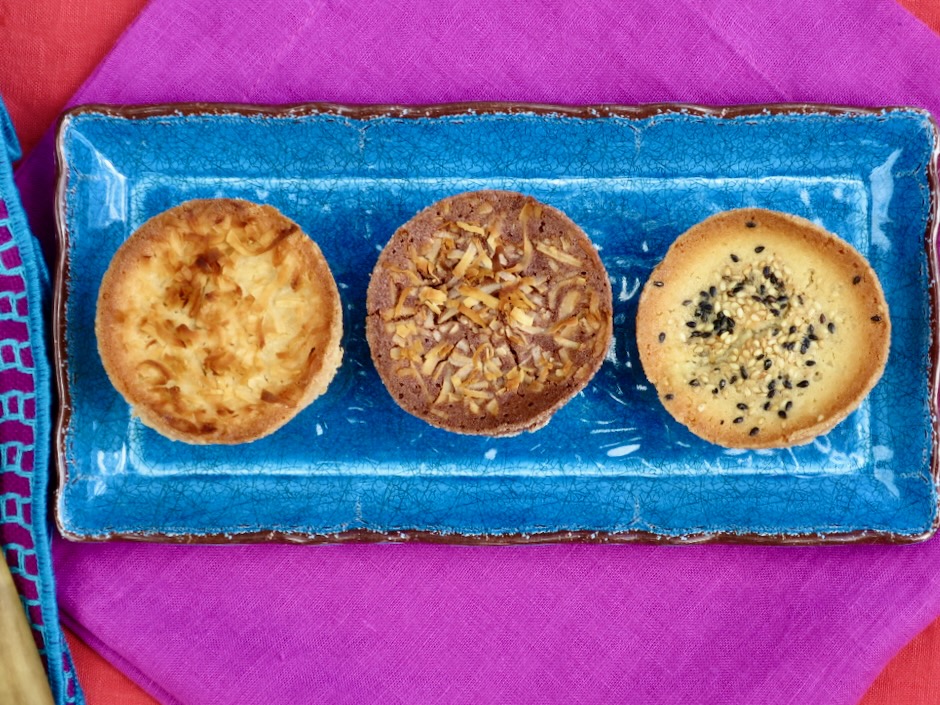
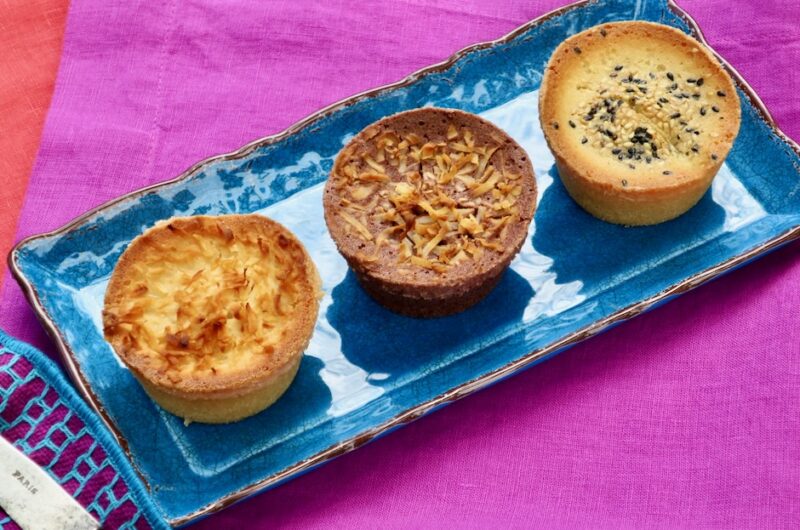
This recipe is very versatile. Make it plain or jazz it up with some coconut flakes, sesame seeds, or chocolate. These additional ingredients make the cakes both charming and distinctive. On a sad note, I recently read that Koda Farms will be closing their business due to rising costs which proved to be overwhelming. They have been everyone’s favorite mochiko flour for nearly 100 years. It was bad news for many of us who have treasured their quality mochiko flour and organic rice. Cheers to Koda Farms for providing their customers with the very best products for so many years.

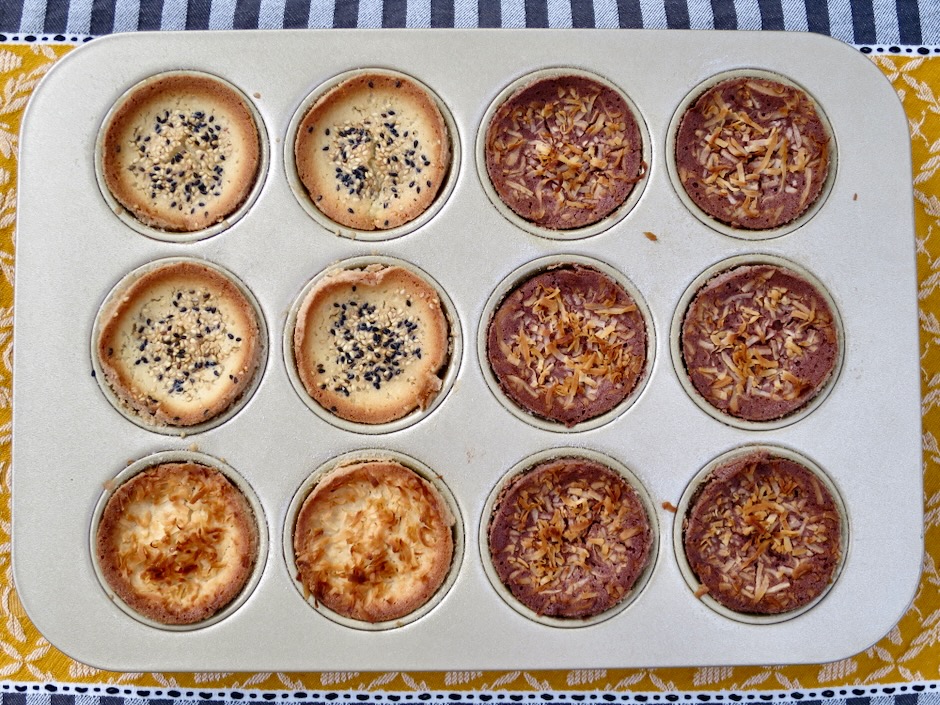
You can make this recipe in a cake pan, but using a muffin tin proved to be the way to go. There’s no need to cut individual pieces when serving and the presentation is quite stunning. Most importantly, you get that crispy, chewy, very desirable texture in every bite.

Just for fun, I divided the recipe in half and made some flavored with cocoa powder. This created a few extra dishes and involved weighing ingredients with a scale. Next time I will make two separate batches, because you can never have too many mochi cakes!

Keep in mind it is perfectly normal for these chewy little treats to be flat or a bit sunken on the top and not domed like cupcakes or muffins.

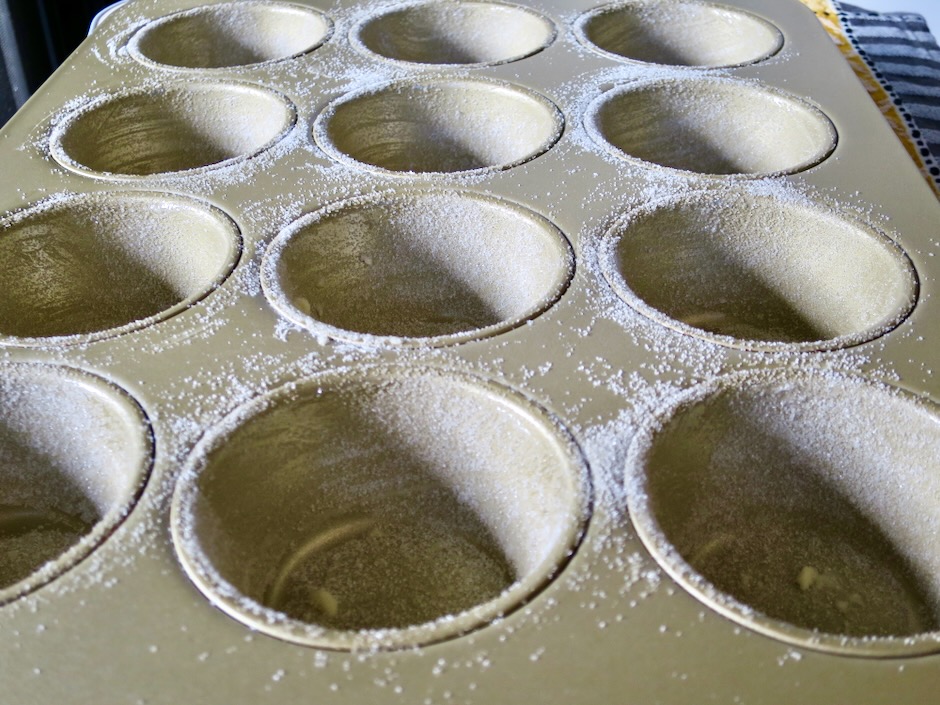
The edges bake up golden brown and crispy. The sugar coated sides add such a nice texture with just a hint of sweetness. Don’t skip the sugar coated pan.

Just one word. Yum!

Mochi Cakes

Recipe by Kiyo
Servings

12

servings

Recipe adapted from Epicurious

Ingredients

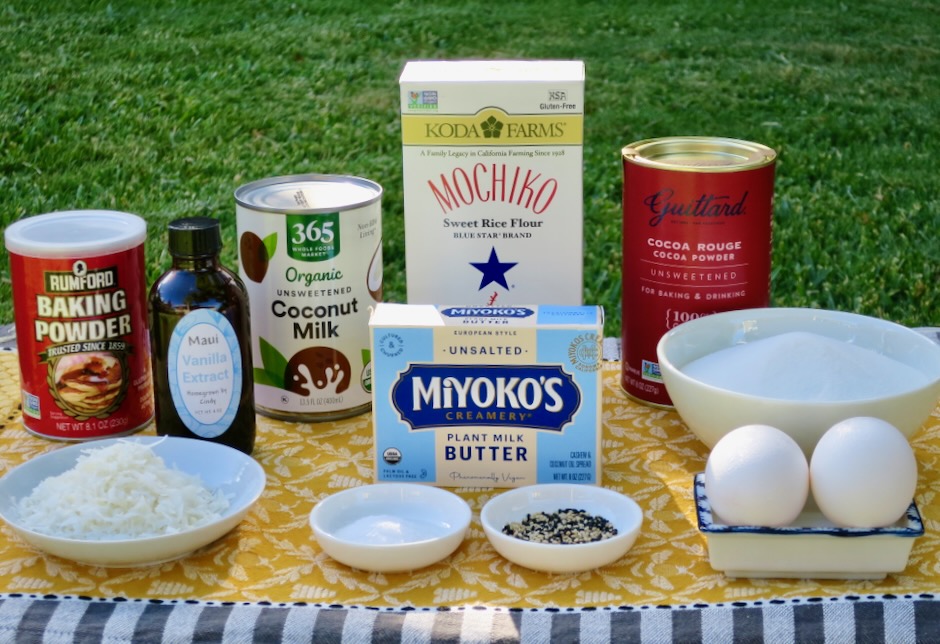
  • 6 tablespoons (85g) Miyoko’s unsalted butter or Earth Balance Buttery Sticks for lactose free version (or regular unsalted butter) melted, plus more for the pan

  • 1 1/2 cups (300g) sugar, plus more for the pan

  • 1 (13.5 ounce) can unsweetened coconut milk (or 1 2/3 cups half & half, lactose free or regular)

  • 2 large eggs

  • 2 teaspoons vanilla extract

  • 1 teaspoon kosher salt

  • 2 cups (254g) mochiko rice flour (preferably Koda Farms brand)

  • 3 tablespoons powdered flavoring of choice (unsweetened cocoa powder, matcha powder, malted milk powder) or 3 tablespoons mochiko rice flour if not using other flavored powder

  • 1 teaspoon baking powder

  • 1/3 cup unsweetened shredded coconut, optional

  • 2 tablespoons black or white (or combination) roasted sesame seeds, optional

Directions

  • Preheat oven to 350 degrees. Butter a standard 12-cup muffin pan, or 9-inch round cake pan, or 8-inch baking pan. Generously coat the pan with sugar, tapping out excess. (Note: If using a muffin pan you will end up with a bit of extra batter. I used a small 4×6-inch baking dish for this. You may also fill two extra muffin pan cavities for a total of 14 mochi cakes).
  • Place 1 1/2 cups sugar and 6 tablespoons melted butter in a large bowl. If using coconut milk, shake the can vigorously before opening it. If the coconut milk is lumpy, whisk it in a small pan over medium heat until smooth. Whisk coconut milk into sugar mixture. If using half & half, whisk directly into sugar mixture. Add eggs, vanilla, and salt and whisk to combine.
  • In a medium bowl, whisk mochiko rice flour, 3 tablespoons powdered flavoring of your choice or 3 additional tablespoons of mochiko rice flour and baking powder. Whisk into egg mixture. Scrape batter into prepared pan and sprinkle with coconut or sesame seeds if using.
  • Bake until edges are lightly browned, tops begin to crack and cake springs back when gently pressed, about 40-45 minutes if using a muffin tin or 55-65 minutes for cake pans (oven temperatures vary, check at the earlier time given). Cakes should be nicely browned around the edges. Transfer pan to a wire rack and let cakes cool in pan for 10 minutes. Run a plastic knife around the rims of cakes and remove to a wire rack to cool completely. If using a cake pan, run plastic knife around perimeter pan, place plate over top and invert onto plate. Place wire rack over cake and invert onto rack, cake will be right side up. Serve once completely cooled.

Notes

  • Optional: You may add a teaspoon of ground cinnamon or 1/2 teaspoon of cardamom or turmeric to your batter if making plain mochi cakes. Whisk into rice flour in step #3.
  • Cakes can be frozen for 3 months. Microwave for a few seconds to soften slightly before serving. Or defrost overnight in the refrigerator.
Chocolate, Dessert, Holiday Treats, Recipes

Triple Chocolate Brownies

June 12, 2023

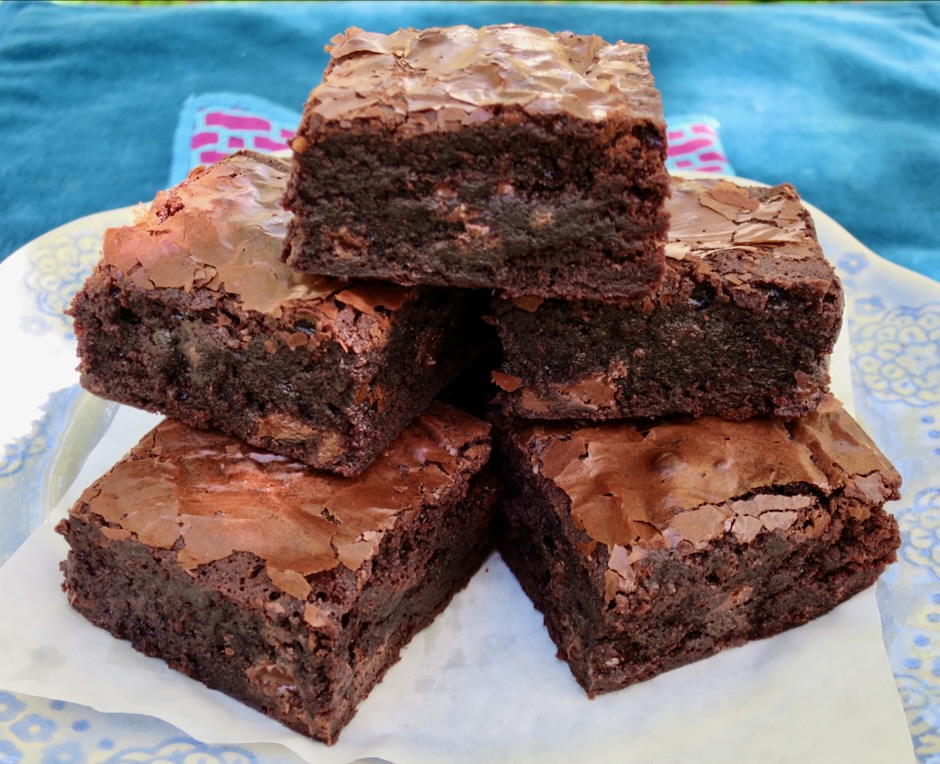
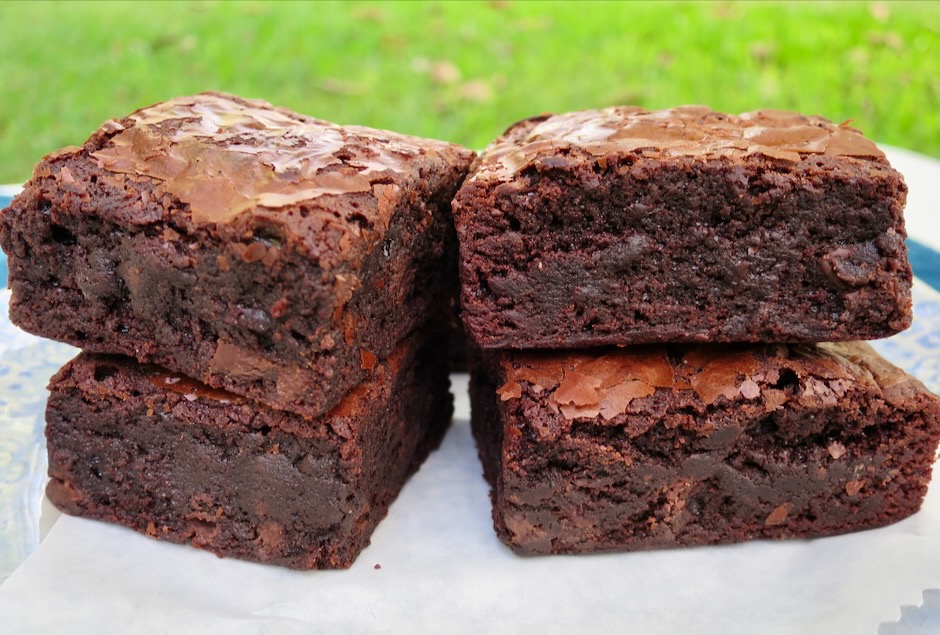
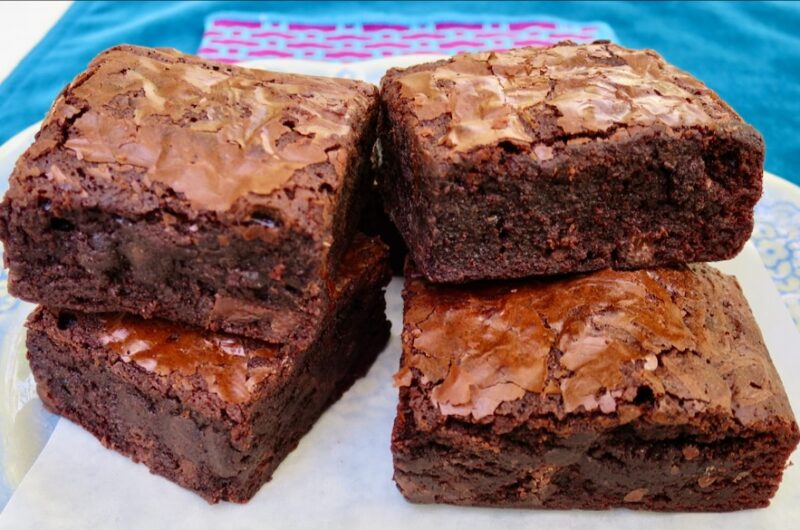
Chris Morocco, Food Director at Bon Appetit magazine, calls these the “fudgy, crackly brownies of my dreams.” Chris baked 144 brownies before declaring these his ideal version of brownies. His hard work, patience and determination paid off. With three types of chocolate, hence the name Triple Chocolate Brownies, these rich and decadent brownies have become one of my favorite chocolate desserts.

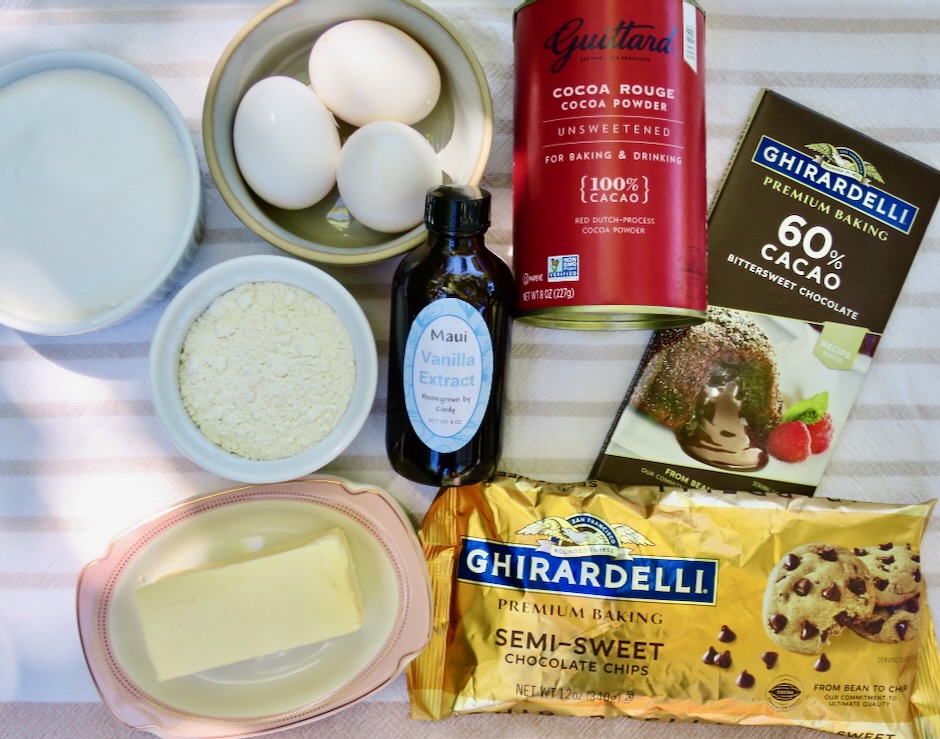
The original recipe recommends using 70% bittersweet chocolate but I used 60% since it was what I had on hand.

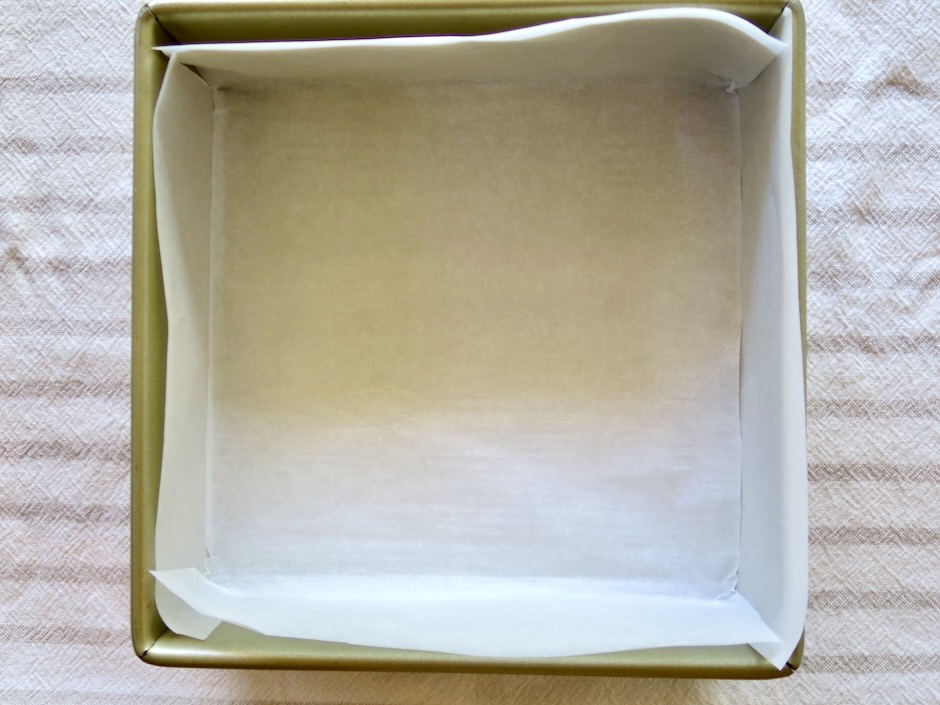
Lining the pan with parchment paper will make it much easier when it’s time to lift out the brownies once they are cooled. Since parchment paper is a bit stiff, it’s best to cut two separate pieces that are the same dimensions, then overlap them. This will allow for neater corners.

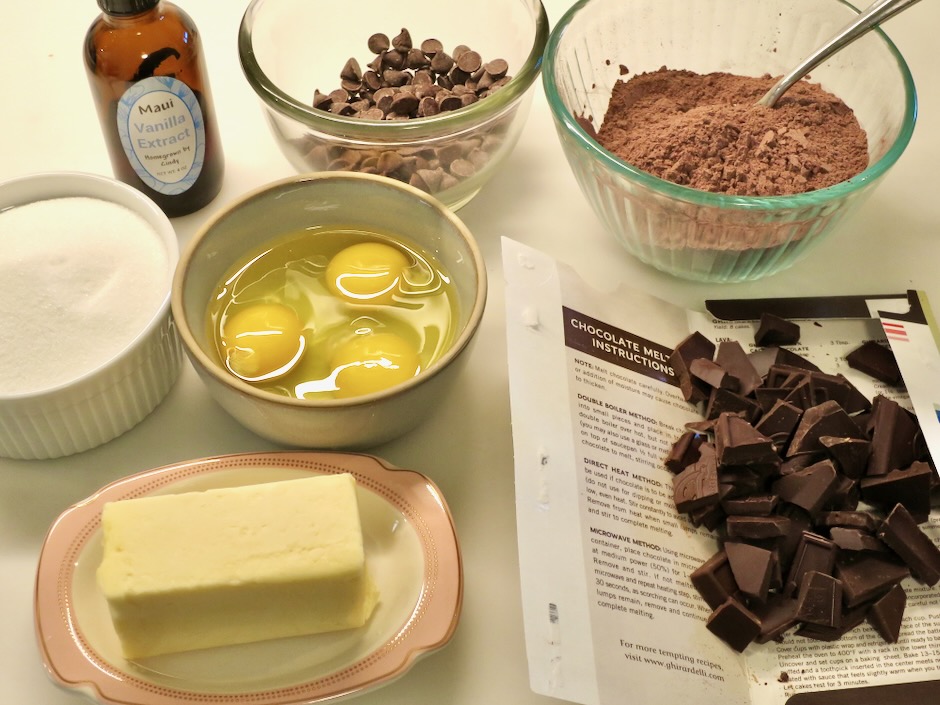
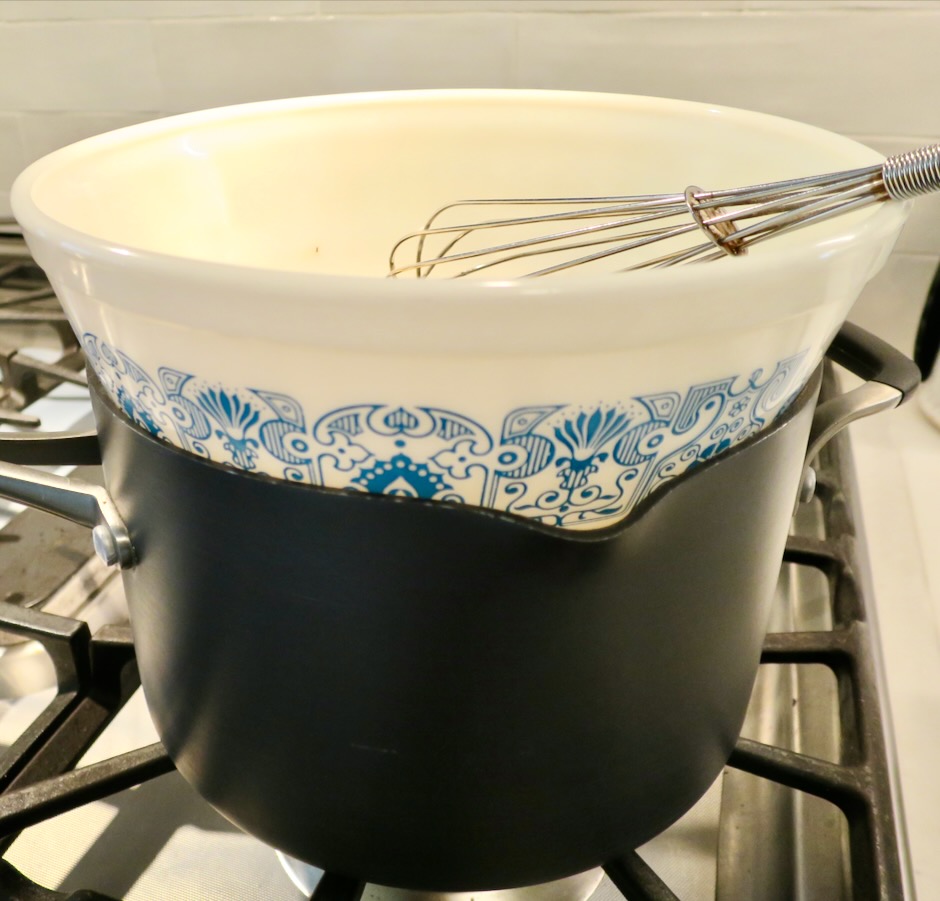
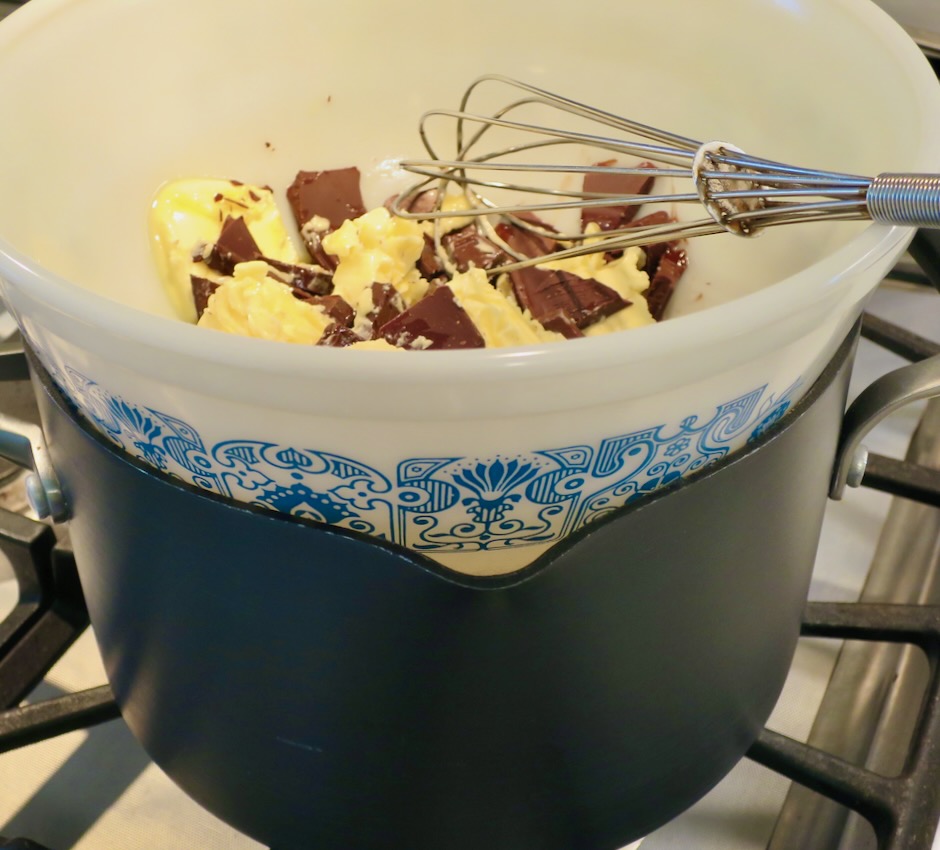
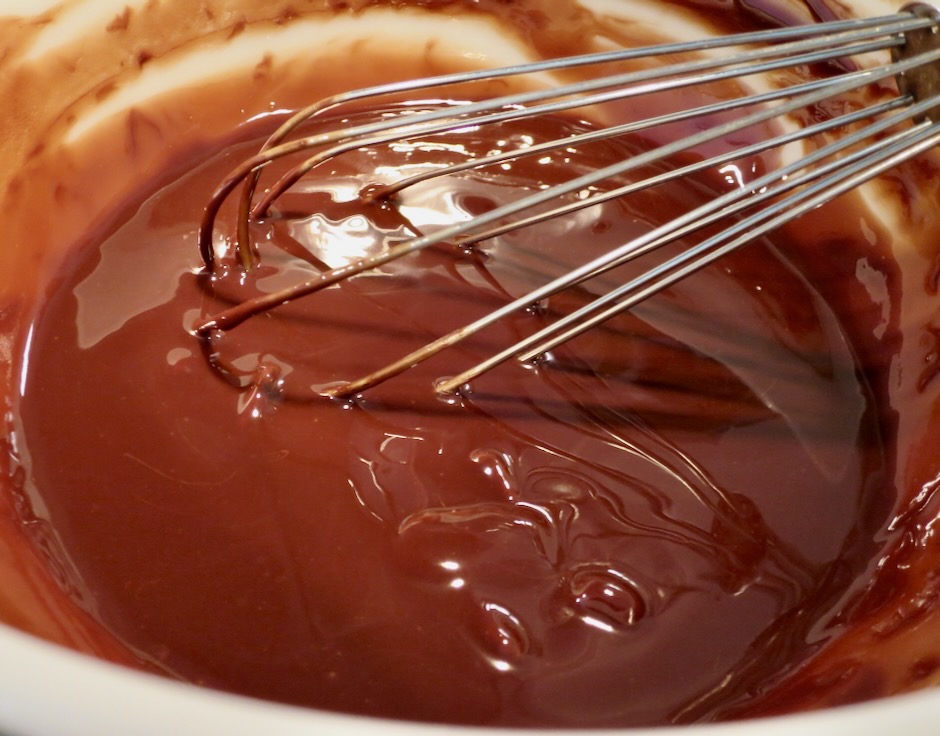
Butter and bittersweet chocolate are melted in a bowl set over a saucepan with barely simmering water.

Sugar and eggs have been added to the butter and chocolate mixture.

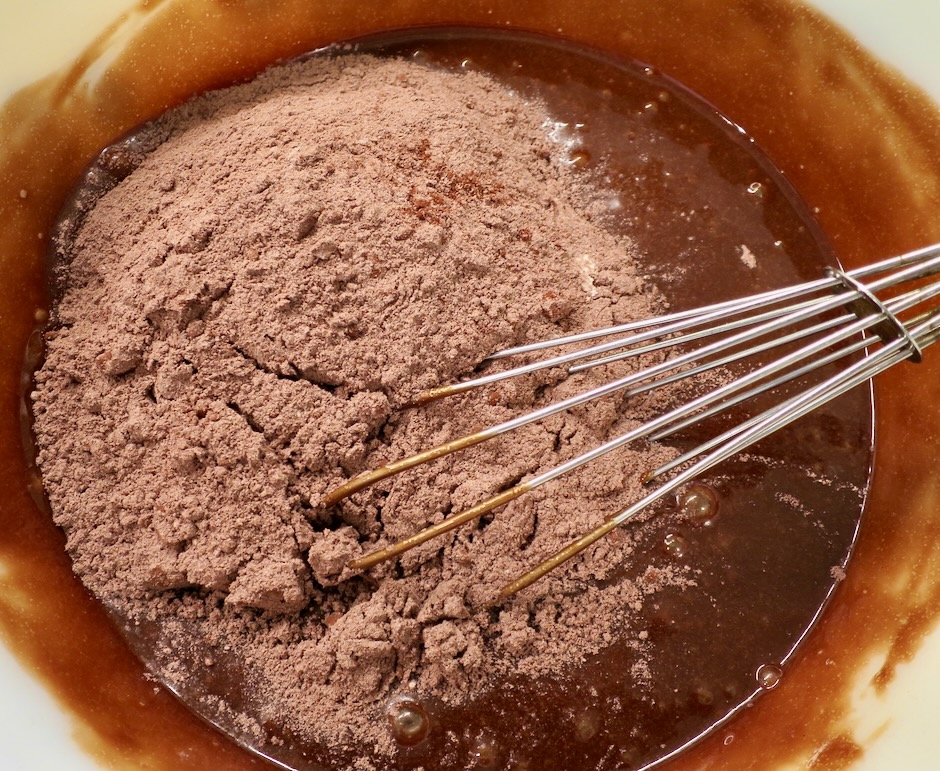
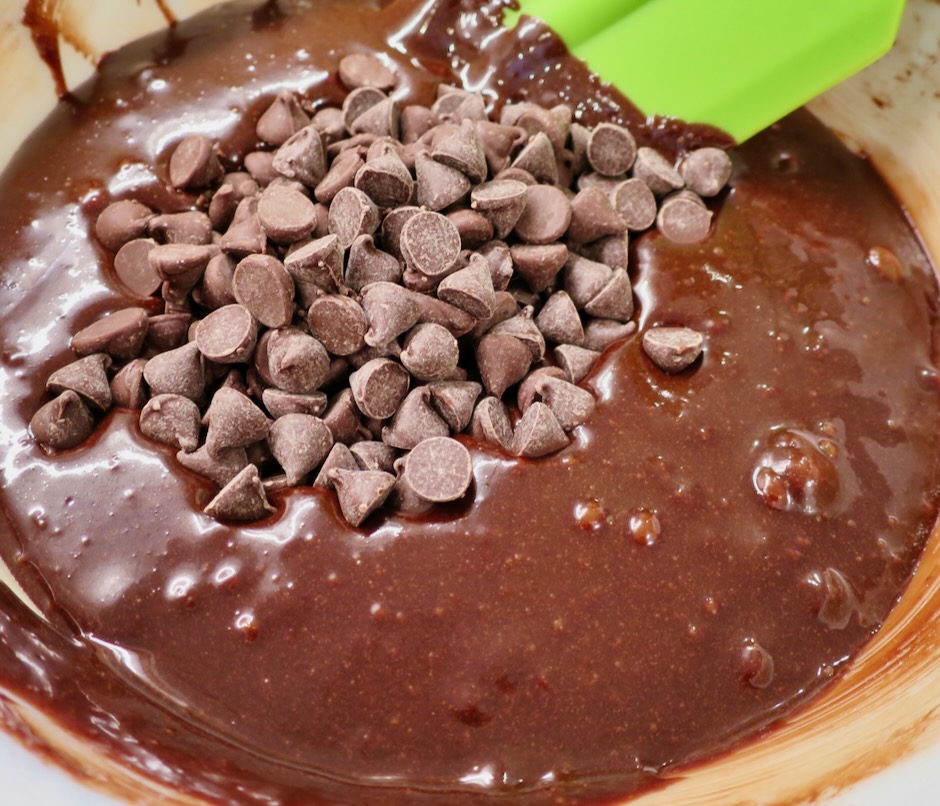
Once the bowl is removed from the heat, the vanilla extract, dry ingredients, and chocolate chips are mixed in.

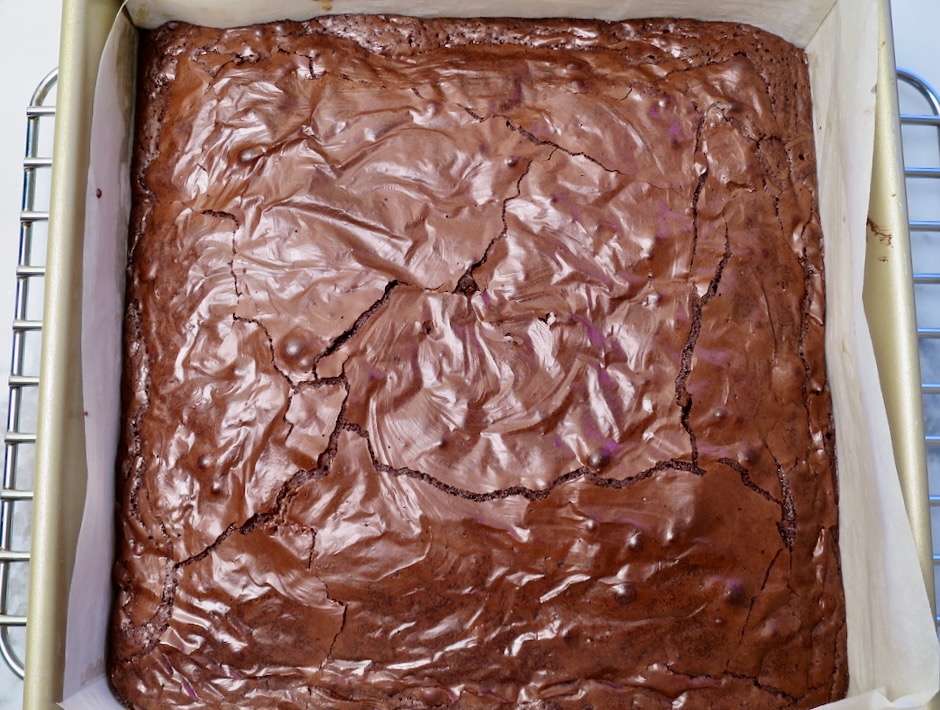
Look at that gorgeous shiny, crinkly top. These are exquisite chocolate-loaded brownies that have perfect rich, fudgy centers and slightly crisp edges.

Triple Chocolate Brownies

Recipe by Kiyo
Servings

12-16

servings

Recipe adapted from Bon Appetit magazine

Ingredients

  • Nonstick vegetable spray

  • 1/2 cup (62g) all-purpose flour

  • 1/2 cup (50g) Dutch-process cocoa powder (such as Guittard cocoa rouge)

  • 1 1/4 teaspoons Diamond Crystal or 1/2 teaspoon Morton kosher salt (increase Diamond Crystal to 1 1/2 teaspoons and Morton to 3/4 teaspoon when using unsalted butter)

  • 1/2 cup (1 stick) Earth Balance Buttery Sticks or unsalted butter

  • 4 ounces (113g) bittersweet chocolate (60% or 70%) broken into pieces

  • 1 1/4 cups (250g) granulated sugar

  • 3 large eggs

  • 1 tablespoon vanilla extract

  • 4 ounces (113g) semisweet chocolate chips

Directions

  • Preheat oven to 375 degrees. Line an 8×8-inch baking pan with parchment paper, leaving a generous overhang on two sides. Lightly coat parchment with nonstick spray.
  • Whisk flour, cocoa powder, and salt in a small bowl to combine.
  • Combine Earth Balance Buttery Stick (or unsalted butter) and bittersweet chocolate pieces in a medium heatproof bowl set over a saucepan of barely simmering water (bottom of bowl should not be touching water, see photo above). Heat, stirring occasionally, until chocolate is melted and smooth, about 5 minutes.
  • Whisk in granulated sugar, then add eggs one at a time, whisking very vigorously between additions. Once all eggs are incorporated, continue to whisk 1 minute more. Remove bowl from heat and whisk in vanilla extract, then whisk in dry ingredients. Using a rubber spatula, stir in semisweet chocolate chips. Scrape batter into prepared pan; smooth surface.
  • Bake brownies until set across top and tester inserted into the center comes out with just a few moist crumbs attached, 27-30 minutes. Let cool in pan at least 1 hour before removing from the pan and cutting into 12-16 pieces. If you live in a warm climate, transfer the pan to the refrigerator once cool enough to place on the refrigerator shelf and chill for 30 minutes. This will help firm up the brownies.

Notes

  • Thoroughly cooled brownies can be frozen in an airtight container (separate layers with wax paper) for a few months.
Follow

Get every new post delivered to your Inbox

Join other followers: