Browsing Category

Cheese

Appetizers, Cheese, Dinner, Kimchi, Korean, Mexican, Recipes, Vegetarian

Kimchi Quesadillas

January 6, 2024

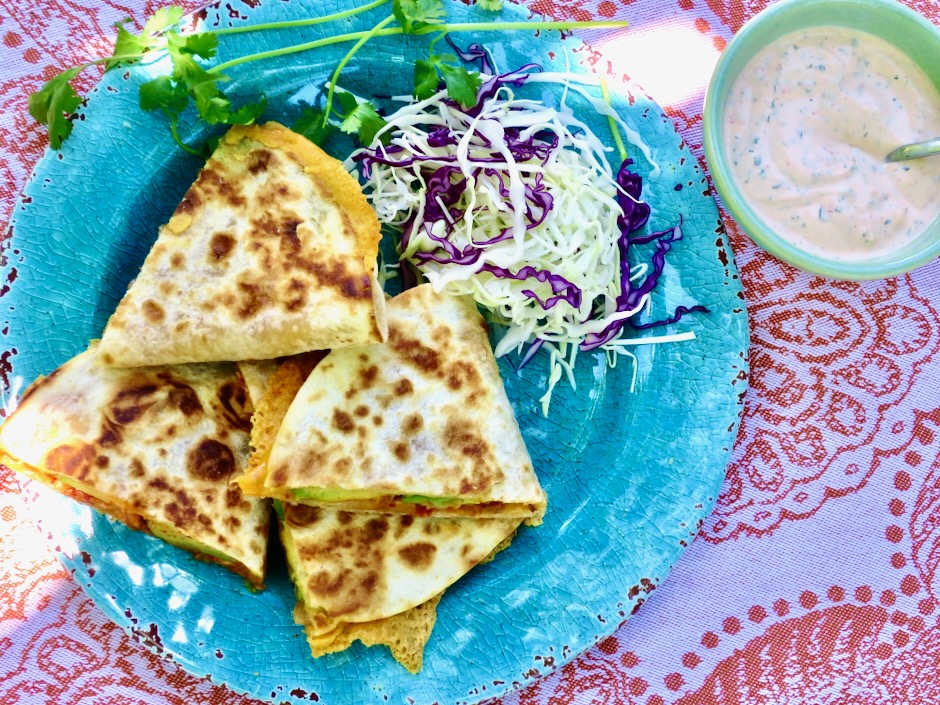
Mexican food is one of the most beloved cuisines in the world and for good reason. The wide variety of distinctive flavors used in Mexican cuisine create bold, flavorful dishes. This hybrid Mexican-Korean quesadilla is a tasty way to use some of your homemade kimchi. The fiery flavor of the kimchi combined with melted cheese in a warmed flour tortilla is delicious.
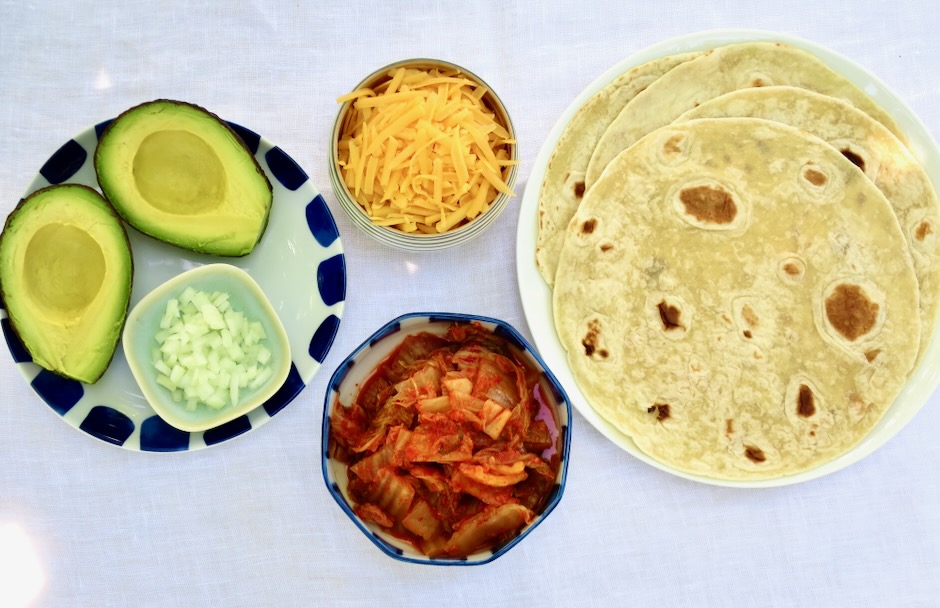
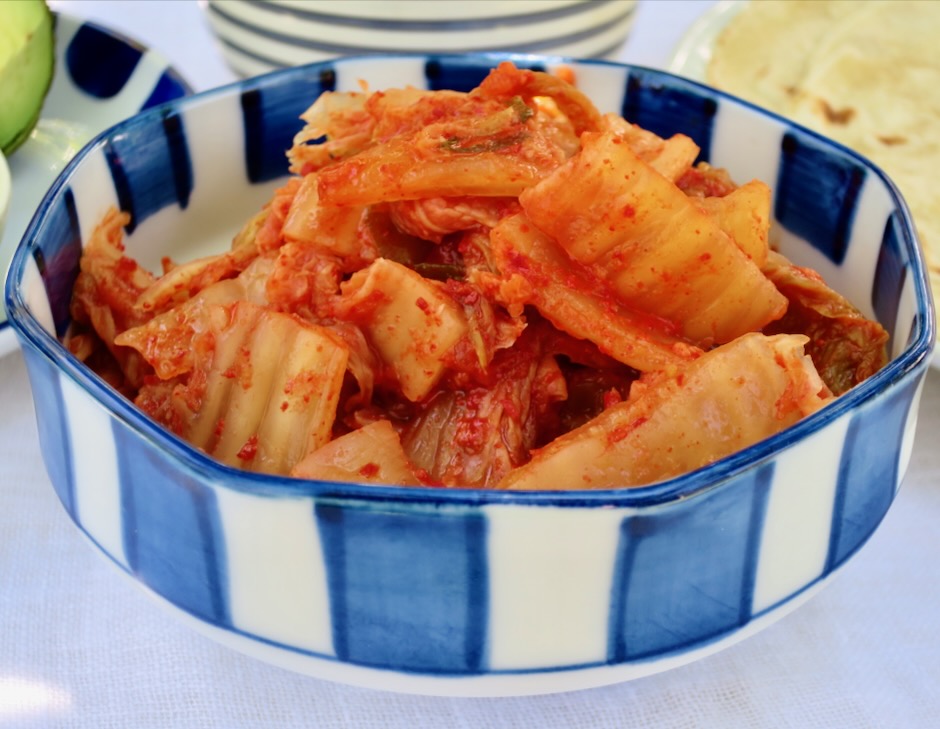
I try to keep a jar of homemade kimchi in the refrigerator at all times. There are so many dishes I love to use it in. Noodles, soup, kimchi & Spam fried rice make tasty meals.
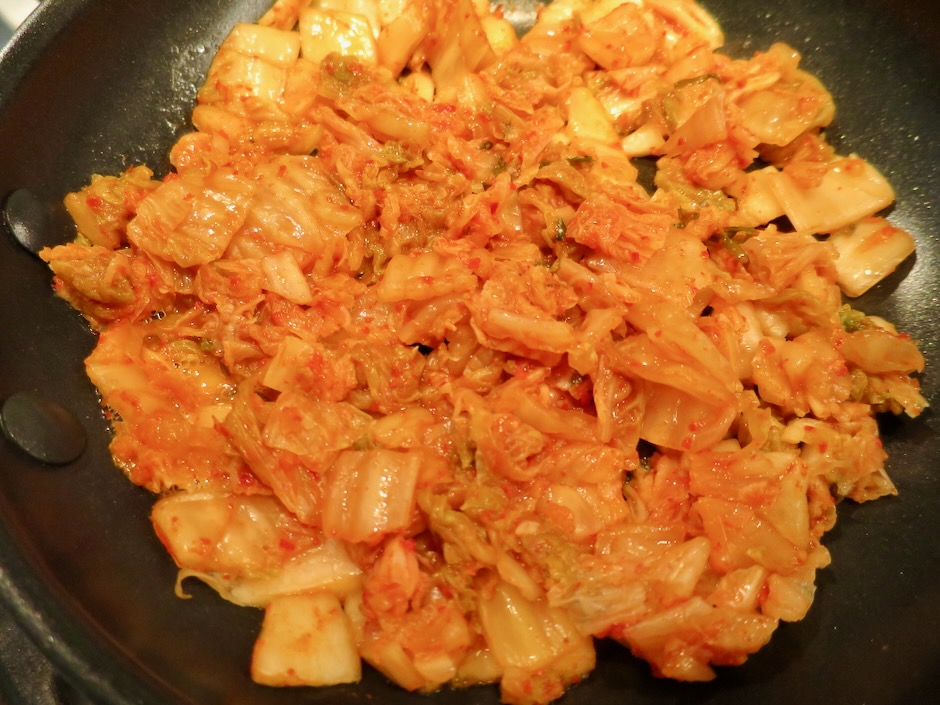
Pan frying the kimchi in a dab of butter will help to decrease the liquid a bit.
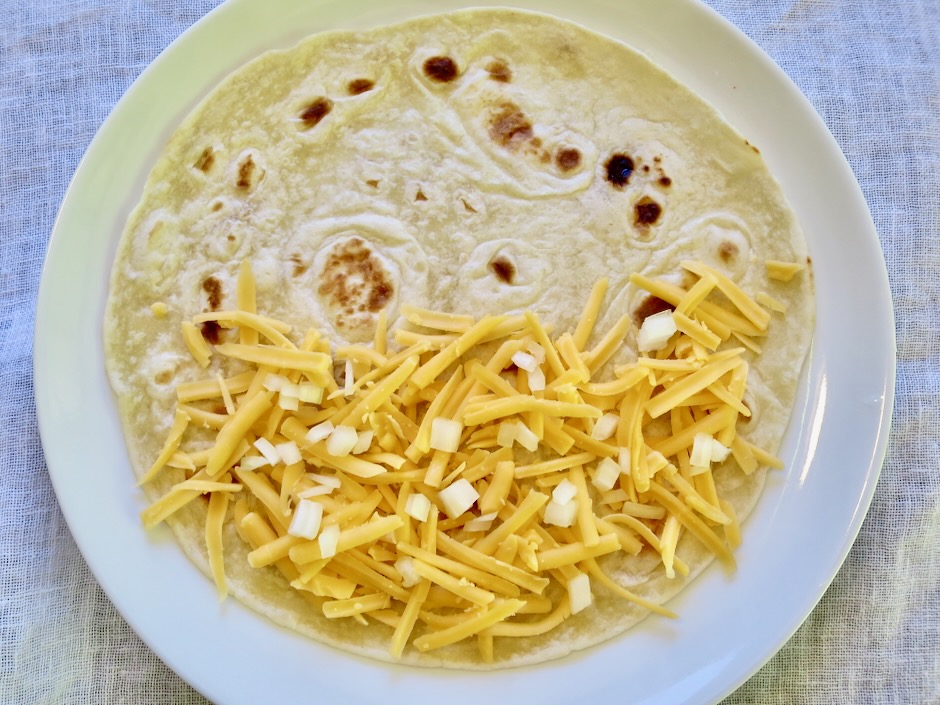
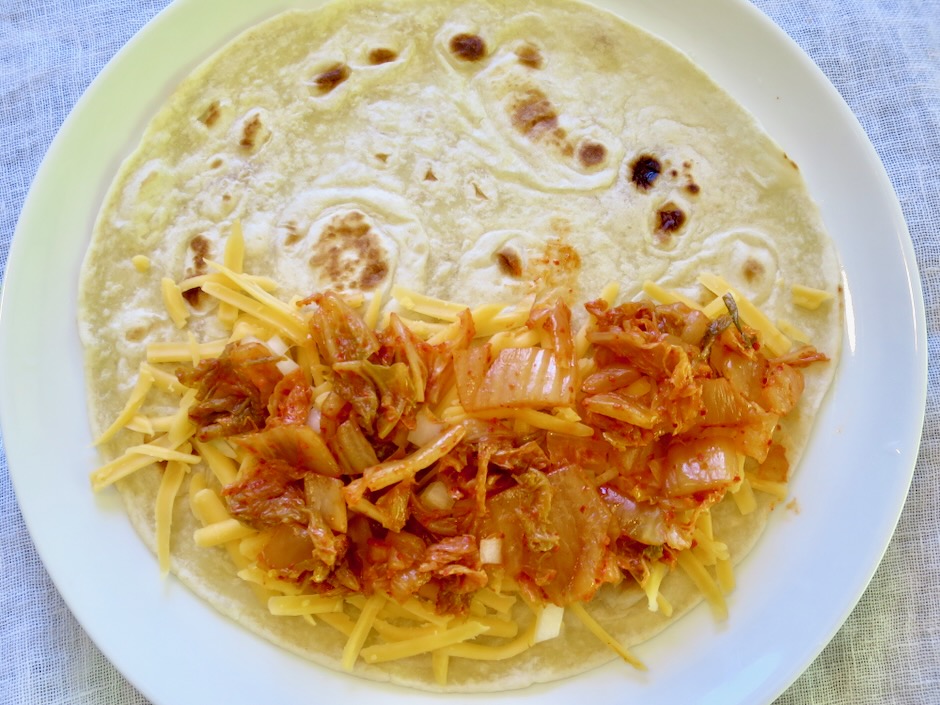
Layer the ingredients then fold the tortilla over. It’s so easy to prepare and with minimal ingredients, this quesadilla is the perfect party appetizer. Prepare the quesadillas a few hours in advance and store in the refrigerator. Just before your guests arrive heat up your skillet and pan fry the quesadillas.
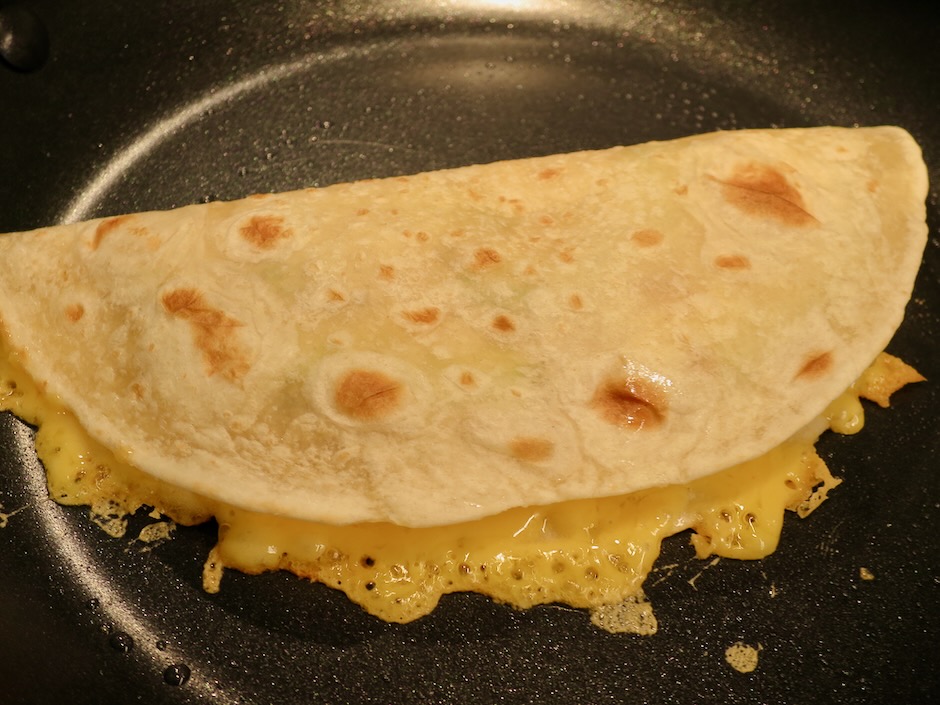
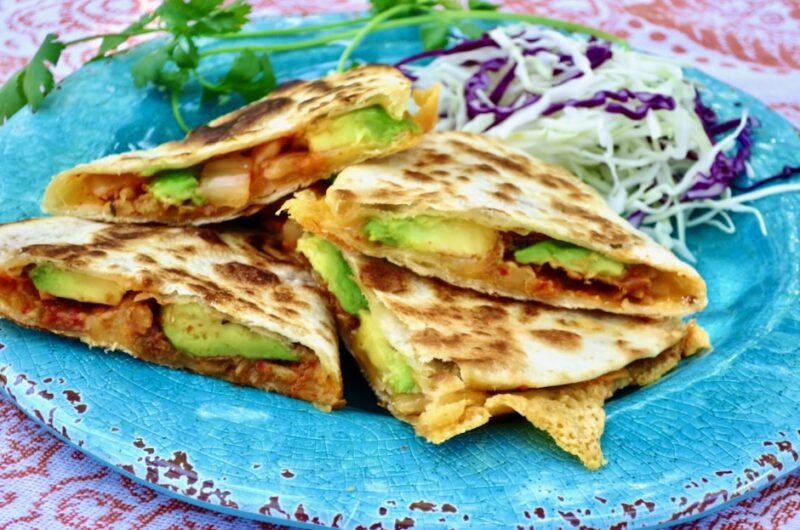
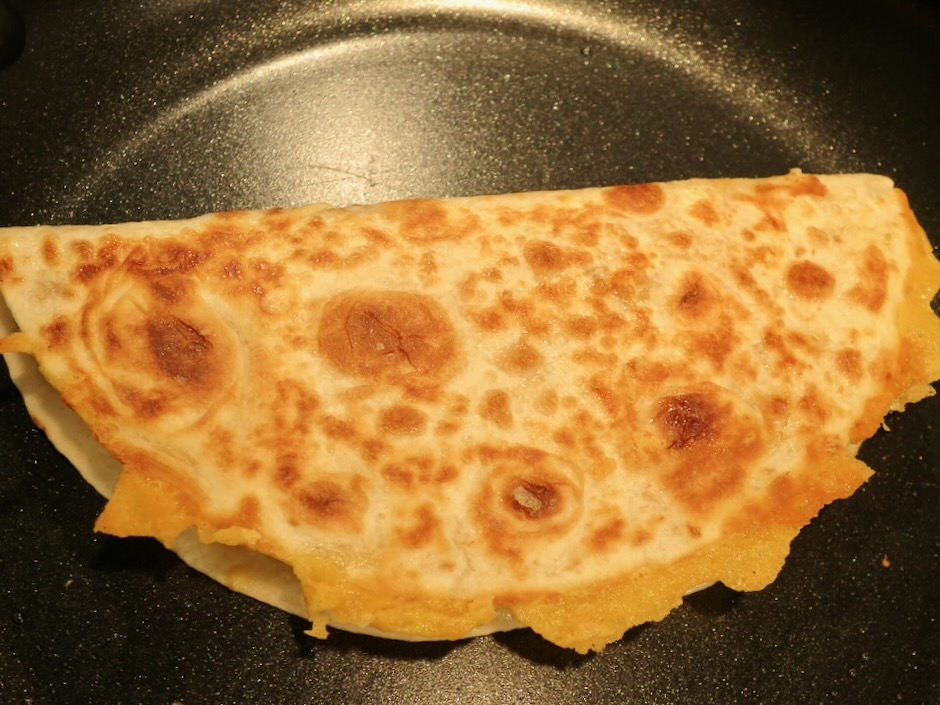
Allow some of the cheese to spill out into the pan. This creates the most delicious crispy-edged quesadilla.
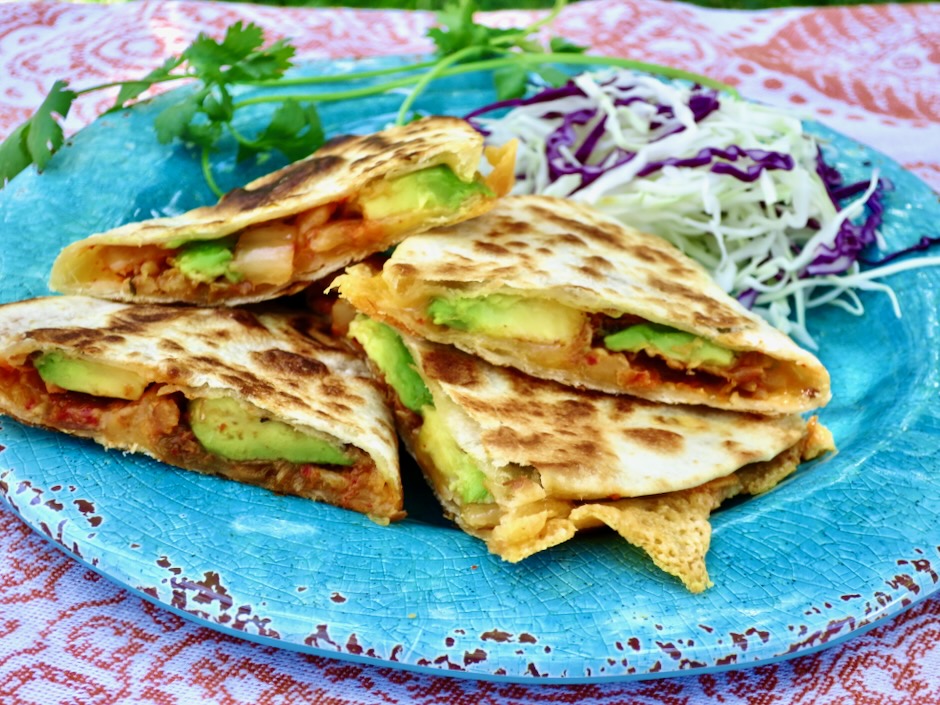
Serve with crispy cabbage slaw or your favorite side dishes such as Mexican rice and refried beans. If you have leftovers, serve them for breakfast or brunch the following day along with fried or scrambled eggs.
Kimchi Quesadillas

Recipe by Kiyo
Servings

4

servings

Ingredients

  • 4 medium flour tortillas (7-inch, I use cooked Tortilla Land flour tortillas)

  • 1 cup kimchi, drained and coarsely chopped

  • 2 teaspoons Earth Balance Buttery Sticks or regular butter

  • 4 ounces sharp cheddar, coarsely grated (about 1 1/4 cup)

  • 2 tablespoons diced onion

  • 1 medium avocado, sliced thinly into 16 pieces

  • 2 teaspoons canola or vegetable oil

  • 1/4 cup Green Valley lactose free sour cream or regular sour cream

  • 2 teaspoons sriracha

  • 1 teaspoon finely chopped cilantro

Directions

  • Heat butter in a medium pan (large enough to accommodate two folded tortillas) over medium heat. Add chopped kimchi and sauté just until there is no kimchi liquid left, about 2 minutes. Transfer kimchi to a small plate. Wipe pan clean.
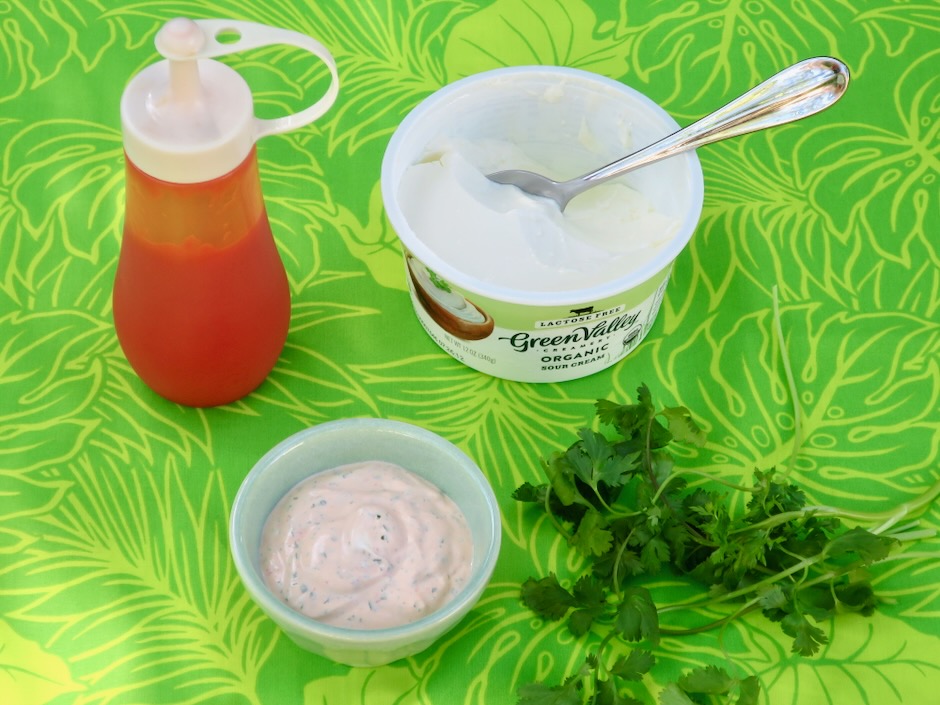
  • Combine sour cream, sriracha and cilantro in a small bowl, set aside.
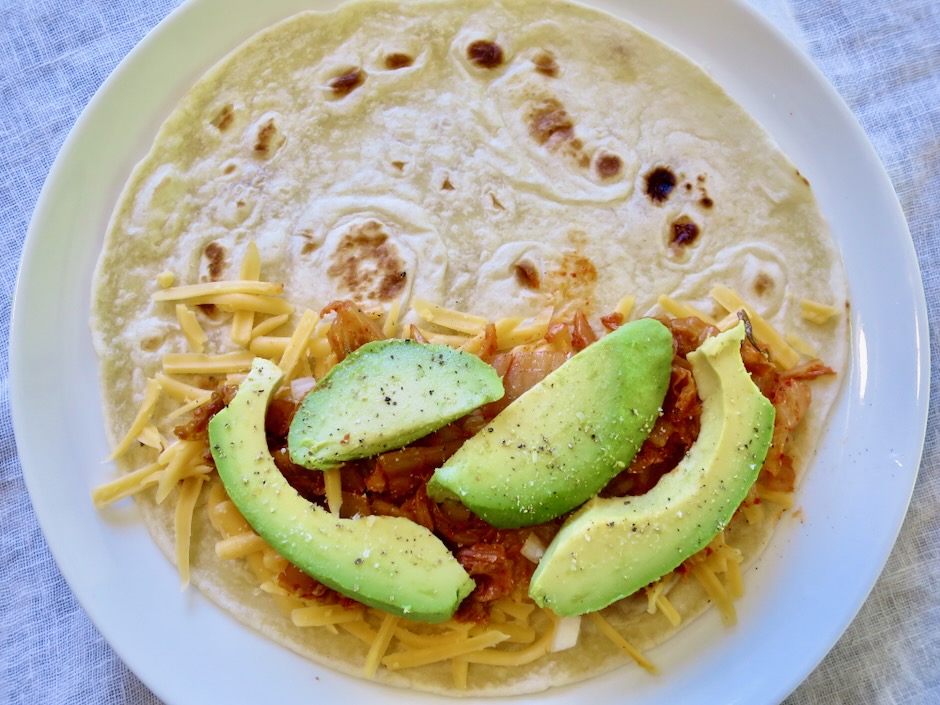
  • Evenly divide cheese onto one side of each tortilla. Top with onions, kimchi, and avocado. Fold the tortilla over and press very gently.
  • Heat a teaspoon of canola or vegetable oil in the pan over medium heat. Once hot, transfer two of the folded tortillas to the pan. Cook until nicely browned, allowing some of the cheese to spill out into the pan. You can also scatter a bit of cheese around the open edges of the tortillas to form a crispy edge. Flip and cook the other side. Transfer the tortillas to a plate and cover with foil while you cook the remaining two tortillas (heat another teaspoon of oil before adding tortillas to pan).
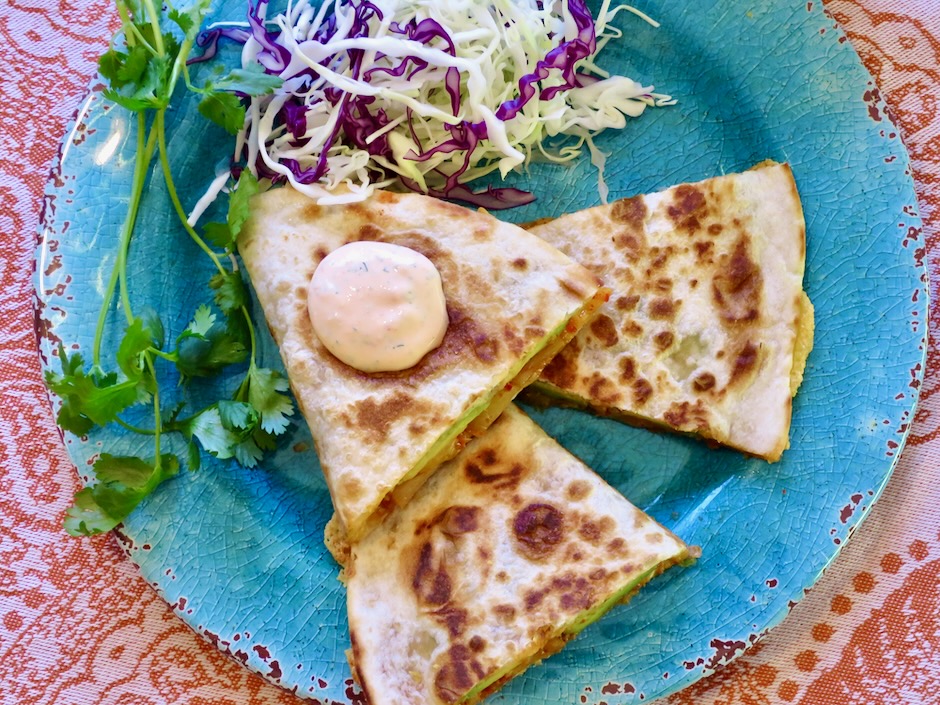
  • Slice each tortilla into three pieces. Serve with a dollop of sour cream sriracha sauce on each slice.
Appetizers, Bread, Cheese, Dinner, Italian, Recipes, Side Dishes, Vegetarian

Pull-Apart Rosemary Garlic Bread

May 31, 2023

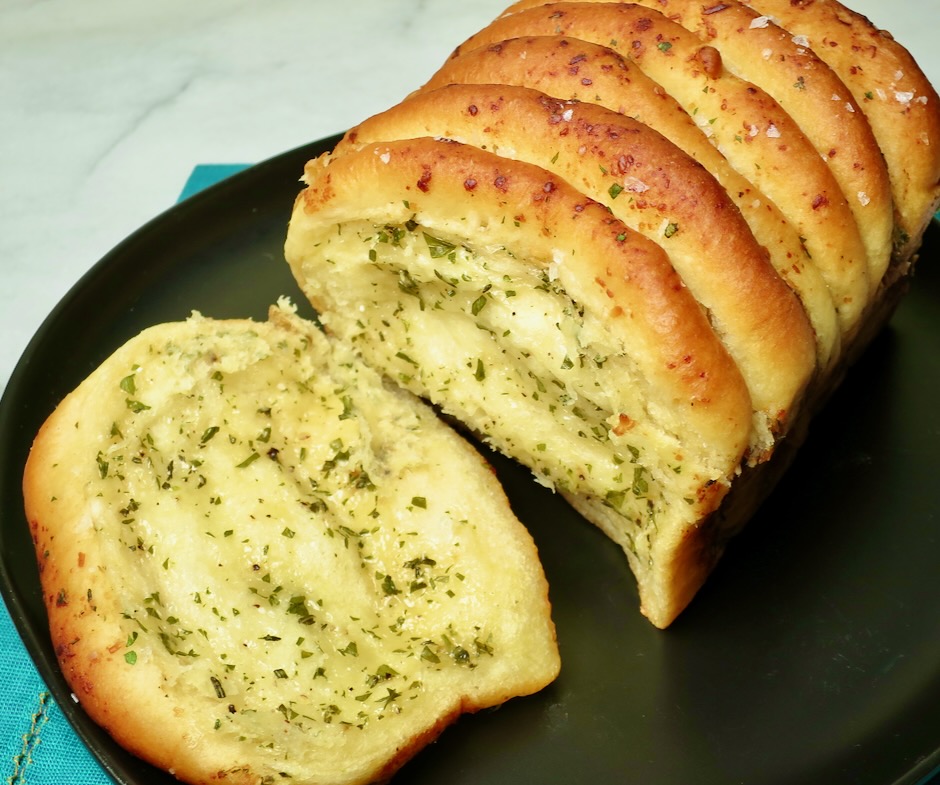
This made to share pull-apart rosemary garlic bread is baked until the crust is a gorgeous shade of gold, and the interior is soft and fragrant from the herbs, butter, garlic and parmesan cheese. It’s so delicious that you will be going back for seconds and thirds.

Food & Wine magazine mentions that making this bread is for bakers of all skill levels and after making it multiple times I absolutely agree. It’s a lot of fun to make and the final result is a delicious variation on garlic bread.

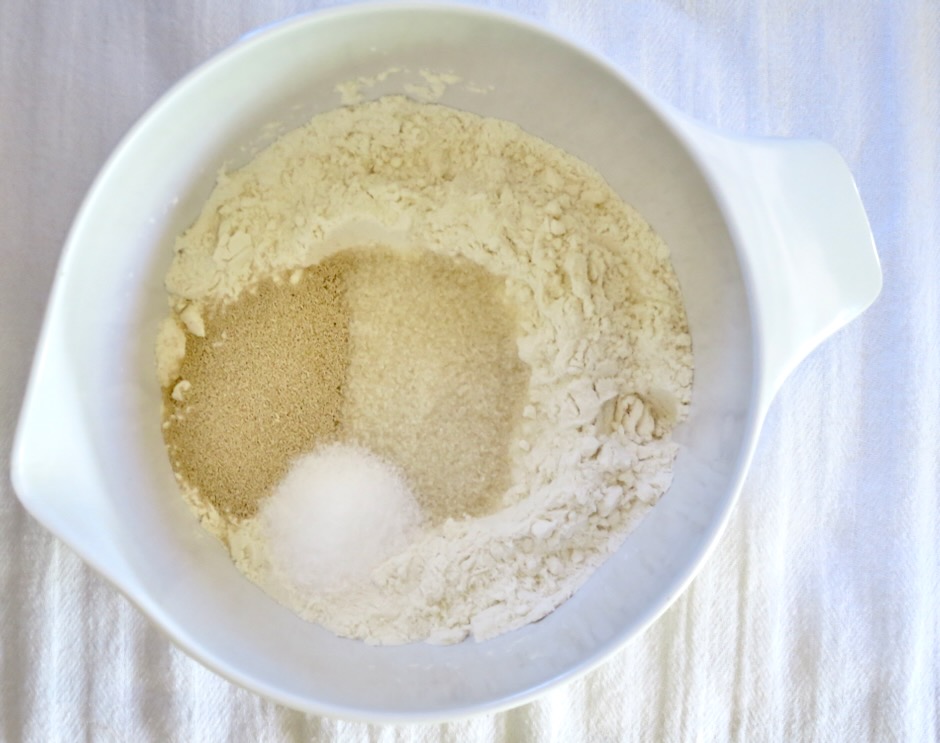
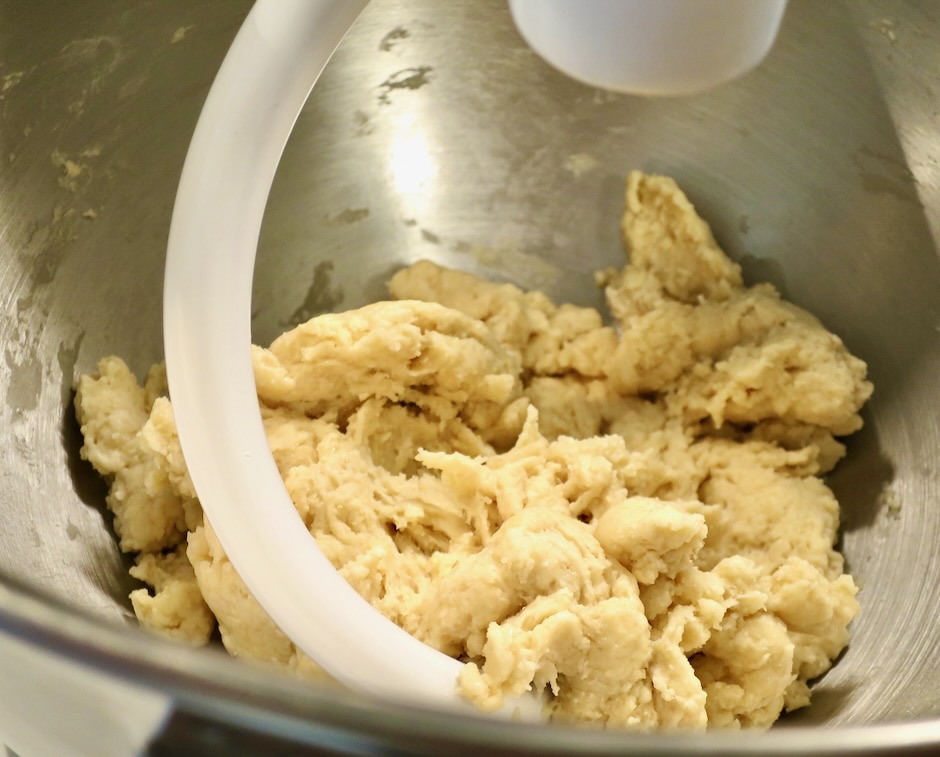
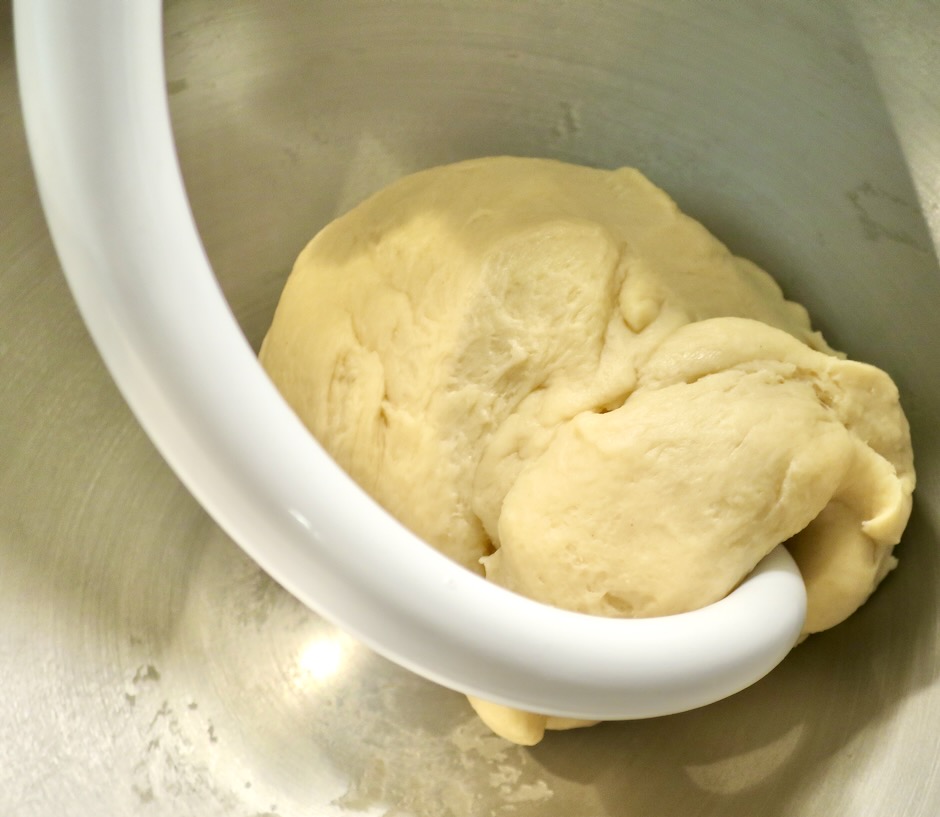
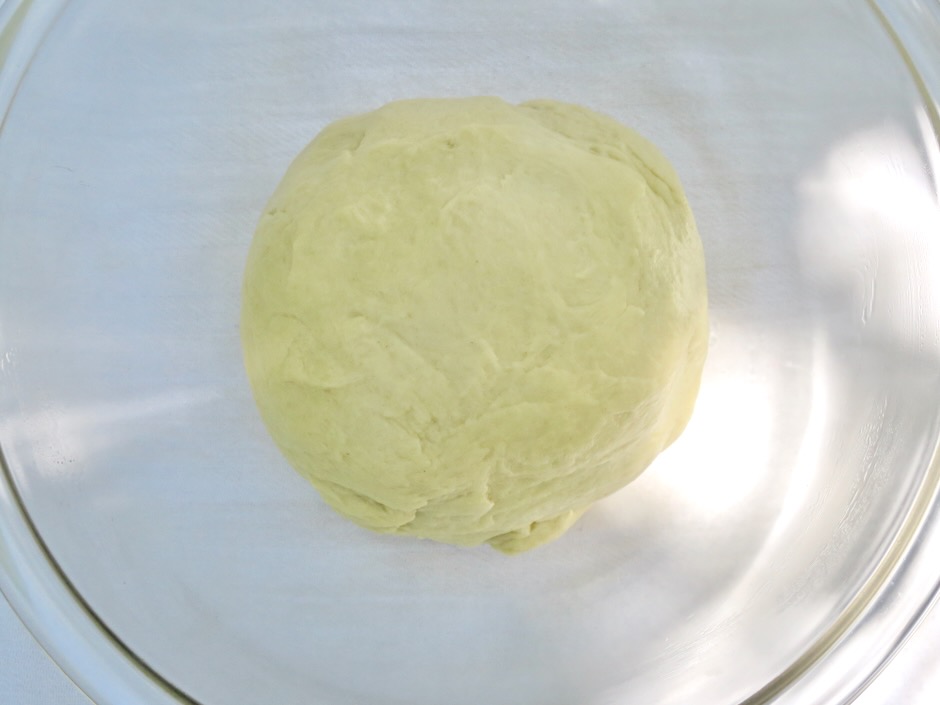
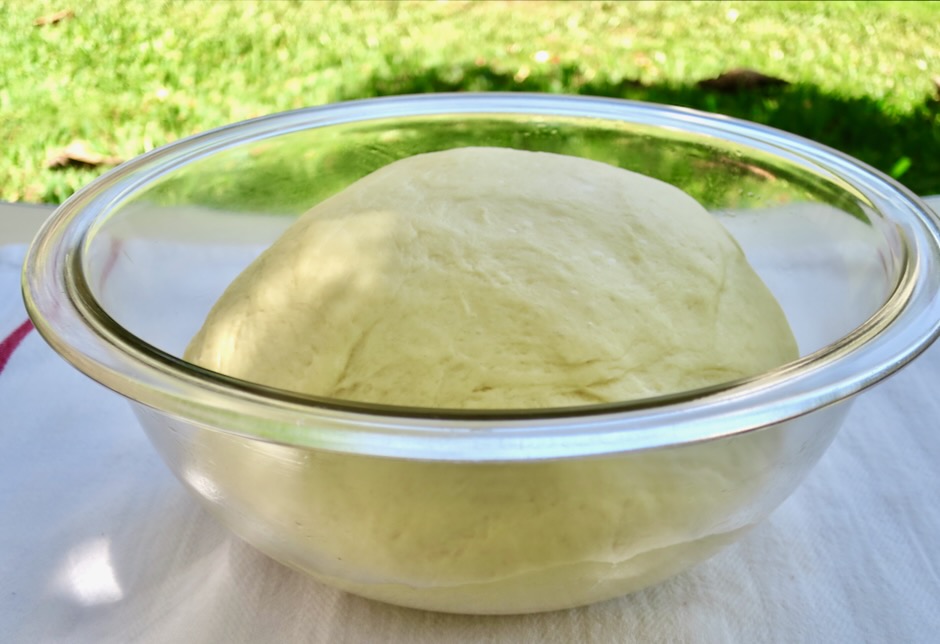
All-purpose flour, a bit of sugar, rapid rise yeast, milk, and butter are mixed up in a stand mixer before being formed into a ball and set aside in a warm area to rise.

When the weather is warm (always in Hawaii) I cover the dough and place the bowl out on the deck to rise. Some toaster ovens offer a dough proofing setting. If your climate is cool, you might put your bowl in the oven with the light turned on. Otherwise you may leave it out on your counter but expect it to take a bit more time to double in size.

While the dough is rising, make the filling.

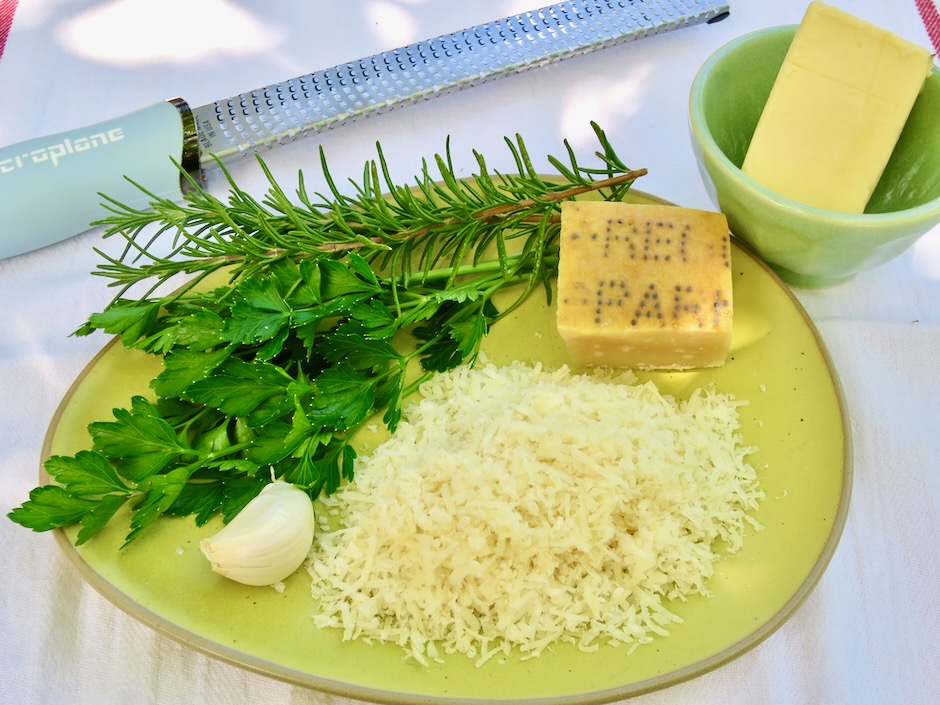
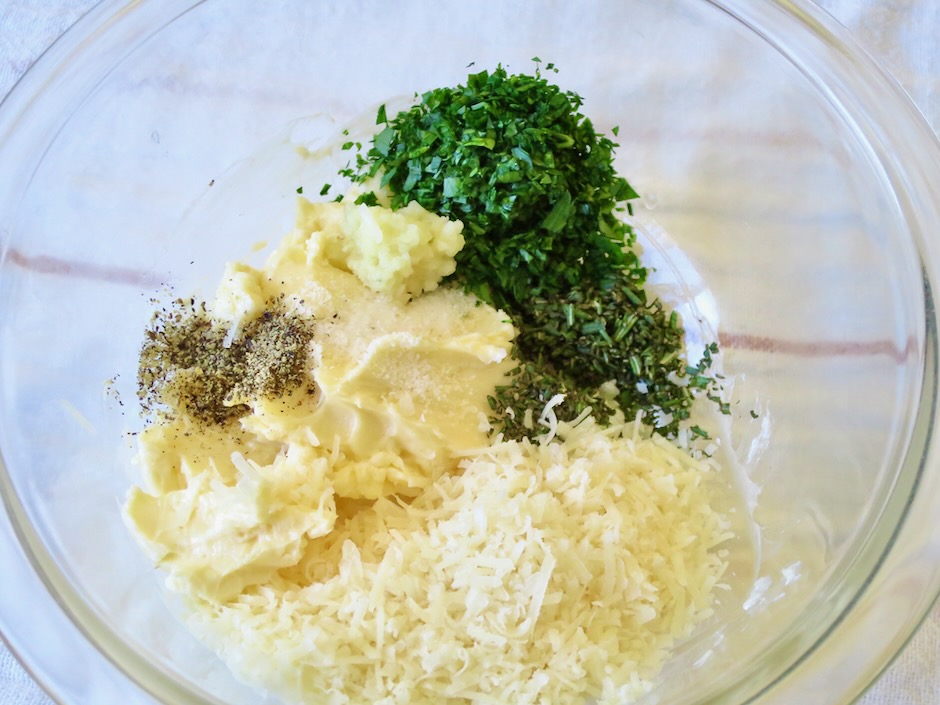
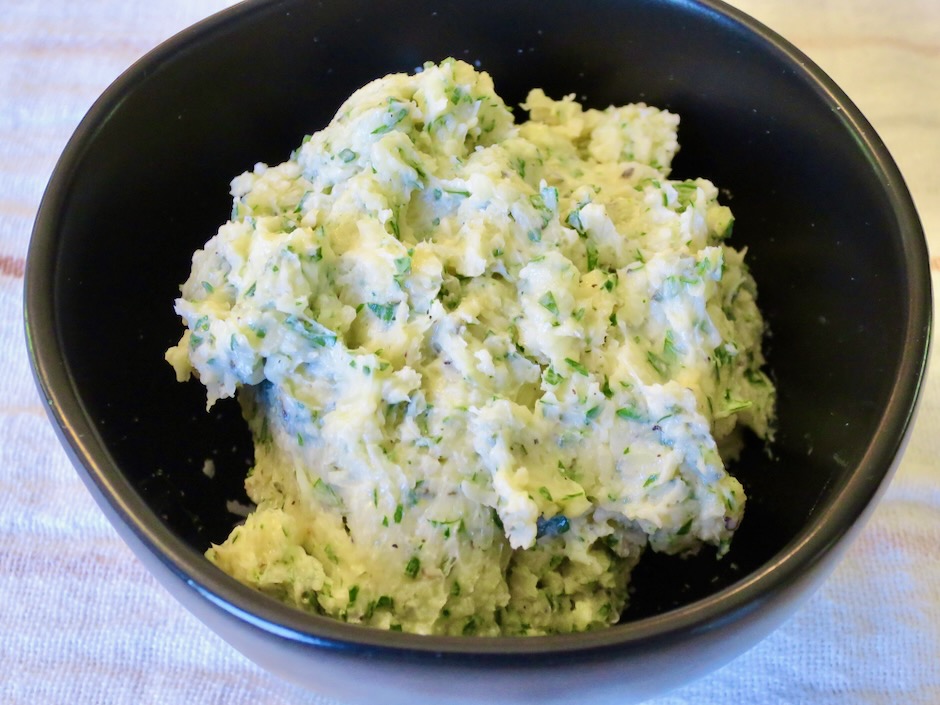
Butter, cheese, parsley, rosemary, garlic, salt and pepper are mixed in a bowl and set aside until ready to use.

One hour of rise time and the dough has doubled in size.

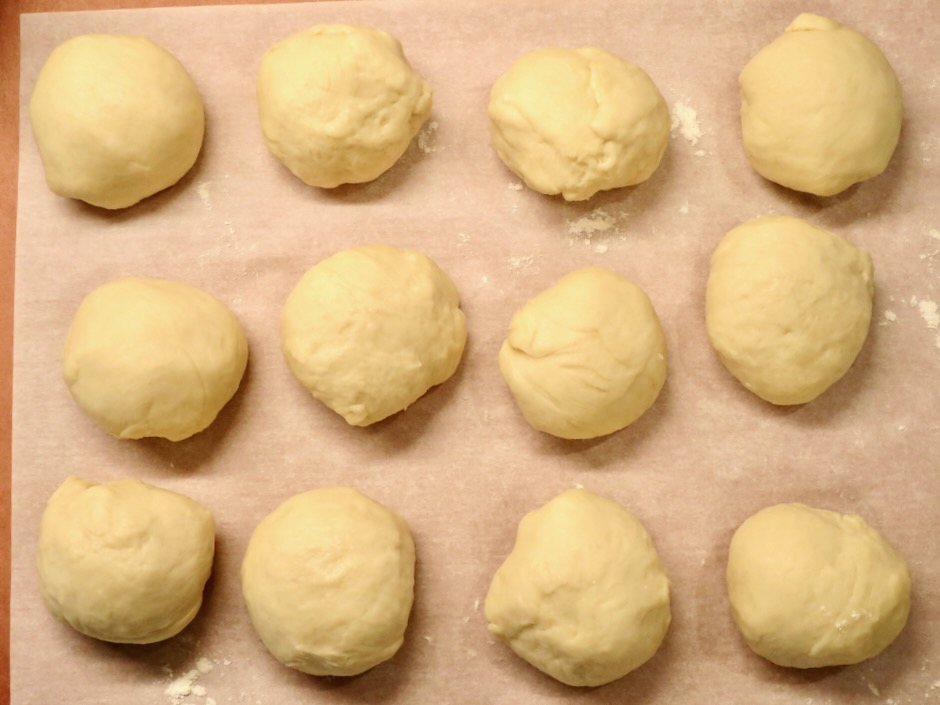
It’s time to roll the dough into 12 round disks. Don’t worry too much about getting them perfectly round.

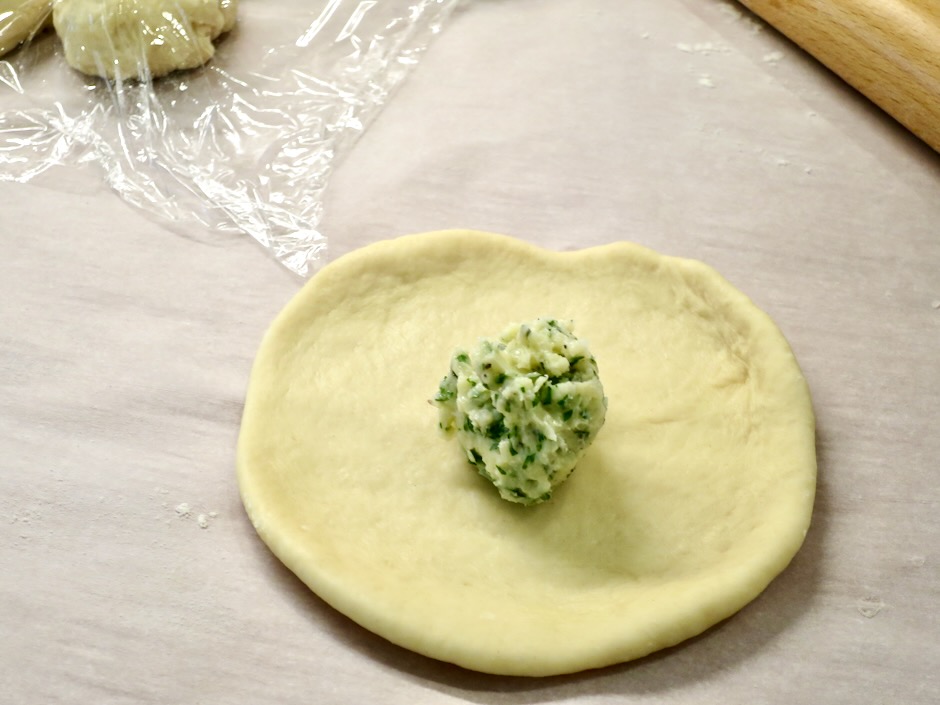
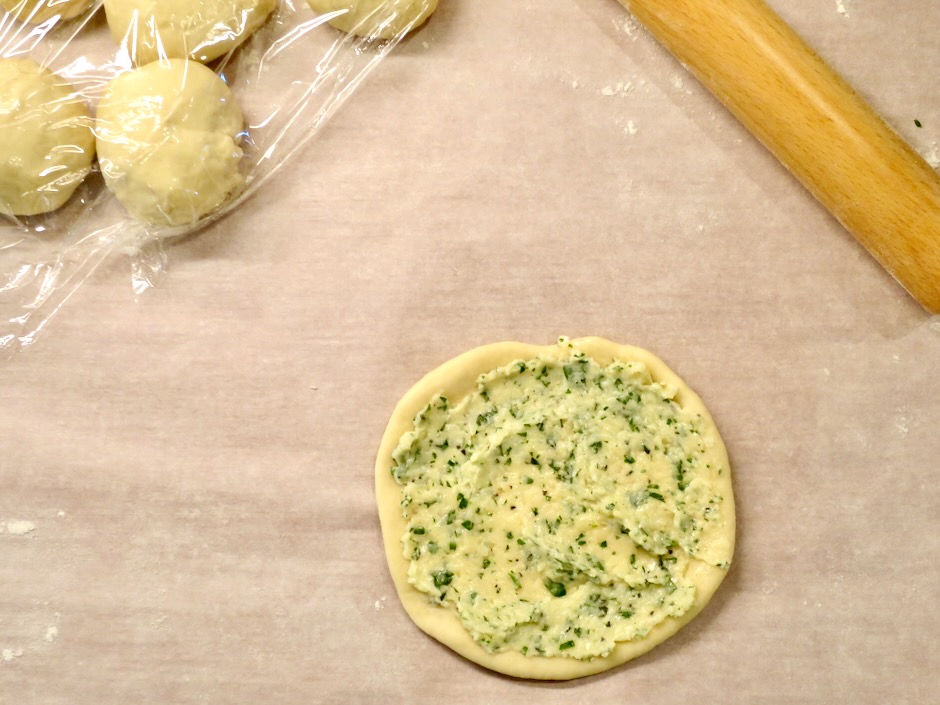
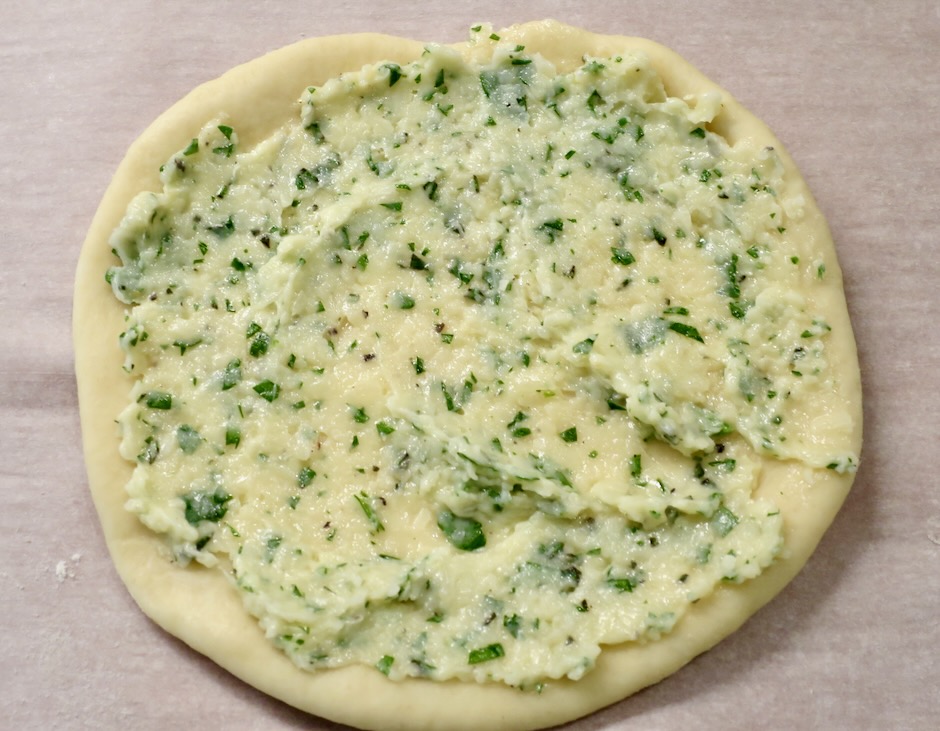
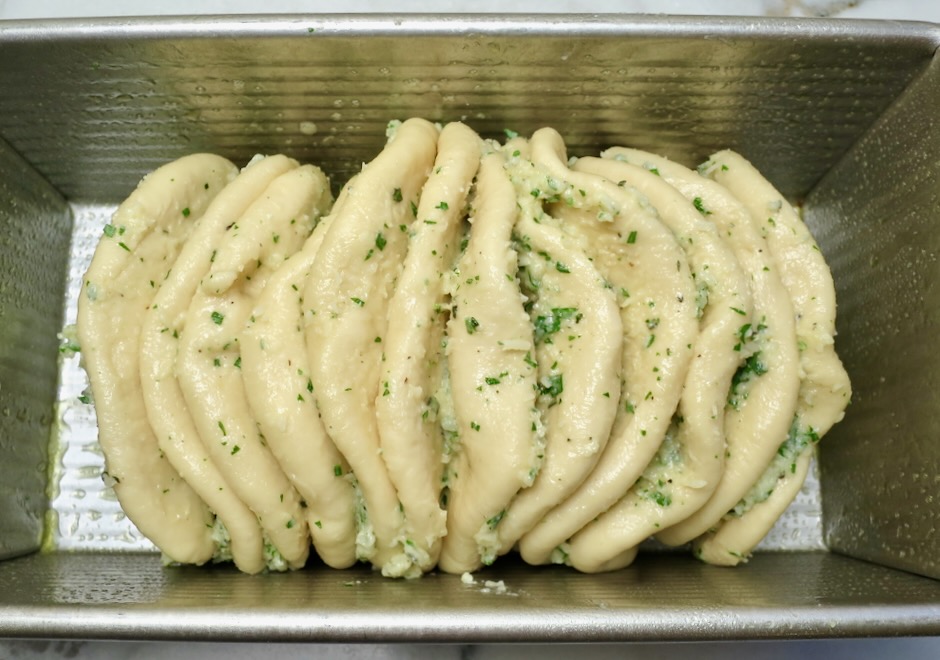
A tablespoon of filling is spread over the dough rounds that are stacked on top of one other before placing in the baking pan.

Occasionally the dough can be a bit uncooperative, meaning it will resist keeping its shape once rolled out. If it springs back just give it another roll or two and it should be fine.

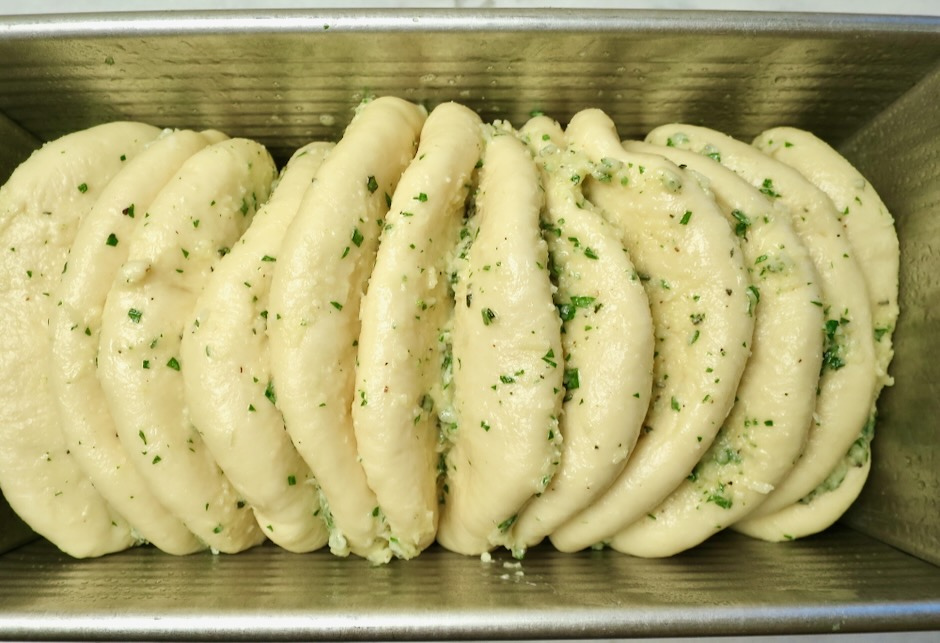
The stacked dough circles are placed in the baking pan and set aside for the final rise.

After 45 minutes the dough has risen and filled up the empty spaces in the pan.

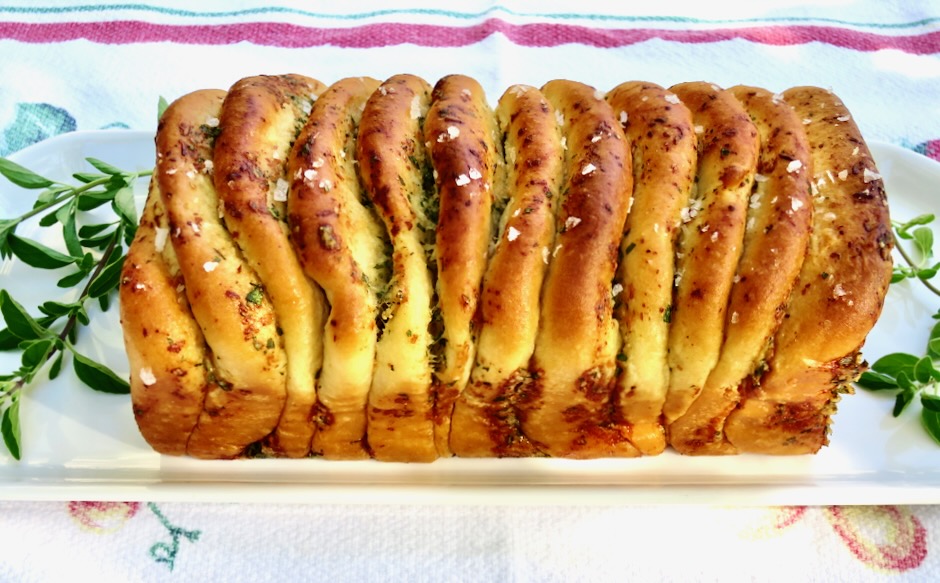
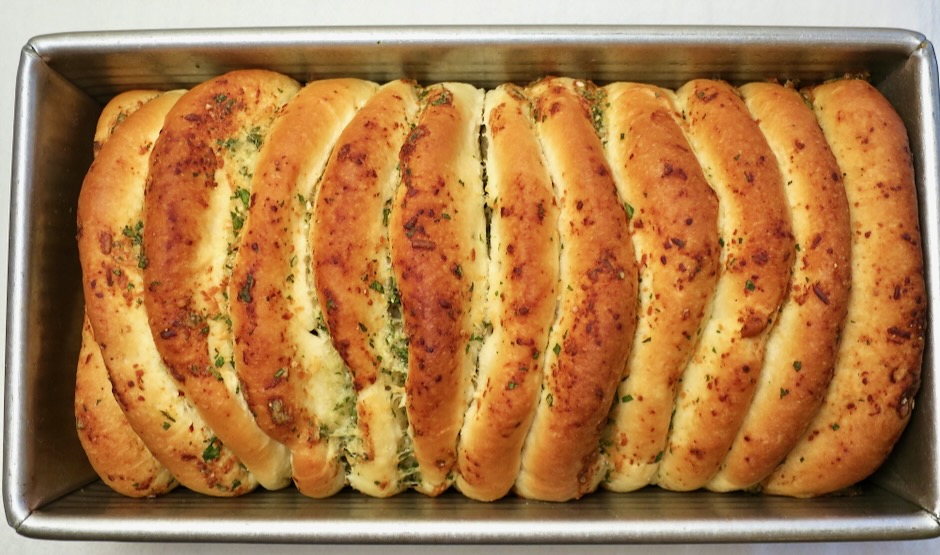
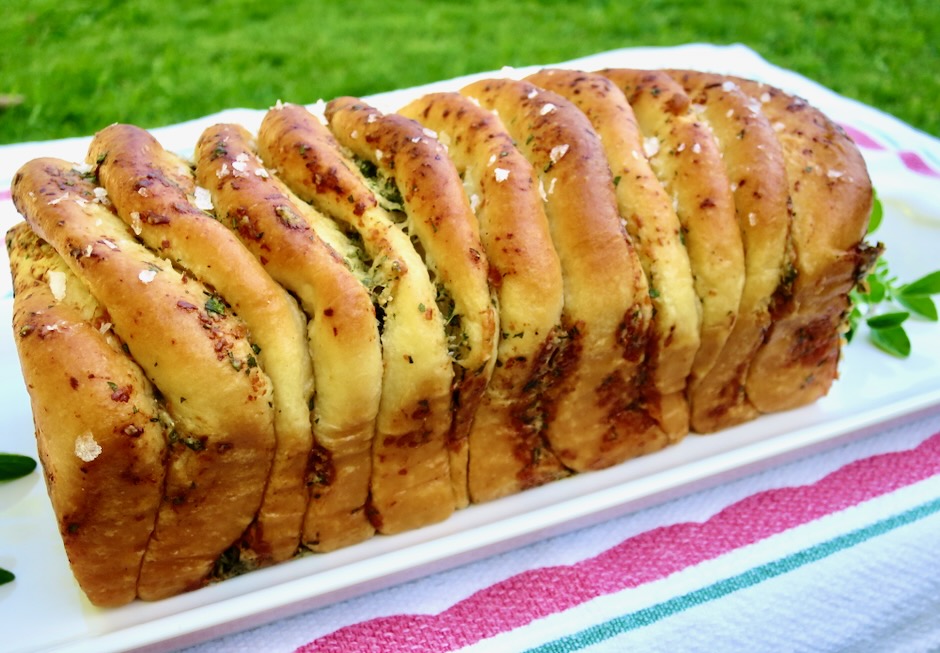
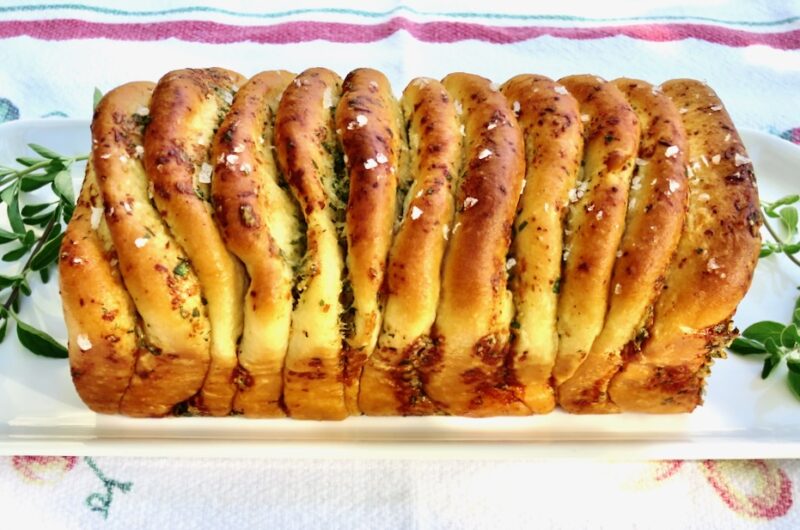
Baked for 45-50 minutes, the bread emerges from the oven looking spectacular.

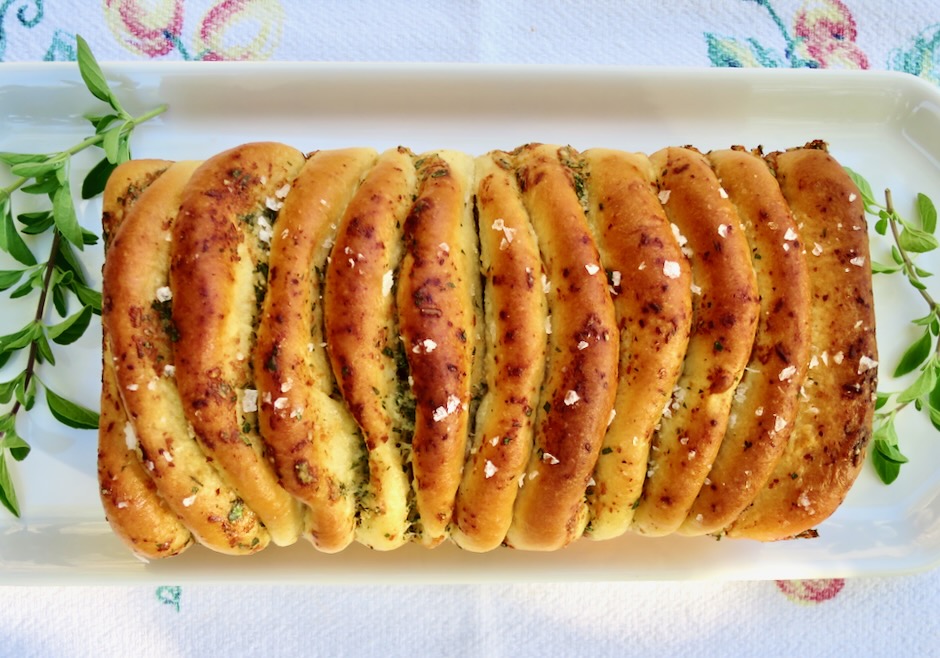
The final touch is melted butter brushed over the warm bread followed by a sprinkling of Maldon salt.

This bread goes with just about anything. I serve it often with pasta dishes, but it is superb with roasted chicken, grilled steaks, fish and chicken, herb baked tofu and salads. Any leftover slices would be perfect toasted and topped with sunny-side up eggs for a quick lunch.

Pull-Apart Rosemary Garlic Bread

Recipe by Kiyo
Servings

4-6

servings

Adapted from Food & Wine

Ingredients

  • For the dough
  • 2 1/4 cups (270g) all-purpose flour, plus more for work surface

  • 2 tablespoons (25g) granulated sugar

  • 2 teaspoons rapid-rise yeast

  • 1 1/2 teaspoons kosher salt (I use Diamond Crystal)

  • 2/3 cup (158g) whole milk, warmed

  • 3 tablespoons (42.6g) Earth Balance Buttery Sticks or unsalted butter

  • For the filling and topping
  • 6 tablespoons (85g) Earth Balance Buttery Sticks or unsalted butter, softened

  • 1 cup (90g) finely grated parmesan cheese

  • 2 tablespoons finely chopped flat leaf parsley

  • 2 teaspoons finely chopped rosemary (1 1/2 teaspoons for a milder rosemary flavor)

  • 1 large garlic clove, finely grated (Microplane works well)

  • 1/4 teaspoon kosher salt

  • 1/4 teaspoon black pepper

  • 1 tablespoon Earth Balance Buttery Sticks or unsalted butter, melted (to brush on baked bread)

  • 1/2 teaspoon flaky sea salt such as Maldon (to sprinkle on baked bread)

Directions

  • Place flour, sugar, yeast, and salt in bowl of a stand mixer fitted with a paddle attachment. With mixer running on low speed, beat in warm milk and Buttery Sticks or unsalted butter. Beat on low speed until just combined, 30-45 seconds. Remove paddle attachment from mixer; attach dough hook. Beat on medium speed until dough is smooth and elastic, about 6 minutes. Transfer dough to a medium bowl coated with cooking spray. Cover with plastic wrap and let rise in a warm spot until doubled in size, about 1 hour. For colder climates, turn your oven light on when you start mixing the dough, then place covered dough bowl in oven. The warm oven environment will help your dough to rise.
  • Meanwhile, stir together butter, parmesan, parsley, rosemary, garlic, salt, and pepper in a small bowl until well combined. Set aside.
  • Once dough has doubled in size, punch down in bowl and transfer to a lightly floured work surface. Divide dough evenly into 12 pieces (about 3 tablespoons each). Using a small rolling pin, roll dough rounds into a 4-inch disk. You may also flatten each piece of dough with your hands (the disks do not need to be perfectly round). Spread about 1 tablespoon of filling onto one side of each disk. Stack disks, cheese side up, on top of each other. Turn stack of dough onto its side, and place in an 8 1/2-4 1/2-inch loaf pan coated with cooking spray. Slightly separate disks in loaf pan. Cover with plastic wrap and let rise in a warm spot until almost doubled in size, about 45 minutes. Preheat oven to 325 degrees.
  • Bake loaf on middle rack until golden brown, 45-50 minutes, covering loosely with aluminum foil if needed to prevent over browning. Transfer loaf pan to a wire rack and let cool for 10 minutes. Invert loaf onto wire rack, turn upright, and let cool for 10 minutes. Brush with melted butter and sprinkle with flaky salt. Serve warm.

Notes

  • Leftover garlic bread can be frozen and reheated (covered in foil) in a toaster oven.
Appetizers, Cheese, Recipes, Side Dishes

Roasted Feta with Honey

December 5, 2022

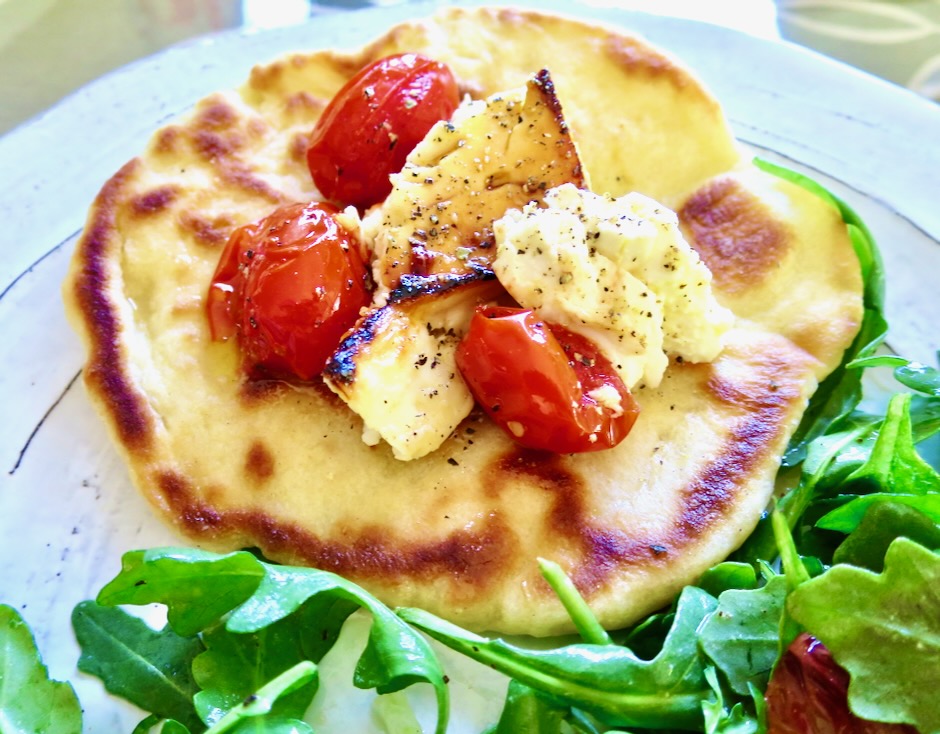
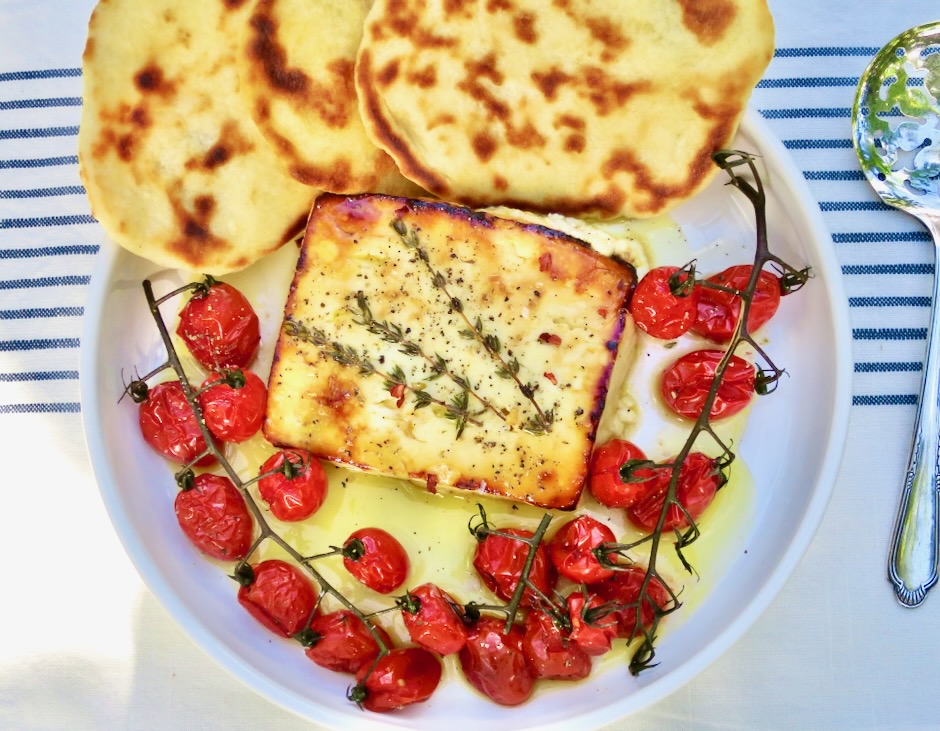
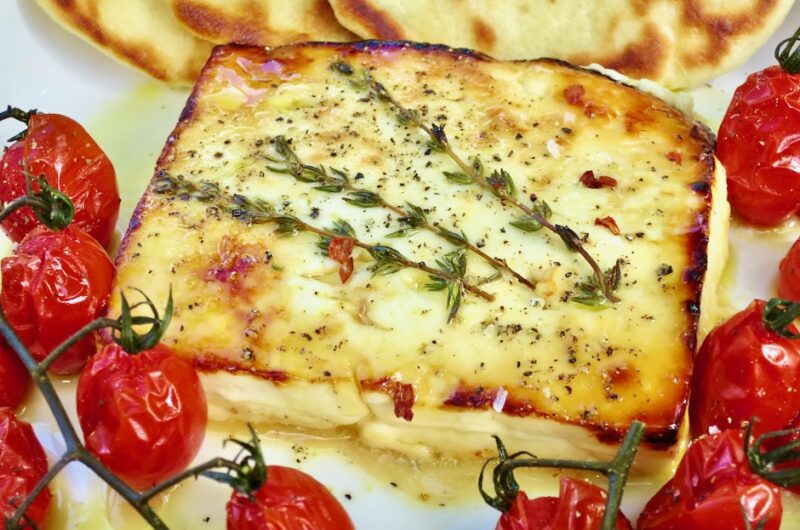
This may be one of the easiest and most delicious appetizers I have made. It is a gorgeous dish to bring to the table. I served it with yogurt flatbread made into smaller rounds for this appetizer, and roasted tomatoes which added a pop of color and a sweet-tart flavor that was perfect tucked into the flatbread with the cheese. You can keep it simple by serving the feta with slices of good sourdough bread or warmed pita bread.

The roasted tomatoes go into the oven about 45-60 minutes before the feta is roasted. I love the Sugar Bomb tomatoes sold at Safeway. They make a striking presentation.

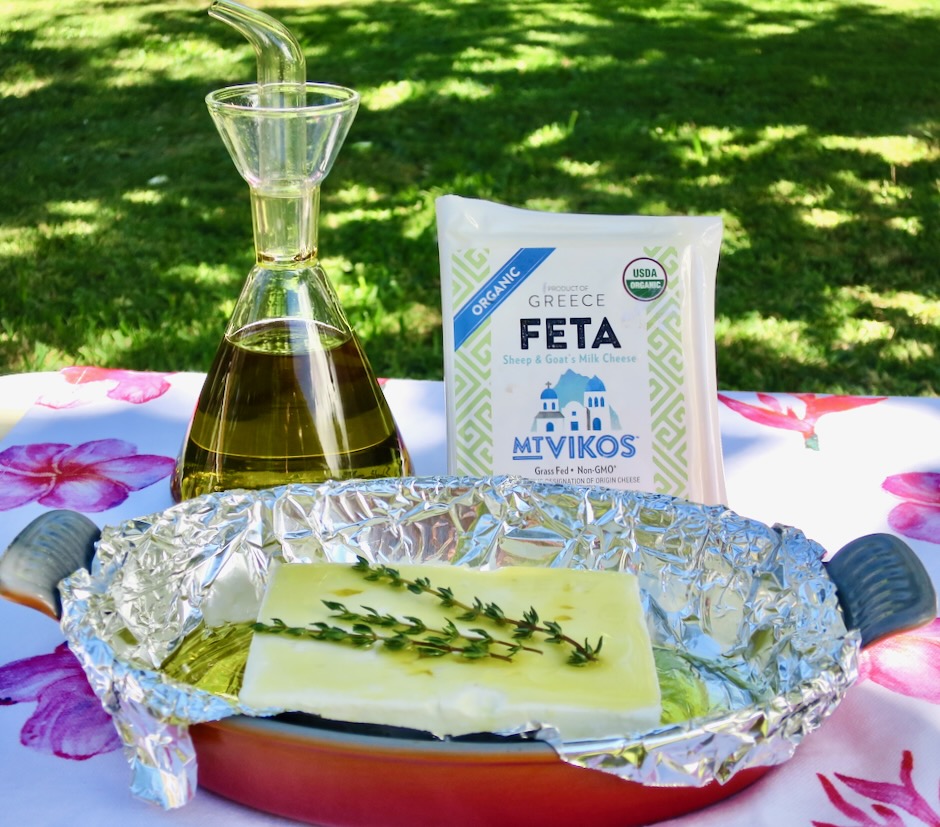
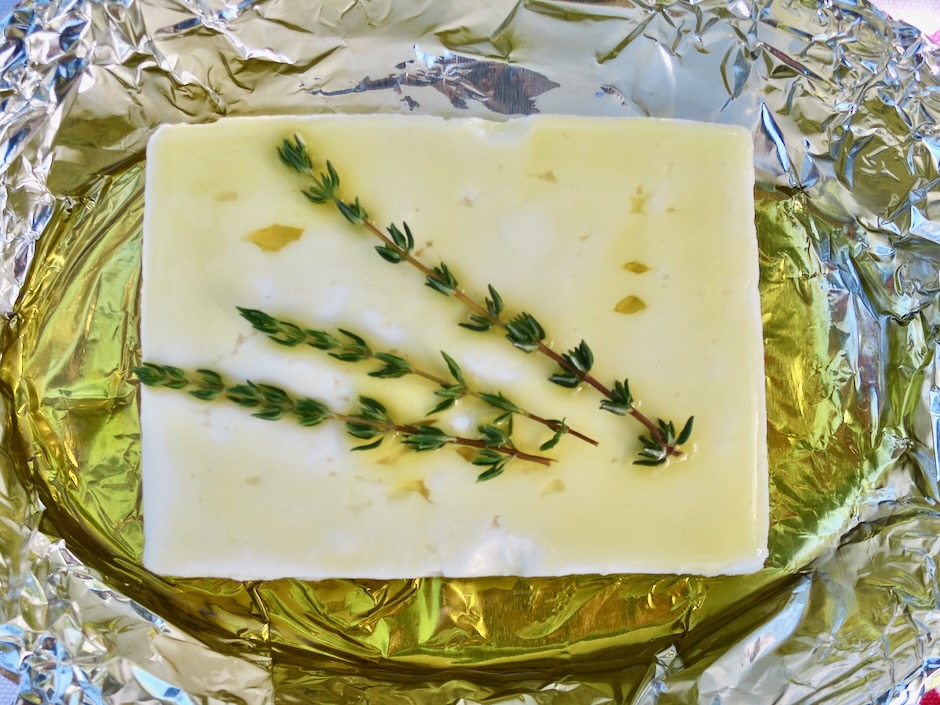
Mt. Vikos is one of the best feta cheese blocks I know of. Here on Maui you can find it at most of the markets including Hawaiian Moons, Times Kihei, Foodland, and Whole Foods. I placed the cheese and olive oil in a foil-lined baking dish so that it would be easy to remove to a plate for serving with the roasted tomatoes. If you are not using roasted tomatoes, you can skip the foil. Remember to use a baking dish that can withstand the high heat of the broiler.

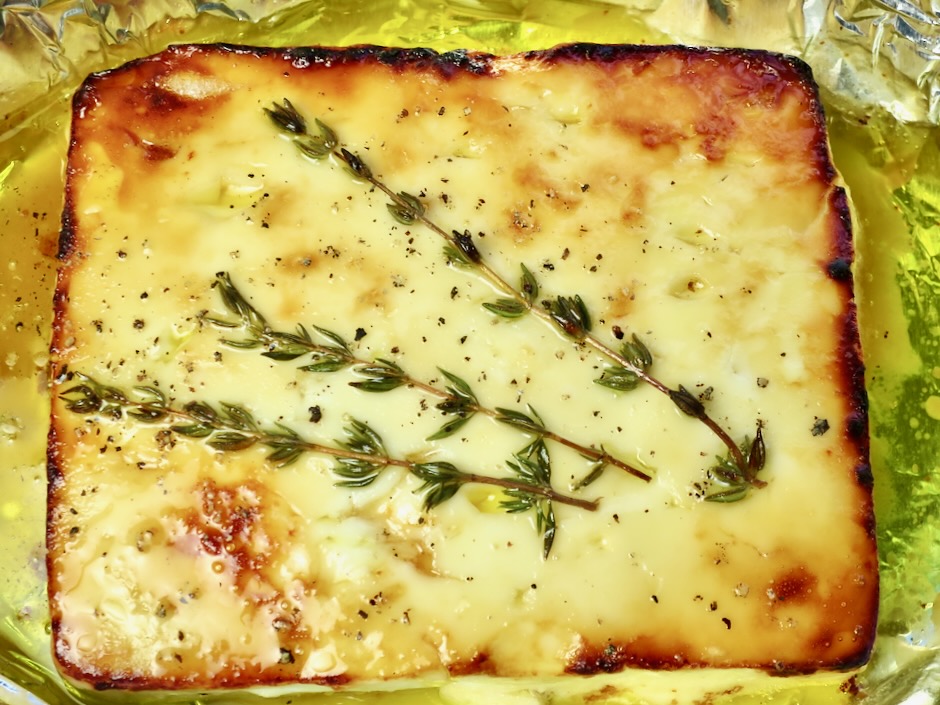
This is one of those dishes that really doesn’t require a recipe because of its simplicity. Place feta block in baking dish, drizzle with olive oil, add fresh thyme sprigs if you want to, then roast until warm. Drizzle honey over the feta, broil until beautifully bronzed on the edges, season with freshly ground black pepper, and a sprinkling of Maldon sea salt, serve.

Roast the feta just before you want to serve it. The cheese should be warm and creamy, the perfect foil for pillowy flatbread or good sourdough bread.

Roasted Feta with Honey

Recipe by Kiyo
Servings

2-4

servings

Adapted from NYT Cooking

Ingredients

  • 1 7-ounce block Mt. Vikos Feta (or your favorite feta block)

  • 2 tablespoons extra virgin olive oil

  • 3 small fresh thyme sprigs, optional

  • 1 tablespoon honey

  • Freshly ground black pepper

  • Maldon sea salt, optional

  • Red pepper flakes, optional

  • Roasted tomatoes, optional

  • Yogurt flatbread, sourdough, or pita bread for serving

Directions

  • Preheat the oven to 400 degrees. Place feta in a small foil-lined baking dish for easy transfer to a plate if serving with roasted tomatoes (one that can withstand broiler oven temperature). Otherwise skip the foil and place feta directly into a broiler safe baking dish. Drizzle olive oil over the feta and place a few sprigs of thyme on top if using. Bake until the cheese is soft and springy to the touch but not melted, about 7-8 minutes.
  • Preheat the broiler. Heat the honey in the microwave for just a few seconds until it is fluid enough to be spread with a pastry brush and then paint the surface of the feta with it. Broil until the top of the cheese browns and just starts to bubble, about 2 1/2 minutes (I used my countertop Breville Smart Oven). Keep an eye on the broiling time so the cheese does not burn. Season with pepper, a sprinkling of Maldon sea salt (optional) and a pinch of red pepper flakes (optional).
  • Serve with warmed flatbread or crusty sourdough bread and roasted tomatoes.

Notes

  • If serving with roasted mini tomatoes, place them in a baking dish, drizzle the tomatoes with a bit of olive oil, and season with salt and pepper. Bake uncovered at 400 degrees for 45-60 minutes. Yogurt flatbread can be made weeks in advance and frozen. Warm before serving.
Follow

Get every new post delivered to your Inbox

Join other followers: