Browsing Category

Breakfast

Bread, Breakfast, Dessert, Fruit, Recipes

Maui Mango Bread

November 9, 2013

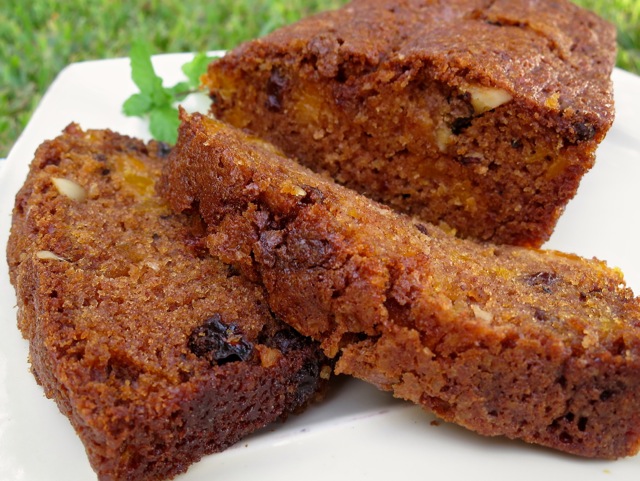
Maui Mango BreadSummer has come and gone and so have most of the mangoes on our two trees.  I haven’t had to buy fruit for months since we’ve had fresh mangoes every day.  What a dream!  Well we have just a few of those glorious golden orbs left and as it happens they all ripened at the same time.  I couldn’t let this opportunity pass: time to break out my mango bread recipe.
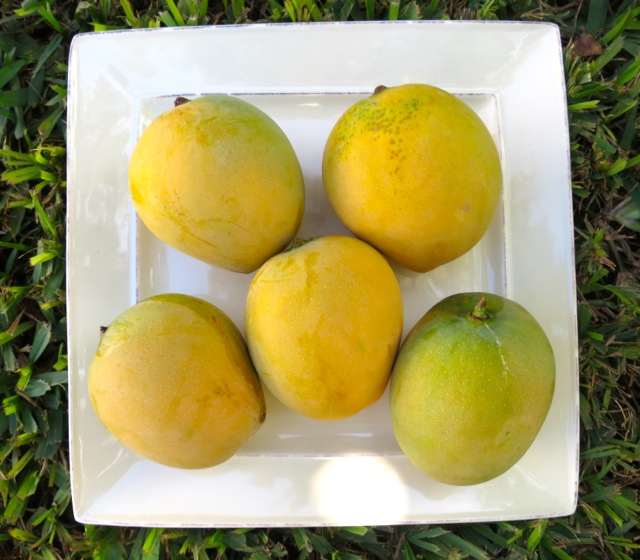
White Pirie MangoesI adore these exceptionally sweet mangoes as do my family and friends.  They don’t have a very long shelf life, they ripen a day or two after they’re picked.   A quick chill in the refrigerator and they are ready to eat.
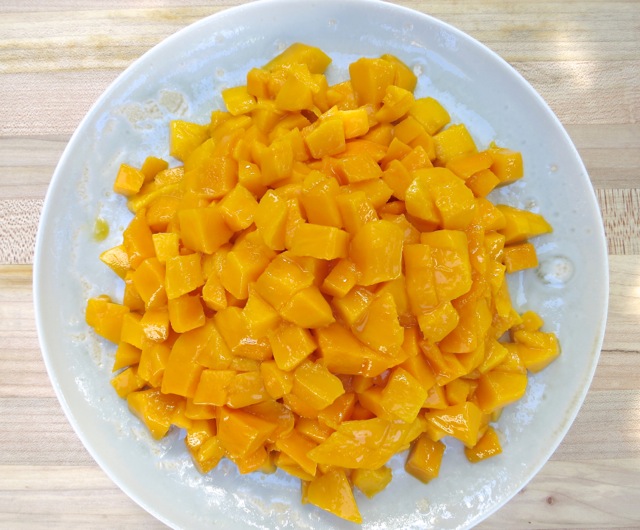
Diced White Pirie MangoesThe White Pirie mango has a deep orange color and is delightfully fragrant.
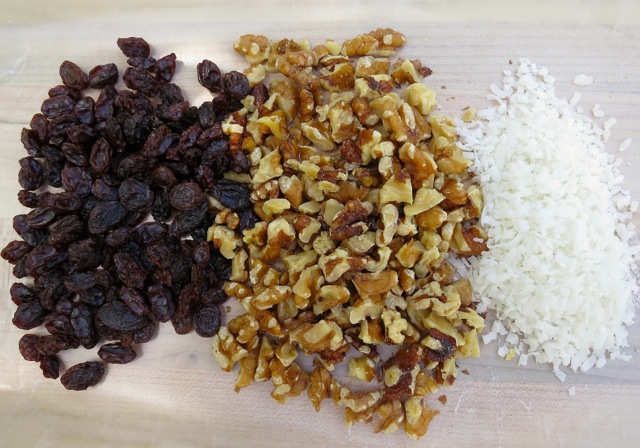
Raisins, Walnuts, CoconutThough mango is the star of this recipe, the combination of raisins, walnuts, coconut and cinnamon bring it all together to make a moist and luscious cake.  Thanks to my friend Tamoe who shared her recipe with me.
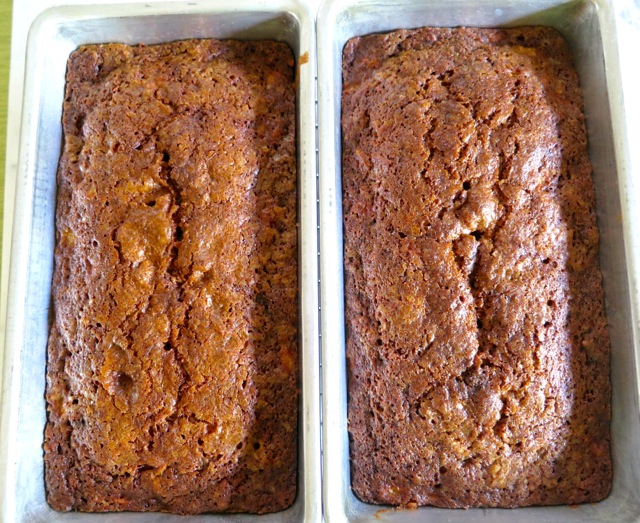
Mango Bread Loaves

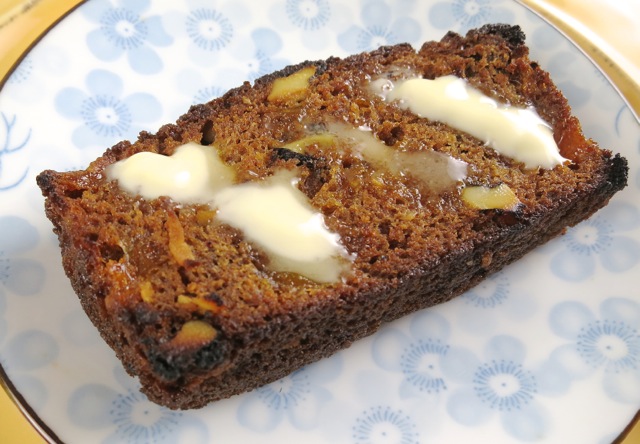
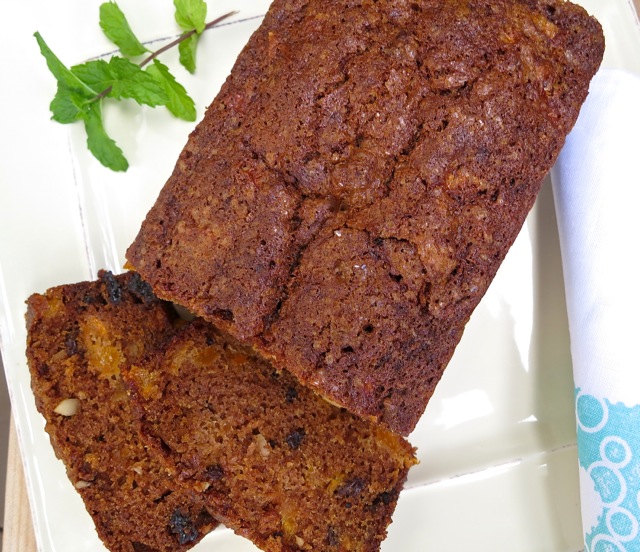
Maui Mango BreadToasting  a thick slice of mango bread and serving it with a pat of butter takes it to another level.

Toasted Mango Bread

Maui Mango Bread 

Adapted from Tamoe’s Mango Bread recipe

Makes two loaves

Ingredients

2 cups flour

1 1/4 cups sugar (or up to 1 1/2 cups sugar if your mangoes are not on the sweeter side)

2 teaspoons baking soda

1 1/2 teaspoons cinnamon

1/2 teaspoon salt

3/4 cup plus 2 tablespoons canola oil

3 large eggs, well beaten

1/2 teaspoon vanilla

2 cups finely chopped mango

1/2 cup chopped walnuts

1/2 cup raisins

1/8 cup shredded sweetened coconut

demerara sugar (optional but recommended)

Preparation

Preheat oven to 350 degrees.

Butter two 8 inch loaf pans.

Place flour, sugar, baking soda, cinnamon and salt in a large bowl and mix well.  Mix in the oil, beaten eggs and vanilla.  Add the mangoes, walnuts, raisins and coconut.  Pour into loaf pans and bake for 55 – 60 minutes.  If using demerara sugar, bake the bread for 10 minutes then sprinkle the sugar over the tops of each loaf.  (If you add the sugar before baking the bread, it will dissolve into the batter).  Continue baking for another 45 minutes. Since oven temperatures vary, it’s a good idea to check the bread after it has baked for 53 minutes.  If it needs more time, check again every 2 minutes to prevent over baking.

Note: If you are using dark pans the bread will bake quicker than in light pans so check for doneness at 50 minutes.



Breakfast, Recipes

Blueberry Griddle Cakes

July 24, 2013

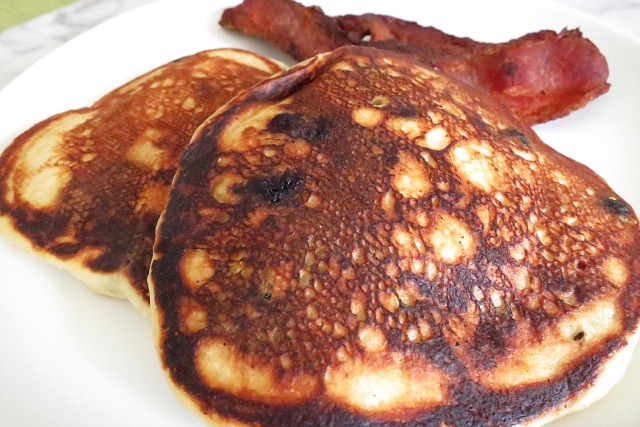
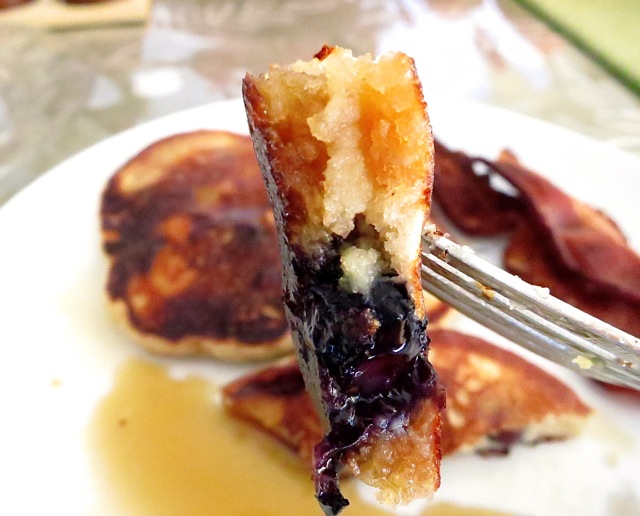
Blueberry Griddle CakesThese griddle cakes could not be easier to prepare.  Combine the dry ingredients in a bowl, the wet ingredients in a measuring cup, mix them together and in 15 minutes you’ll be eating these delicious blueberry griddle cakes (aka pancakes, flapjacks, hotcakes).

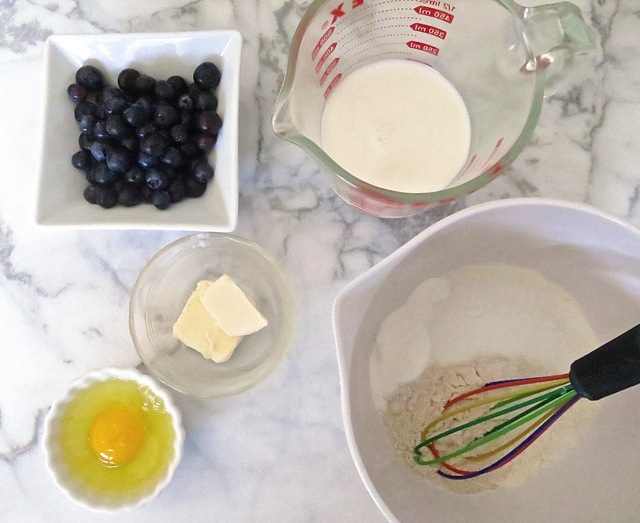
Griddlecake IngredientsIf you don’t have blueberries, see below for an option using an apple.  Many times I make these without any fruit in the batter and serve sliced bananas on the side.

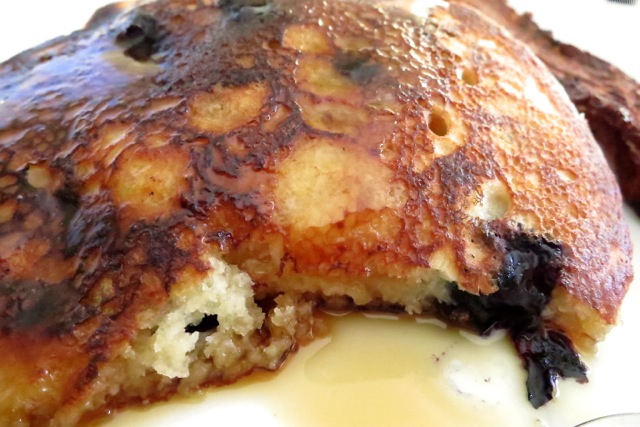
Blueberry Griddle Cakes with SyrupThe original recipe calls for 1 cup of all purpose flour however they also suggest substituting 1/3 cup whole wheat flour which is what I did and they turned out great.  The recipe also offers suggestions such as adding molasses or honey in place of the sugar, or peeling 1 tart apple and cutting it into thin slices and stirring it in to the batter, a good option if you don’t have blueberries handy.

Blueberry Griddle Cakes Bite

Blueberry Griddle Cakes

Serves 2 – About 6 medium griddle cakes

Adapted from the Fanny Farmer Cookbook

Ingredients

3/4 cup milk at room temperature (I use 2%)

2 tablespoons melted butter

1 large egg

2/3 cup all purpose flour

1/3 cup whole wheat flour

2 teaspoons baking powder

1 1/2 tablespoons sugar

1/4 teaspoon salt

1/2 – 3/4 cup fresh blueberries

Beat the milk, melted butter and egg lightly in a 2 cup measuring cup.  Mix the flours, baking powder, sugar, and salt in a medium bowl.   Pour wet ingredients into the dry ingredients, add blueberries and stir just enough until ingredients are lightly combined.  If you over mix the batter you risk the chance of rubbery pancakes. If the batter seems too thick, add a tablespoon or more of milk to thin it to your desired consistency however it shouldn’t be too thin.

Heat a cast iron griddle or frying pan over moderate heat. Melt a pat of butter in the pan (I use about 2 teaspoons).  Pour about 1/4 cup of batter into the pan to make medium sized pancakes.  Bake until the cakes are full of bubbles on the top and the undersides are browned.  Turn with a spatula and brown the other side.  Serve right away with pats of butter and the best maple syrup you can find.

***Check the expiration date on your baking powder.  If it has expired or has been open too long, your pancakes won’t be tall and fluffy.  Once I open up a tin of baking powder I note the date on the bottom of the can and switch it out after 6 months to ensure I am using fresh baking powder.  The moisture in the air can cause the baking powder to react slowly releasing some of its leavening ability.  I’d much rather buy a new tin of baking powder every 6 months and know that my recipe will turn out as expected.

***For lactose free griddle cakes use lactose free milk and Earth Balance Buttery Sticks.

Bread, Breakfast, Dinner, Recipes, Side Dishes

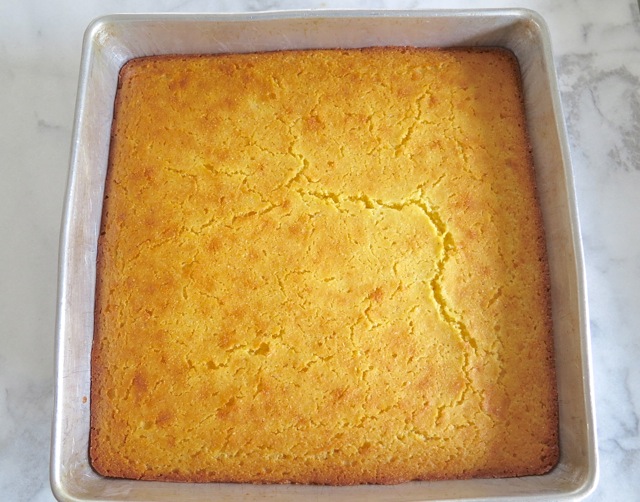
Betty’s Cornbread

March 29, 2013

Corn BreadMy mom was a fabulous cook.  Everything she made was delicious and in particular her brownies and lemon meringue pie.  I kept a few of her old cookbooks and every now and then I’ll come across a page where she had made some notes about the recipe. Some are hysterical, for instance the recipe for Blended Almond Paste: “Burned out blender doing this.  Don’t make this!” And Griddle Cakes: “terrible!” And then there are a couple of recipes with a big X over the entire page which I assume was because they were just so bad that there would be no repeat effort.  She was a big fan of Julia Child and James Beard and needless to say, these notes did not appear in either of these chef’s cookbooks.

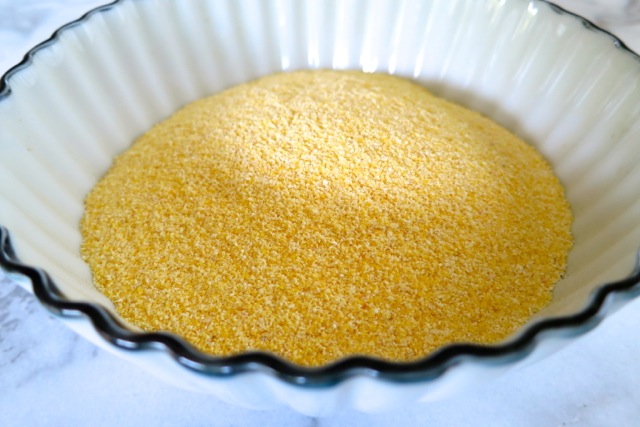
Corn MealI wrote down this recipe of hers many years ago and continue to make it, first because it is delicious and second because it is ready in just 30 minutes.  This is a hearty cornbread and doesn’t have a fine cakey texture like some other cornbreads I’ve tried.  It has a bit of flour in the recipe however it is mostly cornmeal which is why I love it.

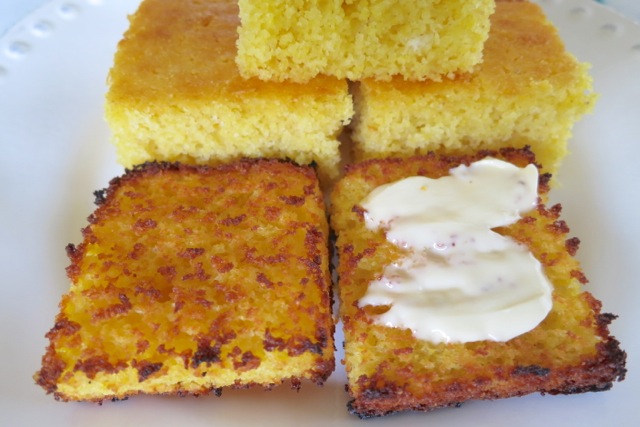
Toasted Corn BreadOnce the cornbread has cooled in the pan for 10 minutes or so, I cut it into 16 pieces.  My favorite way to eat cornbread is to slice a piece in half and toast it in my toaster oven until it is nicely browned and the edges are extra crispy.  A pat of butter is all it needs. Don’t you agree?

Betty’s Cornbread

16 pieces

Ingredients

1 1/2 cups cornmeal

1/2 cup flour

4 teaspoons baking powder

1/2 teaspoon salt

1/2 cup sugar

1 1/4 cups milk

2 large eggs

2/3 stick butter, melted

Preparation

Preheat oven to 400 degrees

Butter a 9 x 9 inch pan.

In a large bowl combine cornmeal, flour, baking powder, salt and suger.  Stir to combine.

Pour 1 1/4 cup milk into a 2-cup measuring cup.  Add eggs and whisk until just combined. Melt butter and add to the milk and eggs.

Pour wet ingredients into the dry ingredients in 3 stages.  Stir to combine then pour batter into your pan.

Bake for 25 minutes.  Using a toothpick check the bread after 20 minutes to see if it is done (some ovens run hotter than others).

Cool cornbread in the pan for 10 minutes then slice and serve.  The cornbread freezes beautifully.

***For lactose free version use lactose free milk and Earth Balance buttery sticks.

Breakfast, Dinner, Recipes, Side Dishes, Vegan, Vegetarian, Veggies

Crash Hot Potatoes

February 4, 2013

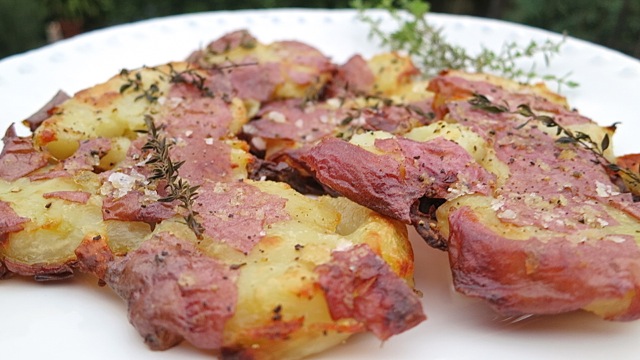
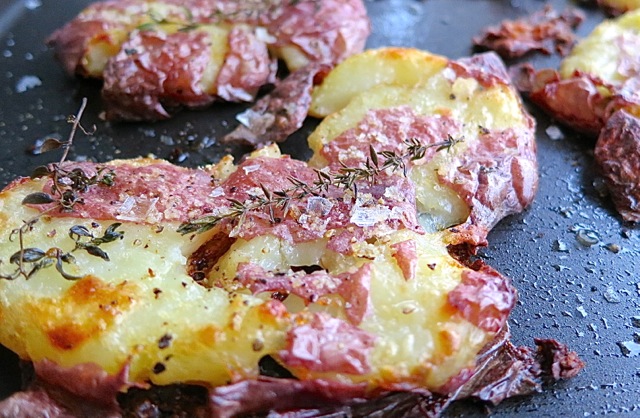
Crash Hot PotatoesRoasted potatoes are always tasty, but these are even better.  The potatoes are flattened before roasting which produces more irresistible crispy edges.   This recipe comes from Jill Dupleix, a freelance food writer originally from Australia but now a resident of London.  Speaking of Australia, the people there are famous for their humorous slang.  Take Jill’s instructions for boiling the potatoes  “Just bung (throw) them into a pot of salted water” she says.  I love that.

Crash Hot Potatoes in to the Oven

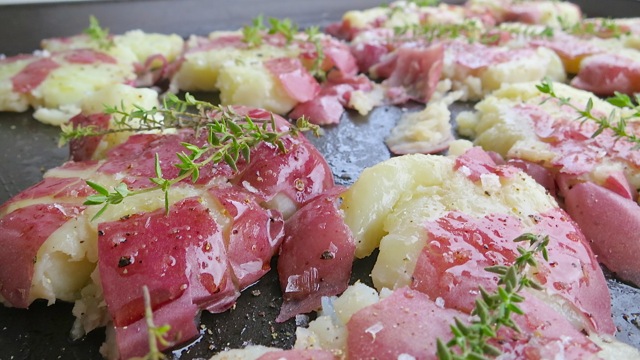
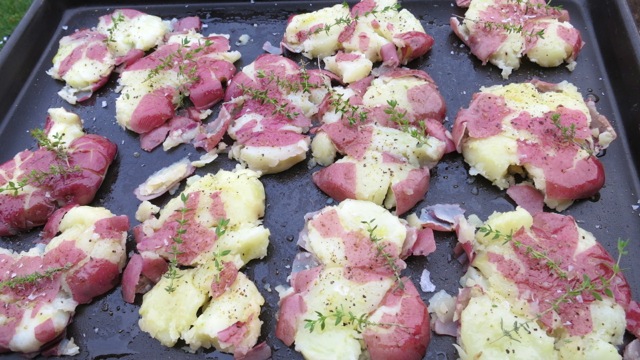
Crash Hot Potatoes Ready to RoastThe potatoes are boiled until just cooked through without being soft.  Use a potato masher to squash the potatoes flat then brush with olive oil and sprinkle with coarse salt and black pepper.  Scatter some fresh thyme sprigs on the potatoes.

Crash Hot Potatoes with Thyme

Crash Hot Potatoes 

2 generous servings

Ingredients

1 1/2 pounds baby red potatoes

1 tablespoon extra virgin olive oil

coarse sea salt (Maldon works well)

freshly ground black pepper

thyme sprigs

Preparation

Heat the oven to 450 degrees

Scrub the potatoes and place in a pot of salted water.  Bring to a boil then simmer for about 12 minutes until just done.  The cooking time will depend on the size of your potatoes, check frequently so they don’t over cook.

Drain the cooked potatoes and arrange on a lightly oiled baking sheet.  Using a potato masher, flatten the potatoes until they are twice their original diameter.

Brush the tops with olive oil and sprinkle with coarse sea salt and pepper.  Scatter the thyme sprigs over the potatoes.

Bake for about 30 minutes or until they potatoes are crisp and golden.

Breakfast, Canning, Fruit, Jams & Jellies, Recipes, Vegan, Vegetarian

Lilikoi Jelly ~ Passion Fruit

January 26, 2013

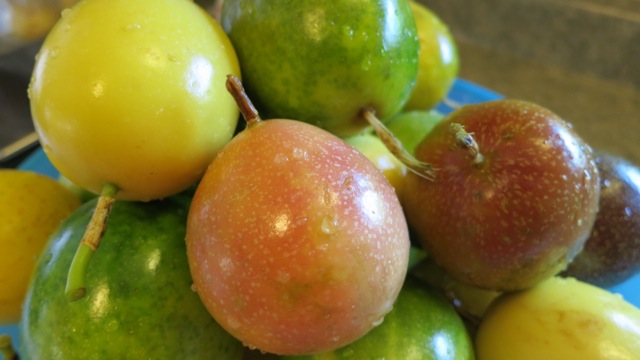
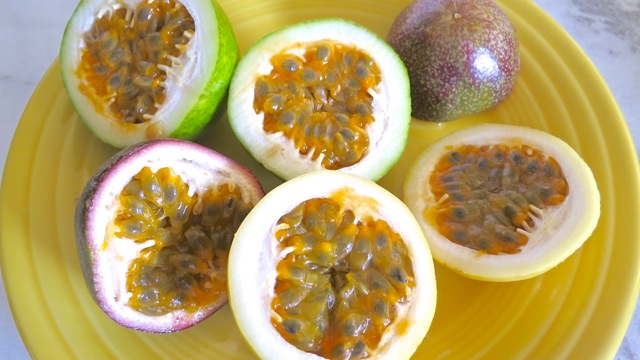
Colorful LilikoiPassion fruit, or lilikoi as we know it in Hawaii is a unique fruit with a pleasantly sweet and tart flavor.  The most common varieties are yellow and purple and they can be found in some of our health food stores on Maui.  They have a tough, waxy and smooth rind yet once you cut through the hard outer skin, the most amazing scent envelops the air.  Once cut in half, you might wonder what all the fuss is about.  Be patient.  You will find an aromatic gelatinous seed filled pulp with a fragrance that is hard to describe.  “Sublime” might hit the right note. An important step at the start of the jelly making process is to select a good recording of Beethoven’s Ninth Symphony and set the volume to “eleven” ala Spinal Tap!

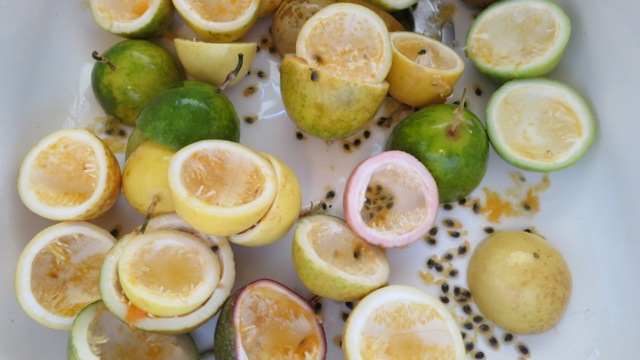
Cut LilikoiUsing a spoon remove the pulp from the rind.  You can strain the seeds out as we do to make juice for the jelly.  The pulp from the fruit can be eaten as is, seeds and all.

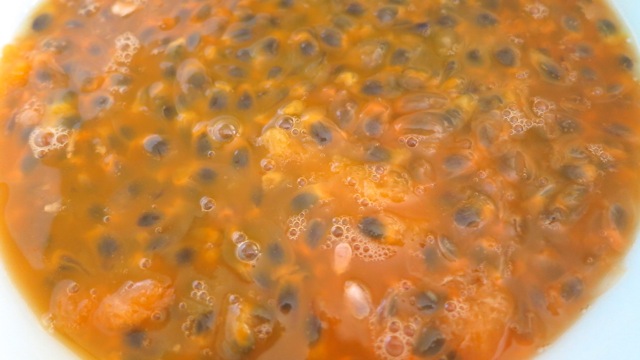
Lilikoi pulp

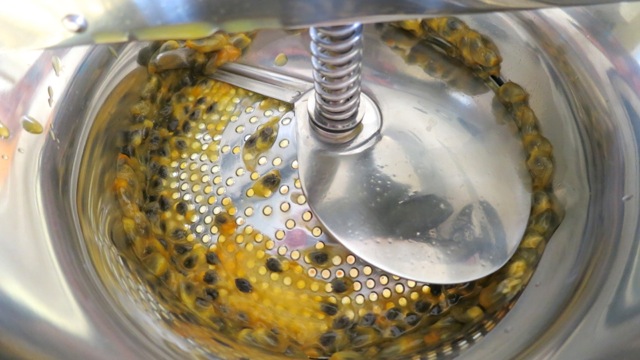
Oxo

The best method to extract the juice is to first put all the pulp into a blender.  Then pulse it on low speed for 45 -60 seconds.  We turn our Vitamix to #3 setting.  This will separate the seeds from the pulp but won’t break the seeds.  If you have a food mill this is a good opportunity to use it.  Pour the contents of the blender into the mill and turn, turn, turn.  Soon you will have your 3 cups of lilikoi juice.

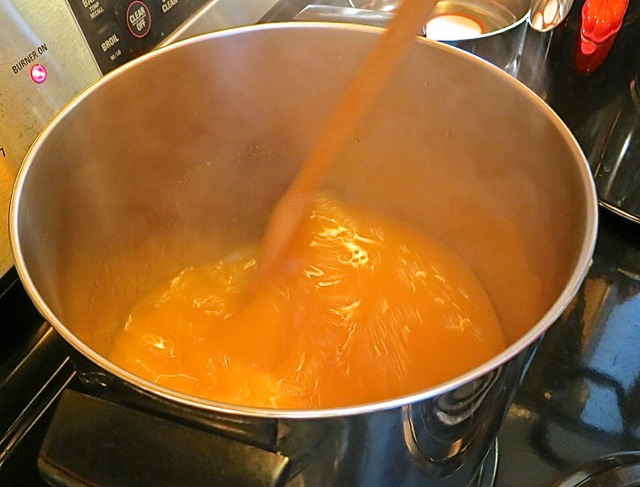
Boiling lilkoi juiceBring the mixture to a boil, stirring constantly with a long wooden spoon.

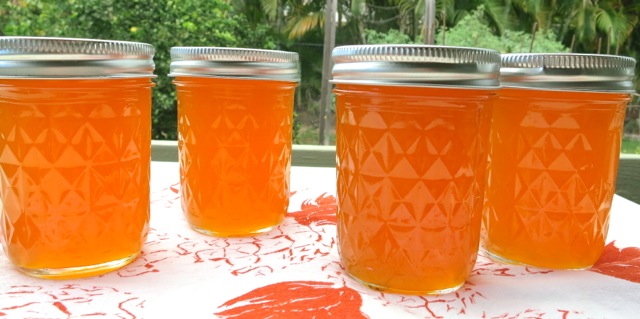
Lilikoi Jellies

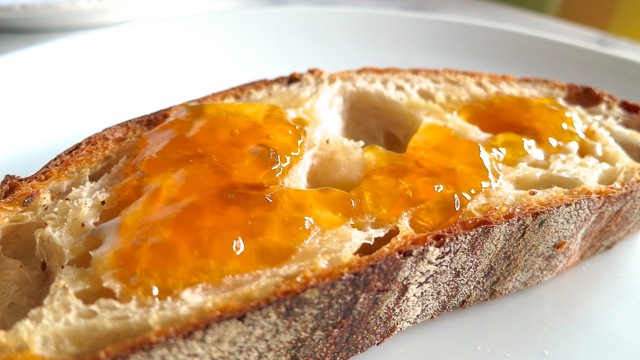
Lilikoi ToastA few pats of butter on your favorite toast with a spoonful of lilikoi jelly.  It’s divine.

Lilikoi Jelly

Updated 1/15/20 (increased lilikoi juice to 3 cups)

Makes 8 half pint jars

Ingredients

3 cups lilikoi juice (about 5 pounds of fresh lilikoi) or frozen, unsweetened passion fruit pulp  (Goya brand)

1 cup water

7 1/2 cups sugar

6 ounces liquid pectin (2 pouches Certo brand)

Preparation

Prepare canner and canning jars.

Combine juice, water and sugar in a large, tall pot.  Bring to a boil over high heat, stirring constantly.  Immediately add liquid pectin and bring to a full, rolling boil.  Boil rapidly for 1 minute, stirring constantly.

Remove from the heat, skim off foam (use a small fine mesh strainer) and pour into sterilized jars leaving 1/4 inch space between the jelly and rim of the jar.  Secure 2 part lids and process for 10 minutes in boiling water canner.  Turn off heat and leave jars in canning pot for 5 more minutes before removing to cool.

***Basic canning instructions can be found here.

Bread, Breakfast, Dinner, Lactose Free, Recipes, Side Dishes

Chive Biscuits

January 11, 2013

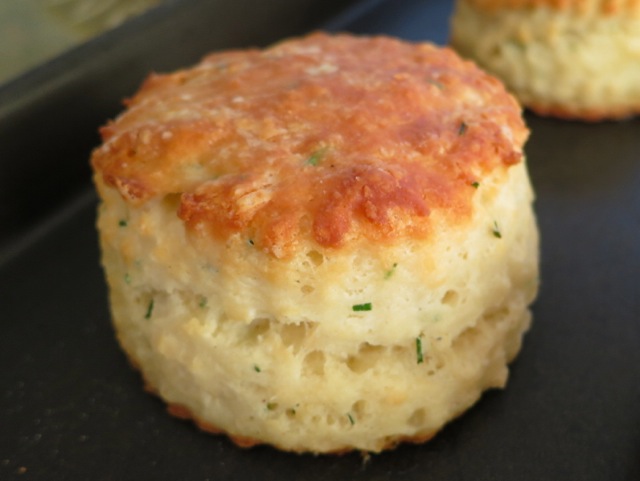
Chive BiscuitHere it is, January which is supposed to be our “winter.” Usually we are 10 degrees cooler this time of the year but it feels like summer.  I bought a pretty Nic & Zoe sweater on my last trip to Oahu and I still haven’t had the opportunity to wear it.  Lord love a duck!

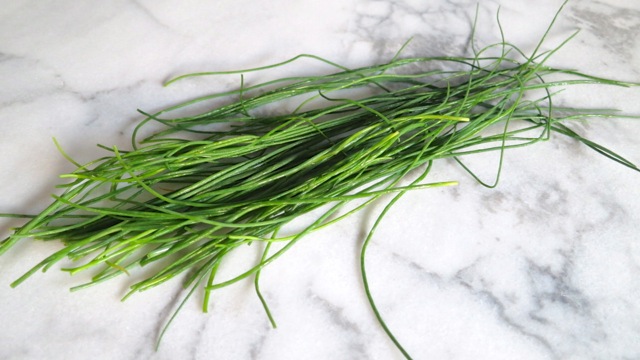
ChivesWith this unbelievable weather you’d think that all the herbs in the garden would be flourishing.  Unfortunately the chives took a dive.  They’ve been replanted  a few times, moved from their original spot and have always done well.  The Italian parsley has grown into a huge bush and towers over the chives which aren’t getting their share of sunlight.  I was able to collect just enough to use in this recipe I adapted from Serious Eats.

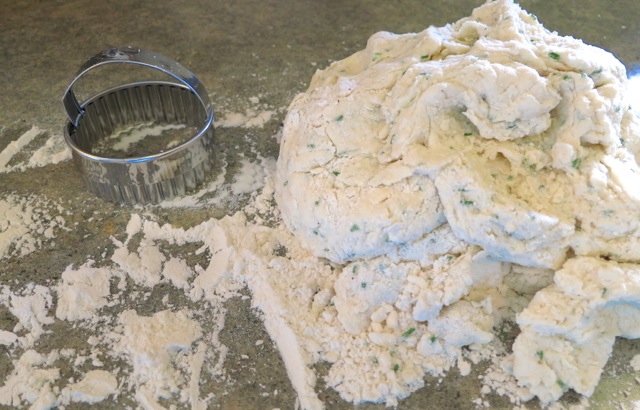
Chive Biscuit DoughIt takes just 30 minutes to make these biscuits.   If you don’t have chives you can substitute tender green scallions.

Baked Chive Biscuits

Biscuits & Butter

Chive Biscuits 

Makes 12 Biscuits

Ingredients

2 cups flour

1 cup cake flour

3 teaspoons baking powder

2 teaspoons sugar

3/4 teaspoon salt

1/2 teaspoon baking soda

1/4 teaspoon pepper

1 stick Earth Balance Buttery Sticks cut into small cubes

1/4 cup minced chives or more if you prefer

12 ounces Green Valley lactose free plain yogurt plus 4 tablespoons lactose free milk to measure 1 3/4 cups total

Preparation

Preheat oven to 425 degrees

In a large bowl sift flour, cake flour, baking powder, sugar, salt and baking soda.  Whisk in pepper.

Add cold cubes of Buttery Sticks to flour mixture.  Use a pastry blender to combine butter with dry ingredients until the texture resembles coarse meal.  Alternately place dry ingredients in a food processor, add Buttery Sticks and pulse until a coarse meal texture forms.

Add chives and yogurt mixture to dry ingredients and stir until combined.  Turn dough onto a floured surface and knead up to 6 times.  Pat dough into a 1 inch round.  Use floured biscuit cutter to stamp out 12 biscuits and place on a large cookie sheet or jelly roll pan.

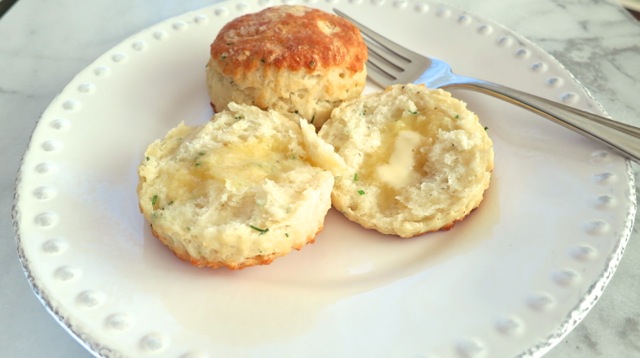
Bake for 12 -15 minutes, turning the pan once half way through the baking time.  Transfer the pan to a cooling rack.  Serve right away while still warm.  These biscuits are really good split and toasted until crispy and brown served alongside poached or fried eggs and crispy bacon.

***Feel free to use regular butter, yogurt and milk in place of lactose free products

Follow

Get every new post delivered to your Inbox

Join other followers: