Browsing Category

Breakfast

Breakfast, Dessert, Lactose Free, Recipes

Farmhouse Buttermilk Cake

August 29, 2020

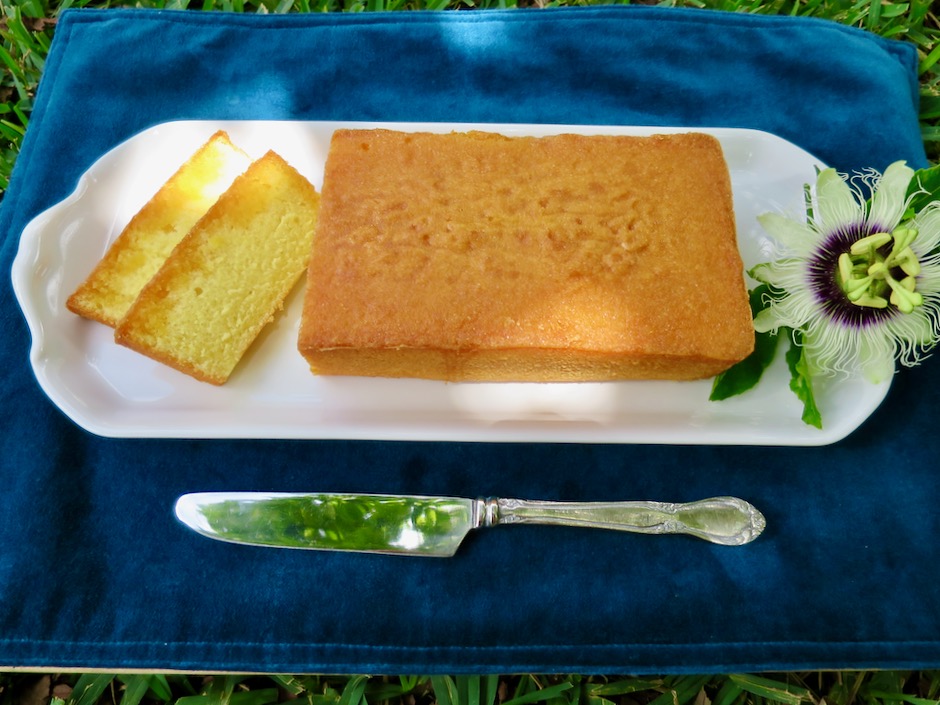
Farmhouse Buttermilk Cake

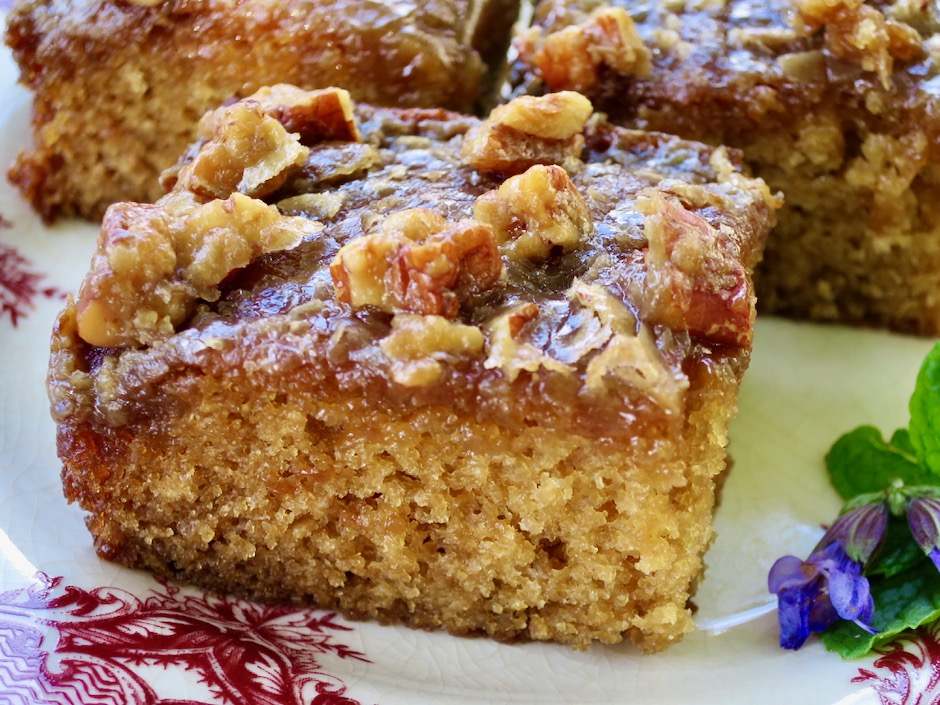
This sweet and moist cake recipe comes from King Arthur Baking Company.  The topping seeps down into the cake which makes it extra moist, and the rich, buttery pecans are truly delightful.  I wanted a smaller cake so I cut the recipe in half and used an 8×8-inch baking pan.

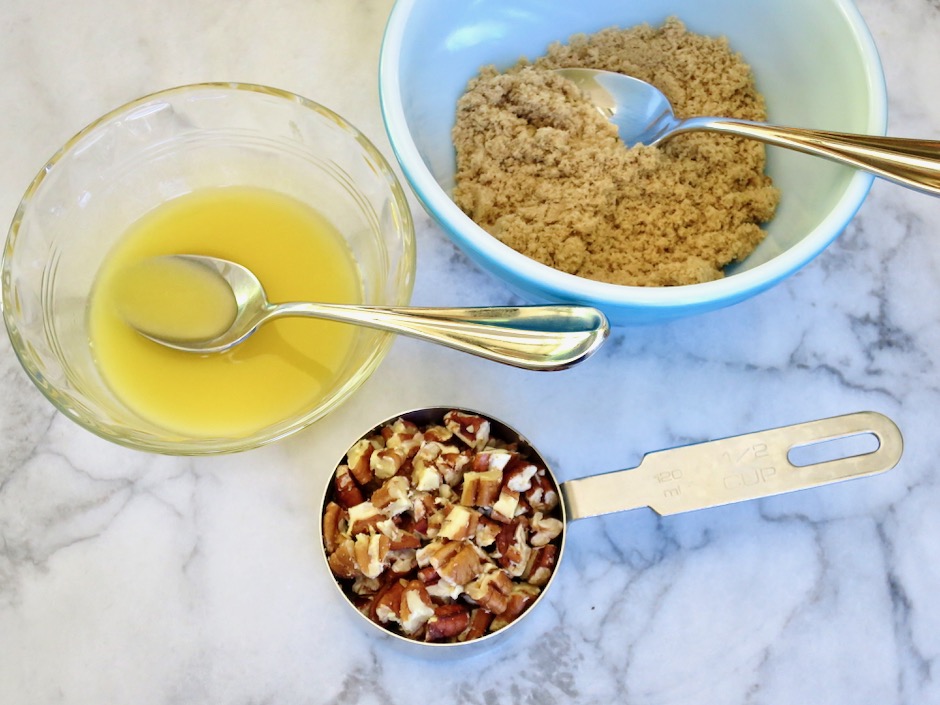
Melted Earth Balance Buttery Sticks, Brown Sugar, Pecans

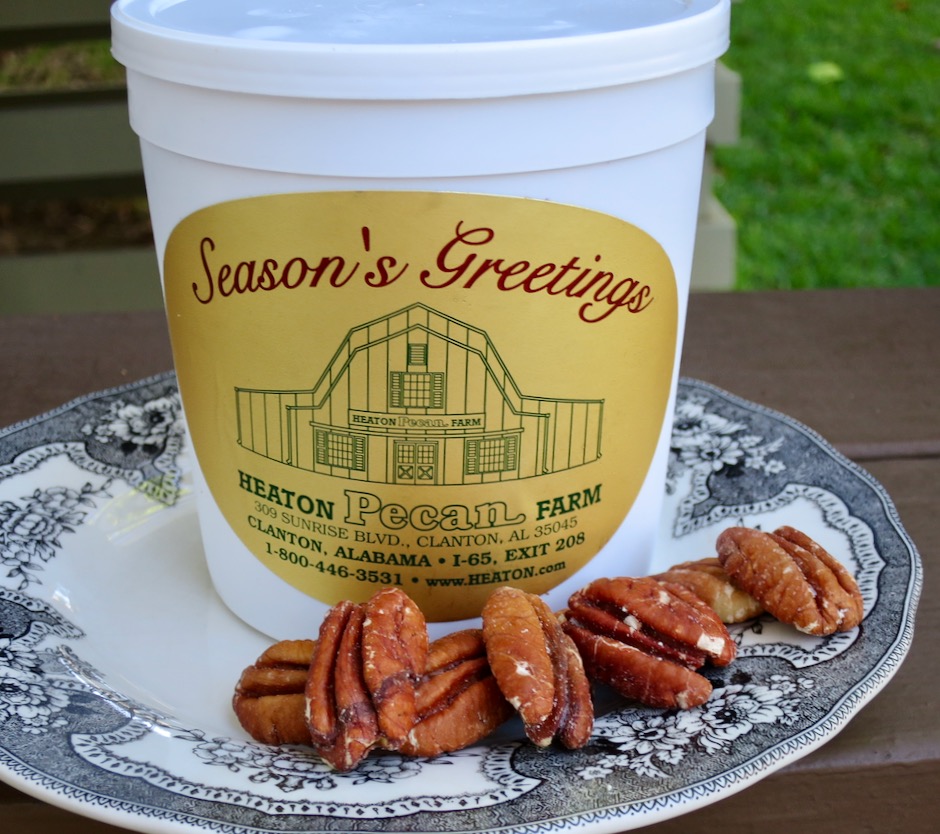
Heaton Farm Pecans

A guest who visited my workplace last Christmas brought me a container of pecans from his hometown. I’ve kept them in my refrigerator so they stay nice and fresh.  I was able to put these excellent pecans to good use with this recipe.

Farmhouse Buttermilk Cake

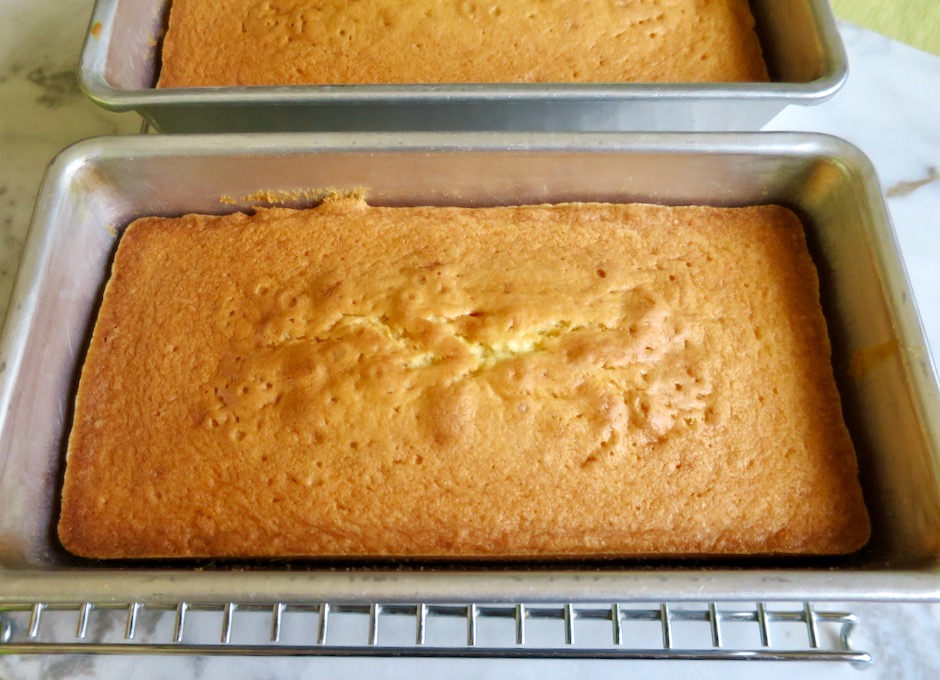
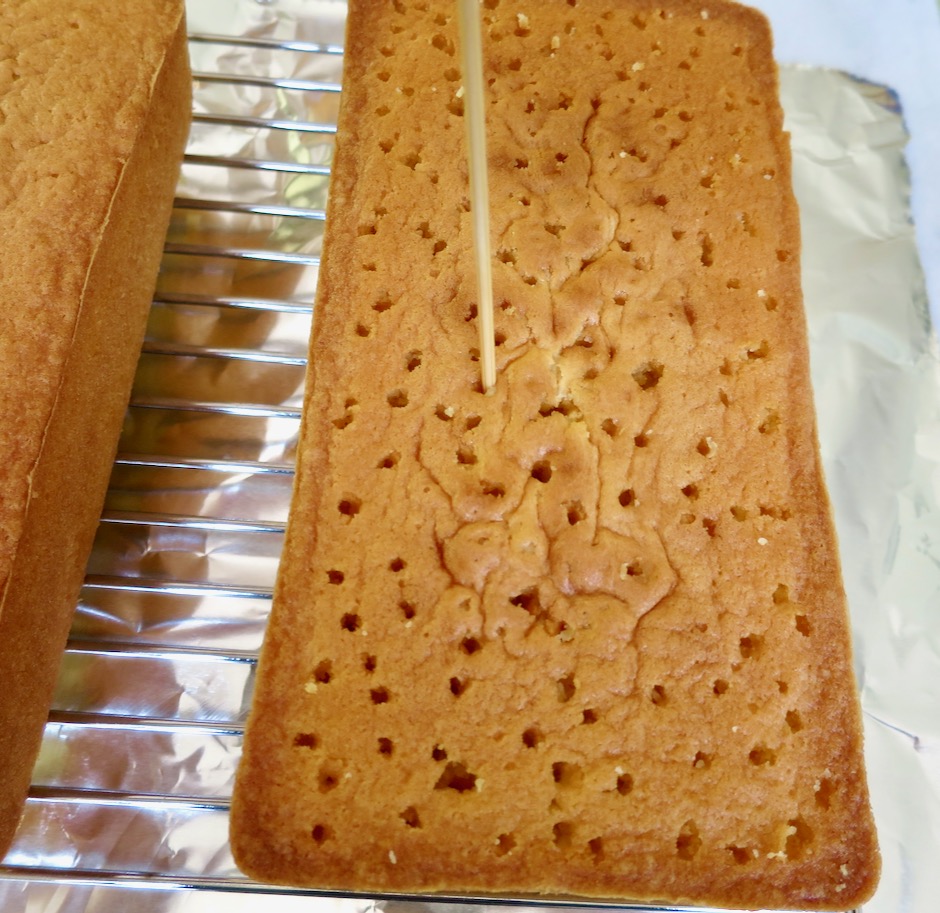
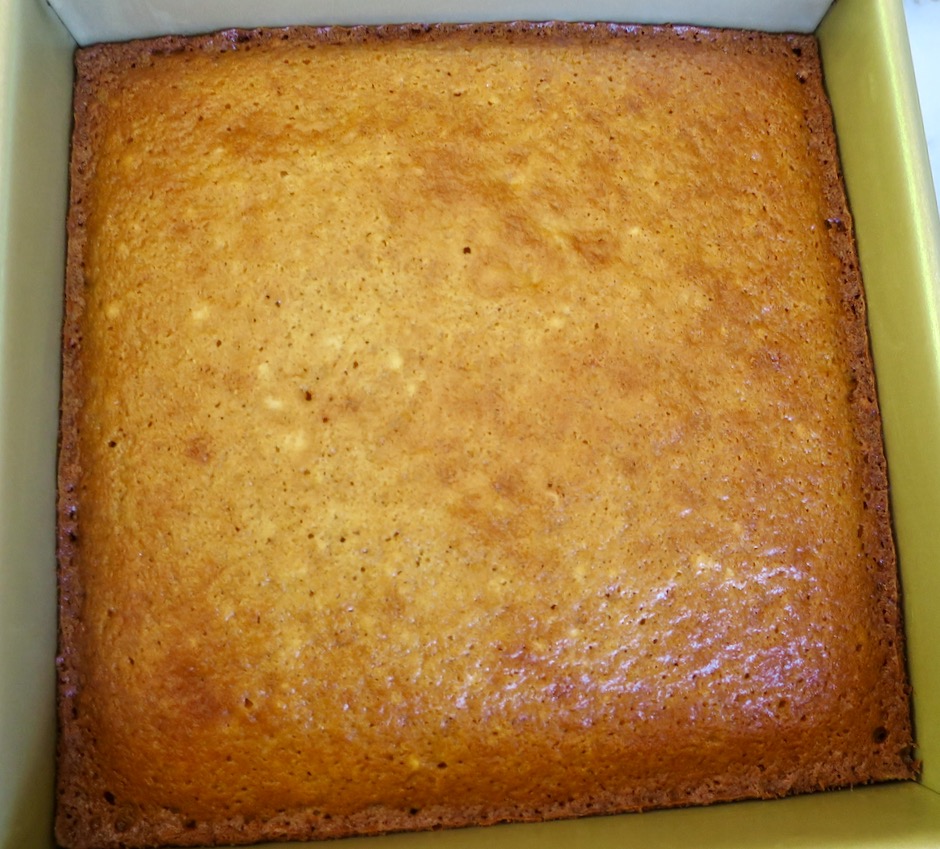
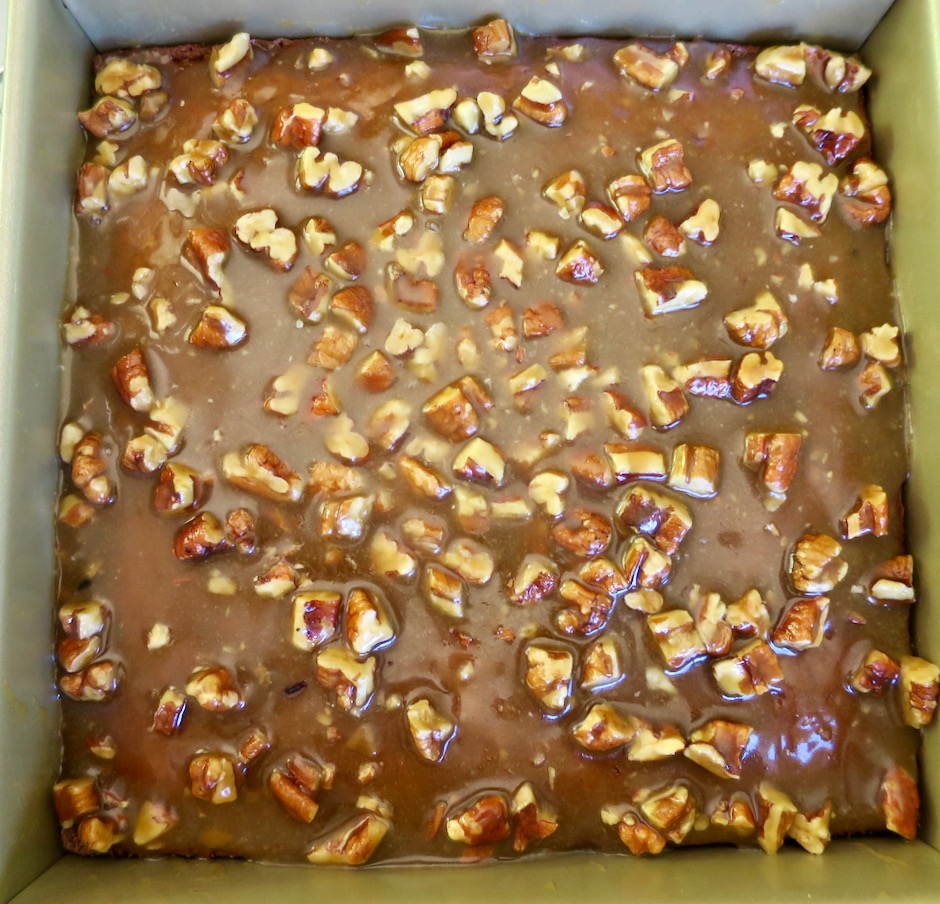
The cake itself is pretty straight forward.  Butter, brown sugar, eggs and buttermilk all play a part in making this moist cake.  It may look like any other cake, that is, until you add the topping to it.  The cake then goes back in the oven for another 10 minutes and the topping warms up becoming a gorgeous glaze.

Farmhouse Buttermilk Cake

Farmhouse Buttermilk Cake

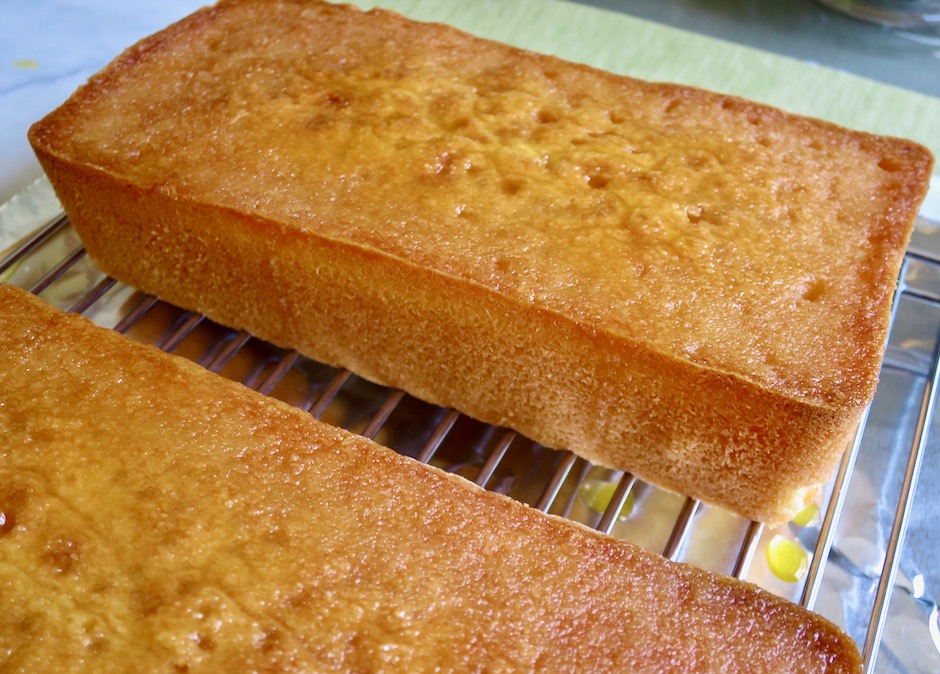
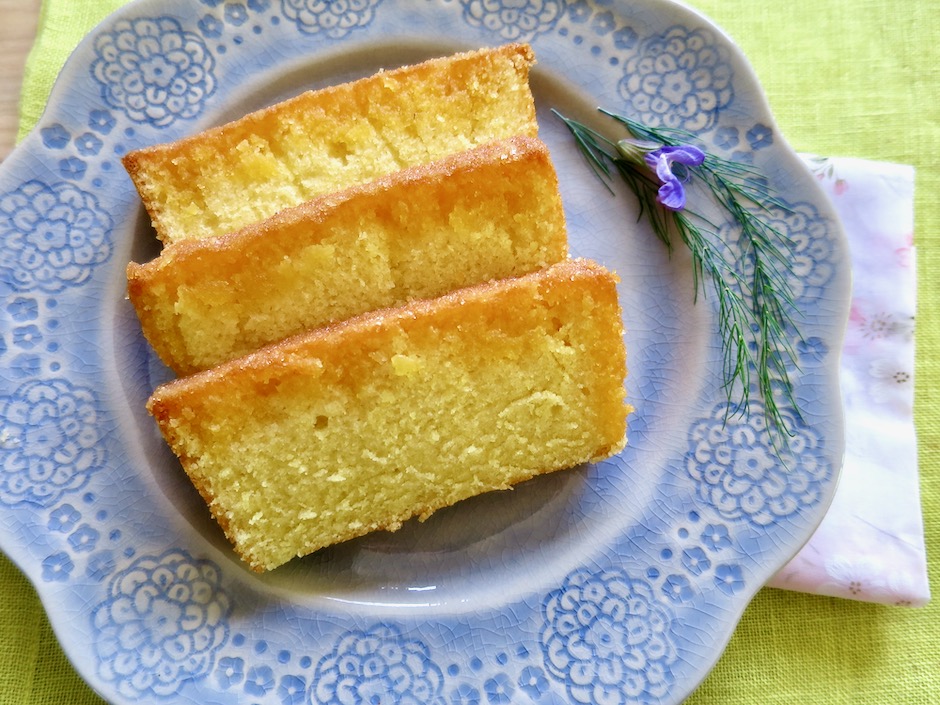
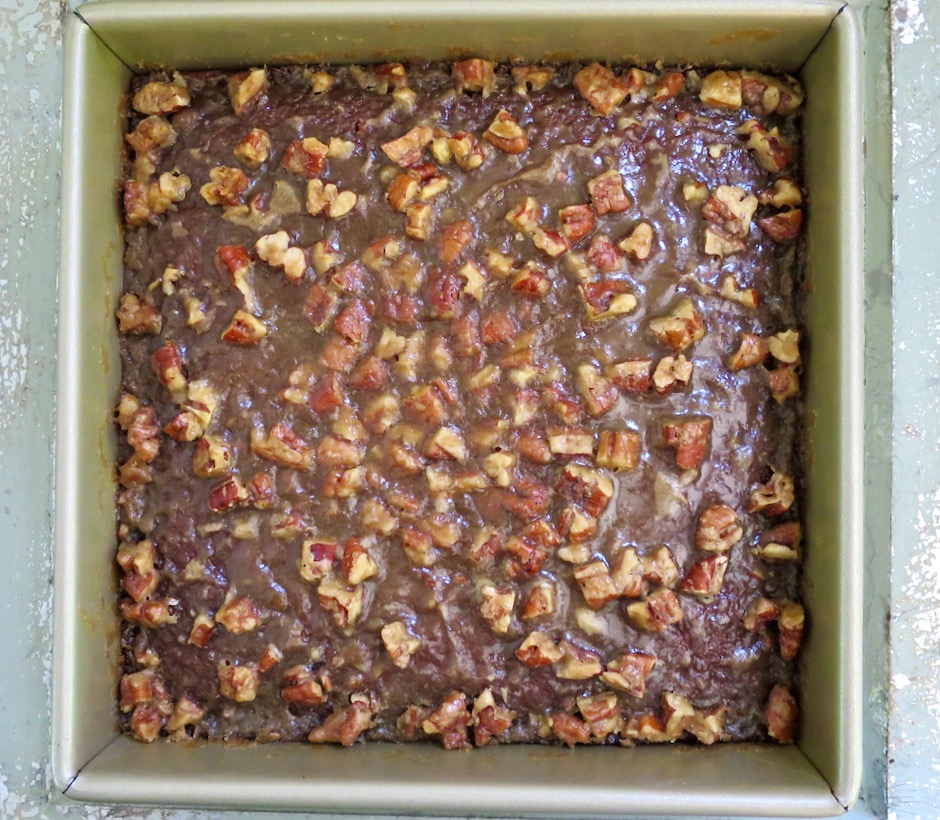
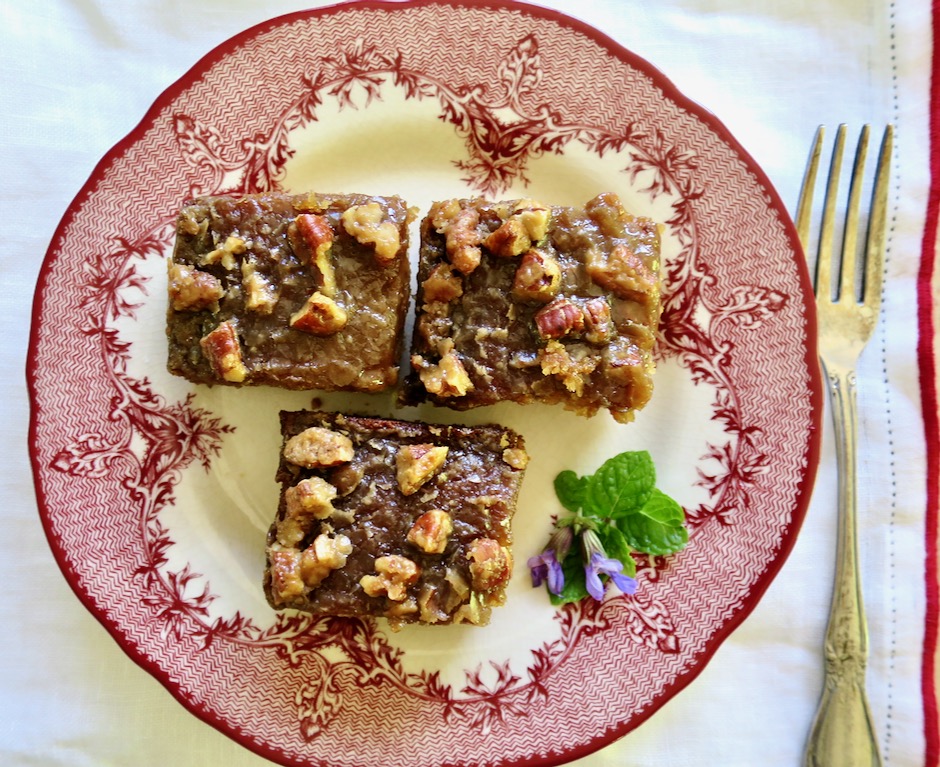
The thick topping has now become a beautiful glaze.  You can serve it right away at this point, but I like to let the cake cool for an hour or two until the glaze has set.

Farmhouse Buttermilk Cake

Farmhouse Buttermilk Cake
 
Adapted from King Arthur Flour
Author:
Serves: 1 8x8 cake
Ingredients
  • Cake:
  • ¼ cup (57g) Earth Balance Buttery Sticks (or unsalted butter) at room temperature
  • 1 cup (213g) light brown sugar, firmly packed
  • 1 large egg, at room temperature
  • 1 cup (227g) lactose free buttermilk at room temperature (add 1 tablespoon white vinegar to a 1-cup measuring cup, add lactose free milk to measure 1 cup total, let sit 10 minutes to thicken)
  • 1 teaspoon vanilla extract
  • 1 teaspoon baking soda
  • ½ teaspoon kosher salt
  • 1½ cups (180g) unbleached all-purpose flour (King Arthur recommended)
  • Topping:
  • 3 tablespoons (43g) melted Earth Balance Buttery Sticks
  • ½ cup (107g) light brown sugar, firmly packed
  • ⅛ c (29g) milk
  • ½ cup (57g) diced pecans
  • *add ⅛ teaspoon fine sea salt if using unsalted butter
Preparation
  1. Preheat oven to 350 degrees. Line the bottom of an 8x8-inch cake pan with parchment paper. Lightly grease the pan.
  2. Beat the butter and brown sugar until smooth. Add the egg and beat until smooth. Stir in the buttermilk and vanilla extract. Add baking soda, salt, and flour to the wet ingredients, beating until thoroughly combined. Pour batter into the prepared pan. Bake the cake for 30 minutes.
  3. Towards the end of the baking time, prepare the topping by stirring the butter and sugar together. Add the milk and pecans. The glaze will be thick but pourable.
  4. Pour the topping over the baked cake making sure to spread it evenly (corners too). Return the cake to the oven for another 10 minutes.
  5. Remove the cake from the oven. The topping will look very runny. Letting the cake sit at room temperature for a few hours will allow the glaze to set. The cake can be frozen for a couple of months.
 

Breakfast, Dinner, Eggs, Japanese, Korean, Lactose Free, Recipes, Rice Dishes

Instant Ramen Fried Rice

May 31, 2020

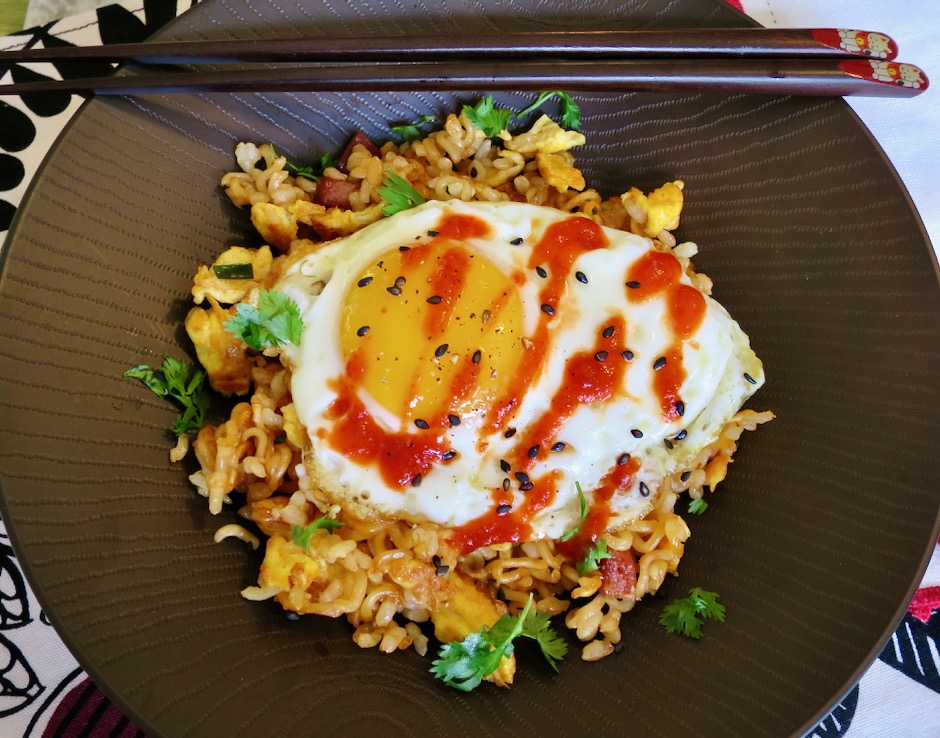
Ramen Fried Rice with Sunny Side Up Egg

I came across this recipe on the always interesting Serious Eats blog.  It seems that instant ramen fried rice is the latest food craze in Japan.  Everyone there has instant ramen in their cupboards, and so do many of us.  This dish is inexpensive, perfect for single servings, and most of all so tasty.
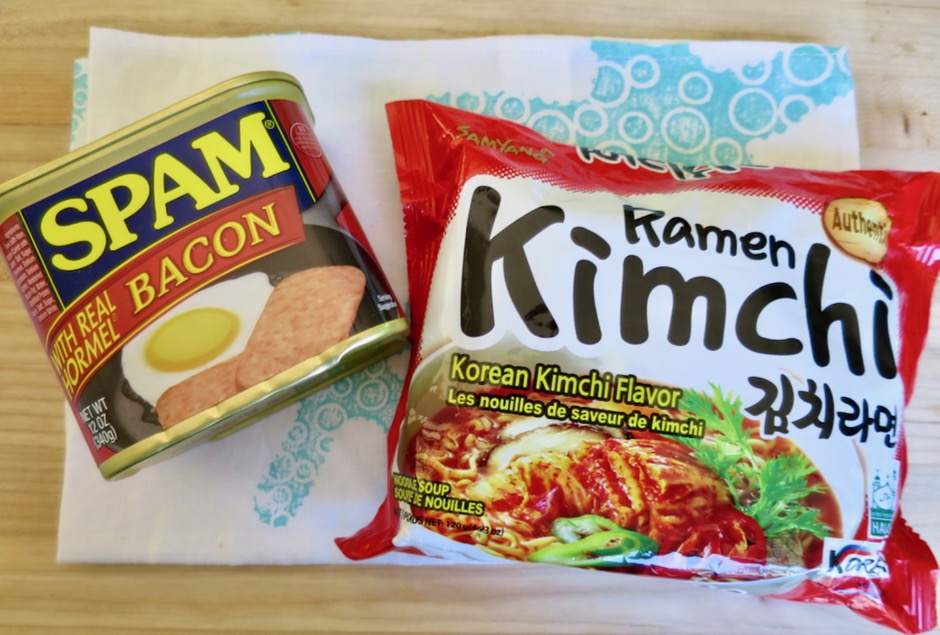
Bacon Spam & Kimchi Ramen

I added some Bacon Spam to my ramen fried rice for an extra umami boost but you may omit it to make things simpler and quicker. For just one serving, use your favorite flavor of Cup Noodles instant ramen.  I used Kimchi ramen since it was what I had available and it was perfect for the two of us.

Kimchi Ramen

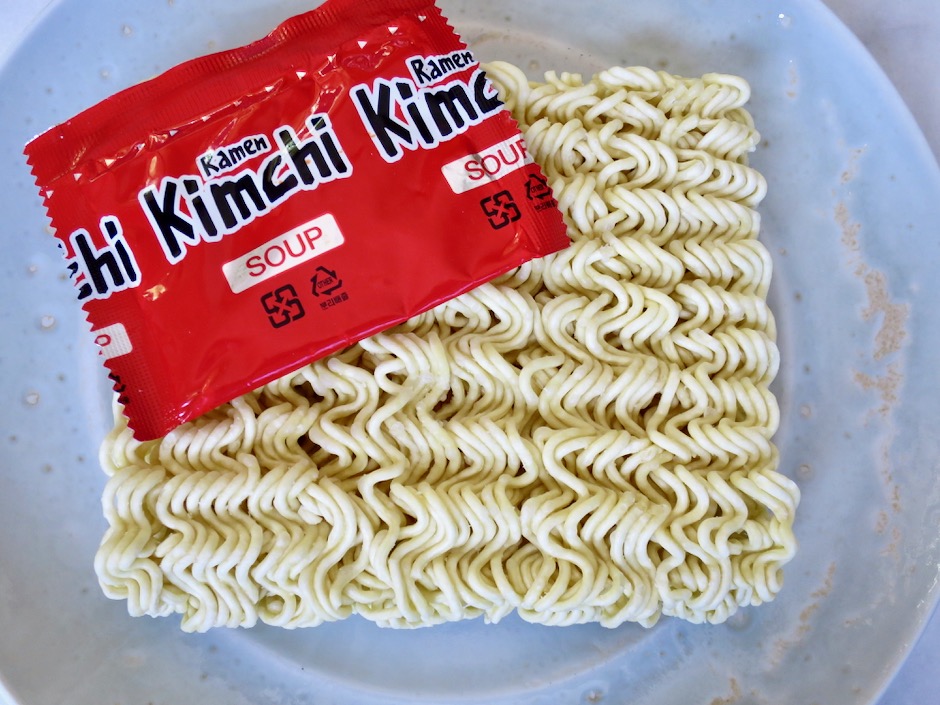
Unlike many other ramen recipes that suggest you throw out the flavor packet and make your own soup, you’ll want to keep it this time.  This is suppose to be a no fuss meal after all.

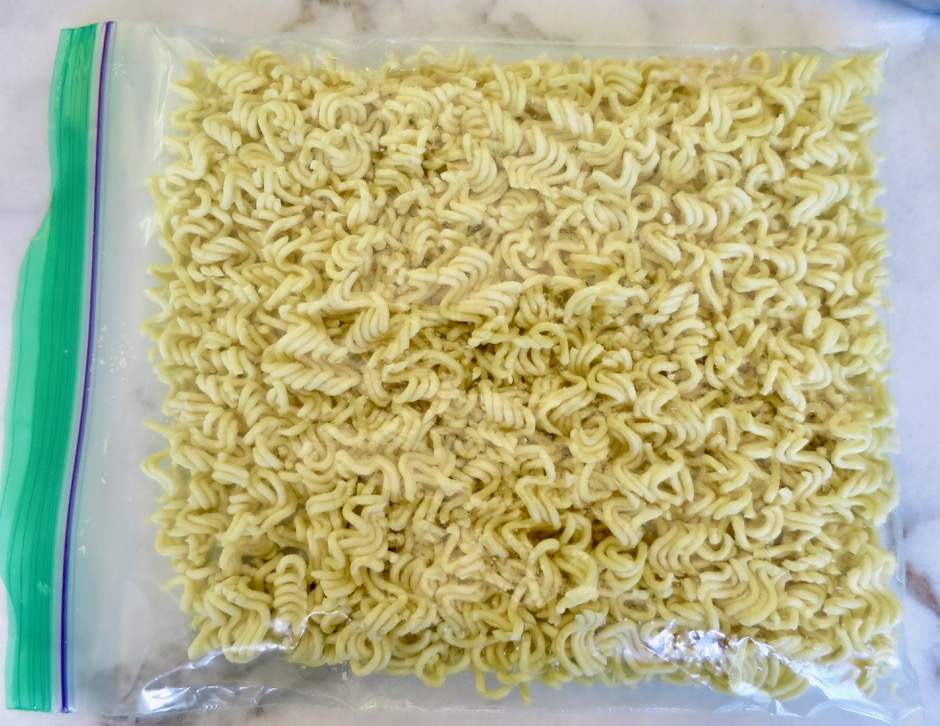
Ramen Noodles

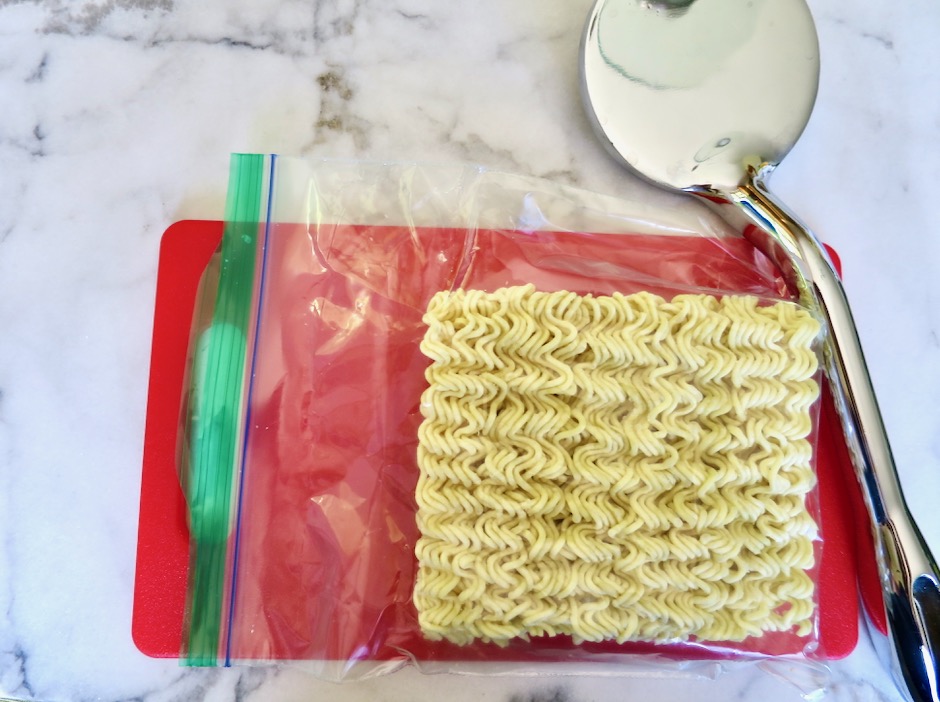
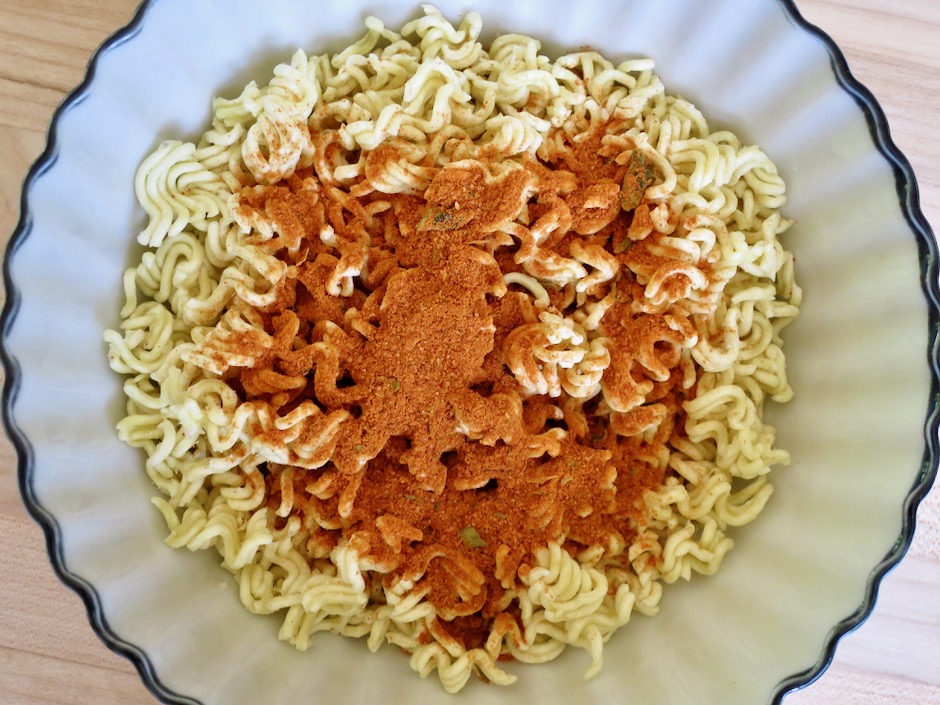
Crush the noodles into small pieces before adding the soup base and boiling water.

Crushed Ramen Noodles

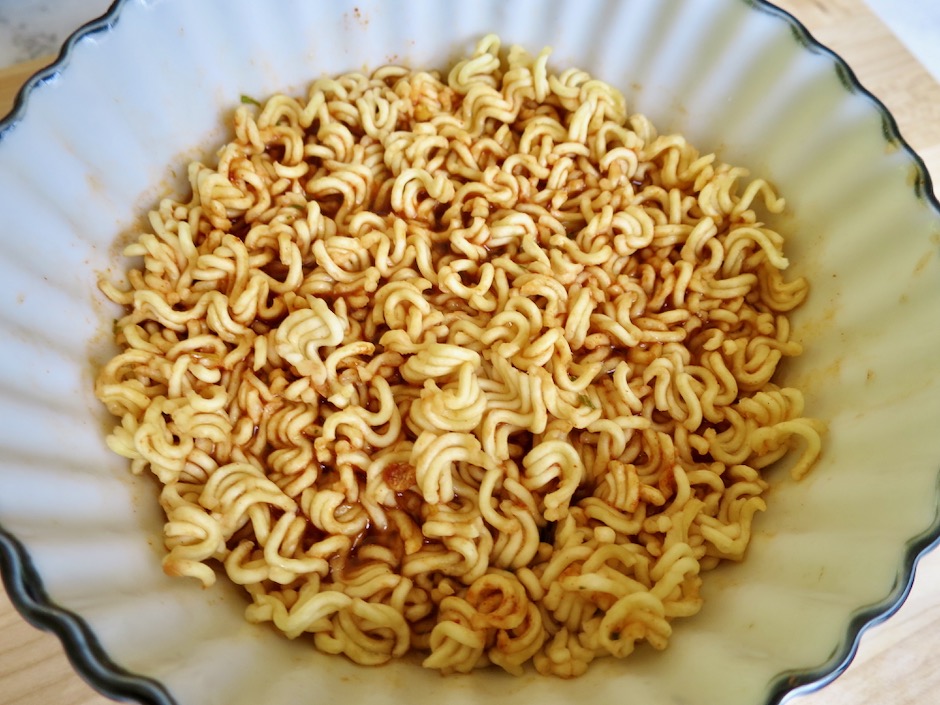
Crushed Ramen Noodles with Soup Base

Pour just enough boiling water over the noodles and soup base to rehydrate the noodles.  You don’t want to use too much water which would lead to soggy fried rice. Give the noodles and soup base a quick stir, cover and let sit for a few minutes.

Ramen Noodles & Soup Base Rehydrating

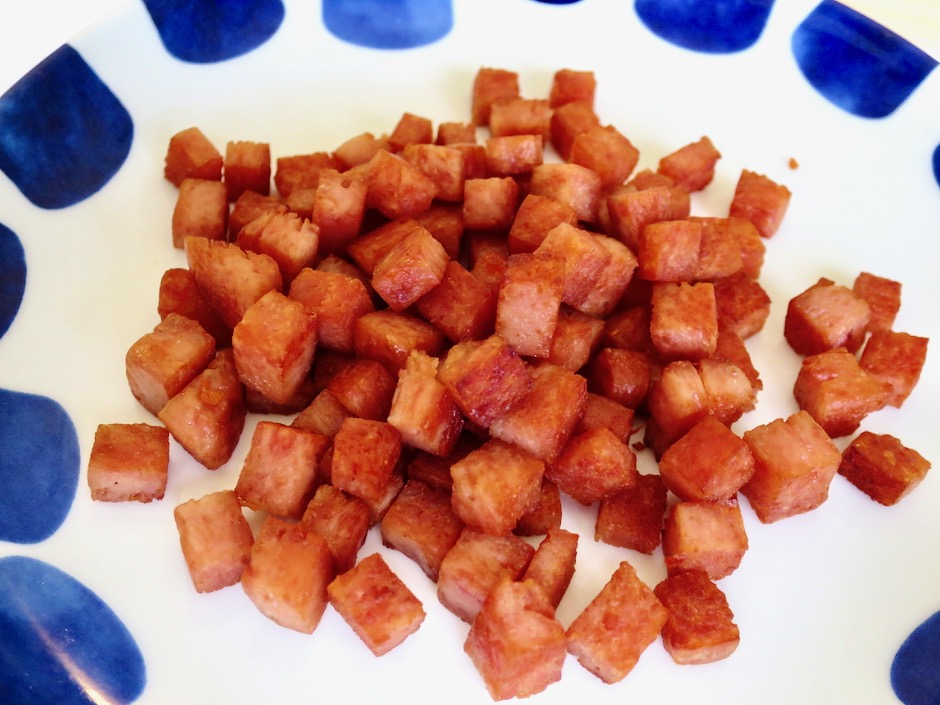
Bacon Spam

With Spam (the unofficial state food of Hawaii), there are two options: either you like it (add it) or you loathe it (leave it out).

Ramen Fried Rice with Bacon Spam

Almost any type of rice will work in this recipe. I used 2 cups of cooked short grain brown rice.

Ramen Fried Rice with Bacon Spam

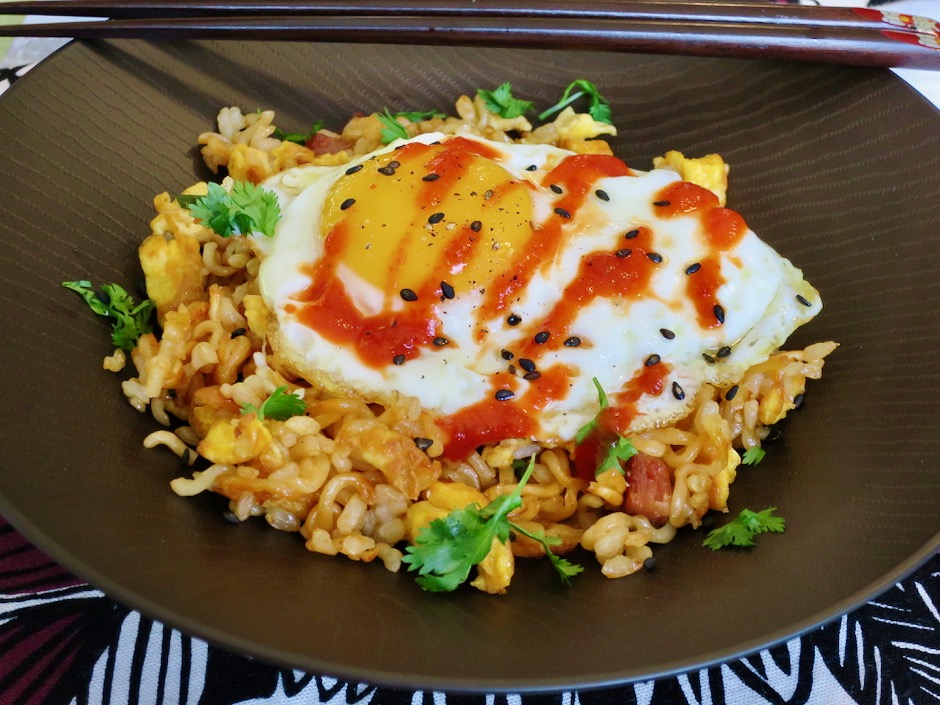
Since eggs are one of my favorite foods, I couldn’t resist frying up a couple of sunny side up eggs to eat with our ramen fried rice.  A good drizzle of sriracha sauce is the ideal accompaniment for this satisfying meal. Oishii!

Ramen Fried Rice with Sunny Side Up Egg

Ramen Fried Rice
 
Adapted from Serious Eats blog
Author:
Serves: 2
Ingredients
  • 1 package (about 4.25 ounces) kimchi ramen
  • 2 cups cooked short grain brown rice
  • 2 eggs, lightly beaten
  • 2 pieces Bacon Spam, diced small and fried until crisp (optional)
  • 2 sunny side up eggs (optional)
  • cilantro for sprinkling over fried rice (optional)
  • Sriracha (optional)
Preparation
  1. Crush ramen noodles and place in a bowl with soup base. Pour boiling water over noodles (just enough to barely cover the noodles) and give them a quick stir. Cover and rehydrate noodles while you continue with the recipe.
  2. Heat 2 tablespoons canola oil in a large (I use 11") non-stick skillet over medium-high heat. Once the oil is shimmering, add beaten eggs and scramble just until barely set. Add rice to the pan and heat through, breaking up any large lumps, about 1-2 minutes. Add cooked Spam cubes if using.
  3. Add noodles along with any liquid (you shouldn't have too much liquid left after rehydrating the ramen) to the rice and stir constantly until excess moisture has cooked off. Taste and season with salt if needed. Press the rice mixture in an even layer on the bottom and up the sides of the pan to allow crispy bits to form. Serve ramen fried rice with sunny side up eggs, cilantro, soy sauce and sriracha.


Bread, Breakfast, Recipes, Side Dishes, Vegetarian

Spinach Cheddar & Sun-Dried Tomato Scones

May 7, 2020

Spinach, Cheddar & Sun-Dried Tomato Scone

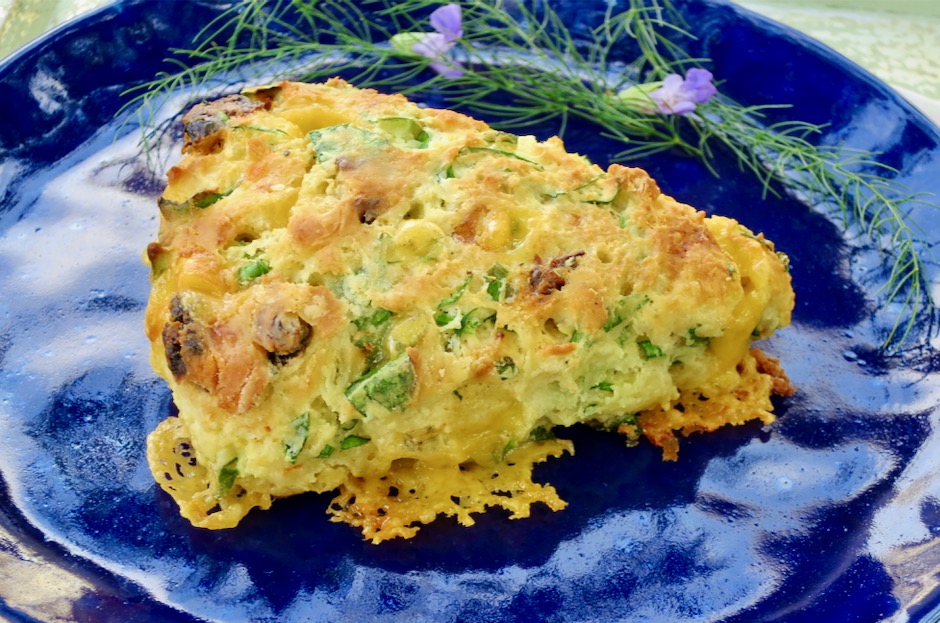
I’ve made a variety of different scones, but I’m always up for another one and this time it’s a savory version.  Using fresh spinach is ideal.  It doesn’t get soggy and the deep green color makes these scones pop.  I love the complex, bold flavor that sharp cheddar adds to each bite.  Scones can be made on the fly which is a very good thing.  From the time you gather your ingredients, make the dough and bake the scones, you will have spent less than 1 hour of your time.  And, you will be rewarded with 8 large yummy scones.

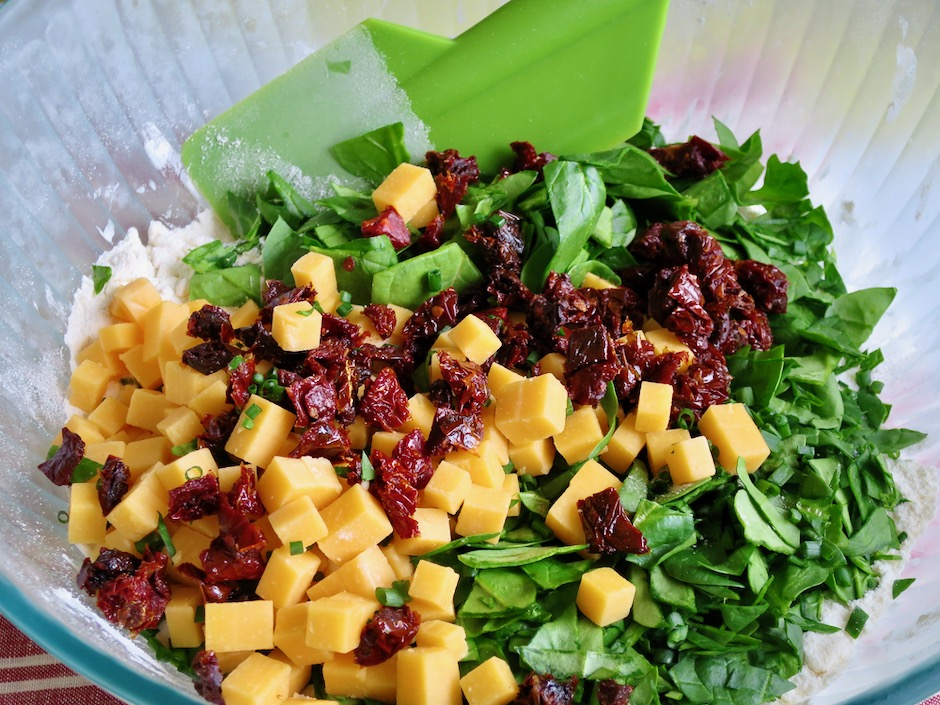
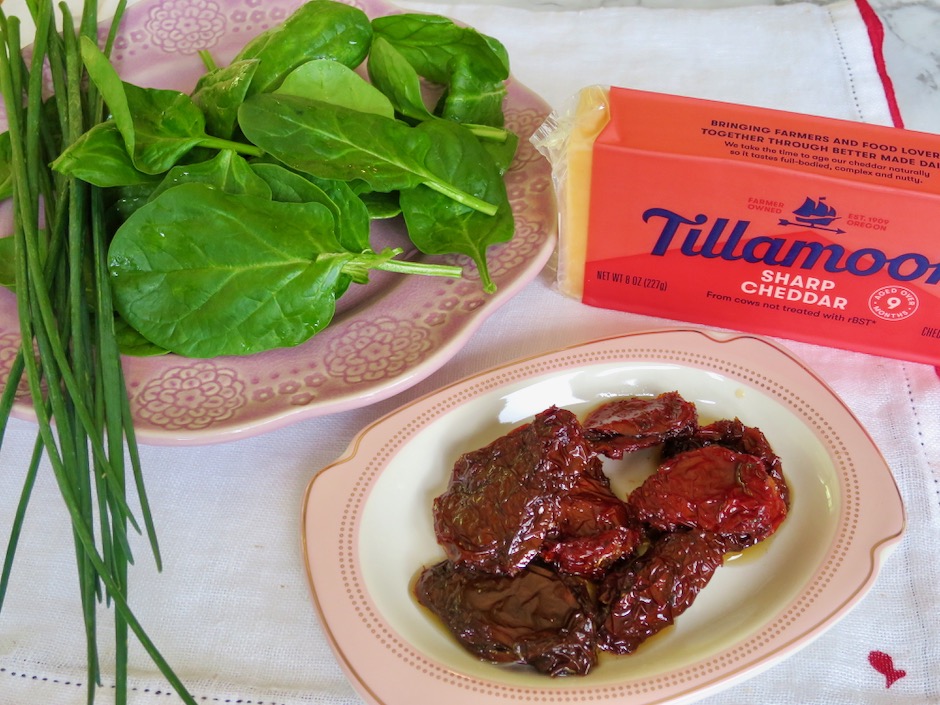
Spinach, Cheddar, Sun-Dried Tomato & Chives

I had a large jar of sun-dried tomatoes in the refrigerator so I added a few to the dough along with the spinach, cheddar and a few chopped chives.  I also baked some scones without the sun-dried tomatoes and chives and both versions are delicious.

Spinach, Cheddar, Sun-Dried Tomato & Chives

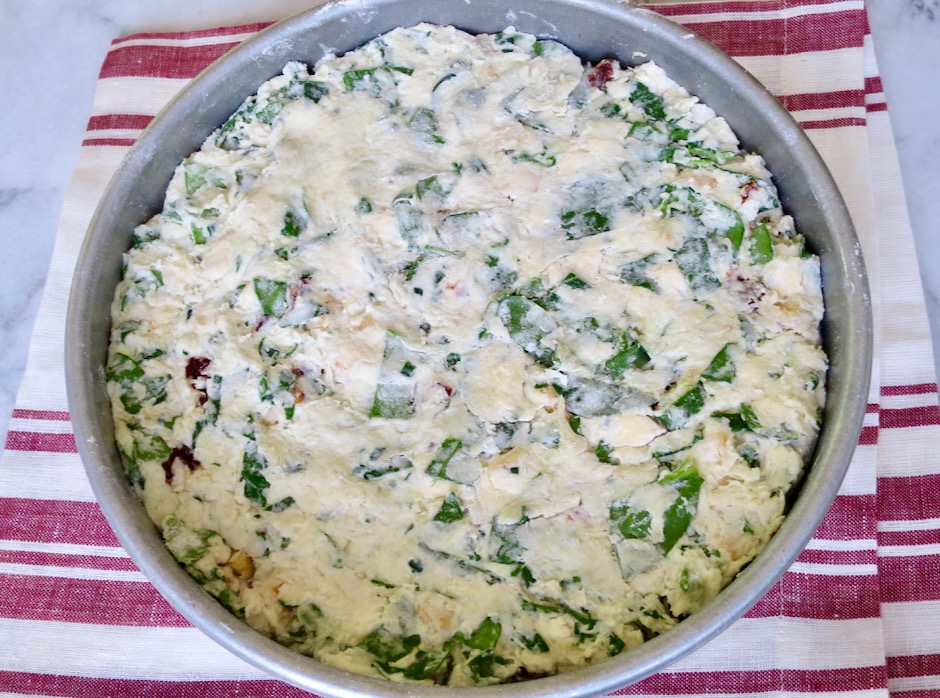
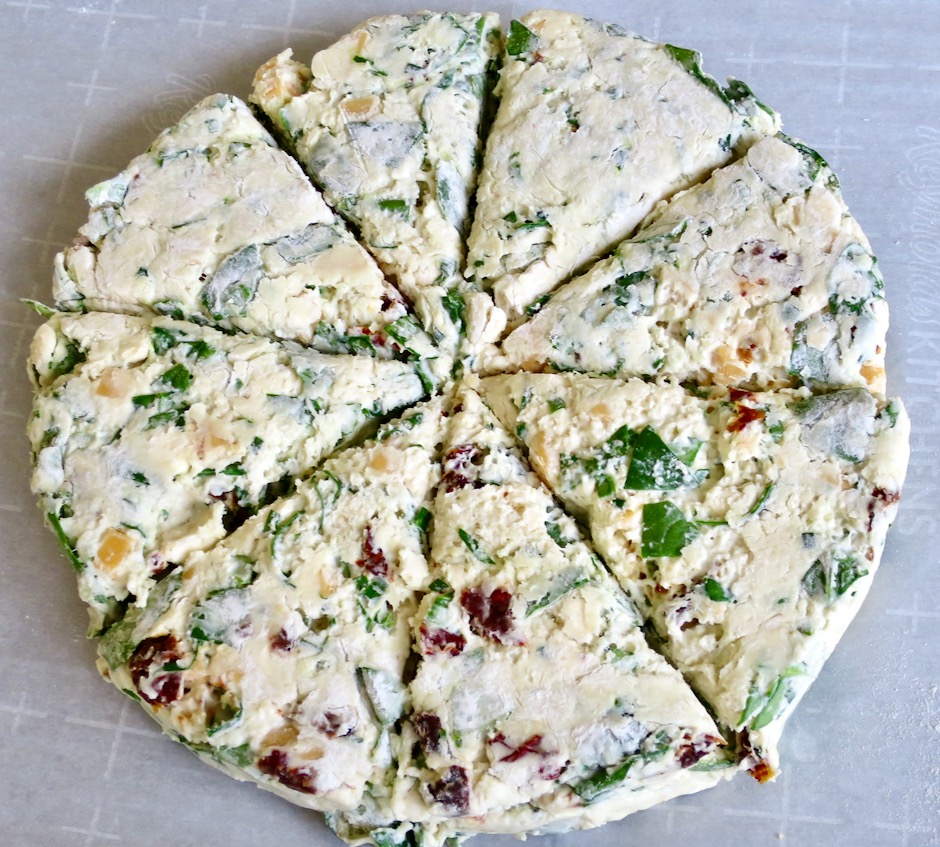
Spinach, Cheddar & Sun-Dried Tomato Scone Dough

For uniformity you can pat the dough into an 8-inch cake pan then invert it onto a parchment-lined cutting board before slicing it into wedges.  You can skip this step and form your own rustic round then slice the dough into wedges.

Spinach, Cheddar & Sun-Dried Tomato Scone Dough

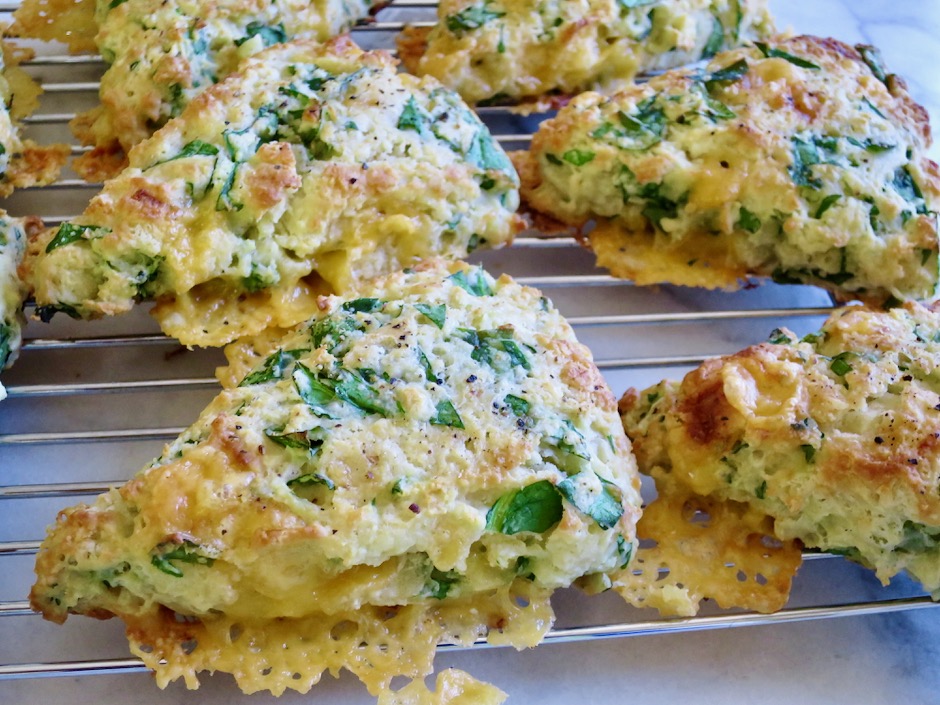
Spinach & Cheddar Scones

I love how the cheddar melts and makes lacy, crispy edges around the scones. These are best served warm when the cheese is still soft.  I regularly freeze mine and warm them up in the microwave for a snack.

Spinach & Cheddar Scones

This recipe is quite flexible.  You don’t necessarily need sun-dried tomatoes or chives.  The scones will still be so flavorful.  Just be sure to use a good sharp cheddar.

Spinach, Cheddar & Sun-Dried Tomato Scone

Spinach Cheddar & Sun-Dried Tomato Scones
 
Author:
Serves: 8
Ingredients
  • 2½ cups all-purpose flour
  • 3½ teaspoons baking powder
  • 1 teaspoon kosher salt (1¼ teaspoons if using unsalted butter)
  • 1 tablespoon sugar
  • ½ cup cold Earth Balance Buttery Sticks (or regular unsalted butter) cut into small pieces
  • 2 cups roughly chopped fresh spinach (not packed)
  • 1 heaping cup sharp cheddar, diced small
  • ⅓ cup chopped sun-dried tomatoes in olive oil, drained (optional)
  • 1 tablespoon chopped chives (optional)
  • 1¼ cups Organic Valley lactose free half and half (or regular half and half) + more for brushing the tops of scones
Preparation
  1. Preheat oven to 450 degrees. Line a half sheet pan with parchment paper. Line the bottom of an 8-inch cake pan with parchment paper, lightly butter or oil pan.
  2. In a large bowl, whisk together the flour, baking powder, salt and sugar. Cut the Buttery Sticks into the flour mixture using a pastry blender, fork, or your fingers, until the chunks of butter are the size of small peas. Place the bowl in the freezer for 5 minutes. This helps to firm up the Buttery Sticks which helps to create tender scones.
  3. Remove the bowl from the freezer and stir in the spinach, sun-dried tomatoes and chives. Add the half and half and stir until the dough is moistened. Turn out the dough onto a lightly floured surface and gently form into a disk. Transfer the dough to an 8-inch cake pan (bottom lined with parchment paper and pan lightly oiled). Pat the dough gently to fit the pan. Invert the dough onto a lightly floured parchment lined cutting board, remove parchment round. Slice the dough into 8 wedges. Transfer the wedges to your half sheet pan. Brush the tops of the wedges with a bit of half and half. Bake for 11-12 minutes or until the scones are golden brown. Let scones cool on the pan for a few minutes before transferring to a rack to cool. Scones can be frozen.


Breakfast, Dinner, Eggs, Lactose Free, Recipes, Side Dishes

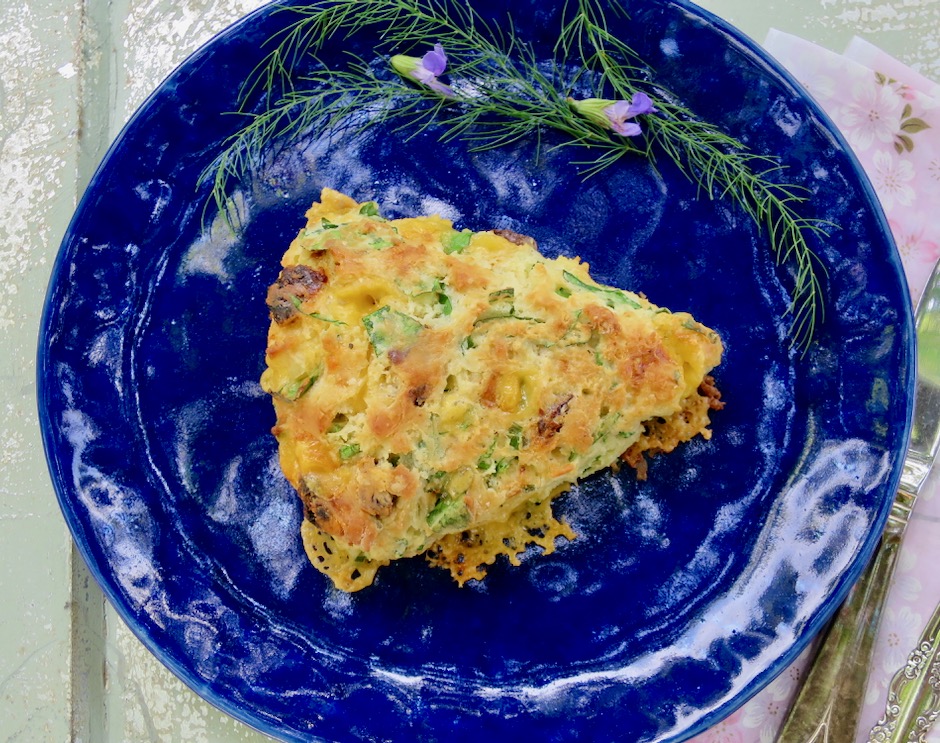
Potato Chip Tortilla Espanola

January 26, 2020

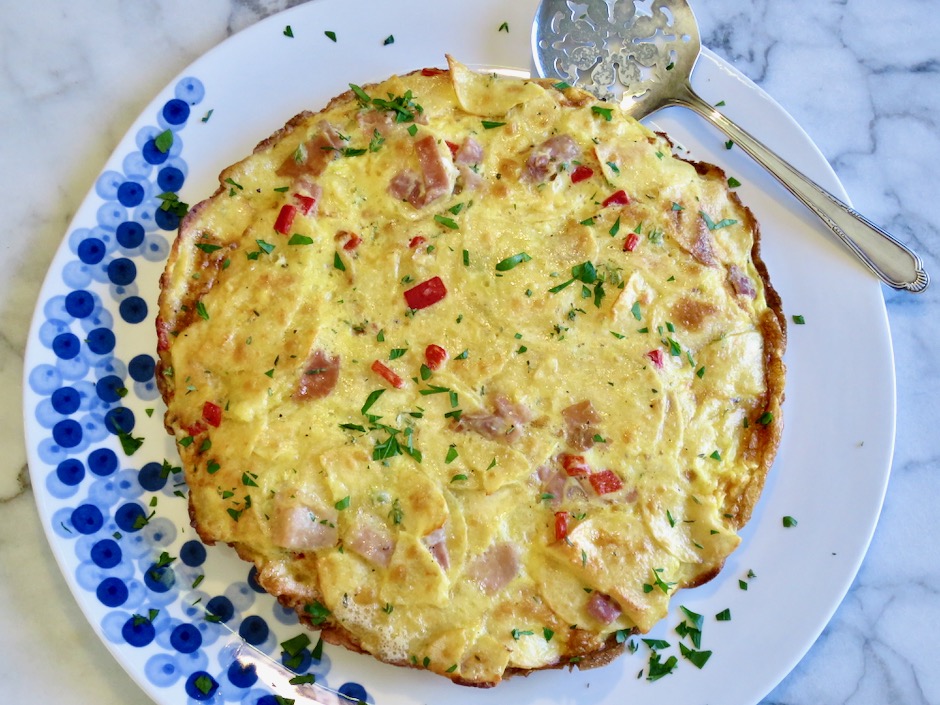
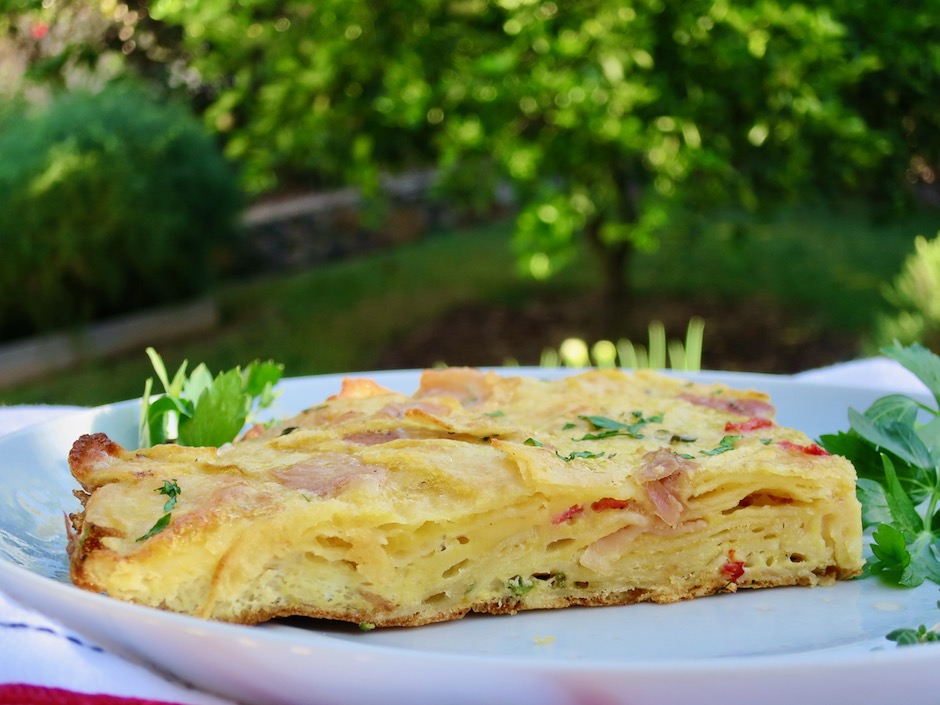
Potato Chip Tortilla Espanola

Who would have thought that using potato chips in a Spanish tortilla would produce a perfect version of this traditional dish?  Thanks to Food52 for posting this terrific recipe from Ferran Adria.  Adria was the genius Chef at the acclaimed El Bulli restaurant in Spain. I find it amusing that a 3-star Michelin Chef who was at the forefront of  the molecular gastronomy movement would come up with such a simple recipe.  But then molecular gastronomy is all about experimentation.

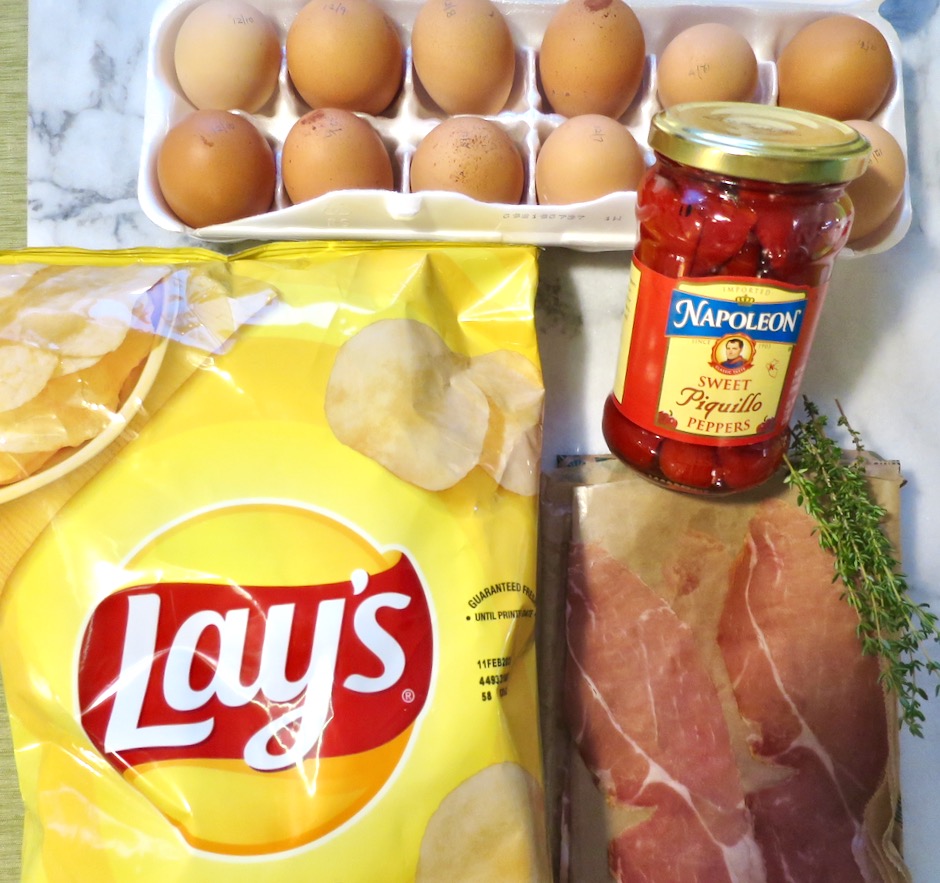
Fresh Eggs, Piquillo Peppers, Serrano Ham, Lay's Chips

According to Senior Editor at Food52 Kristen Miglore, she prefers thin potato chips such as Lay’s rather than kettle-style chips.  Out of curiosity, I tried both Lay’s and those scrumptious thick, kettle-style Maui potato chips that I love dearly.  But Lay’s was the clear winner for me as well.  The tortilla made with the thinner chips was toothsome yet tender.  By comparison, the tortilla made with the kettle-style chips was noticeably more dense and a bit dry, likely due to the egg mixture not softening the thicker chips as well as the thinner ones.  I suppose you could leave the chips in the egg mixture longer, but this is supposed to be a quick recipe that takes less than 20 minutes from start to finish.

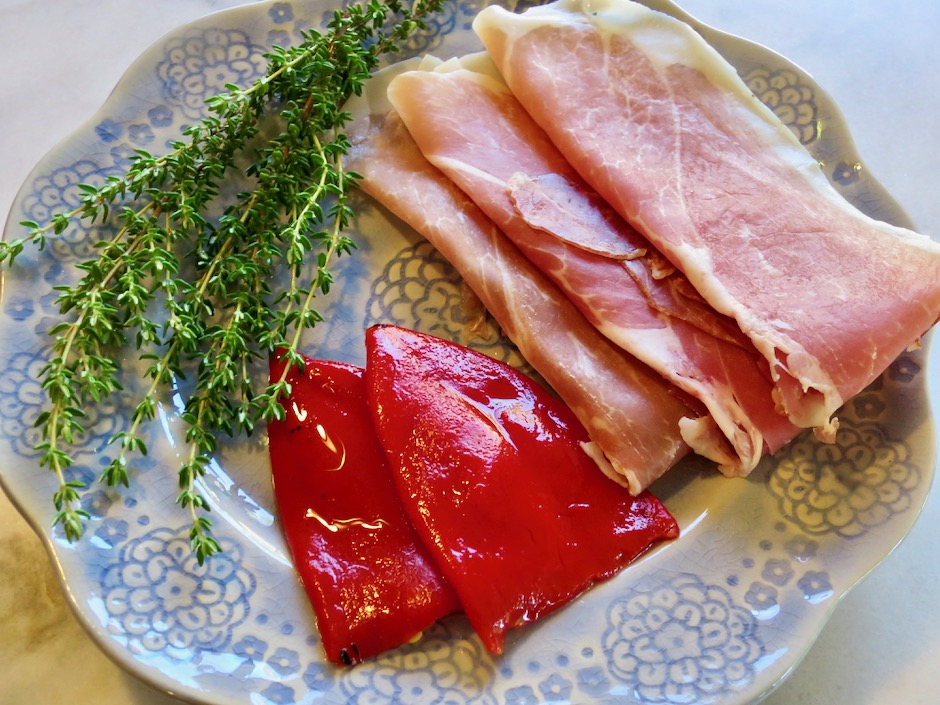
Fresh Thyme, Serrano Ham, Piquillo Peppers

The original recipe from Food52 recommends either serrano ham or prosciutto.  I went with the serrano ham and it was a winner. Our local Whole Foods market will slice the ham according to your request.  They also stock jarred piquillo peppers that are just gorgeous.  You may substitute pimentos if you are unable to find these.  They add beautiful specks of color and are mild in flavor.

Potato Chip Tortilla Espanola

I bought a broiler-safe ceramic pan just for this recipe. It was relatively inexpensive which made it easier to click the Buy Now button on Amazon.  Can one ever have too many pans in the kitchen?

Potato Chip Tortilla Espanola

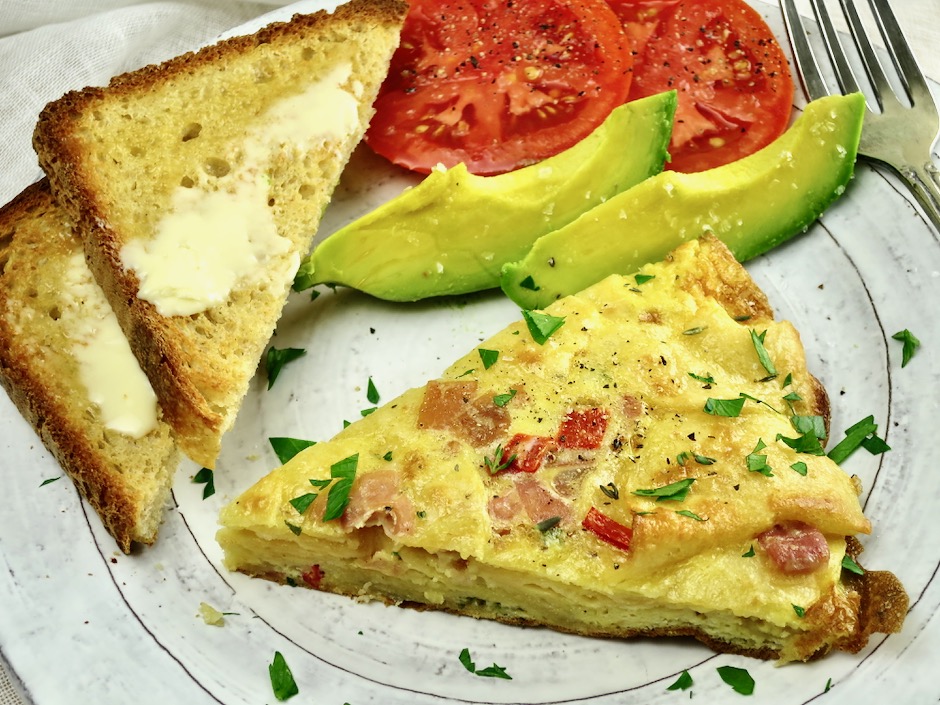
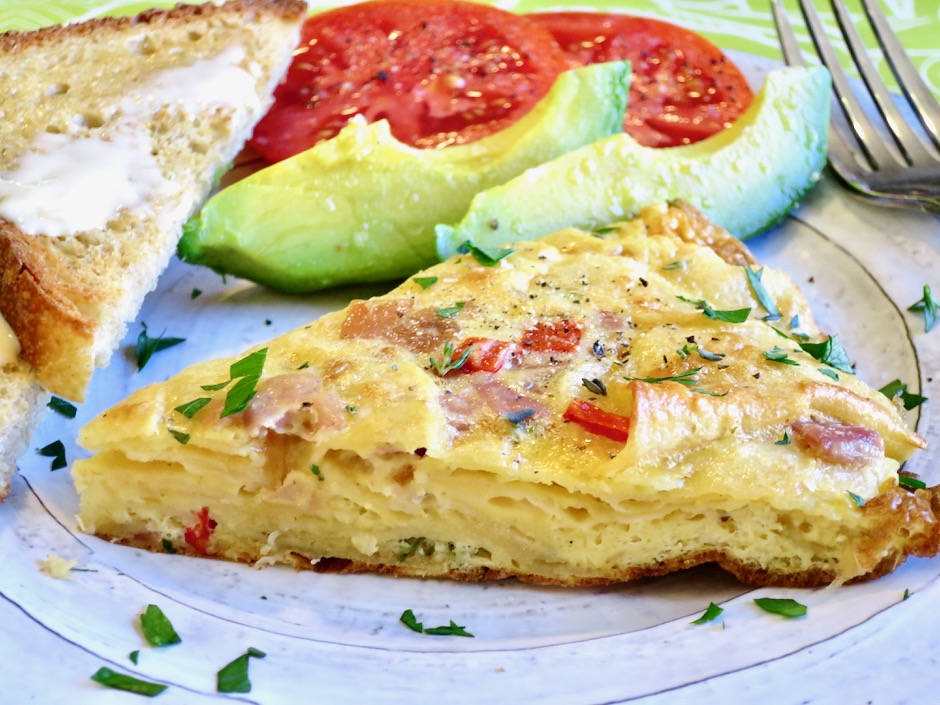
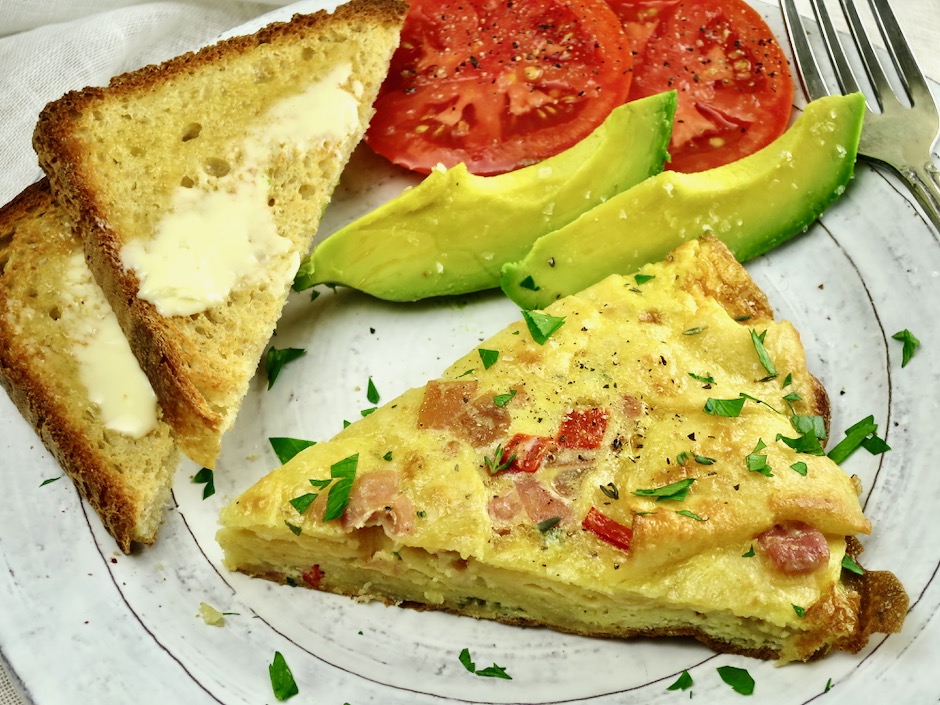
The potato chips soak up the egg mixture and become a glorious tortilla with bits of ham, peppers and thyme. The fresh thyme compliments the other ingredients and should not be left out.  I like to serve it with sliced tomatoes, avocado and a slice or two of good bread.

Potato Chip Tortilla Espanola

Potato Chip Tortilla Espanola
 
Adapted from Food52
Author:
Serves: 4
Ingredients
  • 4 ounces (about 2¼ cups) potato chips such as Lay's
  • 2 ounces thinly sliced serrano ham (or thinly sliced prosciutto, bacon, ham)
  • 3 tablespoons finely chopped jarred piquillo peppers (or pimentos)
  • 1 tablespoon fresh thyme leaves, coarsely chopped
  • 8 large eggs, lightly beaten
  • pinch of kosher salt
  • a good amount of freshly ground black pepper
  • 1½ tablespoons olive oil
Preparation
  1. Special equipment: Broiler safe 10-inch skillet
  2. Position the rack in the upper third of the oven (about 6 inches from the heat source).
  3. Heat the broiler to high.
  4. Combine the potato chips, serrano ham, piquillo peppers, thyme, eggs, and salt and pepper in a large bowl and let sit to allow chips to soften in the eggs, about 6 minutes, stirring occasionally.
  5. Heat the oil in a 10-inch broiler-safe skillet over medium heat. Add the egg mixture and cook without stirring, until the bottom begins to brown, about 3 minutes. Transfer pan to the broiler, and broil until the top is set but still slightly jiggly on top, about 2 minutes. Transfer tortilla to a plate and cut into wedges. Serve warm or at room temperature.


Breakfast, Dessert, Fruit, Lactose Free, Recipes

Mango Streusel Muffins

September 8, 2019

Mango Streusel Muffins

I can’t imagine a better tasting fruit than one of our homegrown mangoes.  We have two varieties, White Pirie and Rapoza.  They both have their own qualities that make each one special. The White Pirie mango is firmer in texture which makes it perfect for baking.  It makes the most delicious jam.  The Rapoza is a very large mango, sometimes weighing up to 3 pounds.  They are best chilled, cut into slices or chunks and eaten as is. Mango season is nearly over so I have been busy in the kitchen making muffins, tarts, jam, bread, salsa, and ice cream.

Fresh White Pirie Mango

Mango Muffin Batter & Streusel Topping

This delightful recipe comes from Sally’s Baking Addiction blog.  I just switched out the peaches for mangoes.  I’ve made them multiple times and they always turn out so well.  I also used lactose free ingredients but feel free to use regular butter, milk and yogurt.

Mango Streusel Muffins

Mango Streusel Muffins

These are just divine.  Sometimes I add a pat of Earth Balance Buttery Spread to the split muffin. That bit of saltiness goes so well with the sweet streusel topping.

Mango Streusel Muffins

Mango Streusel Muffins
 
Adapted from Sallys' Baking Addiction blog
Author:
Serves: 12
Ingredients
  • Crumb Topping
  • ⅓ cup (67g) packed light brown sugar
  • 1 tablespoon (15g) granulated sugar
  • 1 teaspoon ground cinnamon
  • ¼ cup (60g) Earth Balance Buttery Sticks, melted (or regular butter)
  • ⅔ cup (84g) all-purpose flour
  • Muffins
  • ½ cup (115g) Earth Balance Buttery Sticks at room temperature (or regular butter)
  • ½ cup (100g) packed light brown sugar
  • ¼ cup (50g) granulated sugar
  • 2 large eggs, room temperature
  • ½ cup (120g) plain Green Valley lactose free yogurt (or regular yogurt)
  • 2 teaspoons vanilla extract
  • 1¾ cups (220g) all-purpose flour (If you do not have a scale use the spoon and sweep method. Spoon flour into measuring cup and use a straight-edged knife to level the flour so that it is even with the top of the measuring cup).
  • 1 teaspoon baking soda
  • 1 teaspoon baking powder
  • ½ teaspoon ground cinnamon
  • ⅛ teaspoon allspice (optional)
  • ¼ teaspoon salt (1/2 teaspoon if using unsalted butter)
  • 3 tablespoons (45ml) lactose free milk (low-fat or regular)
  • 1¾ cups diced mango, drained if very juicy
  • Glaze
  • 1 cup (120g) confectioner's sugar
  • 3 tablespoons (45ml) lactose free half and half or milk (or regular milk, half and half, or cream)
  • ½ teaspoon vanilla extract
Preparation
  1. In a medium bowl, combine sugars, cinnamon and melted Buttery Sticks. Using a small rubber spatula, stir in the flour. The crumb topping will be thick and crumbly. Set aside.
  2. Preheat oven to 425 degrees. Spray a 12-count muffin pan with non-stick spray.
  3. In a medium bowl using a handheld mixer, beat the Buttery Sticks on medium-high speed until smooth and creamy, about 1 minute. Add the sugars and beat on medium-high until creamed, about 2 minutes. Scrape down the sides and bottom of the bowl as needed.
  4. Add the eggs, yogurt, and vanilla extract. Beat on medium speed for 1 minute, then turn up to medium-high speed and beat until the mixture is combined and uniform in texture.
  5. In a large bowl toss together the flour, baking soda, baking powder, cinnamon, allspice, and salt. Pour the wet ingredients into the dry ingredients and slowly mix with a whisk. Add the milk, gently whisking until combined. Fold in the mangoes with a spatula.
  6. Spoon the batter evenly between 12 muffin tins, filling nearly to the top (you may end up with a bit of leftover batter). Press a handful of the crumb topping into the top of each (use all the topping).
  7. Bake for 5 minutes then lower the temperature to 350 degrees and bake another 15 minutes or until a toothpick inserted in the center comes out clean. Let muffins cool in pan for at least 15 minutes before removing to a rack.
  8. While the muffins are cooling whisk together the glaze ingredients. Drizzle over the warm muffins. If you prefer the glaze to be thicker, drizzle over cooled muffins. You may not need all of the glaze.
  9. These are delicious, moist muffins that keep well in the refrigerator for a few days, They freeze beautifully.


Bread, Breakfast, Lactose Free, Recipes

Favorite English Muffins

June 16, 2019

Favorite Homemade English Muffins

Homemade English muffins have been something we have wanted to make for years. Recently John came upon a recipe in Cook’s Country magazine that inspired him to give it a try.  After the first batch and a few adjustments to the recipe, we were hooked.  We always keep our freezer stocked with these beauties.  We enjoy eating them toasted with butter and jam as well as with our favorite eggs Benedict with avocado hollandaise.  The nice thing about these English muffins is that they don’t take very long to make and the finished product is far superior to any commercial product.

Favorite Homemade English Muffins - Fork-Split

Cornmeal Sifted

If your cornmeal is on the coarse side, you may want to sift out the large, gritty pieces which can become very hard upon toasting the muffins.

Muffin Rings with Cornmeal

Dough rings help to ensure perfectly tall, well-shaped muffins. We had purchased a dozen rings for another recipe so we were thrilled to be able to make use of them for this recipe.  Sprinkle cornmeal into each muffin ring before placing dough inside.

Muffin Rings Filled with Dough & Topped with Cornmeal

After the dough rounds go into the rings, sprinkle more cornmeal over the top and press lightly into the dough.

Muffin Dough Rising

The dough will rise for 1 hour before being fried in butter for a quick 30 seconds or so on each side.  If you don’t mind a chewier and darker crust, they can be fried longer (up to 2 minutes per side).

Frying Muffins Before Baking

Frying Muffins Before Baking

Once all of the dough has been fried they go into the oven to bake.

Favorite Homemade English Muffins

Beautiful English muffins cooling on a wire rack.

Favorite Homemade English Muffins

Fork-splitting the muffins rather than slicing them with a knife will ensure little nooks and crannies that not only produce beautiful crispy edges when toasted, but also allow the toppings such as butter and jam to sink in to all the crevices. Yum.

Favorite Homemade English Muffins with Butter & Mango Jam

Favorite English Muffins
 
Adapted from Cook's Country
Author:
Serves: 10
Ingredients
  • 1 cup + 6 tablespoons of warm whole lactose free milk or regular whole milk,110 degrees (312 grams/11 oz.)
  • 2 tablespoons honey (40 grams)
  • 2¾ cups bread flour (428 grams/15⅛ oz.)
  • 1 tablespoon instant or rapid rise yeast (11 grams)
  • 1¼ teaspoons table salt (7 grams)
  • ⅓ cup cornmeal (sifted if very coarse)
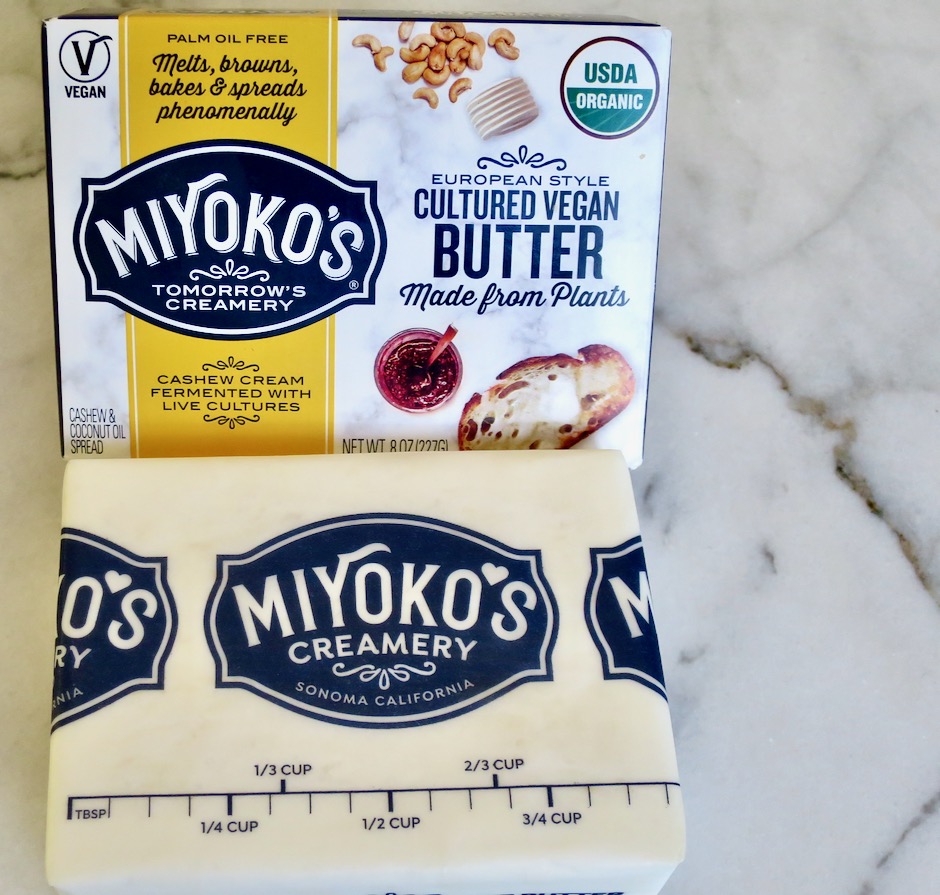
  • 2 tablespoons + butter (we use Miyoko's vegan butter)
Preparation
  1. Special equipment: 10 muffin rings 3½-inch size (recommended for perfectly shaped, tall muffins), 2 half-sheet pans, 2 silicone baking mats or parchment paper
  2. Combine milk with honey in a large bowl. Heat in microwave to 110 degrees but no more (about 20 - 30 seconds). A digital thermometer is useful here. We like the Thermapen. Whisk warm milk and honey together.
  3. In a separate smaller bowl, whisk dry ingredients (flour, yeast and salt) together. Combine wet and dry ingredients together in first bowl. Mix thoroughly (we like to use a Danish dough whisk). Cover the bowl and proof for 1 hour. Do one set of stretches and folds after 30 minutes of proofing.
  4. Line a half sheet pan with a silicone baking mat or parchment paper. Place 10 muffin rings on pan. Spray thoroughly with cooking spray making sure the ring interiors are well coated. Sprinkle corn meal inside the rings.
  5. Once dough has proofed, divide into 10 equal pieces (about 79 grams each). Round each piece slightly on a floured surface then flatten the dough pieces until approximately the diameter of the rings. Press the dough gently into the rings. Sprinkle corn meal over the top and press into the dough with your fingers. Cover the pan with a second sheet pan. Proof for about 1 hour or until doubled in size.
  6. Preheat oven to 375 degrees once dough has proofed for 50 minutes.
  7. Once dough has proofed for 1 hour, heat a 12" non-stick skillet on medium to medium-low heat with 1 tablespoon of butter. In batches of up to four, add dough (in rings) to the skillet and cook for 30 seconds on each side, or until lightly browned. Add more butter to the pan for each batch. Transfer fried muffins to second silicone baking mat or parchment lined half sheet pan. Continue frying until all 10 are done. Transfer pan to oven and bake for 12-13 minutes, or until centers register 205-210 degrees.
  8. Remove rings and let muffins cool completely on a wire rack. Fork-split muffins before toasting. Muffins freeze well.


Follow

Get every new post delivered to your Inbox

Join other followers: