Browsing Category

Beans

Appetizers, Beans, Dinner, Lactose Free, Recipes, Side Dishes, Vegan, Vegetarian

Creamy Fresh Herb Hummus

November 24, 2019

Creamy Fresh Herb Hummus

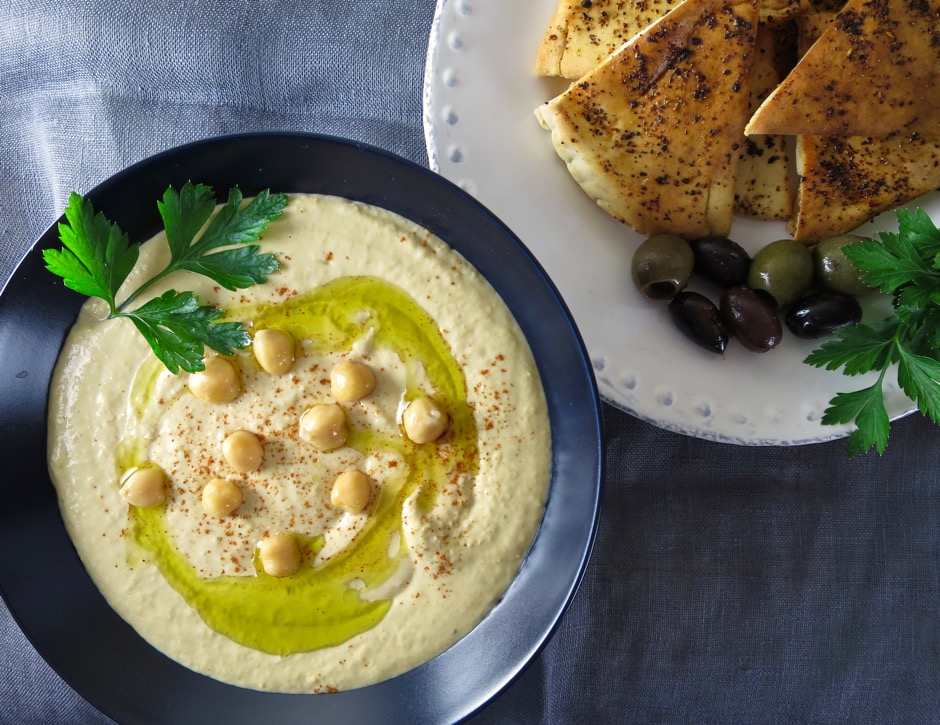
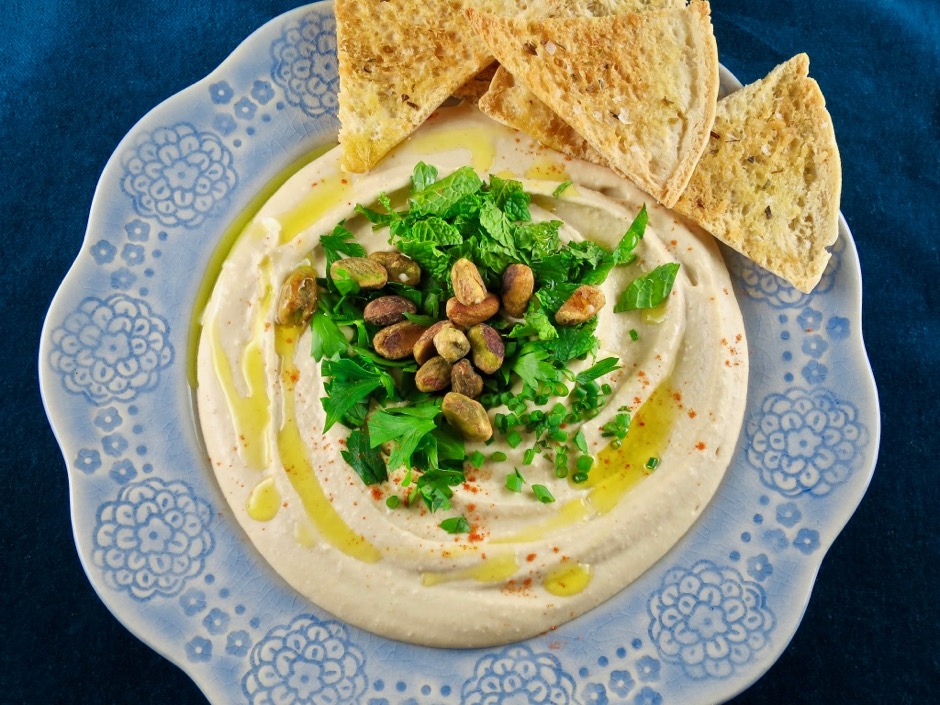
Homemade hummus is the best.  It is so easy to prepare and the end product is certainly worth the 30 minutes you spend making it. All the ingredients except for the herbs and pistachios go into the food processor.  Blitz away until the mixture is as smooth as you want it to be.  We enjoy eating hummus with homemade pita chips and falafel.  Hummus keeps well in the refrigerator and makes a great snack for home or work.

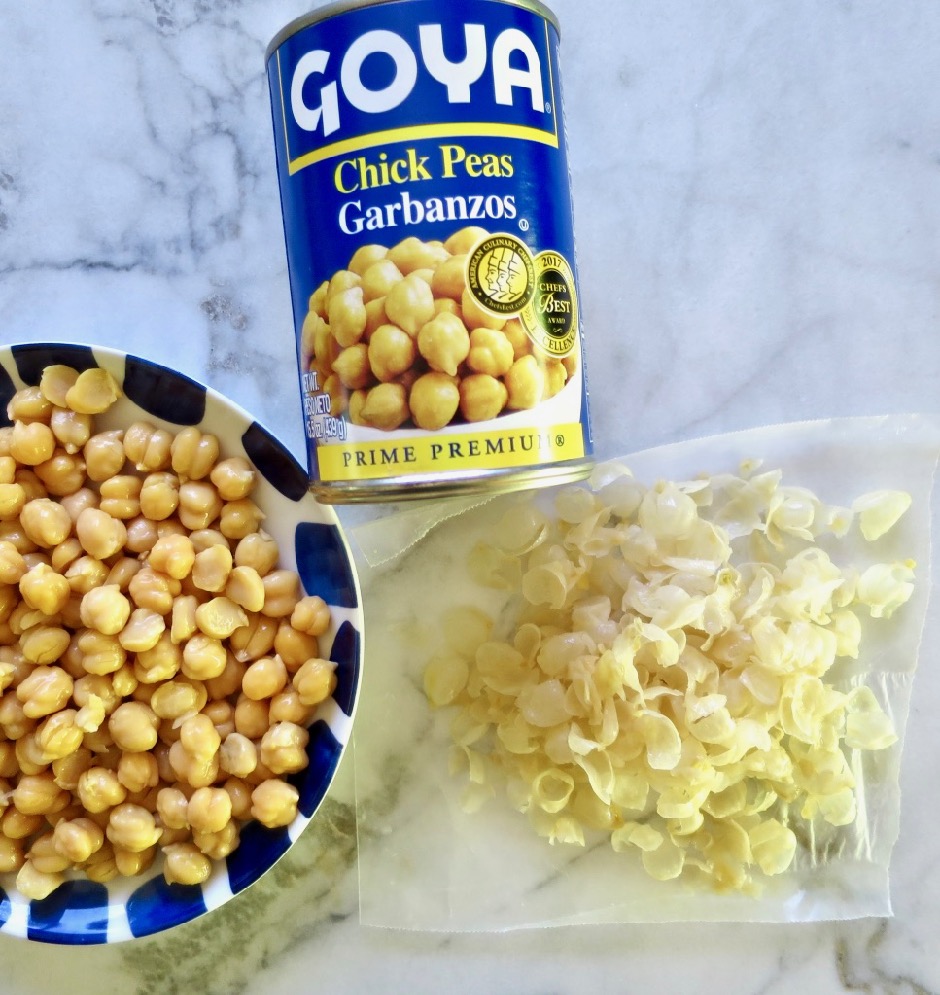
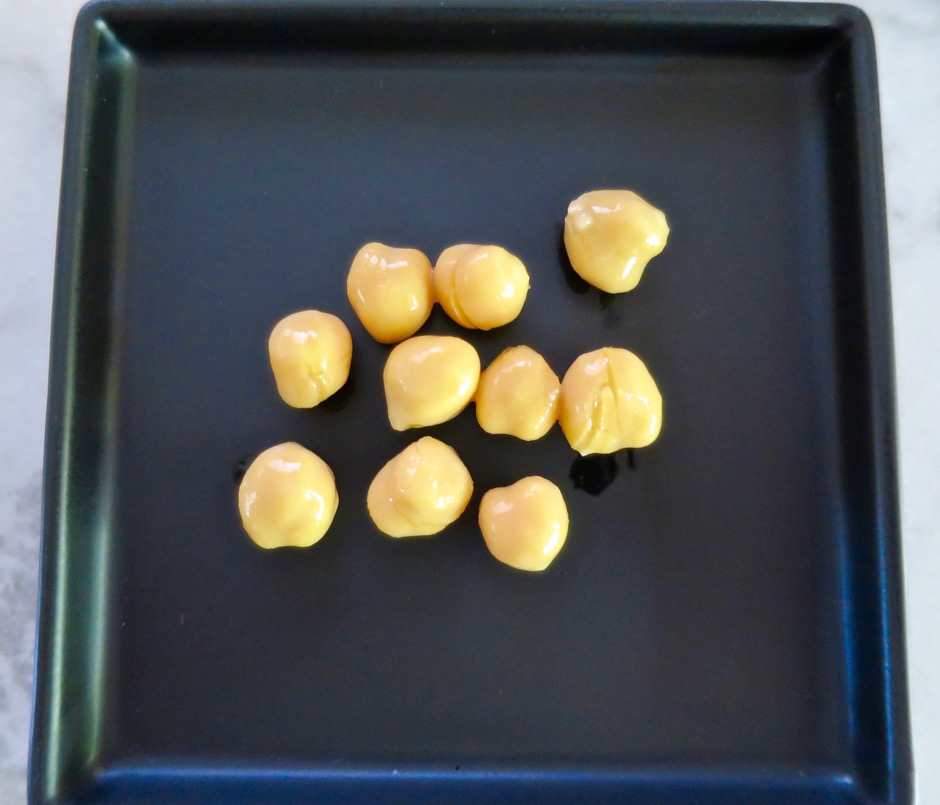
Chickpeas with Skins Removed

This time around I decided to remove the skins from the chickpeas. It took me about 9 minutes to pinch off the skins from a can of beans.  I didn’t mind the extra step since I enjoy spending time in the kitchen.  Of course this is optional, but I found the hummus to be magnificently smooth.  I came upon a curious recipe from the Minimalist Baker blog.  The undrained chickpeas and garlic cloves are heated in the microwave for a few minutes making the chickpeas very smooth and creamy when blended together with the other ingredients.  The garlic mellows a bit which makes for a well-balanced hummus.

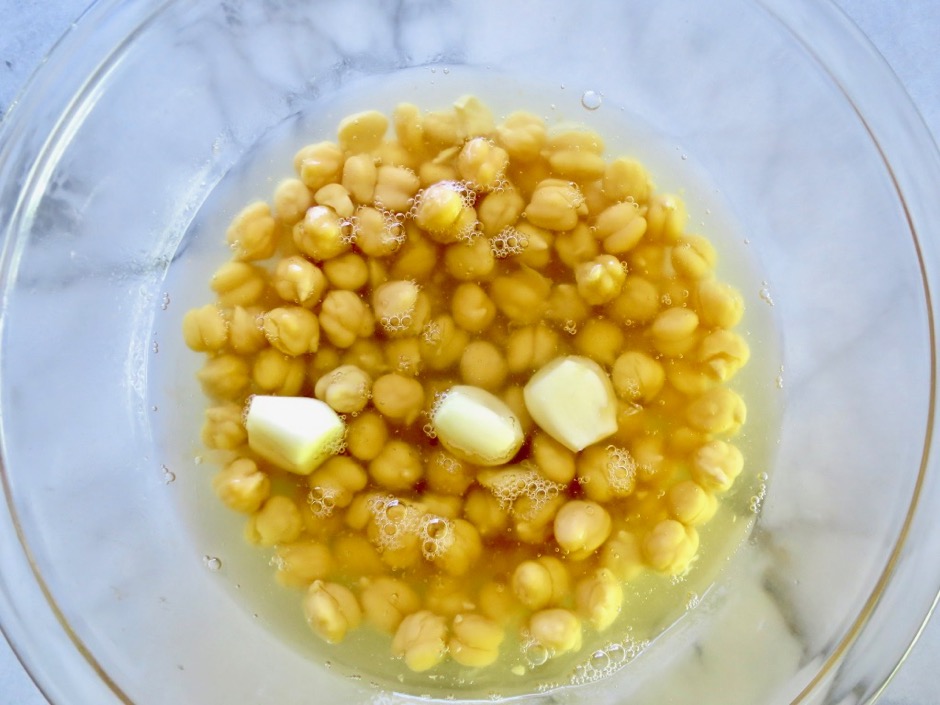
Chickpeas & Garlic

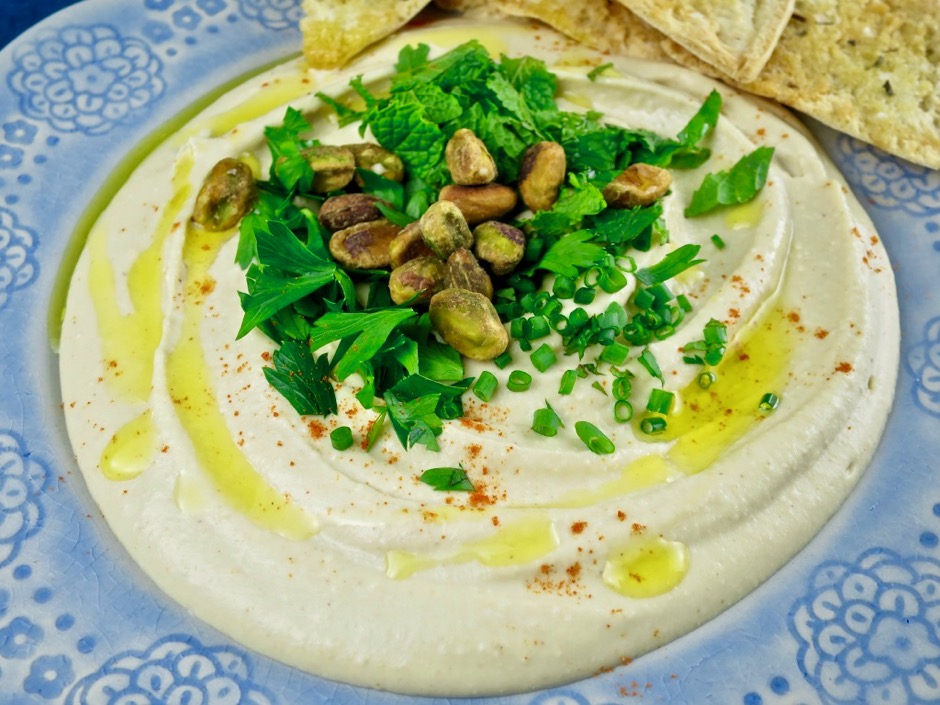
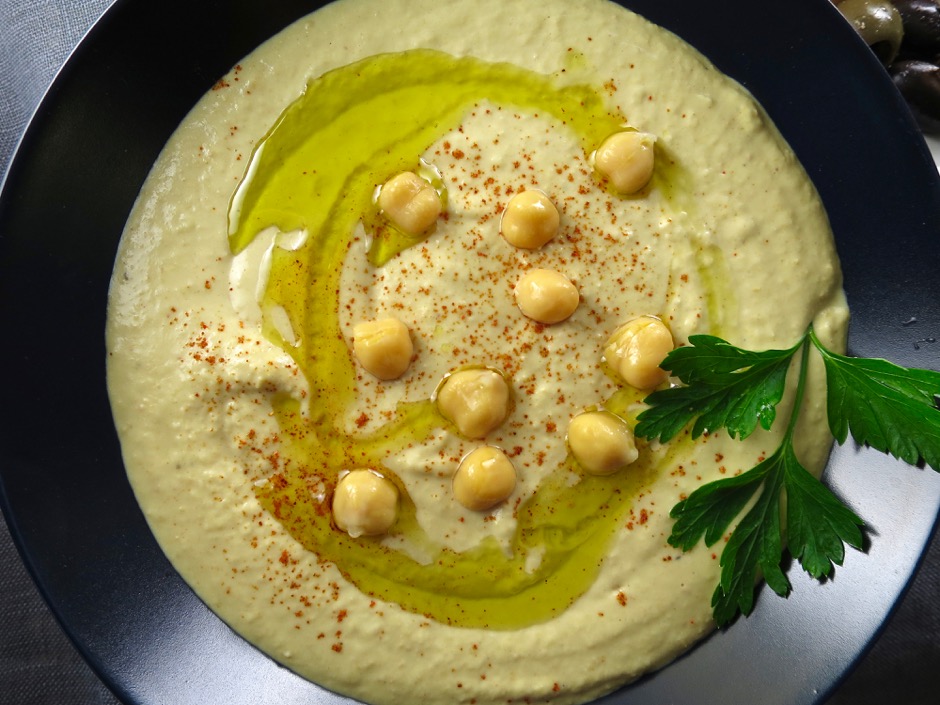
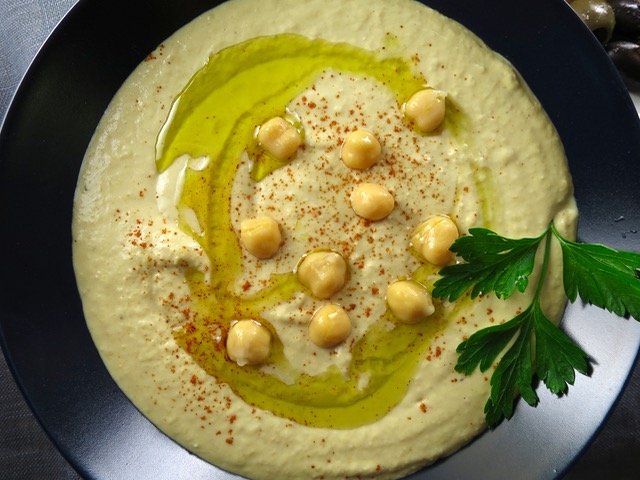
When you microwave the chickpeas use a large bowl since the chickpea liquid tends to expand. I cover the bowl with plastic wrap leaving a small vent for air to escape.  Once the chickpeas come out of the microwave I drain them, saving just a few tablespoons of the liquid for later.  Then everything goes into the food processor until smooth and creamy.  Place the warm hummus in a container and refrigerate until cool.  Transfer the cooled hummus to a serving plate, add your favorite fresh herbs, pistachios, and a swirl of olive oil.  Dust with cayenne pepper and serve with pita chips.

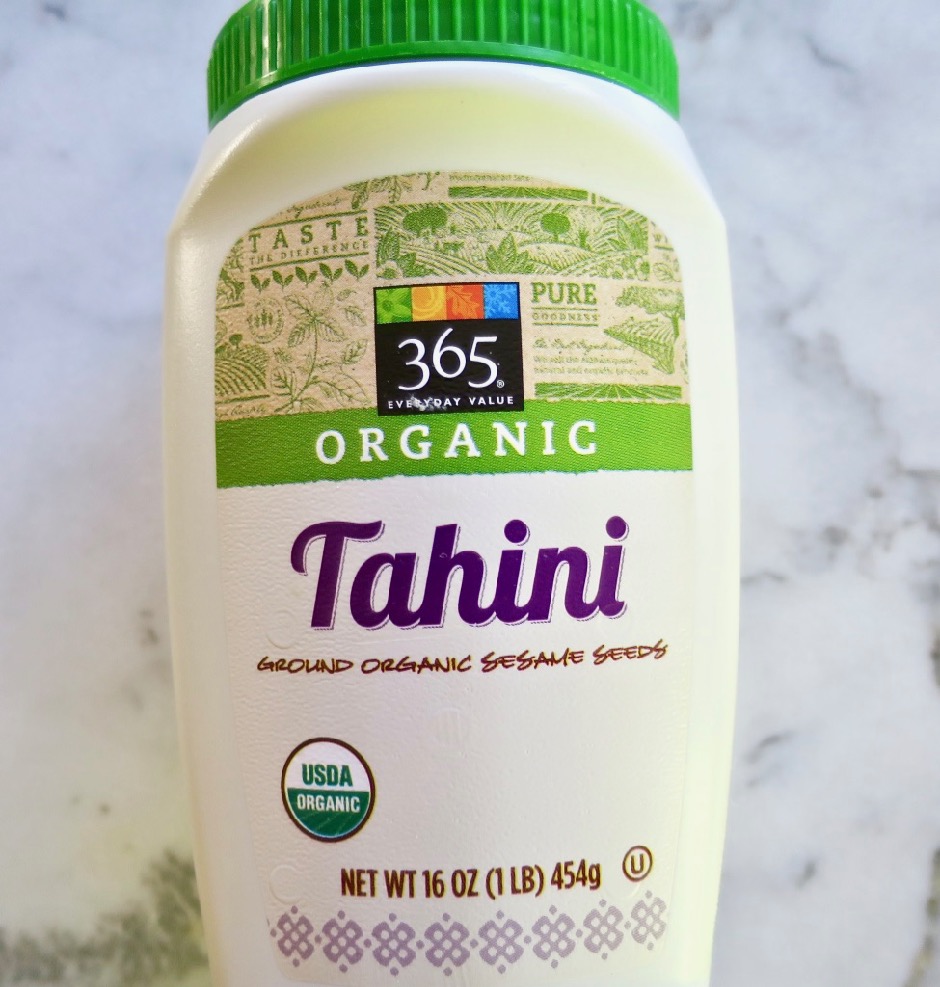
It’s really a chore to stir tahini in the container or jar that it comes in.  The bottom of the container usually has solid pieces of tahini that are hard to get at.  These days I just pour the entire container into a bowl and whisk away until the tahini is mixed to perfection.  The thought of having to clean another bowl might discourage you but you will save a lot of frustration. It only takes a minute to wash the bowl!

Creamy Fresh Herb Hummus

Creamy Fresh Herb Hummus
 
Author:
Serves: 6
Ingredients
  • 1 can (15 ounce) chickpeas, drained with liquid reserved, skins removed (optional)
  • 3 medium garlic cloves, peeled
  • ¼ cup + 1 tablespoon well stirred tahini
  • 2½ - 3 tablespoons fresh lemon juice
  • ¾ teaspoon kosher salt
  • 2-3 tablespoons cold water
  • 1-2 tablespoons reserved chickpea liquid
  • ¼ teaspoon ground cumin
  • ⅛ teaspoon cayenne (optional) + more for serving
  • 2 tablespoons extra virgin olive oil + more for serving
  • handful of fresh herbs
  • pistachios, salted and shelled
Preparation
  1. Drain and reserve the liquid from the chickpeas. Pinch off the skins from the chickpeas
  2. Transfer chickpeas, reserved liquid and 3 garlic cloves to a large bowl. Cover with plastic wrap leaving a small vent for the air to escape. Microwave for 3½ - 4 minutes.
  3. Drain chickpeas, reserving 2 tablespoons of liquid. Transfer chickpeas to a food processor along with the garlic cloves, tahini, lemon juice, salt, 2 tablespoons cold water, 1 tablespoon chickpea liquid, cumin, cayenne and olive oil. Process until mixture is smooth, scraping down the sides as needed. If the hummus is too thick, add water or chickpea liquid until it is the texture you prefer. Keep in mind the hummus will thicken a bit once refrigerated. Transfer mixture to a container and refrigerate until chilled.
  4. When ready to serve, spoon hummus onto a serving plate. Place fresh herbs in the center and top with pistachios. Drizzle olive oil over hummus and sprinkle a bit of cayenne over the top. Serve with pita chips.

 

Beans, Dinner, Lactose Free, Recipes, Soups, Veggies

Vegetable & Farro Soup

November 20, 2017

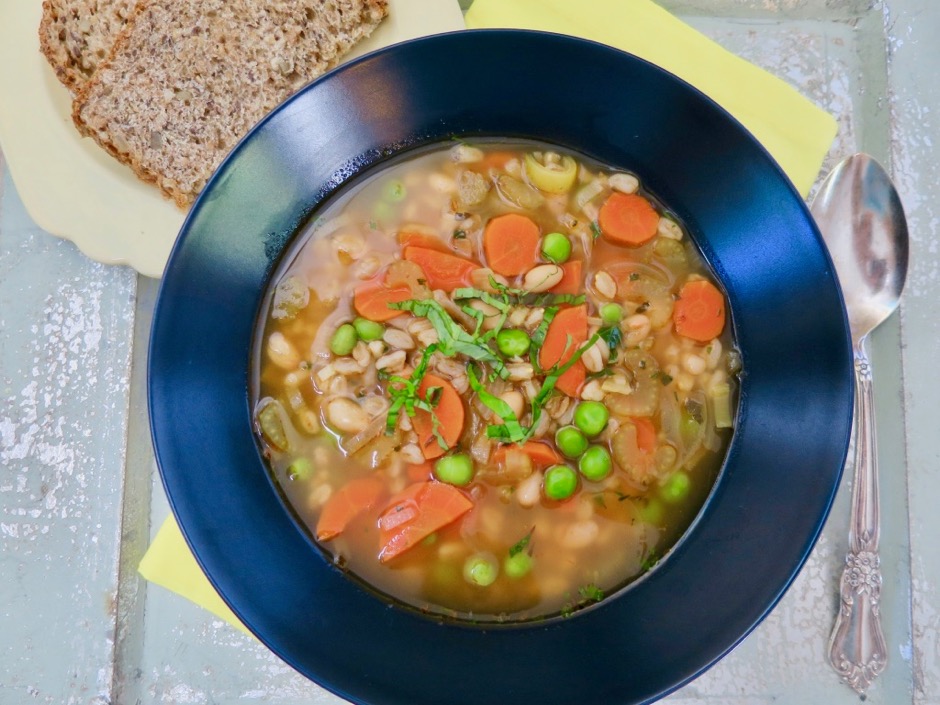
Vegetable & Farro Soup

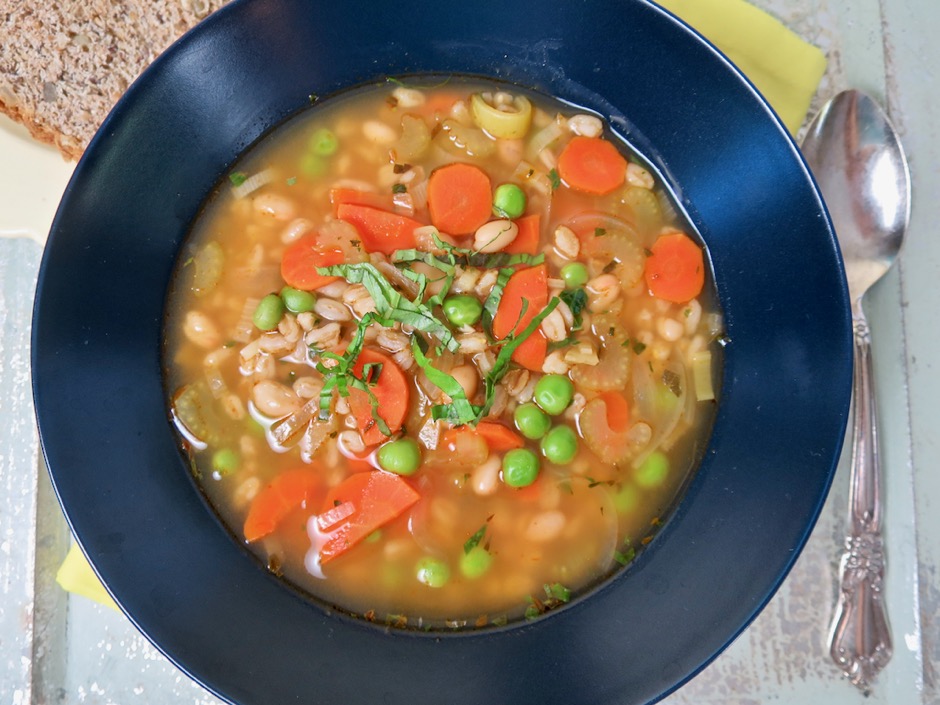
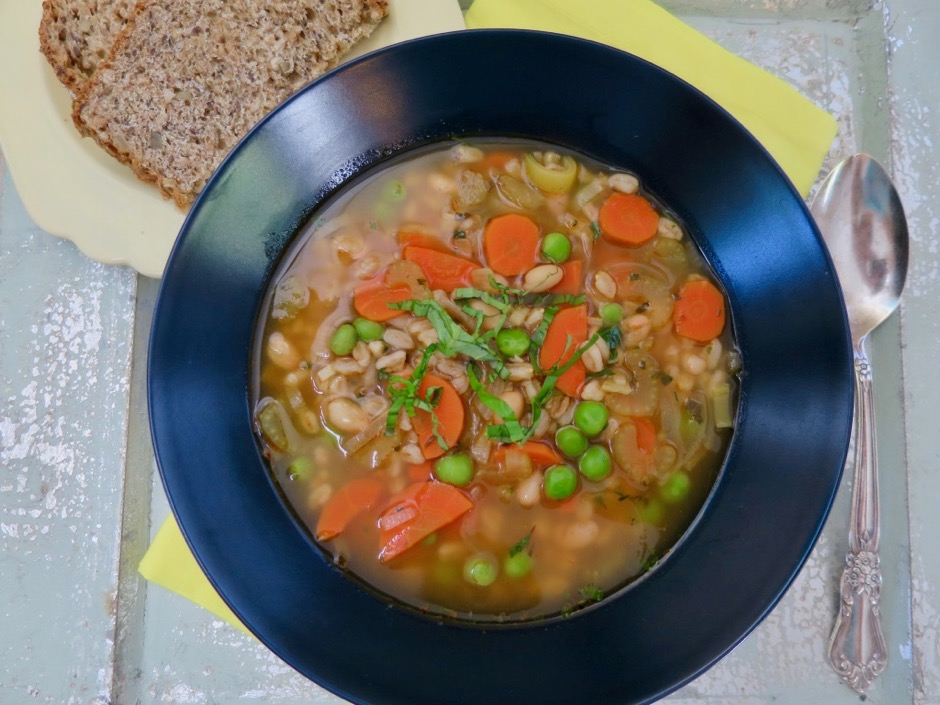
Though the seasons change ever so slightly here in Hawaii, a warm bowl of soup is still soothing once November comes around. The days are still sunny and the beaches are full of people, yet there’s a noticeable difference in the temperature.  This soup is based on one that is served at Eataly in New York City.  It’s really quite simple to make, and it doesn’t need to simmer for hours.  The soup is brimming with healthy vegetables, beans and whole grain farro. It is light yet satisfying.

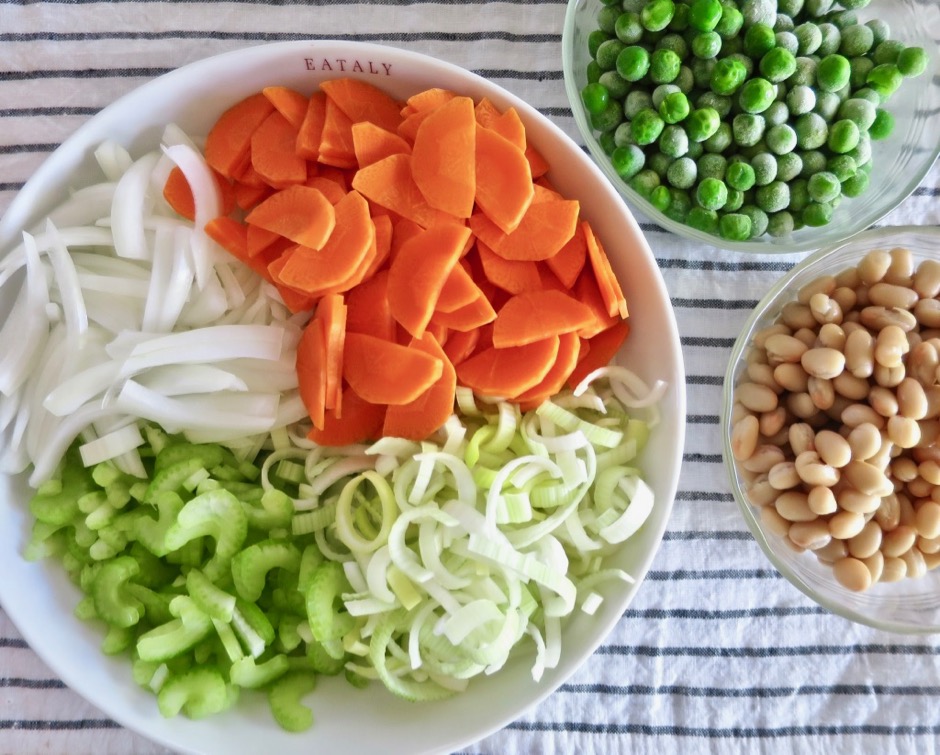
Carrots, Onion, Celery, Leeks, Peas, Beans

The vegetables are sliced thin which enables them to be cooked for a shorter period.  This soup is ready to eat in 40 minutes.

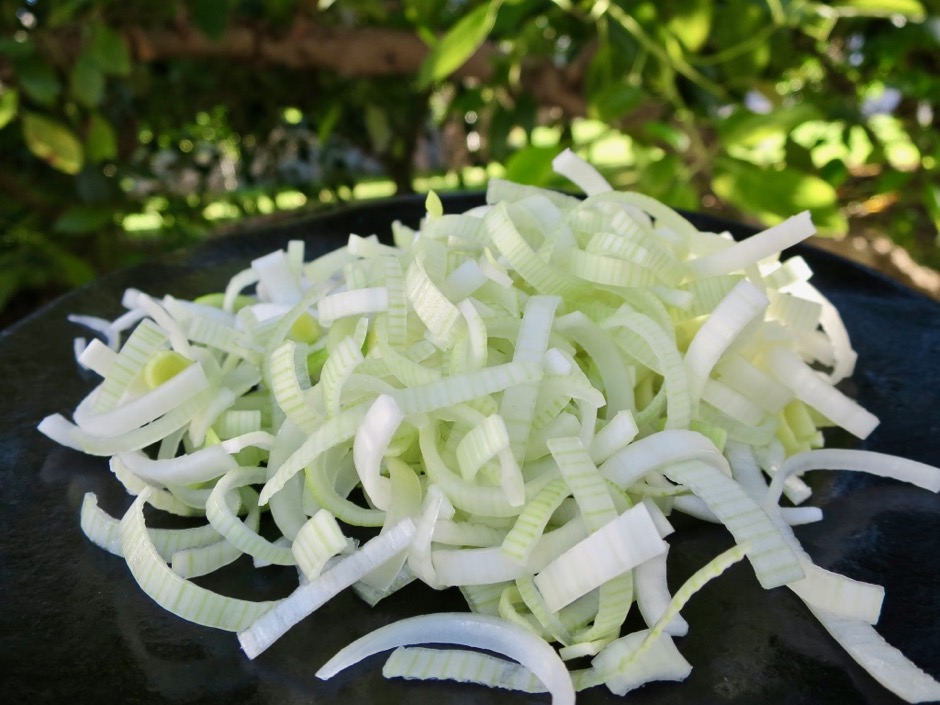
Sliced Leeks

Use only the white and light tender green parts of the leek. Slice the leek into narrow strips so that they cook up nicely in a few minutes.

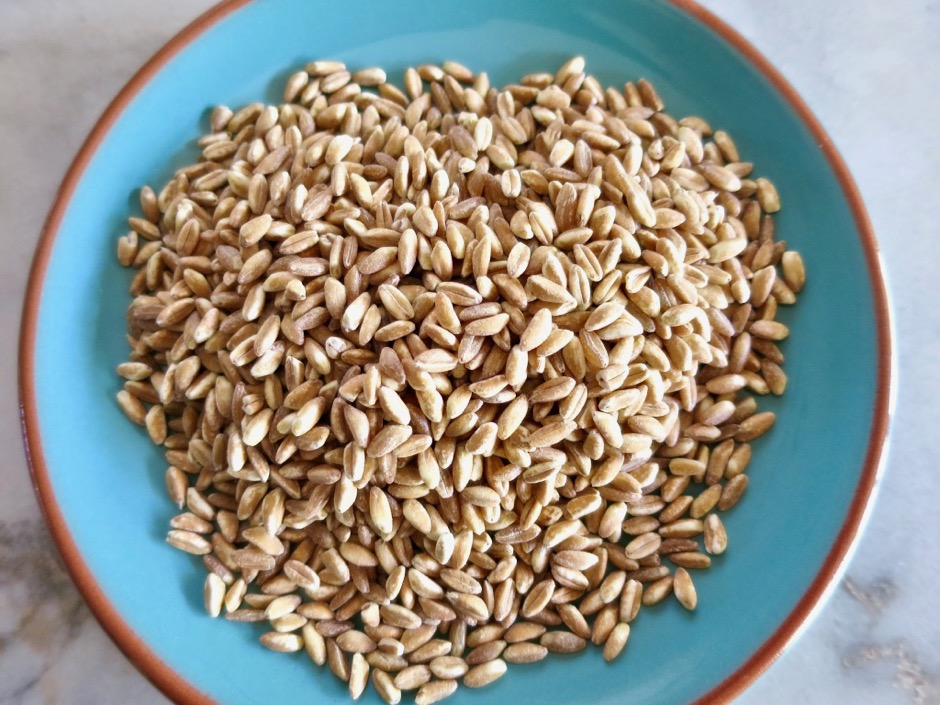
Farro

It seems that only a few years ago farro could not be found at any of our local markets. I would purchase farro on my annual trips to San Francisco and bring it home to Maui.  These days you can buy farro in the bulk section at most markets.

Vegetable & Farro Soup

Vegetable & Farro Soup
 
Adapted from Mario Batali's recipe for Eataly
Author:
Serves: 6
Ingredients
  • 2 tablespoons extra virgin olive oil
  • ¾ cup thinly sliced celery (about 2 celery ribs)
  • 1 cup thinly sliced sweet onion
  • 1 cup thinly sliced leek, white and pale green parts only (1 medium leek)
  • ¾ cup farro
  • 1½ tablespoons tomato paste
  • 5 cups chicken broth
  • 2 cups water
  • 1 cup canned small white beans, rinsed and drained
  • 1 small bay leaf (or half of a medium-sized bay leaf)
  • 1 heaping cup thinly sliced carrots (halved lengthwise and sliced crosswise ¼-inch thick)
  • 1 cup frozen peas
  • 1 teaspoon finely chopped fresh marjoram
  • 2 teaspoons finely chopped Italian parsley
  • 1 teaspoon finely chopped fresh oregano (optional)
  • salt and freshly ground black pepper
  • 2 tablespoons julienned basil for serving
Preparation
  1. In a large enameled Dutch oven or other heavy pot, heat the olive. Add the celery, onion and leek and cook over moderately high heat, stirring a few times, until softened. Add the farro and tomato paste and cook, stirring until the grains are coated, about 30 seconds.
  2. Add the chicken broth and water to the pot and bring to a boil. Add the beans and bay leaf and simmer over low heat for 20 minutes.
  3. Add the carrots and cover the pot. Simmer on low for 20 minutes or until the carrots are just tender.
  4. Add the peas and fresh herbs. Simmer until the peas have warmed up, about 5 minutes. Season with kosher salt and freshly ground black pepper. Sprinkle basil over each serving.


Beans, Dinner, Dressing, Italian, Recipes, Salad, Side Dishes

Chopped Salad with Oregano Vinaigrette

June 5, 2017

Chopped Salad with Oregano Vinaigrette

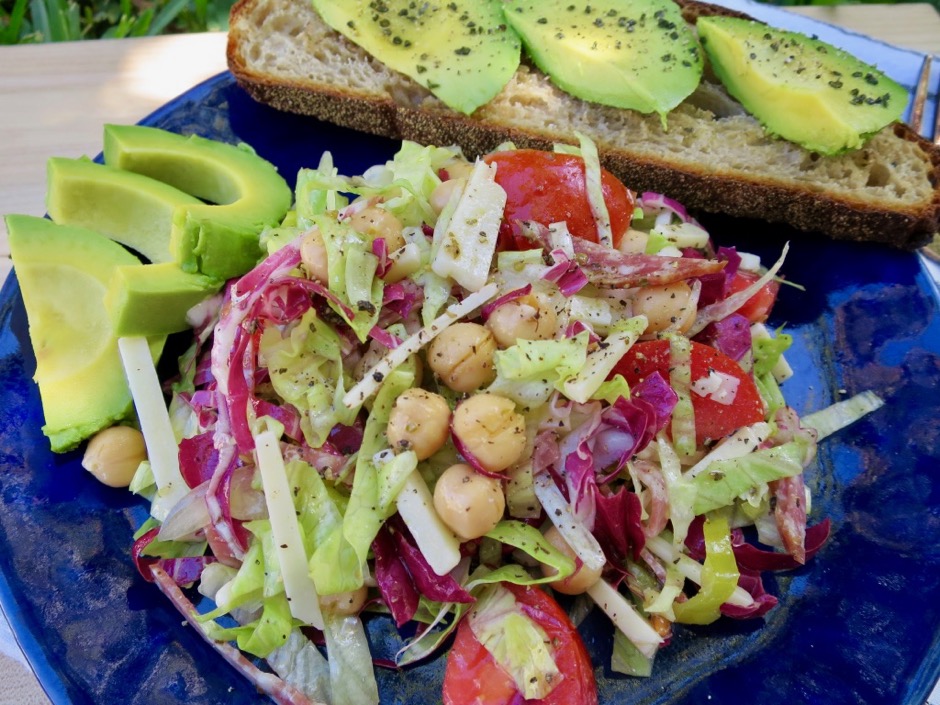
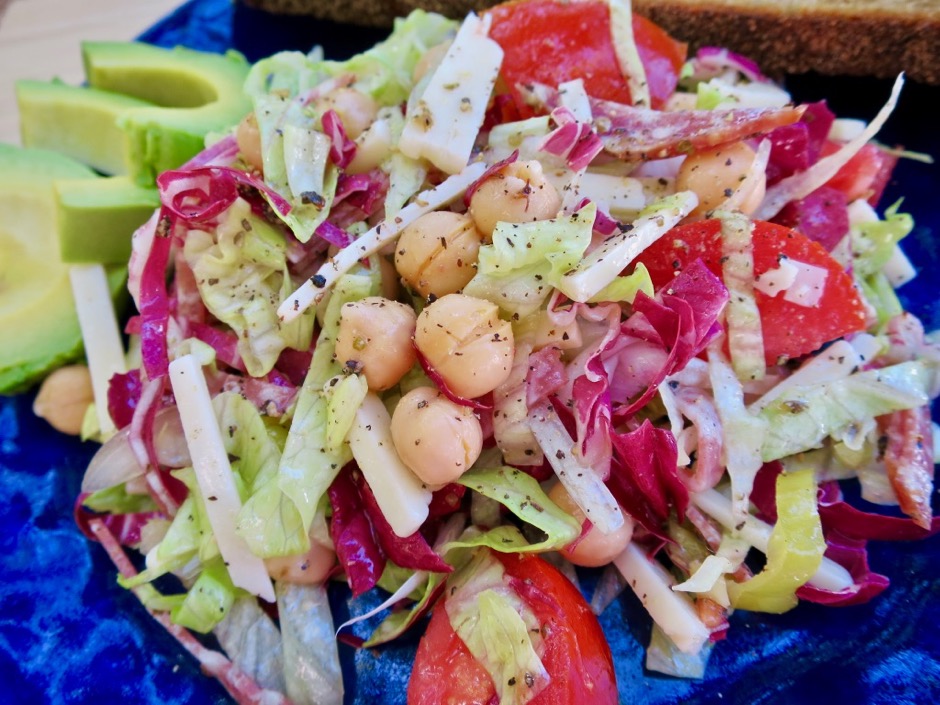
This salad is one you will never get bored with.  Crunchy lettuce, tart pepperoncini, wholesome chickpeas, and savory peppered salami, all tossed together with a refreshing oregano vinaigrette makes this a perfect lunch.  I love serving it with slices of hearty sourdough bread or avocado toasts.  There are many fine chopped salad recipes but this one created by Nancy Silverton and published in The Mozza Cookbook is by far my favorite.  This beautiful salad will bring much satisfaction to whomever you share it with.

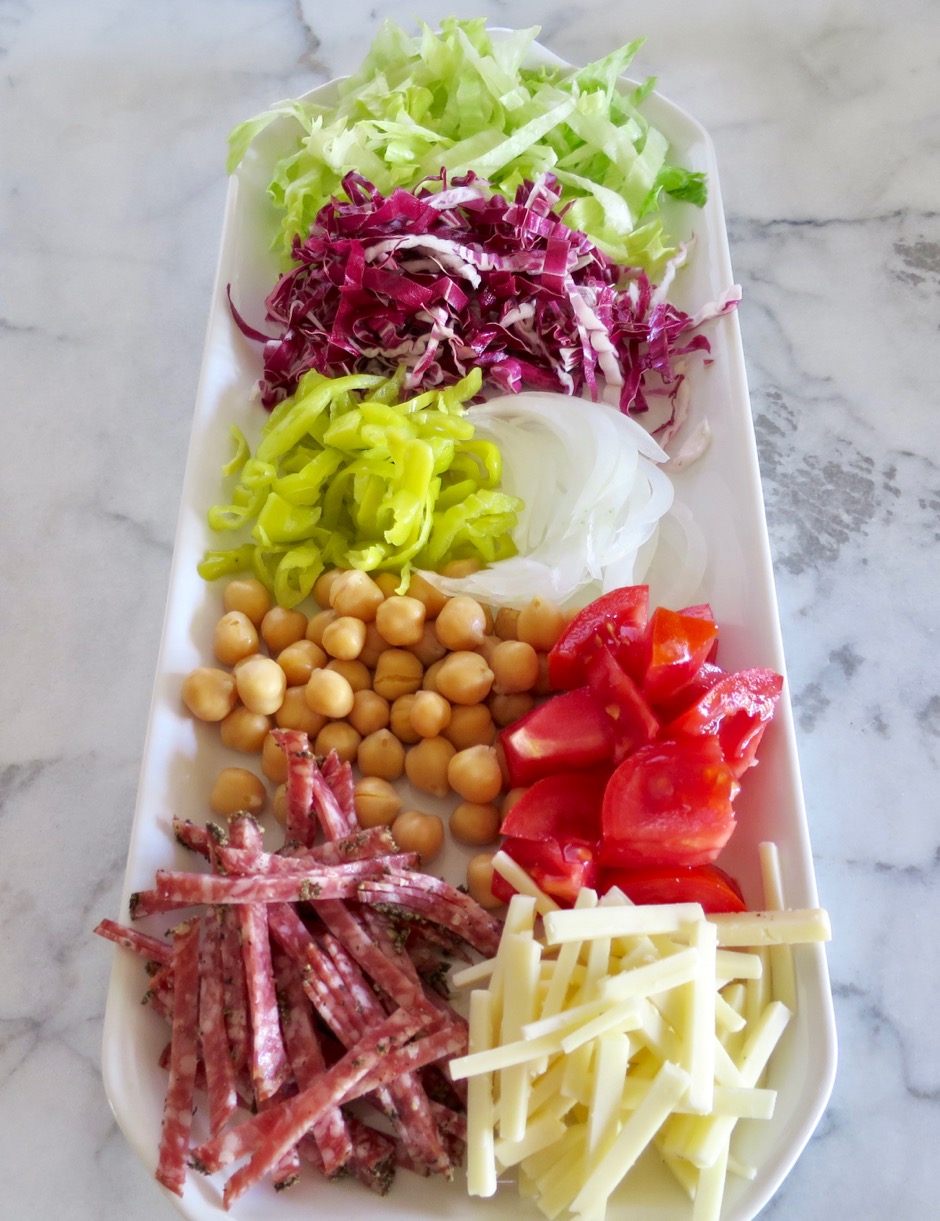
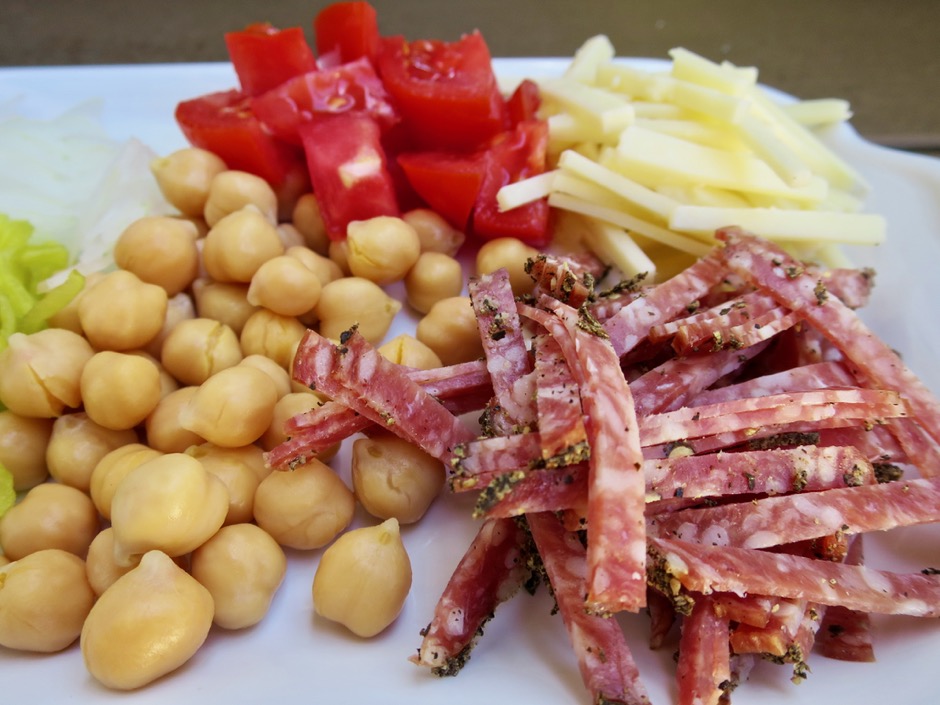
Iceberg Lettuce, Radicchio, Pepperoncini, Onion, Chickpeas, Tomato, Salami & Cheese

Peppered Salami

There are so many different types of salami however I always reach for the peppered version. The slightly peppery crust adds an extra level of flavor to the salami.  Leftover slices are perfect in a sandwich or served with slices of extra sharp cheddar cheese.

Oregano Vinaigrette

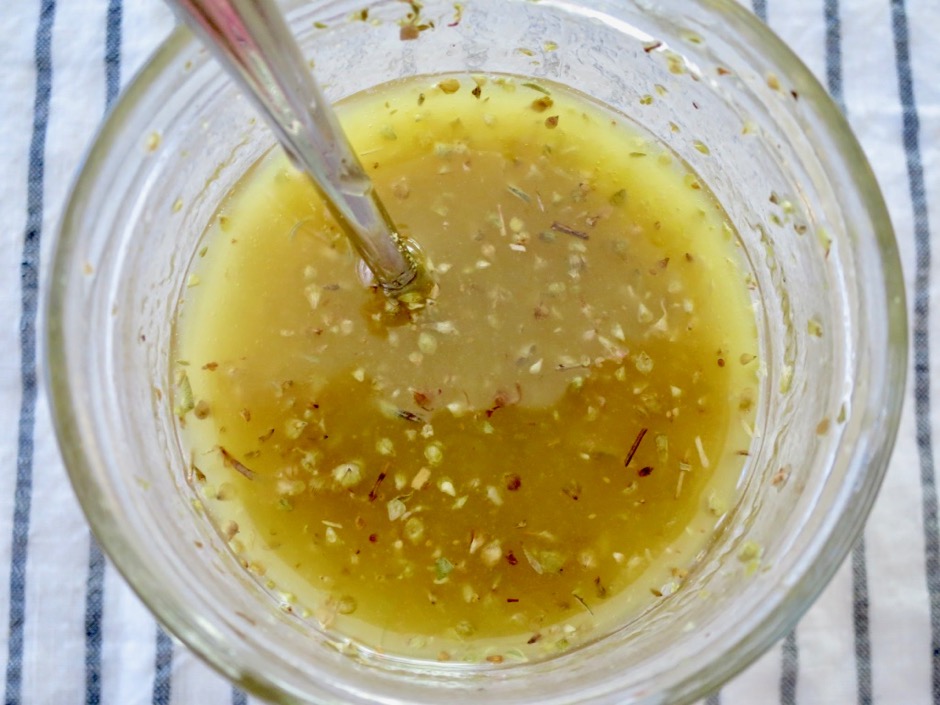
Don’t hesitate to use lots of dried oregano in the vinaigrette. It really makes the dressing stand out and goes well with the chopped salad.

Chopped Salad with Oregano Vinaigrette

Chopped Salad with Oregano Vinaigrette
 
Adapted from Nancy Silverton's Chopped Salad Recipe
Author:
Serves: 6
Ingredients
  • Vinaigrette:
  • 2½ tablespoons red wine vinegar
  • 2 tablespoons fresh squeezed lemon juice
  • 1 medium garlic clove, crushed + 1 small garlic clove, grated finely
  • 2 tablespoons dried oregano
  • ½ cup extra virgin olive oil
  • 1 teaspoon kosher salt
  • ¼ teaspoon freshly ground black pepper (or more to taste)
  • Salad:
  • 1 medium head iceberg lettuce cut into ribbons ⅓" wide
  • 1 small head radicchio cut into ribbons ¼" wide
  • ½ small sweet white onion cut into thin strips
  • ¾ pounds diced tomatoes (or cherry tomatoes)
  • 1 15 ounce can chickpeas rinsed and drained
  • 6 ounces yogurt cheese sliced into ¼" wide strips (you may substitute with provolone)
  • 6 ounces peppered salami sliced into ¼" wide strips
  • 5 medium pepperoncini sliced into rings
Preparation
  1. Combine all of the vinaigrette ingredients in a jar and shake to combine. Set aside.
  2. In a large salad bowl toss the lettuce, radicchio and onions together. Add tomatoes, chickpeas, cheese, salami and pepperoncini. Spoon dressing over the salad and toss well so that all ingredients are well seasoned with the vinaigrette. Taste and adjust seasoning with salt, pepper and more vinaigrette. You will not need all of the dressing. Store leftovers in the refrigerator and use within a week. Serve the salad with some good sourdough bread on the side.


Beans, Dinner, Lactose Free, Pressure Cooker, Recipes, Salad, Side Dishes, Vegan, Vegetarian, Veggies

Flageolet Beans & Wilted Greens

October 31, 2016

Flageolet Beans & Wilted Greens

A few years ago I purchased Christopher Hirsheimer and Melissa Hamilton’s highly regarded Canal House Cooks Every Day cookbook.  The book has gorgeous photos with straightforward, practical instructions and is formatted by the four seasons.  It’s just a lovely book.  I had not consulted it in several years but I won’t neglect it again.  An example of their beautiful cuisine is this simple and delicious meal that lets the beans and greens shine.

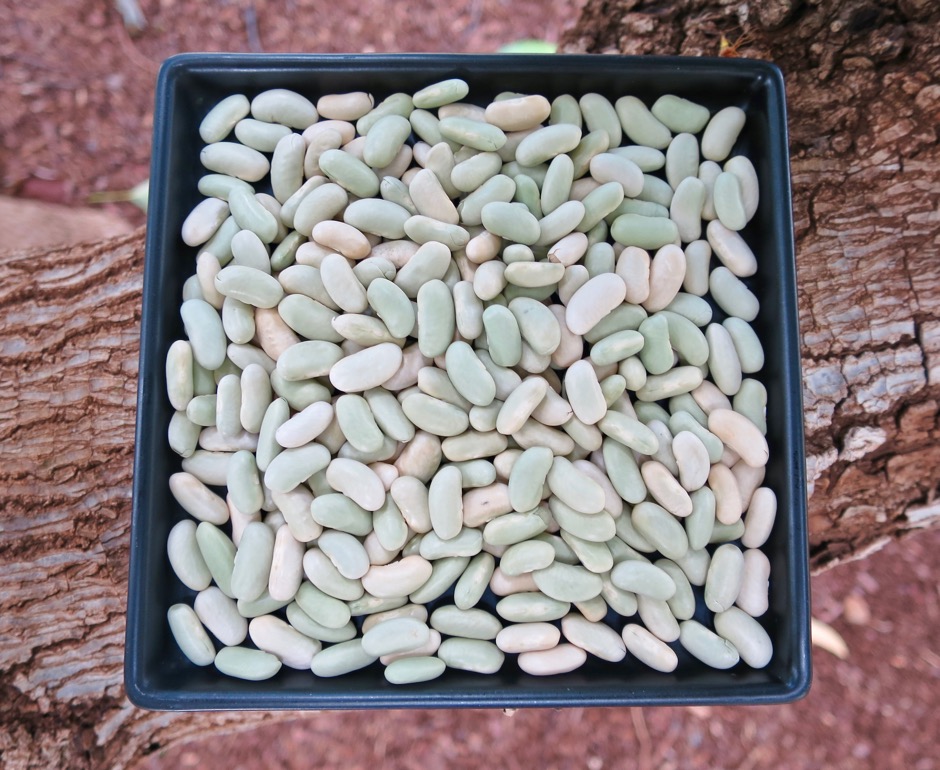
Dried Flageolets

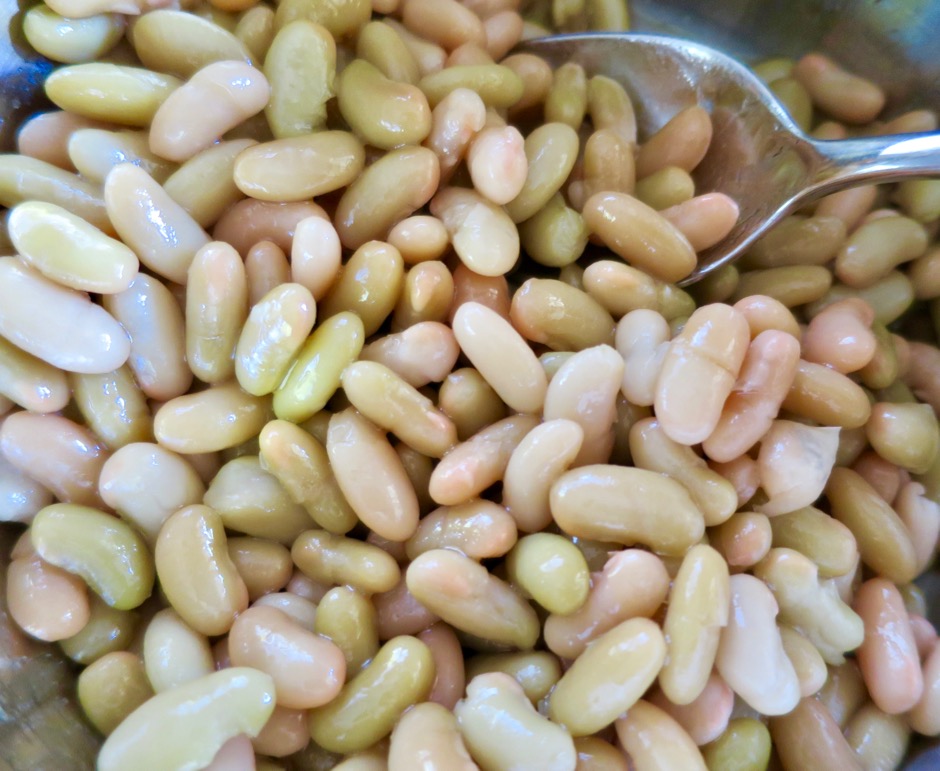
The original recipe calls for borlotti beans but they weren’t available at any of the stores I visited.  Instead, I used flageolets, one of my favorite beans.  Beautiful pale green and ivory colored, they cook up nicely, holding their shape.  I used my pressure cooker to save some time but you can certainly cook them in a Dutch oven if you don’t have a pressure cooker.  As with all types of beans, some will break during the cooking process.  A few will be too soft.  Though it may take an extra 5 – 10 minutes, I sort through the beans discarding the broken and soft beans after they have cooked.  Your finished dish will look beautiful and all of the beans will be the perfect texture.

Cooked Flageolets

Flageolet Beans & Wilted Greens

Flageolet Beans & Wilted Greens
 
Adapted from Canal House Cooks Every Day
Author:
Serves: 2 as a main dish or 4 as a side dish
Ingredients
  • 1 cup dried flageolet beans, rinsed (sorted through to remove broken beans)
  • ½ medium onion cut in half
  • 1 bay leaf
  • good extra virgin olive oil
  • 1 clove garlic, thinly sliced
  • 5 ounces baby kale, spinach, or a combination (I used Organic Girl I Love Baby Kale mixture)
  • kosher salt
  • freshly ground black pepper
Preparation
  1. For stove top pressure cooker:
  2. Place beans in pot with 5 cups filtered water, bay leaf and onion. Pressure cook for 25 - 30 minutes. Let pressure release naturally. Check beans for doneness. They should be tender and cooked through but not mushy. If they need a little more time, pressure cook for a few additional minutes or simmer on the stove until done.
  3. For Dutch oven stove top:
  4. Place beans in a Dutch oven or other heavy pot along with the onion and bay leaf and cover with at least 2½ inches of water. Bring the beans to a gentle boil, then turn the heat down so the beans simmer gently. Check on the beans after 50 minutes to see how they are doing. Add more hot water as needed to keep the beans submerged. Continue to monitor the beans until they are completely cooked through but not soft.
  5. If you made your beans in advance remove them from the refrigerator and place them in a pot with a few tablespoons of water and a good splash of olive oil (discard onion and bay leaf). Cover and heat on low until just warm.
  6. Meanwhile, put 1½ tablespoons olive oil and the sliced garlic in a heavy medium skillet over medium heat. Rinse your greens and add it to the pan with the water still clinging to the greens. Sauté the greens, stirring and turning them in the oil, until wilted and tender, about 5 minutes. Season with salt and pepper.
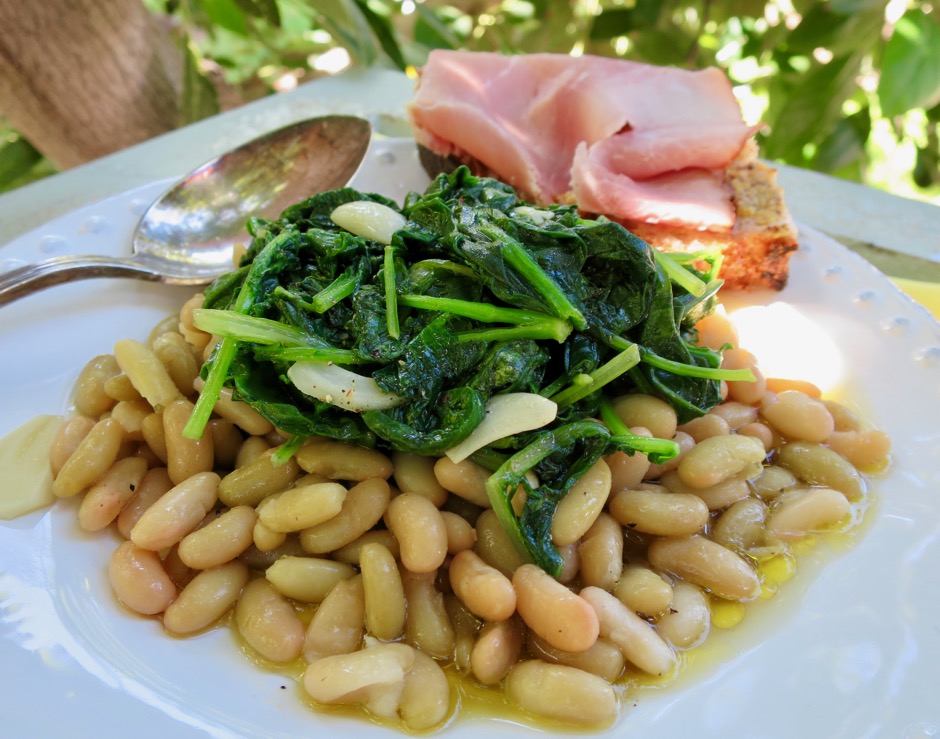
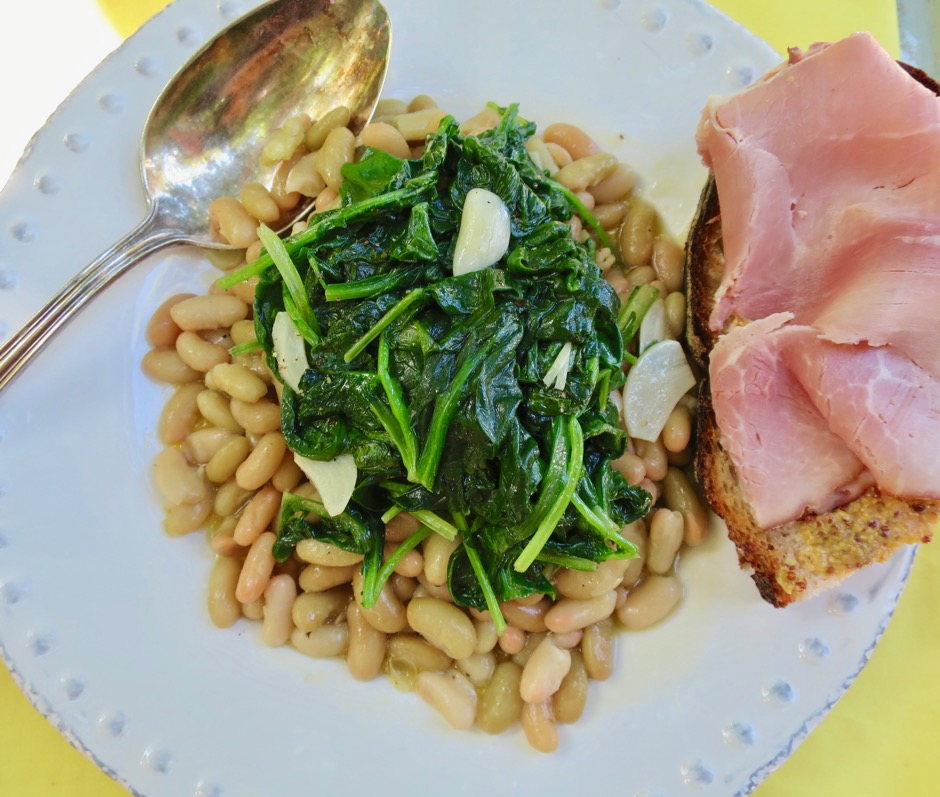
  7. To serve, place beans in a shallow bowl. Drizzle beans with a little olive oil. Top with the wilted greens and season with salt and pepper. I serve this with open-faced ham sandwiches but toasted garlic bread would be a delicious accompaniment as well.


Appetizers, Beans, Lactose Free, Recipes, Vegan, Vegetarian

Easy Homemade Hummus

April 4, 2016

hummus - 1 (6)

Hummus and pita chips are a great snack any time of the day.  I have purchased hummus from our local markets in the past, but I’m always disappointed. Most of the time it’s because there’s too much garlic in the hummus for my taste.  When it comes to using raw garlic, especially in hummus and pesto, I prefer a light garlicky flavor, just enough to give the dish a nice zing, but also allowing the other flavors to shine.  This simple recipe does just that.  You taste the chickpeas, tahini, lemon juice, cumin, and a bit of garlic.  A few dashes of cayenne pepper adds a delightful touch of heat.  This snack will take you just 10 minutes to whip up in your food processor.

chickpeas - 1

I’ve tried a number of brands of canned chickpeas (also known as garbanzo beans) and finally decided that I like Eden the best (so far).  The beans have a nice color and a good texture.

hummus - 1 (7)

Easy Homemade Hummus
 
Ready in just 10 minutes!
Author:
Serves: 4 - 6 as an appetizer
Ingredients
  • 1 15 ounce can of chickpeas drained, 2 tablespoons of liquid reserved (you may reserve a few beans to sprinkle over the hummus)
  • ¼ cup tahini
  • 2 tablespoons extra virgin olive oil
  • ¼ cup fresh lemon juice
  • 1 - 2 tablespoons reserved liquid from the beans
  • 1 very small garlic clove, pressed (scant ¼ teaspoon)
  • ¾ teaspoon kosher salt
  • few grinds of black pepper
  • few dashes of cayenne pepper
Preparation
  1. Place chickpeas, tahini, olive oil, lemon juice, 1 tablespoon reserved bean liquid, garlic, salt, black pepper and cayenne pepper in a food processor. Process until smooth, scraping down the sides as needed. If the hummus seems too thick, add the other tablespoon of reserved bean liquid and process for a few seconds. Taste and add more salt and cayenne pepper if you desire.
  2. Before serving, drizzle a little olive oil over the hummus and sprinkle with a bit of cayenne pepper or paprika and reserved garbanzo beans. Serve with pita chips.


Beans, Chicken, Dinner, Recipes

Indian-Spiced Chicken with Chickpeas

March 15, 2015

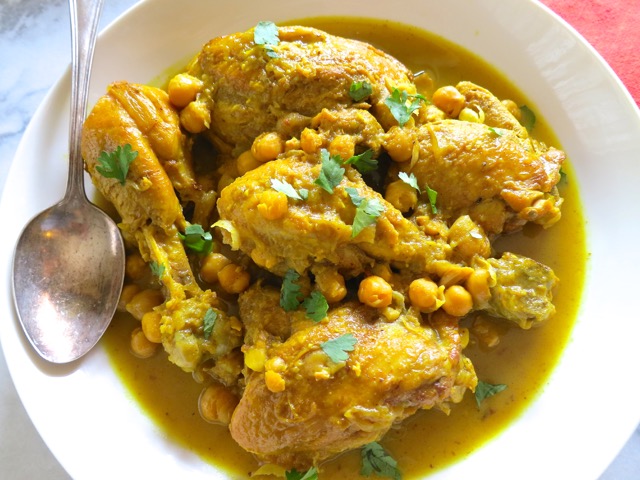
Indian Spiced Chicken with Chickpeas I have a new appreciation for chicken thighs.  There. I’ve said it.  I never thought I would, but I’ve learned they are essential in certain recipes, such as this Indian Spiced Chicken.  It is exceptional.

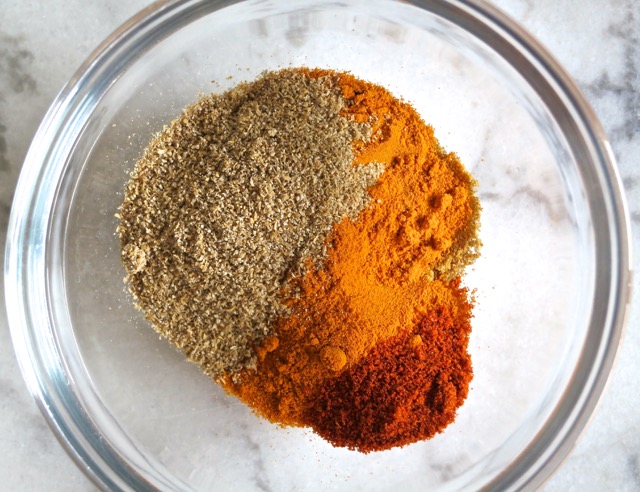
Ground Coriander, Turmeric, Cumin, CayenneThe spices that flavor this dish are incredibly fragrant.  Your kitchen will be over whelmed with wonderful aromas!

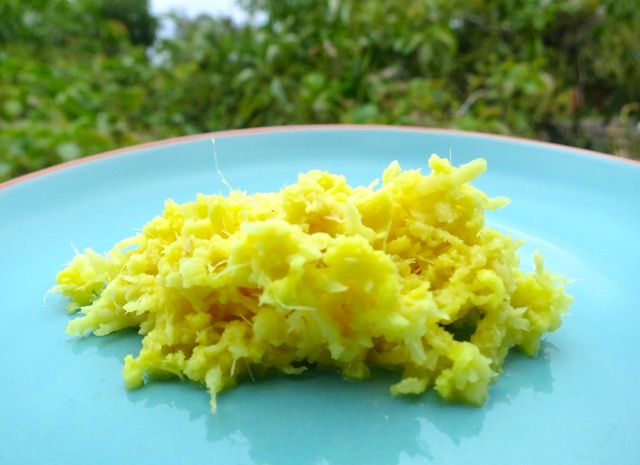
Fresh Grated Ginger

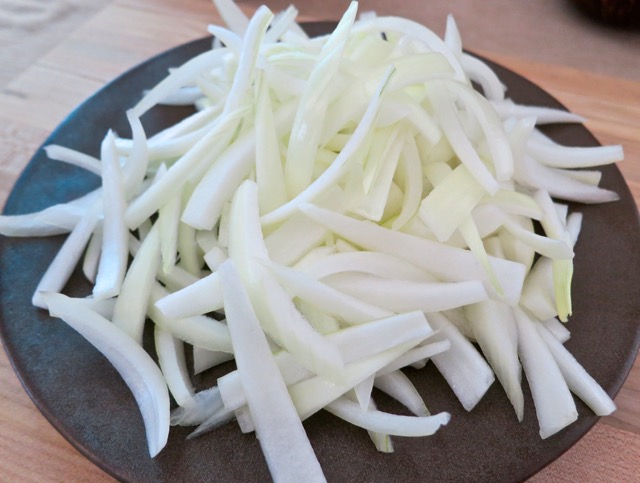
Sliced Onions

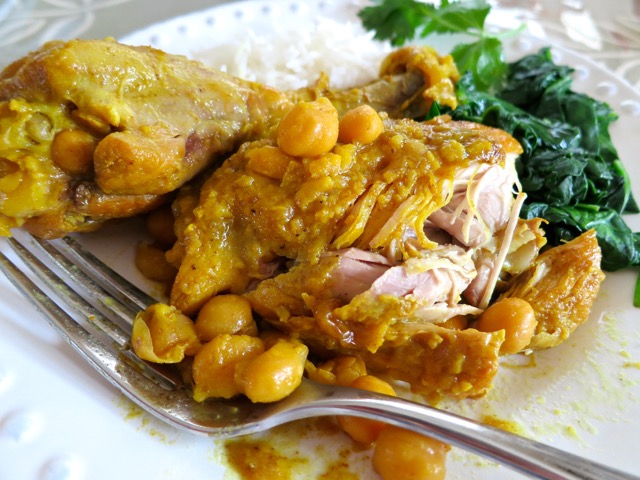
Indian Spiced Chicken with ChickpeasAfter just an hour in the oven, the chicken is tender and moist.  The sauce is so tasty you’ll want to spoon it over your rice, which I quickly did (after taking a few snapshots of the dish).  My stepson, Ivan, loves Indian cuisine, but I have always been on the fence.  Now however,  I’m in love with this Indian recipe.

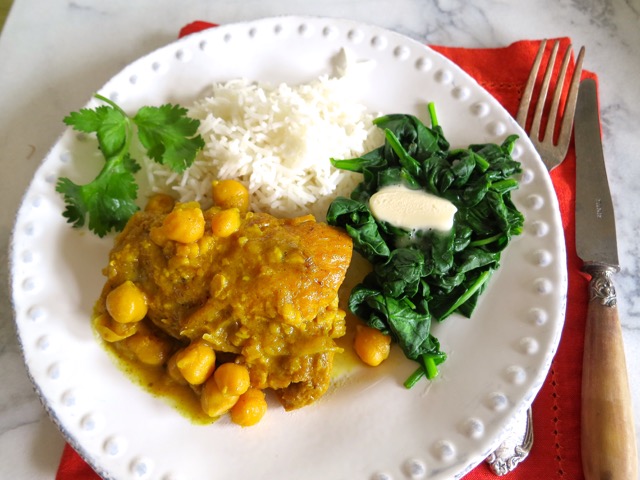
Indian Spiced Chicken Plate

Indian-Spiced Chicken with Chickpeas

Adapted from Bon Appetit

Serves 4

Ingredients

1 tablespoon canola oil

4 each, bone-in chicken thighs and drumsticks, skin removed (you may also use 8-10 boneless skinless thighs)

1 tablespoon Earth Balance butter (or unsalted butter)

2 large onions, thinly sliced

4 garlic cloves, chopped

1 1/2 tablespoons grated peeled ginger

1 1/2  teaspoons ground coriander

2 teaspoons ground cumin

2 teaspoons ground turmeric

1/4 teaspoon cayenne pepper

1 15-oz. can chickpeas, rinsed (if you want to have lots of chickpeas add another 1/2 can)

2 cups chicken broth

1 tablespoon sour cream

salt to taste

fresh cilantro

Preparation

Place a rack in lower third of oven; preheat to 325°.  Heat oil in a large oven proof pot over medium high heat.  Season chicken with salt.  Working in two batches, cook chicken, reducing heat as needed to prevent over browning, until golden brown on all sides, 8 -10 minutes per batch.  Transfer to a plate.

Add butter and onions to pot, season with salt.  Cook, stirring often, until onions are soft and golden brown, 10 – 15 minutes.

Stir in garlic, ginger, coriander, cumin, turmeric, and cayenne.  Cook, stirring constantly, until spices are fragrant, about 1 minute.  Stir in chickpeas and 2 cups broth.  Return chicken and any accumulated juices to pot.  Add more broth if needed to cover chicken about three-fourths of the way up.  Bring to a simmer.  Cover pot and transfer to oven.  Braise chicken until fork-tender, 50 – 60 minutes.

Using tongs transfer chicken to a platter and cover with foil to keep warm.  Remove pot from the heat and stir sour cream or yogurt into cooking liquid.  Season with salt.  Return chicken to pot and warm over low heat (do not boil or sour cream may curdle).

Transfer chicken to a large deep platter,  Pour sauce over and sprinkle with cilantro.  Serve with wilted spinach and basmati rice.


Follow

Get every new post delivered to your Inbox

Join other followers: