Browsing Category

Appetizers

Appetizers, Dinner, Italian, Recipes, Side Dishes, Vegetarian, Veggies

Puff Pastry Tomato Tarts

November 14, 2016

Tomato Tart

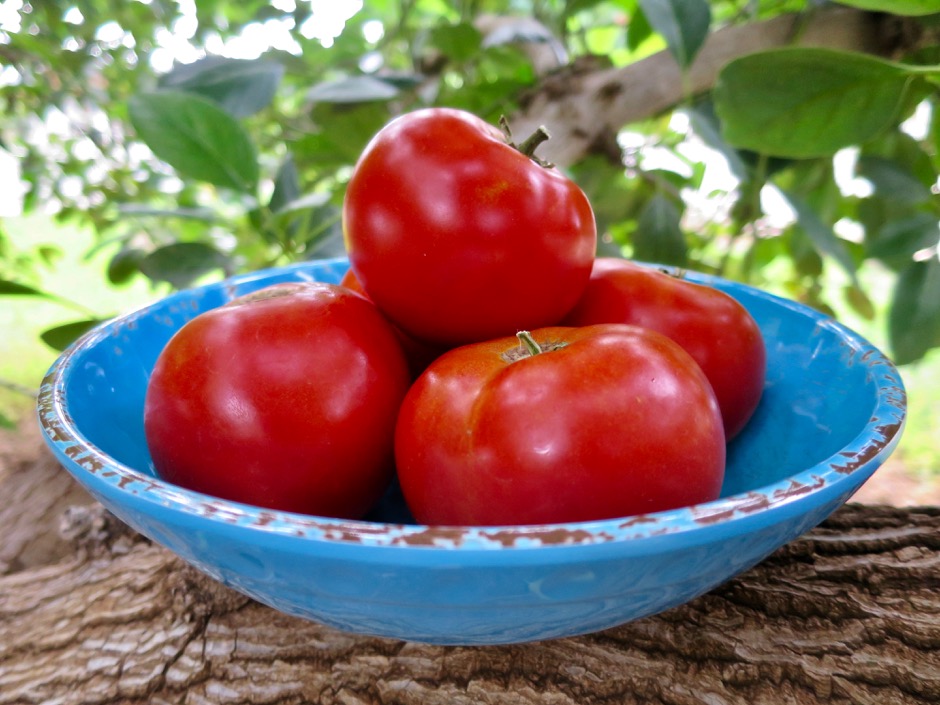
These tasty tomato tarts are so easy to make when using ready-made frozen puff pastry.  Of course if you have time you could make your own, but using already prepared puff pastry reduces your prep time. The key to a delicious tart is to use really good tomatoes.  You want tomatoes that are meaty with few seeds so that the crust doesn’t get soggy.  Our tomato plants underproduced this summer, however, we were lucky to have a handful of really nice tomatoes that I used for tomato sauce, salsa, Mexican rice, salads, and these tarts.

Homegrown Tomatoes

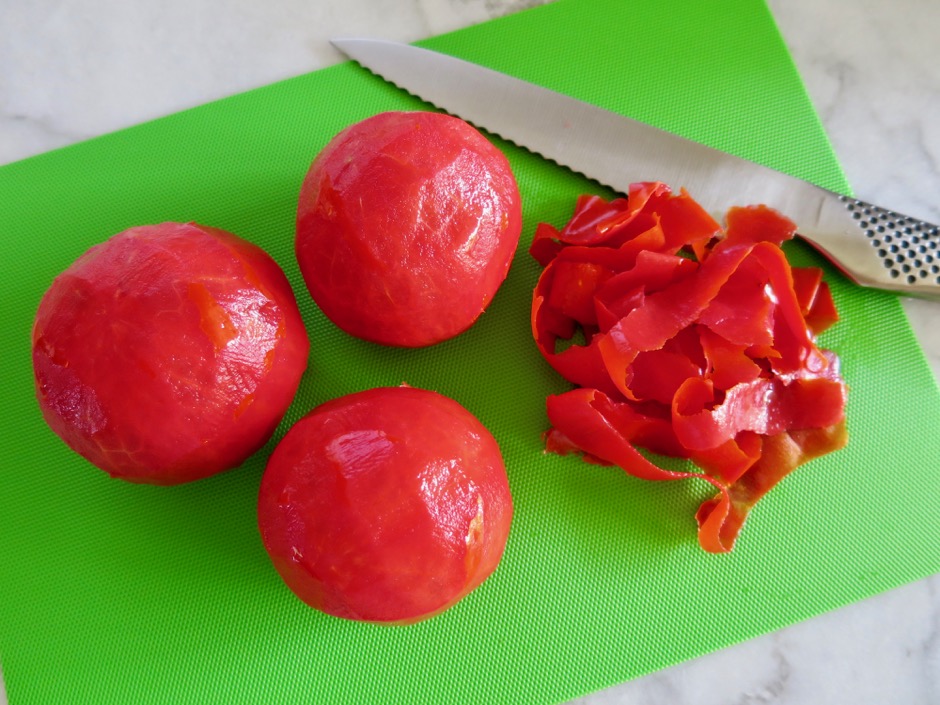
Peeled Tomatoes

I didn’t peel the tomatoes the first time I made the tart but did so the next time around.  The tomato skins don’t soften much or break down when baked so peeling them ensures that when you take a bite of the tart you’re not left with the tomato skin pulling away from the rest of the slice.
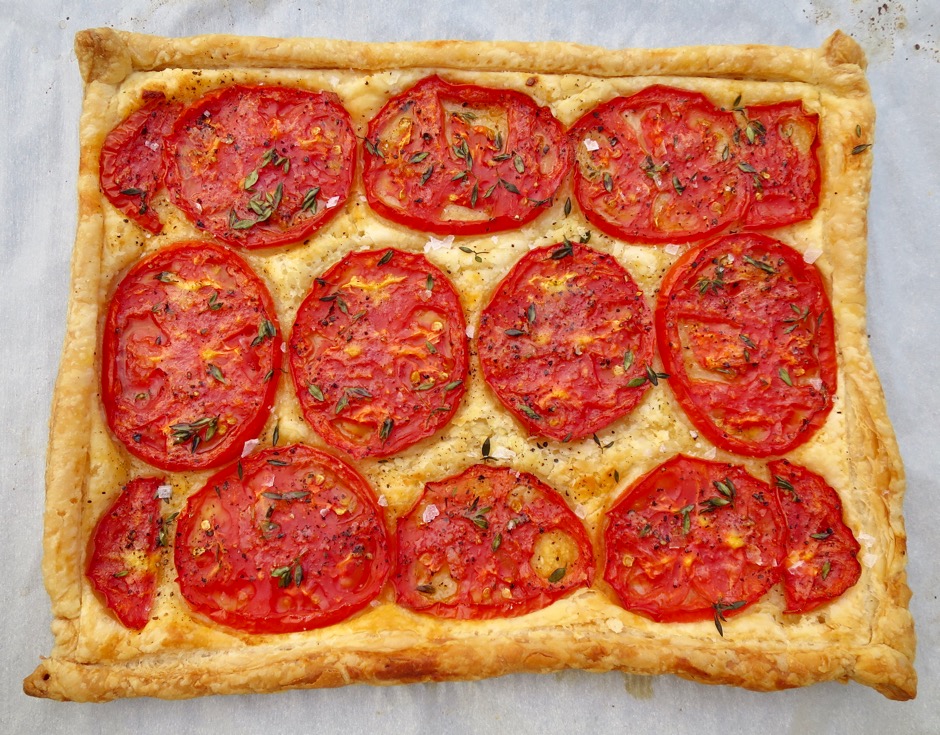
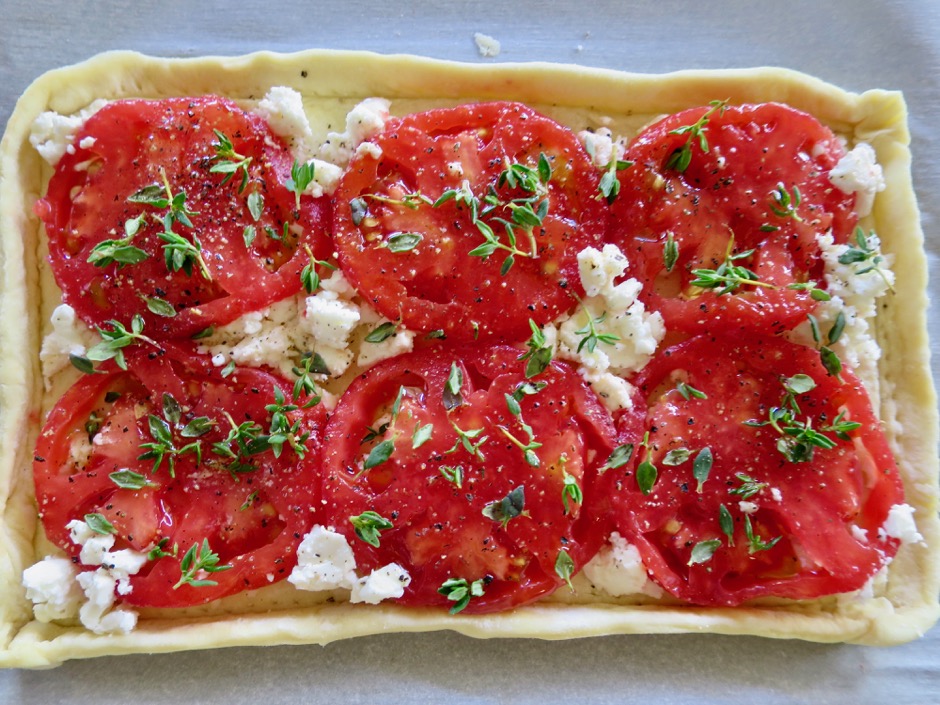
Unbaked Tomato Tart with Feta & Thyme

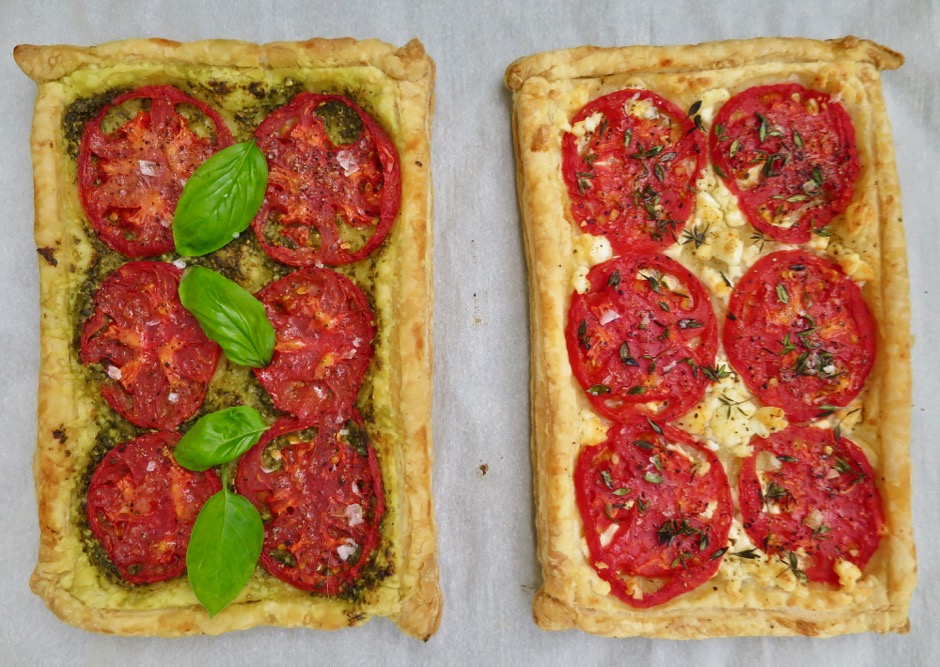
You can make one large tart or divide the puff pastry into two equal portions and make two tarts.  Below I made one with pesto and another with feta cheese.  It was nice to have a variety of flavors.  These little tarts  make perfect appetizers for a small party.  You can make them a couple of hours in advance and still count on the crust being flaky and crisp.
Pesto & Feta Tomato Tarts

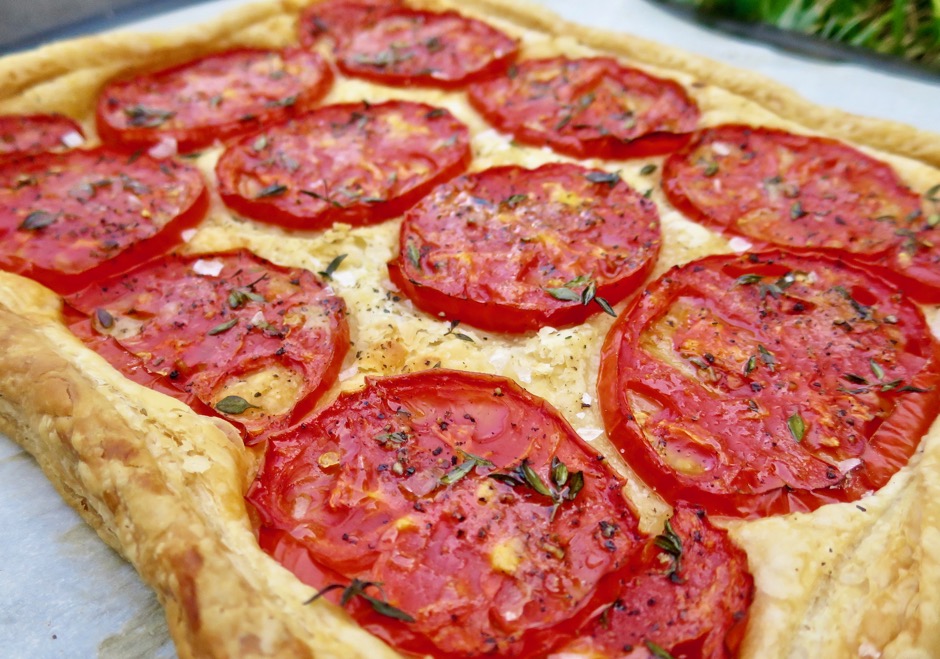
Tomato Tart with Thyme

The tomatoes above were not peeled.  You may notice the skins did not cook down much which means that when you take a bite of the tomato tart the skin may come off in one piece.  It’s definitely OK to leave the skins on though if this isn’t bothersome to you.

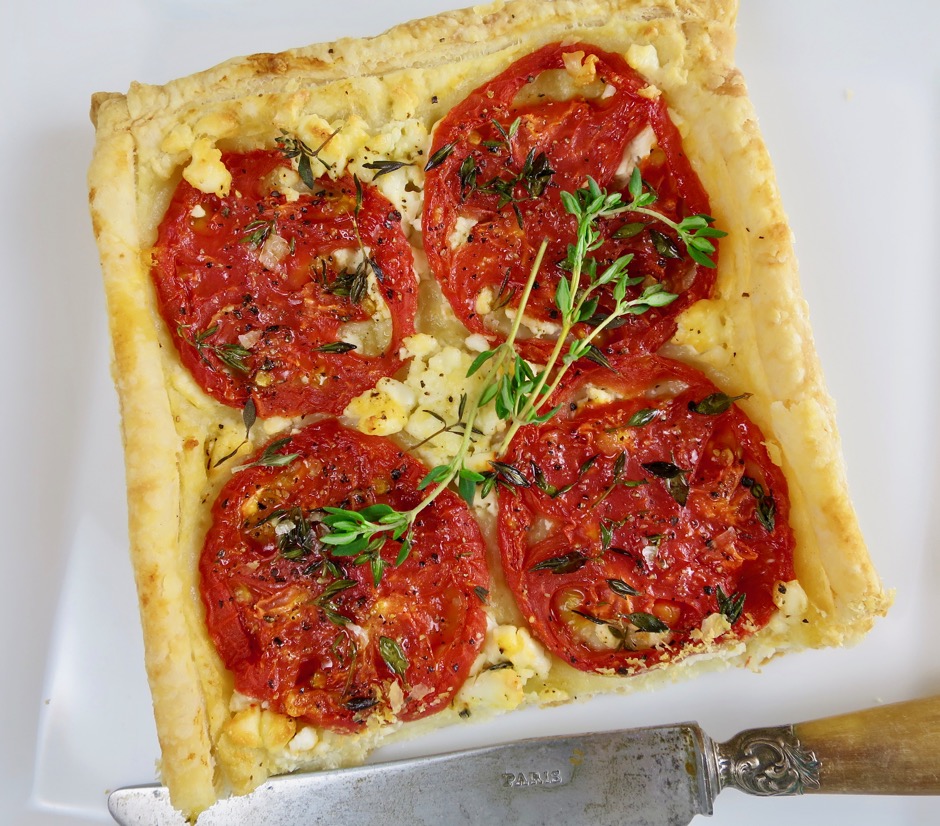
Tomato Tart with Feta & Thyme

Puff Pastry Tomato Tarts
 
Adapted from Canal House Cooks Every Day
Author:
Serves: 6 - 8 as an appetizer
Ingredients
  • 1 frozen ready-to-bake puff pastry sheet such as Pepperidge Farm
  • 2 - 3 tomatoes, peeled, cored, and sliced (about ⅓-inch thick)
  • 3 branches fresh thyme
  • crumbled feta (optional)
  • basil pesto (optional)
  • extra virgin olive oil
  • pepper
  • Maldon or other crunchy sea salt
Preparation
  1. Preheat oven to 375 degrees.
  2. Cut a sheet of parchment paper to fit a large baking sheet pan. Place parchment paper on counter. Remove puff pastry sheet from the freezer and place it on the parchment paper. Let puff pastry defrost for 20 minutes.
  3. Roll out puff pastry on the parchment paper to measure 9½ x 12 inch rectangle. If making two tarts divide the pastry in half. Once rolled out, transfer puff pastry (on parchment paper) to your baking sheet. Using the tip of a small paring knife, lightly score a border about ½ inch from the edge of the pastry. Pierce the dough inside the border all over with the tines of a fork to prevent the central area from puffing up too much during baking.
  4. If using only tomatoes: Arrange tomatoes over the pastry. Season with pepper. Drizzle or brush a bit of olive oil over the tomatoes. Scatter fresh thyme leaves over the top.
  5. If using pesto: Brush pesto over the pastry (except border). Arrange tomatoes on the pesto and season with pepper. Drizzle or brush a bit of olive oil over the tomatoes.
  6. If using feta: Arrange tomatoes on pastry and season with pepper. Scatter crumbled feta between the tomatoes. Drizzle or brush a bit of olive oil over the tomatoes. Scatter fresh thyme leaves over the top.
  7. Bake tart(s) for 30 - 35 minutes until the pastry is crisp and edges are lightly browned. Season with Maldon salt.


Appetizers, Dressing, Eggs, Lactose Free, Recipes, Salad, Sauces, Vegetarian, Veggies

Nobis Dressing

August 17, 2016

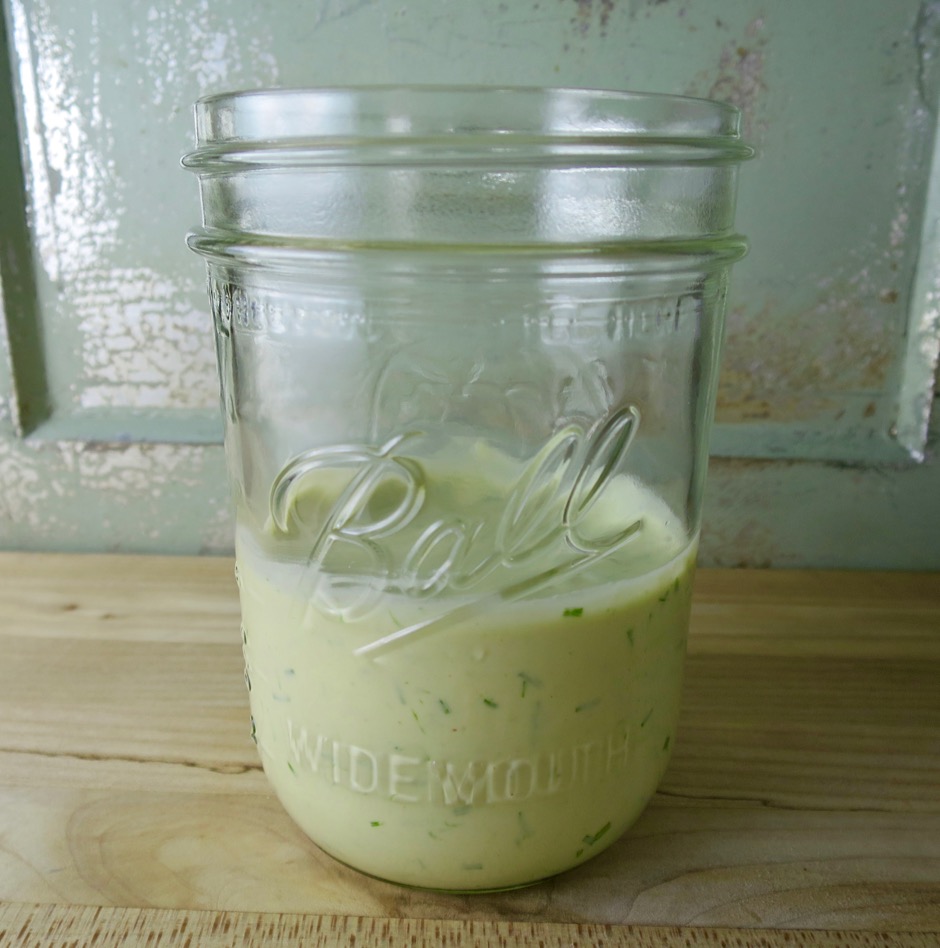
Nobis Dressing

San Francisco is a city that offers superb dining options.  We look forward to returning to our favorite restaurants year after year. While always visiting our favorite places, we enjoy trying new restaurants as well. On our last visit we tried Volta, a French restaurant with Scandinavian influences.  We went for lunch, and it was just divine so we changed our plans for that night and returned to Volta for dinner.  It’s a gorgeous restaurant with a menu that features many appealing dishes.  I chose an endive & watercress salad with nobis dressing as my starter.  The nobis dressing was absolutely delicious: so much so, I contacted the owner Umberto Gibin and asked for the recipe.  He was gracious enough to have his chef pare down the ingredients for me.

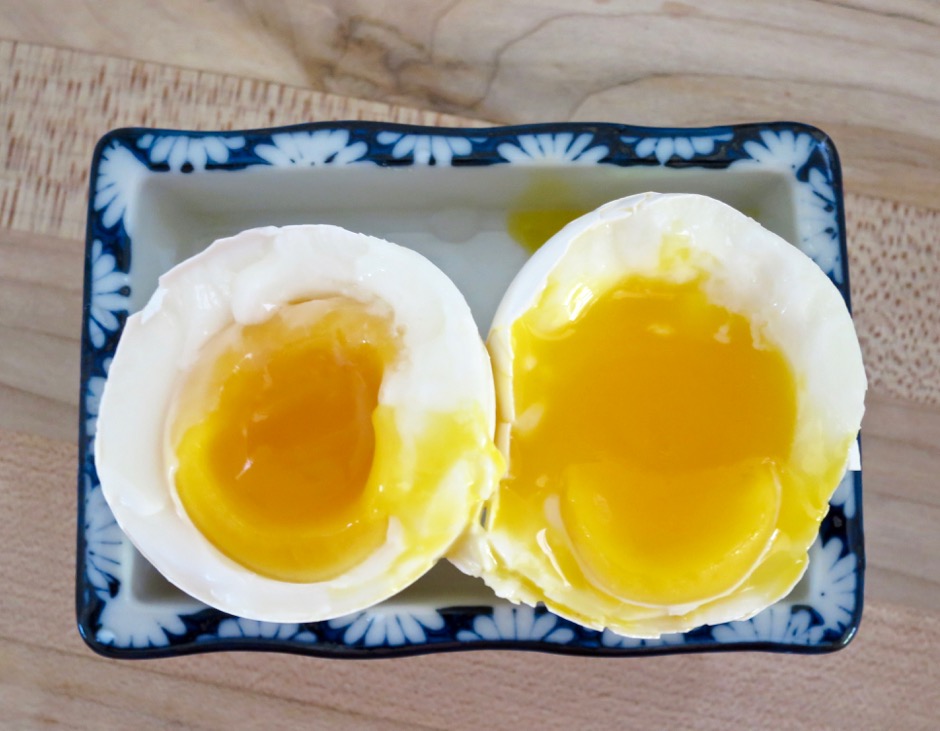
Soft Boiled Egg

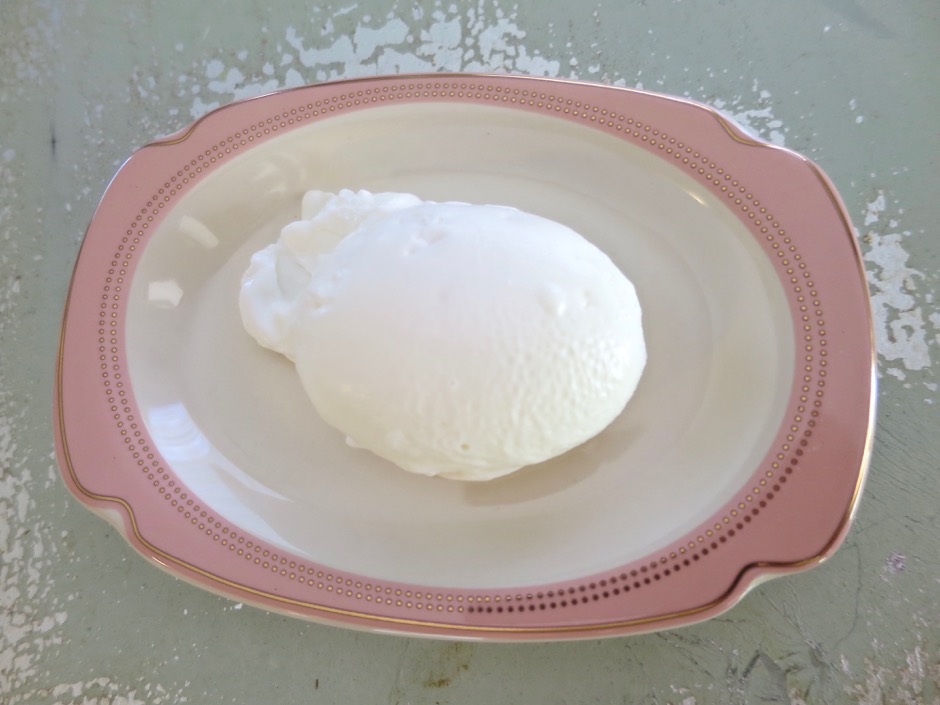
The ingredient that makes this recipe stand out is the egg.  Poached or soft boiled, either preparation works well.  The egg adds depth and richness to the dressing, along with the tangy mustard, vinegar, lemon juice, chives, and a hint of garlic.  It reminds me of a Caesar salad dressing but without the cheese and anchovies. It’s so good I can eat it right out of the jar.

Poached Egg

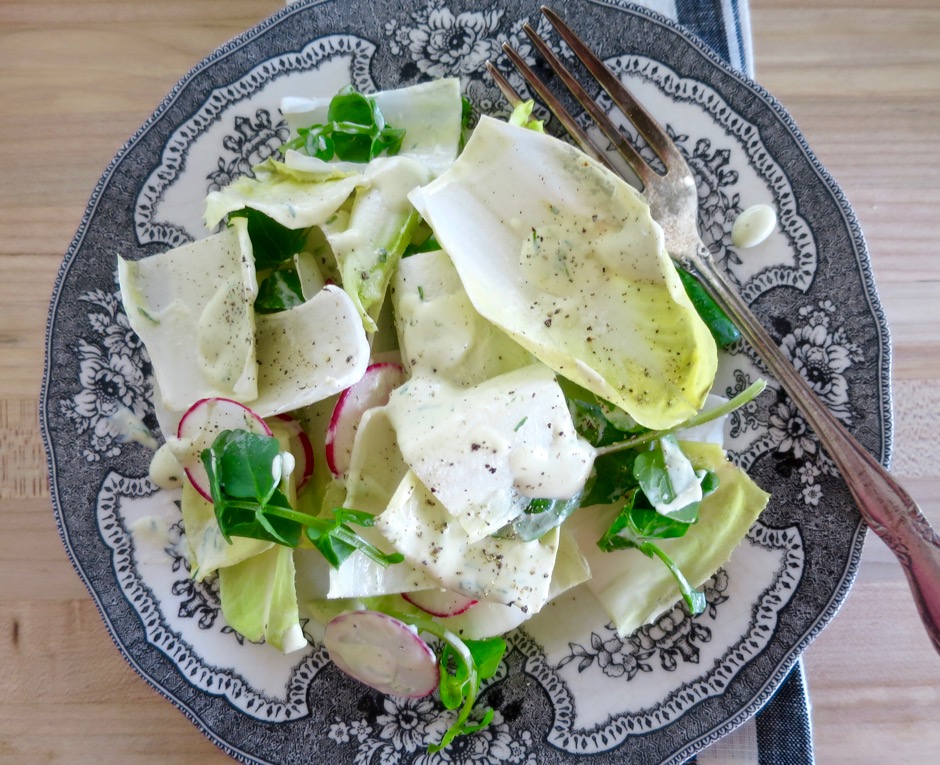
Endive Salad with Nobis Dressing

Nobis dressing on endive salad with watercress and radishes.

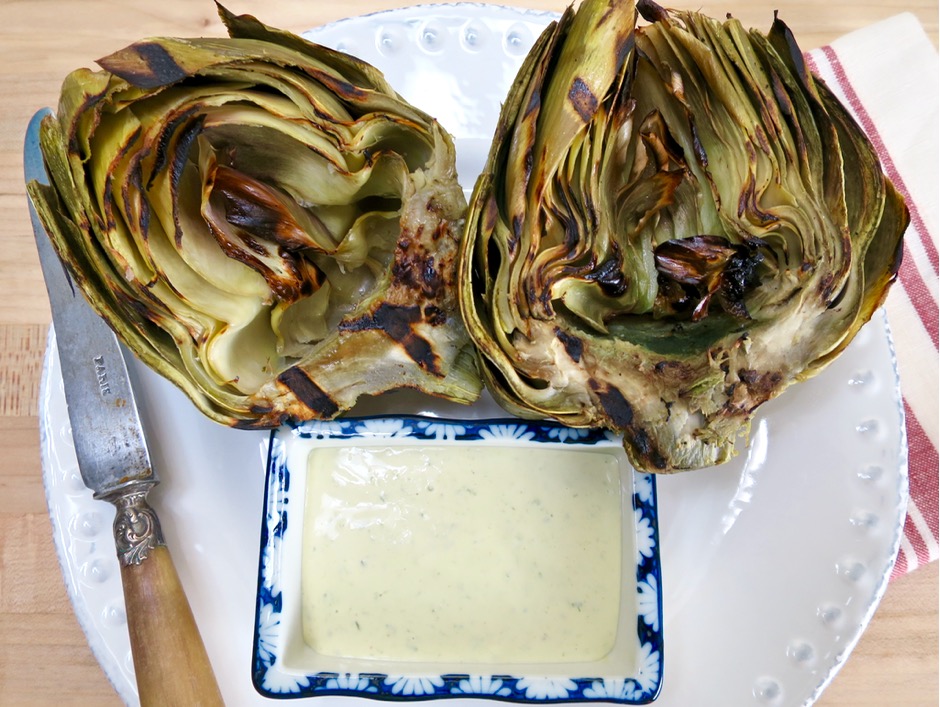
Grilled Artichokes with Nobis Dressing

Nobis dressing for dipping grilled artichokes.  It’s also delicious drizzled over steamed asparagus.

Nobis Dressing
 
Adapted from Volta restaurant recipe
Author:
Serves: ¾ cup
Ingredients
  • 1 soft boiled or poached egg
  • 1 tablespoon Dijon mustard
  • 1 tablespoon + 1 teaspoon red wine vinegar
  • 1 tablespoon fresh lemon juice
  • ⅛ teaspoon garlic (use a microplane)
  • ⅓ cup + 1 tablespoon canola oil
  • 1 tablespoon chopped chives
  • ¼ teaspoon kosher salt
  • freshly ground white or black pepper
Preparation
  1. Place soft boiled egg in a 1-pint mason jar or comparable sized container that your immersion blender fits snugly in.
  2. Add the other ingredients and blend with an immersion blender until dressing is thick and creamy, about 30 seconds. If you don't have an immersion blender use a small food processor or blender.
  3. Serve as a salad dressing, dipping sauce for artichokes, or drizzled over asparagus. I bet it would be delicious as a sauce for grilled or pan fried fish, or chicken.


Appetizers, Dinner, Fish, Japanese, Lactose Free, Recipes

Tuna Tartare with Avocado & Radish

June 17, 2016

Tuna Tartare with Avocado & Radish

Over the years, we have enjoyed many different versions of tuna tartare.  The best have been at favorite restaurants (those from Plouf in San Francisco and BLT in Honolulu come to mind).  However, with this recipe, we are making a version at home which rivals or even surpasses our previous favorites.  It’s hard not to love this tuna tartare.  There’s something about the rich and creamy avocado, silky fish, and delightful ponzu-like dressing.  It all goes together so very well.  And, it’s really the perfect summer meal for a warm day when cooking over the stove or turning on the oven just seems out of the question.  This dish relies on using the best quality sashimi grade tuna. Fresh, well chilled, and cut just this morning type-of-tuna from a reliable source is what you are looking for.  I can’t wait to make it again.

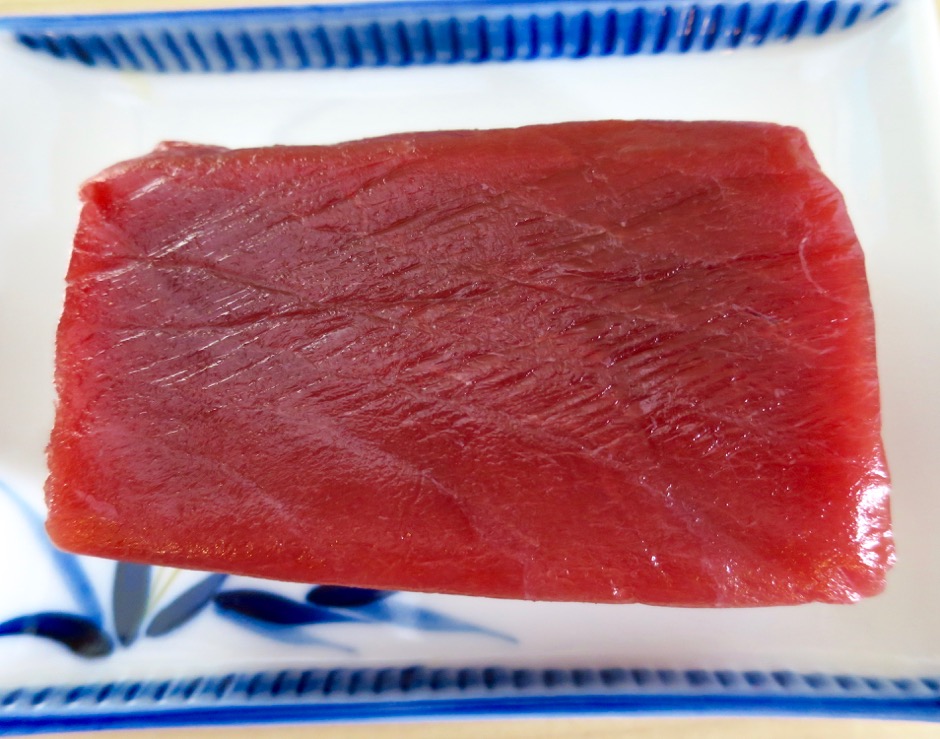
Sashimi Grade Ahi (yellowfin tuna)

Though I usually pay a dear price for the tuna at Whole Foods, I find the quality to be superb.  I always ask the staff at the counter whether the fish was cut that morning.  If it has been sitting around for more than a day, I skip it, and try again the following week. I find it most satisfying when the fish is very well chilled before serving.  Keep the fish in the refrigerator until you are ready to plate and serve the tartare.

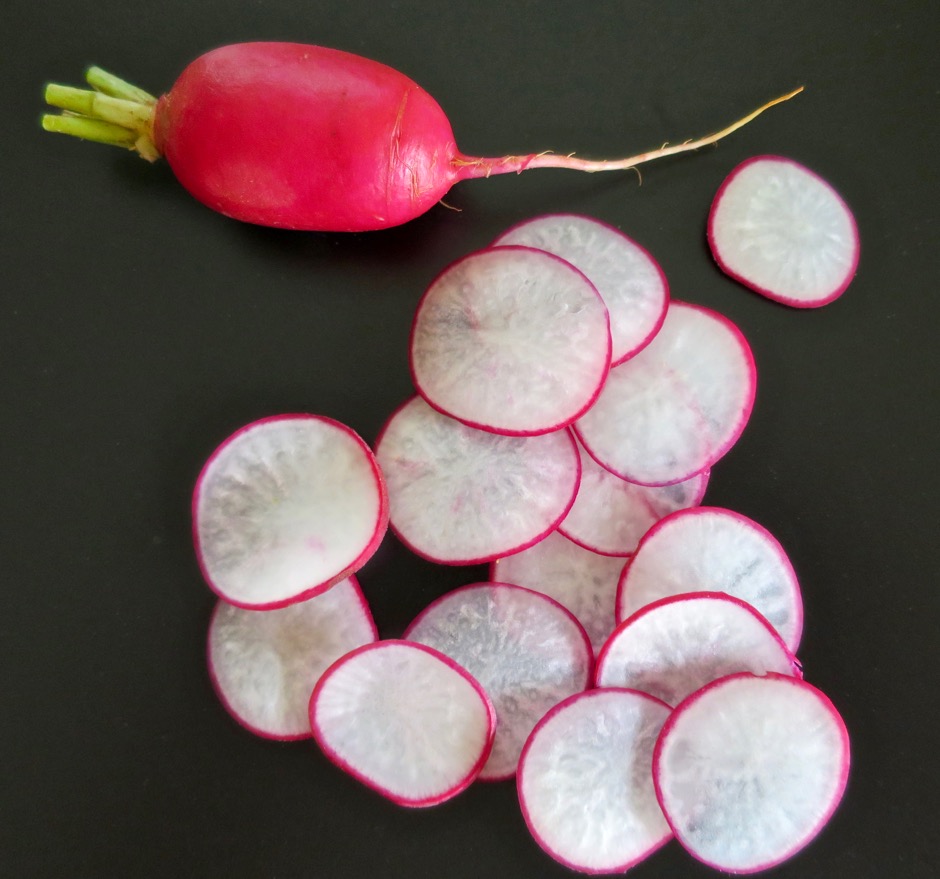
Radish

I didn’t eat radishes when I was a child, except for the long and slender daikon variety that is commonly used to make Japanese pickled takuan.  These days I enjoy these pretty red radishes in salads as well as in this ahi tartare preparation.  The secret is to slice them ever so thinly and soak them in an ice water bath for a half hour to really crisp them up.

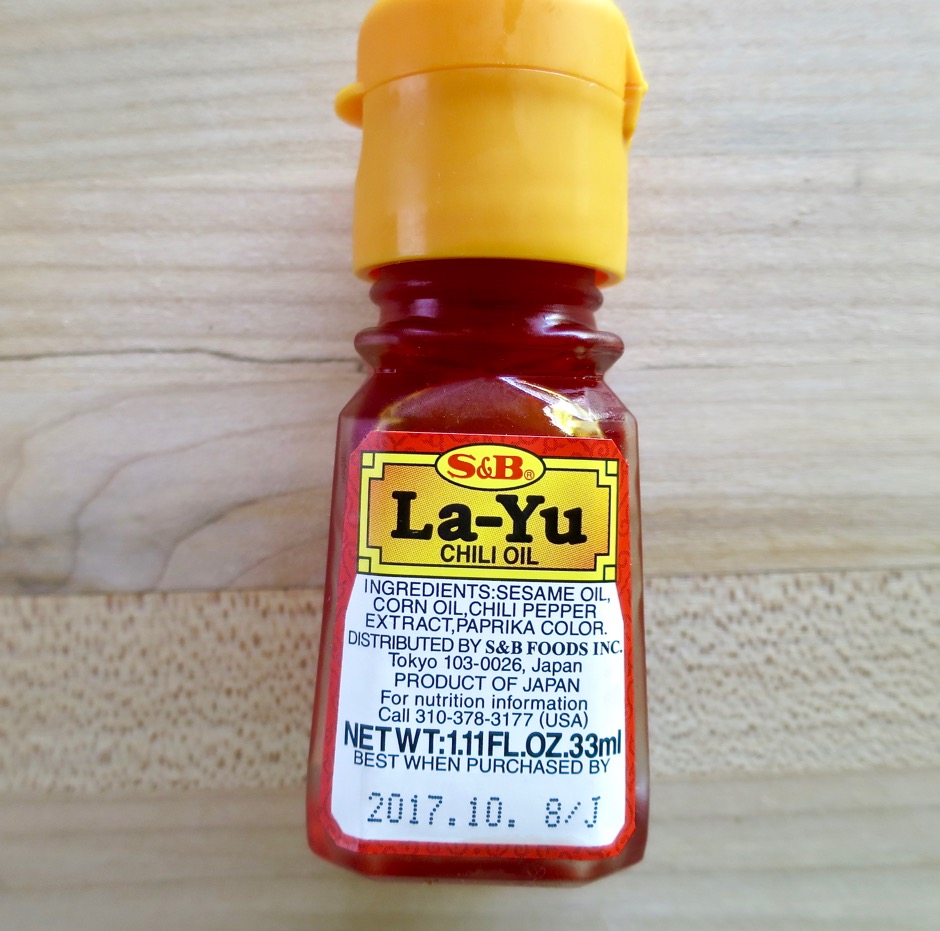
Chili Oil

Tuna Tartare with Avocado & Radish + Taro Chips

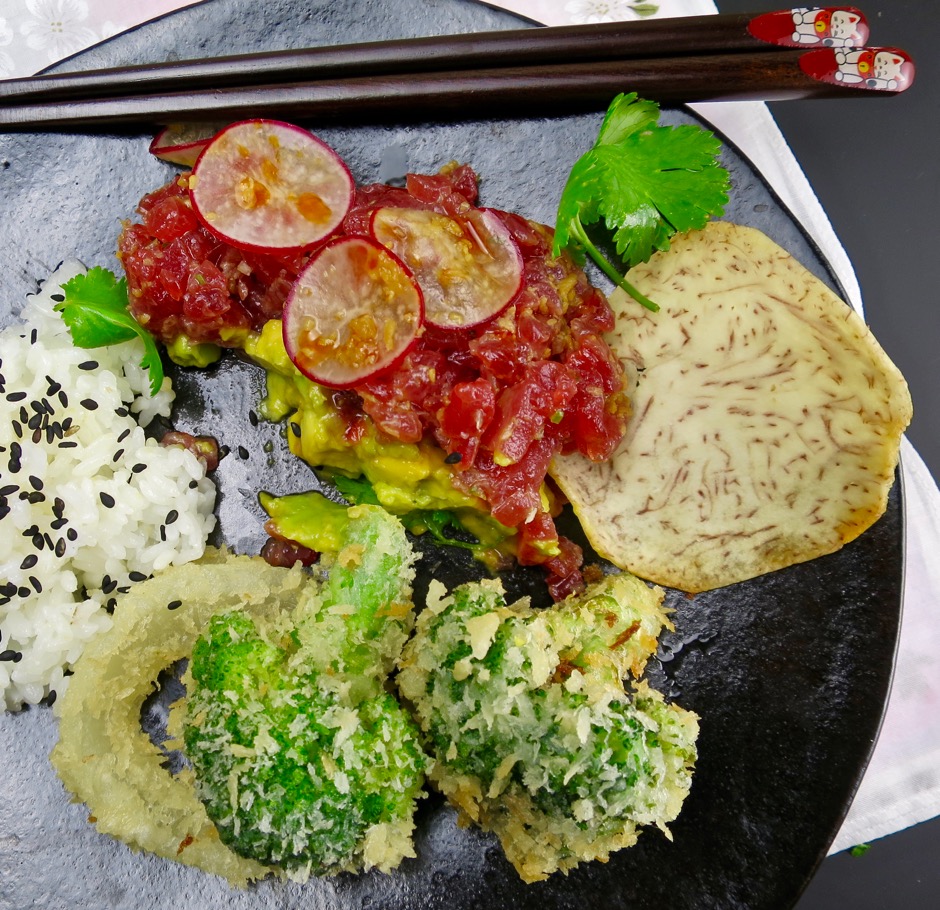
Serve the tartare with taro chips as an appetizer or as an entrée with rice and a side of crispy vegetable tempura.

Tuna Tartare with Rice & Vegetable Tempura

Tuna Tartare with Avocado & Radish
 
A lovely appetizer for a warm summer evening. Adapted from Bon Appetit Magazine.
Author:
Serves: 4 as an appetizer
Ingredients
  • Dressing:
  • 2 teaspoons finely grated lime zest (from two small or one large lime)
  • 2 tablespoons fresh lime juice
  • 1 tablespoon granulated sugar
  • 2 tablespoons + 2 teaspoons soy sauce
  • 2 tablespoons Champagne vinegar or white wine vinegar
  • 1 tablespoon + 2 teaspoons finely grated peeled ginger
  • Tuna:
  • 10 ounces sashimi grade tuna, very finely diced and well chilled
  • 4 teaspoons olive oil, divided
  • 1 teaspoon minced seeded serrano chile
  • 1 teaspoon minced shallot
  • kosher salt
  • 1 large avocado, halved, pitted and finely diced
  • 2 radishes very thinly sliced, chilled in an ice water bath for 30 minutes
  • chili oil
Preparation
  1. Combine lime zest, lime juice, sugar, and 2 tablespoons water in a small saucepan. Bring to a boil (this will happen in no time at all). Transfer liquid to a small glass bowl, cover and let cool completely. Strain cooled liquid through a fine-mesh sieve into a small bowl. Whisk in soy sauce, vinegar, and ginger. The dressing can be made 2 days in advance. Cover and chill.
  2. Toss tuna with 2 teaspoons olive oil in a medium bowl. Add chile and shallot, season lightly with salt.
  3. Mix diced avocado with remaining 2 teaspoons olive oil in a medium bowl. Season with salt.
  4. To assemble the tuna tartare, you may use a round mold or gently shape the avocado with your hands as I do, onto a serving platter. Arrange tuna over the avocado keeping a circular shape. Spoon some of dressing over the tuna and around the avocado. Top with radish slices and more dressing. Drizzle with chili oil. Serve right away.


Appetizers, Bread, Lactose Free, Recipes, Vegan, Vegetarian

Pita Chips

April 13, 2016

Homemade Pita Chips

Having recently discovered the superlative quality of homemade hummus as opposed to the store-bought version, I thought why not make my own pita chips too?  They are one of the simplest snacks to make and all you need is a bag of pita bread plus olive oil and salt, items that we all have in our pantries.

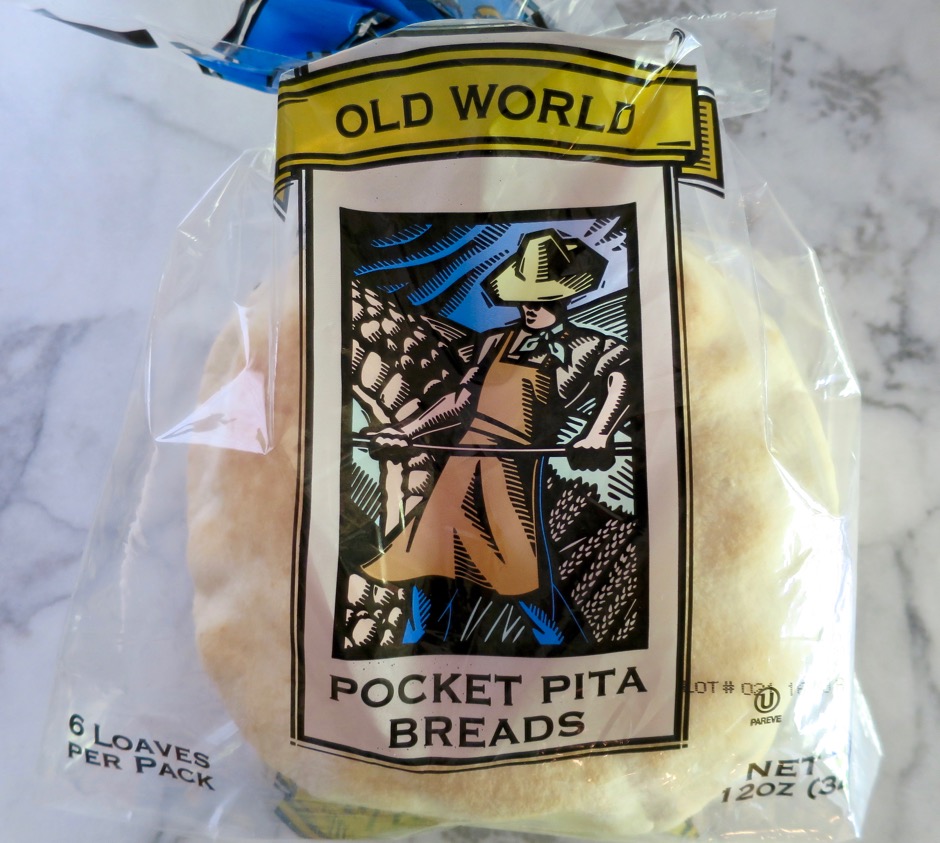
Pita Bread

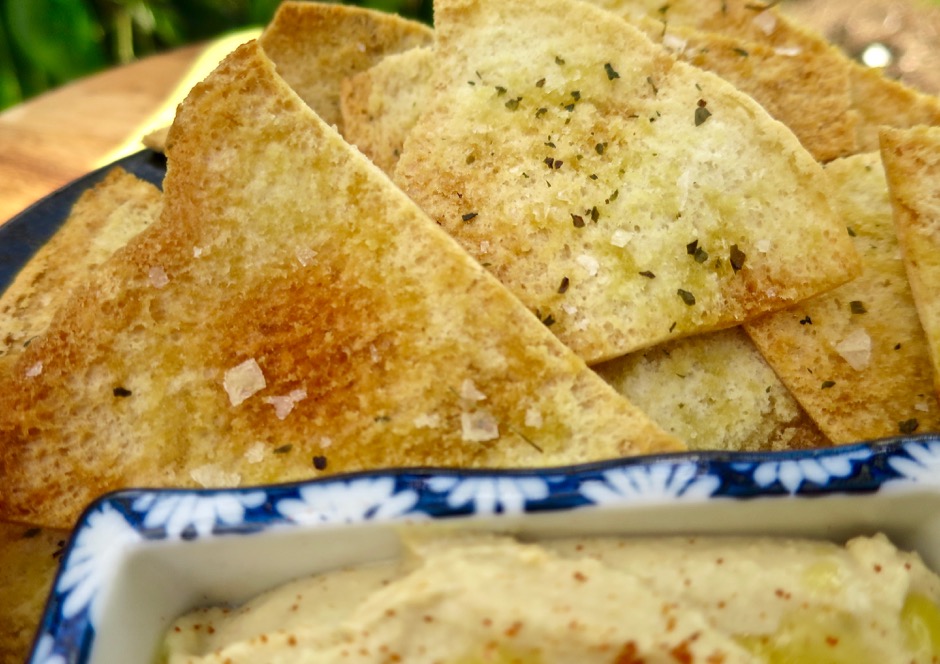
You can opt to use all the pita breads in the package, or make a smaller batch using just three.  The pita chips bake for just 10 minutes and come out of the oven perfectly golden brown.

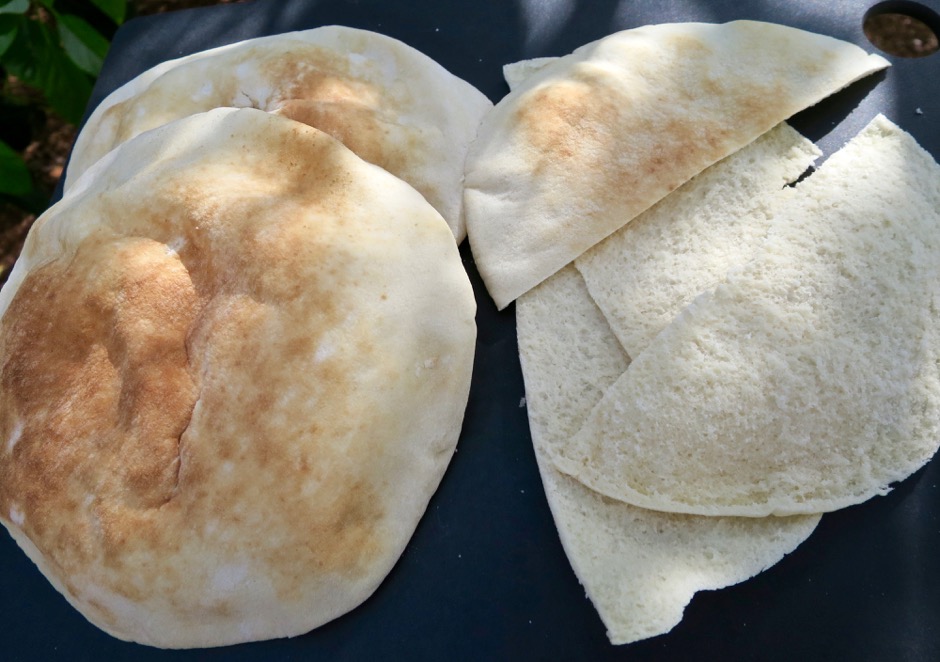
Pita Bread Halved and Split

I tried splitting the pita bread, and not splitting the pita bread.  Conclusion – splitting the pita bread is the way to go if you want thin and crispy chips.  The pita chips that were not split were a bit tough and didn’t seem to hold their crunchy texture for very long, which brought to mind the time I purchased a bag of Stacy’s Pita Chips at Mana Foods.  They were nice and crisp.  Later, I saw a giant bag at Costco so I bought it, after all it was a good deal.  Once I took a bite of Stacy’s Costco version, I was sorely disappointed.  The chips were really hard and not delicately crispy as I had expected them to be.  Curious about why there was such a variation of the two bags, I contacted Stacy’s customer service department and was informed that the pita chips sold at Costco (in the giant bag that’s such a deal) are not split, and the ones at the market are.  So there you have it!

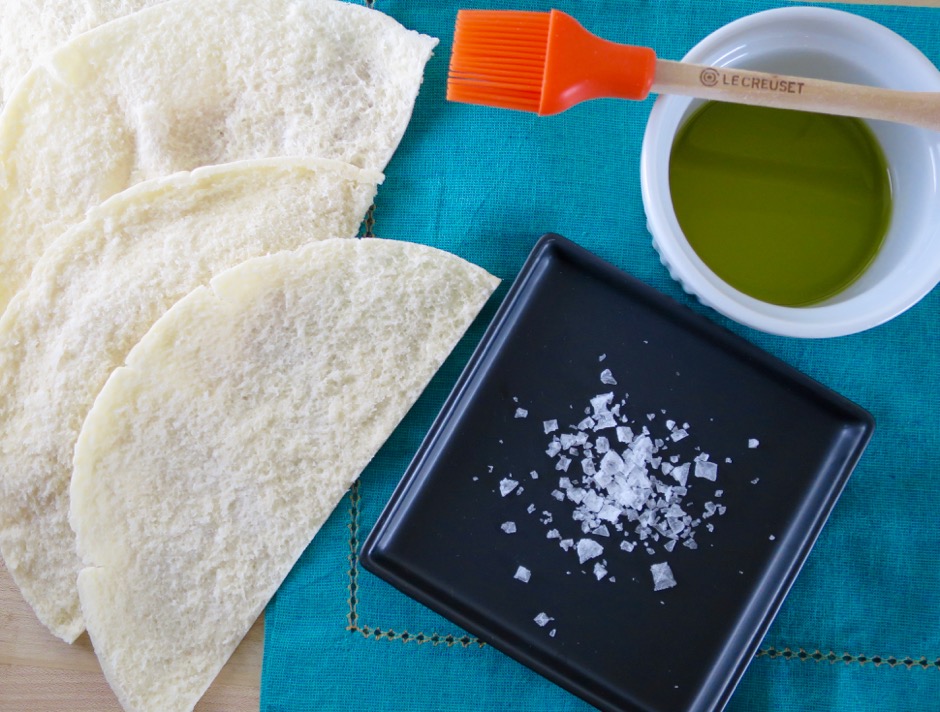
Pita Bread Halved and Split + Olive Oil & Maldon Sea Salt

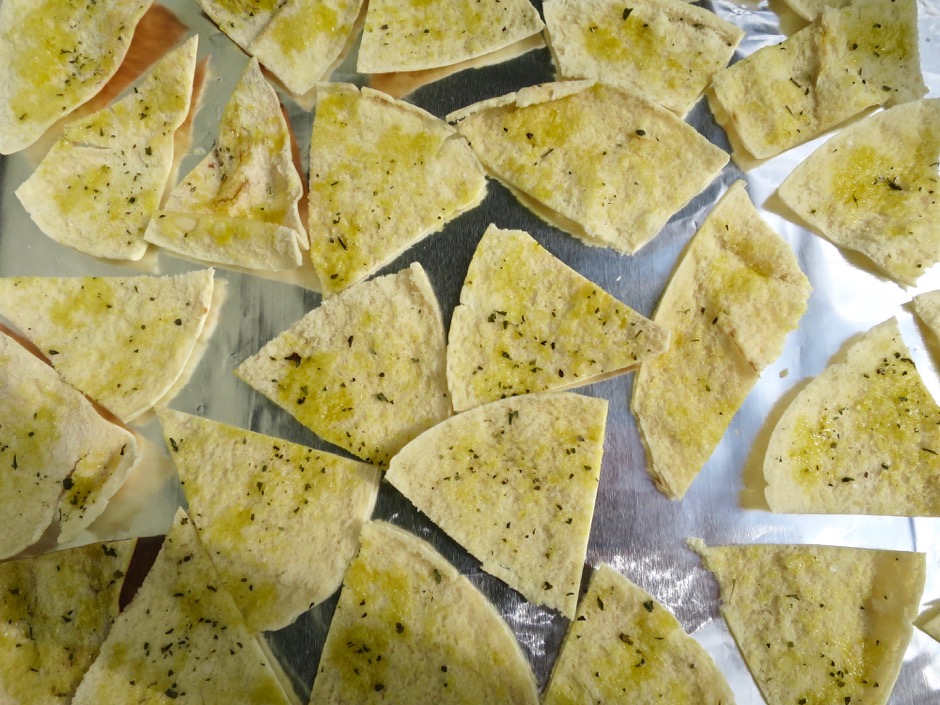
Brush or dab a little olive oil on the rough side of the pita bread.  Sprinkle with flaky sea salt, such as Maldon.  I like to sprinkle a bit of dried oregano over the pita bread but it is optional.  You could also season the pita chips with pepper, or other dried herbs.  Bake until completely crisp.

Ready to Bake Homemade Pita Chips


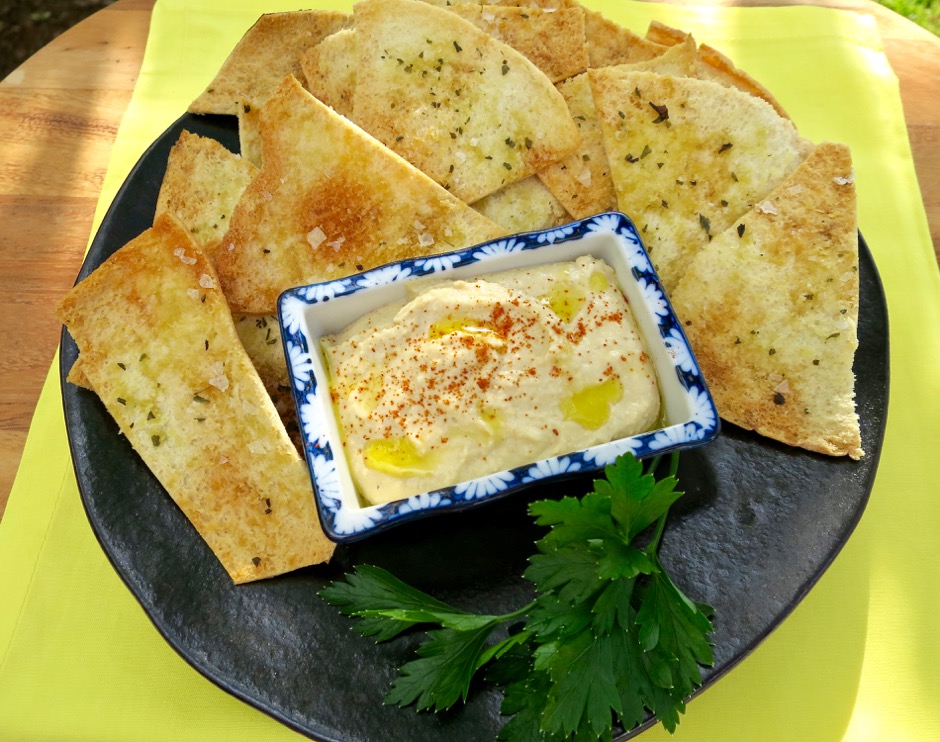
Homemade Pita Chips


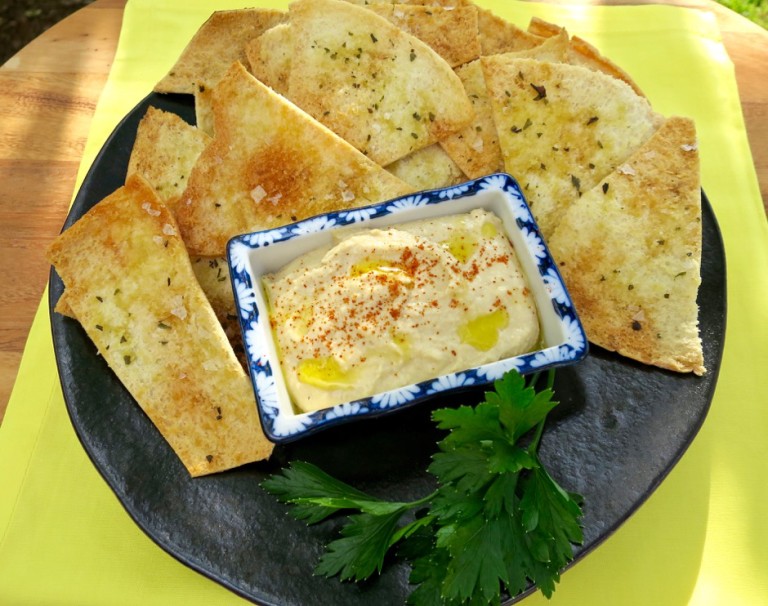
Pita Chips
 
Author:
Serves: 36 chips
Ingredients
  • 3 pita breads, about 6" diameter each
  • extra virgin olive oil
  • flaky sea salt, such as Maldon
  • dried oregano
Preparation
  1. Preheat oven to 375 degrees.
  2. Cut each pita bread in half, then split each half making 4 pieces per pita bread
  3. Stack the halves and cut into thirds, making 12 chips per pita (36 wedges total)
  4. Brush a bit of olive oil over the rough inner side of each piece and sprinkle with salt and oregano.
  5. Place wedges on foil-lined baking sheet making sure not to overlap.
  6. Bake for 10 minutes, checking at the 8 minute mark as oven temperatures vary.
  7. Pita chips should be golden brown and crisp. Let cool completely before storing in an airtight container. Serve with homemade hummus.


Appetizers, Beans, Lactose Free, Recipes, Vegan, Vegetarian

Easy Homemade Hummus

April 4, 2016

hummus - 1 (6)

Hummus and pita chips are a great snack any time of the day.  I have purchased hummus from our local markets in the past, but I’m always disappointed. Most of the time it’s because there’s too much garlic in the hummus for my taste.  When it comes to using raw garlic, especially in hummus and pesto, I prefer a light garlicky flavor, just enough to give the dish a nice zing, but also allowing the other flavors to shine.  This simple recipe does just that.  You taste the chickpeas, tahini, lemon juice, cumin, and a bit of garlic.  A few dashes of cayenne pepper adds a delightful touch of heat.  This snack will take you just 10 minutes to whip up in your food processor.

chickpeas - 1

I’ve tried a number of brands of canned chickpeas (also known as garbanzo beans) and finally decided that I like Eden the best (so far).  The beans have a nice color and a good texture.

hummus - 1 (7)

Easy Homemade Hummus
 
Ready in just 10 minutes!
Author:
Serves: 4 - 6 as an appetizer
Ingredients
  • 1 15 ounce can of chickpeas drained, 2 tablespoons of liquid reserved (you may reserve a few beans to sprinkle over the hummus)
  • ¼ cup tahini
  • 2 tablespoons extra virgin olive oil
  • ¼ cup fresh lemon juice
  • 1 - 2 tablespoons reserved liquid from the beans
  • 1 very small garlic clove, pressed (scant ¼ teaspoon)
  • ¾ teaspoon kosher salt
  • few grinds of black pepper
  • few dashes of cayenne pepper
Preparation
  1. Place chickpeas, tahini, olive oil, lemon juice, 1 tablespoon reserved bean liquid, garlic, salt, black pepper and cayenne pepper in a food processor. Process until smooth, scraping down the sides as needed. If the hummus seems too thick, add the other tablespoon of reserved bean liquid and process for a few seconds. Taste and add more salt and cayenne pepper if you desire.
  2. Before serving, drizzle a little olive oil over the hummus and sprinkle with a bit of cayenne pepper or paprika and reserved garbanzo beans. Serve with pita chips.


Appetizers, Pickles, Recipes, Side Dishes, Vegan, Vegetarian, Veggies

Quick Aleppo Dill Pickles

February 2, 2016

Quick Aleppo Dill PicklesIn earlier posts, I’ve mentioned that we love virtually all forms of pickles.  These refrigerator dill pickles are scrumptious.  Crunchy with a little heat from the Aleppo pepper flakes, they are ready to eat in just an hour. John, always on the lookout for different pickles, found the recipe in my Bon Appetit magazine and quickly ordered Aleppo pepper from Amazon knowing we wouldn’t be able to find it here on Maui.  Featuring large flakes with a beautiful deep red color and medium heat, it is widely used in Middle Eastern cooking. This is our new favorite savory pickle.

Aleppo Pepper

Keiki CukesThe original recipe called for Persian cucumbers which are difficult to find here on Maui. These beautiful Keiki Cukes are readily available at our local Costco and they are perfect for pickles.

Cukes & Dill

Quick Aleppo Dill PicklesIf you are in the mood for pickles, go ahead and make a batch of these crunchy dills.  Once you taste them you will want to have  a jar in your refrigerator at all times.  Sprinkle on za’atar for a delicious finishing touch just before serving the pickles.

Quick Aleppo Dill Pickles

Quick Aleppo Dill Pickles
 
Updated 2/07/16: I reduced the salt from the original recipe.
Author:
Ingredients
  • 8 Keiki Cukes or Persian cucumbers (about 1¼ pound) quartered lengthwise
  • ¼ cup coarsely chopped fresh dill
  • 2⅓ cups distilled white vinegar
  • ⅓ cup sugar
  • 1 medium garlic clove, finely grated
  • 1 tablespoon Aleppo pepper
  • 1 tablespoon fresh lemon juice
  • 2 teaspoons kosher salt
  • 1 teaspoon red pepper flakes
  • 1 teaspoon freshly ground black pepper
  • Za'atar and flaky sea salt (for serving)
Preparation
  1. Pack cucumber spears and dill into a large heatproof jar.
  2. Bring vinegar, sugar, garlic, Aleppo pepper, lemon juice, kosher salt, red pepper flakes, and black pepper to a boil in a medium saucepan, stirring to dissolve sugar. Let cool slightly, then pour brine over cucumbers to submerge. Seal jar and chill at least 30 minutes.
  3. To serve, remove cucumber spears from brine, lightly shaking off excess liquid but leaving on any seasonings. Sprinkle with za'atar and sea salt.
Follow

Get every new post delivered to your Inbox

Join other followers: