Browsing Category

Appetizers

Appetizers, Dinner, Lactose Free, Recipes, Side Dishes, Vegetarian, Veggies

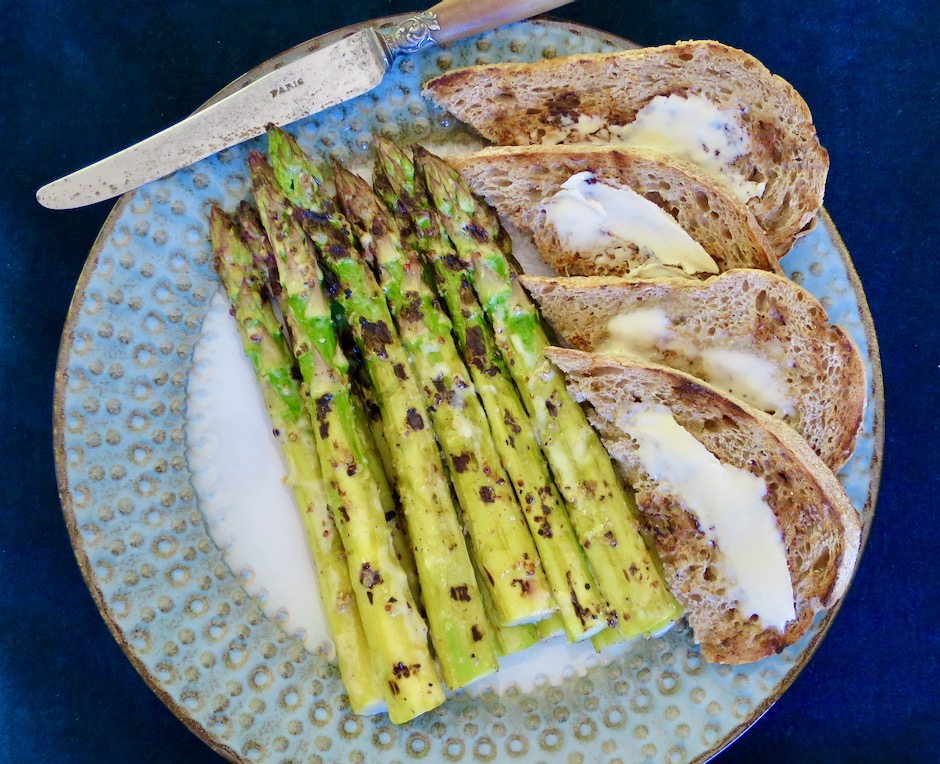
Mustard & Mayonnaise Glazed Asparagus

June 14, 2020

Mustard & Mayonnaise Glazed Asparagus

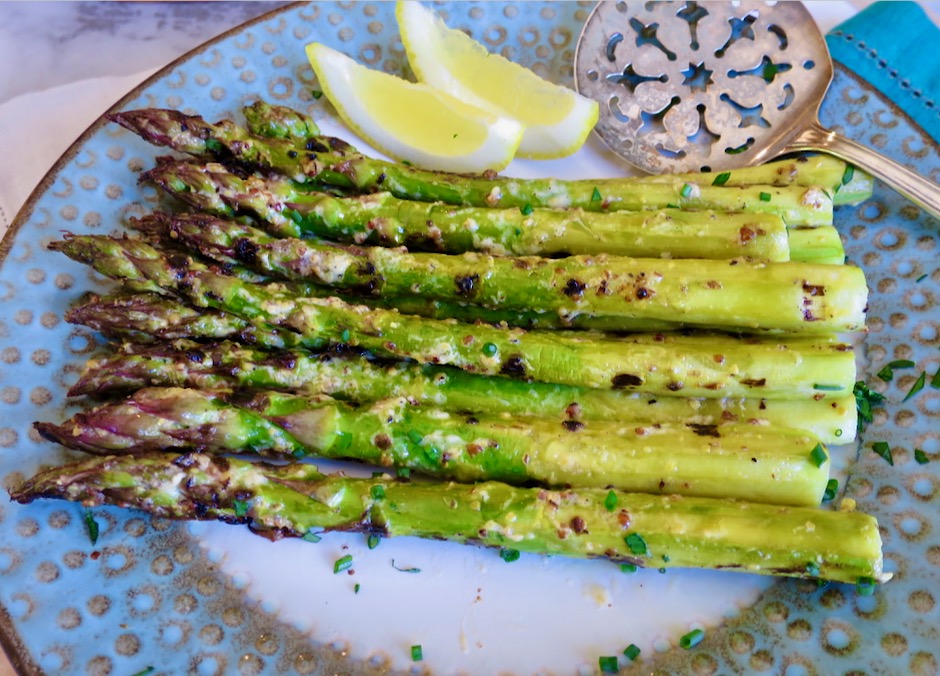
Asparagus is one of the most versatile vegetables around.  Endless preparations come to mind: steamed and served with a drizzle of olive oil, salt and pepper, stir-fried and seasoned with sesame oil and soy sauce, and crispy panko coated tempura.  Now that summer is here, grilling is the obvious choice for many reasons.  The weather is gorgeous, your kitchen stays cool without the stove or oven in use, and you can make this for two people, or for a group.  The marinade for this recipe is truly delicious, and this has become my favorite way to serve asparagus.

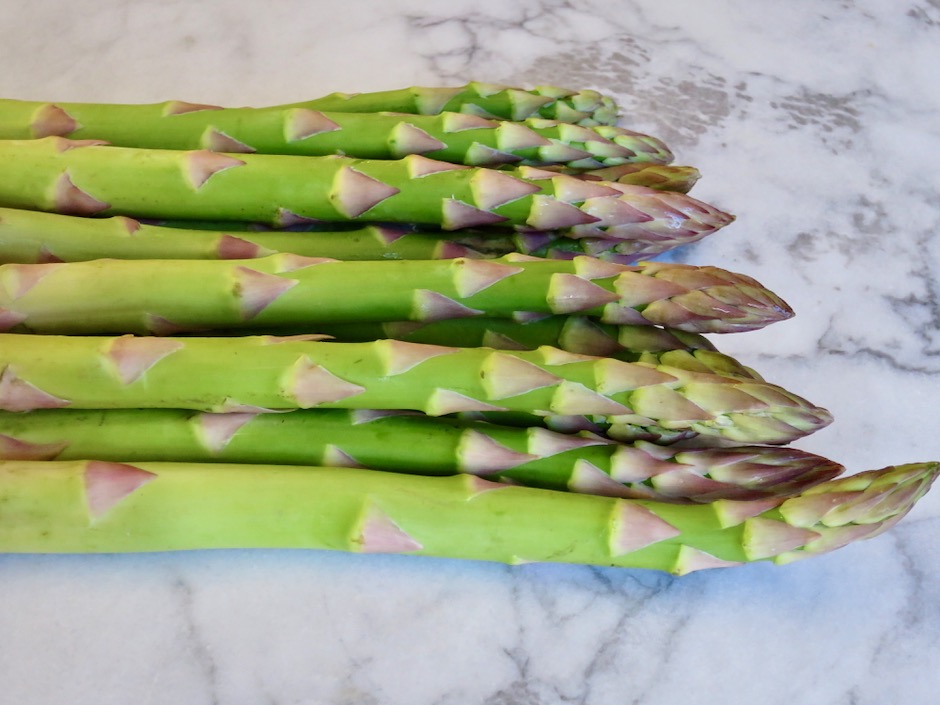
Fresh Asparagus Spears

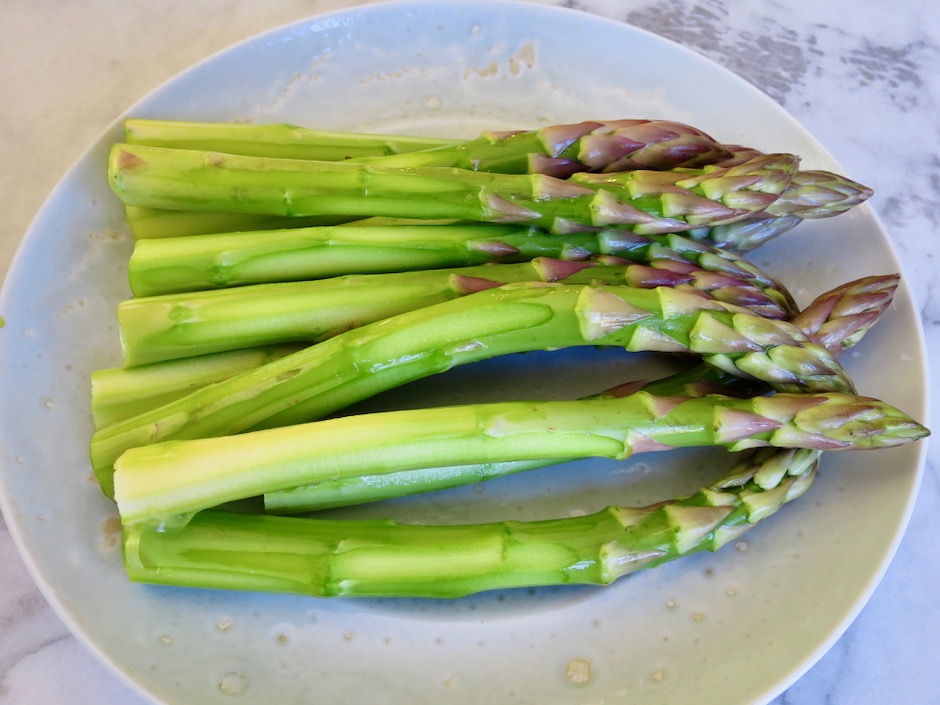
Thick asparagus spears fare better than the pencil thin type when grilling. They hold their shape and texture without becoming droopy and soggy. To peel or not to peel the stems.  It’s up to you.  With thick asparagus I always peel a thin layer off the lower part of the stems.  The spears look beautiful and they are guaranteed to be tender and are never stringy.

Fresh Peeled Asparagus Spears

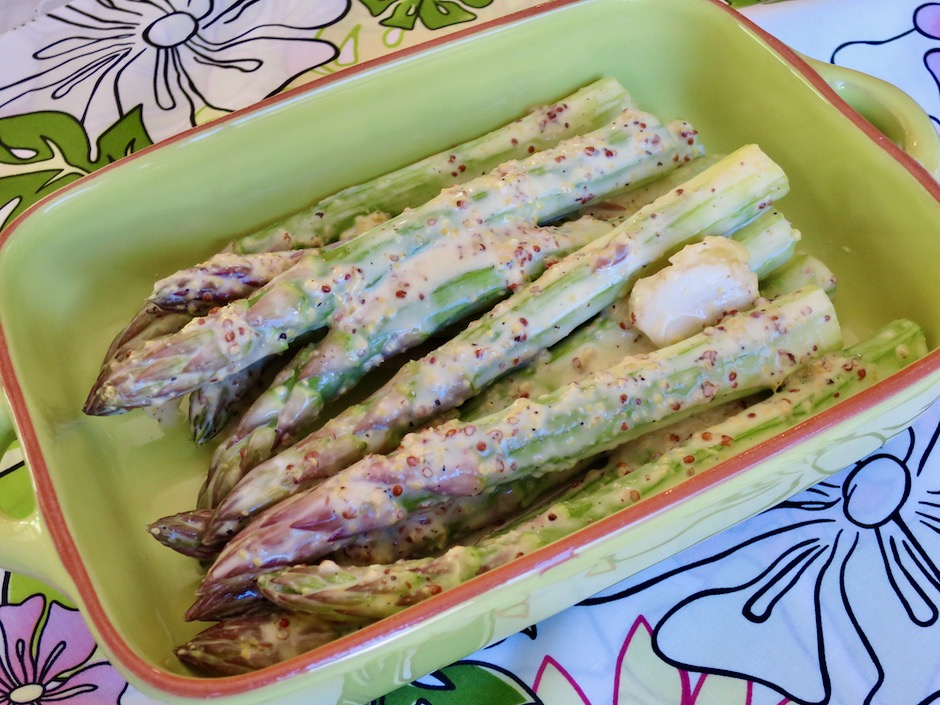
This recipe comes from Nate Appelman of San Francisco’s popular A16 and SPQR restaurants.  The marinade is a combination of mayonnaise, grainy mustard, olive oil, lemon juice and zest, garlic and salt and pepper.  It coats the asparagus beautifully and any extra marinade can be slathered on the grilled asparagus before serving if you wish.

Asparagus with Marinade

Mustard & Mayonnaise Glazed Asparagus

Mustard & Mayonnaise Glazed Asparagus
 
Adapted from Nate Appleman's recipe
Author:
Serves: 2
Ingredients
  • 1½ tablespoons mayonnaise
  • 1½ tablespoons grainy mustard
  • 1½ tablespoons extra virgin olive oil
  • 1 tablespoon fresh lemon juice
  • 1 teaspoon finely grated lemon zest
  • 1 medium garlic clove, crushed
  • ¼ teaspoon kosher salt (or more to taste)
  • ¼ teaspoon freshly ground black pepper
  • ½ pound thick asparagus, trimmed
Preparation
  1. Whisk the mayonnaise with the mustard, oil, lemon juice, lemon zest. garlic, salt and pepper. Pour the marinade over the asparagus (use a large plate) and turn to coat. Let stand for 30 minutes. Meanwhile, heat your grill to medium-high (we use a gas grill which takes 15 minutes to heat up). Grill the asparagus, turning occasionally, until the spears are tender and lightly blistered in spots, about 6 minutes.Serve the asparagus hot or at room temperature.


Appetizers, Eggs, French, Lactose Free, Recipes, Side Dishes

Eggs Cornichon

April 30, 2020

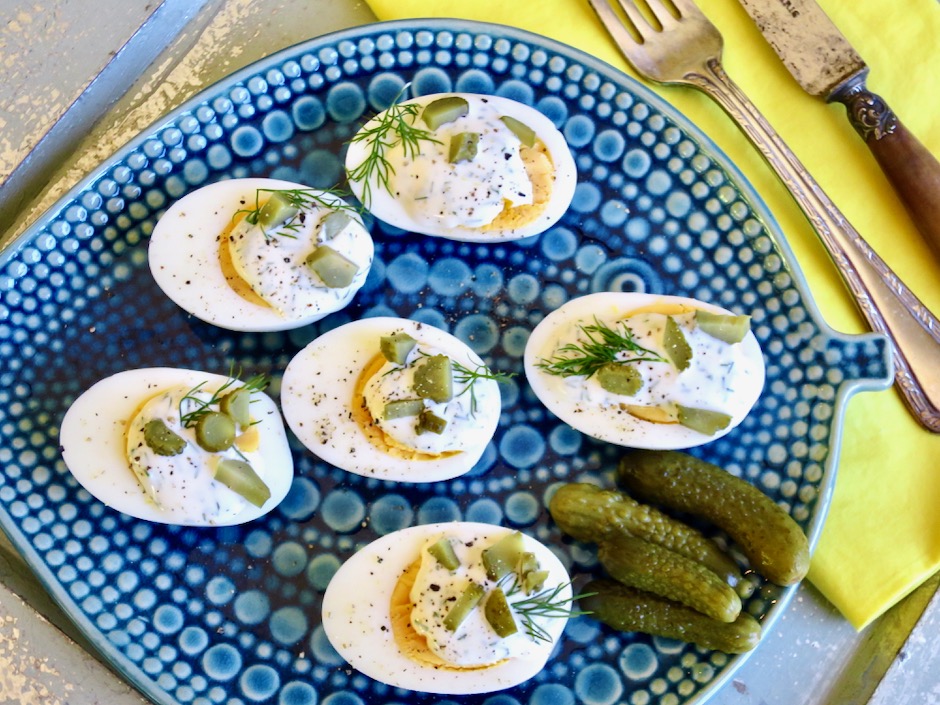
Eggs Cornichon

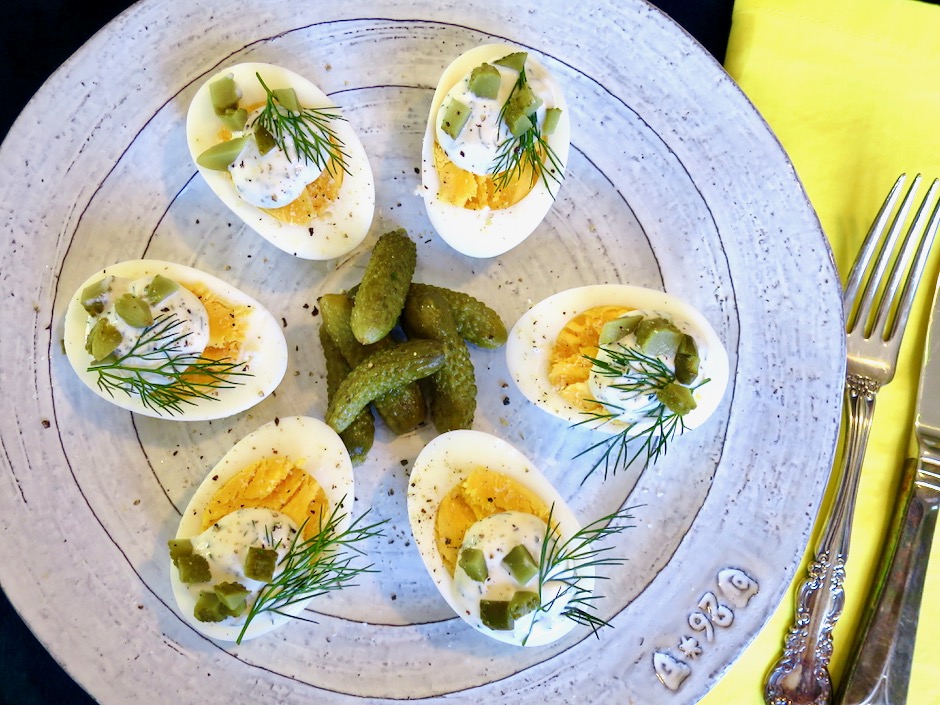
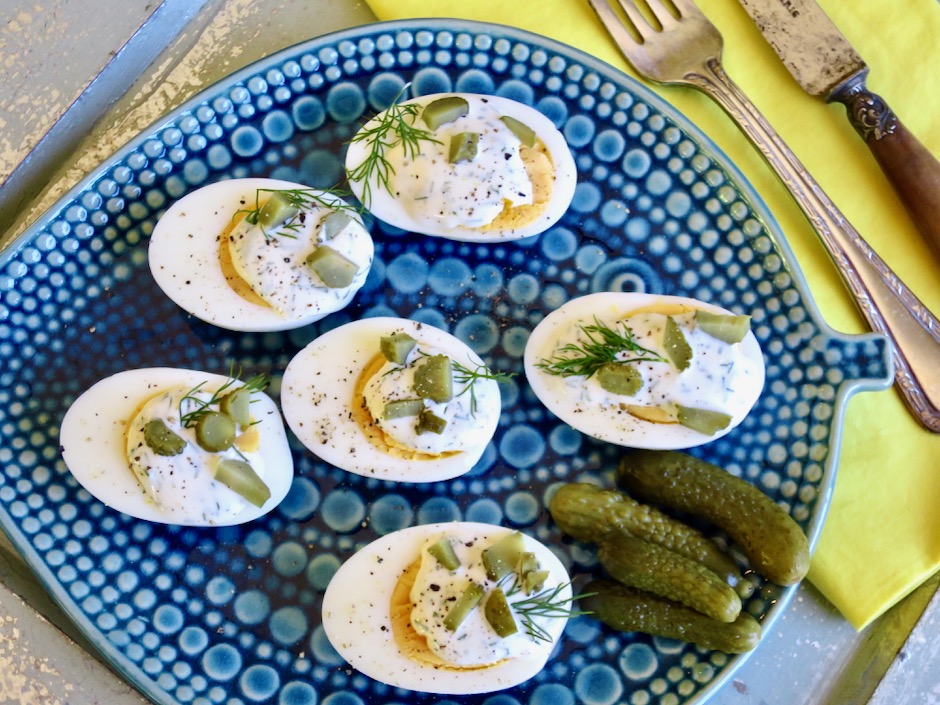
Oeufs Mayonnaise is a classic French dish served as an appetizer in many Parisian bistros.  This version with fresh dill and tart, crisp cornichons, is an elevated version of the classic recipe. It is a breeze to put together and the result is the tastiest hors d’oeuvre you can imagine.

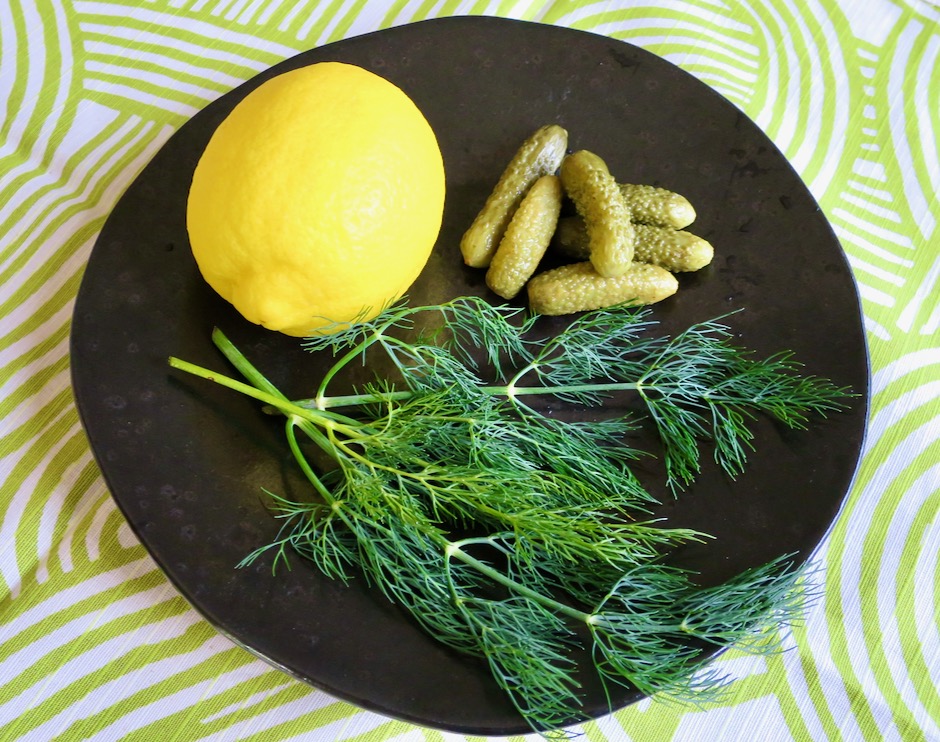
Fresh Dill, Lemon, Cornichons

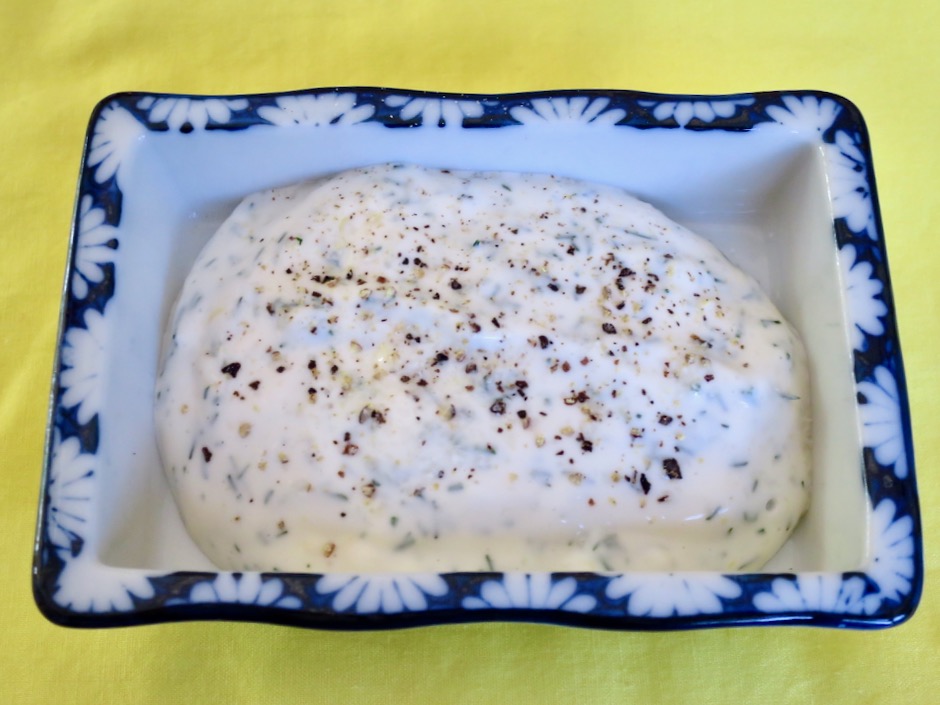
The mayonnaise mixture couldn’t be easier to whip together.  Fresh dill and crisp cornichons are essential for the sauce.

Mayonnaise Dill Sauce

You will have a bit of dill mayonnaise leftover that you can serve alongside the eggs.

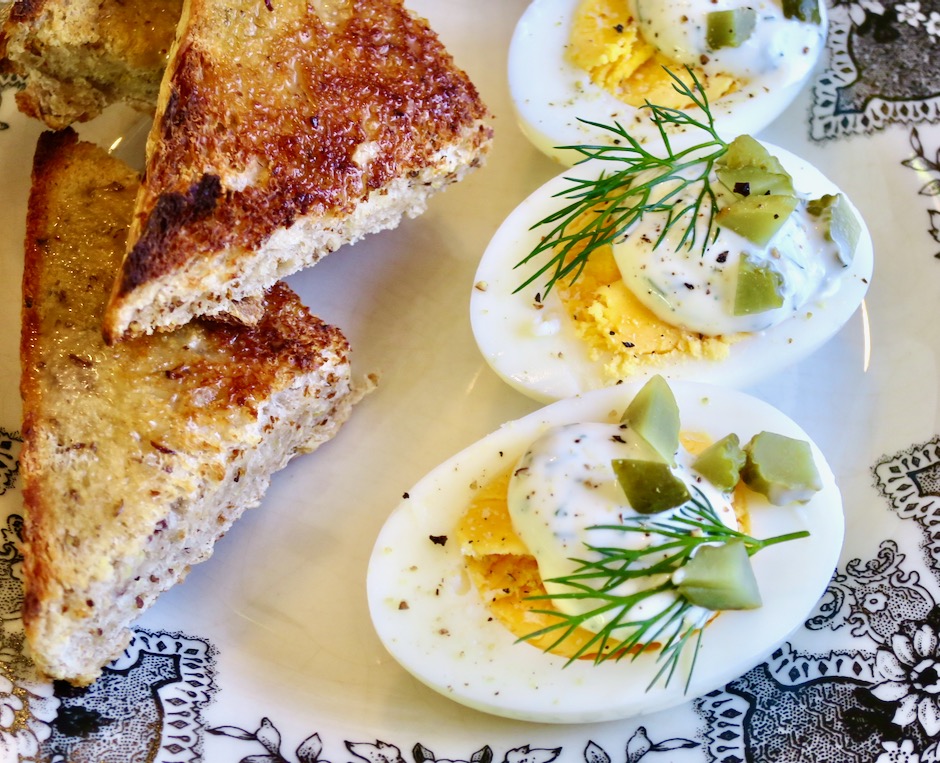
Eggs Cornichon

Accompanied by a slice or two of rustic bread or buttered toast, the eggs cornichon will also make a satisfying light lunch.

Eggs Cornichon

I love these tasty eggs and could easily eat them every day.

Eggs Cornichon
 
Adapted from Fine Cooking
Author:
Serves: 12 pieces
Ingredients
  • 6 large eggs
  • ⅓ cup mayonnaise
  • 2½ teaspoons cornichon brine
  • 1 tablespoon finely chopped fresh dill, more for garnish
  • zest of half a small lemon
  • fine sea salt and freshly ground black pepper
  • 1½ tablespoons cornichons, chopped and whole cornichons (optional) for serving with eggs
Preparation
  1. Fill a medium pot with water and bring to a rolling boil. Meanwhile, fill a medium bowl with ice water. Carefully lower the eggs into the boiling water, and cook at a gentle boil, adjusting the heat as necessary. Cook for 10 minutes. Immediately transfer the eggs to the ice bath. Cool for 5 minutes. Peel the eggs and halve lengthwise.
  2. In a small bowl, combine the mayonnaise, cornichon brine, dill and lemon zest. Season to taste with salt and pepper. Mix until well blended.
  3. Place the halved eggs on a small serving plate. Sprinkle a bit of salt over the eggs. Dollop the eggs with the mayonnaise mixture, and top each with chopped cornichons, a few grinds of pepper, and more dill. Serve with whole cornichons and extra mayonnaise on the side.
 

Appetizers, Beef, Dinner, Korean, Lactose Free, Recipes, Sandwiches

Korean Buns

March 12, 2020


Korean Buns

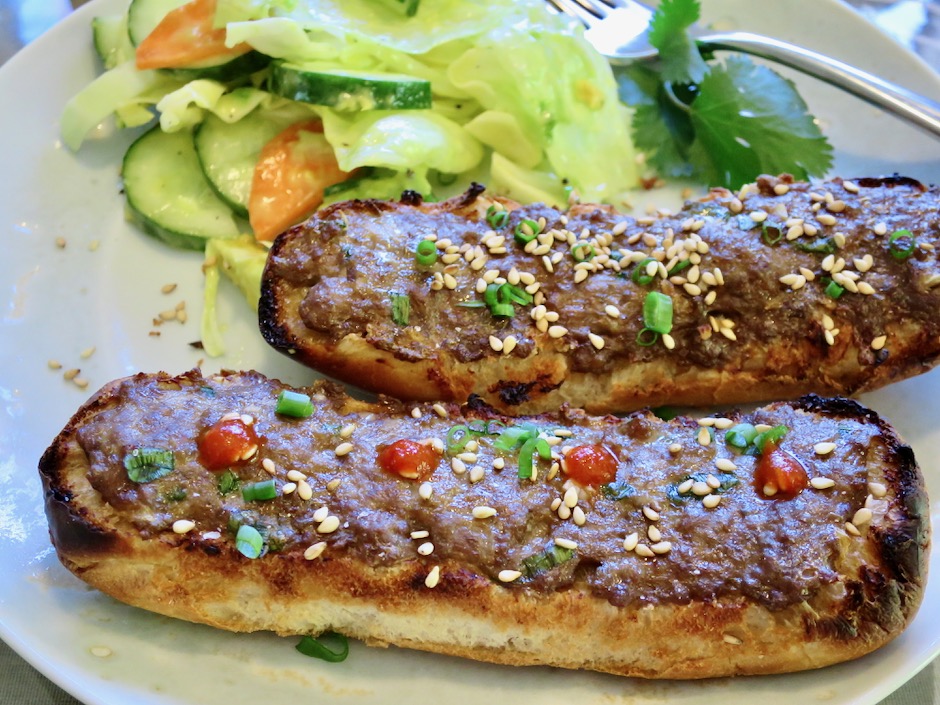
I posted a recipe for Korean hamburger patties back in 2012. This is one of my favorite recipes and I make it on a regular basis.  This post is a description of how my mom originally made the dish using the ground meat mixture on hot dog buns.  I always requested these Korean buns when my girlfriends came over for a slumber party (back in the day).  These are so easy to make and very tasty.

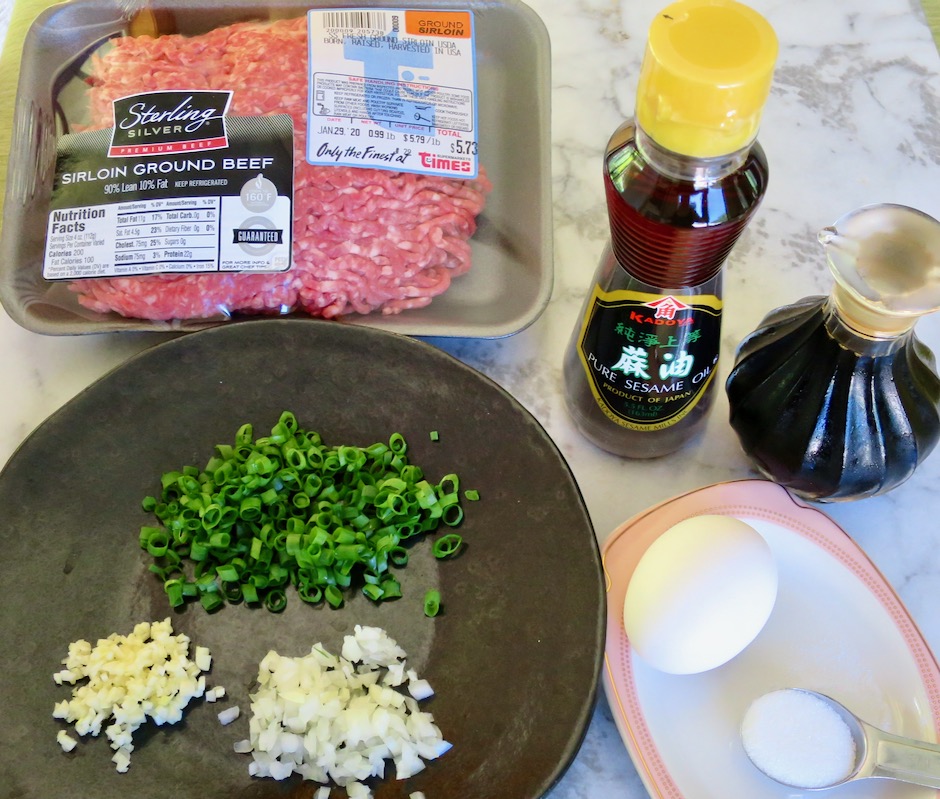
Korean Buns Ingredients

You can make the meat mixture earlier in the day and store it in your refrigerator until you are ready to prepare the buns.  The few ingredients for this recipe all have that umami flavor that makes this simple meal so good.

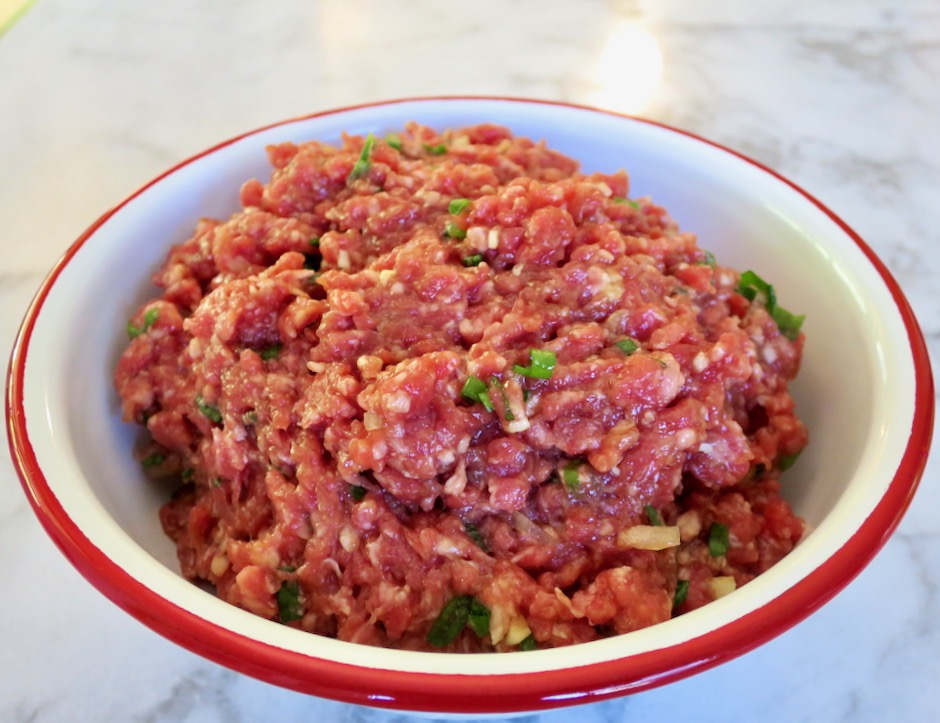
Korean Buns Meat Mixture

Hot Dog Buns

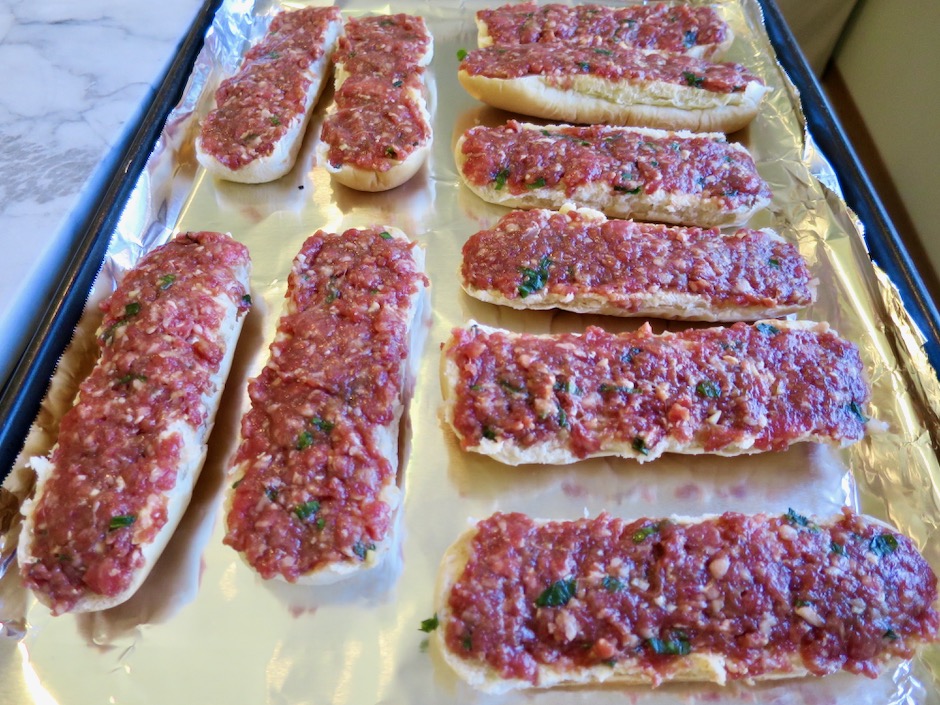
I used 5 hotdog buns that I split, making 10 Korean buns.  The meat mixture is spread thinly over each bun and broiled quickly.  I used the remainder of the meat for slider patties for another meal.  If you are making the buns for a crowd you can use 10-12 buns instead of 5.

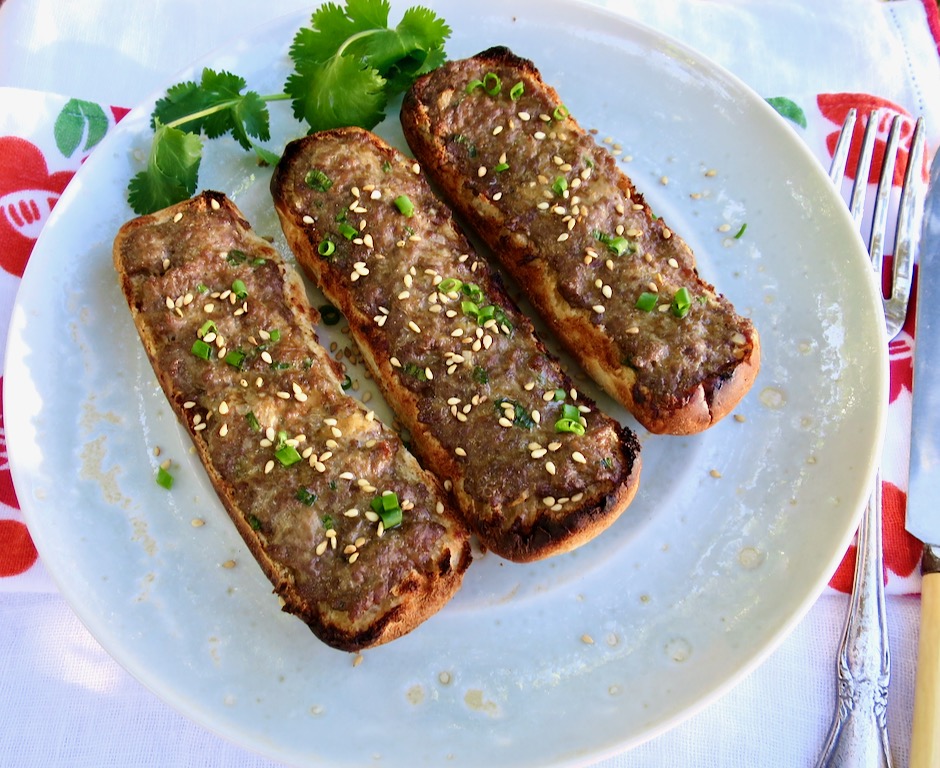
Korean Buns

Serve the buns with a crispy salad and you’re all set.  If you want a little kick, drizzle a bit of sriracha on each bun.

Korean Buns

Korean Buns
 
Author:
Serves: 10 split buns
Ingredients
  • 5 hot dog buns, split (depending on how many people you are serving, use up to 12 buns making 24 split buns)
  • 1 pound lean ground beef (I use ground sirloin)
  • 1 tablespoon finely chopped onion
  • 3 tablespoons finely chopped green onion
  • 1 medium clove garlic, minced
  • 1 teaspoon sesame oil
  • 4 tablespoons soy sauce (Kikkoman recommended)
  • 1 heaping teaspoon sugar
  • 1 large egg
  • To garnish: Roasted sesame seeds and thinly sliced green onions
Preparation
  1. Place oven rack on the second position from the top, about 6 inches away from the element. Preheat broiler on high. Line a large sheet pan (jelly roll pan works great) with foil for easy clean up.
  2. In a large bowl, gently break up the ground beef with two forks or your fingertips. Add onion, green onion, garlic, sesame oil, soy sauce, sugar and egg. Mix gently to combine ingredients.
  3. Spread a thin layer of the meat mixture on each split bun, covering as much of the edge of each bun as possible.
  4. Place pan under the broiler and broil for a few minutes until the meat is cooked and the buns are nicely browned on the edges. The buns are best served right away but leftovers can be reheated in a toaster oven.


Appetizers, Beans, Dinner, Lactose Free, Recipes, Side Dishes, Vegan, Vegetarian

Creamy Fresh Herb Hummus

November 24, 2019

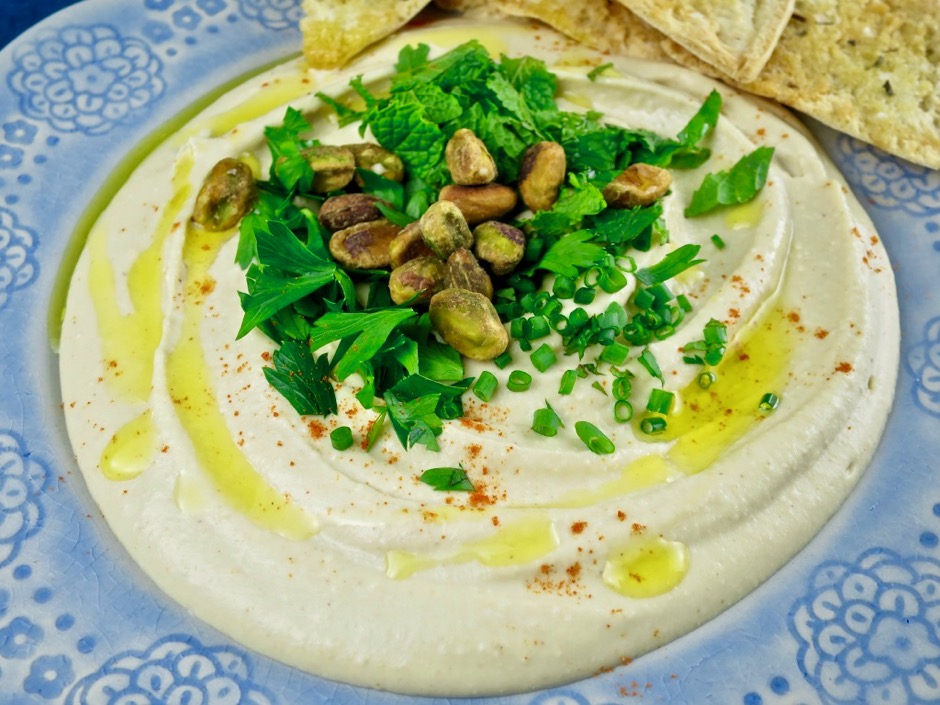
Creamy Fresh Herb Hummus

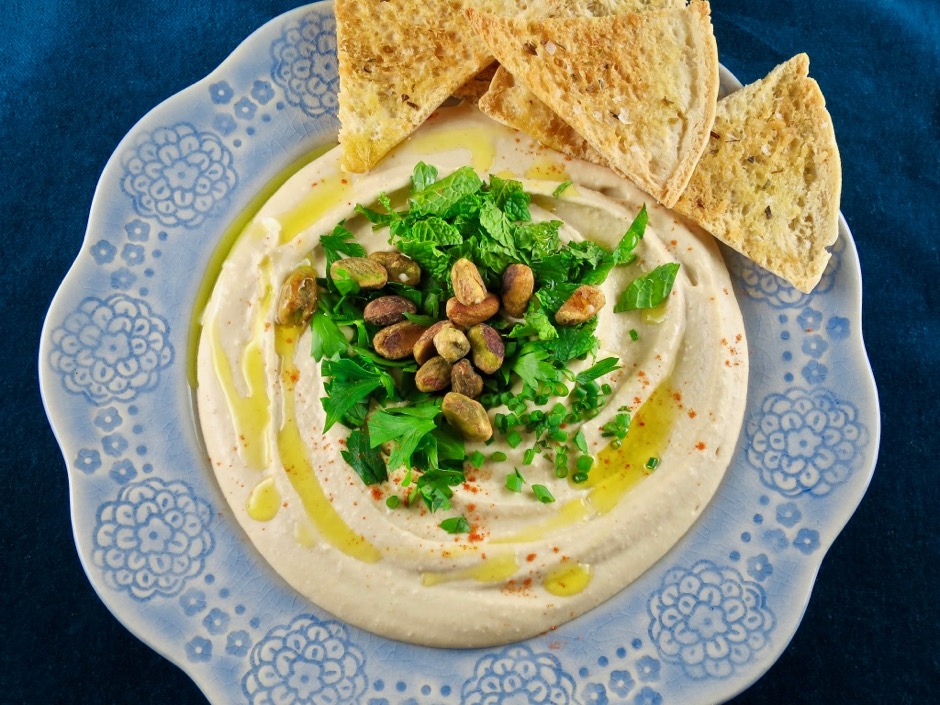
Homemade hummus is the best.  It is so easy to prepare and the end product is certainly worth the 30 minutes you spend making it. All the ingredients except for the herbs and pistachios go into the food processor.  Blitz away until the mixture is as smooth as you want it to be.  We enjoy eating hummus with homemade pita chips and falafel.  Hummus keeps well in the refrigerator and makes a great snack for home or work.

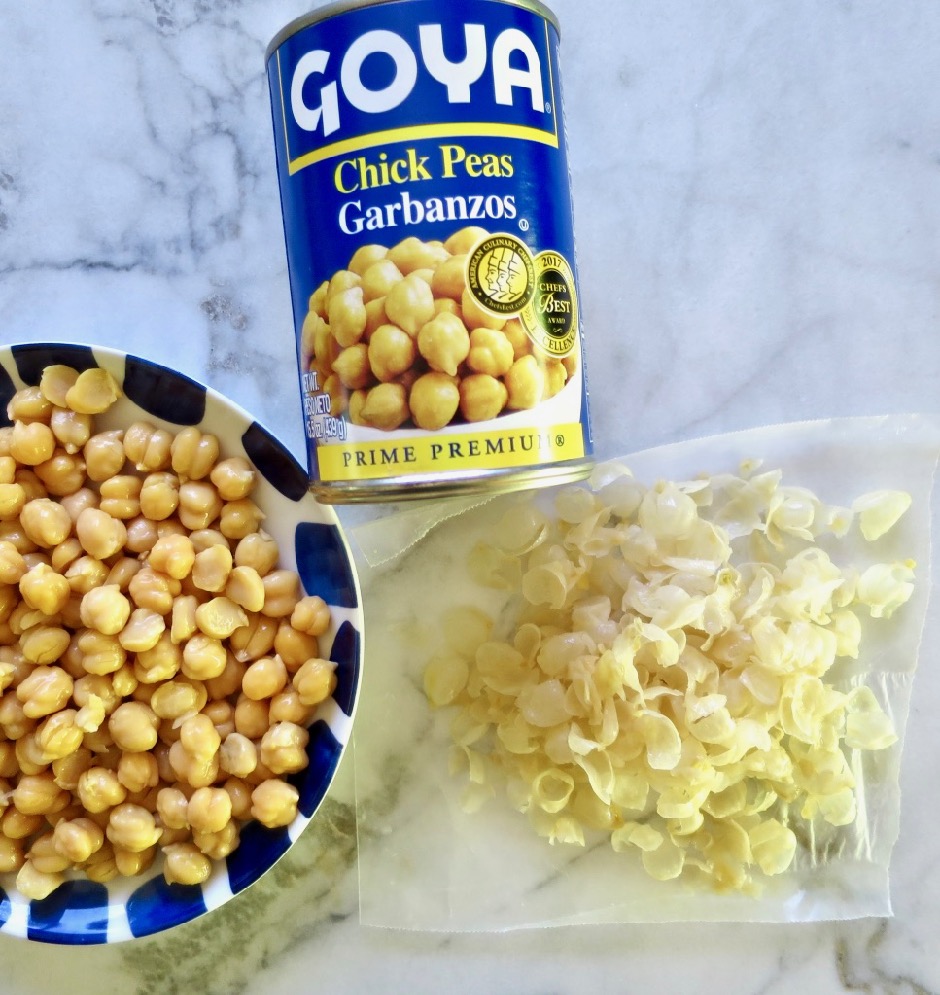
Chickpeas with Skins Removed

This time around I decided to remove the skins from the chickpeas. It took me about 9 minutes to pinch off the skins from a can of beans.  I didn’t mind the extra step since I enjoy spending time in the kitchen.  Of course this is optional, but I found the hummus to be magnificently smooth.  I came upon a curious recipe from the Minimalist Baker blog.  The undrained chickpeas and garlic cloves are heated in the microwave for a few minutes making the chickpeas very smooth and creamy when blended together with the other ingredients.  The garlic mellows a bit which makes for a well-balanced hummus.

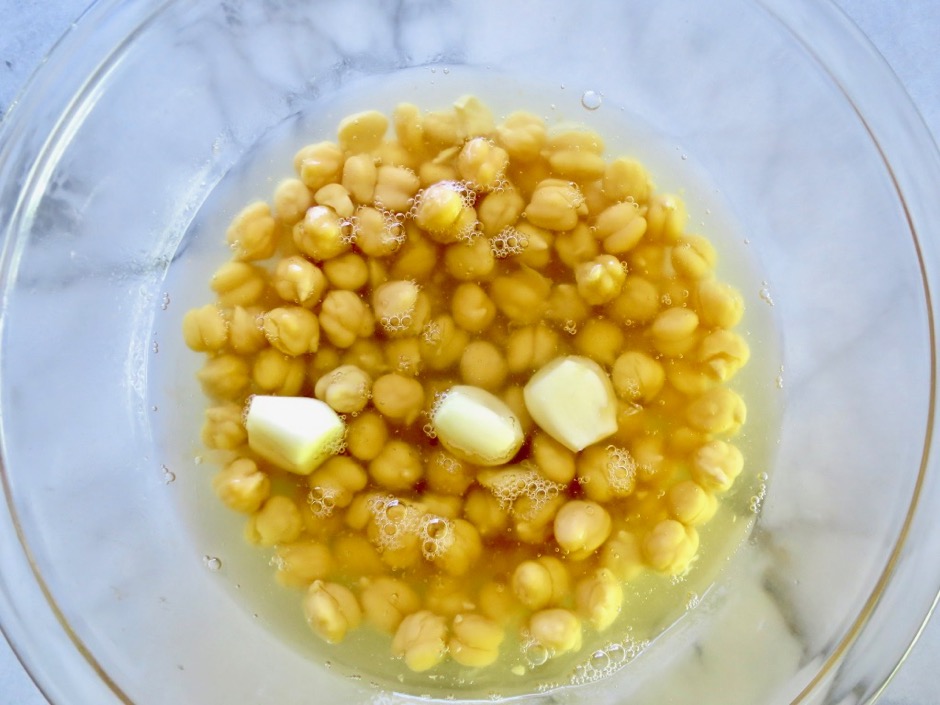
Chickpeas & Garlic

When you microwave the chickpeas use a large bowl since the chickpea liquid tends to expand. I cover the bowl with plastic wrap leaving a small vent for air to escape.  Once the chickpeas come out of the microwave I drain them, saving just a few tablespoons of the liquid for later.  Then everything goes into the food processor until smooth and creamy.  Place the warm hummus in a container and refrigerate until cool.  Transfer the cooled hummus to a serving plate, add your favorite fresh herbs, pistachios, and a swirl of olive oil.  Dust with cayenne pepper and serve with pita chips.

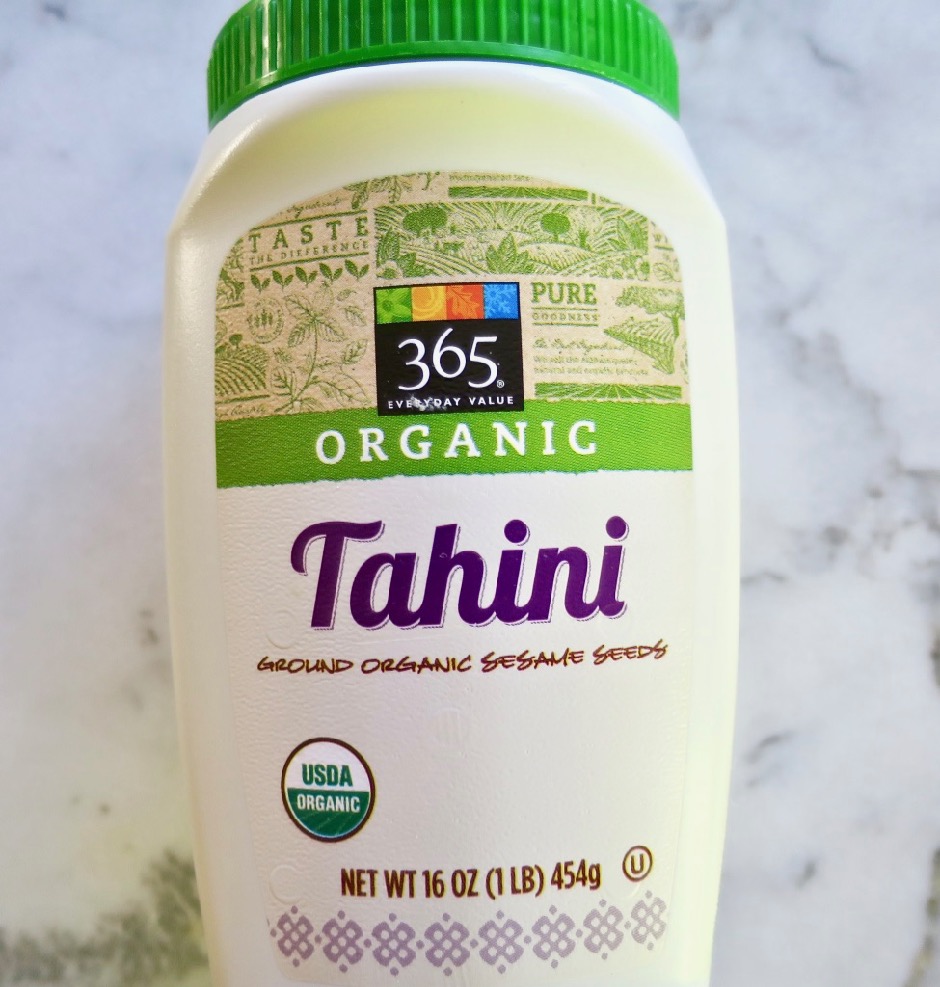
It’s really a chore to stir tahini in the container or jar that it comes in.  The bottom of the container usually has solid pieces of tahini that are hard to get at.  These days I just pour the entire container into a bowl and whisk away until the tahini is mixed to perfection.  The thought of having to clean another bowl might discourage you but you will save a lot of frustration. It only takes a minute to wash the bowl!

Creamy Fresh Herb Hummus

Creamy Fresh Herb Hummus
 
Author:
Serves: 6
Ingredients
  • 1 can (15 ounce) chickpeas, drained with liquid reserved, skins removed (optional)
  • 3 medium garlic cloves, peeled
  • ¼ cup + 1 tablespoon well stirred tahini
  • 2½ - 3 tablespoons fresh lemon juice
  • ¾ teaspoon kosher salt
  • 2-3 tablespoons cold water
  • 1-2 tablespoons reserved chickpea liquid
  • ¼ teaspoon ground cumin
  • ⅛ teaspoon cayenne (optional) + more for serving
  • 2 tablespoons extra virgin olive oil + more for serving
  • handful of fresh herbs
  • pistachios, salted and shelled
Preparation
  1. Drain and reserve the liquid from the chickpeas. Pinch off the skins from the chickpeas
  2. Transfer chickpeas, reserved liquid and 3 garlic cloves to a large bowl. Cover with plastic wrap leaving a small vent for the air to escape. Microwave for 3½ - 4 minutes.
  3. Drain chickpeas, reserving 2 tablespoons of liquid. Transfer chickpeas to a food processor along with the garlic cloves, tahini, lemon juice, salt, 2 tablespoons cold water, 1 tablespoon chickpea liquid, cumin, cayenne and olive oil. Process until mixture is smooth, scraping down the sides as needed. If the hummus is too thick, add water or chickpea liquid until it is the texture you prefer. Keep in mind the hummus will thicken a bit once refrigerated. Transfer mixture to a container and refrigerate until chilled.
  4. When ready to serve, spoon hummus onto a serving plate. Place fresh herbs in the center and top with pistachios. Drizzle olive oil over hummus and sprinkle a bit of cayenne over the top. Serve with pita chips.


Appetizers, Dinner, Kimchi, Korean, Lactose Free, Recipes

Kimchi & Bacon SPAM Pancakes

August 29, 2018

Kimchi Pancake with Bacon Spam

John’s favorite weekend breakfast is griddle cakes. I have to agree, they are delicious with pats of salty butter and maple syrup.  But the sweet breakfast pancake has savory relatives, one of which is this kimchi pancake.  It is mildly spicy, with a tangy flavor from the kimchi and delightfully crispy around the edges.  I couldn’t resist adding Bacon Spam to the pancake. Yum.

Kimchi

Use your favorite kimchi in these pancakes. Mild or spicy, either one works.

Bacon Spam

Don’t dismiss the idea of using Bacon Spam, it adds an abundance of flavor. But, you can skip it if you are not a Spam fan.

Sliced Green Onions

Lots of green onions (scallions) adds an additional depth of flavor to the pancakes.  Chopped, thinly sliced, or slivered are all acceptable.

Kimchi Pancakes with Bacon Spam

The dipping sauce is a simple combination of soy sauce, rice vinegar, a dash a sugar, Korean chili flakes and roasted sesame seeds.  Serve the sauce with the pancakes and a drizzle of sriracha.

Kimchi Pancakes with Bacon Spam

Kimchi & Bacon SPAM Pancakes
 
Author:
Serves: 2 pancakes
Ingredients
  • Dipping Sauce:
  • ¼ teaspoon sugar
  • 2 tablespoons unseasoned rice vinegar
  • 2 tablespoons soy sauce
  • ¼ teaspoon Korean chili flakes (or dash of red pepper flakes)
  • ¼ teaspoon roasted sesame seeds
  • Pancakes:
  • 2½ ounces (3 thin slices) bacon Spam, cut into thin slices and fried until crisp (drain on paper towel lined plate)
  • ½ cup all-purpose flour
  • ½ cup rice flour
  • 1 extra-large egg, lightly beaten
  • ¾ cup cold seltzer water
  • ½ teaspoons sesame oil
  • ¾ teaspoon kosher salt
  • 1 cup kimchi, coarsely chopped
  • 4 green onions, sliced thinly
  • canola oil for frying
Preparation
  1. In a small bowl combine sugar with the rice vinegar, stirring until sugar has dissolved. Add soy sauce, Korean chili flakes, and sesame seeds. Set aside.
  2. In a large bowl, whisk flour and rice flour. Add the egg, seltzer water, sesame oil, and salt. Whisk until just combined. Add kimchi, fried Spam and green onions. Stir to combine.
  3. Heat 2 tablespoons canola oil in a 9-inch skillet between medium - medium high heat. Once oil is shimmering, pour half of the pancake batter into the pan. Quickly spread the batter to make a thin pancake. Cook for 3 minutes or so, until the bottom is golden and crisp, adjusting the heat as necessary so the pancake does not burn. Carefully flip the pancake and cook another 2 -3 minutes until nicely browned.
  4. Slide pancake onto a large plate. Add more oil to the pan and cook the second pancake.
  5. Scatter reserved green onions over the top of the pancakes along with roasted sesame seeds. Serve with sriracha and dipping sauce.


Appetizers, Breakfast, Eggs, Recipes, Sandwiches, Sauces, Veggies

Pimento Cheese

July 2, 2018

Pimento Cheese Appetizer

Pimento cheese is a divine dish, known in the American South as Carolina caviar, Southern pâté or caviar of the South.  There are numerous ways to enjoy it whether it’s right out of the bowl spread on crackers and crunchy vegetables, or melted and drizzled over scrambled eggs or nachos.  Pimento cheese makes a wonderful grilled cheese sandwich and I can’t imagine a better spread on a warm, buttery biscuit or over a grilled burger.

Pimentos

Jarred pimentos are mild, sweet and vibrantly red.

Grated Sharp Cheddar

Cheddar cheese, mayonnaise, and pimentos are the three main ingredients.  To add a little depth to my pimento cheese, I add a bit of Dijon mustard and Worcestershire, and sometimes a dash of cayenne pepper.  Louisiana-style hot sauce is another common addition. Next time I will add some of our homemade pickled jalapeños. Freshly grated cheese is a must for this recipe.  Pre-grated cheese has added ingredients to prevent it from clumping and getting moldy.  These ingredients greatly affect its melting quality and taste.  So get out your grater, it will take just a few minutes if that, to grate a block of cheese.

Pimento Cheese Eggs Benedict

Melted pimento cheese makes a fabulous sauce for Eggs Benedict.  I also like to drizzle it over soft scrambled eggs.

Pimento Cheese Nachos

Nachos!  I came across the idea to use pimento cheese on nachos from South Carolina’s curiously named “Garden & Gun” web site (named after a 1970s Charleston disco called the Garden & Gun Club).  This turned out to be the best cheese sauce for nachos.  Once melted, it is easy to drizzle over the corn chips and other toppings.

Pimento Cheese Stuffed Baby Bell Peppers

Pimento Cheese
 
Author:
Ingredients
  • ½ cup mayonnaise (not light)
  • 1 teaspoon dry mustard, such as Coleman's
  • 1 teaspoon Dijon mustard
  • ½ teaspoon Worcestershire sauce
  • 2 tablespoons diced pimentos
  • 1½ teaspoons finely chopped parsley
  • 8 ounce block of sharp cheddar, finely shredded
Preparation
  1. Combine mayonnaise, dry mustard, Dijon, Worcestershire sauce, pimentos and parsley in a medium bowl. Stir in shredded cheddar cheese. Refrigerate pimento cheese in an airtight container until ready to use.
  2. Spread on crackers and vegetables such as cucumbers and bright peppers for a lively and delicious party appetizer. To use over eggs or nachos, heat pimento cheese in a small saucepan over low heat, whisking constantly so that the mixture does not separate.
  3. Pimento cheese will keep for 5 days or so.


Follow

Get every new post delivered to your Inbox

Join other followers: