Archives

Beans, Dinner, Lactose Free, Recipes, Vegetarian

Vegetarian Chili with Fritos

November 13, 2023

A hot bowl of vegetarian chili on a cool fall evening can be an ever so satisfying meal. Chipotles in adobo take this recipe to another level. They add a smoky flavor and just the right amount of heat. Salty, crunchy Fritos piled on top are the proverbial icing on the cake.

All of the ingredients are easily found at your local market. I love celery so I added a bit to the chili. You can make this your own by adding other vegetables such as corn, peppers, carrots, and other types of beans. But don’t leave out the chipotles in adobo. They are essential for giving the chili a pleasant, smoky flavor. A little goes a long way. Freeze the leftover chiles in small containers or mini freezer bags for future use.

The onions, celery, and cilantro stems are sautéed for a bit before the other ingredients are added.

A tomato paste mixture is added to the onions and cooked until it turns a brick red color. It smells delightful with the chipotle peppers mixed in.

The chili is simmered for 35 minutes until reduced slightly.

Top the chili with your choice of diced avocado and onions, sour cream, Fritos, cilantro, and dig in.

Vegetarian Chili with Fritos

Recipe by Kiyo
Servings

4-6

servings

Recipe adapted from Bon Appetit magazine

Ingredients

  • 1 large white onion (about 2 cups) diced (reserve 2 tablespoons for serving)

  • 1/2 cup diced celery

  • 6 medium garlic cloves, finely chopped

  • 1/2 bunch cilantro, leaves coarsely chopped (about 1/2 cup) and stems finely chopped (about 1/4 cup, keep separate from leaves), cover and refrigerated cilantro leaves

  • 1 seeded chipotle in adobo, plus 1 teaspoon adobo sauce, finely chopped (transfer to a small bowl)

  • 1/4 cup tomato paste (transfer to a small bowl)

  • 2 15-oz. cans pinto beans, drained and rinsed

  • 1/4 cup extra virgin olive oil

  • 2 teaspoons mild chili powder (I used ancho chili powder)

  • 1 28-oz. can fire-roasted tomatoes

  • 1 1/2 teaspoons Diamond Crystal or 1 1/4 teaspoons Morton kosher salt

  • 2 1/2 cups vegetable broth

  • 1 1/2 cups Fritos or other salty tortilla chips

  • 1 lime, cut in half with one of the halves cut into wedges

  • 1 avocado, diced

  • 1/2 cup lactose free sour cream or regular sour cream

  • freshly ground black pepper

Directions

  • Mix together the chipotle chiles in adobo with tomato paste. (If you prefer milder heat, reserve 1/4 of the chiles for adding in later if more heat is needed).
  • Heat 1/4 cup extra virgin olive oil in a large saucepan or Dutch oven over medium heat. Add onion, celery, garlic, cilantro stems, and 2 teaspoons chili powder and cook, stirring frequently, until onion is starting to soften, 5-6 minutes. Increase heat to medium-high and add tomato paste mixture and cook, stirring frequently, until brick red and starting to stick to the bottom of the pan, 2-3 minutes.
  • Add the fire roasted tomatoes and bring to a simmer. Cook, stirring frequently, until the tomatoes are cooked down and slightly darker in color, 8-10 minutes.
  • Add beans, 1 1/2 teaspoons Diamond Crystal or 1 1/4 teaspoons Morton kosher salt, and 2 1/2 cups vegetable broth. Bring to a boil over high heat, then reduce heat to medium-low and simmer uncovered, stirring occasionally, until chili has reduced slightly and flavors have melded, 30-35 minutes. Taste and adjust seasoning with salt if needed. Stir in juice from reserved 1/2 lime.
  • Divide chili among bowls. Top with sour cream, avocado, reserved cilantro leaves, chopped onion, and Fritos. Season with pepper and serve with reserved lime wedges.
Dinner, Recipes, Salad, Side Dishes, Summertime Meal, Vegetarian

Charley Bird’s Farro Salad

November 5, 2023

If a perfect salad exists, it has to be this farro salad from restaurant Charlie Bird in SoHo. All of the ingredients compliment one another in unexpected ways. The dressing is kept simple so as not to distract from the other flavorful ingredients. It all works together wonderfully.

To ensure the farro is flavorful when adding it to the salad, it is cooked in apple cider along with water and salt. The original recipe calls for cooking the farro until the liquid has evaporated. It can be a bit tricky to get the exact ratio even when measuring the liquid. I found that adding additional liquid to the saucepan then draining the farro and drying it on a sheet pan turned out nicely textured grains that weren’t overly wet or sticky.

Keep in mind that cooking times vary depending on the type of farro you purchase. Pearled farro cooks quickly, usually within 15-20 minutes. Semi-pearled which is what I used, cooks in 25-30 minutes and whole farro usually requires a soaking overnight before being cooked.

Allowing the farro to cool and dry on a sheet pan for 15 minutes before adding to the salad ensures the farro is not too wet and it will stand up to the dressing much better.

Peppery arugula, fresh mint and parsley, juicy tomatoes, crunchy radishes, salty parmesan and pistachios for texture along with flavorful farro makes the perfect salad.

Once the radishes are sliced I soak them in an ice bath for 10 minutes then drain and pat dry before adding to the salad. This little step produces delightfully crispy radish slices.

The dressing is simple. Good olive oil, fresh lemon juice, and salt.

Serve the salad with good sourdough bread or focaccia and you’ll have the perfect meal.

Charley Bird’s Farro Salad

Recipe by Kiyo
Servings

6

servings

Recipe adapted from NYT Cooking

Ingredients

  • 1 cup farro (I used semi-pearled)

  • 2 cups apple cider

  • 2 teaspoons kosher salt

  • 1 bay leaf

  • 5 tablespoons extra virgin olive oil

  • 2 tablespoons fresh lemon juice

  • 1/2 cup Parmigiano-Reggiano cheese, shaved with a vegetable peeler

  • 1/2 cup chopped pistachio nuts (I used roasted & salted)

  • 2 cups arugula

  • 1 cup flat leaf parsley, roughly chopped (can substitute with basil)

  • 1 cup mint leaves

  • 3/4 cup halved cherry or grape tomatoes

  • 1/3 cup thinly sliced radish (soak in ice bath for extra crispy slices)

  • Maldon or other flaky sea salt

Directions

  • In a medium saucepan, bring farro, 2 cups apple cider, 4 cups water, salt and bay leaf to a boil. Turn heat down (vigorous simmer) and cook farro until tender, about 25-30 minutes if using semi-pearled farro. See notes below for varieties of farro. Drain farro in a sieve, discard bay leaf. Spread farro out on a sheet pan to dry for 15 minutes. Farro can be cooked up to 4 days in advance or frozen for up to 3 months.
  • In a salad bowl, whisk together olive oil, lemon juice and a pinch of salt. Add farro, cheese, pistachio nuts, arugula, herbs, tomatoes, and radish. Gently toss together. Season with flaky sea salt before serving.

Notes

  • Cooking time will vary depending upon the type of farro you purchase (pearled, semi-pearled, whole). Follow cooking instructions noted on the package.
Dressing, Fish, Lactose Free, Recipes, Sandwiches

Green Goddess Tuna Salad Sandwich

October 24, 2023

When I first tried this tuna salad recipe, all I could say was “wow!” I still say it every time I have it. It’s no ordinary tuna salad made with the usual mayonnaise, onions and celery. Don’t get me wrong, I love a traditional tuna salad on soft sandwich bread loaded with pickles. But this green goddess tuna salad is on a different level of deliciousness and likely the finest tuna salad sandwich I have ever had.

Though you will need to spend a little more time on this tuna salad recipe than you normally would, it is 100% worth your time. A quick whirl with an immersion blender and you’ll have your green goddess dressing ready to go.

Once you make the green goddess dressing, your tuna salad will be quick to come together. The celery and shallots should be chopped and ready to go. Have some good bread ready and extra herbs for topping on the tuna salad.

The original recipe uses toasted English muffins in place of sandwich bread. I skipped this because I thought it might be difficult to eat since toasted English muffins can become quite chewy. So instead, I used toasted sourdough bread which worked great. You can also make it an open-face sandwich topped with a generous amount of herbs. Either way, you’ll find yourself thoroughly enjoying this heavenly tuna salad sandwich.

Green Goddess Tuna Salad Sandwich

Recipe by Kiyo
Servings

4

servings

Recipe adapted from Bon Appétit magazine

Ingredients

  • 1/4 cup basil leaves

  • 1/4 cup parsley leaves

  • 1/4 cup tarragon leaves

  • 1/4 cup + 1 tablespoon mayonnaise

  • 1/4 cup lactose free sour cream (or regular sour cream)

  • 1 teaspoon finely grated lemon zest

  • 1 1/2 tablespoons fresh lemon juice + 1 teaspoon, divided

  • 1 tablespoon extra virgin olive oil

  • 2 (5 oz) cans tuna in water, drained and flaked with a fork

  • 1 small celery stalk, finely chopped, about 2 tablespoons

  • 1 1/2 tablespoons finely chopped shallot

  • 1 small garlic clove, finely grated, about 1/4 teaspoon

  • Kosher salt, freshly ground black pepper

  • 1 cup coarsely chopped mixed tender herbs (such as celery leaves, basil, parsley)

  • 1/4 cup slivered romaine (crunchy ribs section)

Directions

  • Purée basil, parsley, tarragon, mayonnaise, sour cream, lemon zest, 1 1/2 tablespoons lemon juice and 1 tablespoon olive oil with an immersion blender or small blender until very smooth and pale green. You may prepare the dressing a day in advance (storing it in the refrigerator will firm it up a bit). Add the dressing to flaked tuna. Mix in celery, shallot, and garlic. Season with salt and lots of pepper.
  • Toss chopped mixed herbs and slivered romaine with reserved 1 teaspoon lemon juice in a small bowl. Drizzle with a little olive oil, season with salt and pepper and toss again.
  • Build sandwiches with lightly toasted sourdough bread or bread of your choice. Top with herb salad.

Notes

  • The original recipe uses just one can of tuna. There is enough dressing for two 5 ounce cans. If using just one can of tuna, reserve some of the dressing for drizzling over crispy romaine salad.
Dinner, Italian, Pasta, Pork, Recipes

Spaghetti with Fresh Soppressata

October 14, 2023

Here is a delicious meat sauce pasta dish that uses both spicy and mild Italian sausages as its main ingredients. The sausage makes for a flavorful sauce and is easy to prepare. The recipe comes from Food & Wine magazine courtesy of restaurateur Andrew Carmellini. In the recipe headnotes, they explain that Mr. Carmellini’s family makes their own soppressata, a hard salami, by grinding their own meat. Italian sausages share many of the same ingredients such as garlic, white wine, fennel and crushed red pepper. To give the fresh soppressata extra spice, you may use only hot sausages or increase the amount of crushed red pepper. Either way, you’ll find yourself savoring this wonderful pasta dish.
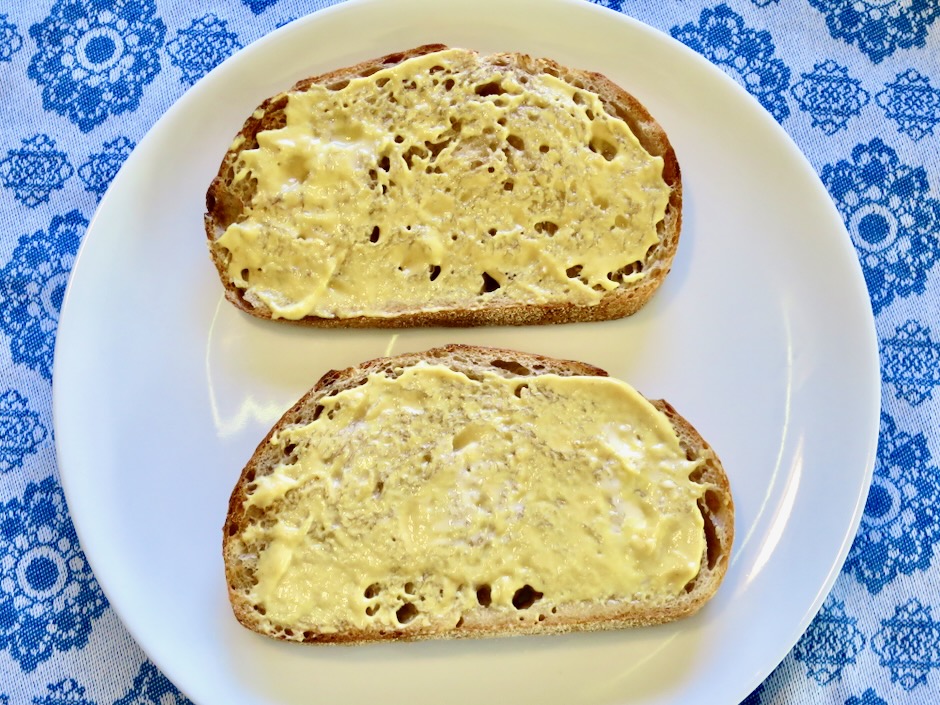
I used both mild and spicy sausages but feel free to use just one or the other. The spicy Italian sausages from Whole Foods are not overly hot so you could use them solely and skip the mild sausages if you want to.

The sausages are mixed with garlic, white wine, ground fennel, black pepper and crushed red pepper then refrigerated overnight.

A flavor base for many recipes, a mirepoix of carrots, onion and celery are an integral part of this dish just as they are for other dishes such as bolognese, soups, braised lentils and many other dishes.

Once the simmering is close to an end, start your pasta. When the pasta and sauce are done cooking, drain the pasta and add it to the sauce. Mix in the grated cheese and herbs (reserve some for topping the pasta) before serving.
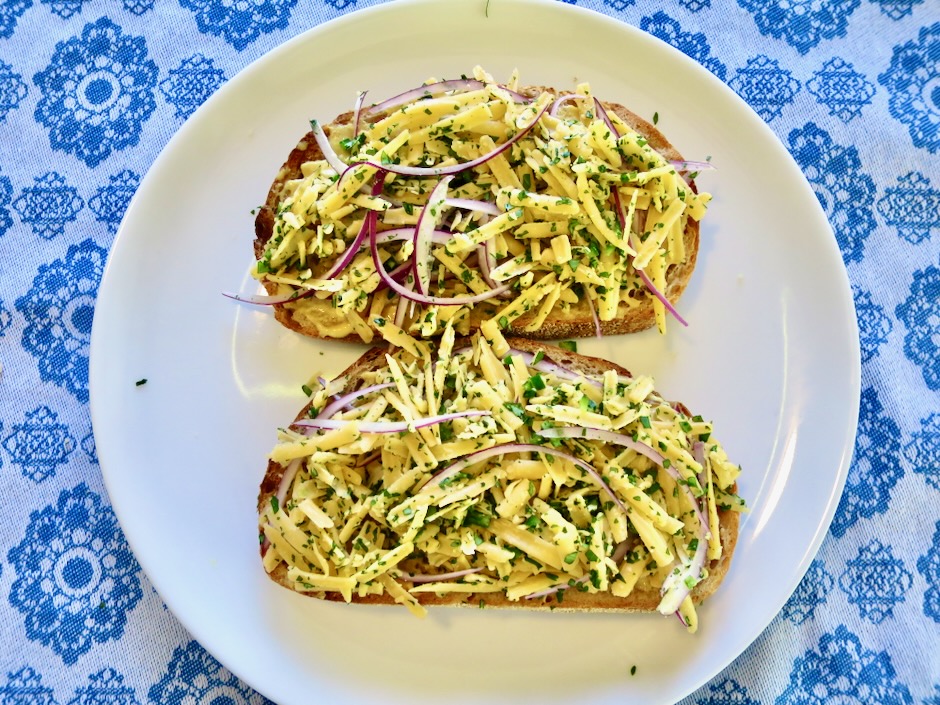
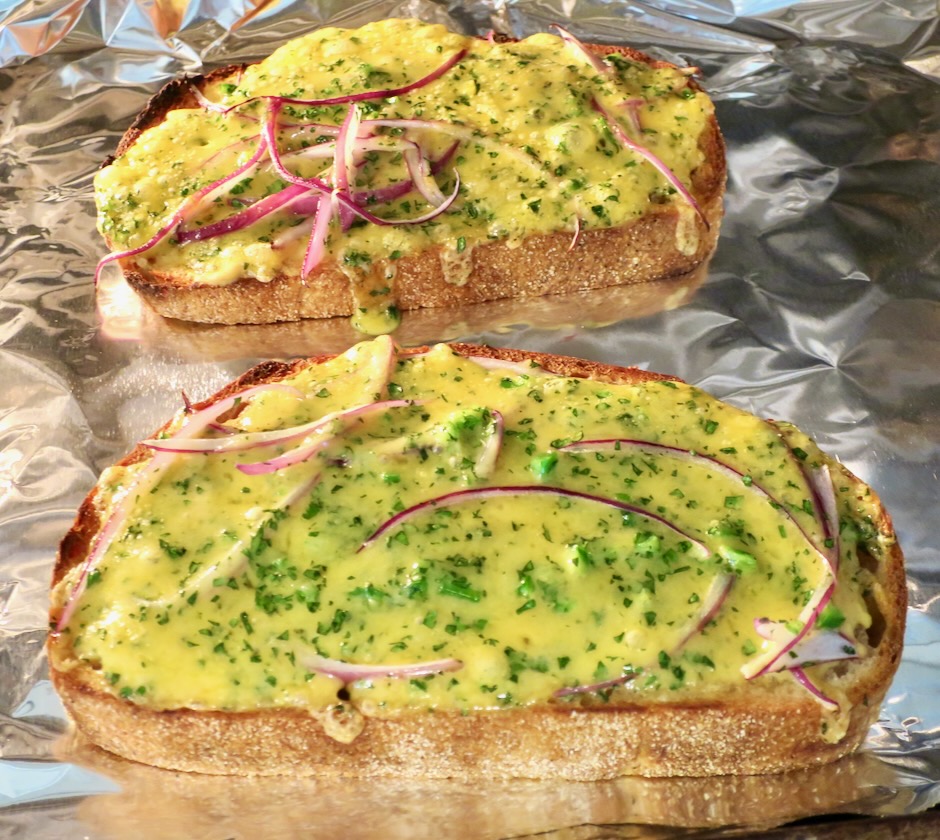
The Italians have a word to describe the flavor of this dish – delizioso!

Spaghetti with Fresh Sopressata

Recipe by Kiyo
Servings

6

servings

Adapted from Food & Wine magazine

Ingredients

  • 4 garlic cloves

  • 1 1/3 cups dry white wine, divided

  • 1 pound Italian sausage (sweet or spicy or a combination, Whole Foods meat department recommended), casings removed

  • 1 teaspoon ground fennel (available at Down to Earth on Maui)

  • 1/2 teaspoon coarsely ground black pepper

  • 1/2 teaspoon crushed red pepper

  • 1/4 cup extra virgin olive oil

  • 1 small onion (3/4 cup), finely diced

  • 1 small carrot (1/2 cup), finely diced

  • 1 celery rib (1/2 cup), finely diced

  • 1 (28 oz) can plus 1 (14 oz) can whole peeled tomatoes, crushed with their liquid

  • kosher salt

  • 12 ounces spaghetti (or up to 16 ounces)

  • 1/2 cup finely grated Parmigiano-Reggiano cheese plus more for serving

  • 1/4 cup finely chopped basil plus more for serving

  • 1/4 cup finely chopped flat leaf parsley plus more for serving

Directions

  • Using an immersion blender or small blender, puree garlic with 1/3 cup white wine. Transfer the mixture to a medium bowl. Add the sausage, ground fennel, black pepper and crushed red pepper and knead lightly to combine. Cover with plastic wrap and refrigerate overnight.
  • In a large, deep skillet, heat the olive oil. Add the sausage mixture and cook over medium-high heat, breaking up lumps with a wooden spoon, until lightly browned, 6-7 minutes. Add the onion, carrot and celery and cook, stirring frequently , until softened, about 4 minutes. Add the remaining 1 cup white wine and cook, scraping up any browned bits, until nearly evaporated, about 5 minutes. Add the crushed tomatoes and their juices to the pan and season lightly with salt. Simmer over low heat, stirring occasionally, until thickened and reduced to about 5 cups, about 40 minutes.
  • In a large pot of boiling salted water, cook the spaghetti until just al dente. Drain, reserving 1/2 cup of the cooking water. Add the pasta to the sauce and toss with 1/2 cup grated cheese, 1/4 cup each basil and parsley. If the sauce seems too thick, stir in some of the reserved pasta water over moderately high heat, until the pasta is nicely coated with sauce, about 2 minutes. Divide into bowls and serve with extra cheese and chopped herbs over the top.
Beans, Dinner, Dressing, Eggs, Lactose Free, Recipes, Salad, Veggies

White & Green Bean Tuna Salad with Basil Dressing

October 8, 2023

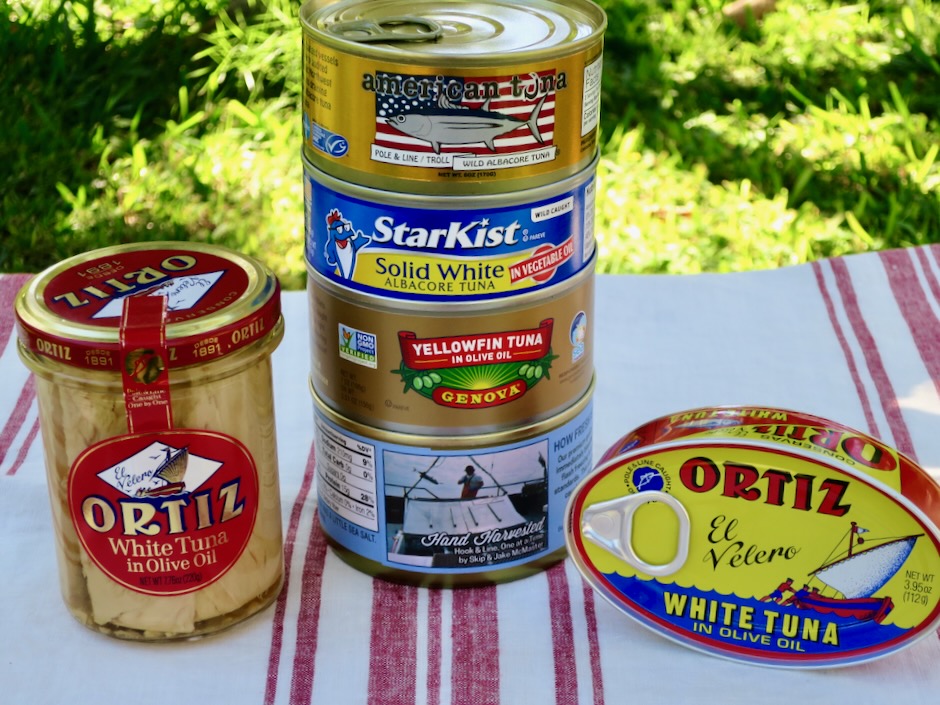
Good quality canned tuna is a tasty and versatile item to keep on hand. I like to stock a variety of canned tunas such as Wild Planet tuna in water which I use for sandwiches and for mixing with sriracha mayonnaise for maki sushi rolls. You will also find in my cupboard several brands of tuna in olive oil such as Ortiz and the reasonably priced Genova I found at Costco. You can whip up a tasty meal with little more than a can of tuna. This delicious salad incorporates white and green beans plus a flavorful basil dressing that brings the salad together.

I had some dried cannellini beans in the cupboard which I pressure cooked for this salad. Canned white beans work just as well and will save you an extra step.

The basil dressing is tart and herby. It goes perfectly with the tuna and bean salad.

The dressing ingredients can be pureed in a small blender, food processor or with an immersion blender.

When I make pesto, I blanch the basil for a few seconds then cool in an ice bath. This ensures the basil pesto will remain a gorgeous green color. I did the same for this recipe, however, feel free to skip this step. The one thing I have learned is that vinegar will eventually cause the dressing to turn a drab green color. Though the taste is not affected by this change, the dressing is so much more vibrant when used sooner than later.

All the salad ingredients get tossed in a bowl before being served with perfectly cooked jammy eggs over the top.

White & Green Bean Tuna Salad with Basil Dressing

Recipe by Kiyo
Servings

4

servings

Adapted from Women’s Day magazine

Ingredients

  • 12 ounces green beans, trimmed and halved

  • 1 (15 oz) can cannellini or small white beans, rinsed (or cooked dried white beans)

  • 2 cans (5 oz) tuna in olive oil, flaked into large pieces (transfer tuna to a bowl then flake apart)

  • 4 cups torn butter lettuce or other tender lettuce leaves

  • 4 soft boiled eggs

  • 2 cups lightly packed basil leaves

  • 1 tablespoon chopped shallot

  • 1/4 cup extra virgin olive oil

  • 1 tablespoon + 1 teaspoon red wine vinegar

  • 1/2 teaspoon kosher salt

  • 1/4 teaspoon freshly ground black pepper

Directions

  • Bring a large pot of salted water to a boil. Add green beans and cook until just tender, about 4 minutes. Drain and transfer to an ice bath to stop the cooking. Drain and pat dry with kitchen towel.
  • Drain and rinse beans in a colander. Set aside.
  • Blanch basil in boiling water for 5 seconds. Drain and transfer to an ice bath. Squeeze out water from basil leaves. Place in an immersion blender container, small food processor or blender. You may skip this step and place fresh basil leaves in blender container, food processor or blender. Puree the basil with the chopped shallot, vinegar, olive oil, salt and pepper until combined. Taste and adjust seasoning as needed. Transfer to a small container and store in the refrigerator if not using right away. It is best to make the dressing the day you serve the salad to avoid it turning color.
  • Transfer half of the dressing to a large bowl and toss with green beans. Fold in the torn lettuce, white beans and tuna. Toss gently with the remainder of the dressing. Taste and add more salt and pepper as needed. Serve with soft boiled eggs over the top seasoned with flaky sea salt and freshly ground black pepper.

Notes

  • To make soft boiled eggs bring a medium pot of water to a full boil. Gently place eggs into water using tongs. Once the water returns to a boil turn heat down to a bubbly simmer (medium to medium-low). Set the timer for 7 minutes. Transfer eggs to an ice bath to stop the cooking before peeling and serving. For a firmer yolk cool for 10 minutes.

Dinner, Eggs, Lactose Free, Ramen, Recipes, Soups

Perfect Instant Ramen

September 27, 2023

I found this crazy delicious recipe on the NYT Cooking site. Melty cheese and a poached egg on packaged ramen was love at first bite. Kudos to Roy Choi, a Korean-American chef for creating this simple and satisfying bowl of noodles.

Use your favorite packaged ramen for this easy dish. I was lucky to find lactose free American cheese for my version of the recipe but of course, feel free to use regular American cheese which is easier to find. The original recipe tells you to cook your eggs for 1 minute in the ramen broth once the noodles are transferred to a bowl. A few commenters mentioned the egg wasn’t cooked enough in that short time so I went ahead and poached my eggs prior to adding them to the ramen bowl and they were perfect.

The noodles cook in no time and before you know it you’ll have a bowl of delicious ramen. It’s a fairly rich dish but everyone deserves a splurge now and then.

I always add a drizzle of our homemade sriracha to this dish. It adds that perfect little spicy kick that brings it all together. Break up the egg and swirl the cheese in the broth before diving in.

Perfect Instant Ramen

Recipe by Kiyo
Servings

2

servings

Adapted from Roy Choi’s recipe at NYT Cooking

Ingredients

  • 2 packages instant ramen with flavor packets (I used Sapporo Ichiban)

  • 2 large eggs, poached

  • 2 teaspoons butter (I used lactose free Earth Balance, optional)

  • 2 slices American cheese, room temperature (I used Green Valley lactose free)

  • 1/2 teaspoon roasted sesame seeds

  • 1 scallion, green part only, thinly sliced on the bias

  • sriracha sauce for serving (optional)

Directions

  • Bring 5 cups water to a boil in a medium saucepan. Add the noodles and cook for 2 minutes. Stir in the flavor packet.
  • Divide noodles and some of the broth between two bowls (you won’t need all of the broth). Immediately add the cheese slices to the noodles submerging slightly in the hot broth. Top noodles with poached eggs, pats of butter (optional), and sesame seeds. Garnish with scallions. Serve with sriracha sauce (optional).

Notes

  • To poach eggs, heat 3″ water with 1 tablespoon white vinegar in a small saucepan over high heat. Watch closely.  When the water barely reaches a boil and you see small bubbles in the bottom of the pan, gently slide eggs into the water one by one and immediately turn the heat down to medium (crack eggs into small separate bowls).  Set the timer for 4 minutes.  The water should not be boiling and the eggs should simmer gently. Lower heat as needed.  Remove eggs with a slotted spoon and drain on paper towels.
Follow

Get every new post delivered to your Inbox

Join other followers: