Archives

Beef, Dinner, Mexican, Recipes

Beef Barbacoa

December 16, 2015

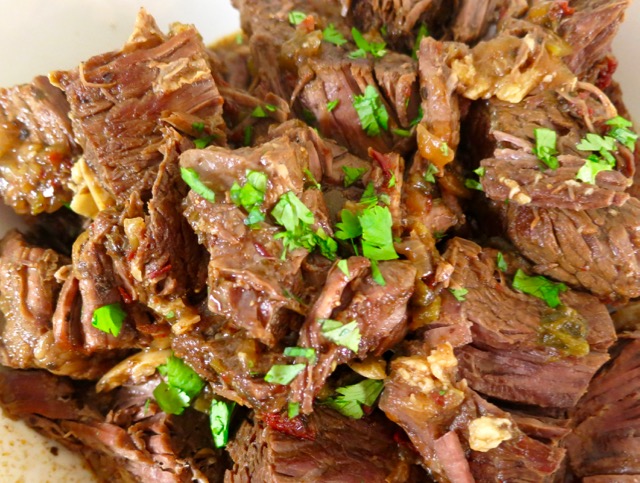
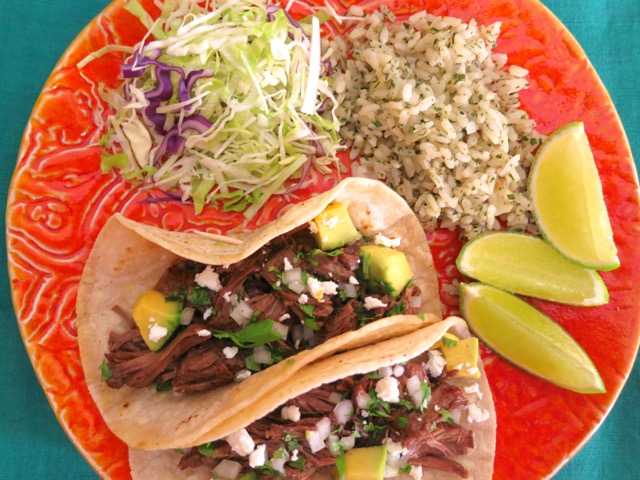
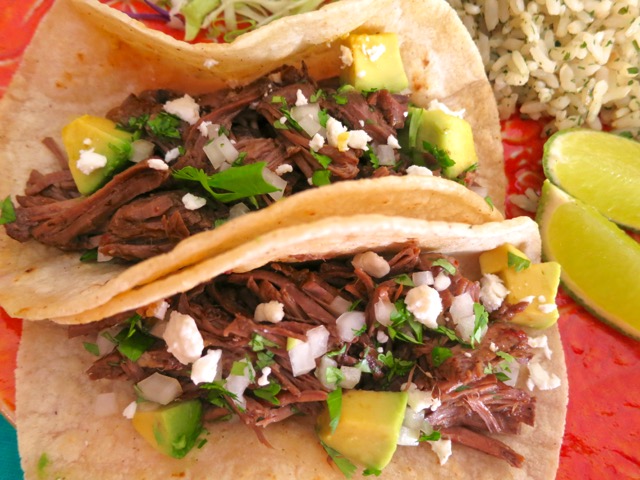
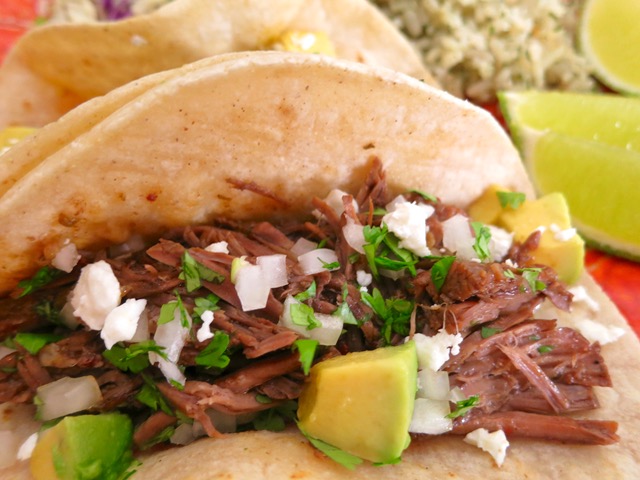
Beef Barbacoa TacosWe can never seem to get enough Mexican cuisine, with its amazing diversity and dynamic flavors.  Braised beef, pork and chicken dishes are some of our favorite meals.  So with that thought in mind, a Mexican-style braise was a natural choice.  One thing leads to another.  We had tacos the first night and quesadillas the following night.  This tasty beef barbacoa would be fantastic in tamales or enchiladas too. I love the idea that so many meals can be made from one recipe.  Plus, you can freeze the beef barbacoa and whip up a quick meal whenever you’re short on time.
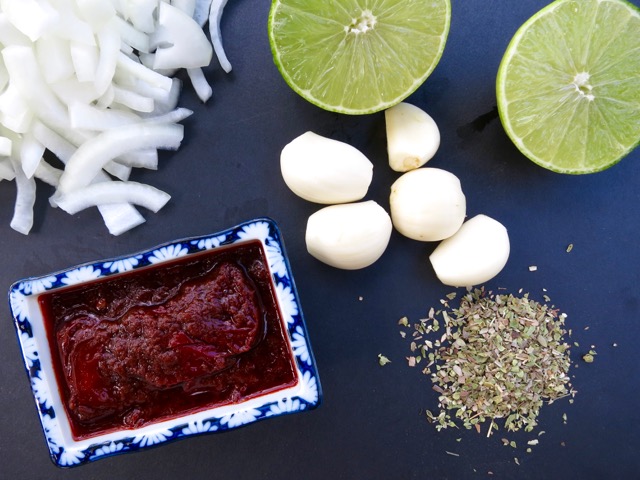
Onion, Lime, Garlic, Oregano, Chipotle Peppers in AdoboThe chipotle chiles in adobo add a bit of smokiness and subtle heat to the beef.  It wouldn’t be the same without them.

Beef Barbacoa

Beef Barbacoa

Beef Barbacoa Tacos

Beef Barbacoa

Beef Barbacoa
 
Updated 2/01/16
Author:
Serves: 6 - 8
Ingredients
  • 3½ pounds trimmed chuck steak, cut into 2 inch chunks
  • kosher salt
  • freshly ground black pepper
  • 1 tablespoon canola oil
  • 1 medium onion, thinly sliced
  • 5 garlic cloves, smashed
  • 1 tablespoon ground cumin
  • 1 tablespoon dried oregano
  • 2 teaspoons mild chile powder
  • 2½ cups chicken broth
  • 4 chipotle chiles in adobo sauce, seeded and minced + 2 teaspoons adobo sauce
  • 2 tablespoons lime juice
  • 2 tablespoons apple cider vinegar
  • 1 4 ounce can diced green chiles
  • ½ teaspoon kosher salt
  • 1 bay leaf
Preparation
  1. Preheat oven to 300 degrees
  2. Heat a few teaspoons of oil in a large Dutch oven or similar oven-proof pot with a cover over medium-high heat. Lightly season beef with kosher salt and a few grinds of pepper. Brown beef in two batches, adding more oil to the pan if needed. Beef should be nicely browned on two sides (let brown on one side for a few minutes without moving the beef). Adjust heat if too high. Remove beef to a platter and set aside.
  3. Using the same pot, lower heat to medium and sauté onions for a minute or two. Add a little oil if pan is too dry. Add garlic, cumin, oregano and chile powder. Stir constantly for a few seconds. Stir in 1 cup of chicken broth, scraping up any browned bits on the bottom of the pot. Add meat back to the pot. Pour remaining 1½ cups broth to pot, along with the chipotle chiles, 2 teaspoons adobo sauce, lime juice, apple cider vinegar, diced green chiles, ½ teaspoon kosher salt and bay leaf. Stir gently and bring to a boil over medium high heat. Cover and transfer to the oven.
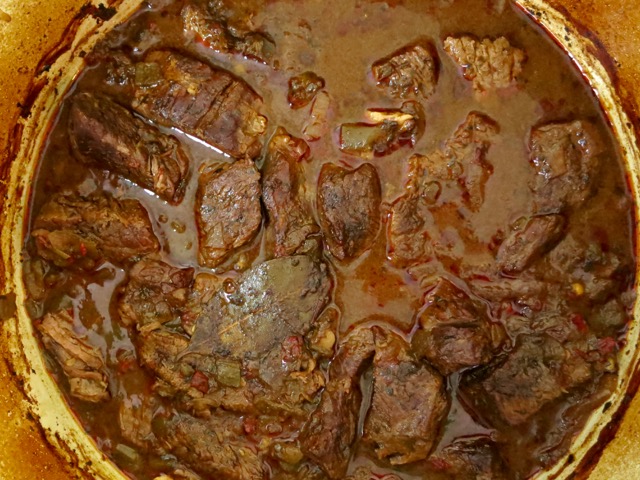
  4. Let beef cook for 3 hours, stirring once during the cooking time. Remove from the oven. The meat should be fall apart tender. Remove bay leaf. Taste and add more salt if needed. Shred meat to desired consistency. Serve with corn tortillas that are gently heating on a comal or fried if you prefer.

 

Dinner, Eggs, Lactose Free, Recipes, Salad

Salad Lyonnaise

December 9, 2015

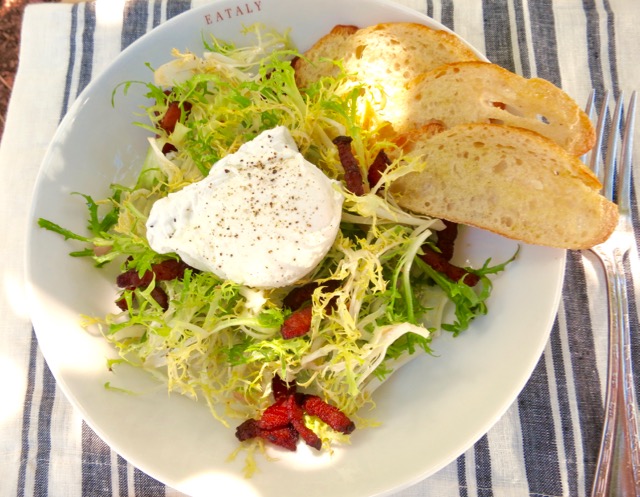
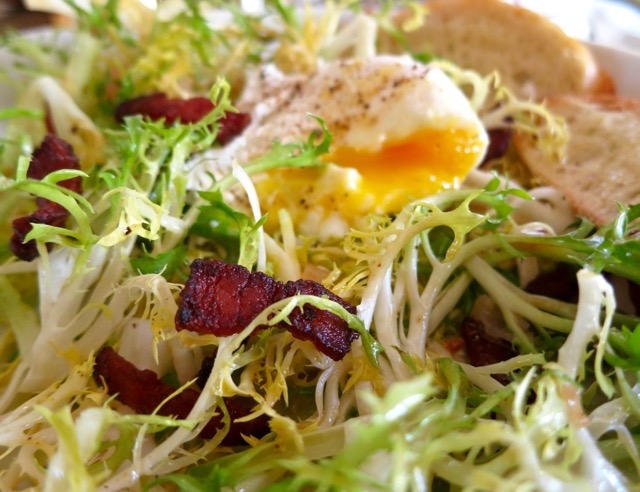
Salad Lyonnaise I first met the salad of my dreams at Fringale  (a wonderful French bistro in San Francisco) many years ago. That dream salad is Salad Lyonnaise, a perfect combination of delicate bitter greens, salty, crispy bacon, tart dressing and a perfectly poached egg.  It’s a simple but stunning salad.

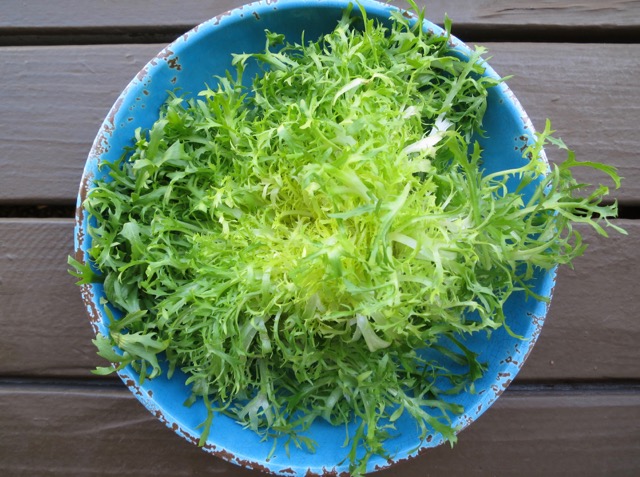
Frisee

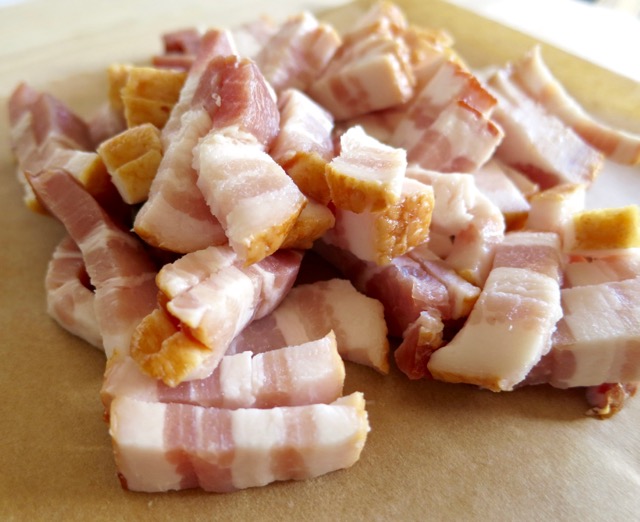
Lardons  Our local Safeway now carries Hempler’s bacon; thick, meaty, and perfect for this recipe.  The toasted baguette’s purpose, besides being delicious on their own, is to ensure that every bit of runny egg yolk does not go to waste.

Salad Lyonnaise

Salad Lyonnaise
 
Author:
Serves: 2
Ingredients
  • 3½ ounces washed frisee, dark green leaves discarded or use for a mixed green salad
  • 4 ounces extra thick bacon, cut into lardons
  • 4 - 6 baguette slices toasted, lightly drizzled with olive oil and a sprinkle of flaky sea salt (Maldon is a good choice)
  • 1 small shallot, finely chopped
  • 2 large eggs
  • 1½ teaspoons Dijon mustard
  • 2 tablespoons sherry vinegar
  • 3 tablespoons extra virgin olive oil
  • salt & pepper
Preparation
  1. Place the washed frisee in a large salad bowl. Cover and chill while you fry the bacon.
  2. Cook bacon until evenly browned and crisp. Remove to a paper towel lined plate.
  3. Discard most of the fat, leaving a tablespoon in the pan. Sauté shallots for a few minutes until softened.
  4. Poach the eggs for 4 minutes. Drain and set aside.
  5. Whisk Dijon mustard, sherry vinegar and olive oil until combined. Season with a bit of salt and freshly ground pepper. Add shallots to the dressing.
  6. Add the bacon to the frisee and pour a few tablespoons of the dressing over the salad tossing so that all of the greens are well dressed. Add more dressing if needed. I usually have a bit leftover. Divide frisee into two bowls. Top with poached egg and toasted baguette. Shower with freshly ground black pepper before serving.


Dessert, Fruit, Lactose Free, Recipes

Mango Yogurt & Banana Popsicles

December 2, 2015

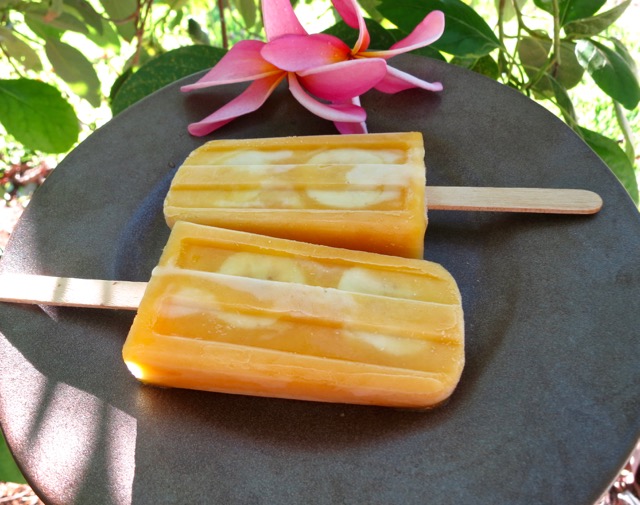
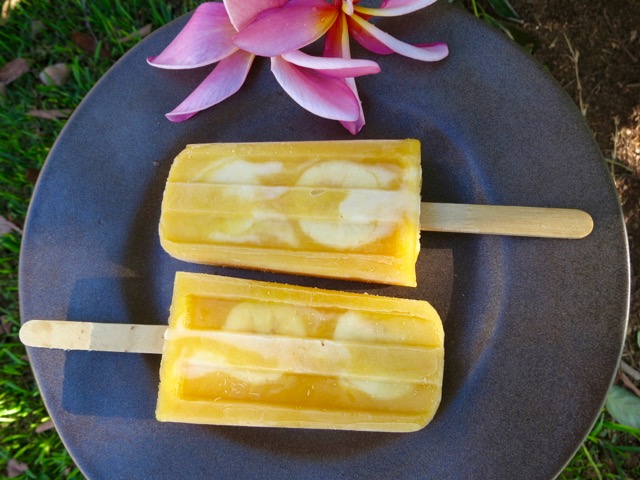
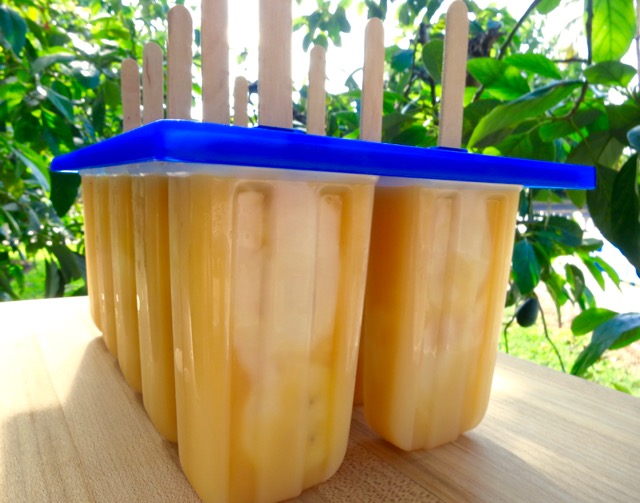
Mango Yogurt & Banana PopsiclesNow that mango season is over (we still have two lonely Rapoza’s on our tree) I have to buy fruit at the market again.  Not that there isn’t good fruit available, but for me, nothing is as good as a sweet mango. I did plan ahead this year and froze mango slices to use in my favorite popsicle recipe.  Here in Hawaii, with our warm temperatures, popsicles are popular year round.

Mango Popsicles - 1 (5)

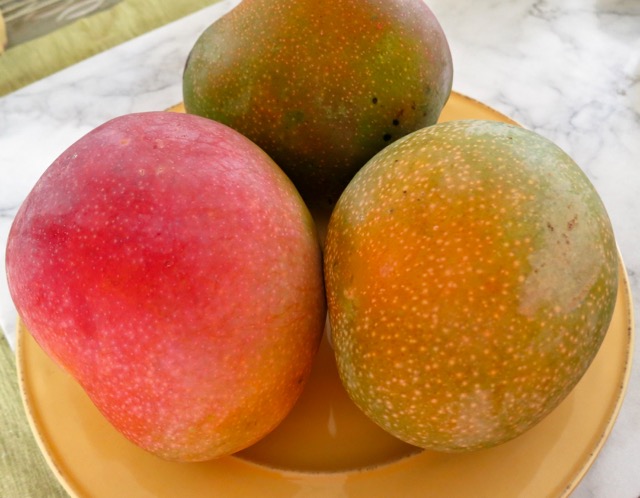
Rapoza MangosThese Rapoza are beauties.  They are huge and juicy, sometimes weighing up to 3 pounds!

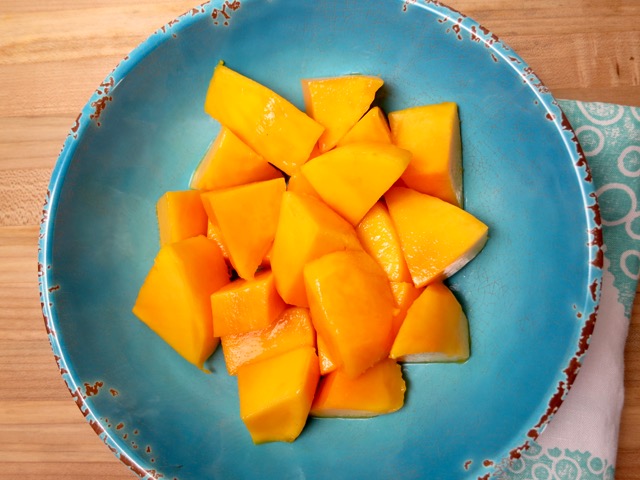
Chopped Mango

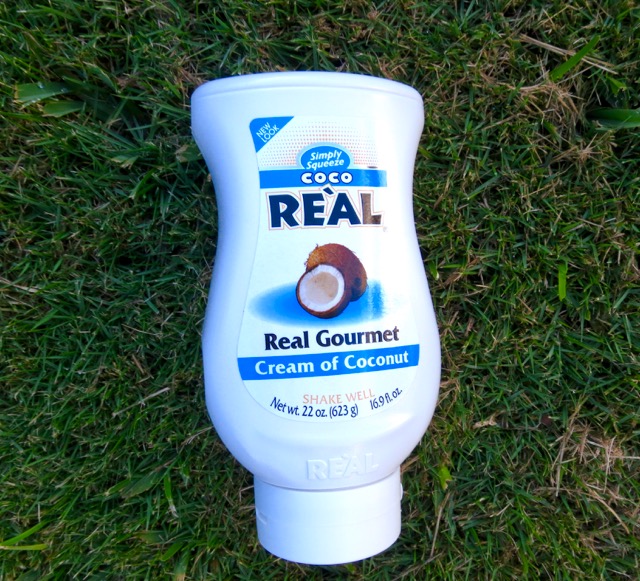
Cream of Coconut

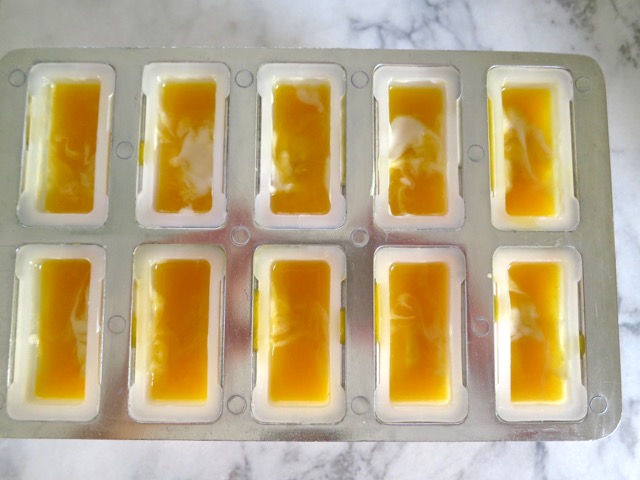
Mango Puree with YogurtAfter sharing some of my popsicles at work, my friends and co-workers were hooked.  They all bought the same popsicle maker that I use and now everyone is trying out different recipes of their own.

Mango Yogurt & Banana Popsicles

Mango Yogurt & Banana Popsicles
 
Author:
Ingredients
  • 2 heaping cups coarsely chopped mango
  • 2 tablespoons granulated sugar
  • 6 ounces vanilla yogurt (I used Green Valley lactose free yogurt)
  • 3 tablespoons cream of coconut
  • 2 medium bananas, cut into 20 thin slices
Preparation
  1. Puree mango with sugar in a blender or food processor. Transfer to a measuring cup.
  2. In separate measuring cup, whisk yogurt with coconut cream until smooth.
  3. You may combine the mango and yogurt mixture together or alternatively, pour a little mango puree, then a little yogurt into each popsicle mold and continue layering. The yogurt flavor will be more prominent if you pour it in separately, alternating with the mango puree. Leave about 1-inch of headspace at the top.
  4. Using a wooden skewer, push banana slices down both sides of mold, one on top of the other. Pour extra mango puree to fill each mold about ⅓-inch from the rim to allow for expansion when freezing.
  5. Place cover on popsicle mold and insert wooden sticks (they should be exposed about 1¾-inch from top of popsicle cover). Freeze for at least 6 hours or overnight.
  6. To release popsicles, remove cover and run warm water around the outside of the popsicle mold for a few seconds. Do one side at a time. Pull firmly on sticks while holding on to mold to release. Run more warm water around mold if needed. Wrap popsicles individually with a small piece of waxed paper and freeze in a plastic container.


Lactose Free, Mexican, Recipes, Rice Dishes

Garlicky Baked White Rice with Cilantro

November 24, 2015

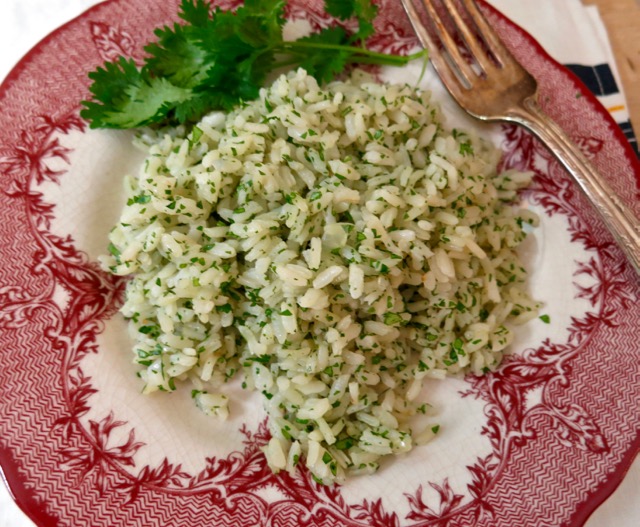
Garlicky White Rice with CilantroThis is one of those recipes that I never get tired of.  I’ve been making it for years and still find it to be one of the best rice dishes around.  It is simple to make, has excellent  flavor and texture, and it’s very versatile. For those of you who loathe cilantro, don’t leave yet. This rice is equally delicious without the cilantro.

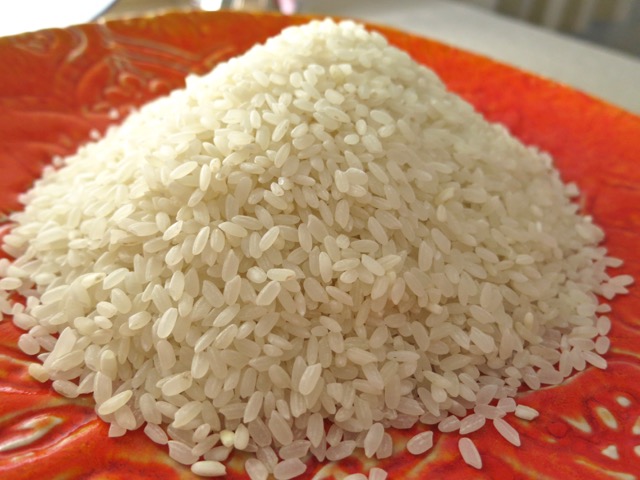
Medium Grain Rice The original recipe comes from Rick Bayless, master of Mexican cuisine.  Rick sprinkles chopped parsley over the cooked rice rather than mixing it into the rice.  Though we serve the rice with Mexican meals, you could change things around and add chopped fresh dill, or chives, and serve the rice with roasted chicken or grilled fish. Sometimes I don’t add any herbs to it at all.

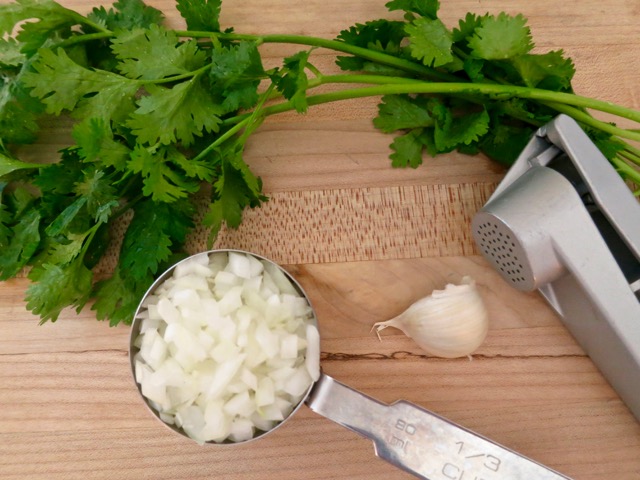
Cilantro, Diced Onion, Garlic With just a few ingredients and one pot, you will have delicious rice in 30 minutes.

Garlicky White Rice with Cilantro

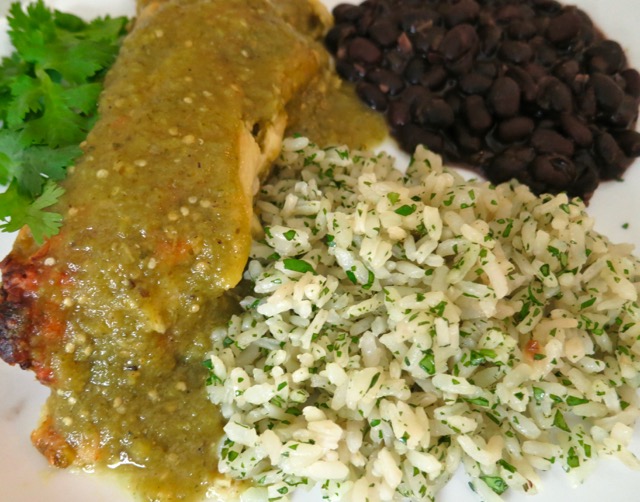
Garlicky White Rice with Cilantro, Enchiladas & Black Beans

Garlicky White Rice with Cilantro
 
Author:
Serves: 6
Ingredients
  • 1½ tablespoons canola oil
  • 1½ cups medium grain white rice
  • ⅓ heaping cup chopped onion
  • 1 medium - large garlic clove
  • 1 14 ounce can chicken broth
  • 1 teaspoon salt
  • 3 tablespoons (or more) finely chopped cilantro
Preparation
  1. Preheat oven to 350 degrees
  2. Set a large oven-proof pot (with cover, 3½ - 5½ quart) over medium heat. Whatever pot you choose, try to use one with a wide bottom. I use my 5½ quart stainless steel Cuisinart multi-purpose pot but a smaller one would work as well.
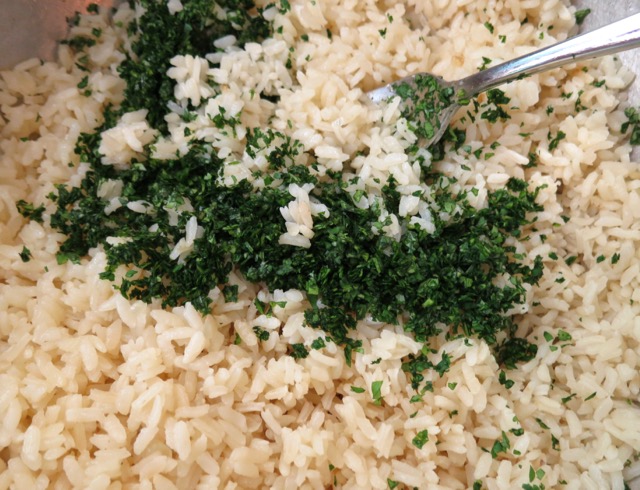
  3. Heat oil for a minute or two. Add rice and onions to pot. Stir frequently for about 5 minutes. Add pressed garlic and stir for 30 seconds or so until fragrant, then mix in broth and salt. Increase heat to high and bring to a boil. As soon as the rice reaches a full boil, remove from the heat, cover, and transfer to the oven. Bake 25 minutes. Let rice stand undisturbed for 15 minutes. Fluff rice with a fork, stir in cilantro.


Chicken, Dinner, Lactose Free, Pork, Recipes

Smoked Bacon Wrapped Chicken Skewers

November 16, 2015

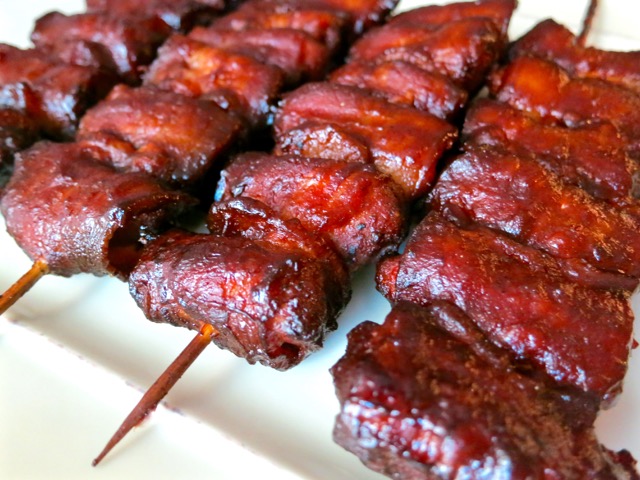
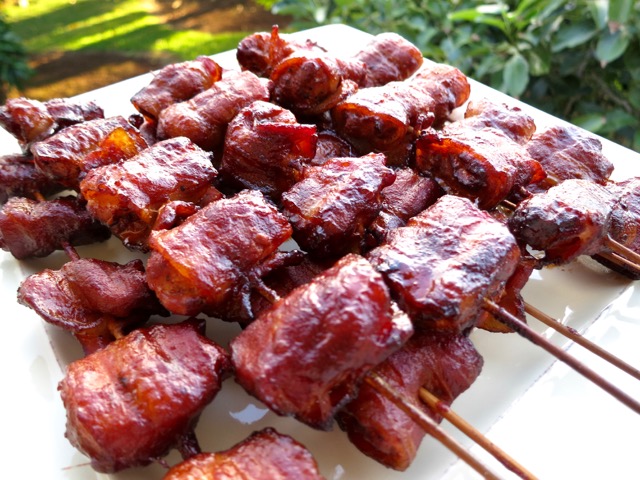
Smoked Bacon Wrapped Chicken SkewersJohn has been contemplating purchasing a Weber smoker for quite some time.  The decision was made easier by Amazon, which until recently did not offer free shipping to Hawaii.  The first thing we smoked was a fresh turkey breast.  It turned out to be easy and delicious, but we didn’t take any pictures or notes, so we’ll do that another time.  This recipe comes from Jeff’s “smoking-meat” blog.  We’ve made it a couple of times and it is so tasty.  It features a nice hint of smoke, a good barbecue sauce, and tender chicken tucked inside smokey bacon.

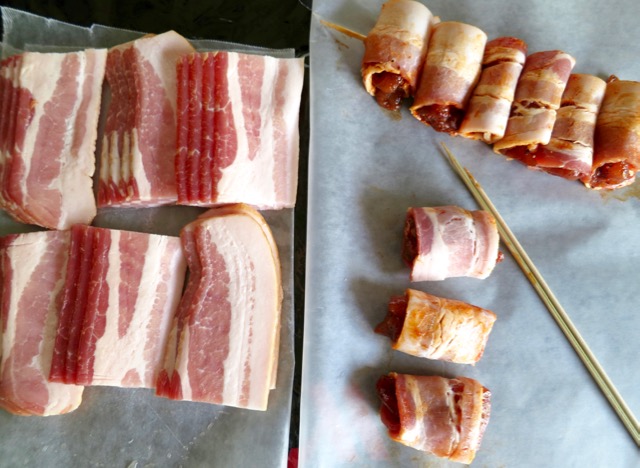
Preparing Smoked Bacon Wrapped Chicken SkewersBuy thin or regular cut bacon so that it has a chance to render and crisp up a bit while in the smoker. I cut my bacon strips into three even pieces but if you have larger pieces of chicken you might cut the bacon in half.

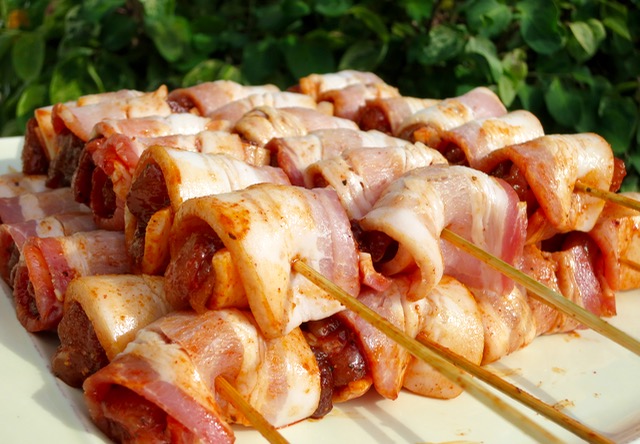
Preparing Smoked Bacon Wrapped Chicken Skewers

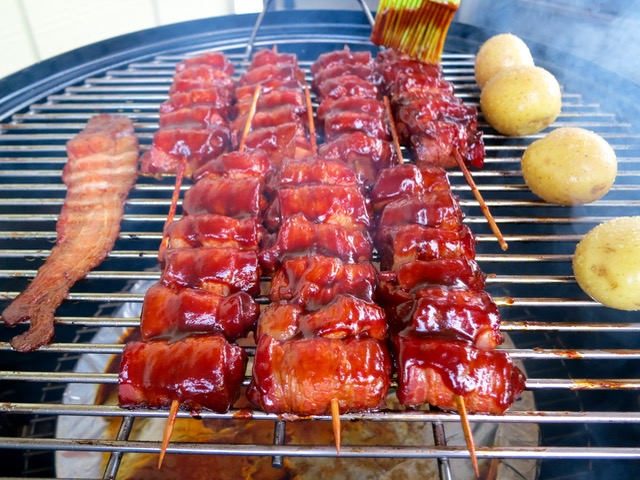
Smoked Bacon Wrapped Chicken SkewersWe had one lonely piece of bacon left and a couple of potatoes lying around so into the smoker they went.

Smoked Bacon Wrapped Chicken Skewers

Smoked Bacon Wrapped Chicken Skewers
 
Author:
Serves: 6
Ingredients
  • 6 boneless, skinless chicken thighs trimmed of any visible fat
  • 3 tablespoons canola oil
  • ⅓ cup of your favorite dry rub
  • 1 pound bacon
  • your favorite barbecue sauce (we like Trader Joe's)
  • wooden skewers
Preparation
  1. Cut the chicken into bite sized pieces, about 6 pieces per chicken thigh ( 8 if you are using a large chicken thigh)
  2. Place chicken pieces in a Ziplock bag and pour about 3 tablespoons canola oil into the bag. Mix chicken and oil so that the chicken is well coated. Add ⅓ cup of your favorite dry rub to the bag. Massage the bag well so all the chicken pieces are evenly coated with dry rub. Place the bag in your refrigerator for at least 2 hours.
  3. Place a piece of bacon on your work surface, top with a piece of marinated chicken, roll and push onto the skewer. Continue to add more bacon & chicken pieces to the skewer, leaving enough space on the skewer for turning during smoking. If you leave a bit of space between each piece of chicken, the bacon tends to crisp up better than if you push the meat together tightly.
  4. Set up your smoker for cooking at 250 degrees. Smoke the chicken for about 1 hour, brush generously with barbecue sauce, and smoke for about 30 minutes longer before removing the from the smoker.


Dessert, Fruit, Lactose Free, Recipes

Strawberry Yogurt Popsicles

November 8, 2015

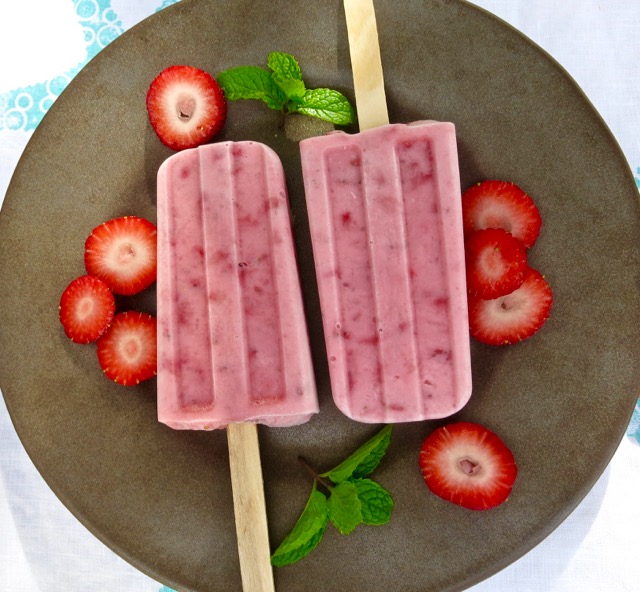
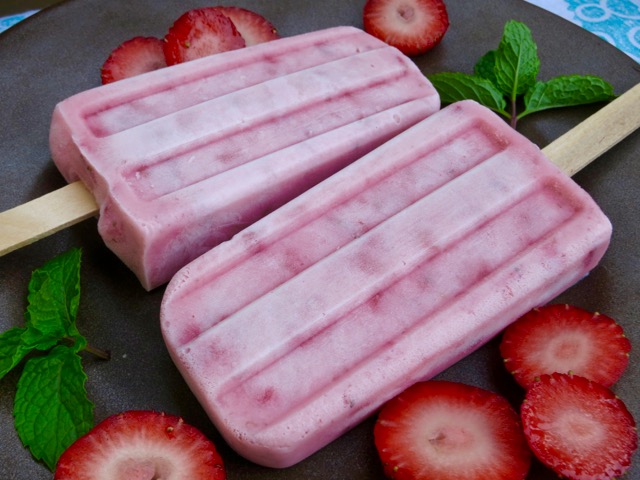
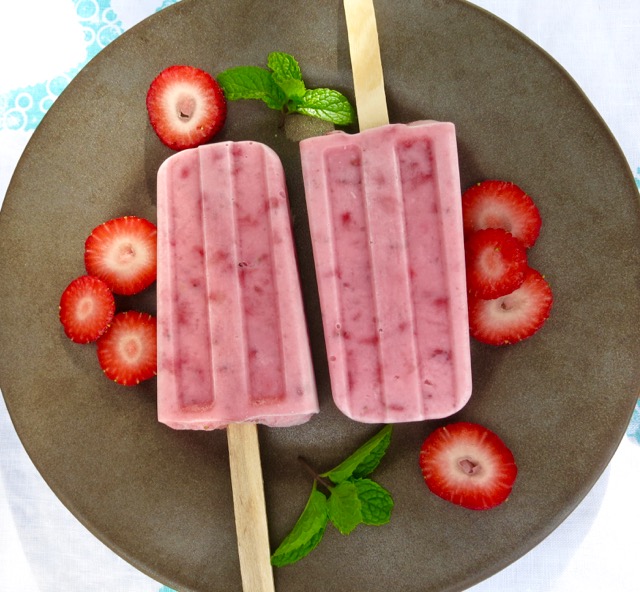
Strawberry Yogurt PopsiclesThese popsicles are so easy to make I can’t believe I never thought of making them before.  It all began a few months ago when my sister in-law, Paula, brought over a refreshing mango popsicle she had made.  From that day on I was determined to make my own.

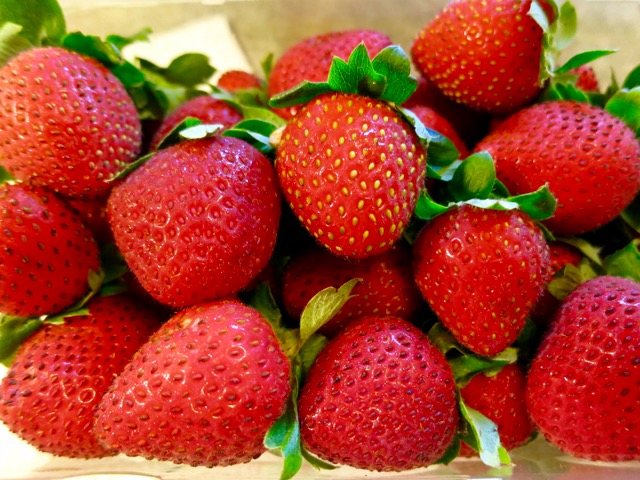
Fresh Strawberries 16 oz.There’s a plethora of popsicle recipes out there in internet land.  It seems you can pretty much use any type of fruit whether it be fresh or frozen.  From there, you can keep it simple and add nothing more, or you might add cream, milk, nuts, coconut milk, or yogurt which I did in this case.  They are very easy to make and homemade popsicles taste so good.

Crushed Strawberries

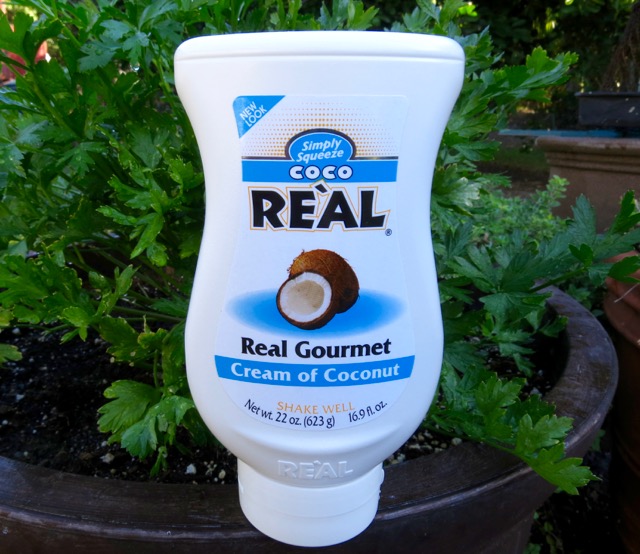
Cream of CoconutCream of coconut is normally found in the liquor section of the market where the drink mixers are sold.

Ice Pop MakerI bought this popsicle maker from Amazon the moment Paula came over with her mango popsicle.  It’s just $12.99 and with Amazon Prime you get free shipping.  It’s easy to use and makes 10 refreshing popsicles at a time.  If you don’t have a popsicle maker, I urge you to get one right away!  Popsicles are great all year round.

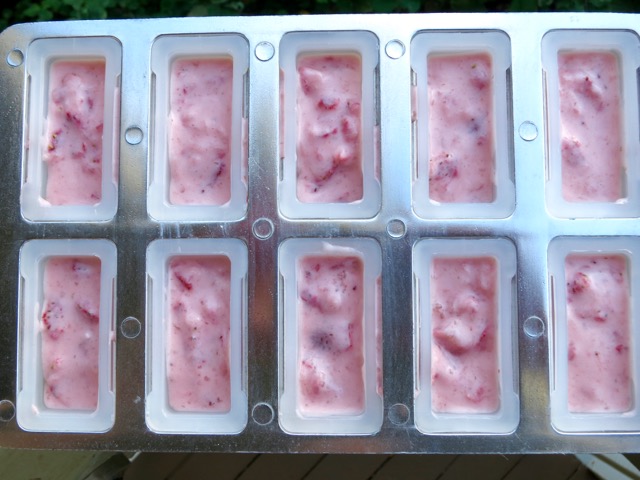
Strawberry Yogurt Mixture for PopsiclesLeave a little space at the top for expansion otherwise it will be difficult to remove the top of the ice pop maker once they are frozen.  I didn’t do that the first time around but with a little nudging I was able to remove it without disturbing my precious pops.

Strawberry Yogurt Popsicles

Strawberry Yogurt Popsicles
 
Author:
Cuisine: Dessert
Serves: 10
Ingredients
  • 16 ounces fresh strawberries, rinsed, hulled, and halved if large
  • 2 tablespoons sugar
  • 1 6 ounce container Green Valley lactose free strawberry yogurt (or your favorite brand)
  • 1 6 ounce container Green Valley lactose free vanilla yogurt (or your favorite brand)
  • 3 tablespoons cream of coconut
Preparation
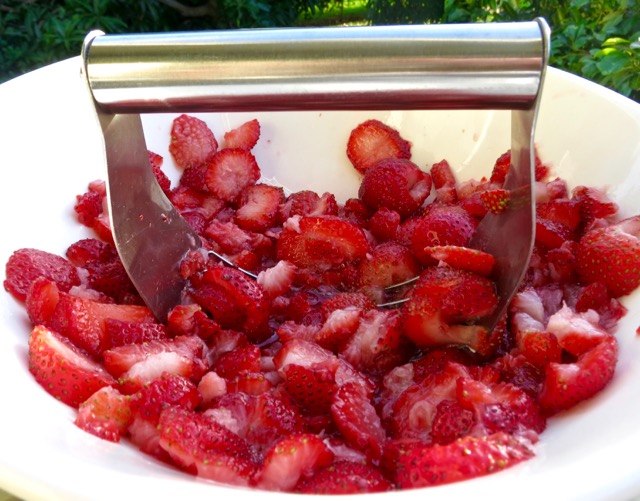
  1. Crush strawberries with a pastry cutter or potato masher. Stir in 2 tablespoons white sugar and set aside
  2. In a medium bowl, whisk yogurt and cream of coconut until smooth. Fold in crushed strawberries
  3. Pour mixture into ice pop maker leaving a little space at the top to allow for expansion. Place cover over ice pop maker and insert popsicle sticks. Freeze for at least 4 hours or over night.
  4. To remove popsicles, run warm water around the mold for a few seconds to loosen them slightly. Wrap popsicles with a small piece of waxed paper and store in an airtight container.


Follow

Get every new post delivered to your Inbox

Join other followers: