Archives

Japanese, Lactose Free, Potato Salad, Recipes, Salad, Side Dishes

Japanese Potato Salad

April 23, 2016

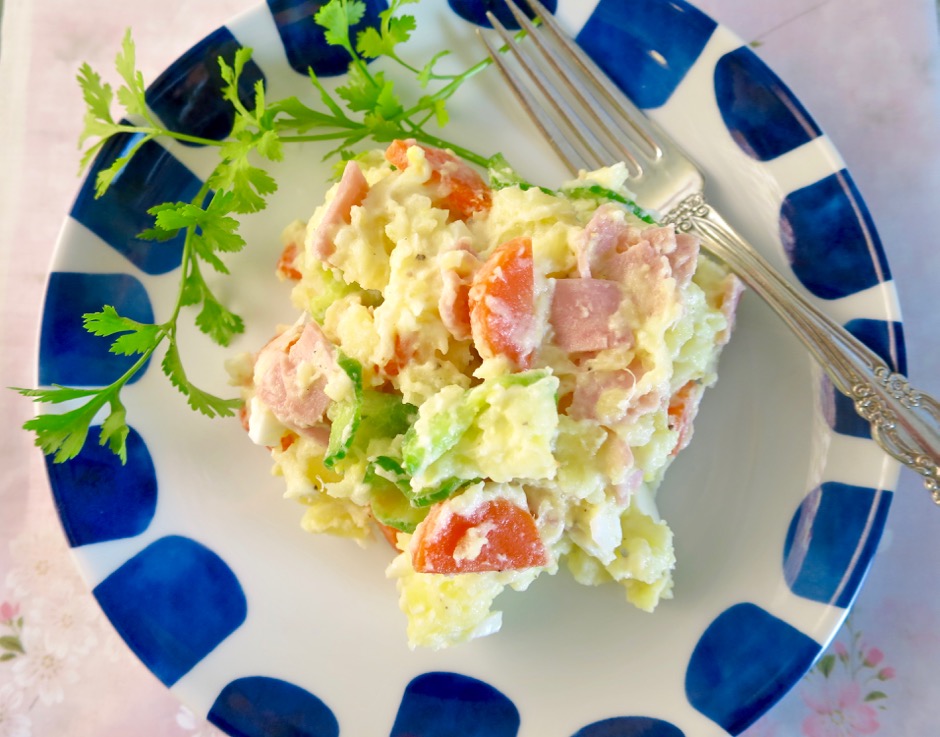
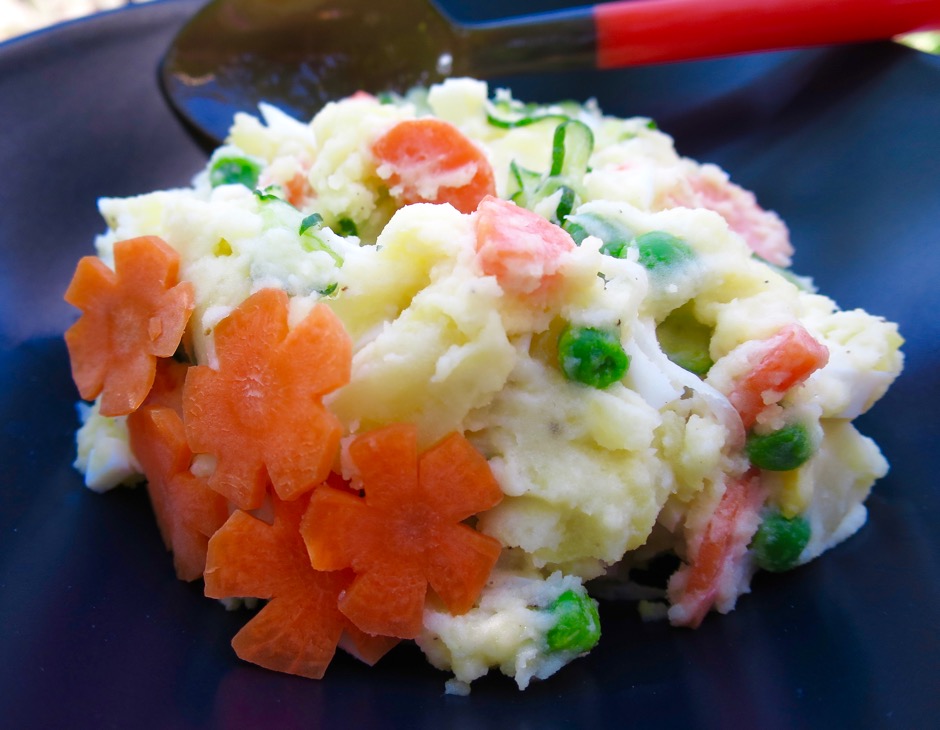
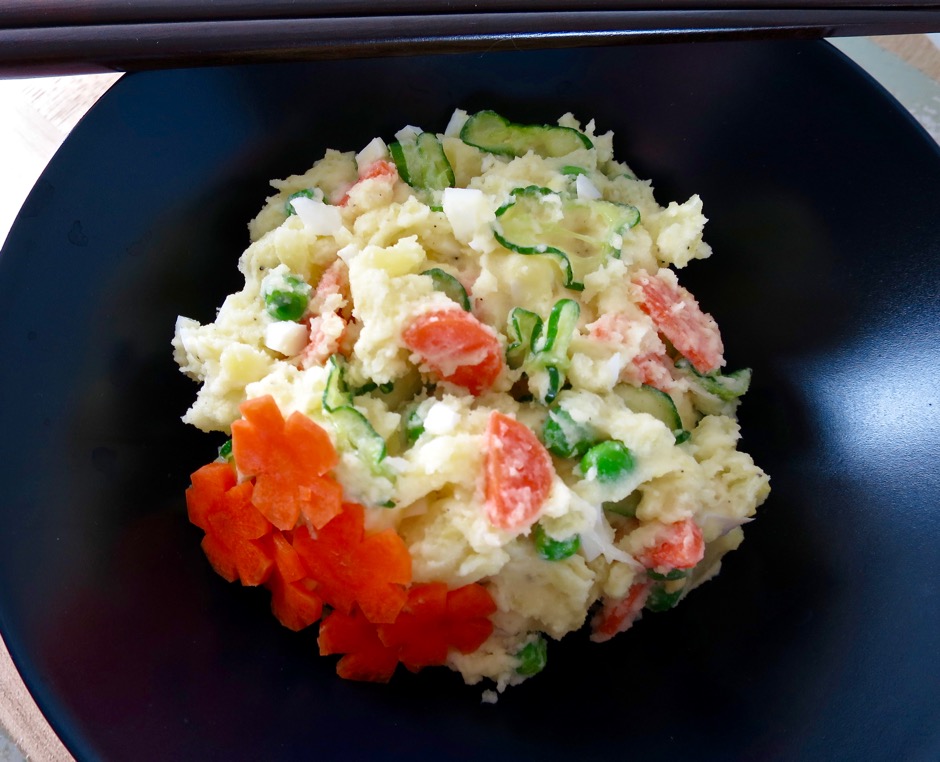
Japanese Potato SaladJapanese potato salad has much in common with the American version however it does have a few unique twists.  The potatoes are crushed instead of cubed, and an assortment of vegetables are added such as cucumbers, carrots, onions, corn. Finely chopped ham and hardboiled eggs can also be combined in this wonderful potato salad.  Occasionally I will add a handful of green peas.  Many recipes call for Japanese Kewpie mayonnaise however my personal preference is to use regular mayonnaise. Either way, this is a delicious salad that everyone loves.

Japanese Cucumber

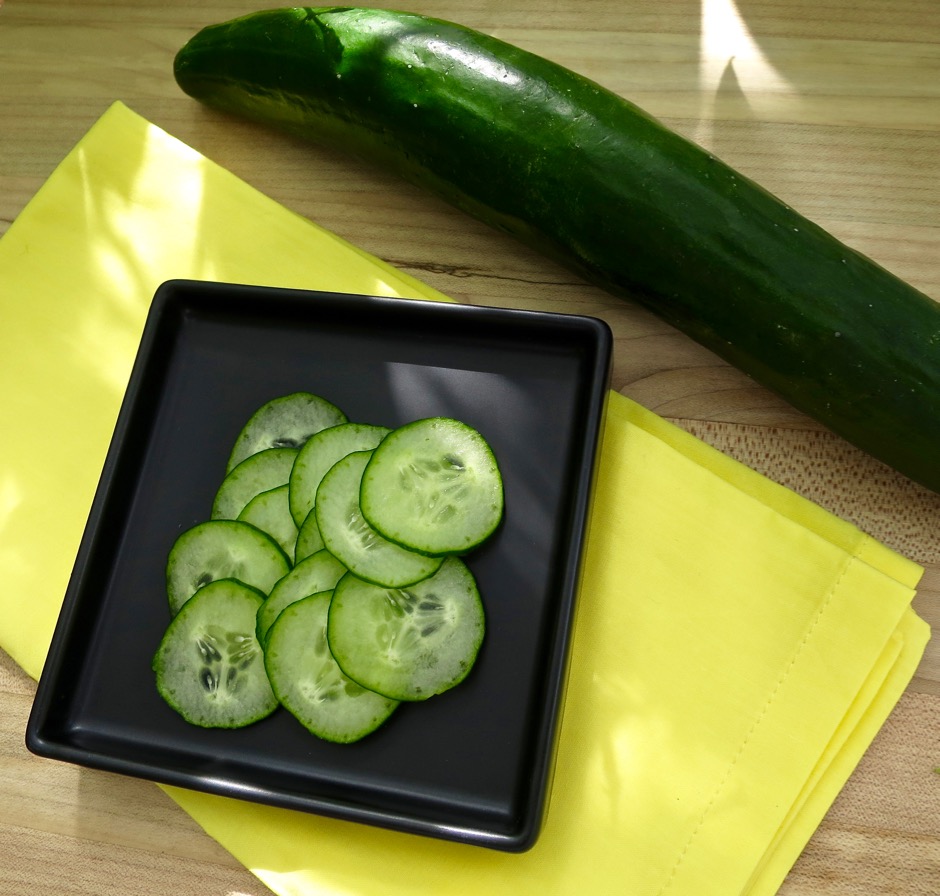
Japanese cucumbers are readily available at our local markets in Hawaii, however, if you don’t have access to them, any small, seedless cucumber works.  Slice them very thin. I use my favorite Benriner mandoline.

Japanese Cucumber & Onion

I have made this salad without ham (top photo) and with ham below. Both are equally delicious.

Japanese Potato Salad

Japanese Potato Salad


Japanese Potato Salad
 
Author:
Serves: 6 - 8
Ingredients
  • 2 pounds Yukon Gold potatoes, peeled and cut into 2" cubes
  • 1 small carrot, peeled, cut in half lengthwise, and sliced into thin half moons (about 1 cup)
  • 1 medium Japanese or other seedless cucumber very thinly sliced (about 1 cup)
  • ⅓ cup thinly sliced sweet onion
  • ½ teaspoon kosher salt
  • 2 hardboiled eggs, finely chopped
  • ½ cup thinly sliced ham, optional
  • ¼ cup green peas, optional
  • 2 teaspoons sugar
  • 2 tablespoons rice vinegar
  • ½ cup mayonnaise
  • salt and pepper
Preparation
  1. Put the potatoes in a saucepan of cold, salted water and bring to a boil. Turn the heat down to maintain a gentle simmer and cook until the potatoes are soft, and easily pierced with a fork, 10 - 15 minutes. Drain potatoes in a colander.
  2. Meanwhile, toss the thinly sliced cucumber and onion with ½ teaspoon kosher salt. Set aside for 10 minutes, then rinse gently and press out the liquid using a clean dish cloth or paper towels. This is an important step that will prevent your potato salad from becoming soggy.
  3. Blanch carrots in boiling water for just a minute or two. The carrots should be al dente and still have a slight crunch. You may microwave the carrots in water if you prefer. Drain, pat dry and set aside.
  4. Whisk rice vinegar with the sugar until it dissolves. Whisk in mayonnaise.
  5. Place potatoes in a large, wide bowl and crush with a wooden spoon leaving a few small chunks for texture. Season potatoes with salt and pepper. Add mayonnaise mixture, vegetables, chopped egg, ham, and peas if using. Stir gently to combine all ingredients. Chill for an hour before serving.

 

Appetizers, Bread, Lactose Free, Recipes, Vegan, Vegetarian

Pita Chips

April 13, 2016

Homemade Pita Chips

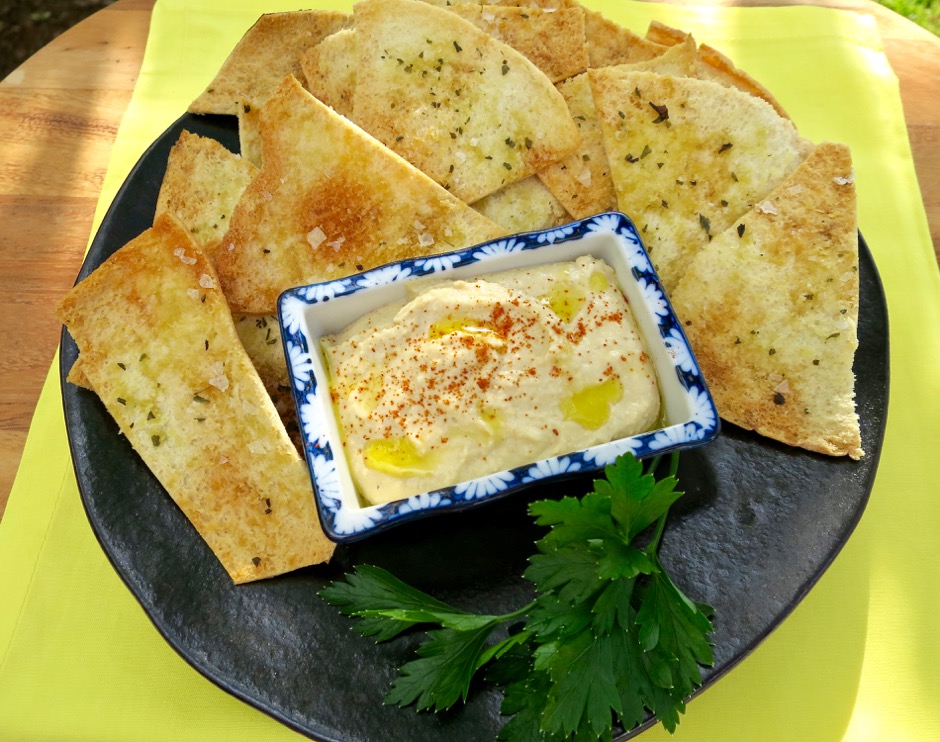
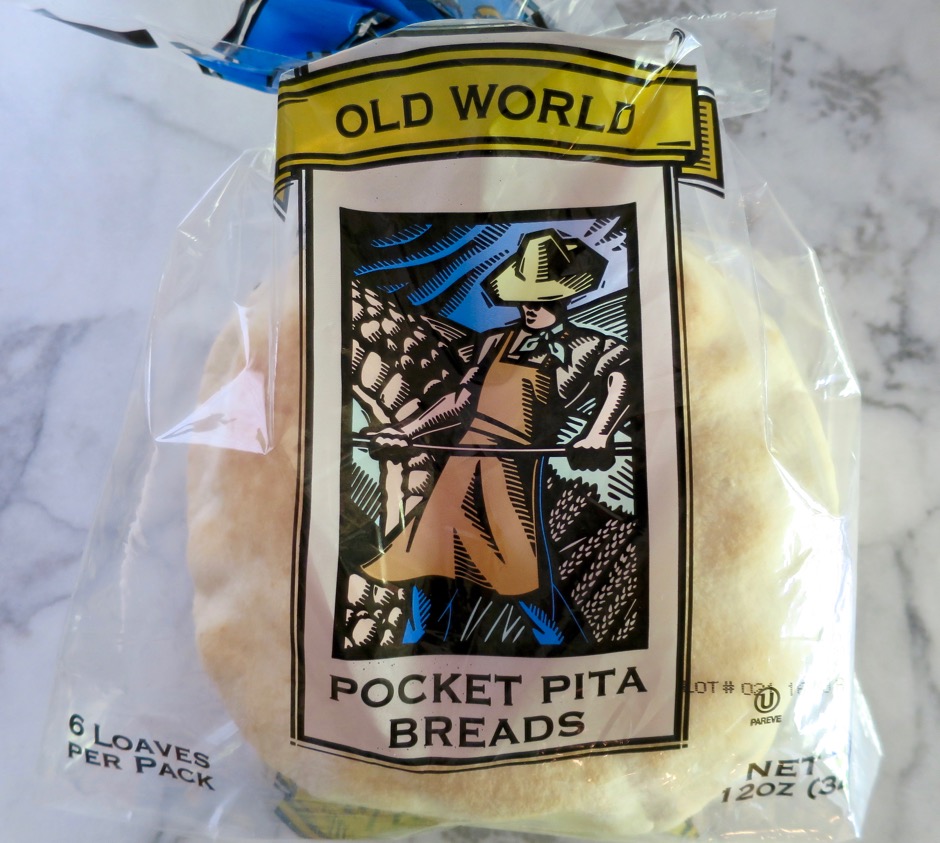
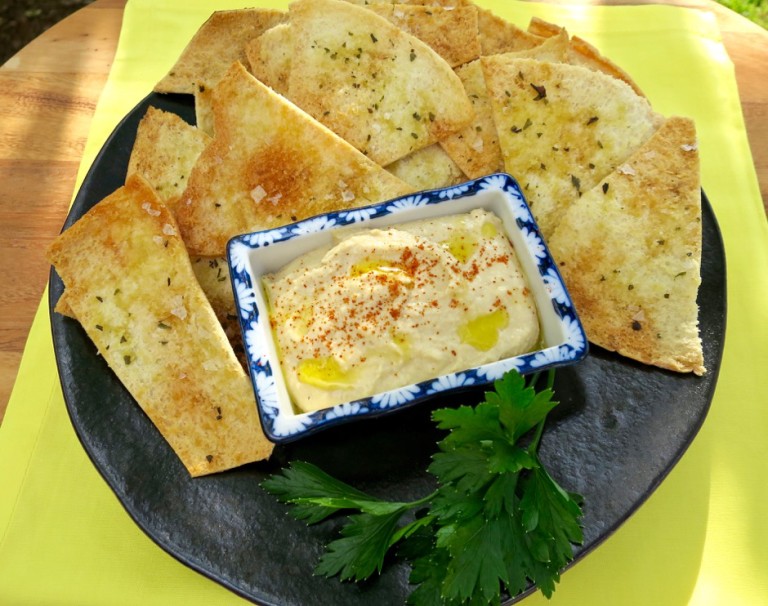
Having recently discovered the superlative quality of homemade hummus as opposed to the store-bought version, I thought why not make my own pita chips too?  They are one of the simplest snacks to make and all you need is a bag of pita bread plus olive oil and salt, items that we all have in our pantries.

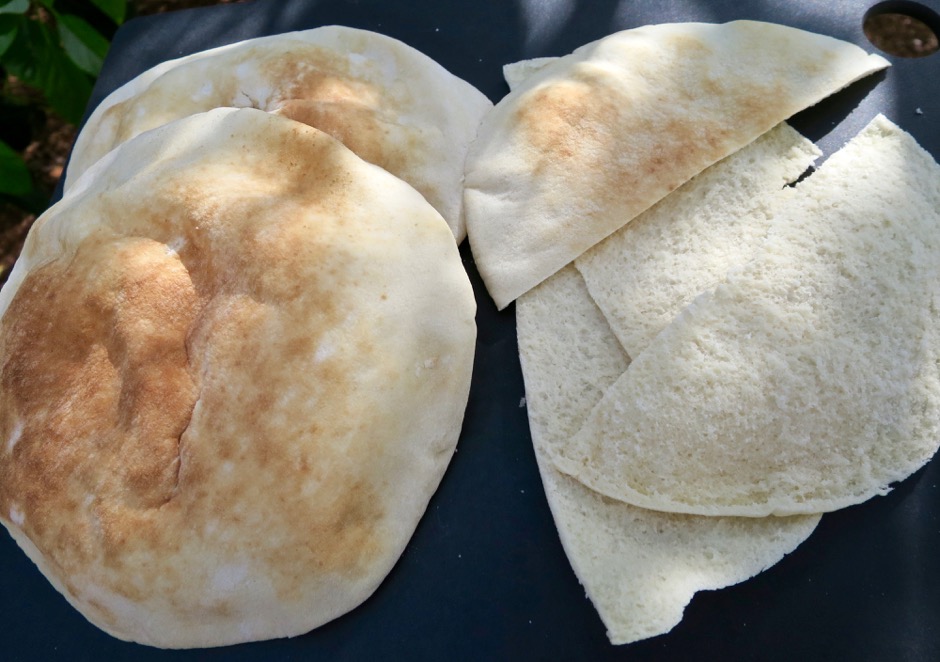
Pita Bread

You can opt to use all the pita breads in the package, or make a smaller batch using just three.  The pita chips bake for just 10 minutes and come out of the oven perfectly golden brown.

Pita Bread Halved and Split

I tried splitting the pita bread, and not splitting the pita bread.  Conclusion – splitting the pita bread is the way to go if you want thin and crispy chips.  The pita chips that were not split were a bit tough and didn’t seem to hold their crunchy texture for very long, which brought to mind the time I purchased a bag of Stacy’s Pita Chips at Mana Foods.  They were nice and crisp.  Later, I saw a giant bag at Costco so I bought it, after all it was a good deal.  Once I took a bite of Stacy’s Costco version, I was sorely disappointed.  The chips were really hard and not delicately crispy as I had expected them to be.  Curious about why there was such a variation of the two bags, I contacted Stacy’s customer service department and was informed that the pita chips sold at Costco (in the giant bag that’s such a deal) are not split, and the ones at the market are.  So there you have it!

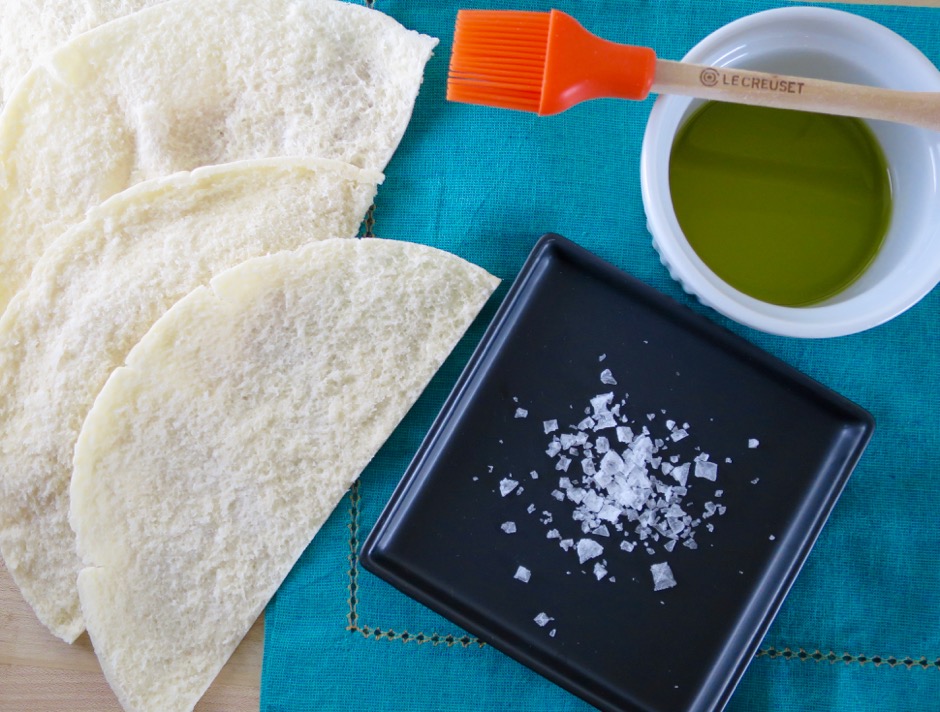
Pita Bread Halved and Split + Olive Oil & Maldon Sea Salt

Brush or dab a little olive oil on the rough side of the pita bread.  Sprinkle with flaky sea salt, such as Maldon.  I like to sprinkle a bit of dried oregano over the pita bread but it is optional.  You could also season the pita chips with pepper, or other dried herbs.  Bake until completely crisp.

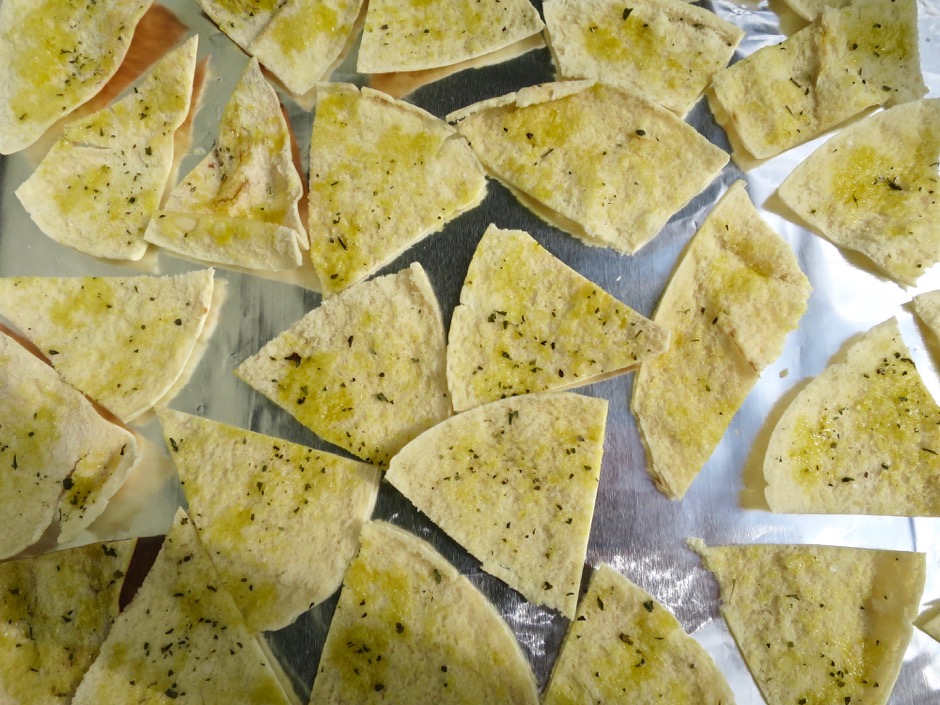
Ready to Bake Homemade Pita Chips


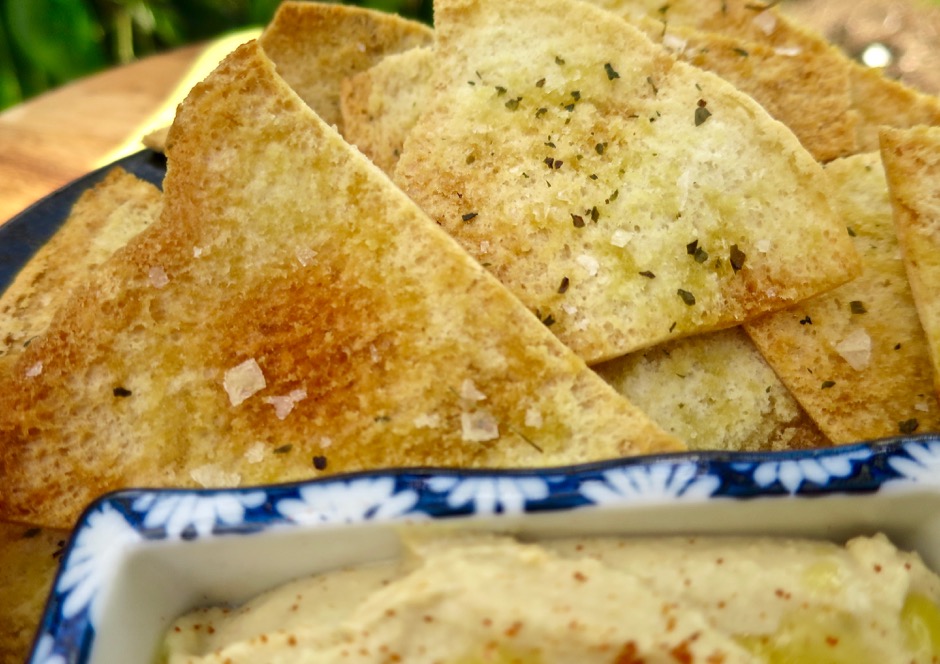
Homemade Pita Chips


Pita Chips
 
Author:
Serves: 36 chips
Ingredients
  • 3 pita breads, about 6" diameter each
  • extra virgin olive oil
  • flaky sea salt, such as Maldon
  • dried oregano
Preparation
  1. Preheat oven to 375 degrees.
  2. Cut each pita bread in half, then split each half making 4 pieces per pita bread
  3. Stack the halves and cut into thirds, making 12 chips per pita (36 wedges total)
  4. Brush a bit of olive oil over the rough inner side of each piece and sprinkle with salt and oregano.
  5. Place wedges on foil-lined baking sheet making sure not to overlap.
  6. Bake for 10 minutes, checking at the 8 minute mark as oven temperatures vary.
  7. Pita chips should be golden brown and crisp. Let cool completely before storing in an airtight container. Serve with homemade hummus.


Appetizers, Beans, Lactose Free, Recipes, Vegan, Vegetarian

Easy Homemade Hummus

April 4, 2016

hummus - 1 (6)

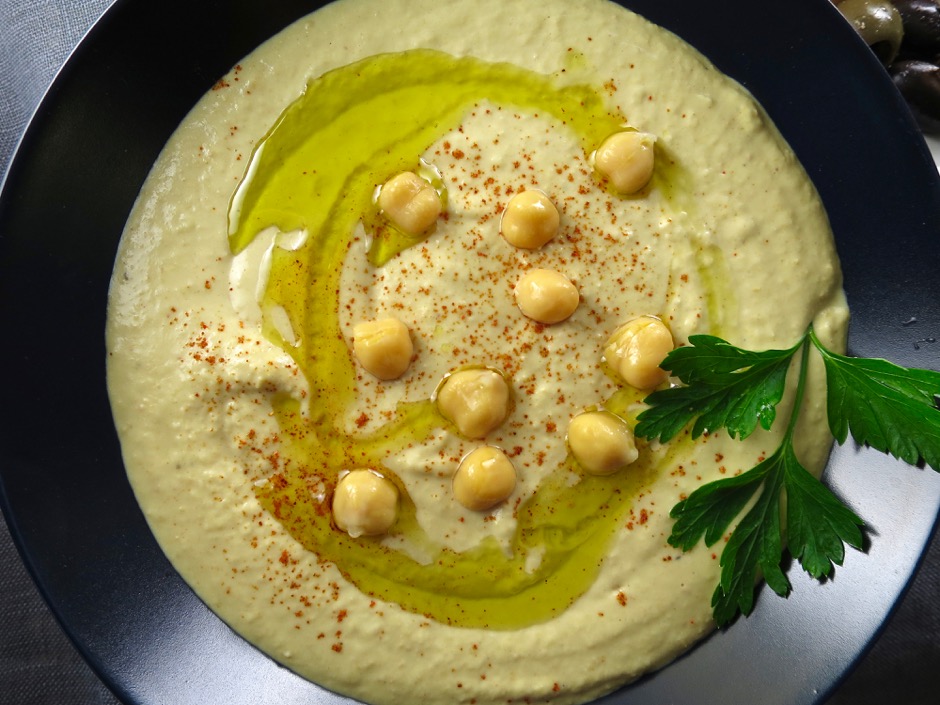
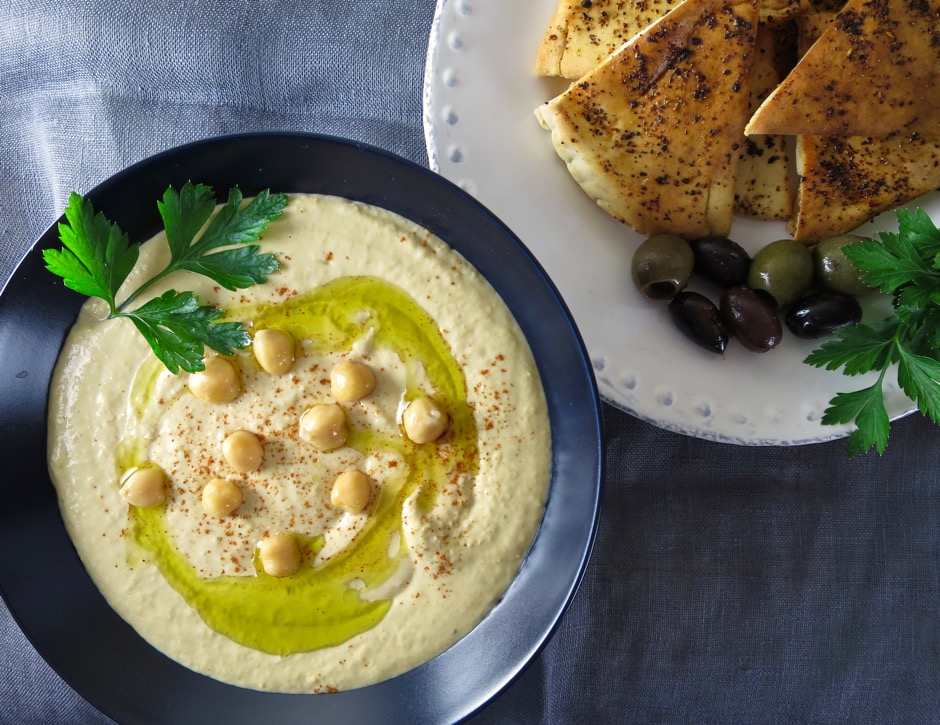
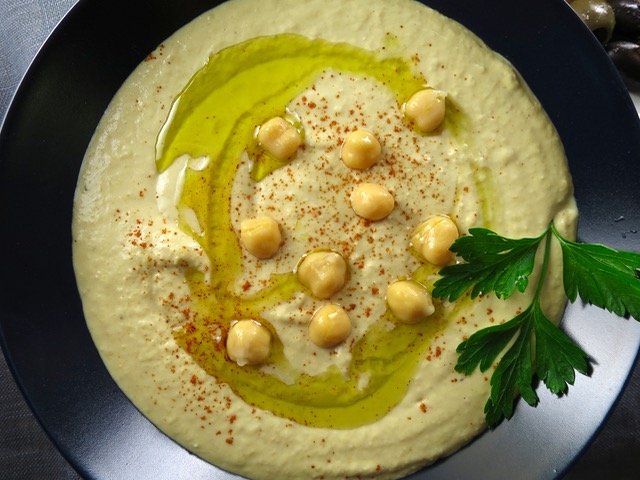
Hummus and pita chips are a great snack any time of the day.  I have purchased hummus from our local markets in the past, but I’m always disappointed. Most of the time it’s because there’s too much garlic in the hummus for my taste.  When it comes to using raw garlic, especially in hummus and pesto, I prefer a light garlicky flavor, just enough to give the dish a nice zing, but also allowing the other flavors to shine.  This simple recipe does just that.  You taste the chickpeas, tahini, lemon juice, cumin, and a bit of garlic.  A few dashes of cayenne pepper adds a delightful touch of heat.  This snack will take you just 10 minutes to whip up in your food processor.

chickpeas - 1

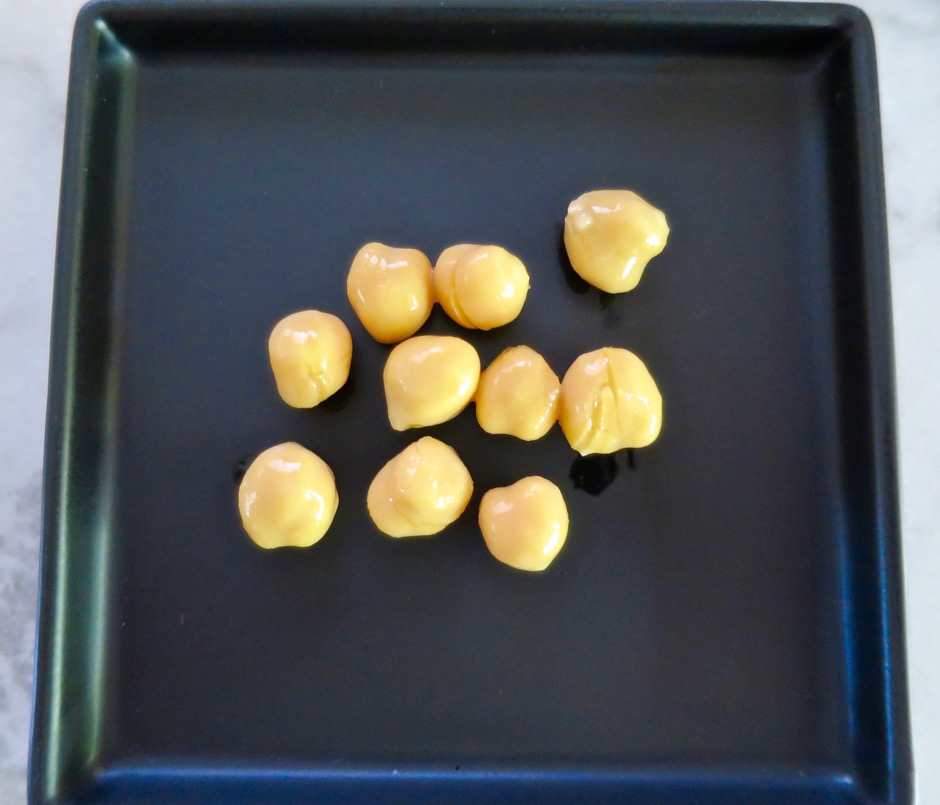
I’ve tried a number of brands of canned chickpeas (also known as garbanzo beans) and finally decided that I like Eden the best (so far).  The beans have a nice color and a good texture.

hummus - 1 (7)

Easy Homemade Hummus
 
Ready in just 10 minutes!
Author:
Serves: 4 - 6 as an appetizer
Ingredients
  • 1 15 ounce can of chickpeas drained, 2 tablespoons of liquid reserved (you may reserve a few beans to sprinkle over the hummus)
  • ¼ cup tahini
  • 2 tablespoons extra virgin olive oil
  • ¼ cup fresh lemon juice
  • 1 - 2 tablespoons reserved liquid from the beans
  • 1 very small garlic clove, pressed (scant ¼ teaspoon)
  • ¾ teaspoon kosher salt
  • few grinds of black pepper
  • few dashes of cayenne pepper
Preparation
  1. Place chickpeas, tahini, olive oil, lemon juice, 1 tablespoon reserved bean liquid, garlic, salt, black pepper and cayenne pepper in a food processor. Process until smooth, scraping down the sides as needed. If the hummus seems too thick, add the other tablespoon of reserved bean liquid and process for a few seconds. Taste and add more salt and cayenne pepper if you desire.
  2. Before serving, drizzle a little olive oil over the hummus and sprinkle with a bit of cayenne pepper or paprika and reserved garbanzo beans. Serve with pita chips.


Dessert, Fruit, Lactose Free, Recipes

Blueberry Crumb Cake

March 17, 2016


blueberry cake - 1 (4)

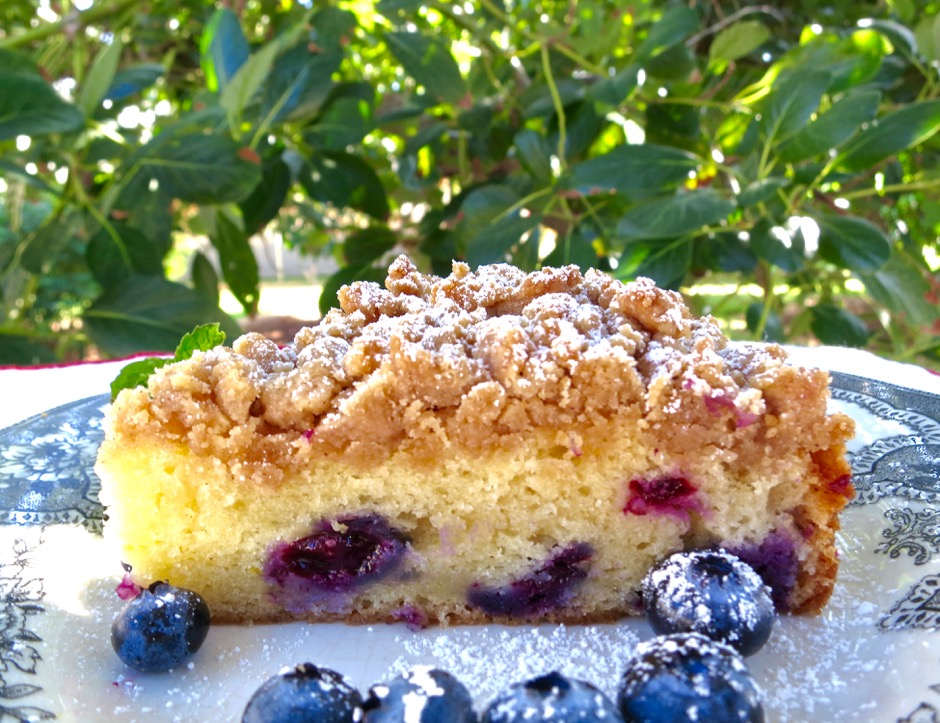
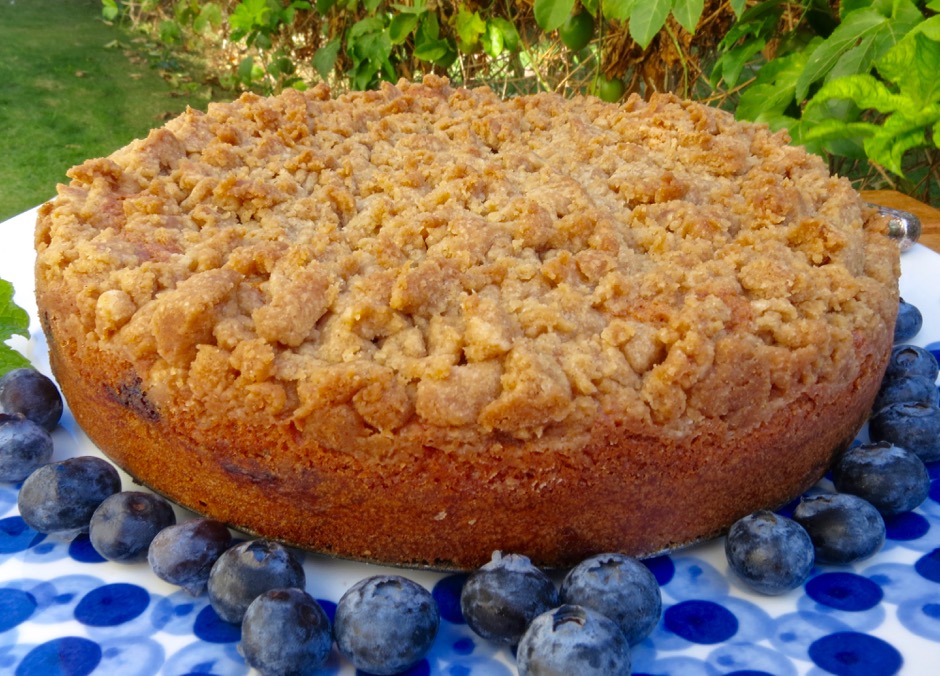
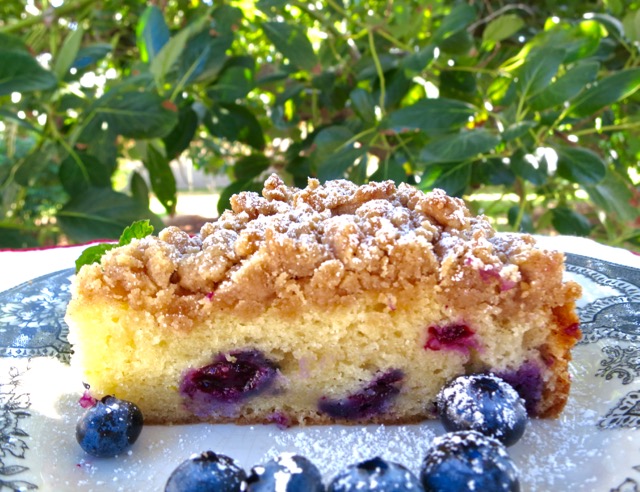
Like many others, I am a fan of Ina Garten’s recipes.  I miss her Barefoot Contessa cooking show on Food Network.  The cooking channels seem to have cancelled their actual cooking shows such as Ina’s.  These days, you’re hard pressed to find such a show though there is no shortage of reality/competitive cooking shows. Now on to Ina’s blueberry crumb cake!  Blueberries are plentiful and so now is a great time to make this cake.  My version uses lactose free ingredients but go ahead and use regular sour cream and butter if you get along with them just fine.

blueberry cake - 1 (5)

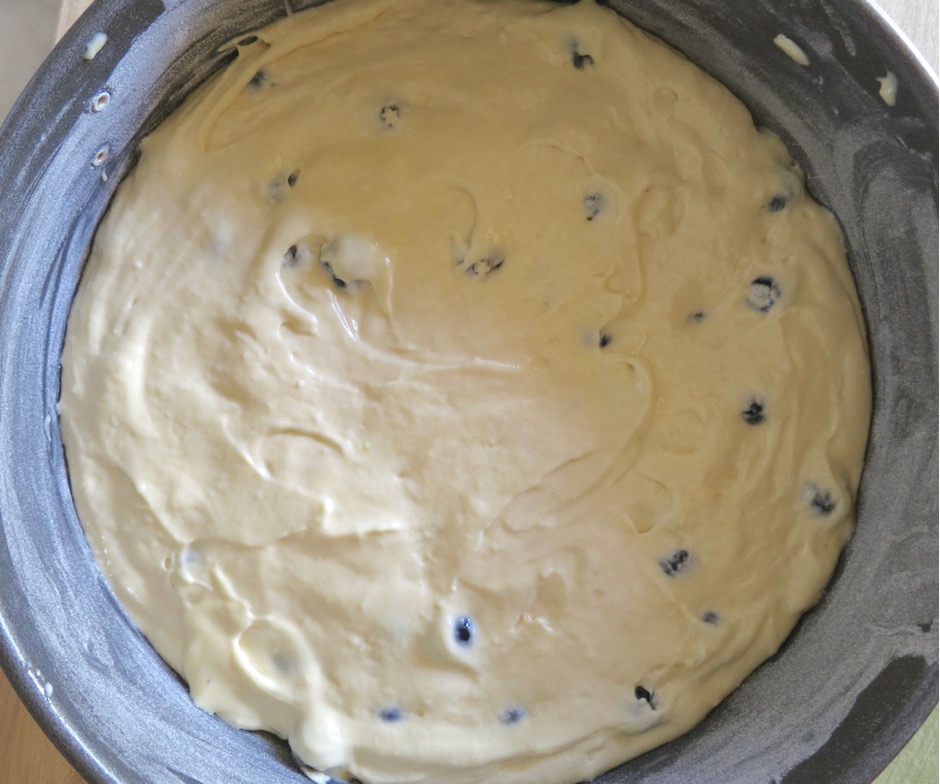
The recipe calls for a stand mixer but I’m sure you could use a hand mixer as well.  The batter is quite thick, which makes for a beautiful cake.

blueberry cake - 1 (6)

blueberry cake - 1 (7)

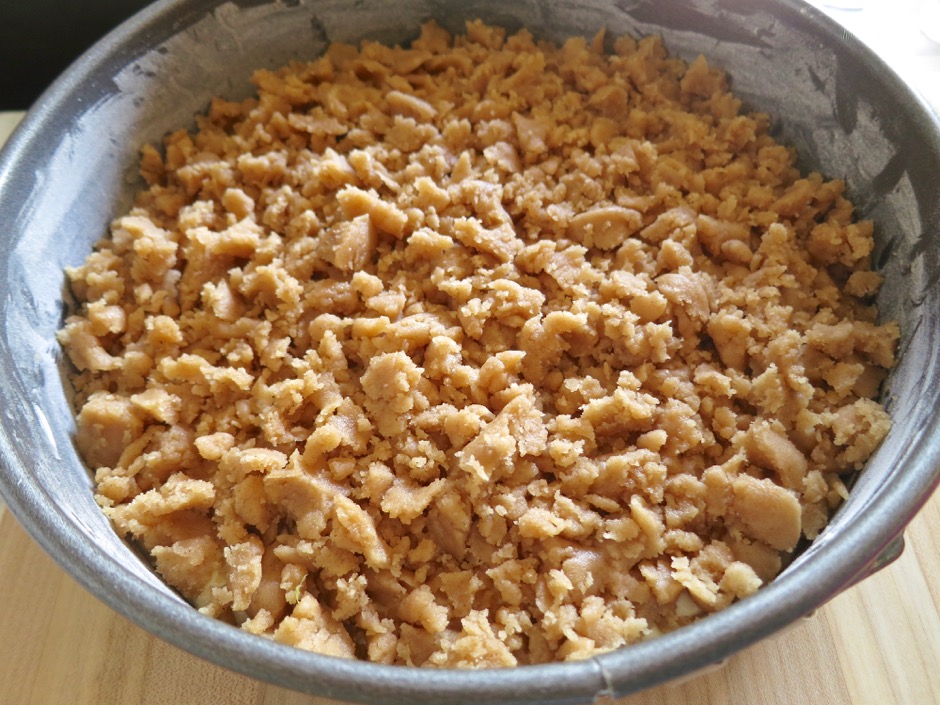
I kept sprinkling the streusel over the batter as instructed.  I thought I had way too much, but I kept going until I used it up.  All that streusel (see top photo) makes this the crumb cake of your dreams!

blueberry cake - 1 (8)


Blueberry Crumb Cake
 
Lactose free, adapted from Ina Garten's Blueberry Crumb Cake Recipe
Author:
Serves: 8 servings
Ingredients
  • For the streusel:
  • ¼ cup granulated sugar
  • ⅓ cup light brown sugar, lightly packed
  • 1 teaspoon ground cinnamon
  • ⅛ teaspoon ground nutmeg
  • ¼ pound (1 stick) Earth Balance Buttery Sticks (or unsalted butter), melted
  • 1⅓ cups all-purpose flour
  • For the cake:
  • 6 tablespoons Earth Balance Buttery Sticks (or unsalted butter), at room temperature
  • ¾ cup granulated sugar
  • 2 extra-large eggs, at room temperature
  • 1 teaspoon vanilla extract
  • ½ teaspoon grated lemon zest
  • ⅔ cup Green Valley lactose free sour cream (or regular sour cream)
  • 1¼ cups all-purpose flour
  • 1 teaspoon baking powder
  • ¼ teaspoon baking soda
  • ½ teaspoon kosher salt
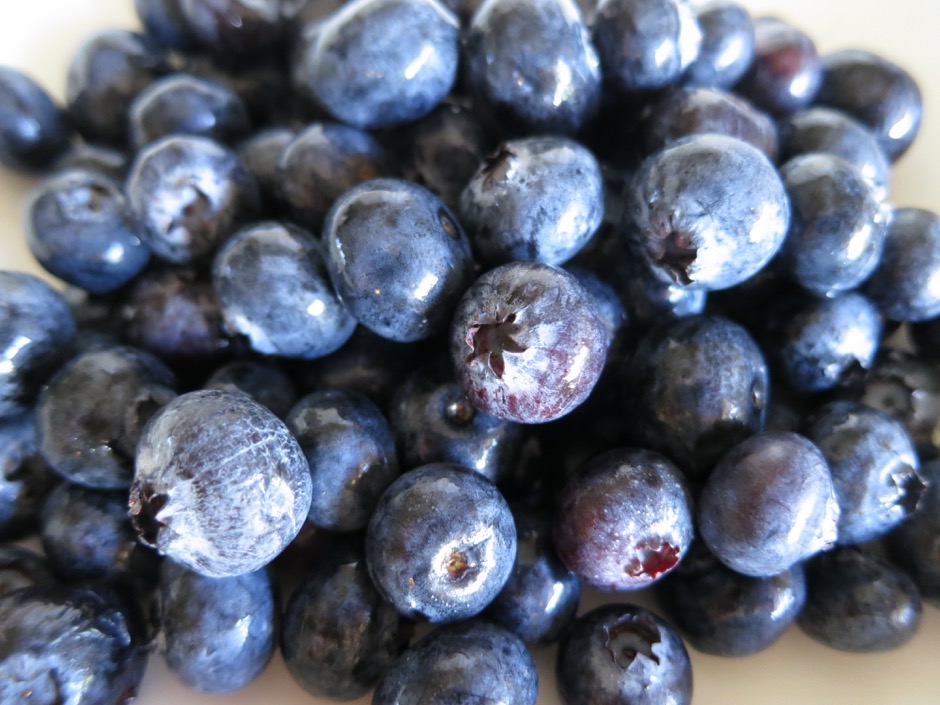
  • 1 cup fresh blueberries
  • confectioners sugar for sprinkling
Preparation
  1. Preheat the oven to 350 degrees. Butter and flour a 9-inch round baking pan.
  2. For the streusel:
  3. Combine the granulated sugar, brown sugar, cinnamon, and nutmeg in a bowl. Stir in the melted butter and then the flour. Mix well and set aside.
  4. For the cake:
  5. Cream Buttery Sticks or butter with the sugar in the bowl of an electric mixer fitted with the paddle attachment on high speed for 4 minutes, until light. Reduce speed to low and add the eggs one at a time, then add the vanilla, lemon zest, and sour cream.
  6. In a separate bowl, sift together the flour, baking powder, baking soda, and salt. With the mixture on low speed, add the flour mixture to the batter until just combined. Fold in the blueberries and stir with a spatula to be sure the batter is completely mixed.
  7. Spoon the batter into the prepared pan and speed it out with a spatula. With your fingers, crumble the topping evenly over the batter. It may seem as though there is too much streusel, but keep sprinkling until you use it up!
  8. Bake for 40 - 50 minutes until a cake tester comes out clean, Cool completely and serve sprinkled with confectioners sugar if desired.
  9. This cake freezes beautifully.


Cookies, Dessert, Lactose Free, Recipes

Salted Peanut Butter Cookies

March 7, 2016

Salted Peanut Butter Cookies

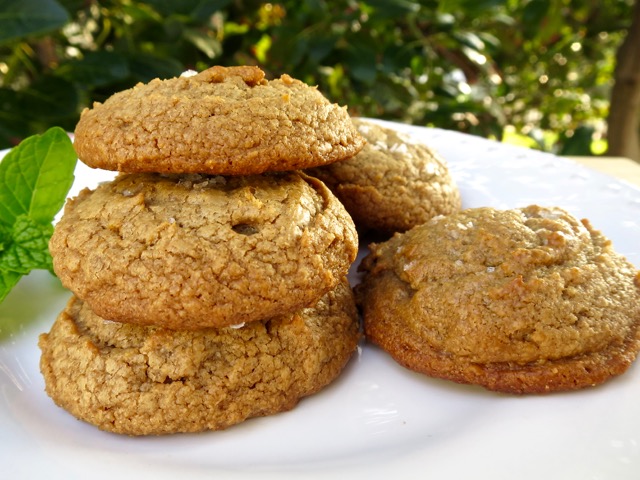
I tend to favor crispy cookies rather than those that are soft and billowy. Knowing these were on the soft side of the cookie spectrum, I left this recipe on the back burner along with other recipes I haven’t’ gotten around to trying yet.  On a lark, I took a chance on these peanut butter cookies.  It doesn’t matter in the slightest that they are not crispy. These cookies are just pure peanut butter goodness with just a hint of salt.  Divine.

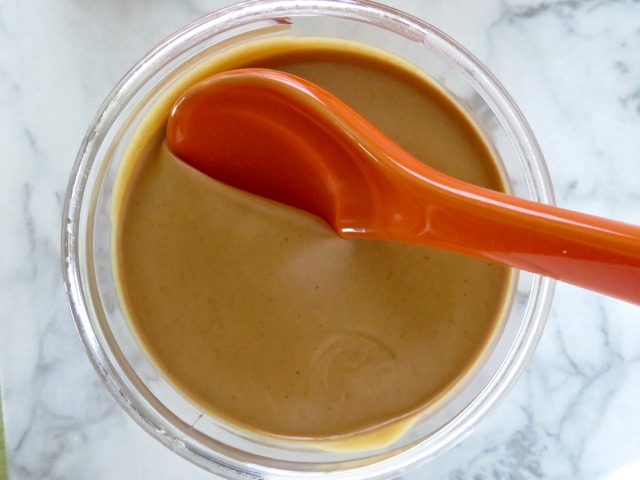
Peanut Butter

Deb over at Smitten Kitchen posted the recipe last October.  I truly regret not making these sooner.  All my friends love them and they are a breeze to make.

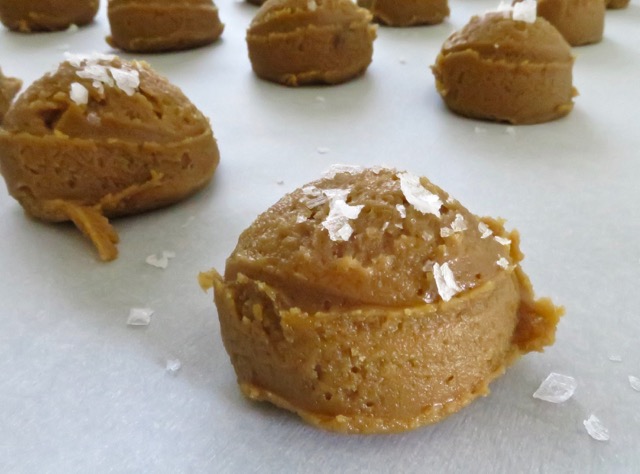
Peanut Butter Cookie Dough

I used beautiful flaky Maldon sea salt but any coarse salt such as fleur de sel works well.

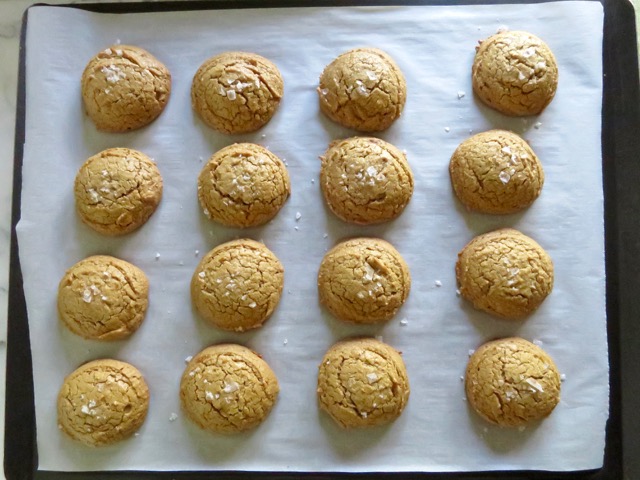
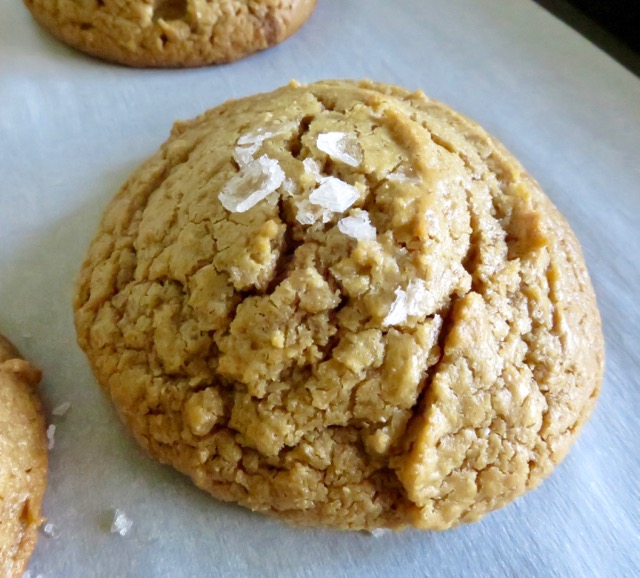
Salted Peanut Butter Cookies

Salted Peanut Butter Cookies

Salted Peanut Butter Cookies
 
Author:
Serves: 26 cookies
Ingredients
  • 1¾ cups (335 grams) packed light brown sugar
  • 2 large eggs, at room temperature
  • ½ teaspoon vanilla extract
  • 1 16.3 ounce jar Skippy creamy peanut butter
  • Flaky sea salt such as Maldon or coarse grained sea salt, to finish
Preparation
  1. Preheat oven to 350 degrees. Line a baking sheet with parchment paper.
  2. In a medium bowl, whisk together light brown sugar and eggs until smooth. With a firm spatula, stir in vanilla extract, then the peanut butter. Stir well making sure the peanut butter is completely incorporated. Chill dough in freezer for 15 minutes, stirring once.
  3. Scoop dough (I used a #40 scoop) onto prepared pan. Deb says for achieving the tallest final shape it is best to set the pan in your freezer for 15 minutes before baking. My pan won't fit in my freezer so I set the pan in the refrigerator for 15 minutes.
  4. Sprinkle dough balls very lightly with sea salt just before baking. Bake for 14 or 15 minutes. The cookies will be golden at the edges. Let cookies cool on pan for a couple of minutes before transferring to a cooling rack. Cool completely before devouring.


Breakfast, Dessert, Lactose Free, Recipes

Maple Scones with Candied Pecans

February 29, 2016

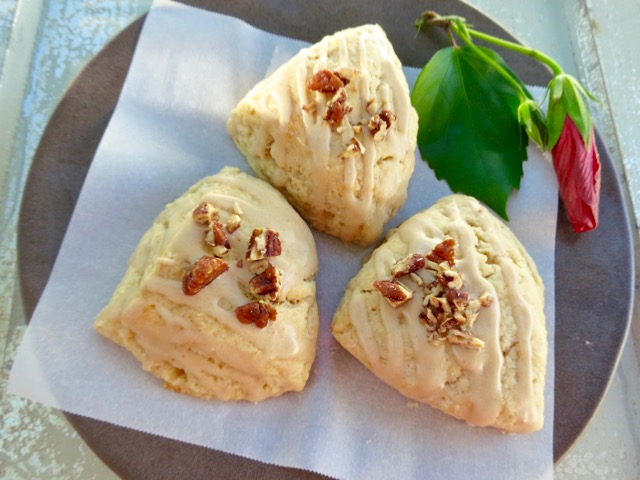
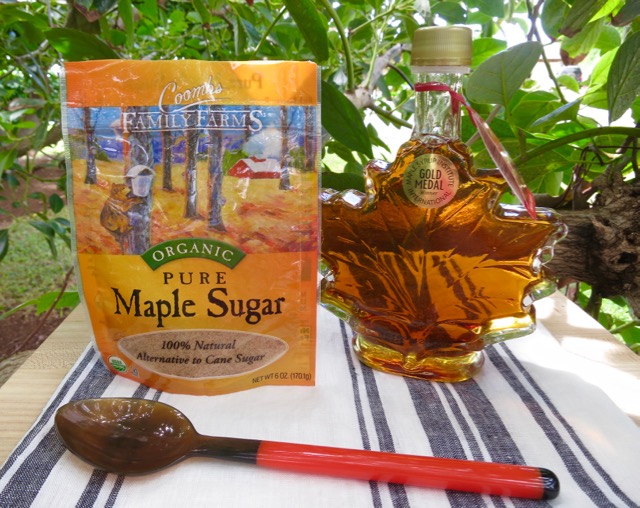
Maple Tea Scones with Candied PecansIf you enjoy a light and delicate scone, look no further. This recipe adapted from Bon Appetit will please not only you, but just about everyone. I eat them warmed up or sometimes crisp the top a bit in the toaster oven for a few minutes.  My pantry was over flowing with lots of maple syrup and maple sugar and this maple scone recipe immediately came to mind.

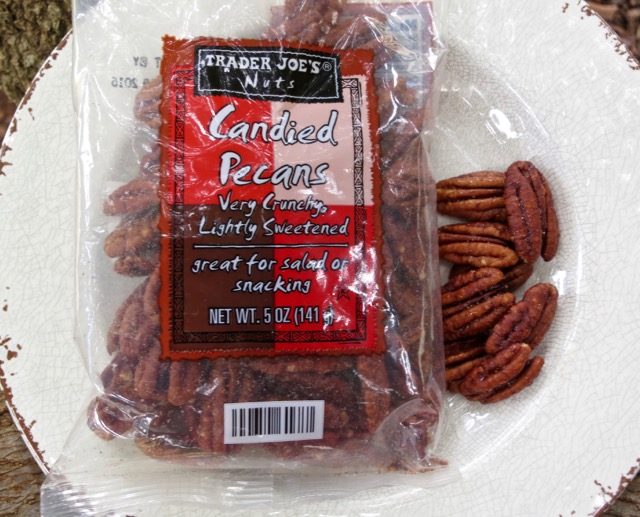
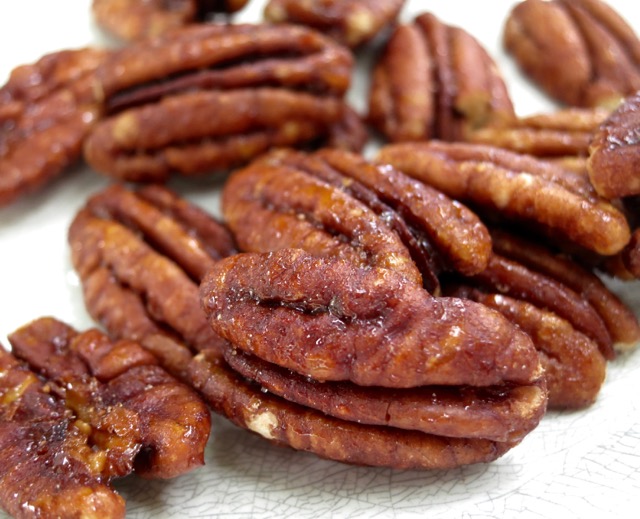
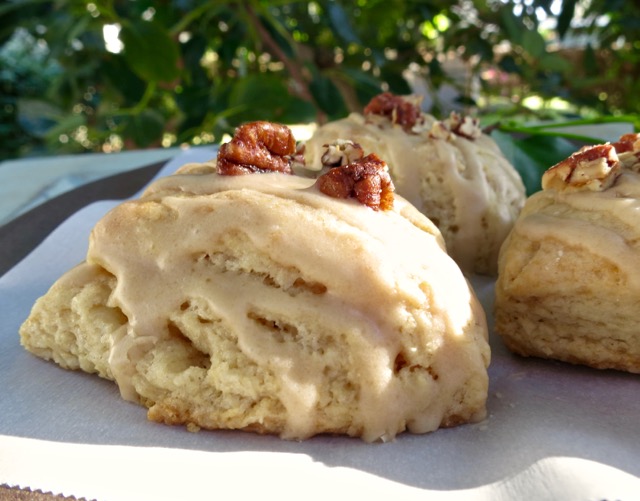
maple scones - 1 (4)I also had some crunchy candied pecans so I sprinkled them over the scones after they were done baking, along with a light maple glaze.

Candied Pecans

Candied Pecans

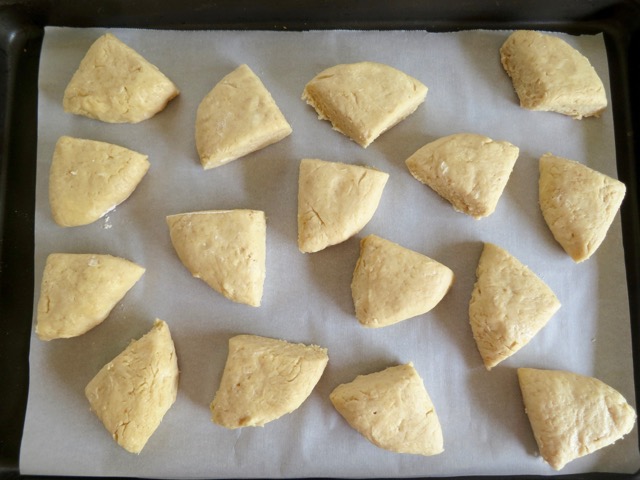
Maple Tea Scones Ready for BakingThese are petite scones.  You could make them larger, but I find they are the perfect size for a morning snack with a cup of coffee.

Maple Tea Scones with Candied Pecans

Maple Scones with Candied Pecans
 
Author:
Ingredients
  • 3 cups all-purpose flour
  • 4 tablespoons (packed) maple sugar, or dark brown sugar
  • 1½ teaspoons baking powder
  • ½ teaspoon baking soda
  • ¼ teaspoon salt
  • ¾ cup (1½ sticks) Earth Balance Buttery Sticks, or unsalted butter, chilled and cut into ½ inch pieces. If using unsalted butter increase salt to ½ teaspoon
  • ½ cup plus 3 tablespoons lactose free half and half, or regular half and half
  • ½ cup plus 2 tablespoons pure maple syrup
  • 1 cup powdered sugar
  • ½ cup coarsely chopped candied pecans, optional
Preparation
  1. Preheat oven to 375 degrees.
  2. Whisk flour, 2 tablespoons maple sugar or dark brown sugar, baking powder, baking soda and salt in a large bowl to blend. Add butter and using a pastry blender, cut butter into dry ingredients until mixture resembles coarse meal. If you do not have a pastry blender use your fingertips to incorporate the ingredients.
  3. Stir in ½ cup half and half and ½ cup maple syrup in a small bowl to blend.
  4. Gradually add half and half mixture to flour mixture, stirring just until dough comes together. Add a bit more cream if dough is dry.
  5. Turn dough onto a lightly floured surface. Knead dough gently until smooth, about 5 turns. Cut dough into 4 equal pieces. Using floured hands, pat out dough into into even rounds; cut each round into 4 wedges. Transfer wedges to baking sheet, spacing 2" apart. Bake scones until golden and tester inserted in center comes out clean, about 13 minutes. Transfer to cooling rack.
  6. Meanwhile, whisk remaining 2 tablespoons maple sugar or dark brown sugar, 3 tablespoons half and half, and 2 tablespoons maple syrup in a medium bowl to blend. Gradually whisk in enough powdered sugar to form a thick glaze.
  7. Drizzle or spread glaze over slightly warm or cooled scones. Top with chopped candied pecans.
  8. For larger scones, pat dough into 8" round and cut into 8 wedges. Baking time will increase. Check scones after 15 minutes of baking. Continue to bake if scones need more time, checking every two minutes.


Follow

Get every new post delivered to your Inbox

Join other followers: