Archives

Chicken, Dinner, Lactose Free, Recipes

Crispy Chicken Tenders

March 10, 2018

Crispy Chicken Tenders

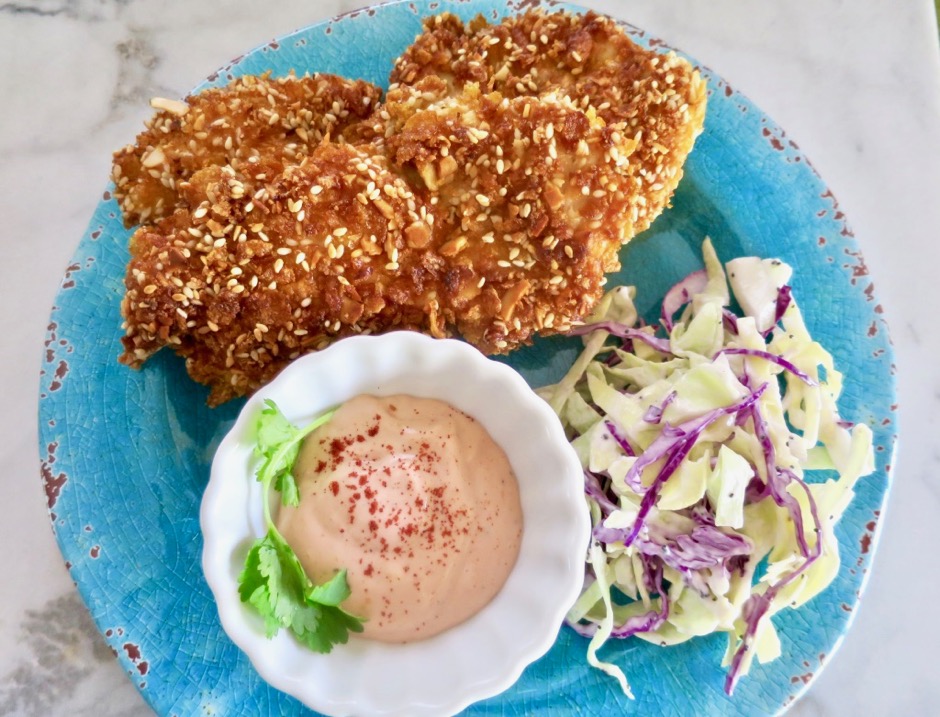
Chicken is one of the most versatile sources of protein.  Each of its parts, breasts, thighs, legs, and tenders can be prepared in their own unique ways. There was a time that I would never consider eating chicken thighs but that time is long gone and of course we regularly enjoy breasts in many preparations. Tenders are now one of my favorite chicken parts.  As their name implies, they are so tender and moist which makes them hard to resist.  Sesame seeds are one of my favorite ingredients to use whether I’m baking bread, making somen salad, smashed cucumber salad or using them as part of a crispy coating for this chicken recipe.  Many times panko or other types of bread crumbs are used for breading chicken, but this time I’m using crushed corn flakes.  The corn flakes, almonds and sesame seeds make a perfectly crispy coating.

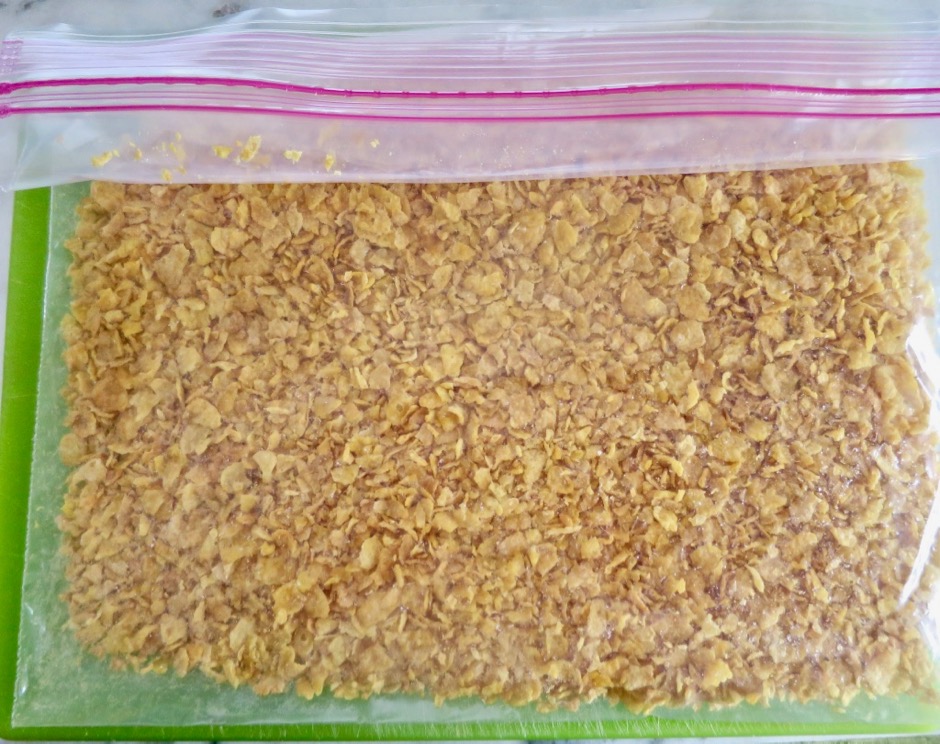
Crushed Cornflakes

Crush the corn flakes and almonds in a Ziploc bag then toss in the raw sesame seeds. I use a smooth meat pounder but you could also use a small heavy pot or skillet and get the same results.

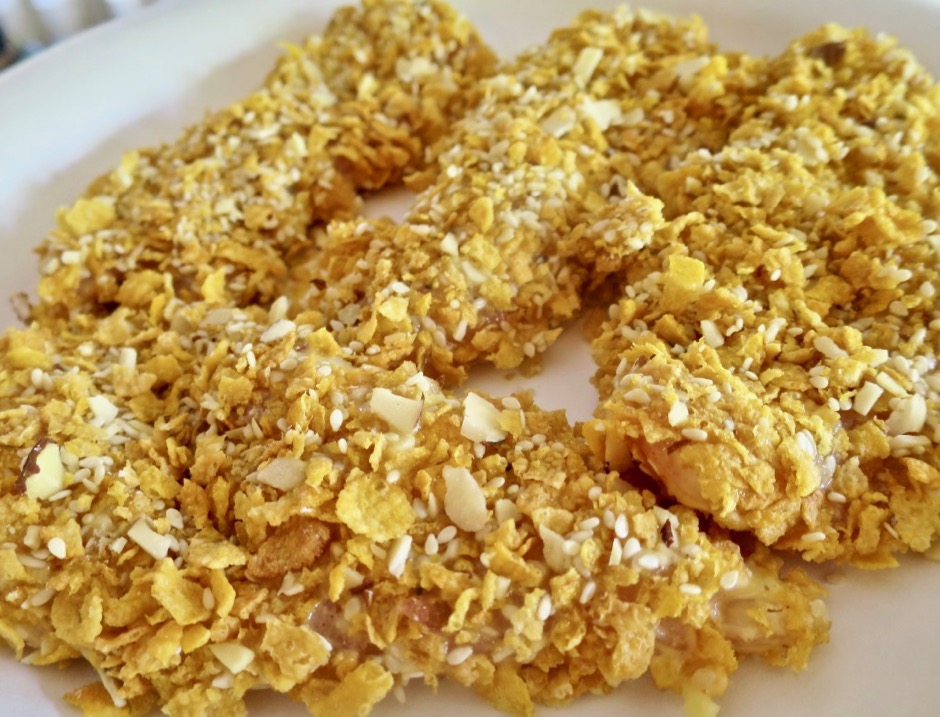
Breaded Tenders

The chicken tenders turn out perfectly crisp.  Serve them with sauce on the side, in a sandwich or with melted cheese over the top alongside spaghetti and red sauce.

Crispy Chicken Tenders

Crispy Chicken Tenders
 
Adapted from Food & Wine magazine
Author:
Serves: 4
Ingredients
  • 8 chicken tenders
  • 1 teaspoon kosher salt
  • ¼ scant teaspoon garlic powder
  • ¼ scant teaspoon onion powder
  • ¼ teaspoon freshly ground black pepper
  • ¼ teaspoon paprika (optional)
  • ⅛ teaspoon cayenne pepper (optional)
  • 2¾ cups corn flakes, crushed
  • ¼ cup sliced almonds, crushed
  • ¼ cup raw sesame seeds
  • all-purpose flour for dredging
  • 2 extra-large eggs
  • 2 tablespoons half and half or 1 tablespoon sour cream (I use Organic Valley and Green Valley lactose free dairy products)
Preparation
  1. Combine the salt, garlic powder, onion powder, pepper, paprika and cayenne pepper in a small dish.
  2. Remove the tendon that runs down the underside of each chicken tender. Place tenders on a plate and season both sides with the salt & spice mixture. (Depending on the size of your tenders you may not need all of the salt mixture).
  3. Place corn flakes and almonds in a Ziploc bag and crush with a meat pounder or small heavy pot. Pour in sesame seeds and transfer mixture to a large paper plate.
  4. Place ½ cup flour on another large paper plate.
  5. Combine egg and half and half or sour cream in a shallow bowl.
  6. Working with two pieces of chicken at a time, dip each in flour, shaking off excess. Dip chicken into egg mixture and allow excess to drip off. Repeat once again with flour and egg. Transfer to corn flake mixture scooping crumbs on top of chicken. Gently press to ensure each piece is nicely coated on both sides. Continue with the rest of the chicken tenders.
  7. Heat ¼-inch of canola oil in a large deep skillet over moderate heat. Once oil is hot, add 4 chicken tenders to the pan. Cook for 2½ minutes until nicely browned, then flip and cook until internal temperature reads 160 degrees, about 2 minutes longer. Transfer chicken to a plate and cook the remaining for pieces.
  8. Serve chicken with your favorite dipping sauce, in a sandwich, or with pasta and red sauce.


Beef, Dinner, Italian, Recipes

Smoked Meatballs

February 18, 2018

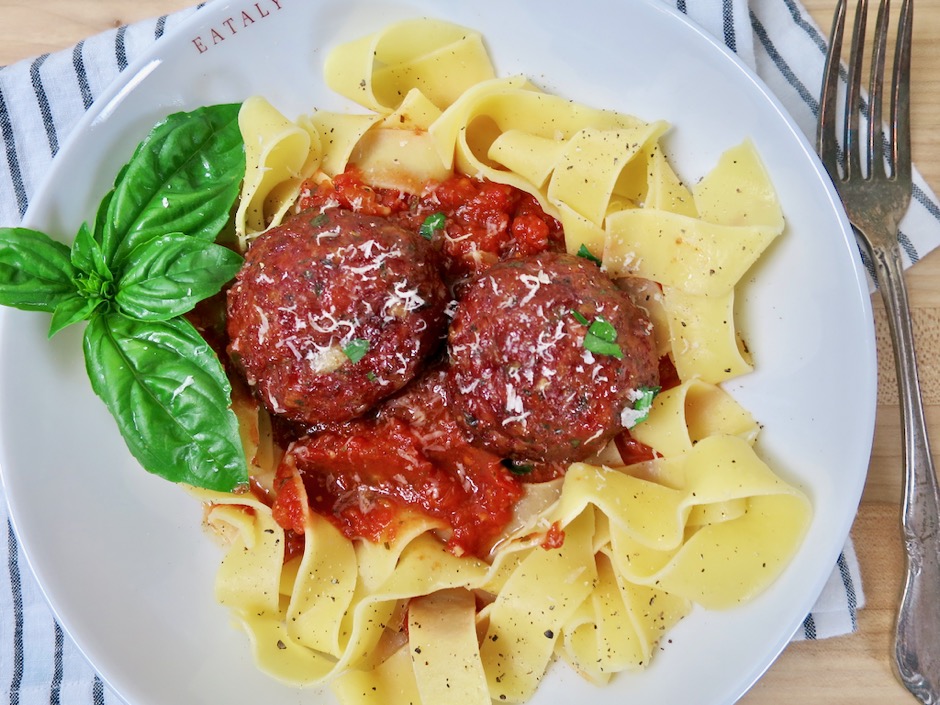
Smoked Meatballs with Pappardelle & Red Sauce

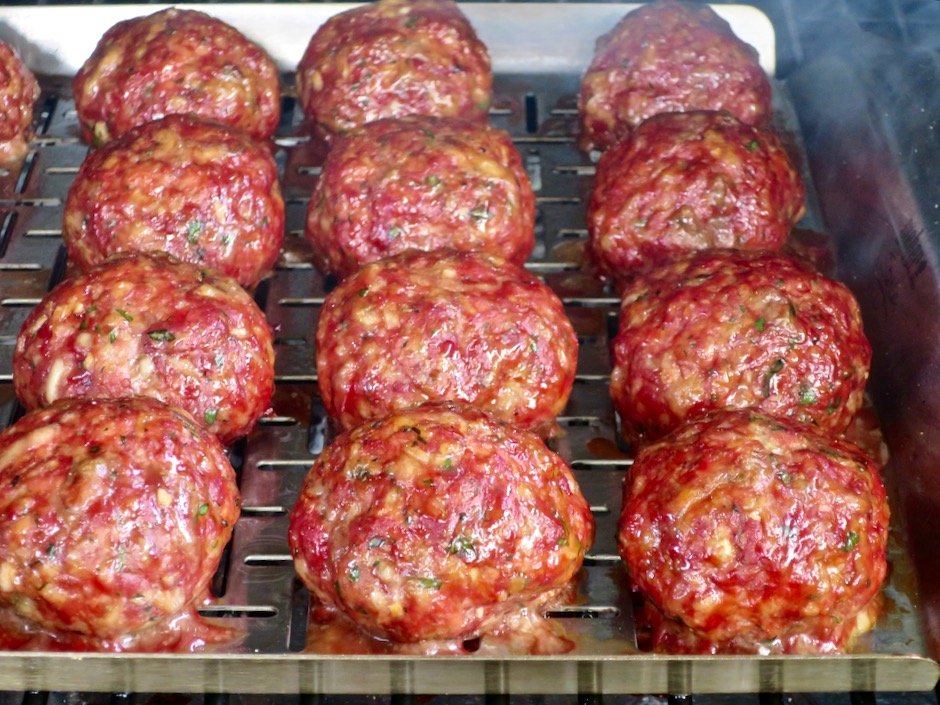
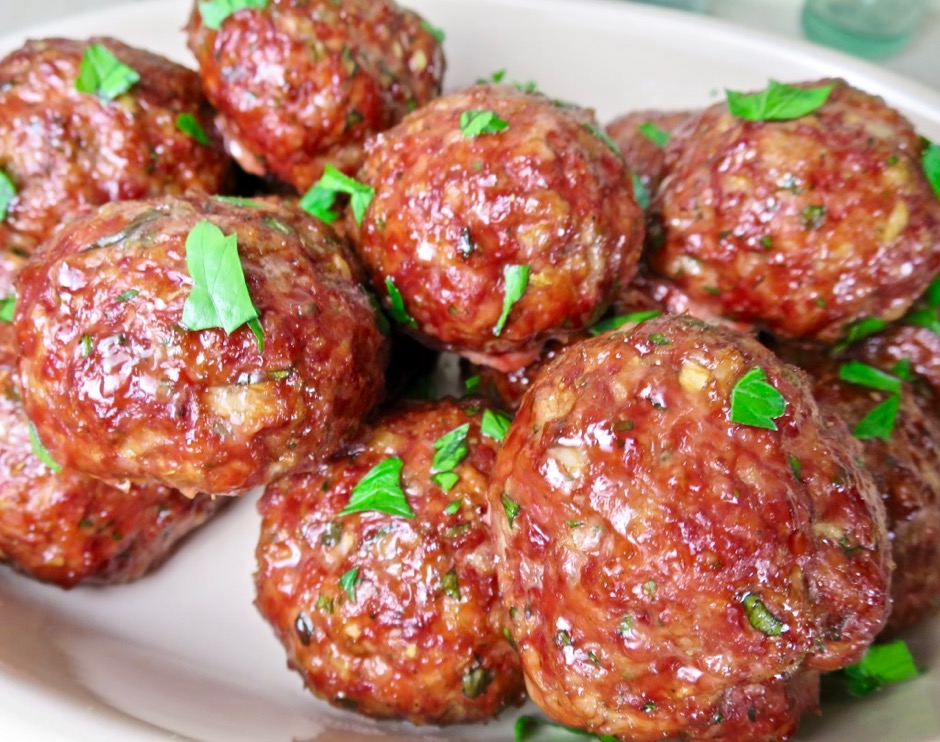
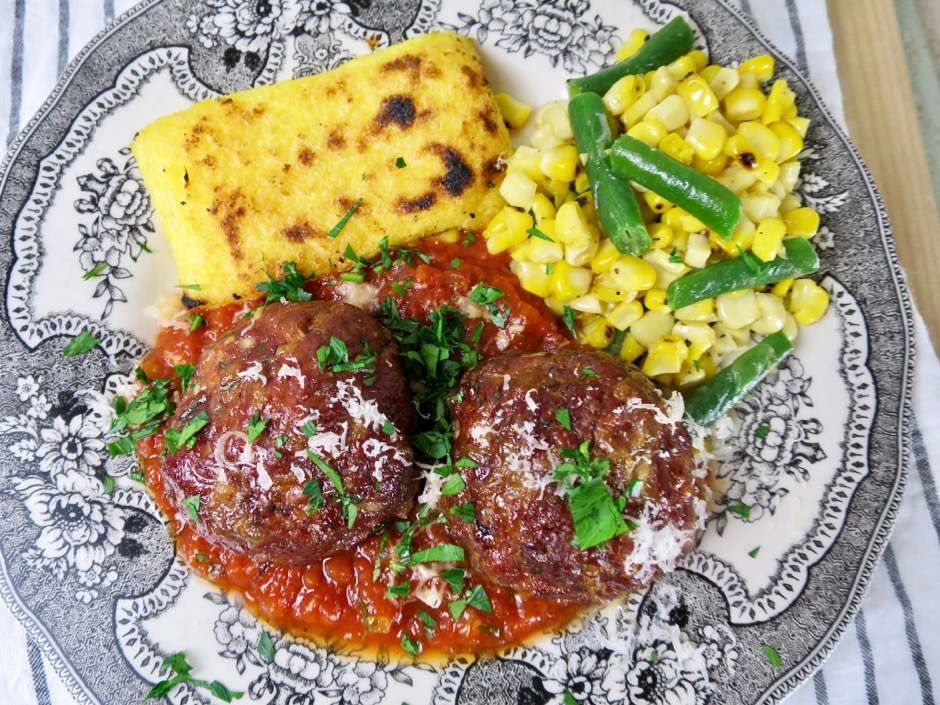
Over the years I’ve tried and adapted a number of meatball recipes.  I have made several that we really enjoy but this smoked version is in a class of its own. Meatballs are of course one of the great “comfort foods.”  Each time I see a photo of these smoked meatballs I am inspired to make more: they are that scrumptious.  After being in the smoker for more than an hour, they take on a luxurious mahogany color.  These smoked meatballs are a breeze to make.  The finished meatballs are excellent served with homemade red sauce and pasta, or in a sandwich with melted cheese, or with grilled polenta.

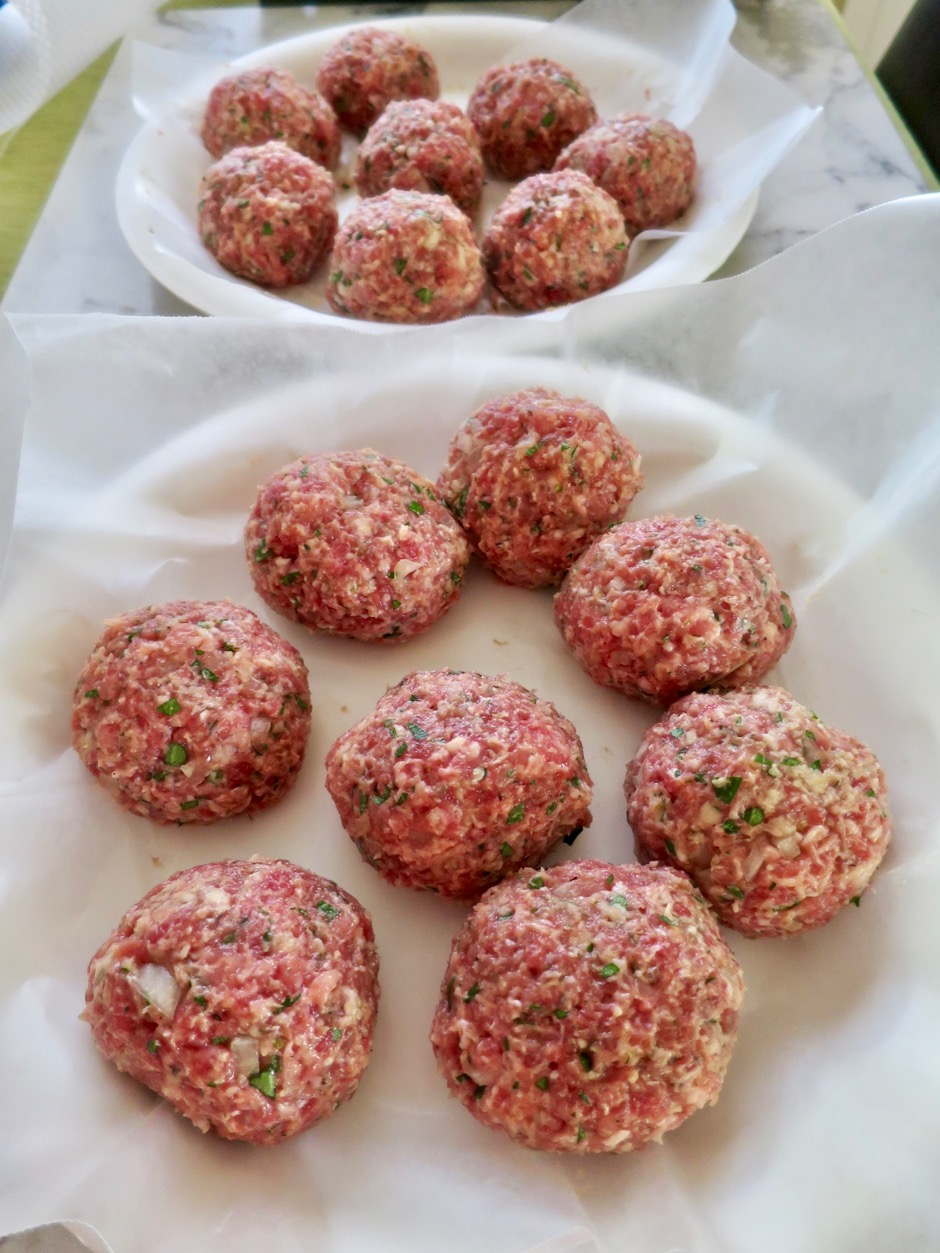
Meatballs

Mix all of the ingredients together then form in to meatballs.  Stash them in the refrigerator until you are ready to put them in the smoker later in the day.

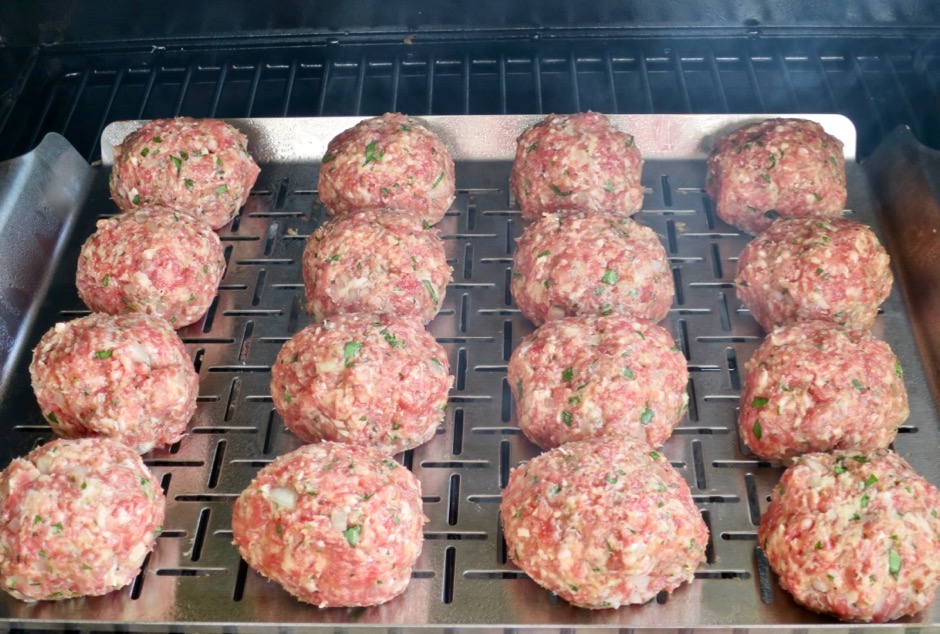
Meatballs in the smoker

We use our Camp Chef pellet smoker for these meatballs but any smoker will work or even a charcoal grill set up for indirect cooking with some wood chunks.

Smoked Meatballs

The meatballs have taken on their beautiful color and look spectacular.


Smoked Meatballs with Grilled Polenta

Smoked Meatballs
 
Author:
Serves: 4
Ingredients
  • 2 pieces plain white bread, crusts removed and torn into small pieces
  • ⅓ cup milk
  • 1 pound ground chuck or ground beef 80/20
  • ½ pound ground pork
  • 1 extra large egg
  • ¼ cup finely chopped onion
  • 2 teaspoons minced garlic
  • 1 tablespoon chopped flat leaf parsley
  • 2 teaspoons chopped basil
  • ½ teaspoon dried oregano
  • ¼ teaspoon dried marjoram
  • 1½ teaspoons kosher salt
  • ½ teaspoon freshly ground black pepper
  • 1½ ounces shredded yogurt cheese, optional (substitute with mozzarella or provolone)
Preparation
  1. Preheat your smoker to 225 degrees when you are ready to cook
  2. Pour enough milk over the bread in a bowl to moisten and let soak for a few minutes.
  3. Place ground chuck (or ground beef), ground pork and egg in a large bowl. Gently squeeze excess milk from bread, and mash or mix until smooth. Add bread to the bowl along with the onion and garlic. Add herbs, salt, pepper and cheese. Gently stir the ingredients with your hands or two large forks being careful not to over mix it.
  4. Form mixture into 16 meatballs (or any size you prefer)
  5. Place meatballs on a lightly oiled grill pan or Bradley rack, or directly on the grill grates. The pan makes it easier to transport the meatballs to and from the smoker. Use a drip pan or heavy duty foil under the rack to keep your smoker clean.
  6. Smoke for about 2 hours or until the meatballs register 160 degrees.


Dinner, Dressing, Lactose Free, Recipes, Salad, Side Dishes, Vegetarian, Veggies

Butter Lettuce Salad with Tarragon & Citrus Vinaigrette

February 1, 2018

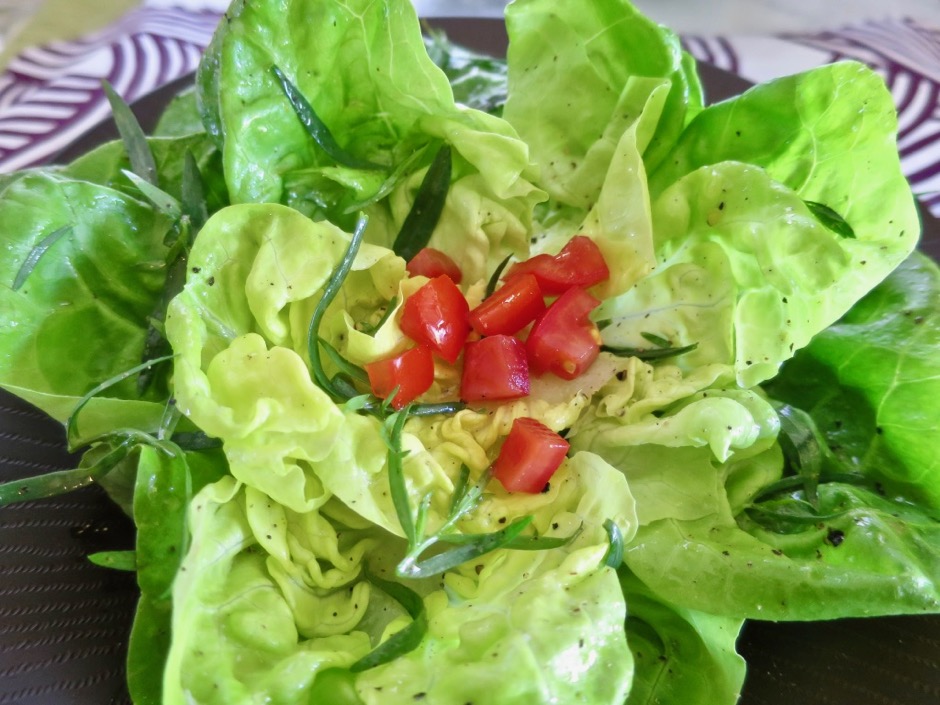
Butter Lettuce Salad

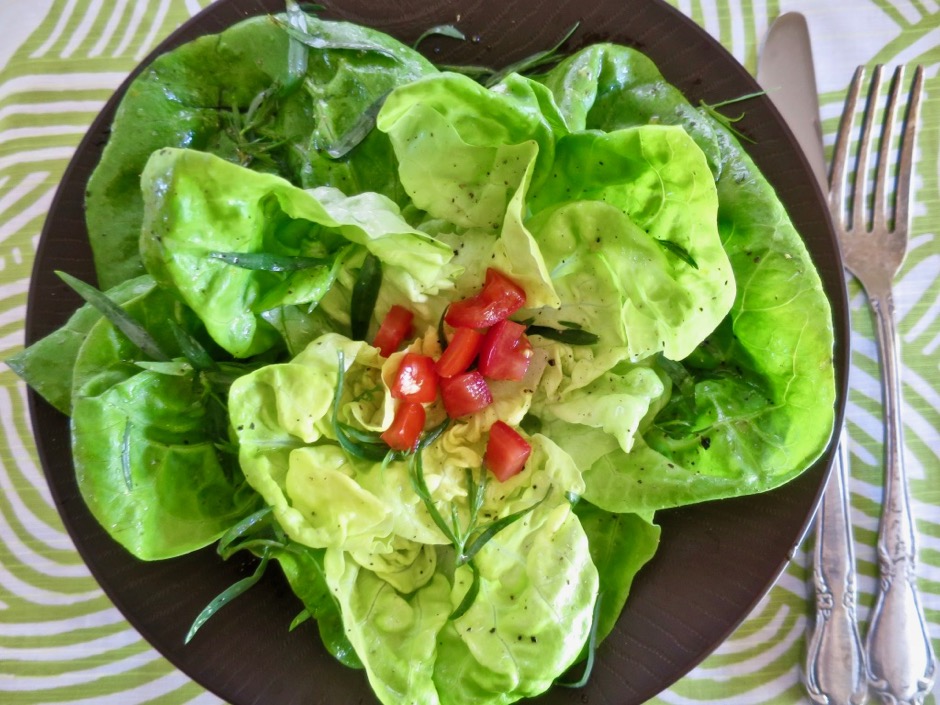
This is a simple and refreshing salad that you can put together at a moment’s notice. With its crisp, whole leaves it makes an impressive first course to any meal.  The citrus dressing is what highlights this beautiful salad.

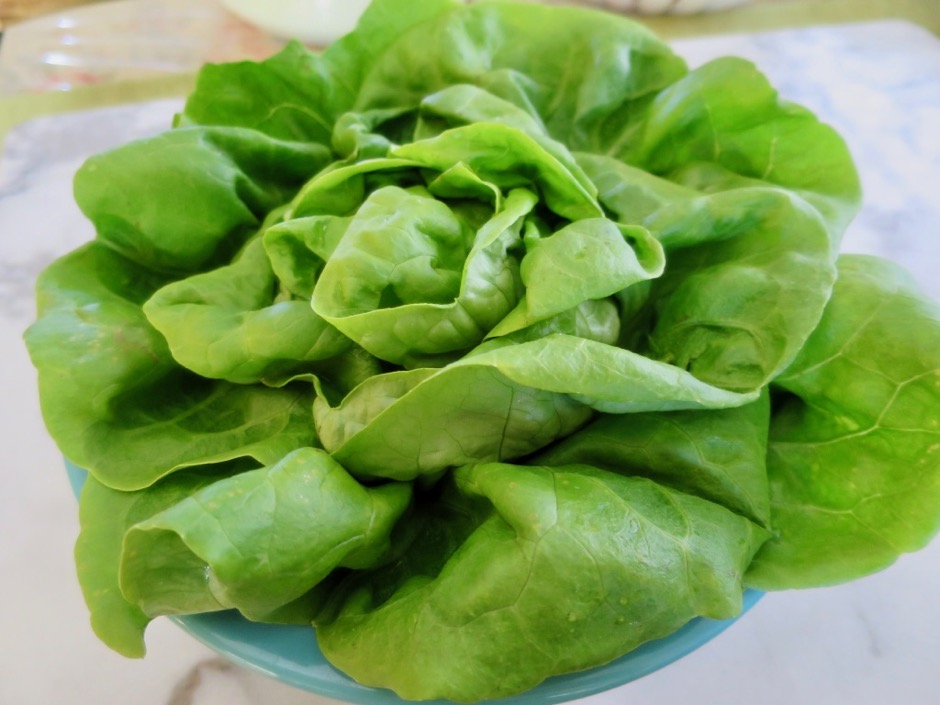
Butter Lettuce

Lemons from the garden

This year our little Meyer lemon tree produced a huge crop.  There was so much fruit we pruned the tree to prevent the branches from breaking off from excess weight. I often use fresh lemons and limes in my recipes so I appreciate having these two citrus trees in our garden.

Limes from the garden

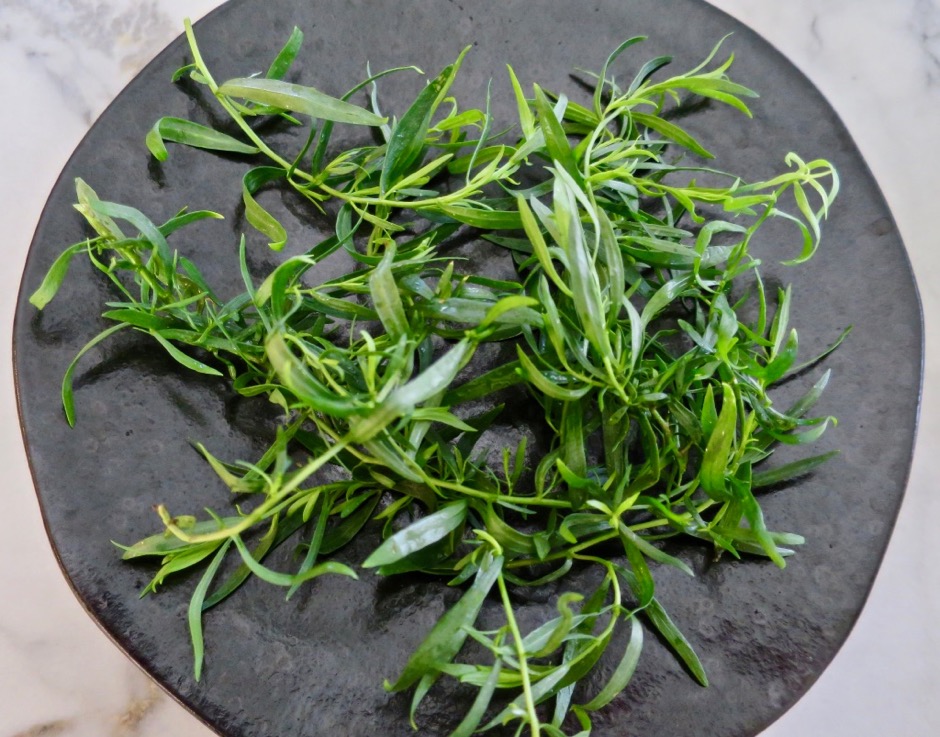
Fresh Tarragon

Tarragon has a bright herbal flavor with notes of lemon, anise and basil.

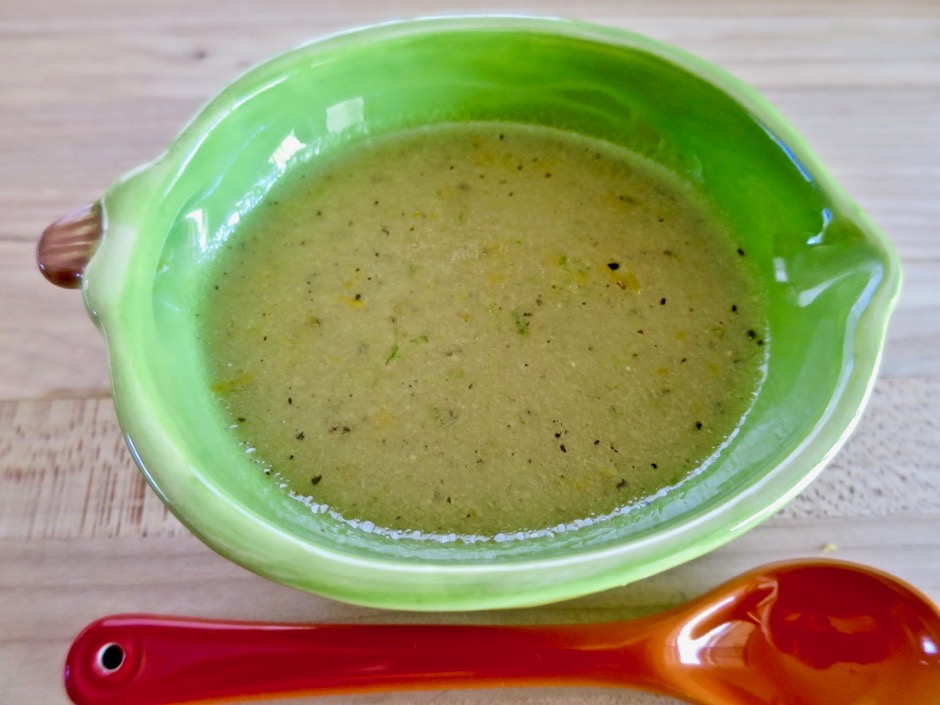
Citrus Vinaigrette

This citrus vinaigrette is delightful.  The lemon and lime zest add a subtle zing that goes perfectly with this salad.

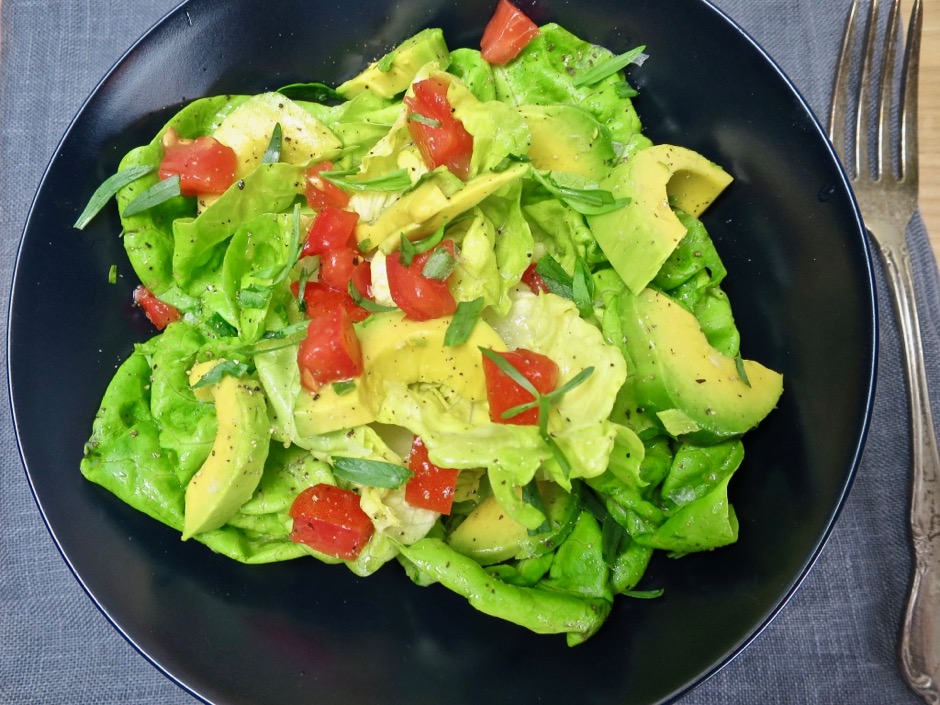
Butter Lettuce Salad with Tomato & Avocado

The tomatoes and avocado are optional but the addition of one or both make for a colorful and flavorful salad.  I can never turn down a good avocado.

Butter Lettuce Salad

Butter Lettuce Salad with Tarragon & Citrus Vinaigrette
 
Adapted from Serious Eats Blog
Author:
Serves: 4
Ingredients
  • 1 teaspoon lemon zest
  • 1 tablespoon lemon juice
  • 1 teaspoon lime zest
  • 1 tablespoon lime juice
  • 2 teaspoons honey
  • 1 teaspoon Dijon mustard
  • salt & pepper
  • 5 tablespoons canola oil
  • 2 large heads butter lettuce
  • ¼ cup fresh tarragon leaves
  • Diced tomato (optional)
  • Diced avocado (optional)
Preparation
  1. Whisk the lemon zest and juice, lime zest and juice, honey and mustard in a small bowl. Season to taste with salt and pepper. Whisk in the canola oil until completely emulsified.
  2. Trim off the cores of the lettuce, discarding the tough outer leaves. Wash lettuce in a bowl of cold water. Spin or pat dry.
  3. Place whole lettuce leaves in a large bowl along with the tarragon leaves and drizzle enough vinaigrette to coat thoroughly. Season with additional salt and pepper. Stack lettuce leaves in 4 wide salad bowls, starting each stack with the large outer leaves on the bottom and ending with the smaller leaves on top. Scatter diced tomatoes and or sliced avocado over the lettuce leaves. Drizzle with additional dressing if desired before serving.


Beef, Dinner, Lactose Free, Recipes

Salisbury Steaks

January 14, 2018

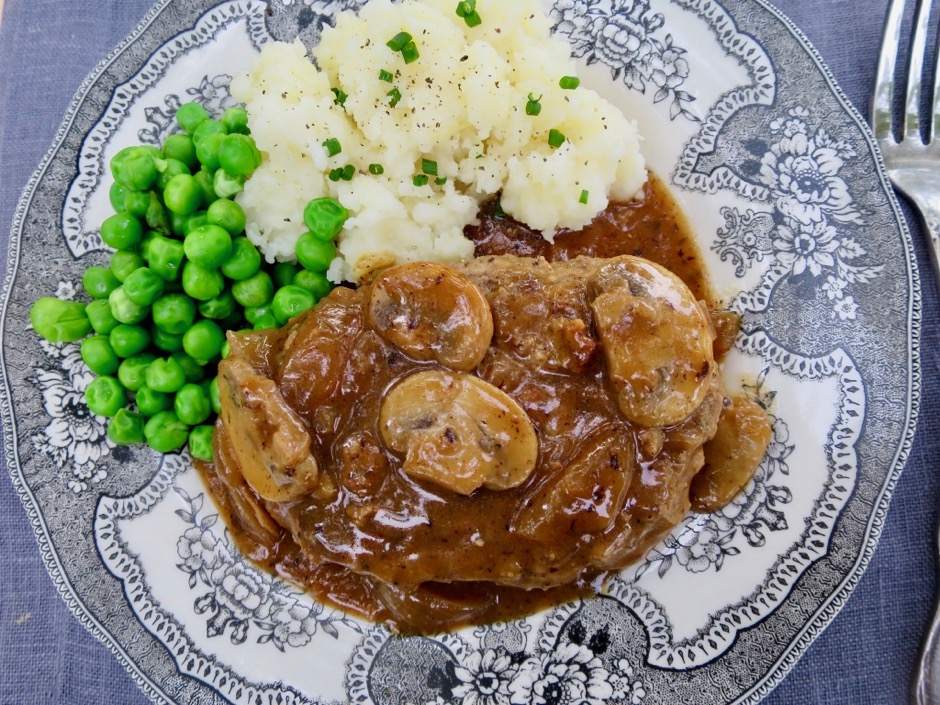
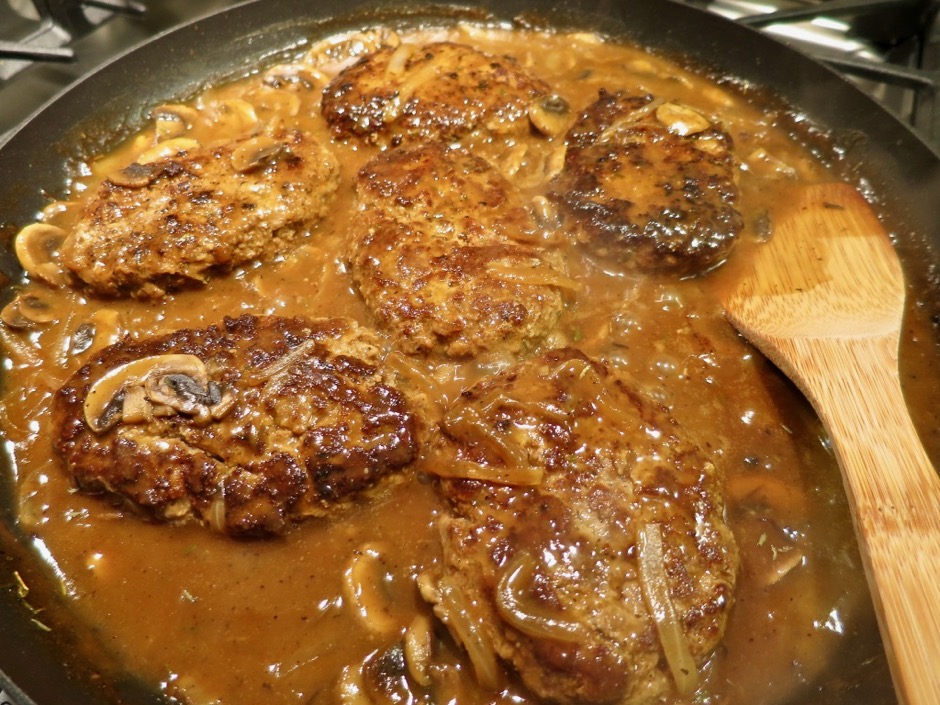
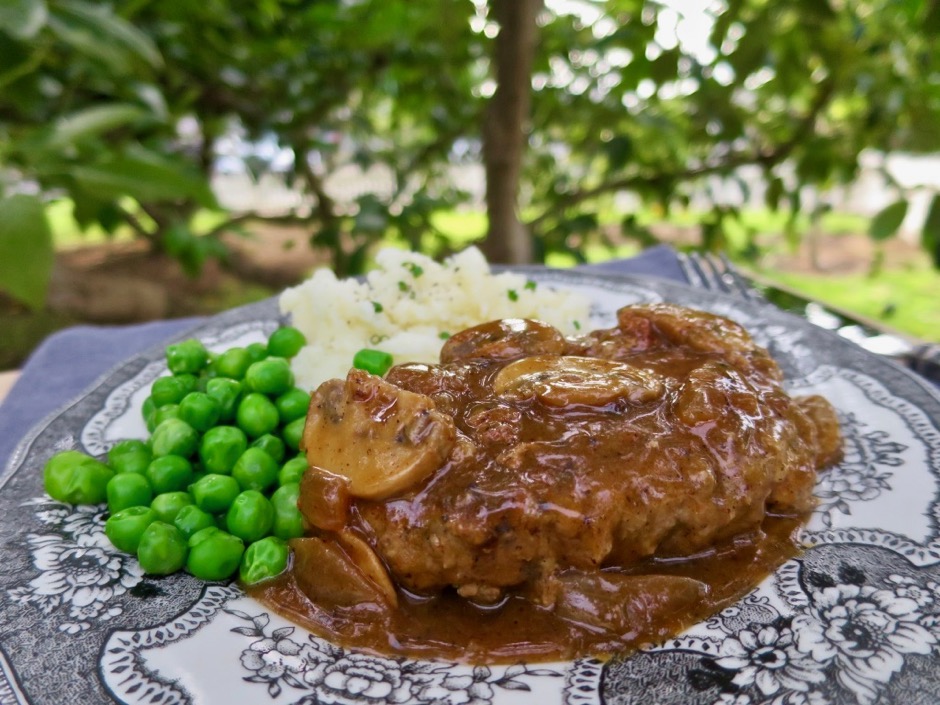
Salisbury Steaks

Sometimes only the classics will do, Mozart’s Clarinet Concerto, Coltrane’s My Favorite Things, or Salisbury Steaks. When you’re in the mood for a simple, unfussy but seriously satisfying supper, there’s nothing better in my mind than a classic Salisbury steak with lots of gravy.  Boil a few potatoes, mash and serve with green peas.  And, if you happen to have any leftovers, this meal heats up nicely the next day.

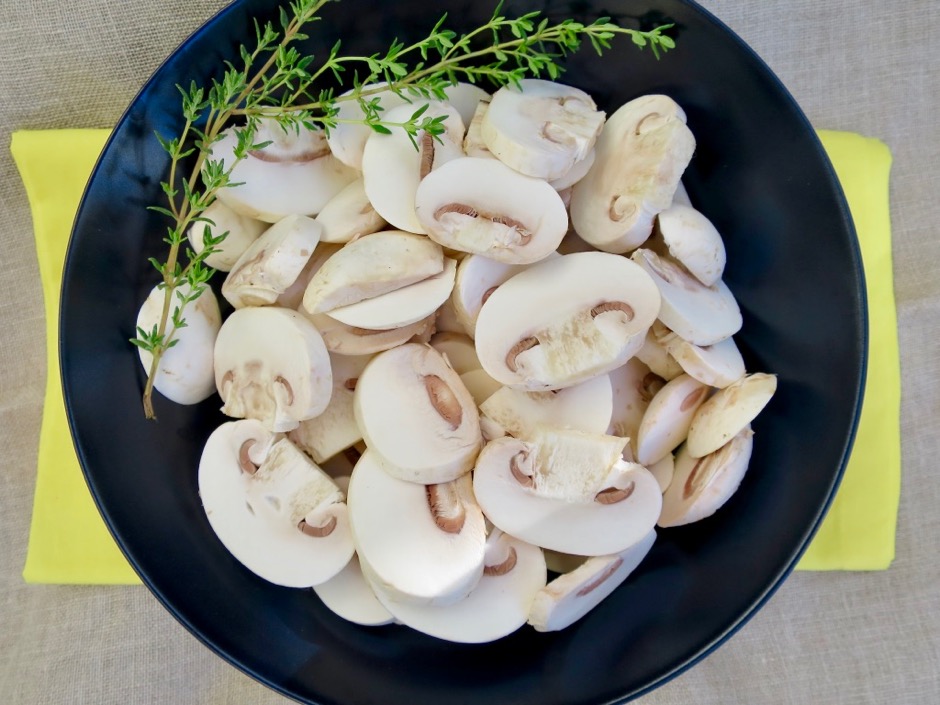
Sliced Mushrooms

Lots of mushrooms and onions ensure the sauce is hearty and flavorful.  Sauté the mushrooms before you make the sauce.  They will be added back once the patties have been cooked.
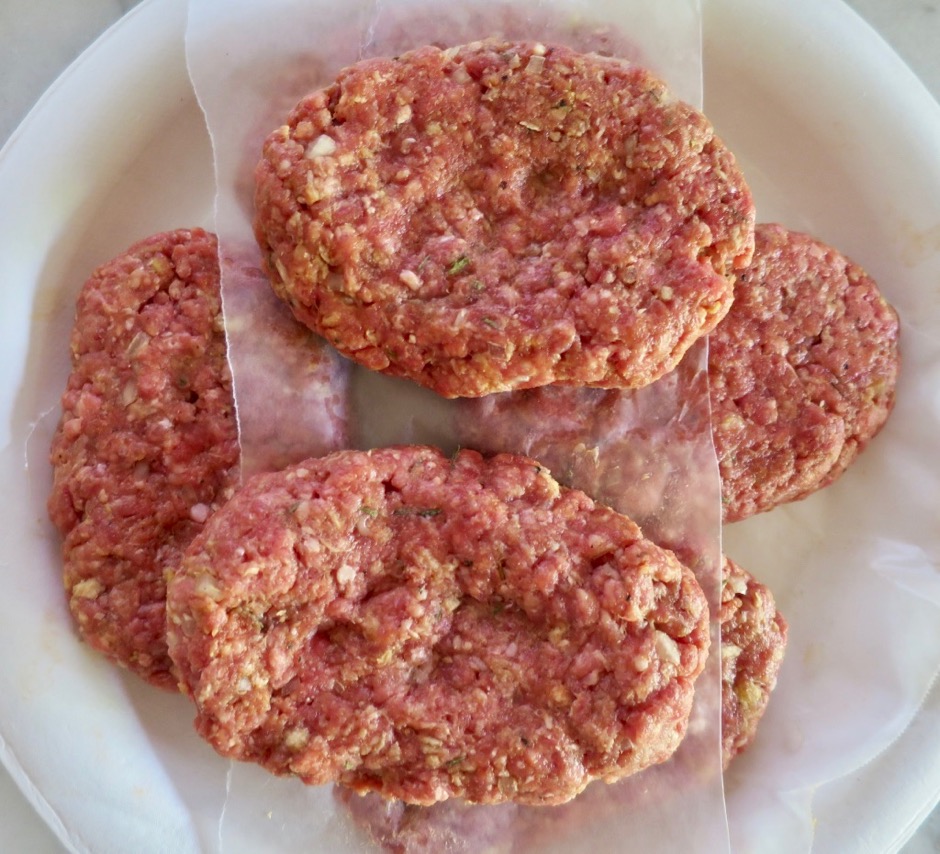
Salisbury Steak Patties

Though it may take a little extra time, I mix the ingredients using two forks.  This ensures the patties are moist and tender and never compacted or dense.

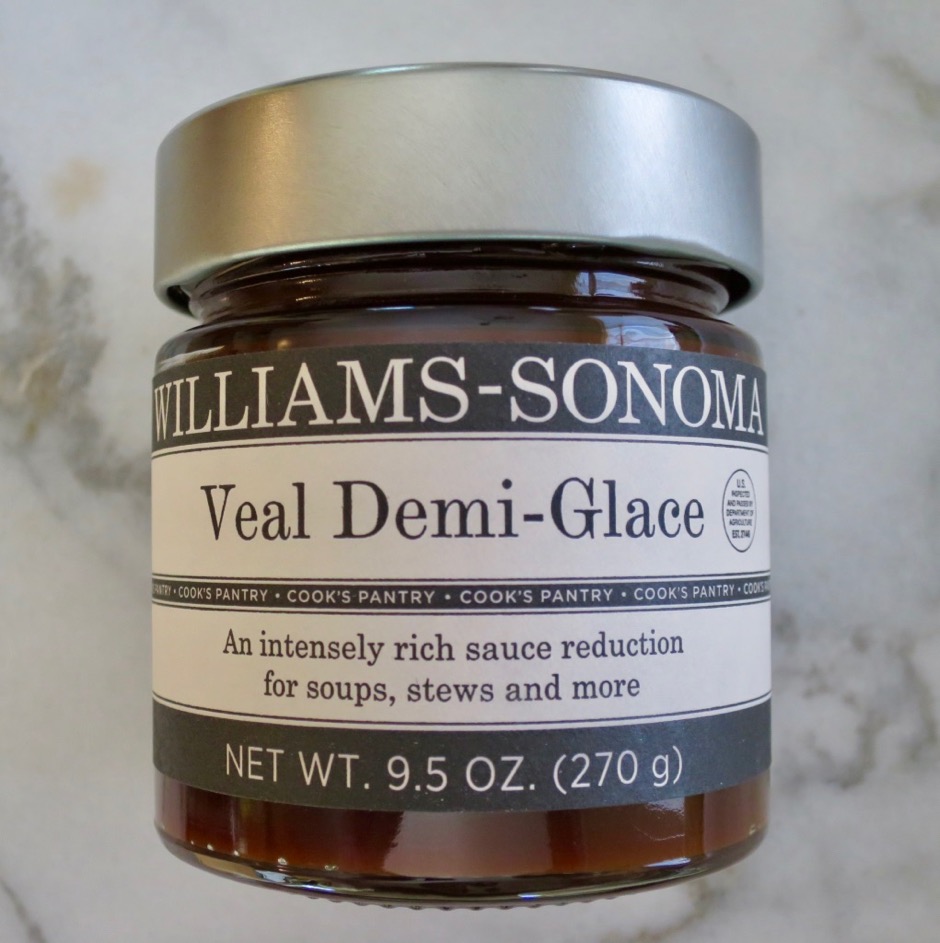
Demi-Glace

There is no such thing as too much gravy when it comes to Salisbury steaks.  The secret ingredient to making a good sauce is demi-glace.  It adds a luxurious richness to all types of brown sauces and gravies.  I always have veal demi-glace portioned out in tablespoon measurements in the freezer.  If there is one item you should splurge on, it should be demi-glace.  You won’t regret it.

Salisbury Steaks

Salisbury Steaks

Salisbury Steaks
 
Adapted from Tip Hero
Author:
Serves: 4
Ingredients
  • For Salisbury Steaks
  • ½ pound ground chuck (or ground beef 80/20)
  • ½ pound ground sirloin (or ground beef 90/10)
  • 1 tablespoon yellow mustard
  • 1 tablespoon tomato paste
  • 1 tablespoon Worcestershire sauce
  • 1 large egg
  • ¼ cup panko
  • ½ teaspoon garlic powder
  • ½ teaspoon dried thyme
  • ¼ cup minced sweet onion
  • 1½ teaspoons kosher salt
  • ½ teaspoon freshly ground black pepper
  • Buttery Sticks (dairy free) for sautéing patties (or regular butter)
  • For Sauce
  • 8 ounces white mushrooms, thinly sliced
  • olive oil or Buttery Sticks (or regular butter) for sautéing mushrooms
  • 1 medium onion (8 ounces) sliced into ⅓-inch strips
  • Buttery Sticks for sautéing onions (or regular butter)
  • 3 tablespoons all-purpose flour
  • ¼ teaspoon dried thyme
  • 2 cups beef stock
  • 1 tablespoon demi-glace whisked with 3 tablespoons warm water
  • ½ teaspoon Worcestershire sauce
  • salt and pepper
Preparation
  1. Combine the first 12 ingredients (meat through pepper) in a large bowl. Gently mix to combine all ingredients. I use two forks to mix everything together. It takes a bit longer but ensures the patties stay light (not compacted) and tender. Form mixture into 4 oval shaped patties. If you prefer smaller patties shape mixture into 6 equal portions. You may prepare the patties a few hours in advance, store covered in the refrigerator.
  2. Meanwhile sauté mushrooms in a bit of olive oil or butter until softened. Transfer to a small bowl and set aside.
  3. Heat a large skillet over medium heat with a tablespoon of Buttery Sticks (or butter). Place the meat patties in the pan and cook for about 4 minutes on each side, until they are just cooked through and nicely browned. Transfer patties to a plate, cover with foil and set aside while you prepare the sauce.
  4. Reduce the heat to medium low. Wipe out the skillet and add 2 or 3 teaspoons of Buttery Sticks (or butter) and sliced onions. Cook until the onions are soft and translucent, about 10 minutes. Add thyme to pan. Sprinkle the flour over the onions and thyme stirring to coat them evenly. Cook for another minute stirring constantly. Increase the heat to medium and gradually stir in the beef stock, demi-glace mixture and Worcestershire sauce. Whisk mixture constantly so no lumps form. Return reserved mushrooms to the pan and heat sauce slightly before placing patties back in the skillet with sauce. Gently warm through before serving.
 

Breakfast, Dinner, Eggs, Lactose Free, Recipes

Spinach, Mushroom & Cheese Omelet for Two

December 26, 2017

Spinach, Mushroom & Cheese Omelet

During a recent visit by our kids and grandkids, we all went out for brunch at Roy’s Humble Market Kitchin in Wailea. The menu featured a beautiful “Makahiki” omelet which included mushrooms, spinach, and white cheddar among its ingredients.  It was so tasty, we were inspired to make our own version at home.

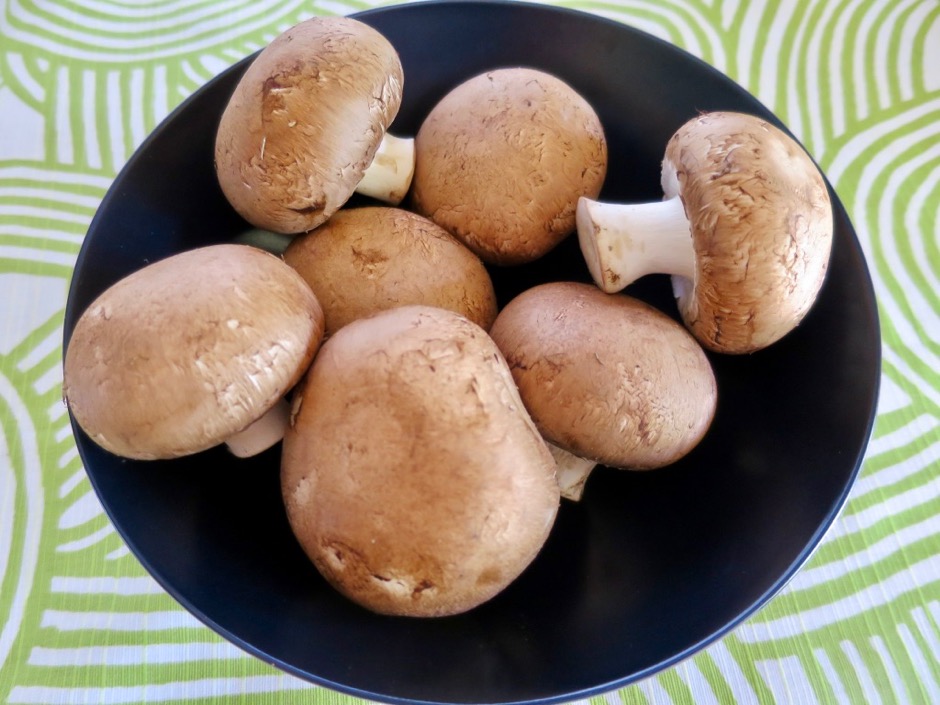
Cremini Mushrooms

Lately the cremini mushrooms at our local Whole Foods market have been particularly gorgeous. I can’t seem to pass by the bin without buying a few to bring home.  Creminis are meatier and have a more complex flavor than white mushrooms.  They hold up nicely and there is very little moisture when sautéing them which makes them perfect for an omelet.

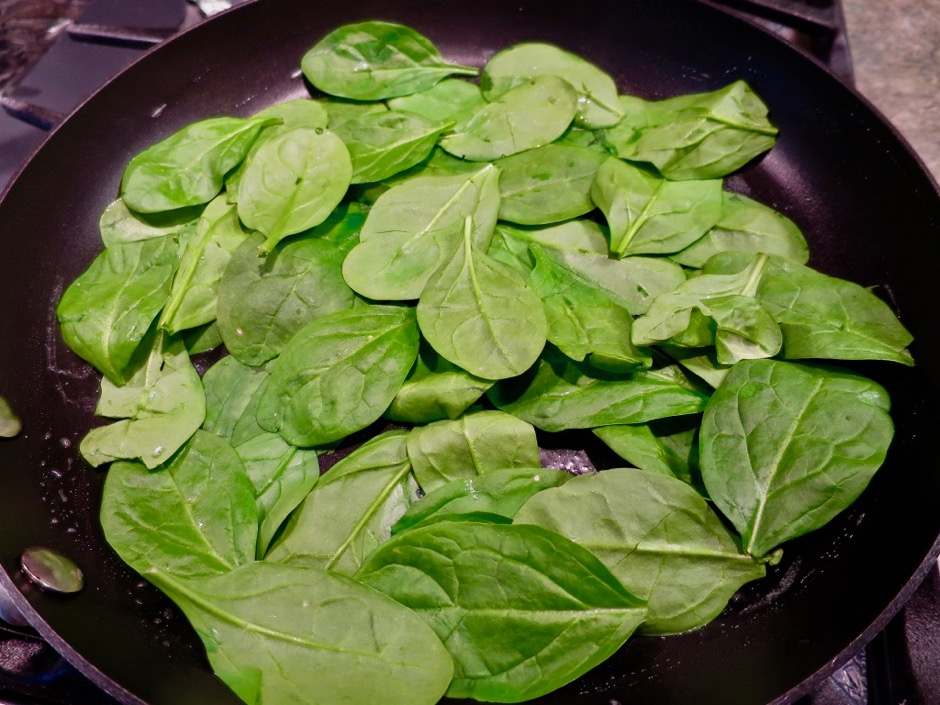
Fresh Spinach Leaves

The beauty of this omelet comes from the layer of spinach that covers the bottom of the pan before the eggs go in.  Once slightly wilted, pour the eggs evenly over the spinach.  All of this takes place on low heat, and a lid for your pan is essential.  Use foil if you don’t have a lid for your pan.

Spinach & Egg

Once the eggs have mostly set, pile on the sautéed mushrooms and cheese.  My first choice is yogurt cheese, which is naturally lactose free however I sometimes use sharp cheddar.  I find that yogurt cheese melts wonderfully. It is stretchy, gooey, melted perfection.

Spinach, Mushroom & Cheese Omelet

Add the mushrooms and cheese to one side of the omelet then fold over the other side on top of the filling.  Slice in to two portions and serve!

Spinach, Mushroom & Cheese Omelet


Spinach. Mushroom & Cheese Omelet for Two
 
Author:
Serves: 2
Ingredients
  • 5 ounces cremini mushrooms, sliced thin
  • 4 teaspoons Buttery Sticks, divided (or regular butter)
  • kosher salt and freshly ground black pepper for mushrooms and eggs
  • 4 extra-large eggs, whisked and seasoned lightly with kosher salt and freshly ground black pepper
  • 1 ounce fresh spinach leaves
  • 1 ounce grated cheese (or more if you prefer)
Preparation
  1. Melt 2 teaspoons Buttery Sticks over medium heat in a 10-inch pan. Sauté mushrooms until softened, about 5 minutes. Season lightly with kosher salt and a few grinds of black pepper. Transfer to a small bowl.
  2. Reduce heat to low. Wipe out the pan and add remaining 2 teaspoons Buttery Sticks swirling to distribute around the bottom and sides of the pan. Lay spinach leaves in the pan, overlapping as necessary. Cover pan and wilt spinach. This will take less than 30 seconds.
  3. Pour eggs over the spinach. As the egg mixture starts to cook, gently lift the edges with a spatula and tilt the pan to allow more of the uncooked egg to flow underneath. Once the eggs have slightly set in the center, distribute the mushrooms evenly over one side of the omelet. Sprinkle cheese over the mushrooms. Fold the other half of the omelet over the filling. Cover the pan and allow cheese to melt for 30 seconds or so. Slide the omelet on to a plate and slice in half. Serve with crispy bacon, sausage or ham.


Beef, Dinner, Korean, Lactose Free, Recipes

Korean-Style Pan-Fried Beef

December 1, 2017

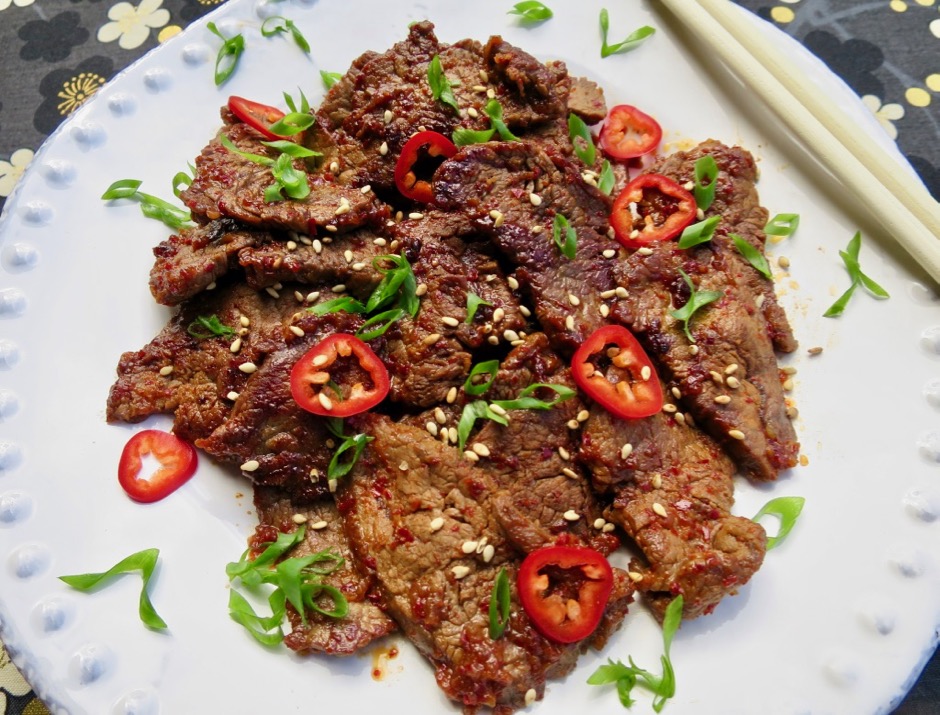
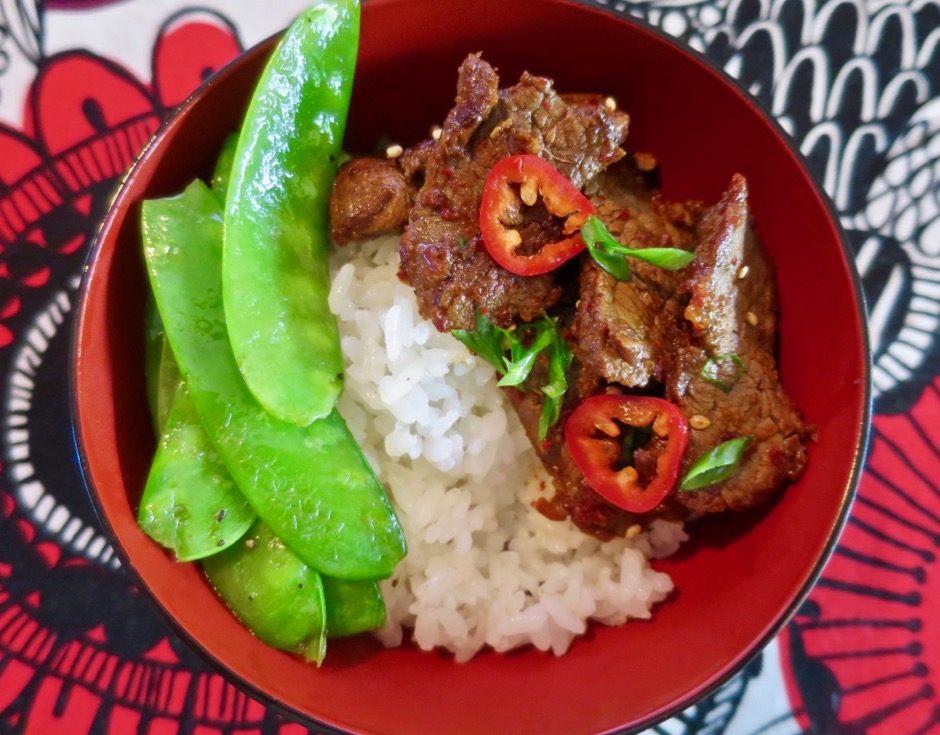
Korean-Style Pan-Fried Beef

If you want a quick, tasty meal, this Korean-style dish fits the bill.  The thin slices of meat marinate in a flavorful sauce for just 30 minutes.  A quick sear in a hot pan makes for perfectly cooked beef with crisp edges that are delicious served with a bowl of rice.

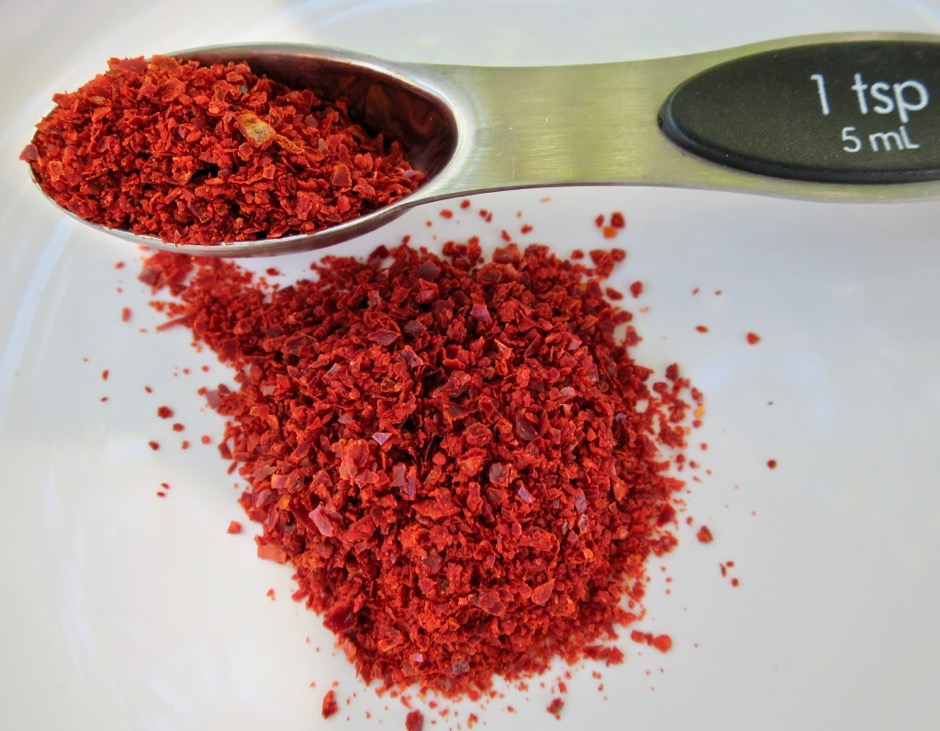
Gochugaru

I am a fan of Whole Spice brand Korean chili flakes (also known as gochugaru).  The chili flakes add a depth of flavor to this, and many other dishes.  Vibrant red in color, mildly spicy, slightly smoky and sweet at the same time, it’s an essential seasoning for Korean cuisine.

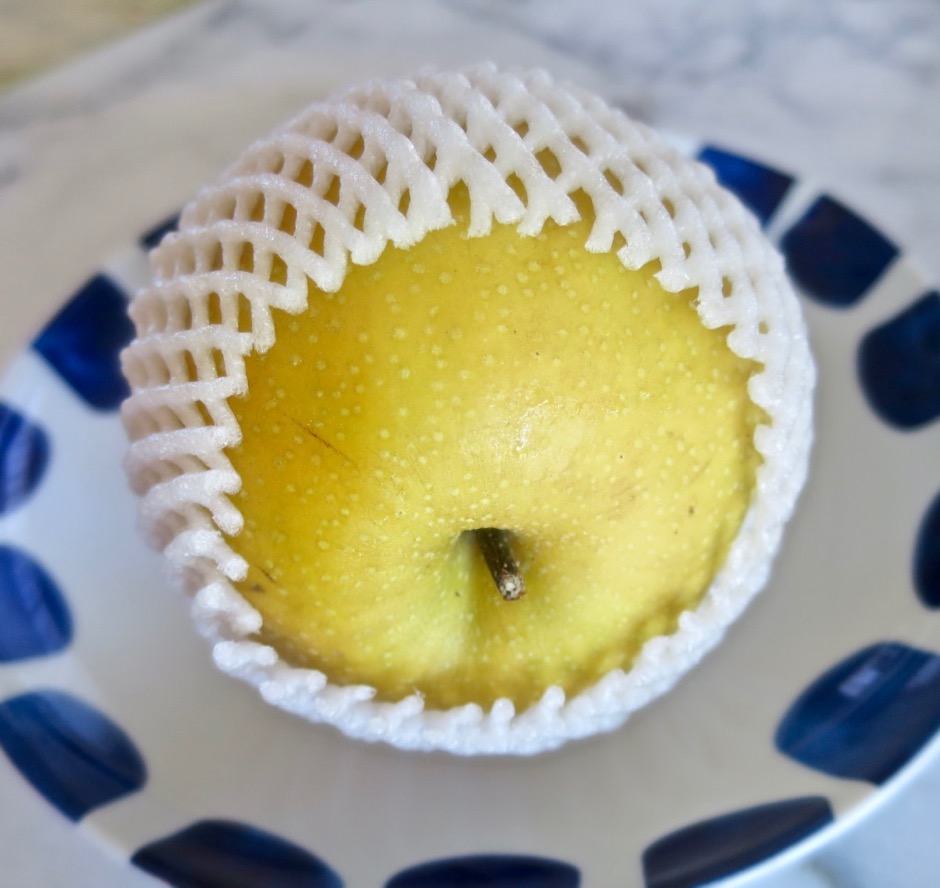
Asian Pear

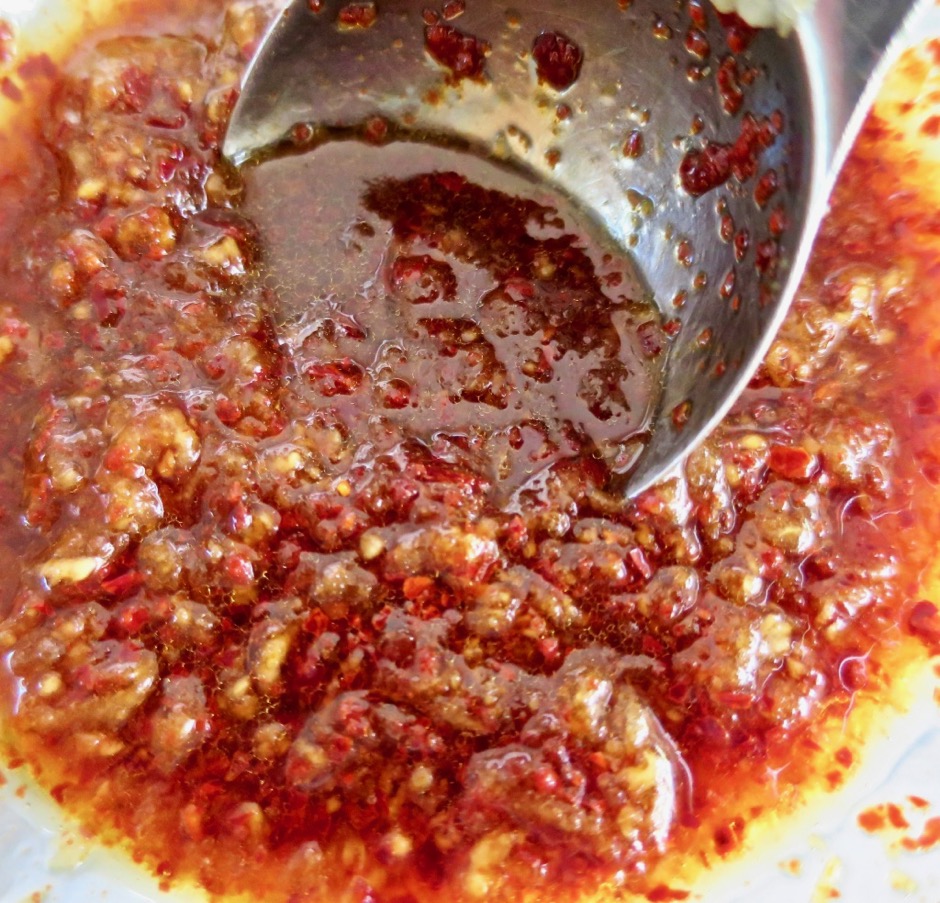
Marinade

This meal is ready in just about 45 minutes from start to finish.  The bold flavors in the sauce are what make this dish stand out.  The key is to cut your meat in to thin slices so that it marinades and cooks quickly.

Korean-Style Pan-Fried Beef

Korean-Style Pan-Fried Beef
 
Adapted from Bon Appetit Magazine
Author:
Serves: 2
Ingredients
  • 2 tablespoons grated pear
  • 1 small garlic clove, grated
  • 2 tablespoons soy sauce
  • 2½ teaspoons gochugaru
  • 2 teaspoons finely grated ginger
  • 1 tablespoon light brown sugar
  • 1 tablespoon sesame oil
  • 8 ounces filet mignon, cut into thin strips (you may opt to use another cut of beef, chicken or pork)
  • canola oil for pan frying
  • sliced green onions for serving
  • Fresno pepper (optional)
  • roasted sesame seeds (optional)
Preparation
  1. Combine the grated pear, garlic, soy sauce, gochugaru, ginger, brown sugar and sesame oil in a medium bowl. Add sliced beef and toss to coat each piece well. Cover and refrigerated for 30 minutes.
  2. Heat 1 tablespoon vegetable oil in a large skillet over medium-high heat. Remove meat from marinade and season lightly with kosher salt. Working in batches and adding more oil along the way if needed, cook meat in a single layer without moving until lightly browned, about 1 minute. Continue to cook tossing occasionally until cooked through and crisp at edges, about 1 - 2 minutes longer.
  3. Transfer to a plate and serve topped with green onions, sliced Fresno peppers and roasted sesame seeds.


Follow

Get every new post delivered to your Inbox

Join other followers: