Archives

Dessert, Italian, Lactose Free, Recipes

Maialino’s Olive Oil Cake

January 10, 2019

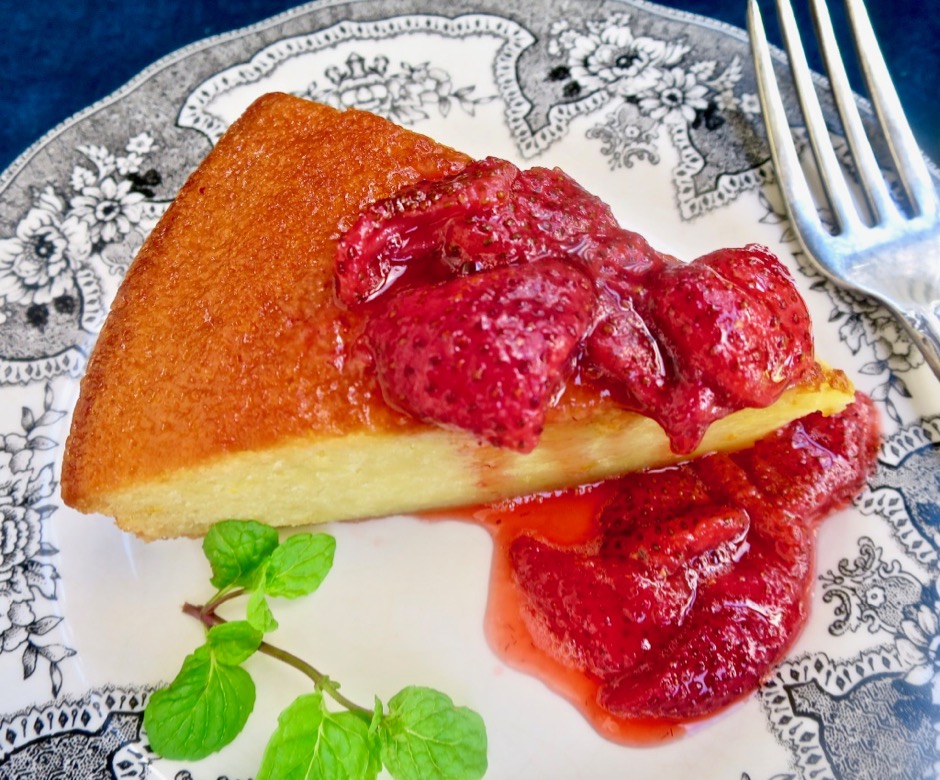
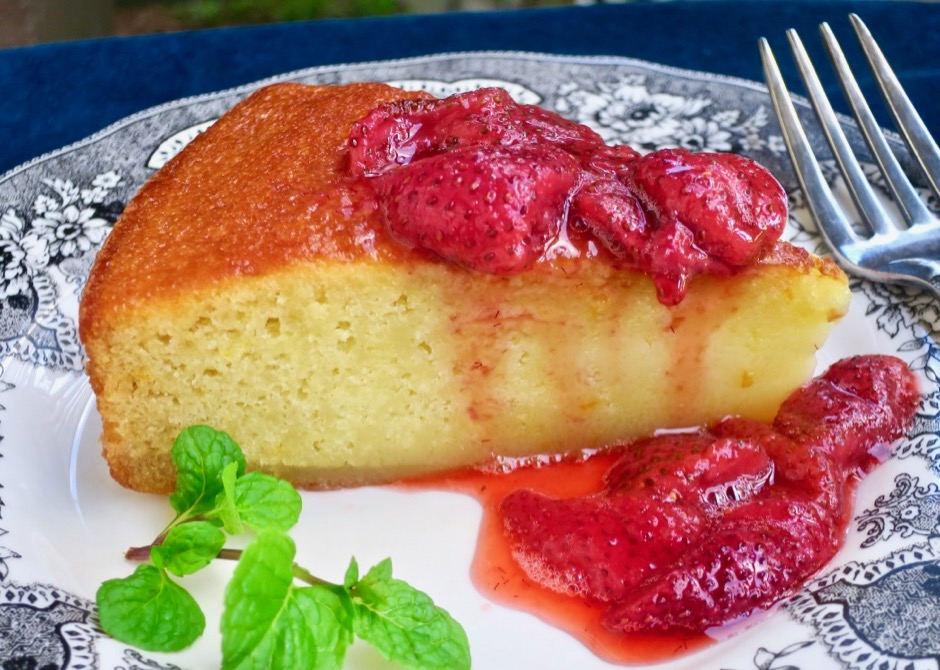
Maialino's Olive Oil Cake with Slow Roasted Strawberries

We don’t usually think of olive oil as an ingredient used in desserts, let alone paired with Grand Marnier.  This exotic recipe combination was so intriguing, that I had to try it.  After one bake, I am in love with this cake.  It is rich, decadent and moist due to the generous amount of olive oil in the recipe.  And, the slow roasted strawberries take it over the top. I  found the recipe on Food52.  This beautiful cake comes from Maialino Restaurant in New York City.  You can buy the cake directly from the their website but why not make your own?

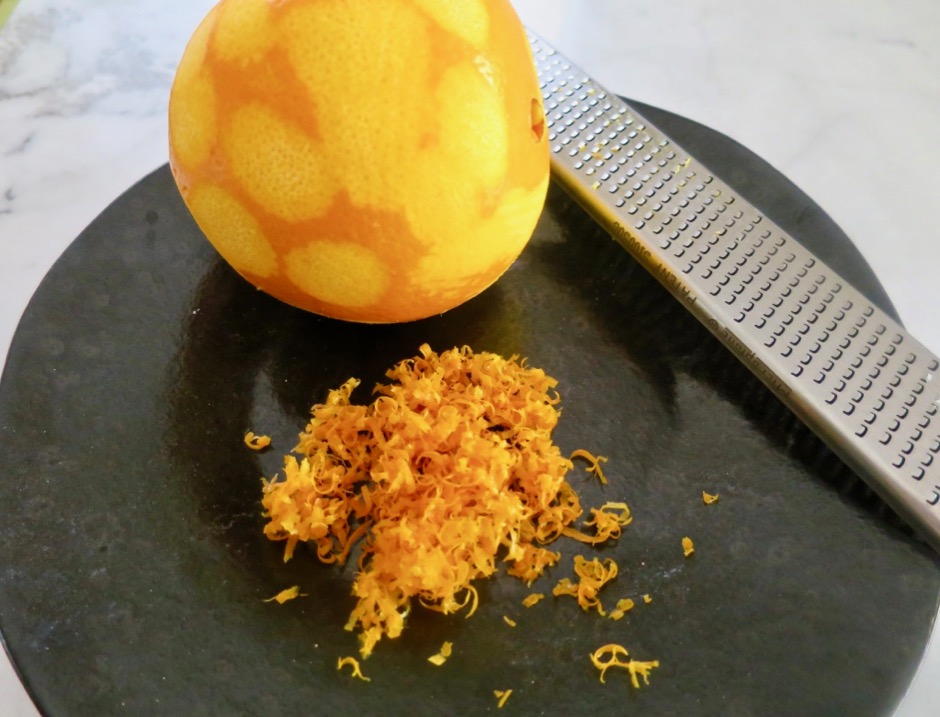
Grand Marnier & Extra Virgin Olive Oil

I never would have imagined that extra virgin olive oil and Grand Marnier would be a perfect match, but they complement one another in this gorgeous cake.

This aromatic cake rich with olive oil, eggs, citrus zest and juice, is one of the easiest to prepare.  You will be pleasantly surprised at how little time it will take you to make this cake.

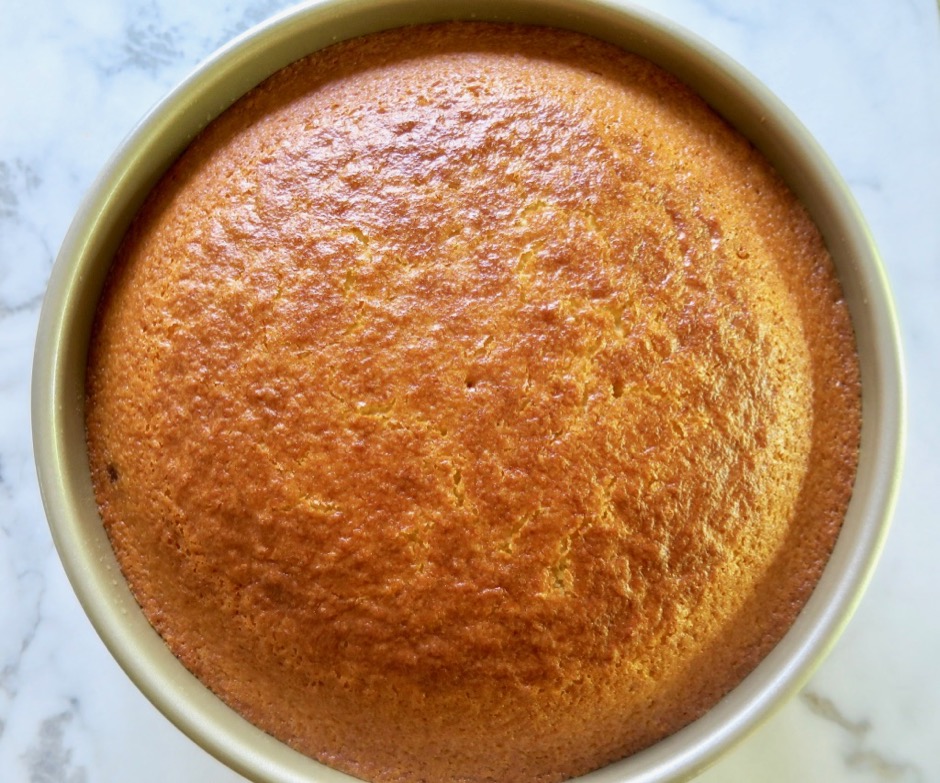
Maialino's Olive Oil Cake

My 9-inch round cake pan has 2 1/2-inch sides so I used that.  The original recipe calls for a 9 x 2-inch round cake pan.  The cake rises high as it bakes so the extra 1/2 inch was a plus. It will deflate a bit once it cools down so if  your pan is just 2 inches high it should be fine.

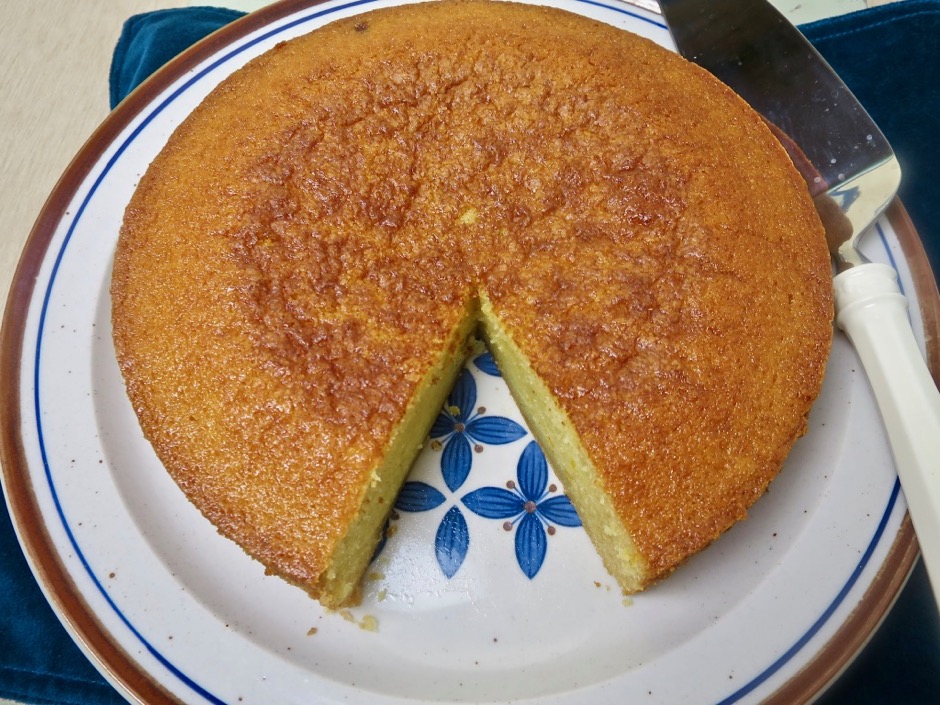
Maialino's Olive Oil Cake

This olive oil cake is lovely served with the roasted strawberries. I read that Maialino’s sometimes layers it with mascarpone buttercream turning it into a spectacular birthday cake.  I’m thinking that a lilikoi or orange sauce would also be a terrific accompaniment to serve with each slice of cake.

Maialino's Olive Oil Cake with Slow Roasted Strawberries

Maialino's Olive Oil Cake
 
Special equipment: 9 x 2½-inch round cake pan preferred, or 9 x 2-inch
Author:
Serves: 10
Ingredients
  • 2 cups (250g) all-purpose flour
  • 1¾ cups (350g) sugar
  • 1½ teaspoons kosher salt
  • ½ teaspoon baking soda
  • ½ teaspoon baking powder
  • 1⅓ cups (285g) extra-virgin olive oil
  • 1¼ cups (305g) whole milk (I used lactose free)
  • 3 large eggs
  • 1½ tablespoons grated orange zest
  • ¼ cup (60g) fresh orange juice
  • ¼ cup (55g) Grand Marnier
Preparation
  1. Preheat oven to 350 degrees. Oil or butter a 9 x 2½-inch cake pan and line the bottom with parchment paper.
  2. In a medium bowl, whisk the flour, sugar, salt, baking soda and baking powder. In a large bowl, whisk the olive oil, milk, eggs, orange zest, orange juice and Grand Marnier. Add the dry ingredients to the wet ingredients. Whisk until just combined.
  3. Pour batter into the prepared pan and bake on the middle rack for about 1 hour, until the top is golden and a cake tester comes out clean. Transfer the cake to a rack and let cool for 45 minutes to an hour.
  4. Run a knife around the edge of the pan, invert the cake onto a rack and let cool completely, about 2 hours.
  5. Slice and serve with slow roasted strawberries. The cake keeps well for a few days in the refrigerator. Wrap well and let the cake come to room temperature before serving.

 

Cookies, Dessert, Lactose Free, Recipes

Crunchy Gingerbread Cookies

December 19, 2018

Crunchy Gingerbread Cookies

It’s the holiday season again, and there’s still time to whip up some crispy Hawaiian style gingerbread cookies before Christmas.  My original post of this recipe was back in December 2013 and I have been making these cookies many years prior to that date, and every year since.  My mom used to make gingerbread cookies for her students every Christmas.  It was in my Manoa home where I learned to love these guys.  It takes a day to bake and decorate these cookies but I find joy in giving them away to family and friends each holiday season.  Who can resist a gecko, a pineapple, or hula dancing gingerbread cookie?  So if you have a bit of time this week, make a small batch of these cookies.  Here is my original post.  This year I made two-thirds of the recipe because I was short on time.  Make the dough the night before you bake the cookies.  This way, you can start baking as soon as the sun comes up.

Mele Kalikimaka!

Dessert, Lactose Free, Recipes

Mocha Madness Ice Cream

December 6, 2018

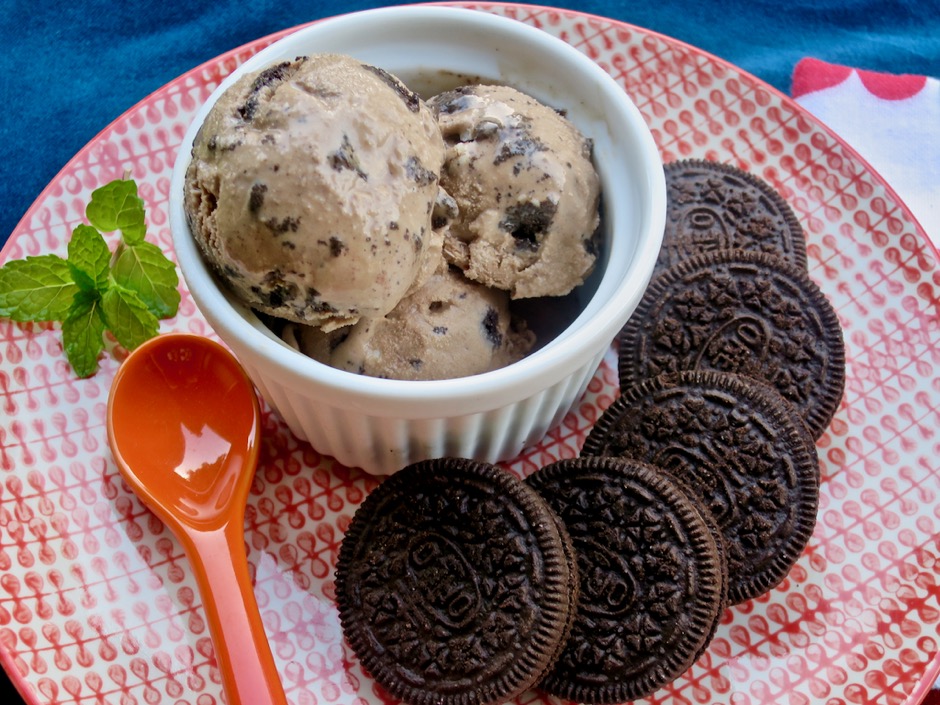
Mocha Madness Ice Cream

Being lactose intolerant is a culinary challenge, particularly when dining out.  Virtually all restaurants use dairy products in most of their dishes.  This is especially true with dessert menus.  So I rarely order sweets.  However, with so many lactose free dairy products now available, making homemade ice cream has become a real treat. This delicious ice cream is made with Organic Valley lactose free half and half (of course you can use regular half and half).  It has become one of my favorite desserts.  

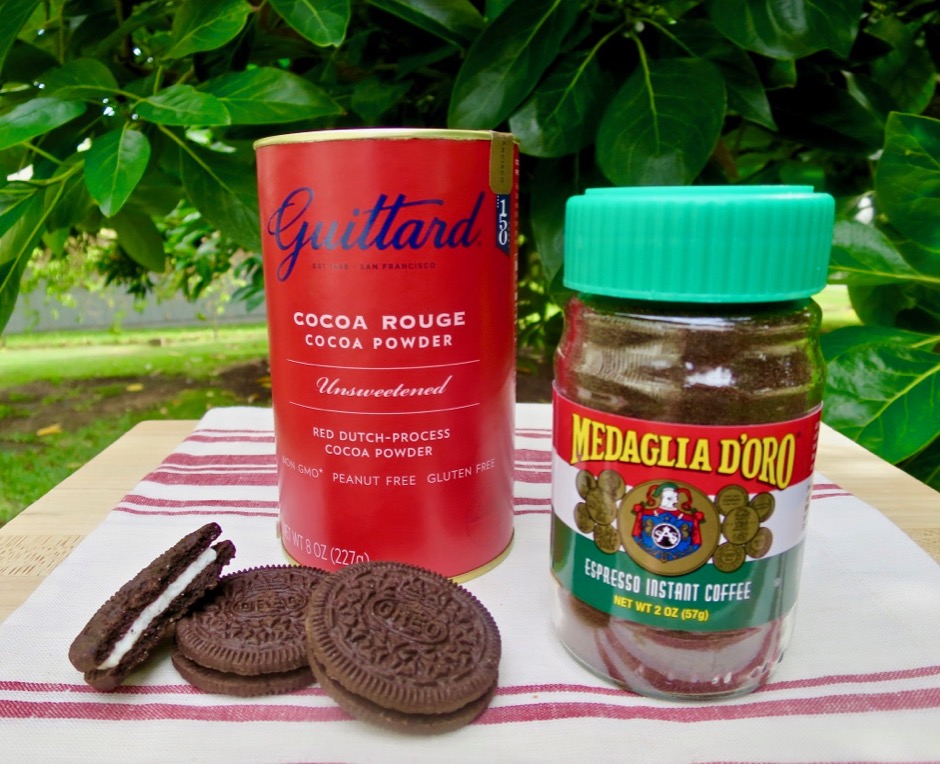
Three ingredients make this ice cream so exquisite: chocolate, espresso powder, and bits of Oreo cookies.  These ingredients tie it all together to make the perfect combination of flavors.

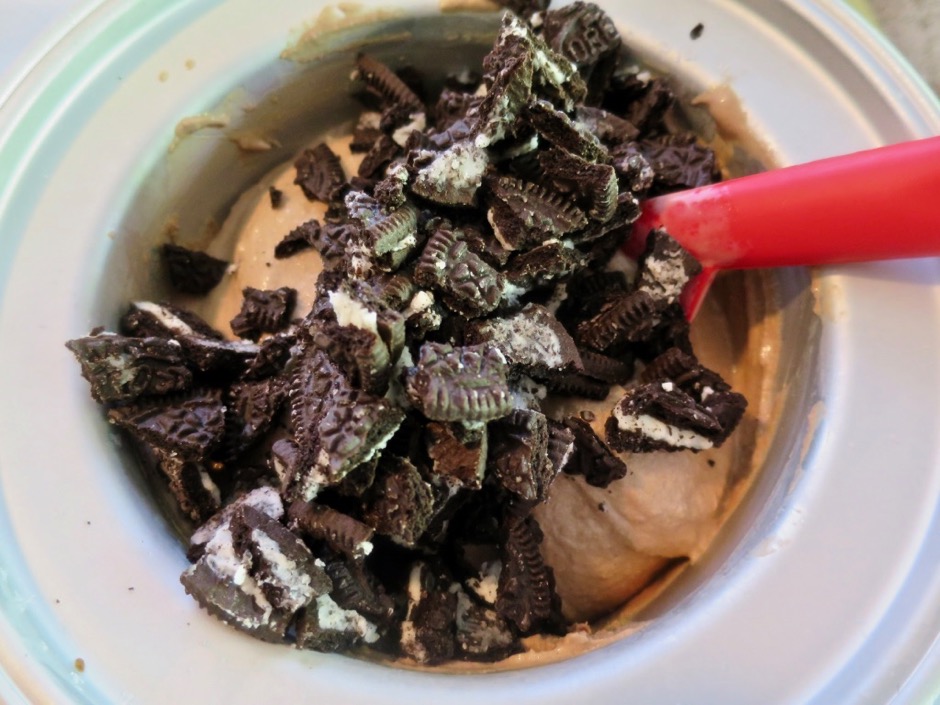
The Oreos are stirred in just before freezing the ice cream.  Transfer the ice cream to a plastic container and freeze until firm.

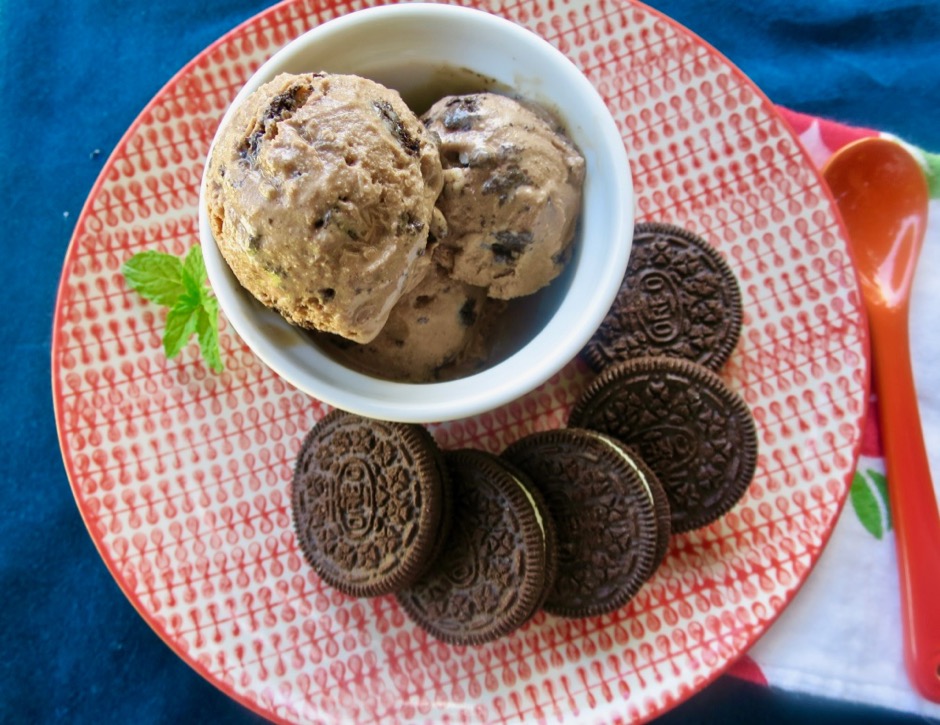
Mocha Madness Ice Cream


Mocha Madness Ice Cream
 
Adapted from King Arthur Flour
Author:
Serves: 8 servings
Ingredients
  • 3 cups cold lactose free half and half (or regular half and half),divided
  • ¾ cups sugar
  • 2 tablespoons espresso powder
  • 2 tablespoons cocoa powder, Dutch process preferred
  • ¼ teaspoon xanthum gum (optional)
  • 1 teaspoon vanilla extract
  • 10 Oreo cookies, broken into small pieces
Preparation
  1. Whisk together 1 cup of the half and half, sugar, expresso powder, cocoa and xanthum gum. Stir in the remaining 2 cups of half and half and the vanilla extract.
  2. Transfer bowl to the freezer for about 10 minutes, until mixture is nicely chilled.
  3. Transfer mixture to your ice cream maker and churn according to your manufacturer's directions, 20-25 minutes. Stir in cookie bits and transfer ice cream to a plastic container. Freeze for at least 4 hours or overnight before serving.


Bread, Breakfast, Dinner, Eggs, Lactose Free, Recipes, Sandwiches

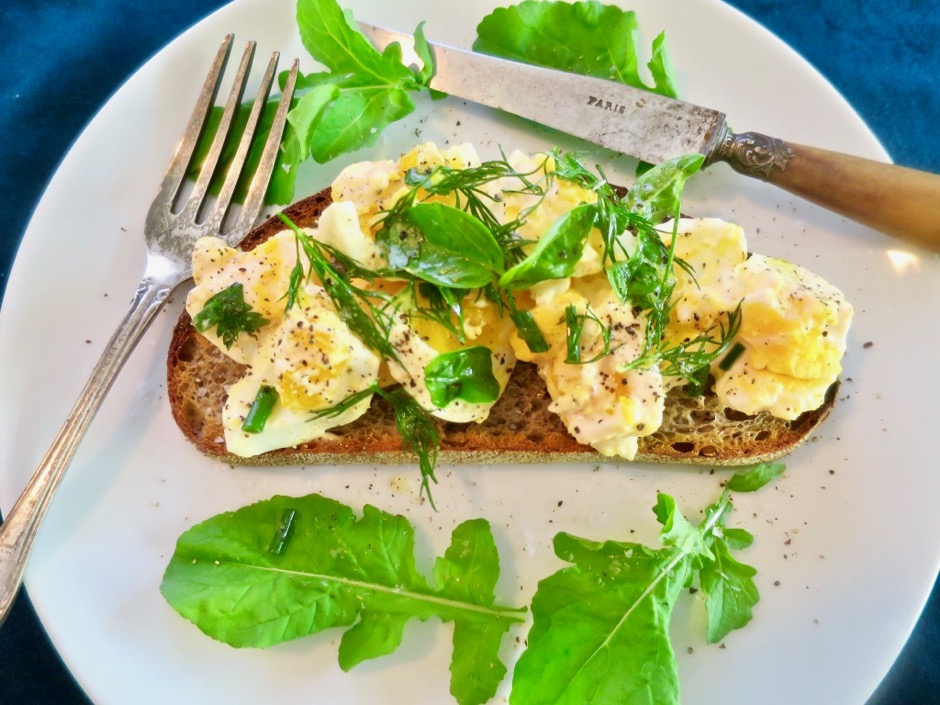
Egg Salad Tartine with Mixed Herbs

November 10, 2018

Egg Salad Tartine with Mixed Herbs

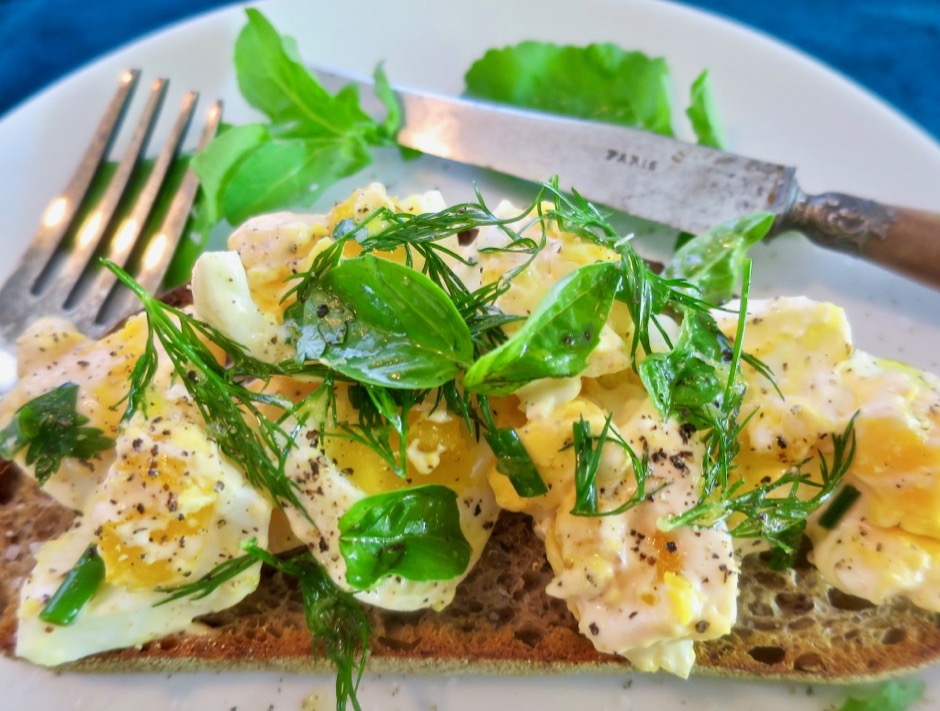
Anyone who visits this blog will have noticed that eggs are one of my favorite foods. I’m especially fond of the 6 1/2 minute egg with its perfectly set white and jammy yolk.  I also love egg salad on John’s homemade bread now and then.  In this case, the egg salad is piled on toasted country sourdough bread with herbs scattered over the top. It is delicious for breakfast, lunch or even dinner and ever so simple to prepare.

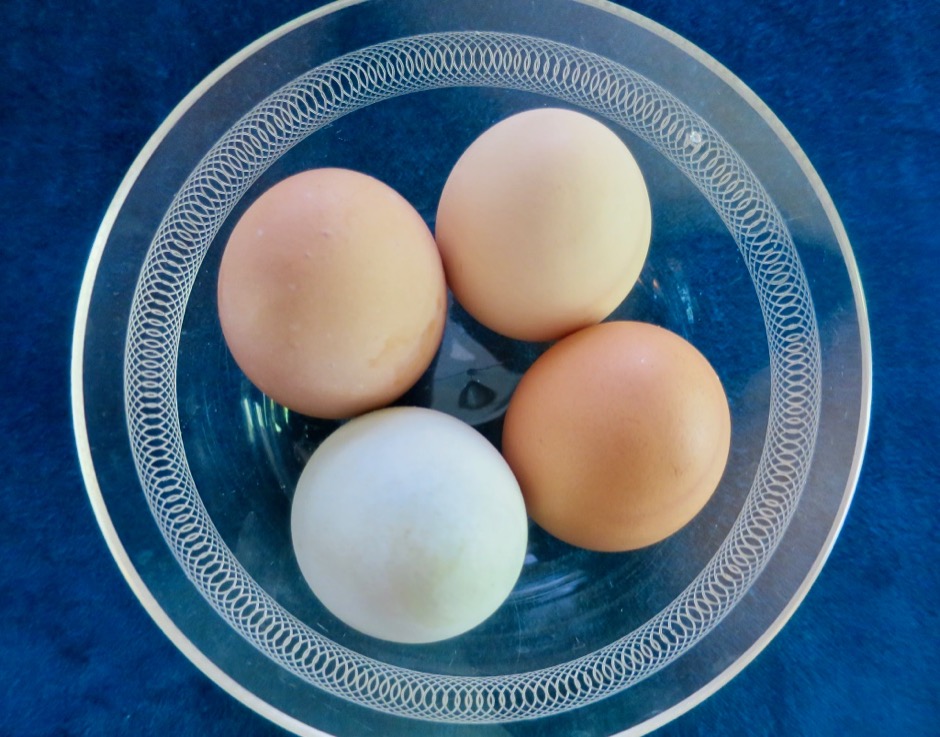
Our Neighbor's Fresh Eggs

Our neighbors Judy and John raise an assortment of chickens that provide them with fresh eggs every day.  Whenever Judy comes by our house with a dozen eggs our faces light up with joy.  I love how her eggs are of various colors and sizes.  They are always so fresh with bright yellow yolks.

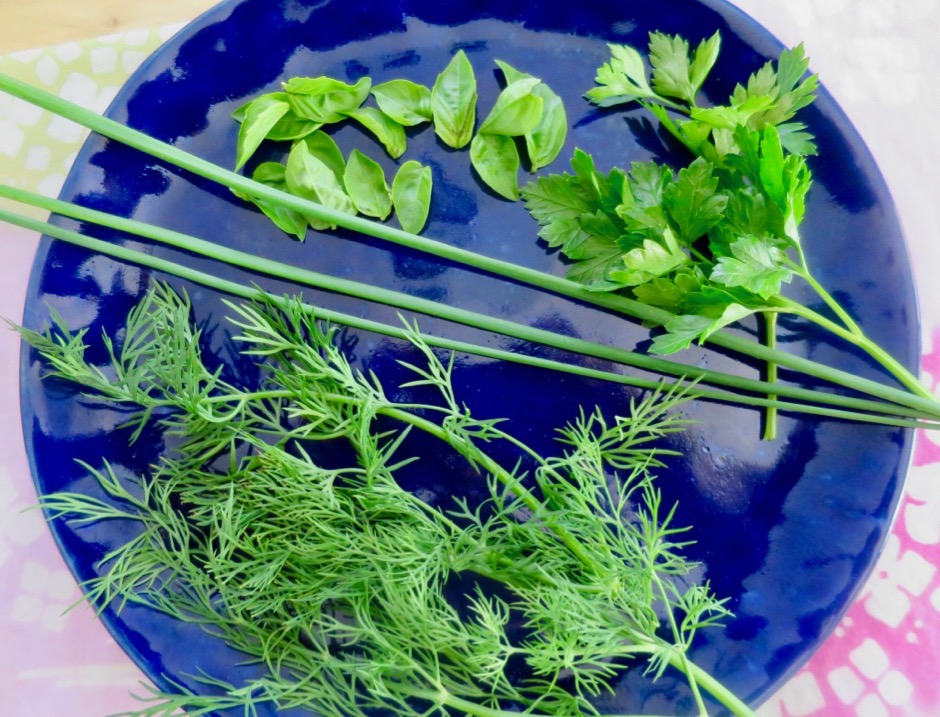
Dill, Chives, Basil, Italian Parsley

The original recipe calls for dill, chives and basil. I added a few torn sprigs of parsley from the garden. This combination is perfect, however, you could switch them out with whatever fresh herbs you happen to have on hand.  The lemon juice adds a nice zing to make the perfect egg salad toast.

Egg Salad Tartine with Mixed Herbs

Egg Salad Tartine with Mixed Herbs
 
Adapted from Bon Appetit magazine
Author:
Serves: 2
Ingredients
  • 3 tablespoons good mayonnaise
  • 1 teaspoon cider vinegar
  • ¼ teaspoon (more, or less) of your favorite hot sauce
  • 4 large eggs, boiled for 8 minutes (10 for fully cooked/hard)
  • kosher salt and freshly ground black pepper
  • 2 large slices country-style bread, toasted
  • 3 teaspoons ½-inch pieces chives
  • handful of baby basil leaves, or larger leaves torn into small pieces
  • a few sprigs of Italian parsley, torn into pieces
  • a few dill fronds, torn into small pieces
  • ½ teaspoon finely grated lemon zest
  • 1 teaspoon fresh lemon juice
  • extra virgin olive oil (for drizzling)
Preparation
  1. Combine mayonnaise with vinegar and hot sauce. Set aside.
  2. Tear eggs into large pieces; add mayonnaise (you may not need all of it). Gently fold to coat, and season with salt and pepper. Spoon egg salad over toasted bread.
  3. Toss chives, basil, parsley, dill, and lemon zest in a small bowl. Add lemon juice, a drizzle of olive oil, and season with salt. Toss to coat and pile on top of egg salad. Season with extra salt and pepper to taste.


Dessert, Fruit, Lactose Free, Recipes

Mango-Lilikoi Ice Cream

October 21, 2018

Mango-Lilikoi Ice Cream

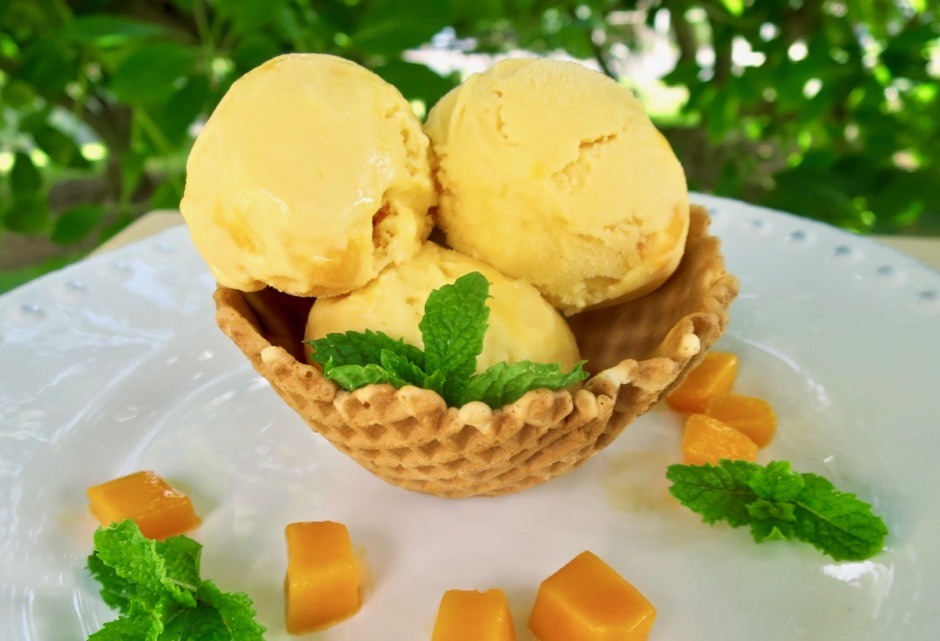
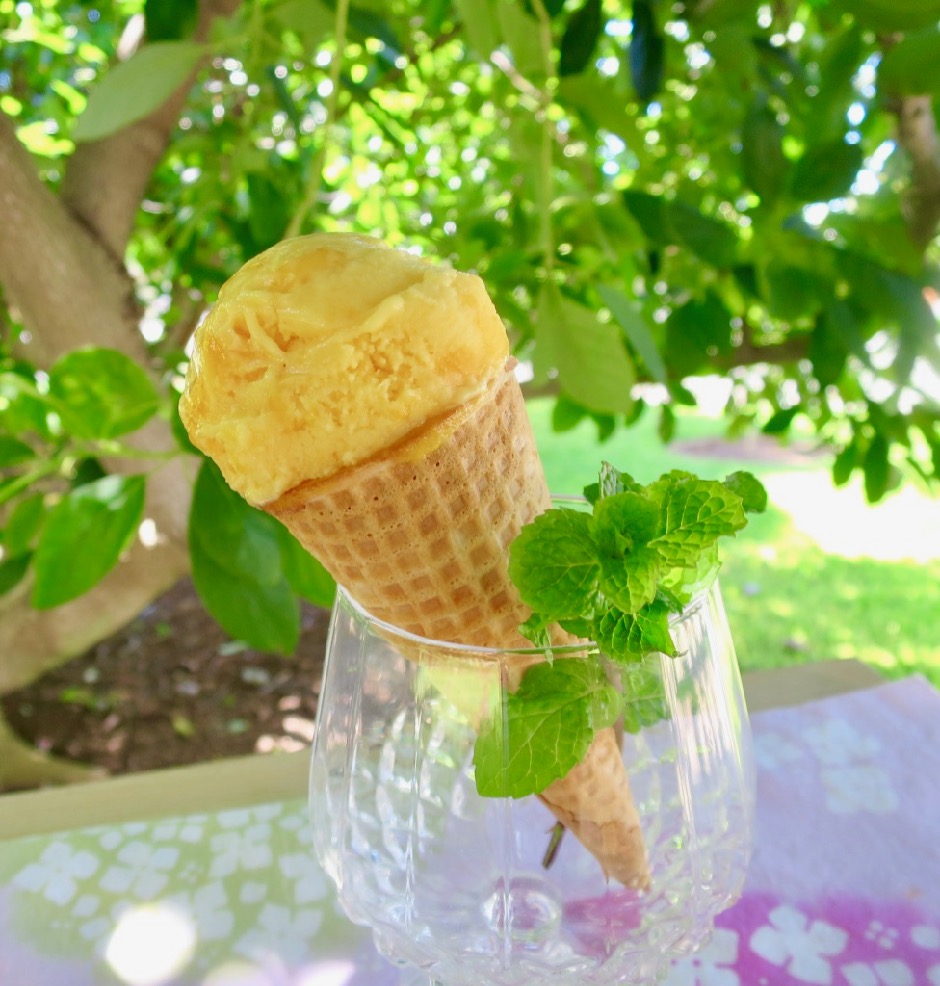
A few months ago I was experimenting with different strawberry ice cream recipes. I found a recipe by King Arthur Flour that people raved about, and for good reason: the ice cream is delicious. I decided to adapt the recipe and substituted the strawberries with our super sweet Pirie and Rapoza mangos.  I also elected to add some lilikoi juice to the recipe, which brought an additional level of flavor. The small amount of lilikoi juice is just enough to create a perfectly balanced tropical flavor.

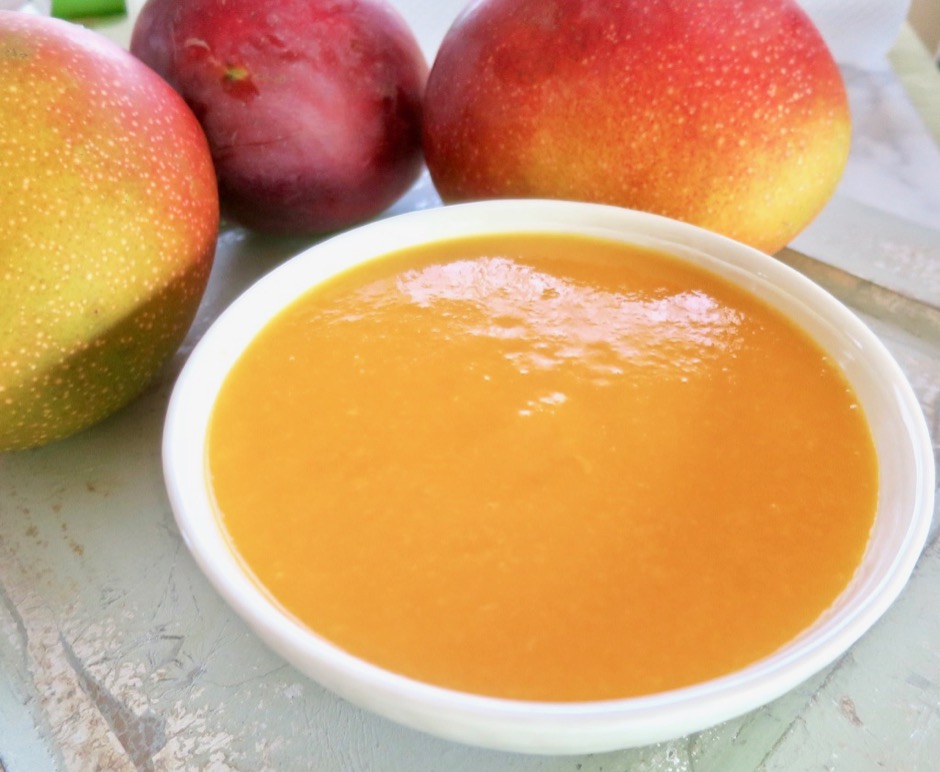
Mango Puree

I pureed the mango using my immersion blender.  If you don’t yet have one, I highly recommend acquiring this handy kitchen tool. It is easy to clean and doesn’t take up nearly as much of your precious kitchen space as a full-sized blender does.

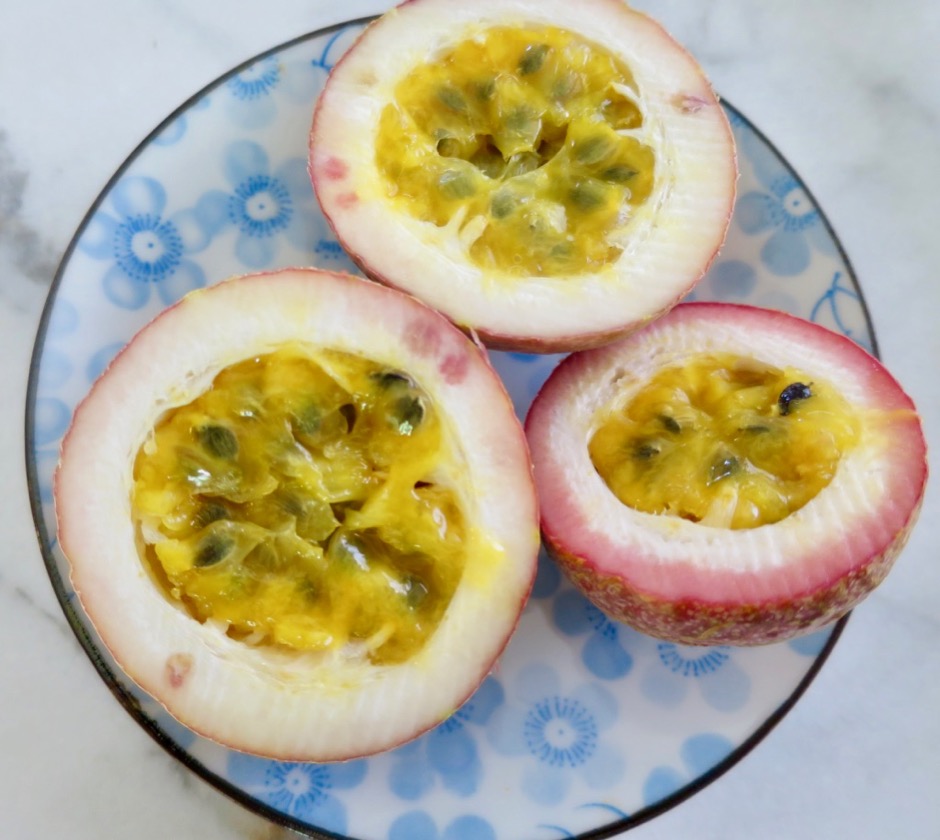
Lilikoi

The fragrance of a fresh cut lilikoi is just fantastic. We grow yellow and purple lilikoi vines and like having the two varieties.

Mango-Lilikoi Ice Cream

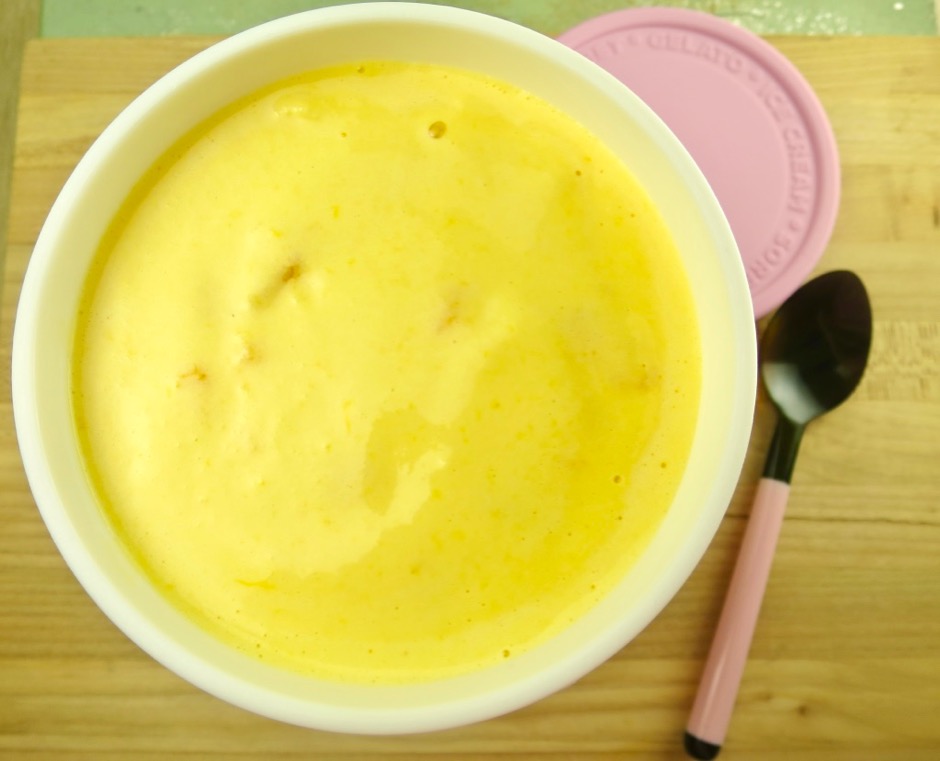
This mango-lilikoi ice cream is quite simple to make. I freeze the purée during mango season so that I’ll have it throughout the year to make ice cream whenever I’m craving homemade ice cream with a true mango and lilikoi flavor.

Mango-Lilikoi Ice Cream

Mango-Lilikoi Ice Cream
 
Adapted from King Arthur Flour
Author:
Serves: 5 cups
Ingredients
  • 2 - 2½ pounds mango, peeled and pitted
  • 1 cup sugar, divided
  • 2 tablespoons vodka
  • ⅓ cup lilikoi juice
  • ¼ teaspoon xanthan gum, optional
  • 2 cups half & half
  • ¼ cup light corn syrup
Preparation
  1. Finely dice mango to make 1 cup. Combine diced mango with ¼ cup sugar and 2 tablespoons vodka. Stir gently to combine, cover and chill in the refrigerator for a few hours.
  2. Coarsely chop remaining mango and puree with an immersion blender. Strain puree and measure out 1¼ cups.
  3. Whisk the xanthan gum with the remaining ¾ cup of sugar in a large mixing bowl. Whisk in the mango puree, lilikoi juice, half & half, and corn syrup, whisking until fully combined. Cover and chill in the refrigerator until very cold, about 2 hours. If you are short on time, freeze the mixture for about 15 minutes or until well chilled.
  4. Process the mixture in your ice cream maker according to the manufacturer's instructions. My Cuisinart takes about 25 minutes. In the last minute of churning add the diced mangos (drain and discard liquid first ). Transfer ice cream to a covered container and freeze for at least 3 hours before serving.
 

Dessert, Fruit, Lactose Free, Recipes

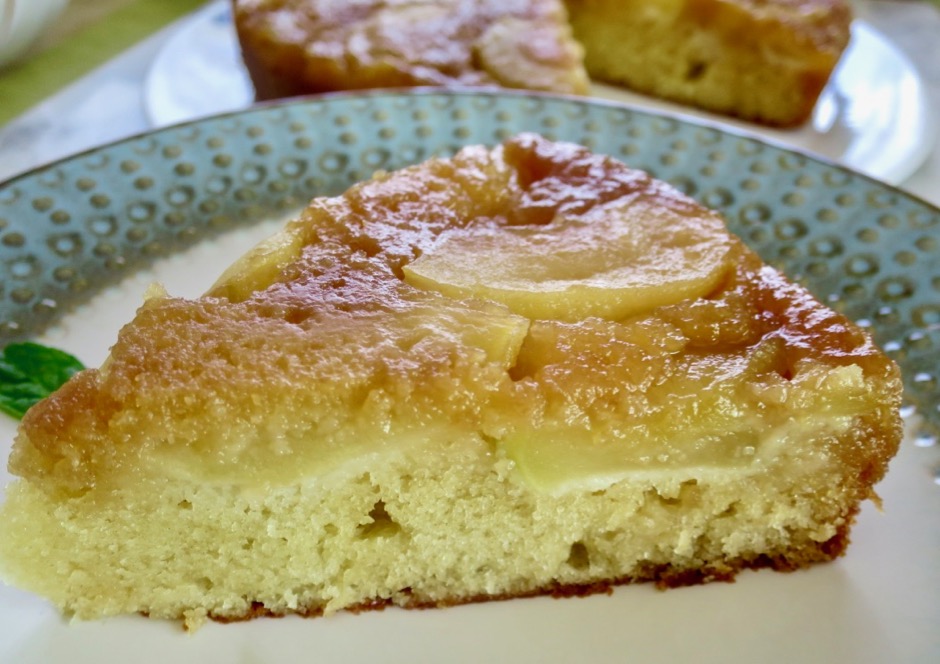
Maple-Apple Upside-Down Cake

October 5, 2018

Maple Apple Upside-Down Cake

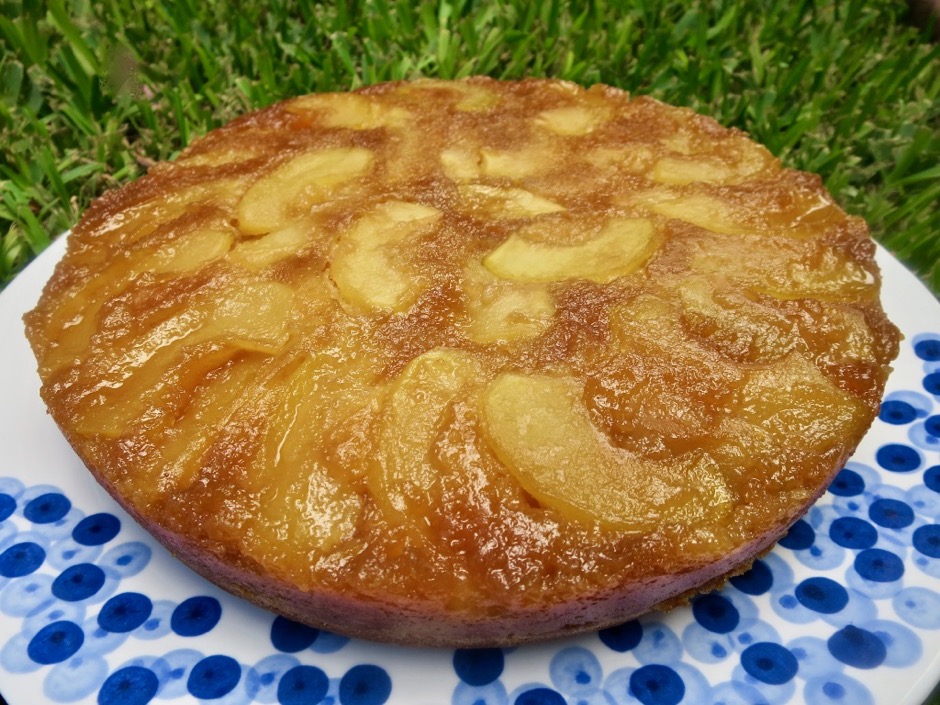
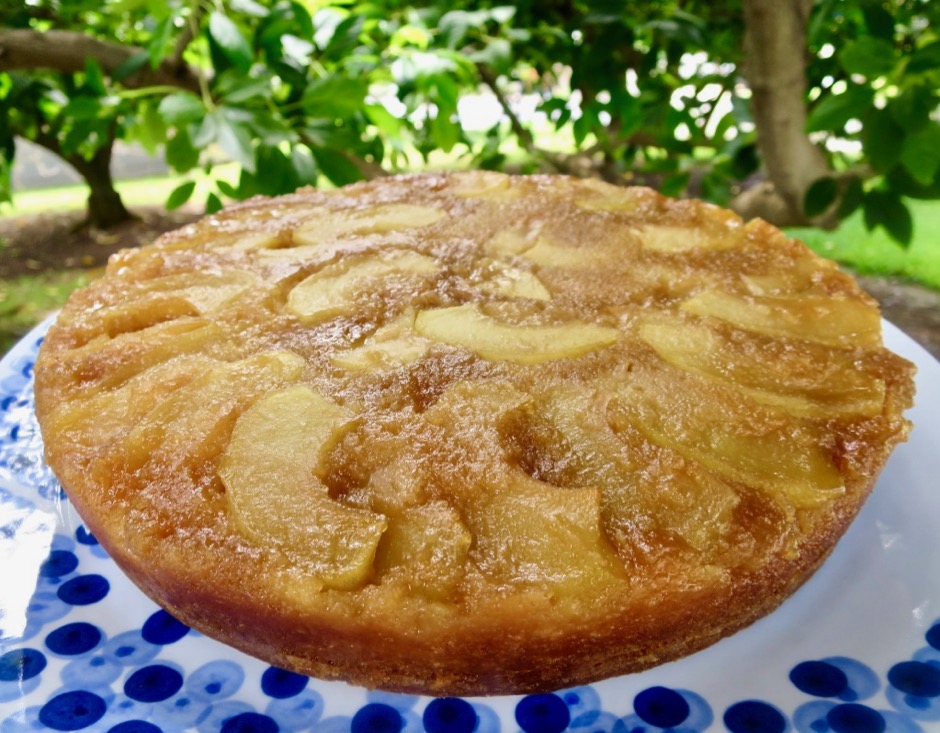
I was paring down my collection of back issues of my food magazines recently.  I always thumb through them one last time to make sure I didn’t miss something good. I occasionally find recipes that did not catch my attention in the past, but now piques my interest.  This recipe by Joanne Chang, who is an acclaimed chef and is especially known for her delectable desserts, is one of those discoveries.  It’s a humble dessert, but one that will impress after the first bite.  The pure maple syrup and tart apples were meant for one another.

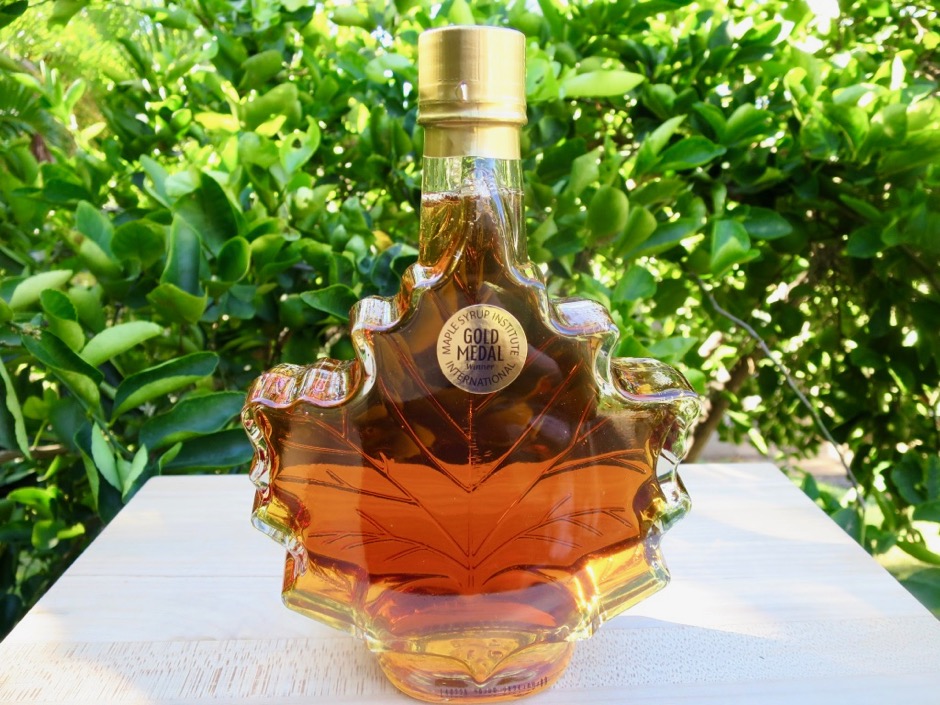
Maple Syrup

This pure maple syrup was a gift from a Canadian family who were vacationing on Maui.  The days of Log Cabin syrup are forever gone!

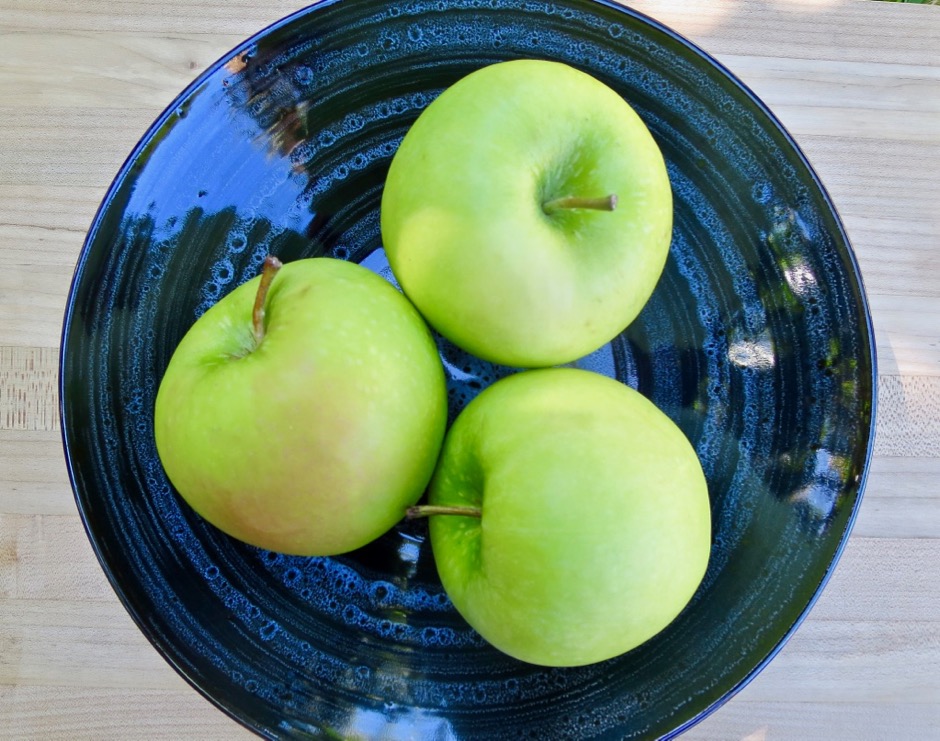
Granny Smith Apples

Crisp and tart Granny Smith apples are the right choice for this recipe. They keep their shape when baked and the flavor is perfect when infused with the maple syrup.

Maple Syrup & Apples

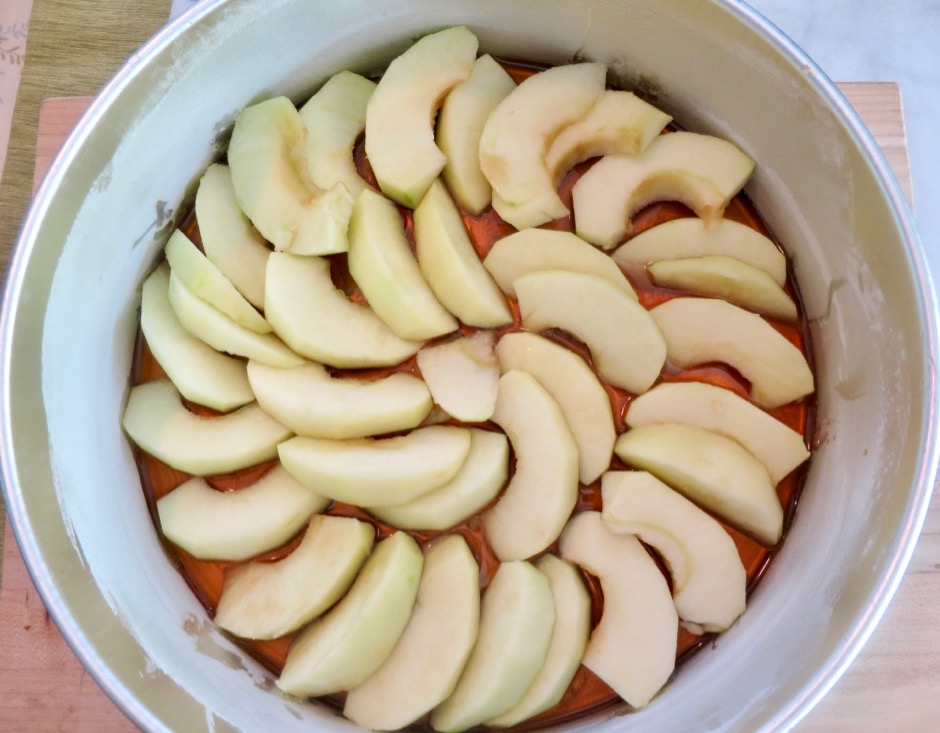
The recipe is a cinch to make.  Reduce the maple syrup a bit until it thickens slightly. Pour it into the pan, layer the apples over the syrup, pour in the batter, and bake the cake.  The house is filled with the most unbelievable scent of maple syrup and apples.

Maple Apple Upside-Down Cake

Maple Apple Upside-Down Cake

Maple-Apple Upside-Down Cake
 
Adapted from Joanne Chang's recipe, Food & Wine Magazine
Author:
Serves: 10
Ingredients
  • 1 cup pure maple syrup
  • 3 Granny Smith apples (about 1½ pounds), peeled, cored and cut into 10 pieces per apple
  • 2 cups all-purpose flour
  • 1 teaspoon baking powder
  • ½ teaspoon baking soda
  • ½ teaspoon salt
  • 3 large eggs
  • ¾ cups lactose free buttermilk (lactose free milk + 1 tablespoon white vinegar)
  • 1 scant tablespoon pure vanilla extract
  • 1½ sticks Earth Balance Buttery Sticks, softened
  • 1⅓ cups sugar
  • ***If you use unsalted butter, increase the salt to ¾ teaspoon
  • ***The recipe calls for a 10-inch cake pan. Make sure you use one with 3-inch depth. I have also made this cake in a 9"x3" pan and left out about ⅓-1/2 cup of the cake batter.
Preparation
  1. Preheat oven to 350 degrees. Butter and flour a 10-inch cake pan.
  2. In a large saucepan, bring maple syrup to a boil over medium-high heat, then simmer over low heat until thick and reduced to ¾ cup, about 20 minutes. Be sure to keep an eye on the syrup. If left unattended, it may foam up and overflow (making a mess) if the heat is too high. Pour thickened syrup into the cake pan. Arrange apples in the pan in 2 concentric circles, overlapping them slightly.
  3. In a medium bowl, whisk the flour, baking powder, baking soda and salt. In a glass measuring cup, whisk the eggs with the buttermilk and vanilla. In the bowl of a standing electric mixer fitted with the paddle, beat the butter and sugar at medium speed until fluffy, about 2-3 minutes. Beat in the dry and wet ingredients in 3 alternating batches until the batter is smooth; scrape down the sides of the bowl.
  4. Pour the batter over the apples and spread it in an even layer. Bake the cake for about 60-70 minutes, or until golden on top and a toothpick inserted in the center comes out clean. Let the cake cool on a rack for 45 minutes.
  5. Place a plate on top of the cake and invert the cake onto the plate; tap lightly to release the cake. Remove the pan. Let the cake cool slightly, then cut into wedges and serve.
  6. You may serve the cake with creme fraiche or vanilla ice cream.


Follow

Get every new post delivered to your Inbox

Join other followers: