Archives

Dinner, Lactose Free, Recipes, Tofu, Vegan, Vegetarian

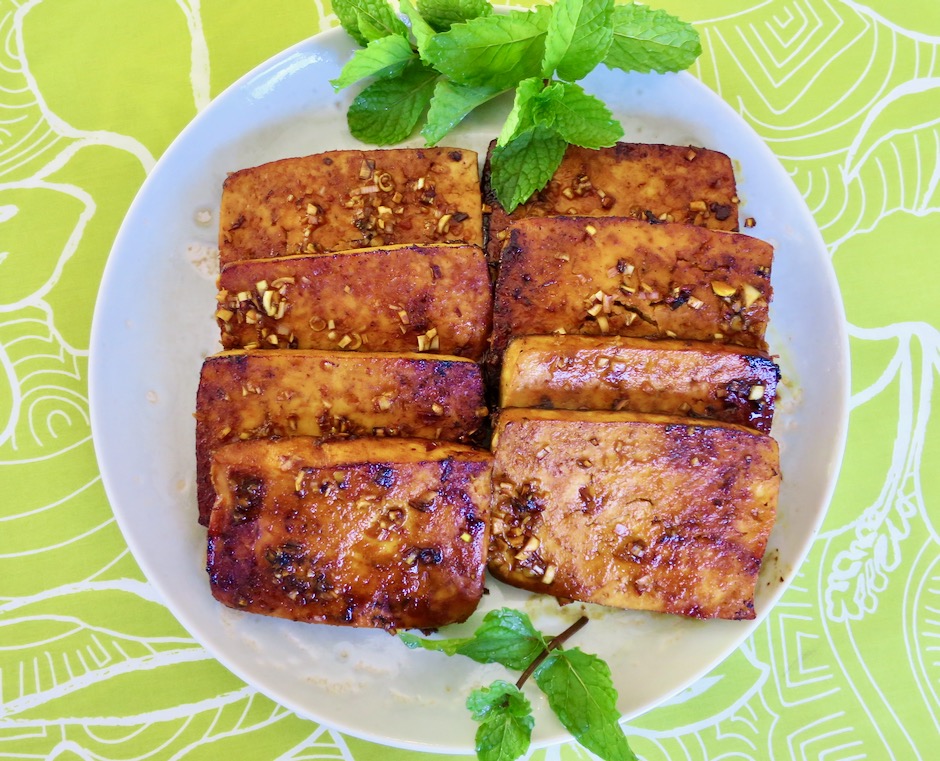
Lemongrass Tofu

January 9, 2020

Lemongrass Tofu

Our lemongrass plant is now growing beautifully after we transplanted it to a sunnier corner of the garden.  Now that it is flourishing, I pondered over what to make next with our fresh lemongrass.  This grass-like herb has stalks that when cut, have mild and citrusy notes that add a delightful flavor to any dish you use it in.  Tofu immediately came to mind.

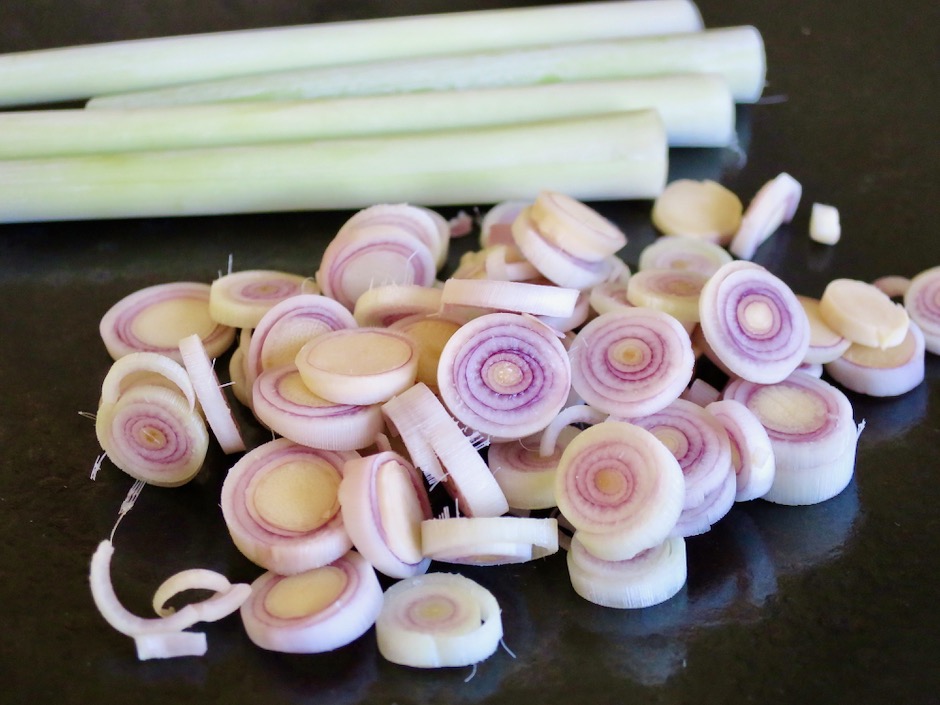
Lemongrass

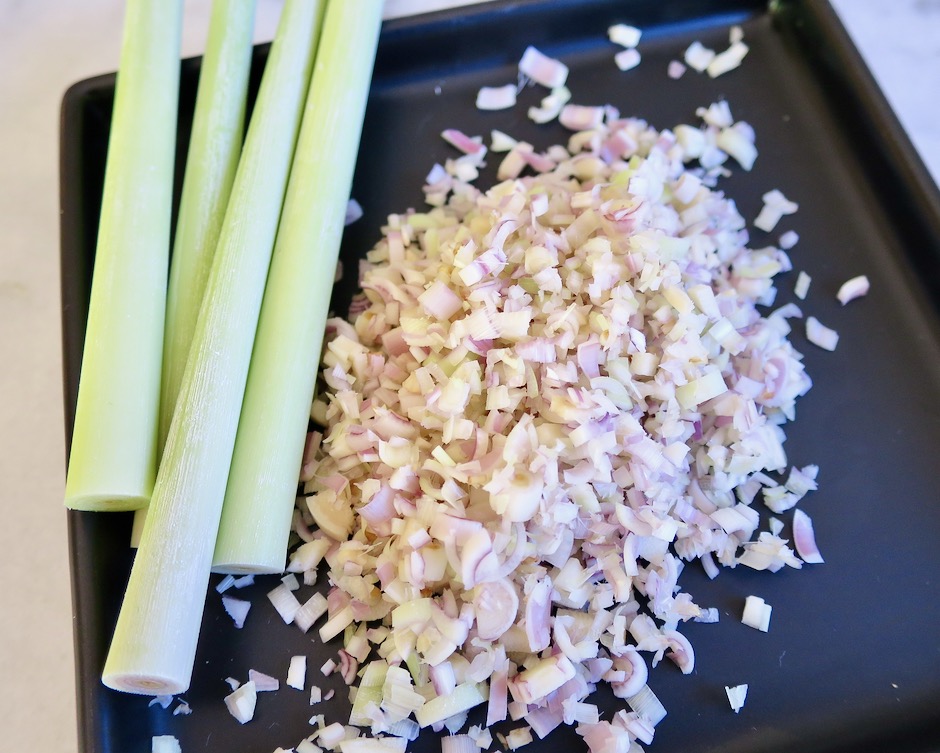
Finely Chopped Lemongrass

Use only the tender white portion of the lemongrass stalks.  I usually peel away a few of the outer layers as they can be quite fibrous.  The fragrance of cut lemongrass is exquisite.

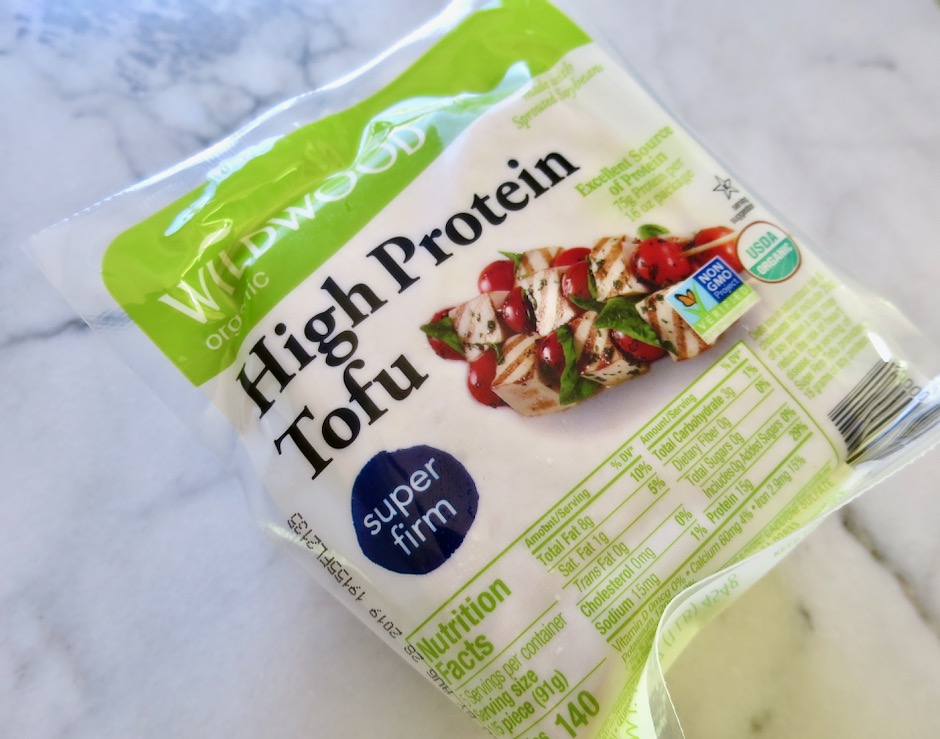
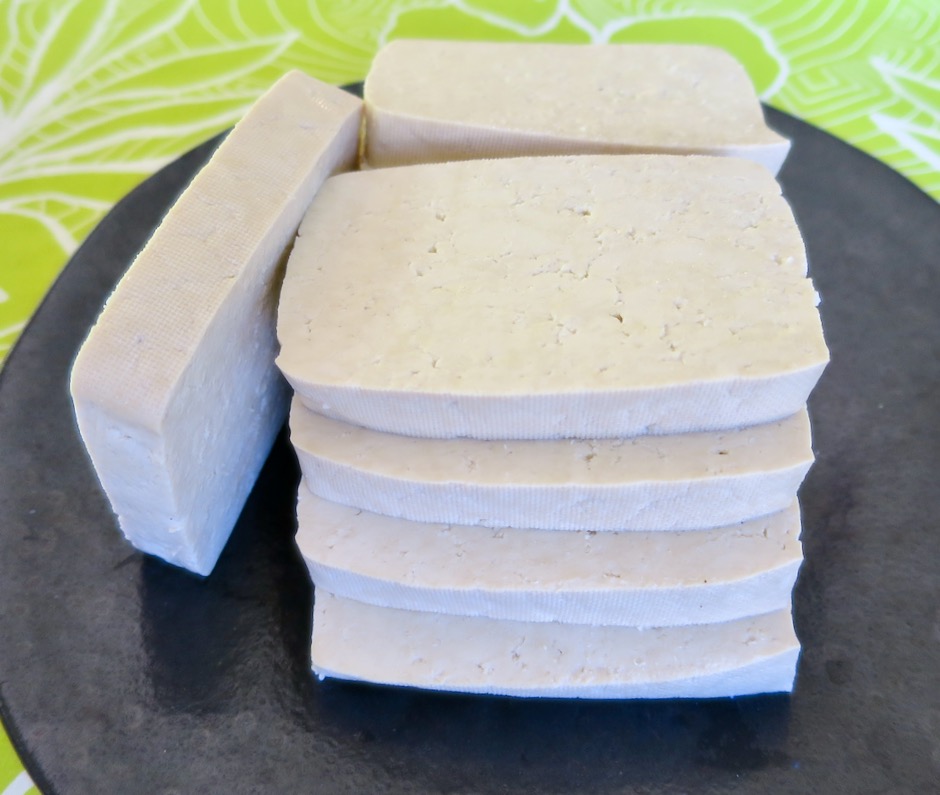
Super Firm Tofu

I find that super firm tofu works best as the cooked pieces hold their shape very nicely.  Also you save time not having to press the water out because of its firmness.

Sliced Tofu

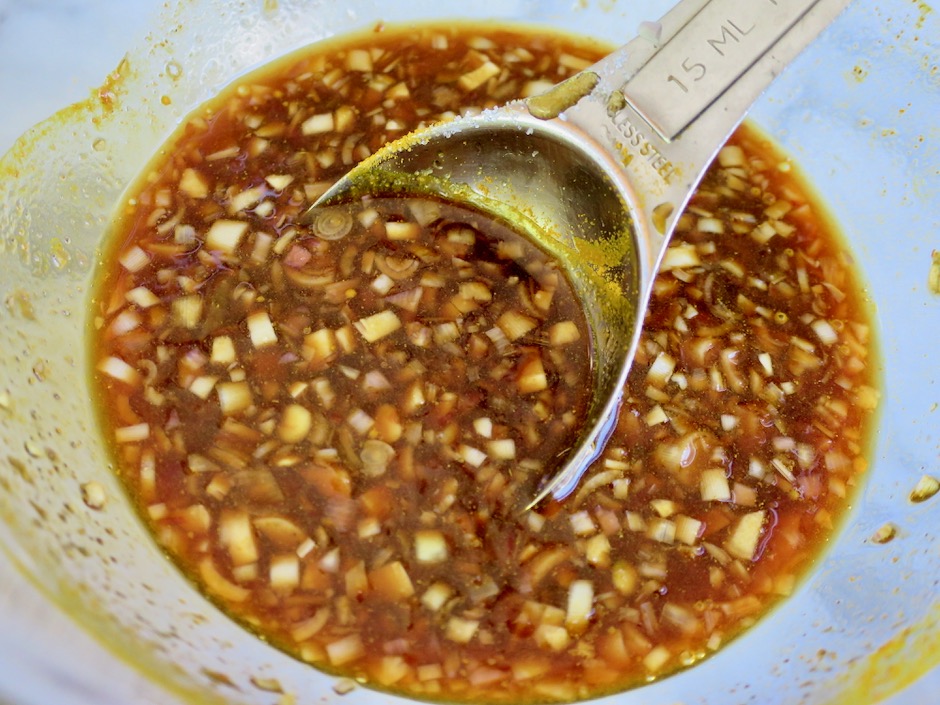
Lemongrass Marinade

The few ingredients called for in the marinade make this an easy and quick meal you can prepare on the fly.  Leftovers make for a tasty lunch to take to work.

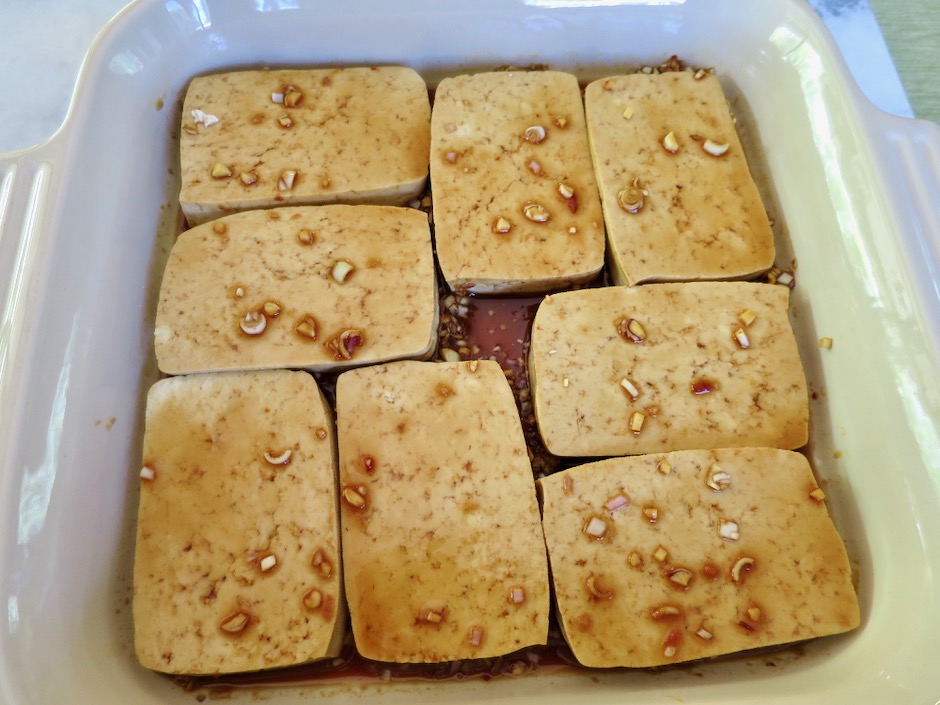
Tofu in Lemongrass Marinade

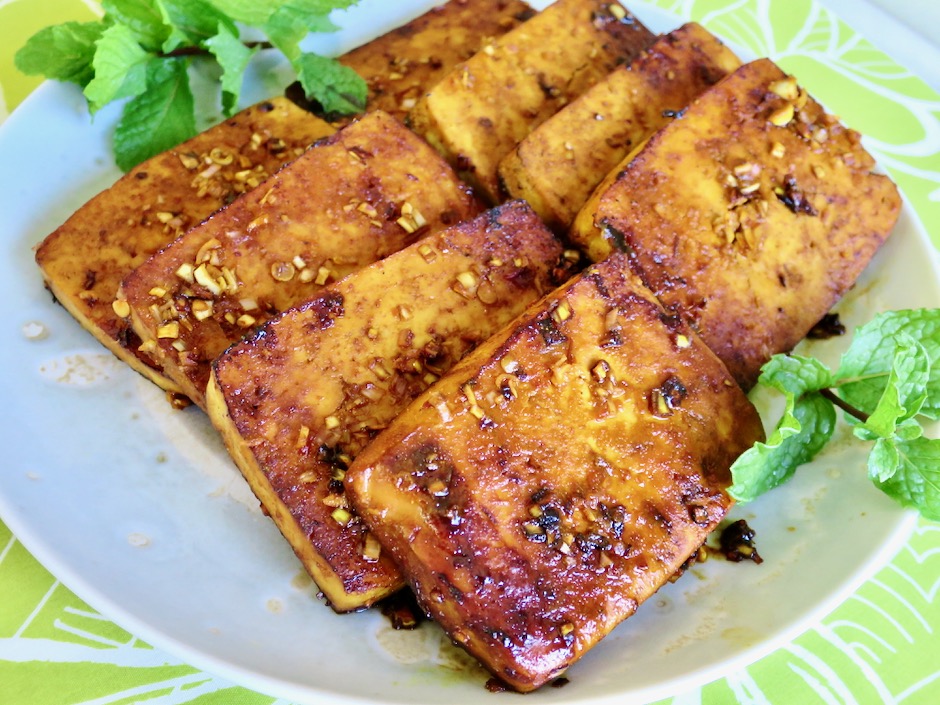
Lemongrass Tofu

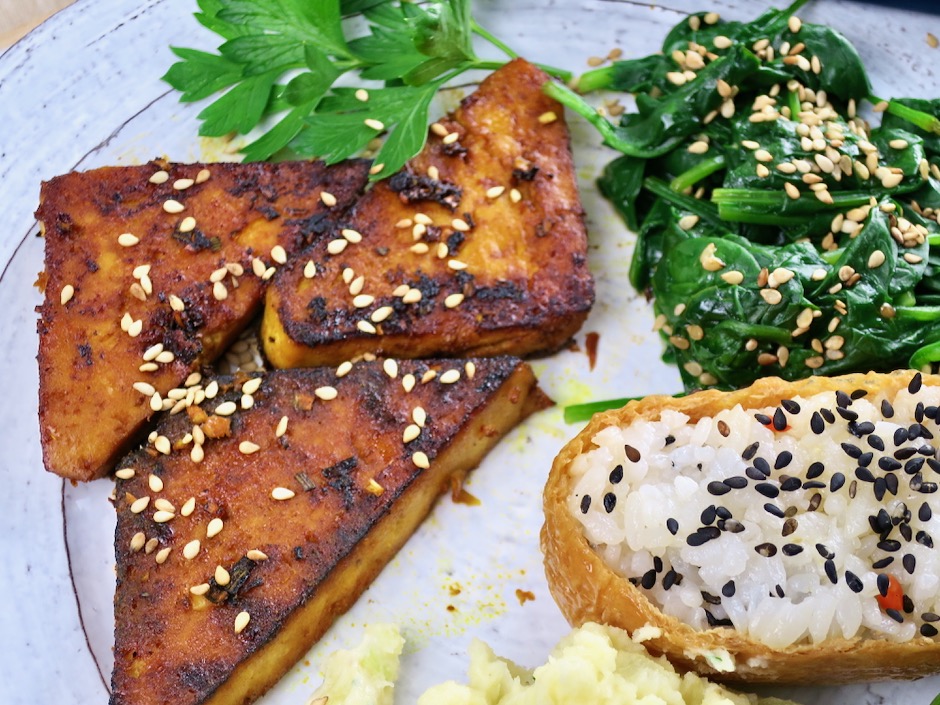
The glorious  color of the fried tofu comes from a smidgen of turmeric.  A little goes a long way with this ground spice.

Lemongrass Tofu with Inari Sushi & Spinach

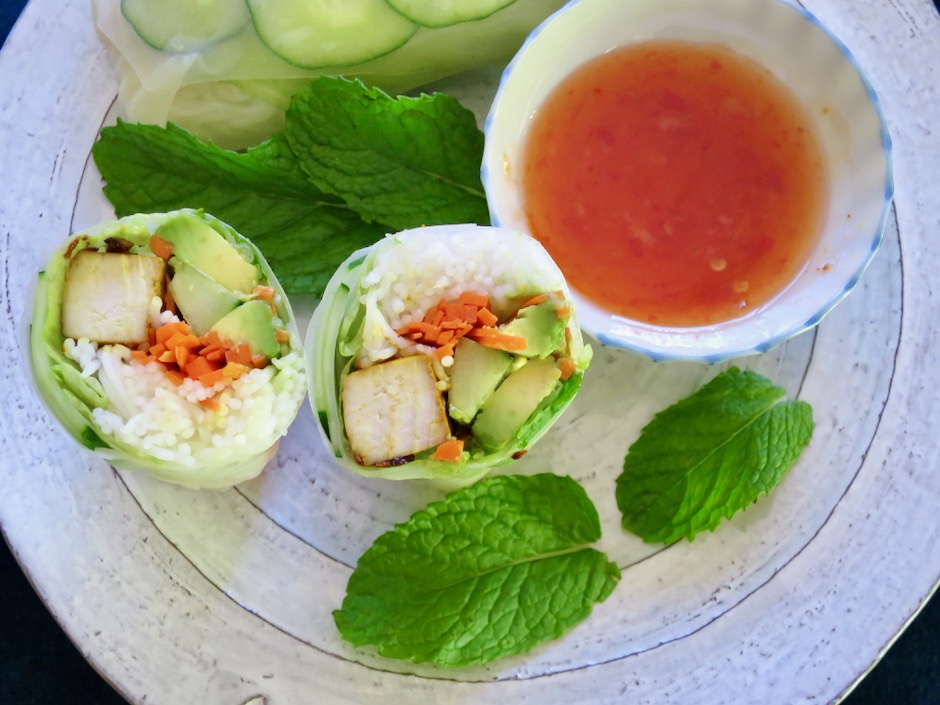
Lemongrass Tofu Spring Rolls

Lemongrass tofu is the perfect protein for a vegetarian spring roll.  Stuff the roll with crispy cucumbers, carrots, rice noodles and lots of mint.

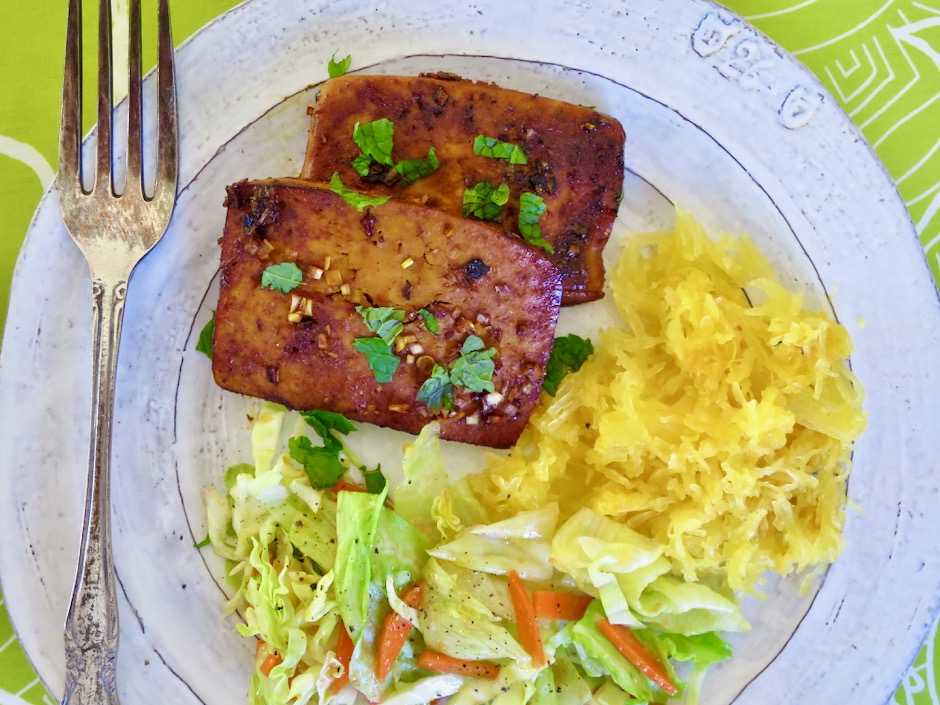
Lemongrass Tofu with Spaghetti Squash & Salad

Lemongrass Tofu
 
Adapted from Epicurious.com
Author:
Serves: 8
Ingredients
  • 3-4 lemongrass stalks, outer layers peeled, bottom white part thinly sliced and finely chopped (about ¼ cup)
  • 2 tablespoons soy sauce (Kikkoman recommended)
  • 1 tablespoon less sodium soy sauce (Kikkoman recommended)
  • 1½ teaspoons sambal oelek (Huy Fong recommended)
  • ¾ teaspoon ground turmeric
  • 1 tablespoon granulated sugar
  • 16 ounce package super firm tofu (Wildwood recommended) sliced into ¾-inch slabs
Preparation
  1. Combine the lemongrass, soy sauce, sambal oelek, turmeric and sugar in a small bowl. Pour mixture into a low-sided glass dish that will fit the tofu slabs in one layer. Add tofu and let marinate for 5 minutes, then turn pieces over to marinate another 5 minutes.
  2. Heat 2 tablespoons canola oil in a 12-inch skillet (deep sided preferred, tofu can splatter as it cooks) over medium heat. Add tofu slabs and cook until nicely browned, about 4 minutes. Turn the heat down to medium-low if it seems too hot. Flip tofu pieces over and cook until second side is nicely browned.
  3. Serve with your favorite side dishes, sliced over cold noodles, or stuffed into spring rolls.


Cookies, Dessert, Lactose Free, Recipes

Red Velvet Crinkle Cookies

December 23, 2019
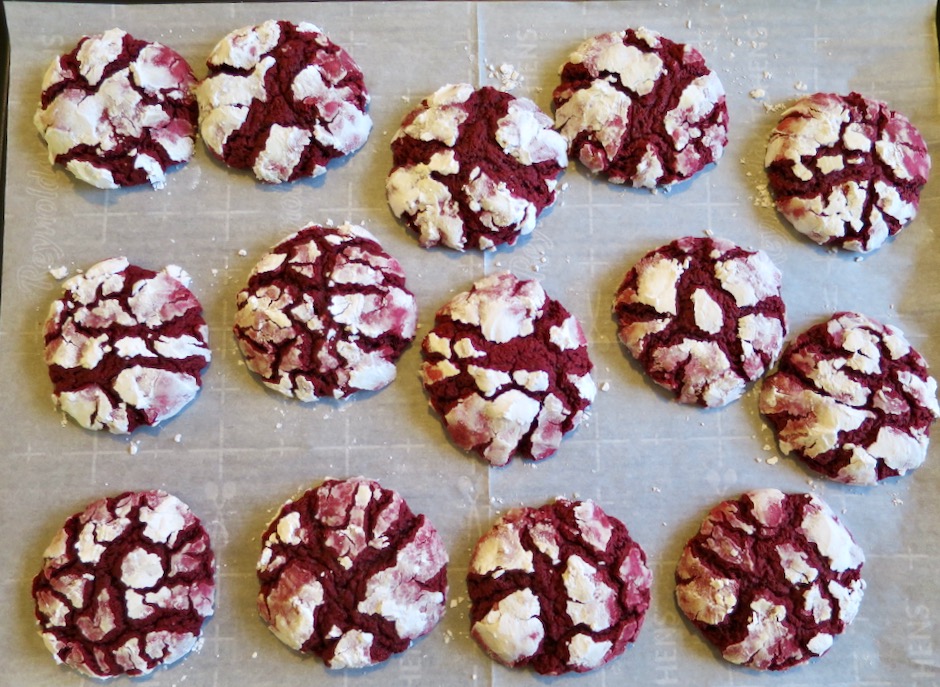
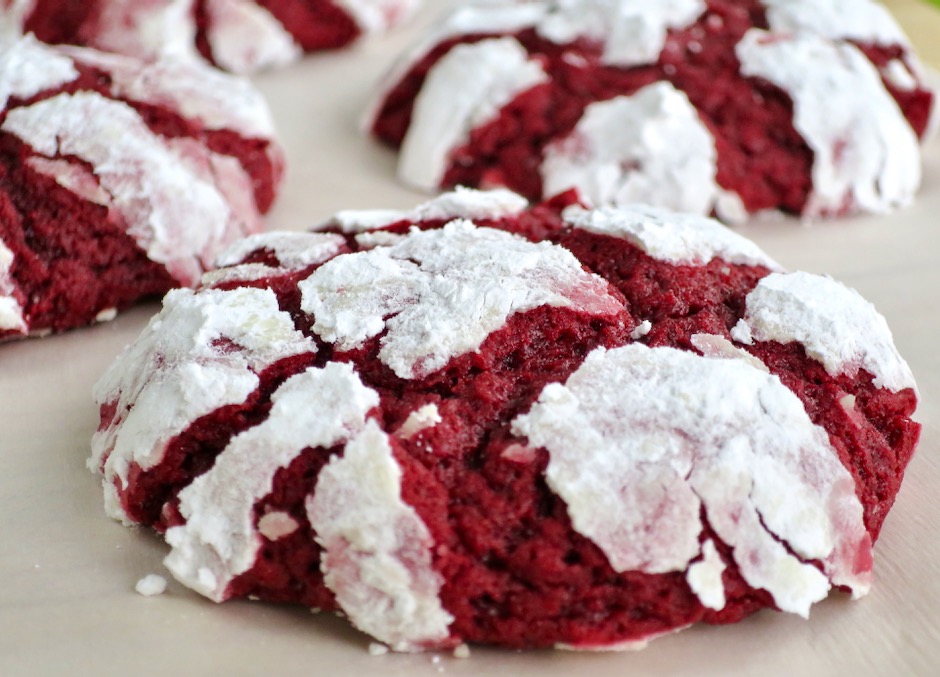
These gorgeous cookies are perfect for the holidays. The red and white contrast are simply out of this world! Besides being very festive, they are surprisingly easy to make, not to mention delicious.. I adapted this recipe from Eric Kim’s recipe at Food52.
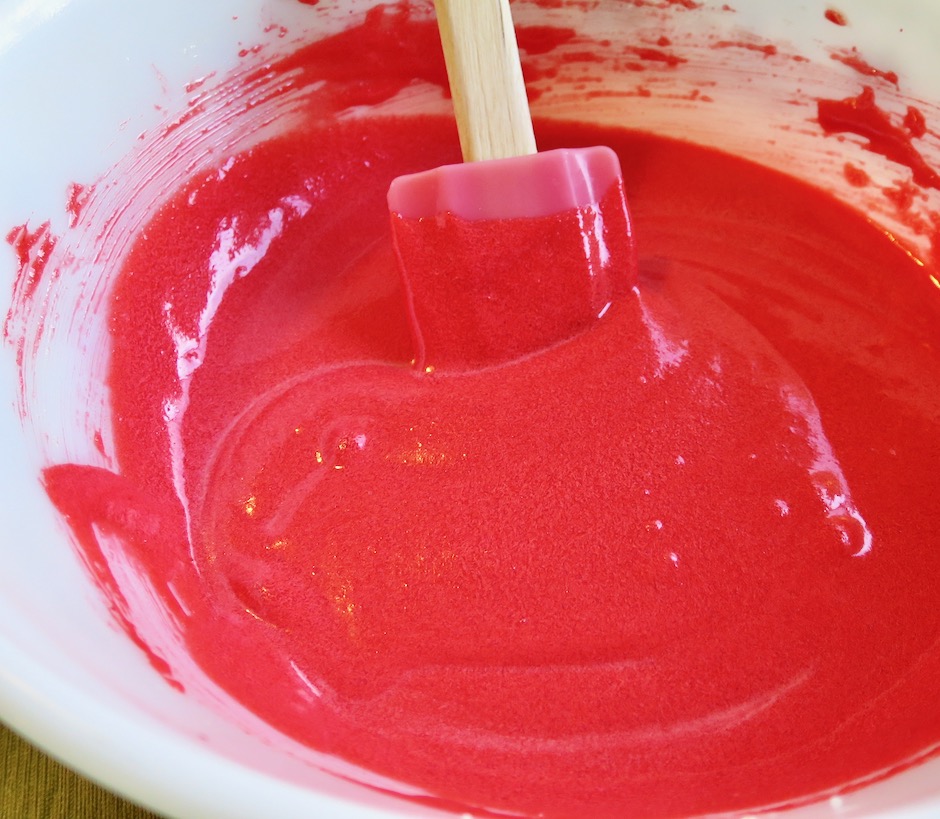
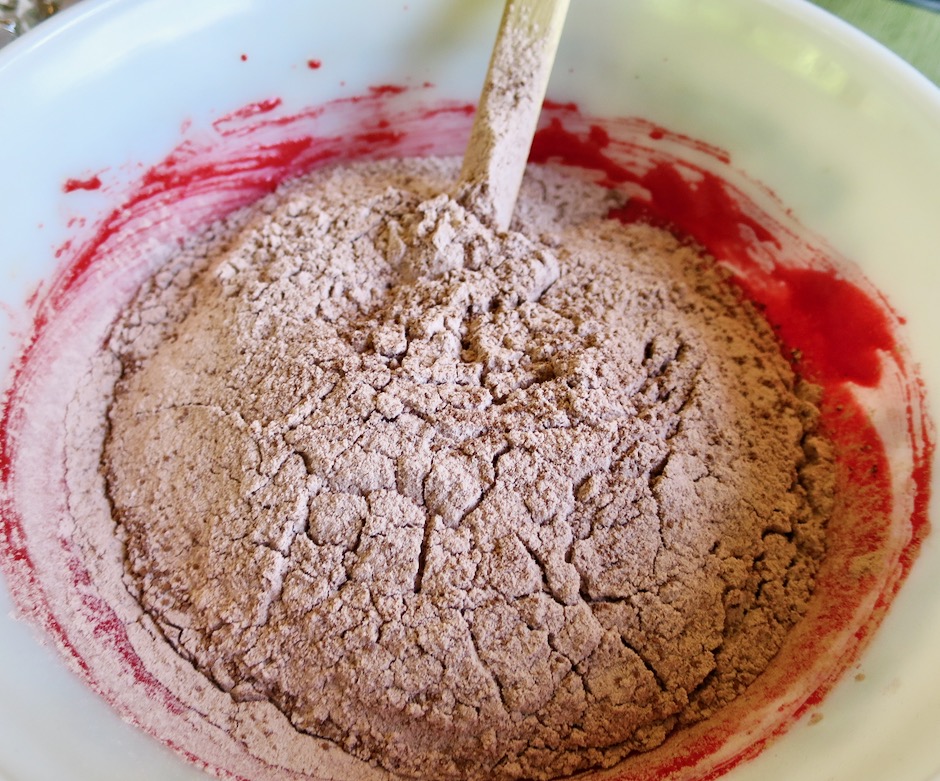
I had two bottles of red food coloring in my cupboard for a long time. I thought I would never use it. After making these cookies a few times, I was off to the market to purchase another bottle. The color of the batter looks very strange at first. But rest assured, once you add the flour and cocoa powder, things improve dramatically.
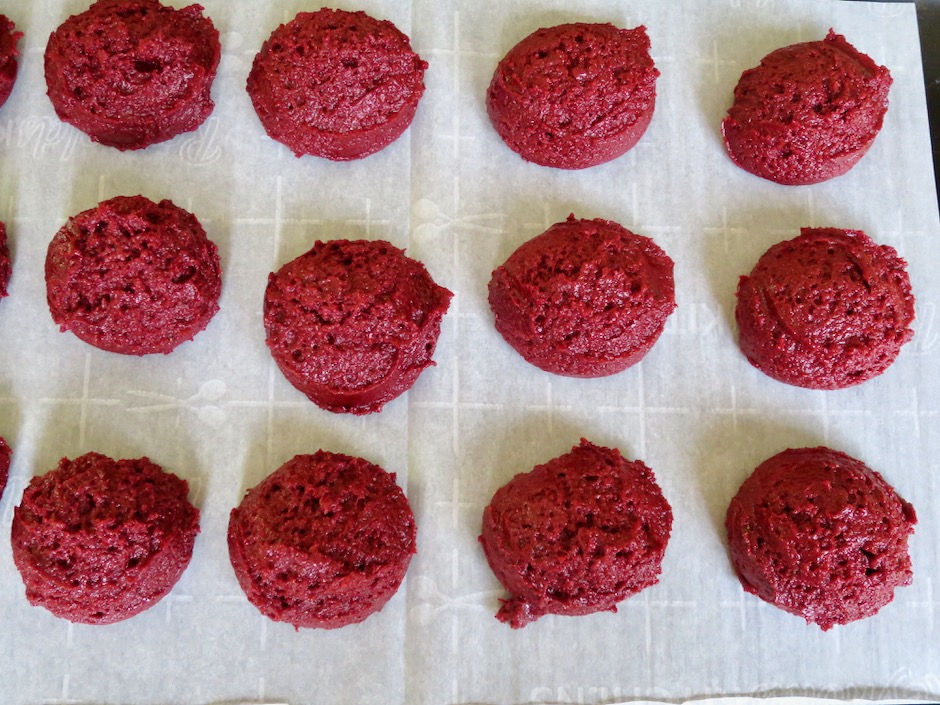
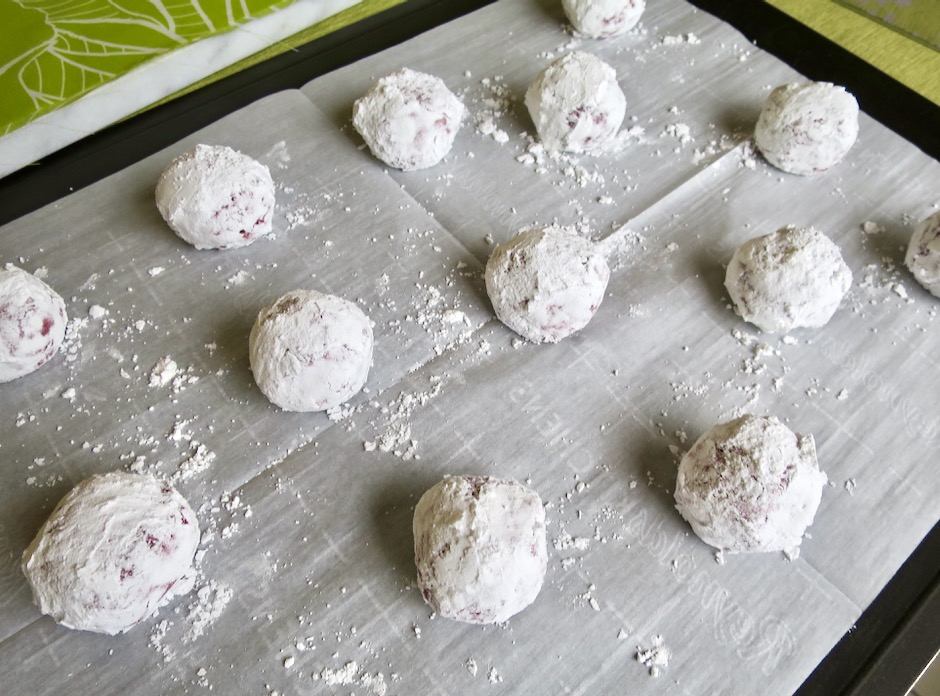
Scoop balls of dough and freeze for about 10 minutes to firm up. Roll in confectioners sugar (lots of it) covering all areas to ensure you get that dramatic red and white look.
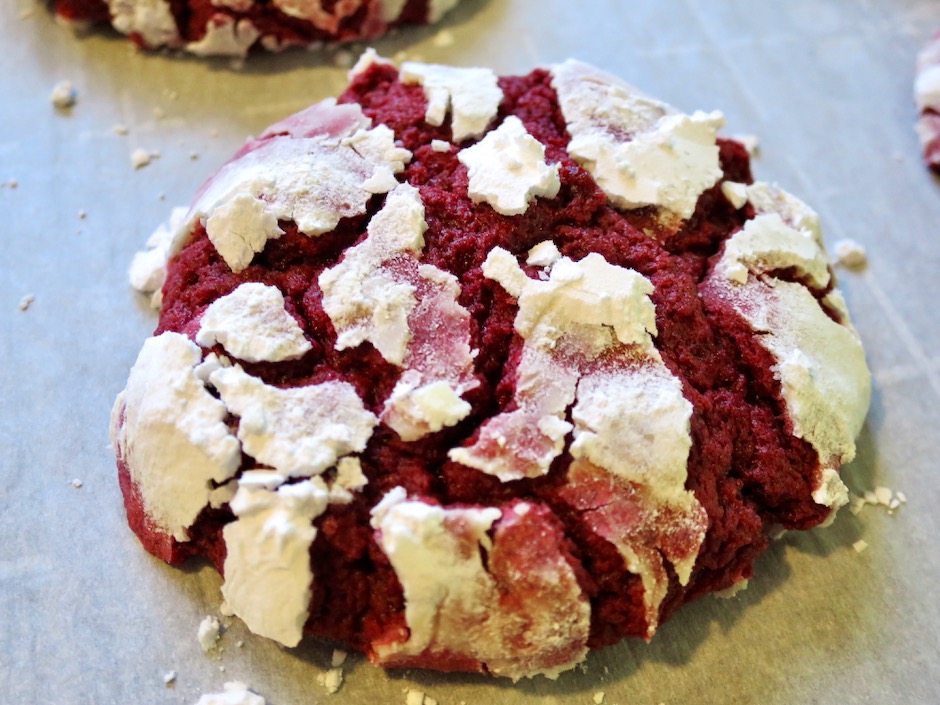
The cookies have the perfect texture. They are a bit chewy on the outside and tender and soft in the center. If you want to make these in advance of a holiday, you may freeze them in a plastic container separating layers of cookies with parchment paper.

Red Velvet Crinkle Cookies

  • 4 tablespoons (1/2 stick or 57 grams) Buttery Sticks at room temperature (or regular butter)
  • 2 tablespoons extra virgin olive oil
  • 1 tablespoon canola oil
  • 1 cup + 2 tablespoons (225 grams) granulated sugar
  • 3/4 teaspoon kosher salt (1 teaspoon if using unsalted butter)
  • 1 large egg
  • 1 tablespoon rice vinegar (substitute white or apple cider vinegar)
  • 1 tablespoon red food coloring
  • 1 teaspoon vanilla
  • 1 3/4 cups (219 grams) all purpose flour
  • 1/4 cup (21 grams) unsweetened cocoa powder
  • 1/2 teaspoon baking soda
  • 1/2 cup confectioners sugar

Preheat oven to 350 degrees. Line 2 baking sheets with parchment paper.

Cream Buttery Sticks, olive oil, canola oil, sugar, salt and egg with a hand mixer until fluffy and pale yellow, about 1 minute. Add the vinegar, red food coloring, and vanilla and mix until well combined.

In a separate bowl, whisk flour, cocoa powder and baking soda together. Add to the butter and sugar mixture stirring gently until just incorporated.

Using a medium cookie scoop (I use Oxo #40, 1 1/2 tablespoons) portion out 20 balls of dough on a plate. Freeze for 8-10 minutes. Remove from the freezer and roll each piece of dough into a round ball. Coat thoroughly with confectioners sugar. Place on a parchment lined baking sheets leaving enough space as cookies will spread as they bake. I use a cookie sheet and a half sheet that fit on one rack so that I can bake all the cookies at one time. You may choose to use 2 cookie sheets and bake one at a time. Bake for about 13-14 minutes. Let cookies rest on the pan for a few minutes before transferring to a rack to cool completely.

Recipes

Gingerbread Cookies

December 8, 2019
Hawaiian Style Gingerbread Cookies

The holiday season is here again and that means everyone is baking all kinds of delectable treats to share with family, friends and co-workers. It’s an annual tradition for me to make these gingerbread cookies. I set a weekend date in early December to make these so I don’t feel rushed later in the month. Once all of the cookies are baked and cooled, I pull up a stool to the counter and start decorating each cookie. Once I’m done decorating, the cookies are stored in sealed bags in the freezer until I am ready to pass them out. They are so much fun to make!

Happy Holidays!
Appetizers, Beans, Dinner, Lactose Free, Recipes, Side Dishes, Vegan, Vegetarian

Creamy Fresh Herb Hummus

November 24, 2019

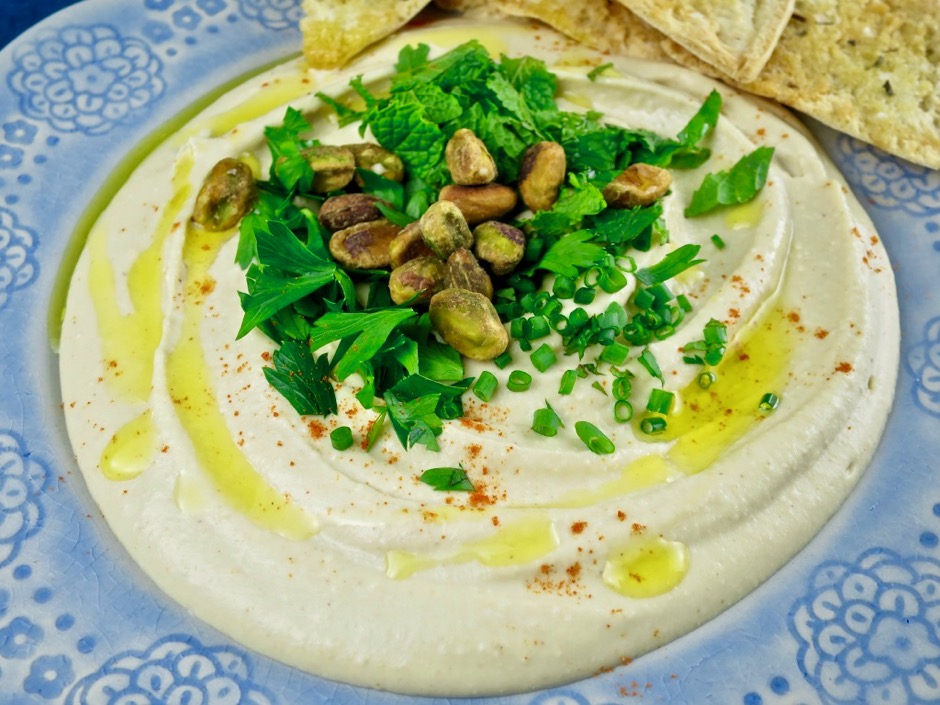
Creamy Fresh Herb Hummus

Homemade hummus is the best.  It is so easy to prepare and the end product is certainly worth the 30 minutes you spend making it. All the ingredients except for the herbs and pistachios go into the food processor.  Blitz away until the mixture is as smooth as you want it to be.  We enjoy eating hummus with homemade pita chips and falafel.  Hummus keeps well in the refrigerator and makes a great snack for home or work.

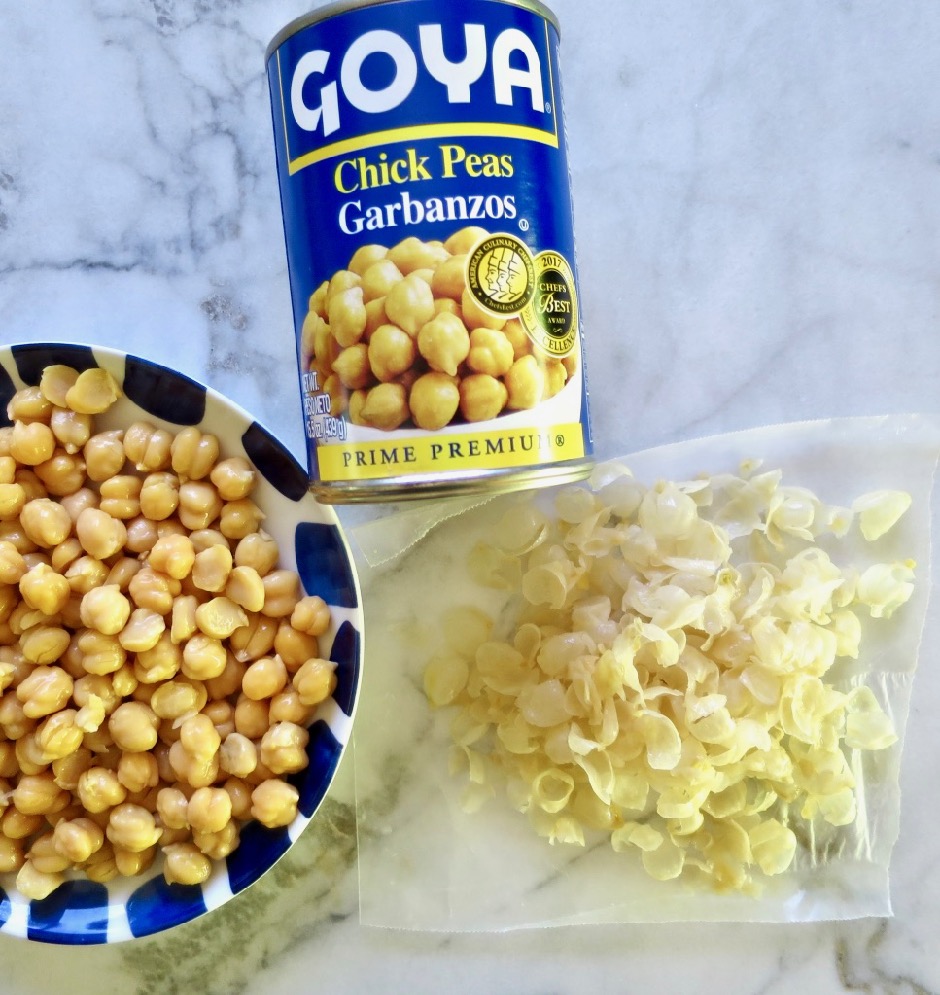
Chickpeas with Skins Removed

This time around I decided to remove the skins from the chickpeas. It took me about 9 minutes to pinch off the skins from a can of beans.  I didn’t mind the extra step since I enjoy spending time in the kitchen.  Of course this is optional, but I found the hummus to be magnificently smooth.  I came upon a curious recipe from the Minimalist Baker blog.  The undrained chickpeas and garlic cloves are heated in the microwave for a few minutes making the chickpeas very smooth and creamy when blended together with the other ingredients.  The garlic mellows a bit which makes for a well-balanced hummus.

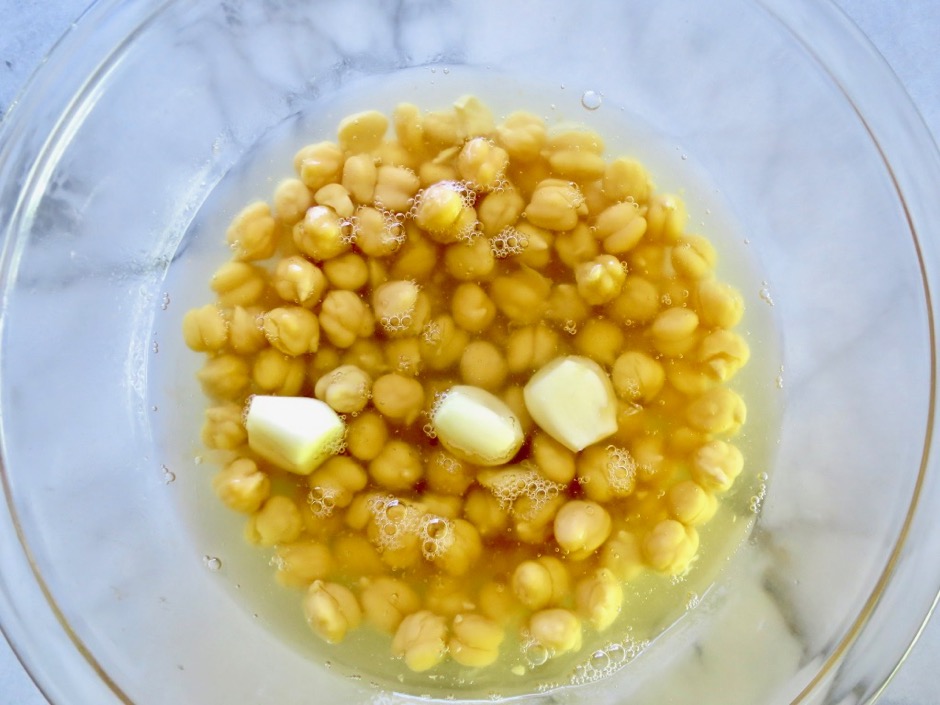
Chickpeas & Garlic

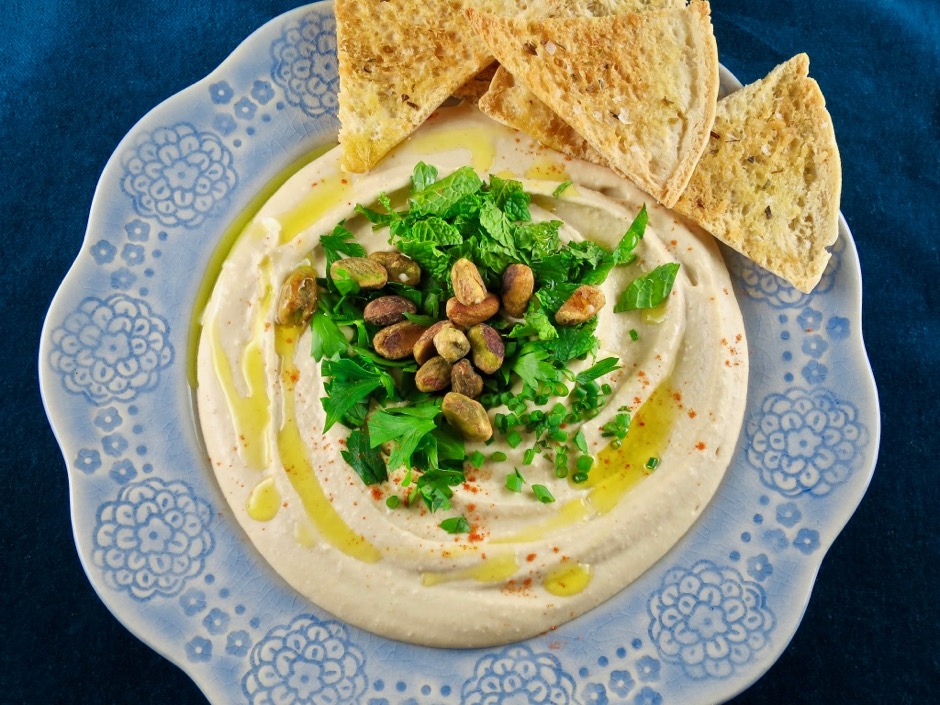
When you microwave the chickpeas use a large bowl since the chickpea liquid tends to expand. I cover the bowl with plastic wrap leaving a small vent for air to escape.  Once the chickpeas come out of the microwave I drain them, saving just a few tablespoons of the liquid for later.  Then everything goes into the food processor until smooth and creamy.  Place the warm hummus in a container and refrigerate until cool.  Transfer the cooled hummus to a serving plate, add your favorite fresh herbs, pistachios, and a swirl of olive oil.  Dust with cayenne pepper and serve with pita chips.

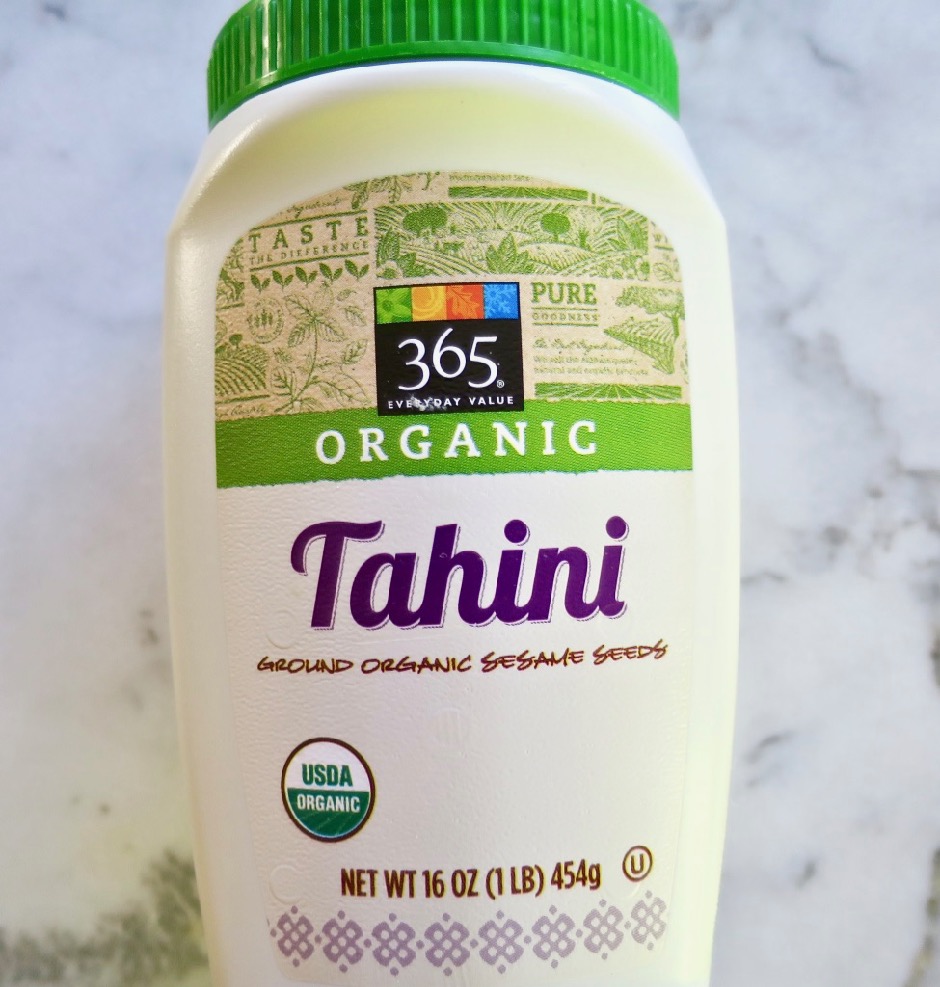
It’s really a chore to stir tahini in the container or jar that it comes in.  The bottom of the container usually has solid pieces of tahini that are hard to get at.  These days I just pour the entire container into a bowl and whisk away until the tahini is mixed to perfection.  The thought of having to clean another bowl might discourage you but you will save a lot of frustration. It only takes a minute to wash the bowl!

Creamy Fresh Herb Hummus

Creamy Fresh Herb Hummus
 
Author:
Serves: 6
Ingredients
  • 1 can (15 ounce) chickpeas, drained with liquid reserved, skins removed (optional)
  • 3 medium garlic cloves, peeled
  • ¼ cup + 1 tablespoon well stirred tahini
  • 2½ - 3 tablespoons fresh lemon juice
  • ¾ teaspoon kosher salt
  • 2-3 tablespoons cold water
  • 1-2 tablespoons reserved chickpea liquid
  • ¼ teaspoon ground cumin
  • ⅛ teaspoon cayenne (optional) + more for serving
  • 2 tablespoons extra virgin olive oil + more for serving
  • handful of fresh herbs
  • pistachios, salted and shelled
Preparation
  1. Drain and reserve the liquid from the chickpeas. Pinch off the skins from the chickpeas
  2. Transfer chickpeas, reserved liquid and 3 garlic cloves to a large bowl. Cover with plastic wrap leaving a small vent for the air to escape. Microwave for 3½ - 4 minutes.
  3. Drain chickpeas, reserving 2 tablespoons of liquid. Transfer chickpeas to a food processor along with the garlic cloves, tahini, lemon juice, salt, 2 tablespoons cold water, 1 tablespoon chickpea liquid, cumin, cayenne and olive oil. Process until mixture is smooth, scraping down the sides as needed. If the hummus is too thick, add water or chickpea liquid until it is the texture you prefer. Keep in mind the hummus will thicken a bit once refrigerated. Transfer mixture to a container and refrigerate until chilled.
  4. When ready to serve, spoon hummus onto a serving plate. Place fresh herbs in the center and top with pistachios. Drizzle olive oil over hummus and sprinkle a bit of cayenne over the top. Serve with pita chips.


Cookies, Dessert, Lactose Free, Recipes, Vegan

Potato Chip Cookies

November 9, 2019

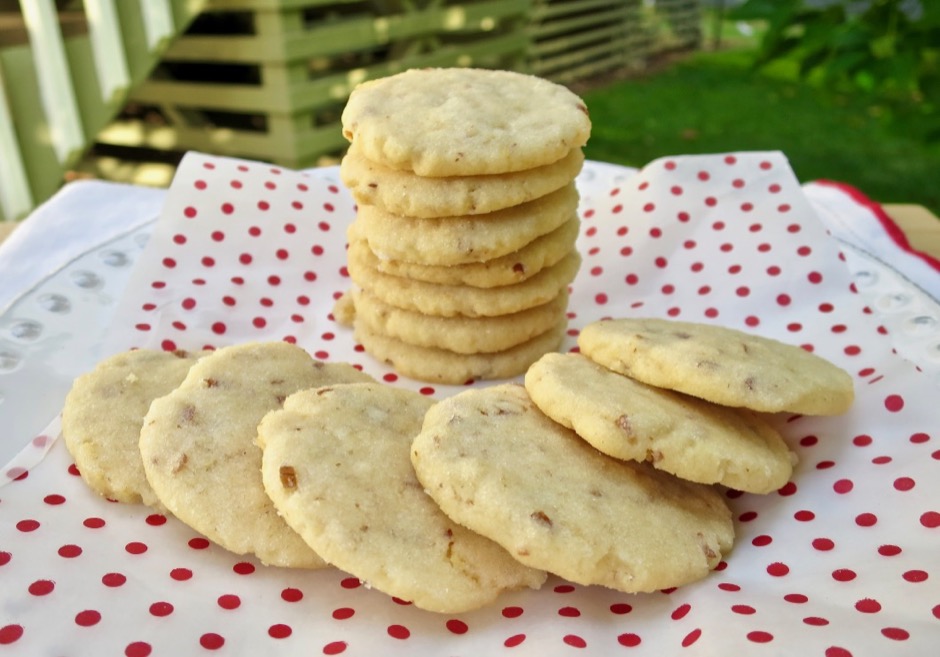
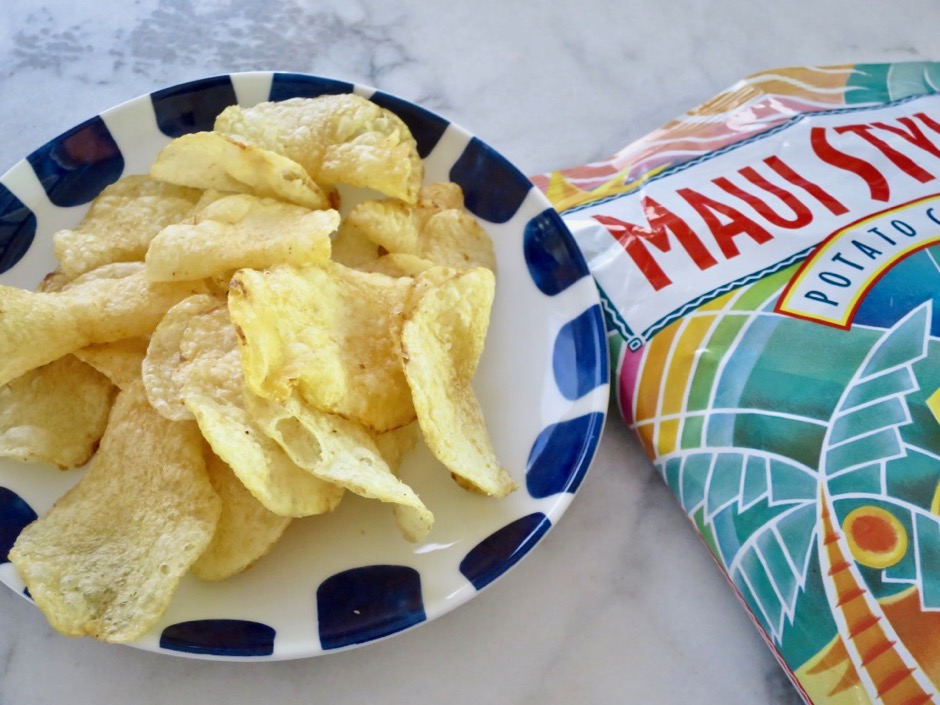
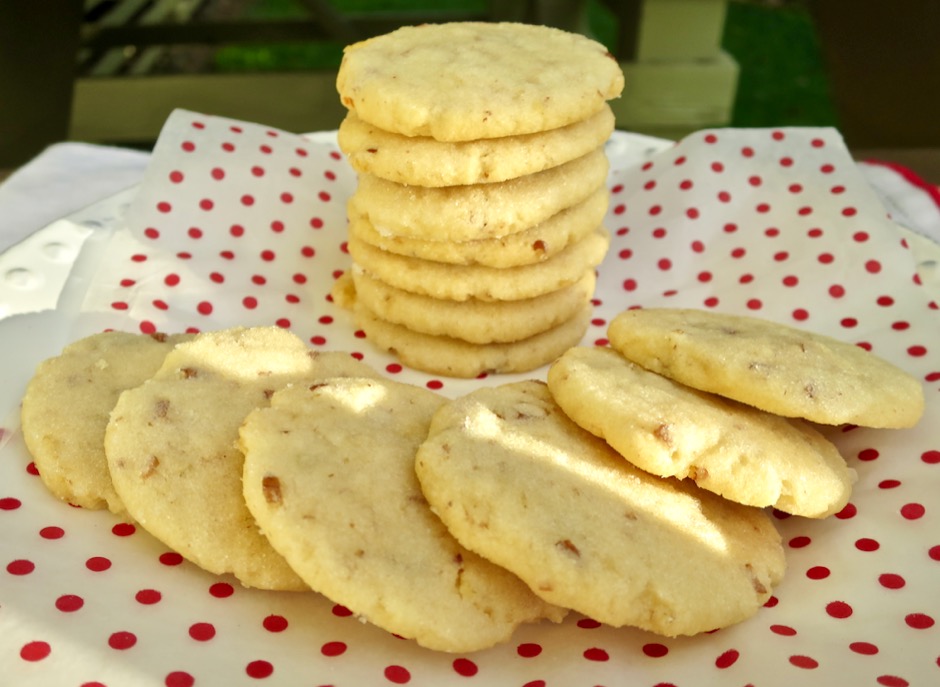
Potato Chip CookiesMaui Style Potato Chips are my favorite chip.  They are very crunchy and unlike some other brands, they are not smashed to smithereens when you open up the bag.  Some of them are curved, some folded over (I like these best), and they are perfectly salty as a chip should be.  With that being said, they are ideal for this recipe.  I can understand the 5 star rating these Fine Cooking magazine cookies receive from those who have made them.  They are delicious.

Maui Style Potato Chips

If you can’t find Maui Style Potato Chips you may substitute with your favorite kettle-style potato chips.

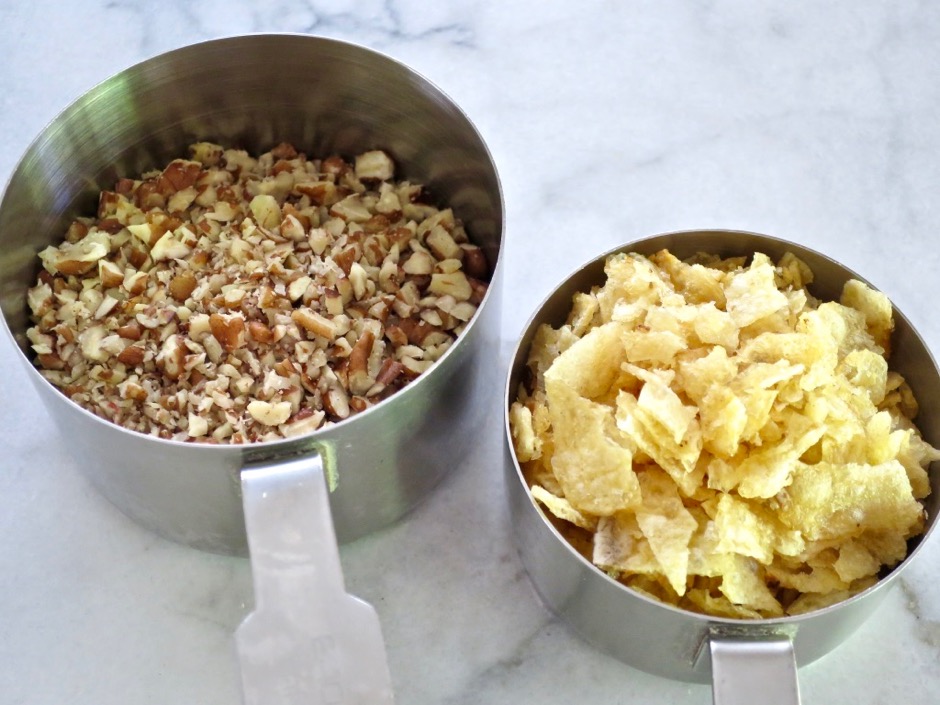
Pecans & Maui Potato Chips

Finely chopped pecans contribute to the cookie’s crisp texture.
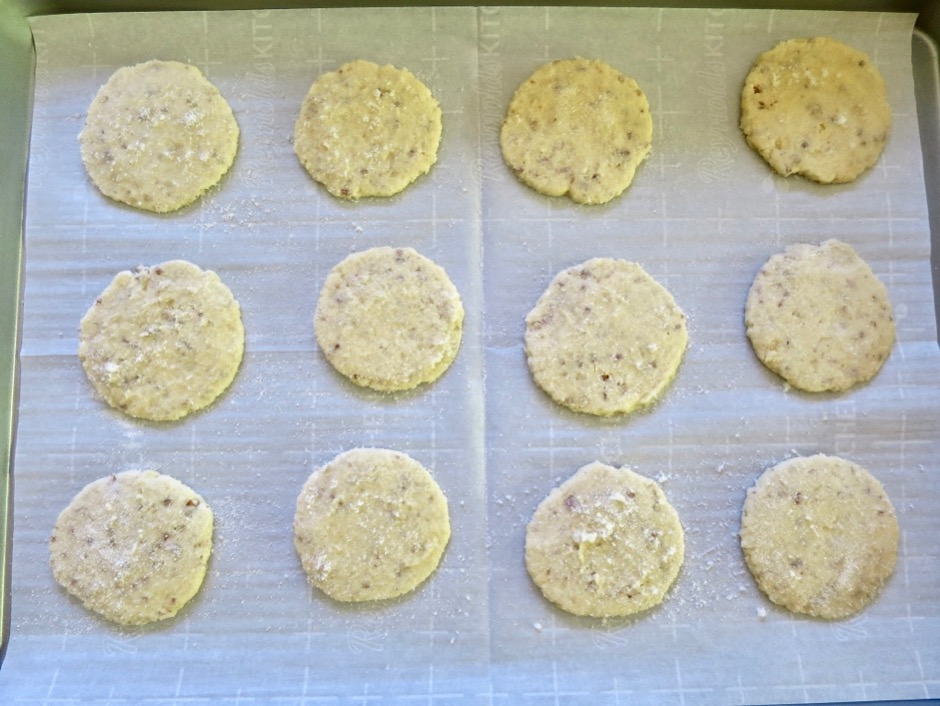
Potato Chip Cookie Dough

The cookie dough is shaped into balls then pressed with a buttered cup coated with sugar.  The dough is not overly sweet and the sugar-coating adds a nice finish to the cookies once baked.

Potato Chip Cookies

Potato Chip Cookies
 
Adapted from Fine Cooking magazine
Author:
Serves: 30 cookies
Ingredients
  • 8 ounces Earth Balance Buttery Sticks (or regular butter), softened at room temperature; more for shaping
  • ½ cup granulated sugar; more for shaping
  • 1 teaspoon vanilla extract
  • 8 ounces (scant 2 cups) all-purpose flour
  • ½ cup finely chopped pecans
  • ¾ cup finely crushed potato chips
Preparation
  1. Position rack in the middle and heat oven to 350 degrees. Line 2 large baking sheets with parchment paper.
  2. With a hand mixer, beat the Buttery Sticks and sugar on medium speed in a large bowl until creamy and well blended, about 4 minutes, scraping the bowl as needed (or use a stand mixer with the paddle attachment). Add the vanilla and beat again until blended. If using a hand mixer, stir in the flour, pecans and potato chips or mix on low speed with a stand mixer.
  3. Shape dough into 1½-inch balls. Arrange the balls about 2 inches apart on the baking sheets. Put some sugar in a shallow bowl. Lightly grease a flat-bottomed glass or small bowl with soft butter. Dip the glass into the sugar and press the glass down on a dough ball until it's about ¼-inch thick. Repeat dipping and pressing with the remaining balls. You will need to grease the glass now and then with more butter.
  4. Bake 1 sheet at a time until the cookies look dry on top and the edges are light golden, about 12 minutes. Let the cookies cool on the baking sheet on a rack for 5 minutes before transferring them to a rack to cool completely.
  5. If you are not serving the cookies right away, freeze them in an airtight container. This keeps them fresh and crisp. Remove cookies from the freezer 30 - 60 minutes before serving.


Dessert, Fruit, Lactose Free, Recipes

Mango Tart

October 24, 2019

Mango Tart

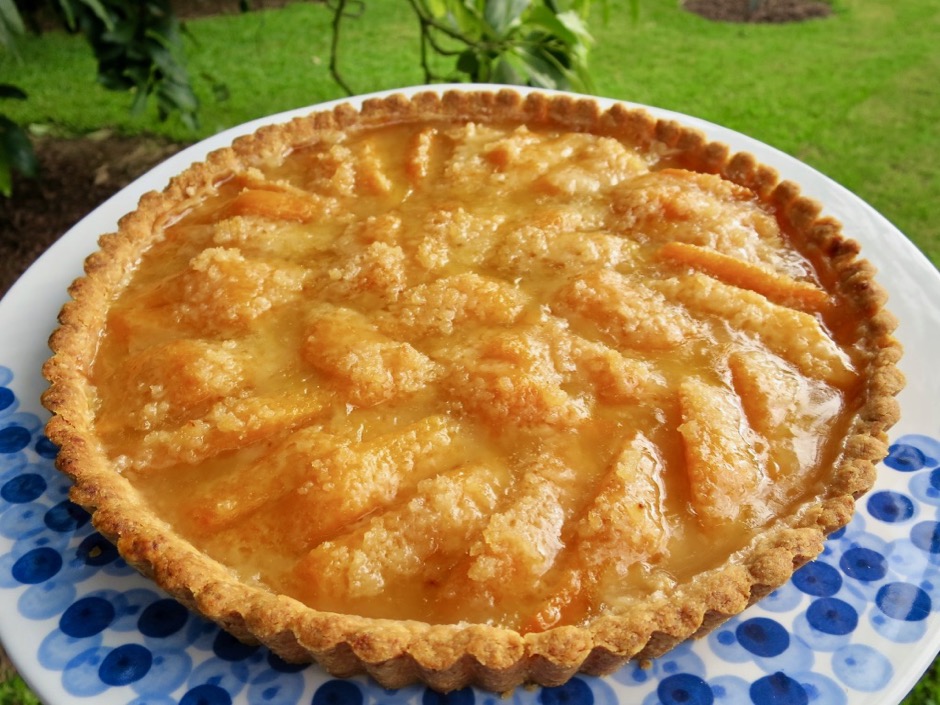
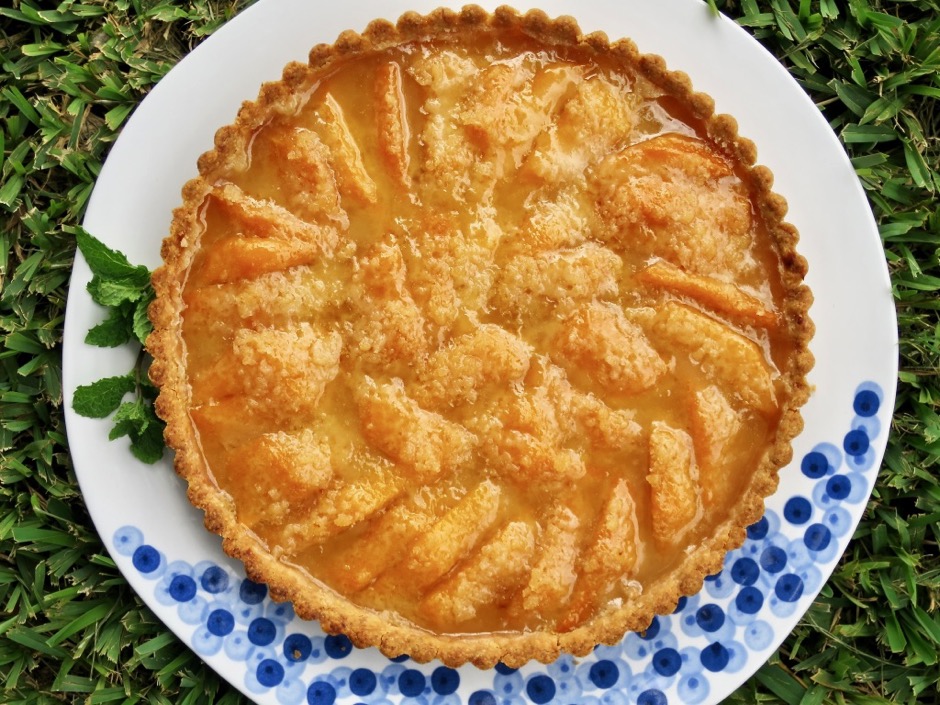
This summer dessert tart is for those lucky people who have mango trees in their yards.  If you don’t have mangoes, use peaches just as the original recipe from Amanda Hesser calls for.  The tart is excellent on its own, or with vanilla ice cream or whipped cream.

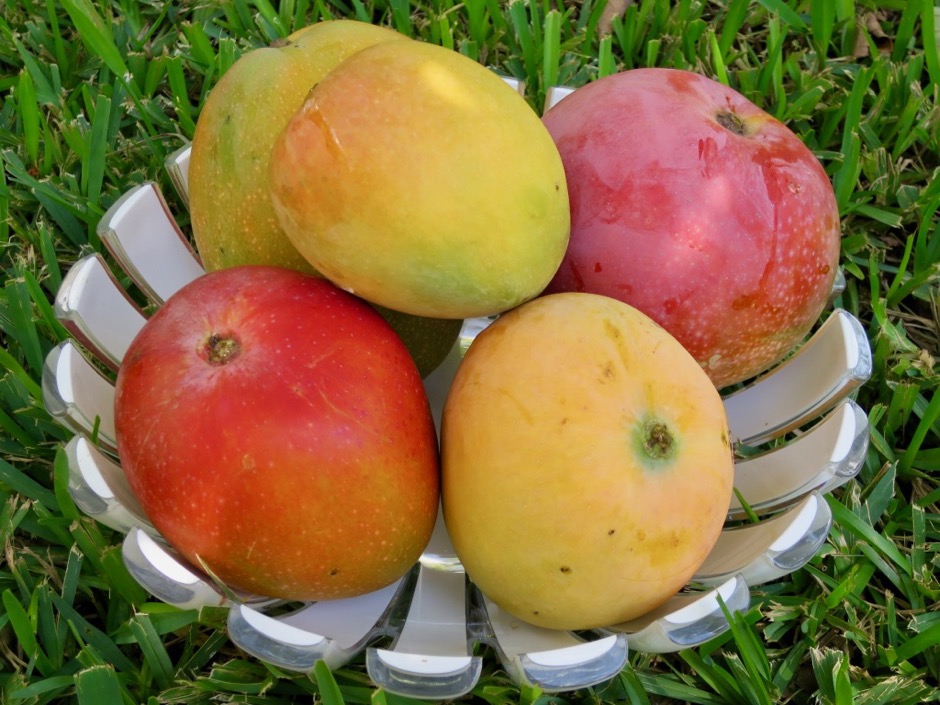
Maui Mangoes

It is now October and our two mango trees are bare of fruit, so we will patiently wait for their return next summer.  Both the Rapoza and White Pirie varieties are delicious, however, the White Pirie is what I used for the tart because of its firmer texture.  It’s a super sweet mango that we also use in mango bread and mango jam.

Pirie Mango

The White Pirie has a gorgeous orange color to it.

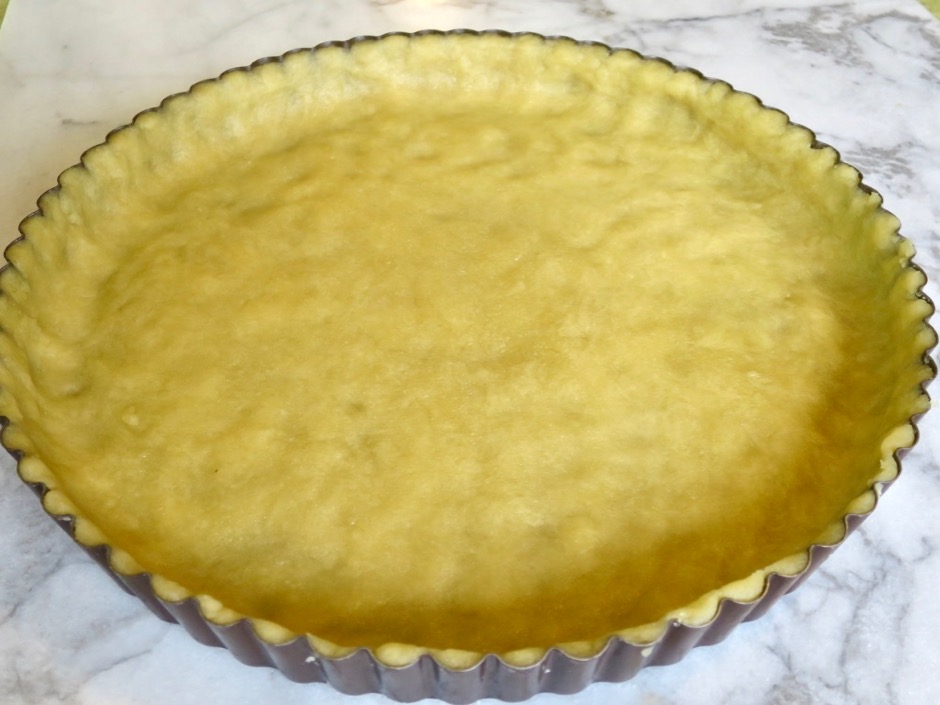
Tart Crust

The dough ingredients are mixed together then pressed into the tart pan. If you don’t own a tart pan, a pie pan is an adequate substitute.

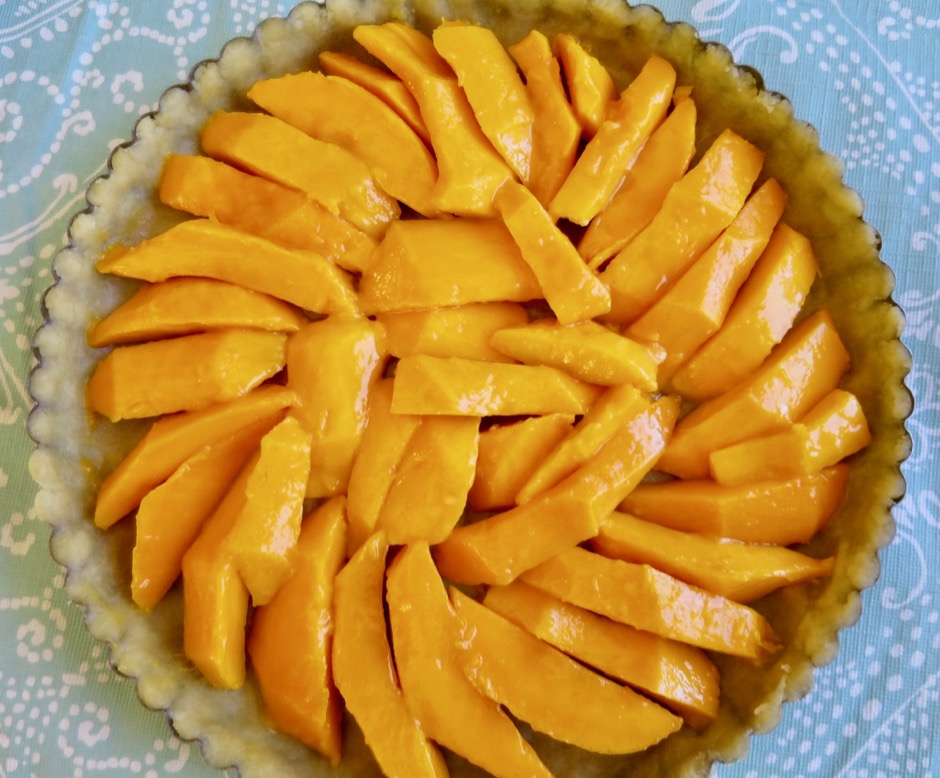
Mango Tart

The mangoes are arranged in a concentric circle with the center portion filled with smaller pieces.

Mango Tart

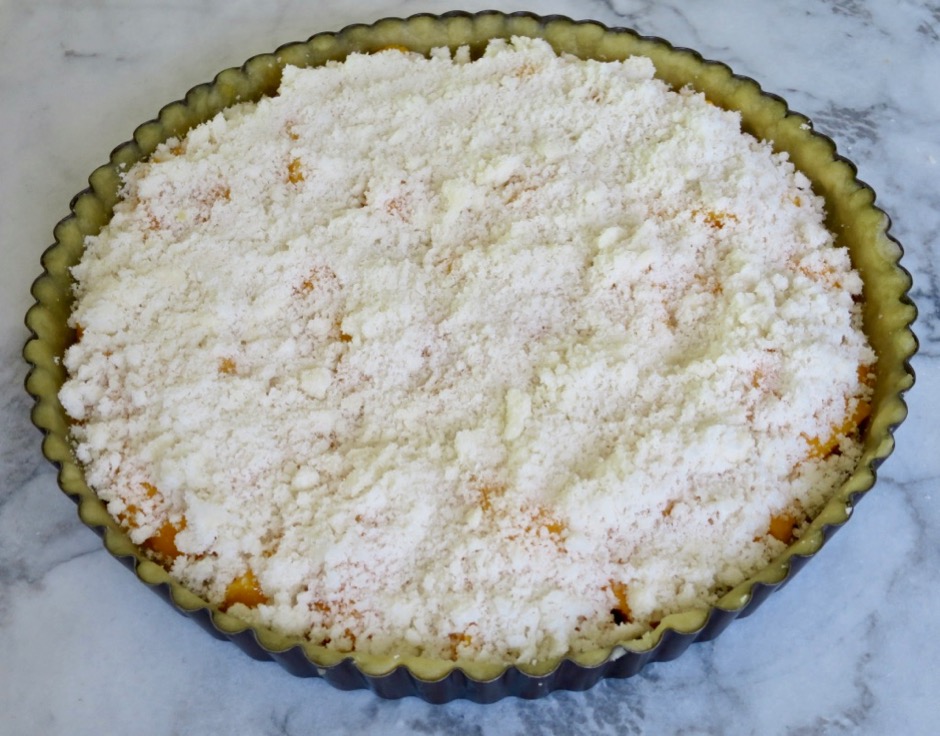
A good sprinkling of the butter, sugar, and flour mixture is layered over the entire top of the fruit before baking.  It may seem as though there is too much of the crumble mixture, but use it all. It will melt into the mangoes enhancing this beautiful tart.

Mango Tart

Mango Tart
 
Adapted from Food52, Amanda Hesser
Author:
Serves: 6
Ingredients
  • Tart Pastry:
  • 1½ cups + 2 tablespoons all-purpose flour
  • ½ teaspoon kosher salt
  • 1 teaspoon granulated sugar
  • ¼ cup + 1 teaspoon canola oil
  • ¼ cup mild olive oil
  • 2 tablespoons whole milk or half & half, lactose free or regular
  • ½ teaspoon vanilla extract
  • Tart Topping:
  • ¾ cup granulated sugar
  • 3 tablespoons all-purpose flour
  • ¼ teaspoon kosher salt
  • 2 tablespoons cold Earth Balance Buttery Sticks or regular butter
  • Fruit Tart:
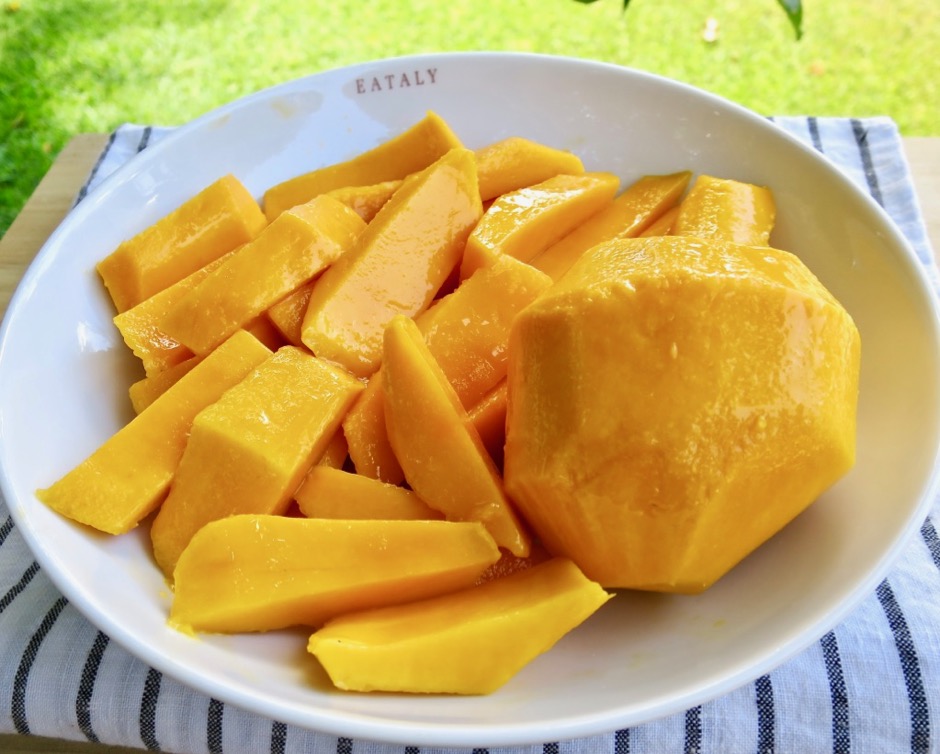
  • 4 medium mangoes, peeled, seeds removed, and sliced about ½-inch wide
Preparation
  1. Heat oven to 425 degrees. Wrap the exterior of a 10" tart pan (with a removable bottom) with foil (juices from fruit can seep through the tart pan).
  2. Mix together 1½ cups + 2 tablespoons flour, ½ teaspoon kosher salt, and 1 teaspoon sugar in a medium mixing bowl.
  3. In a small bowl, whisk together the oils, milk and vanilla extract. Pour this mixture into the flour mixture and mix gently with a fork (just enough to dampen; do not over work it). Transfer the dough to a 10" tart pan with removable bottom (I use a non-stick). You may also use a 9" tart pan if that's what you have available. Use your hands to pat out the dough so it covers the bottom of the pan, pushing it up the sides to meet the edge (pat firmly). I find that using a 10" tart pan works perfectly. There won't be any leftover dough and it may seem there is not enough but keep pressing the dough until it is evenly distributed.
  4. In the same bowl you used for the dough, combine ¾ cup sugar, 3 tablespoons flour, ¼ teaspoon kosher salt, and the Buttery Sticks. Using your fingers, pinch the butter into the dry ingredients until crumbly.
  5. Starting on the outside, arrange mangoes overlapping in a concentric circle over the pastry. Fill in the center with the smaller pieces of mango. The mangoes should fit snugly. Sprinkle the pebbly butter mixture over the top (use it all). Place foil wrapped tart pan on a baking sheet and bake for 35 minutes until shiny, thick bubbles begin enveloping the fruit and the crust is slightly brown. It's a good idea to check the tart crust after it has baked for 25 minutes. To protect the crust from over browning, drape a piece of foil over the tart and continue baking. Cool tart on a rack. Serve warm or at room temperature. You may refrigerate the tart until ready to serve once it has cooled. It is best eaten the day it is made.


Follow

Get every new post delivered to your Inbox

Join other followers: