


Browse recipes
Fresh from the lilikoi kitchen
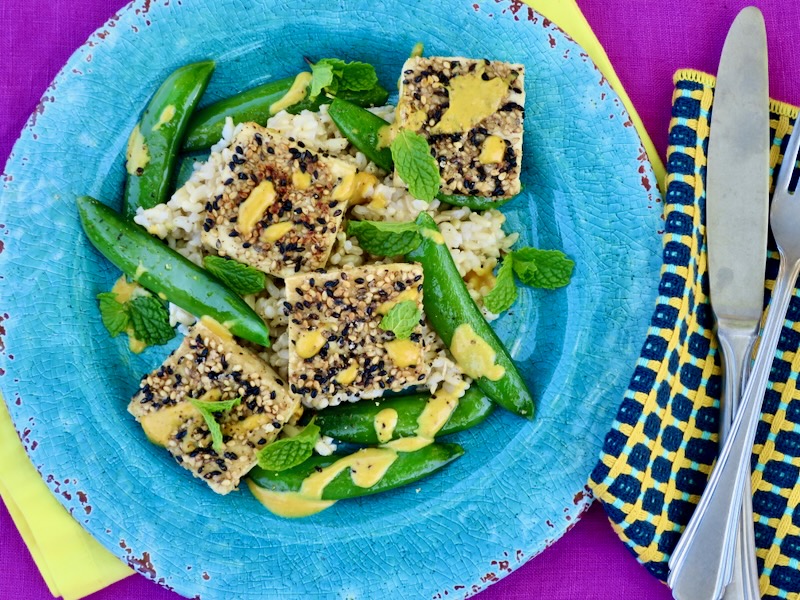
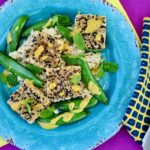
Here is a no-fuss satisfying dish. It’s a nutritionally complete meal with tofu, brown rice, and crispy snap peas. The tahini miso and sriracha sauce...
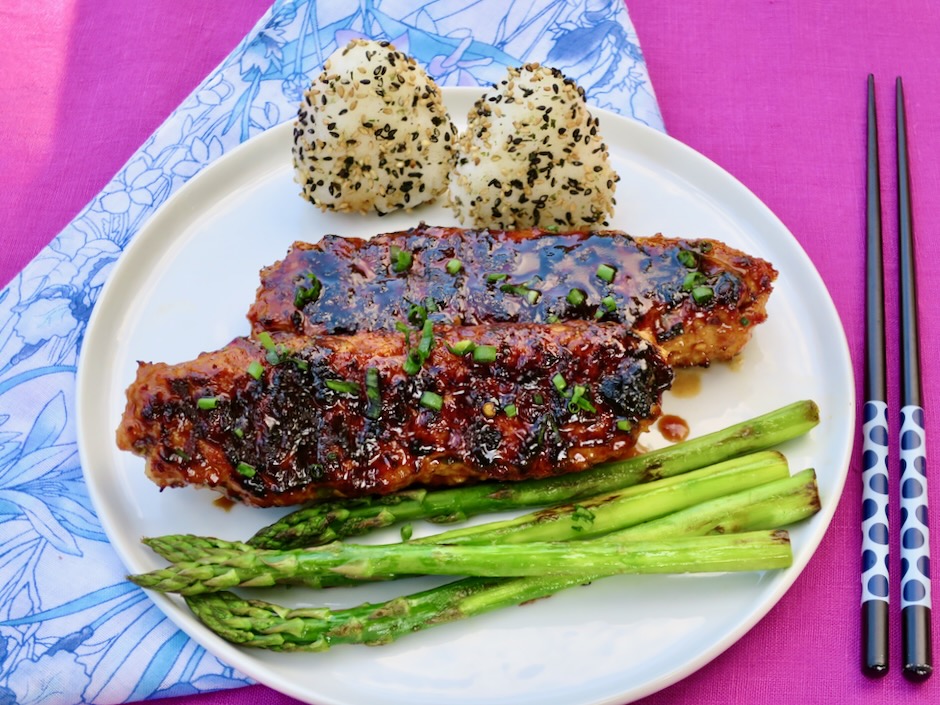
These miso chicken and pork skewers are onolicious (our local slang in Hawaii for describing something that is exceptionally tasty). When I discovered these on...

If you’re ever in need of a quick and tasty dessert to make for company, look no further. These beautiful apple tartlets are delicious and...
Browse recipes
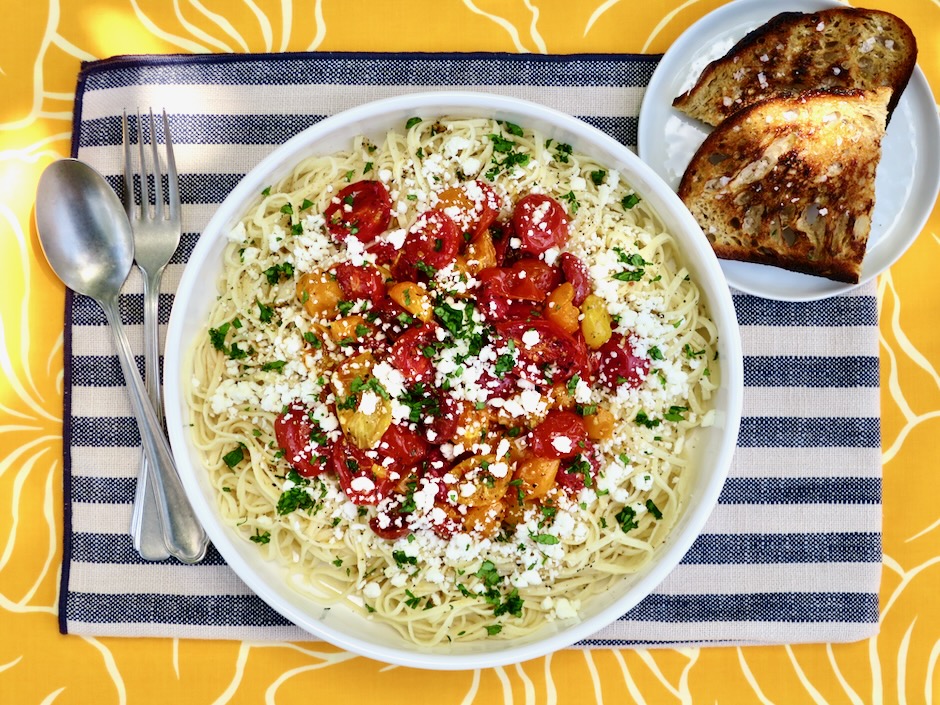
Irresistible Noodle Dishes
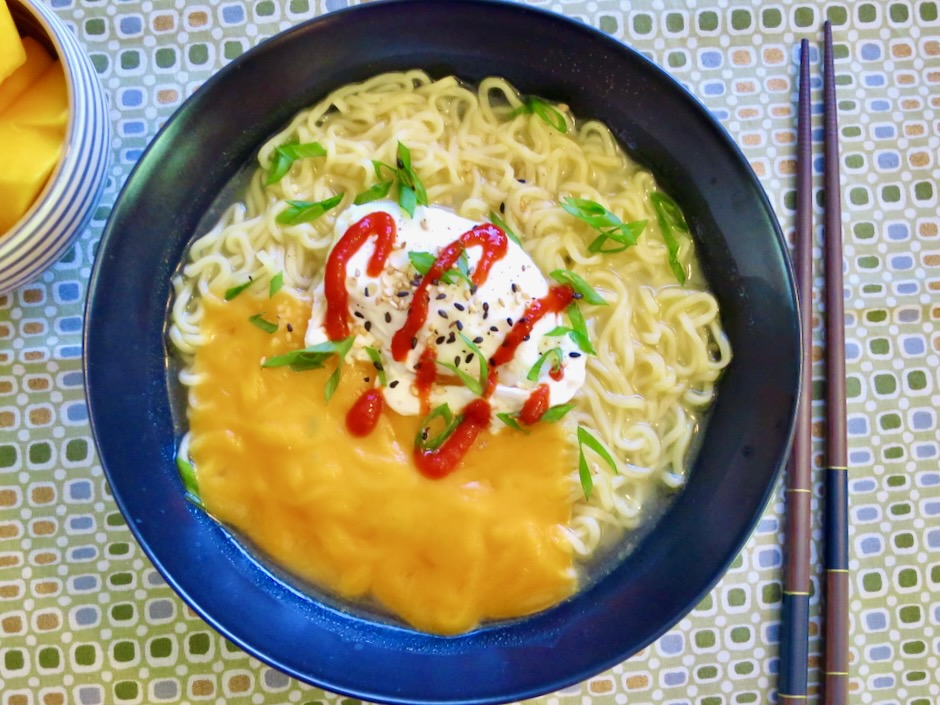
I found this crazy delicious recipe on the NYT Cooking site. Melty cheese and a poached egg on packaged ramen was love at first bite....
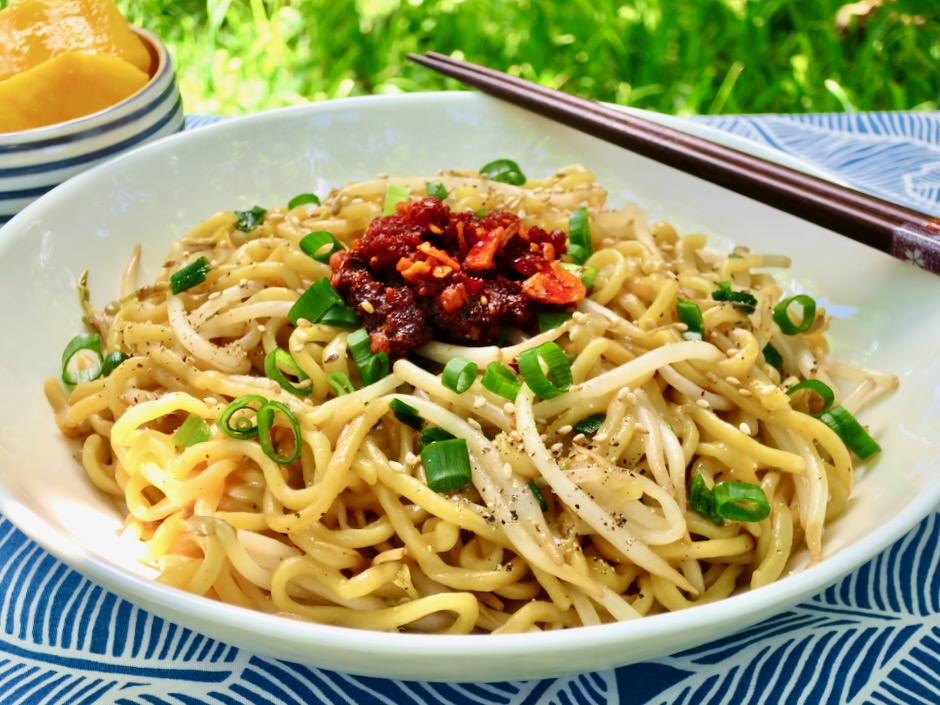
Here on Maui (and beyond), Sam Sato’s is known for their wide variety of local-style menu items (plate lunches). But they are most famous for...
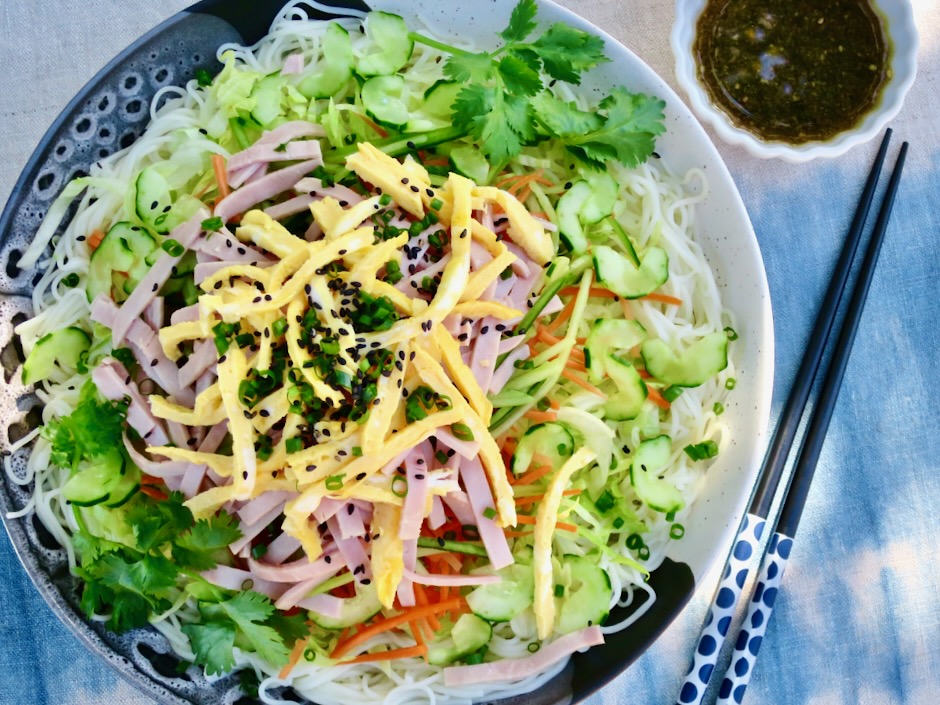
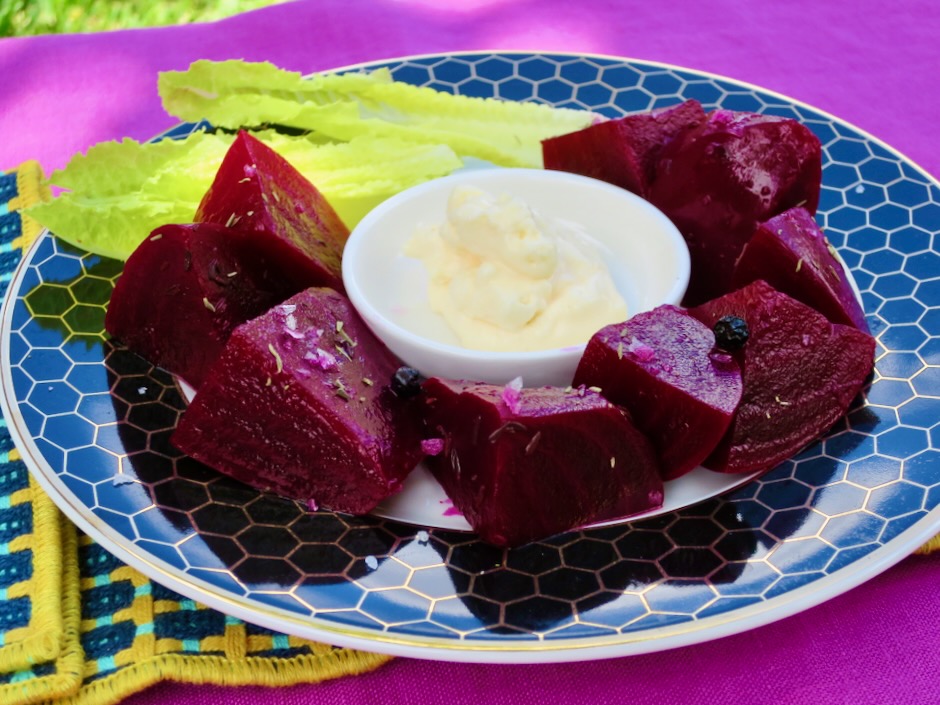
Perfect for a New Year’s Eve Potluck or New Year’s Day Lunch Around a dozen years ago I posted a recipe for this refreshing cold...
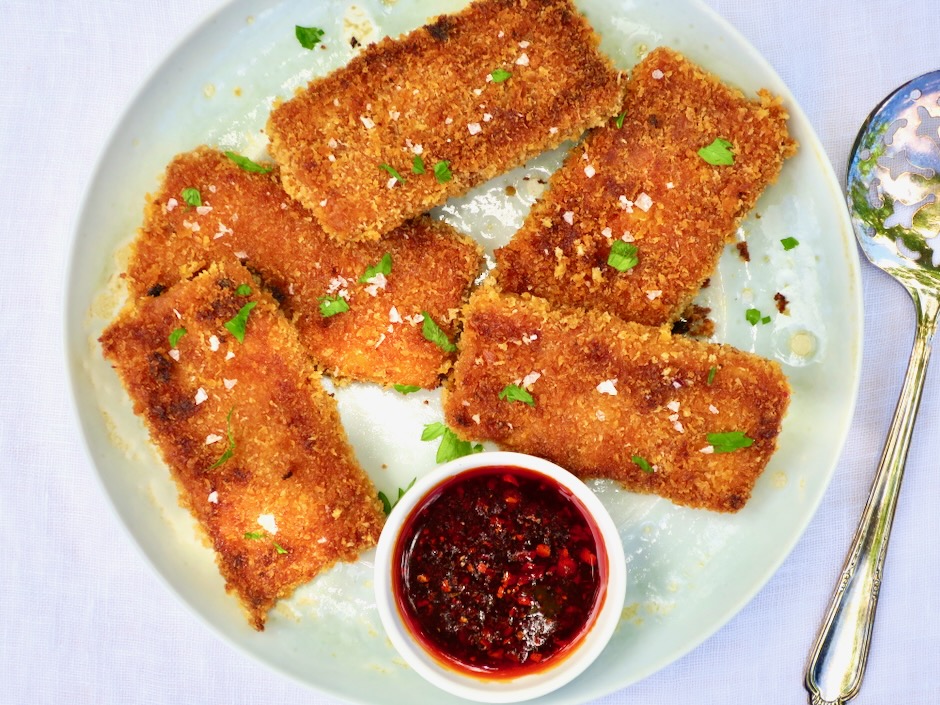
These tofu cutlets are exceptionally crispy and perfectly seasoned throughout. Jazzed up with a chile crisp marinade, they are a real crowd-pleaser. You can...
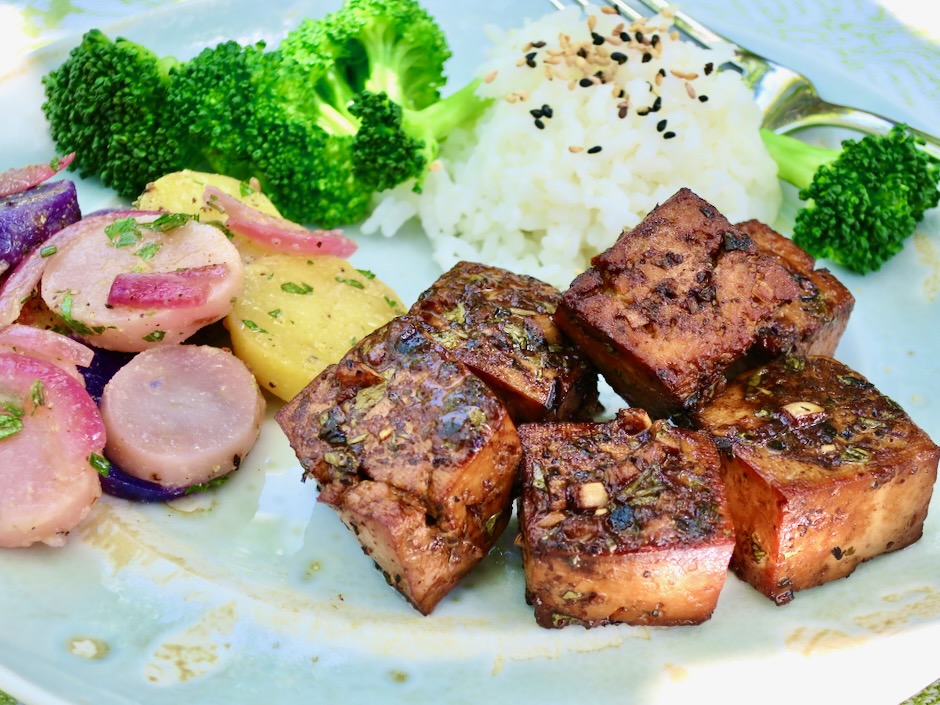
Tofu can be controversial in some American kitchens. Not in mine! I saw a photo of this glorious tofu in Bon Appétit magazine and...
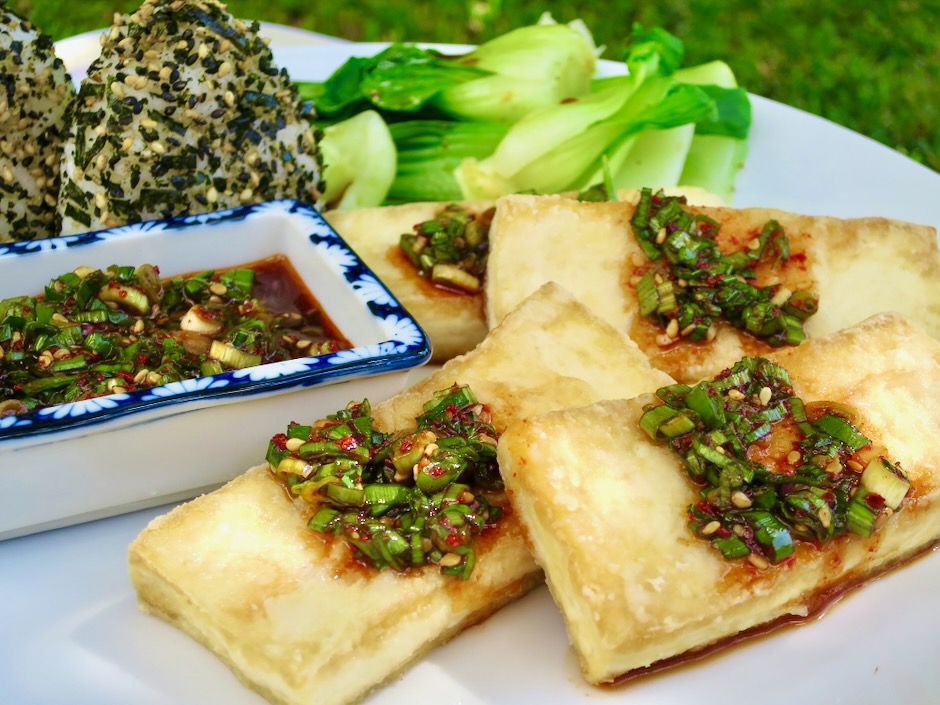
Crispy tofu drizzled with a delicious scallion sauce is an easy and tasty dish to make any day of the week. A flavorful scallion...
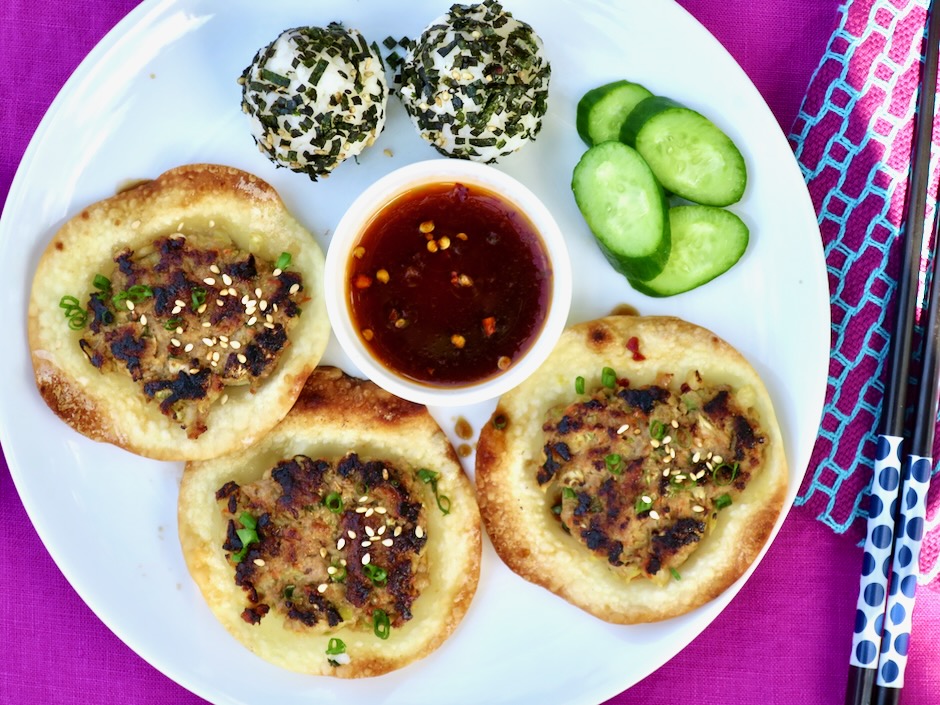
These open-faced gyozas are ingenious as well as delicious. The dumpling wraps become crispy around the edges and the filling has a superb savory...
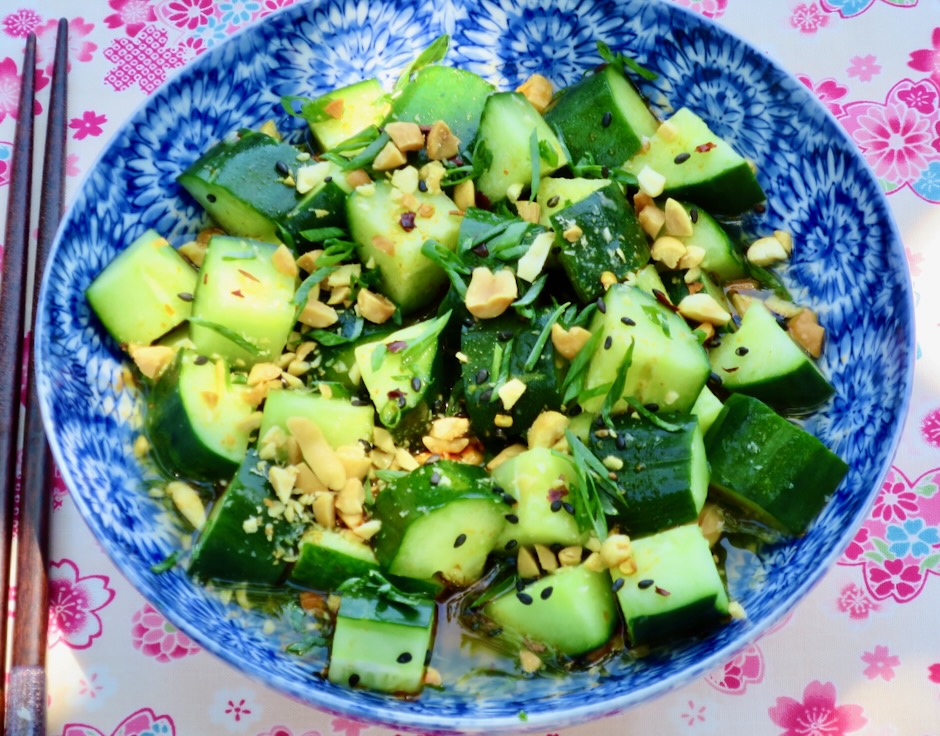
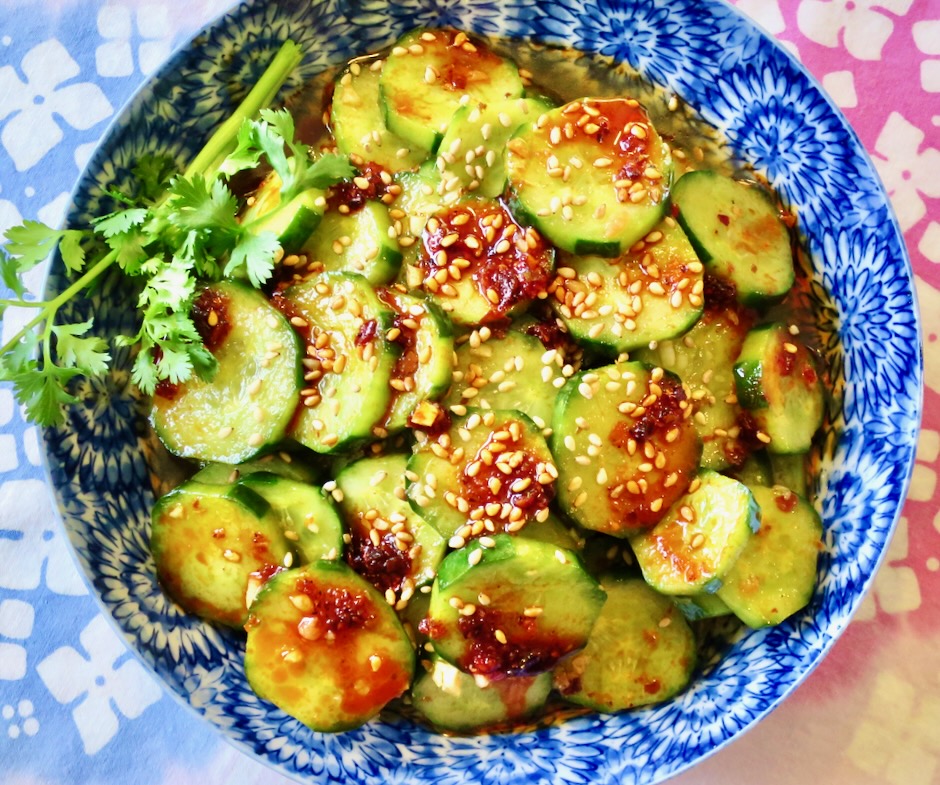
A couple of cucumber plants can easily produce a basket load of cucumbers, much more than the two of us can consume in a...
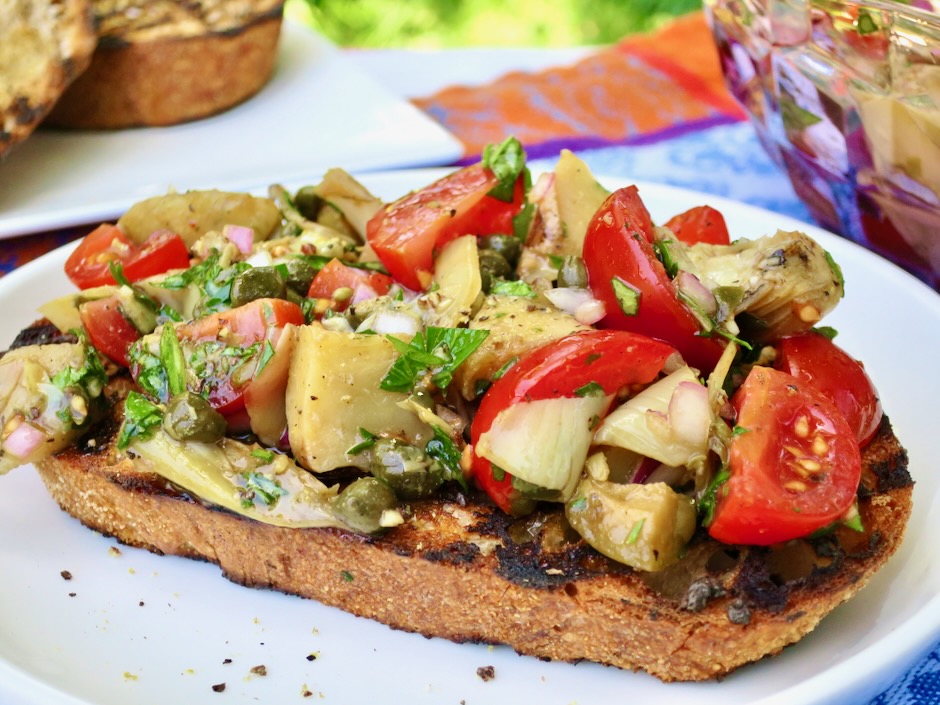
Bruschetta! If there’s a simple way to enjoy juicy summer tomatoes this is it. This is a jazzed up version of the classic tomato...

Tender and juicy grilled chicken breasts marinated in mayonnaise combined with bold flavorings is a dream come true. It can be a tricky grilling...
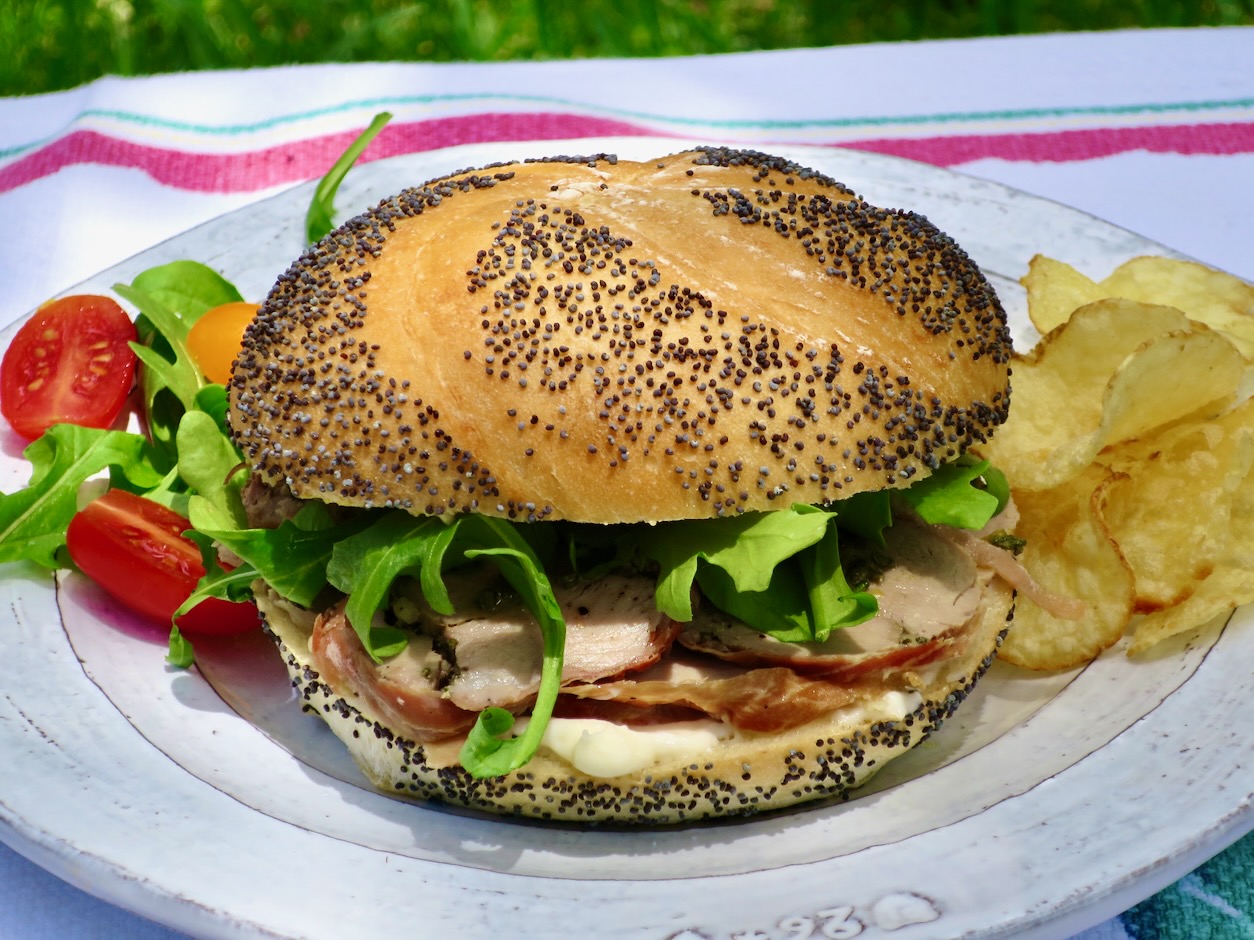
I posted this pork tenderloin recipe in 2015 and it’s been one of our favorites ever since. In that recipe, the pork was cut...
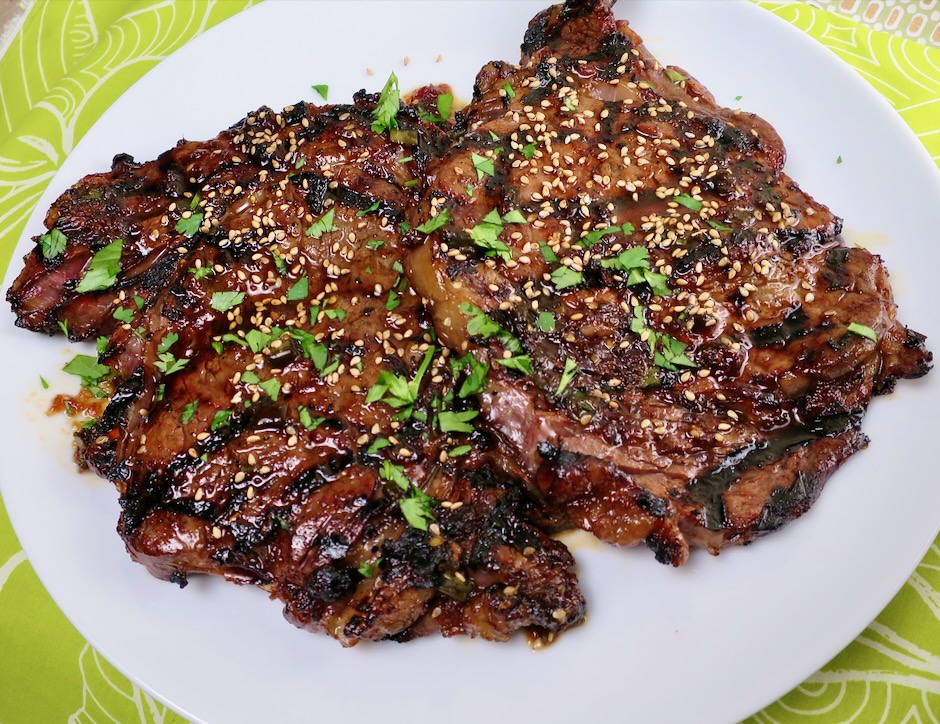
Korean kalbi ribs are a local island favorite in Hawaii. It is most common to use flanken-style short ribs for this recipe. It is...
Summer pickles
Try a refreshing and easy pickle recipe